Slow website loading, unreliable connections, or privacy concerns often trace back to DNS server settings. On Windows 11, adjusting DNS servers can directly address these issues by directing your device to use faster or more secure DNS providers instead of your default ISP settings. This process is straightforward, and you can choose between several methods depending on your needs and technical comfort level.
Changing DNS Settings Using Windows 11 Settings App
Windows button in your taskbar and select Settings. This opens the main system settings panel.Network & internet from the sidebar. Here, you’ll see your current network connections—either Wi-Fi or Ethernet.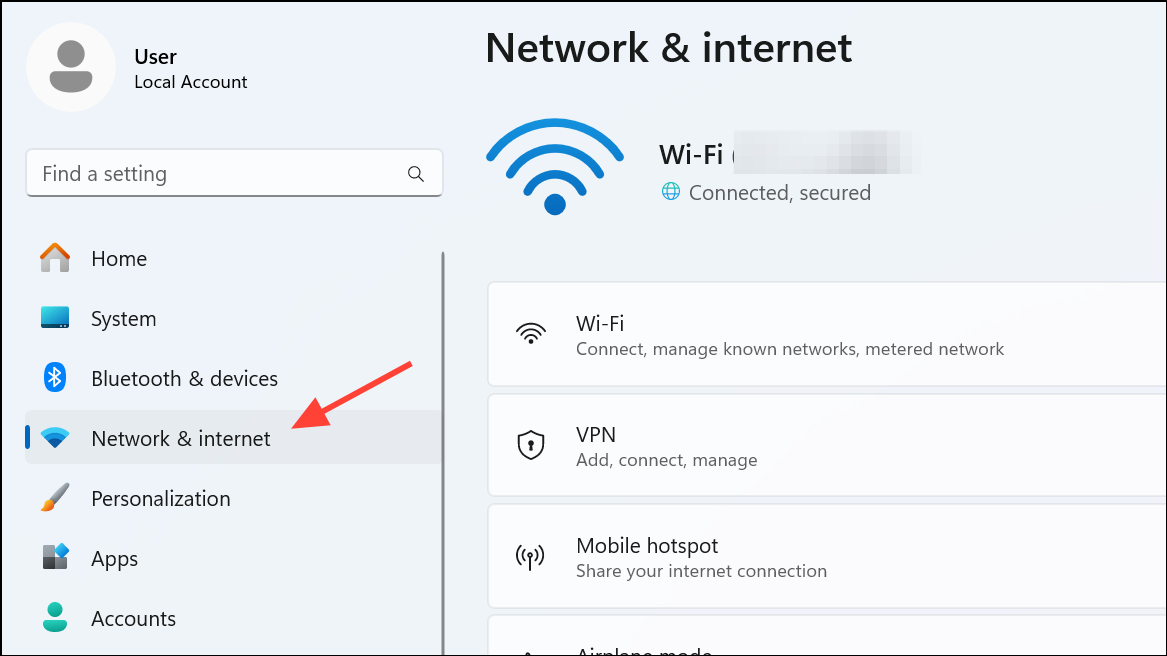
Wi-Fi, then choose Hardware properties. For Ethernet, click Ethernet.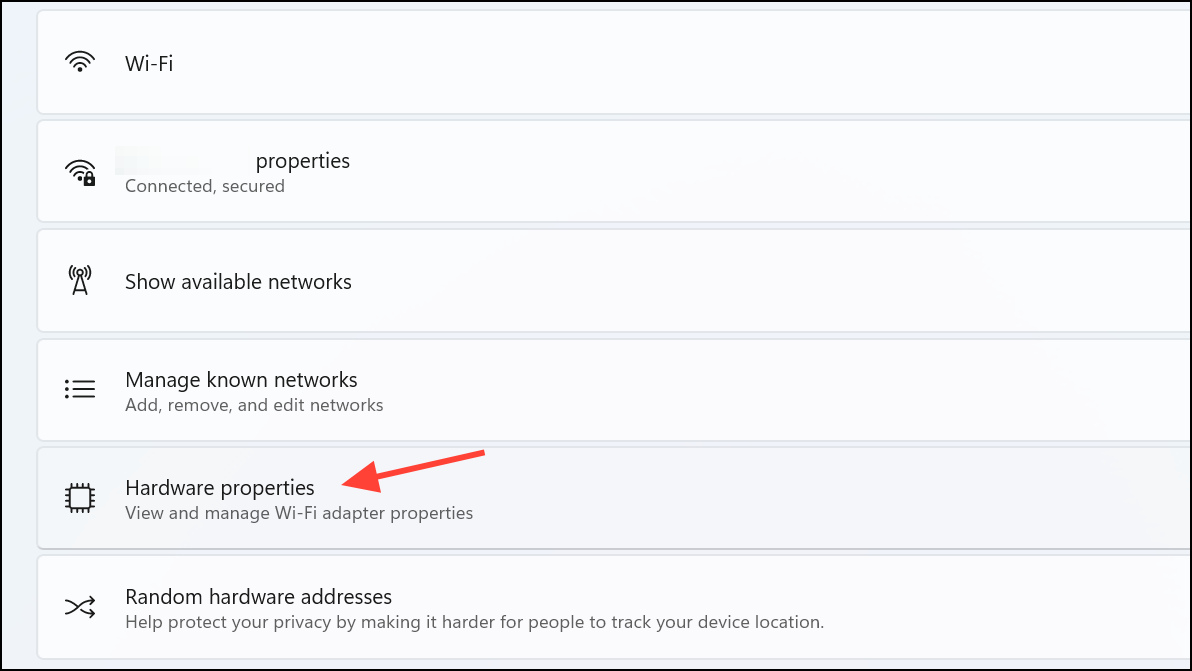
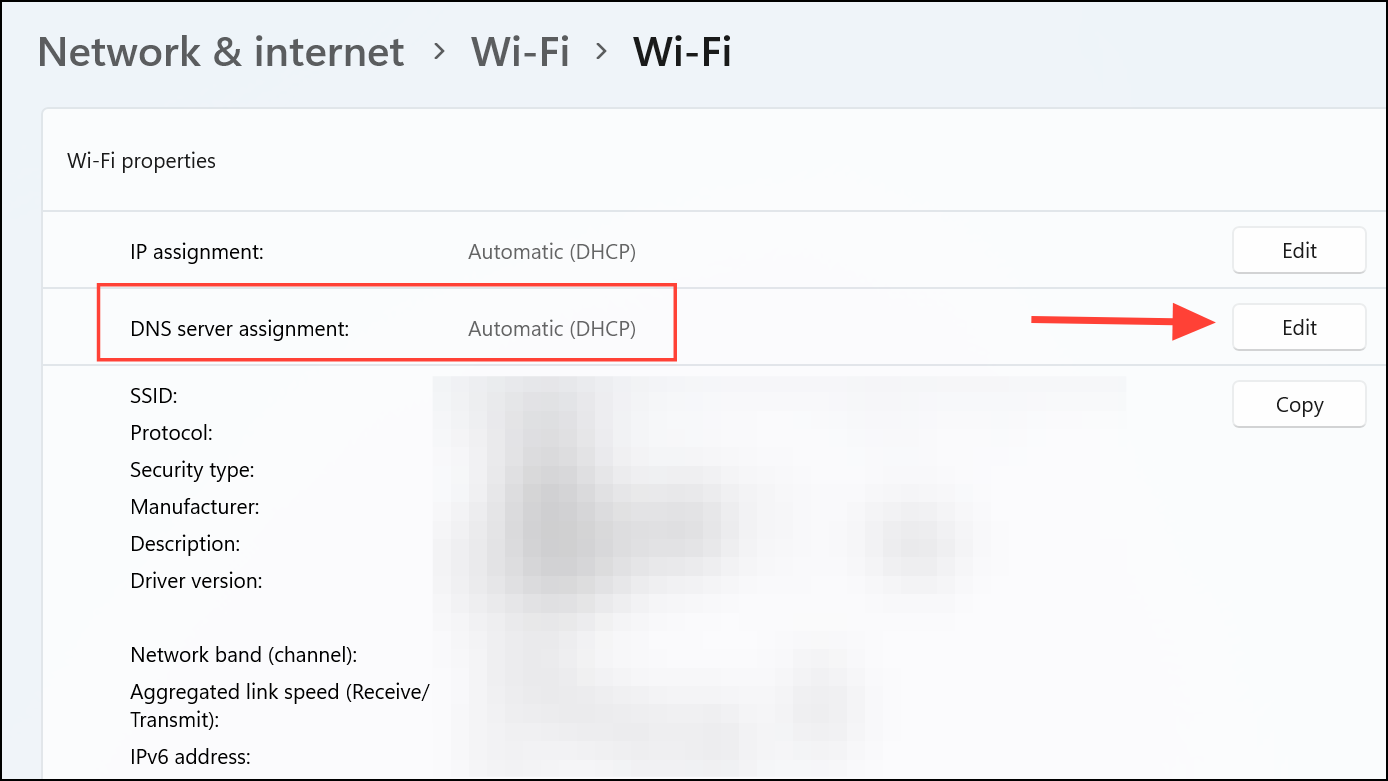
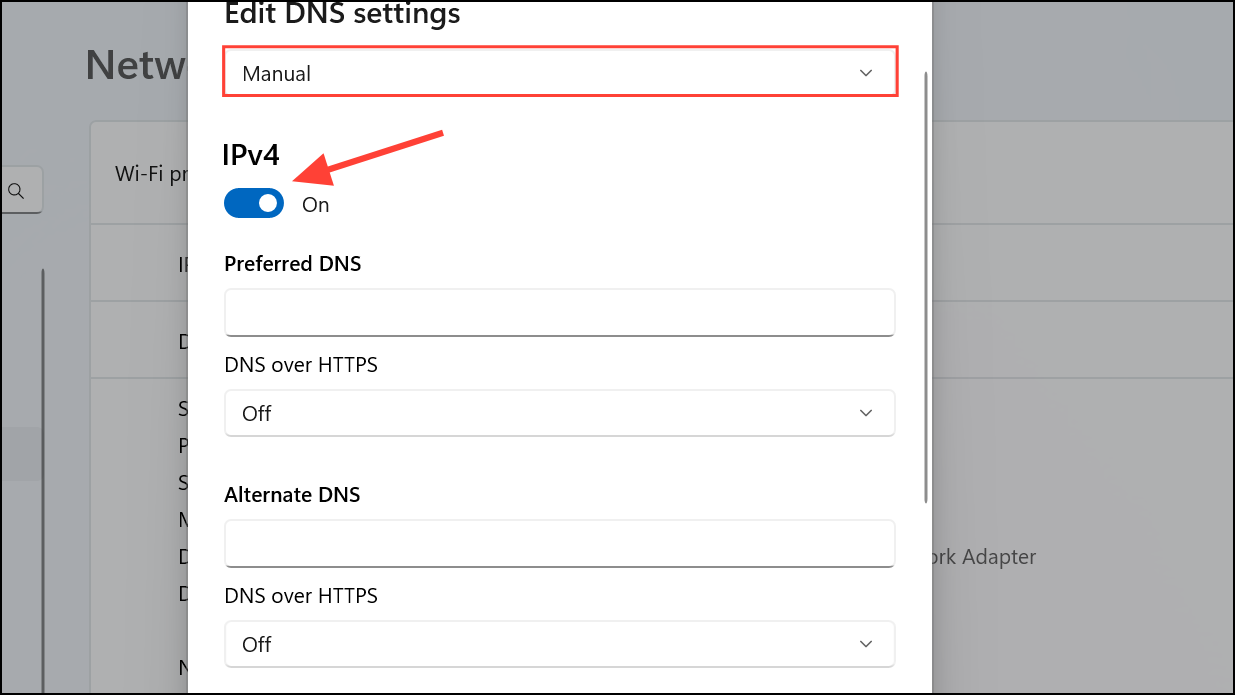
Preferred DNS to 8.8.8.8 and Alternate DNS to 8.8.4.4. For Cloudflare DNS, use 1.1.1.1 and 1.0.0.1. Click Save when finished.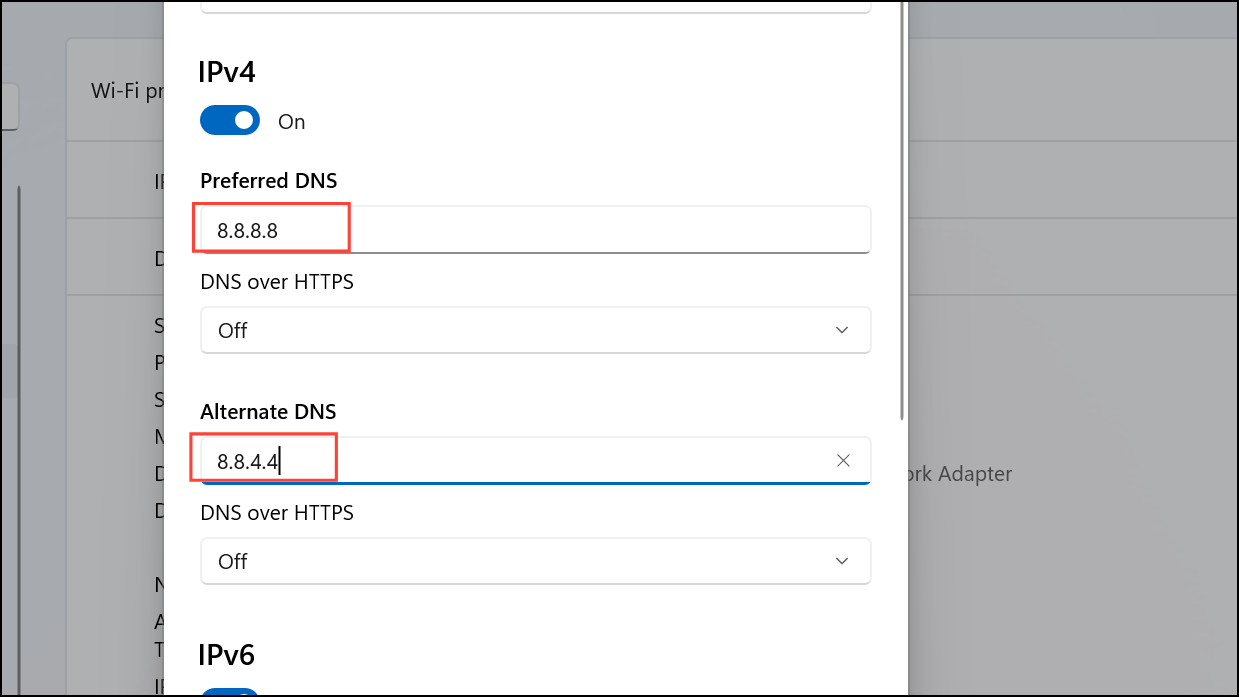
This method is the most direct and user-friendly way to change DNS settings in Windows 11. It applies changes immediately, and you can easily revert to automatic (DHCP) if needed.
Configuring DNS Settings via Network Adapter Properties
Windows + i to open Settings, then go to Network & internet and select Advanced network settings at the bottom.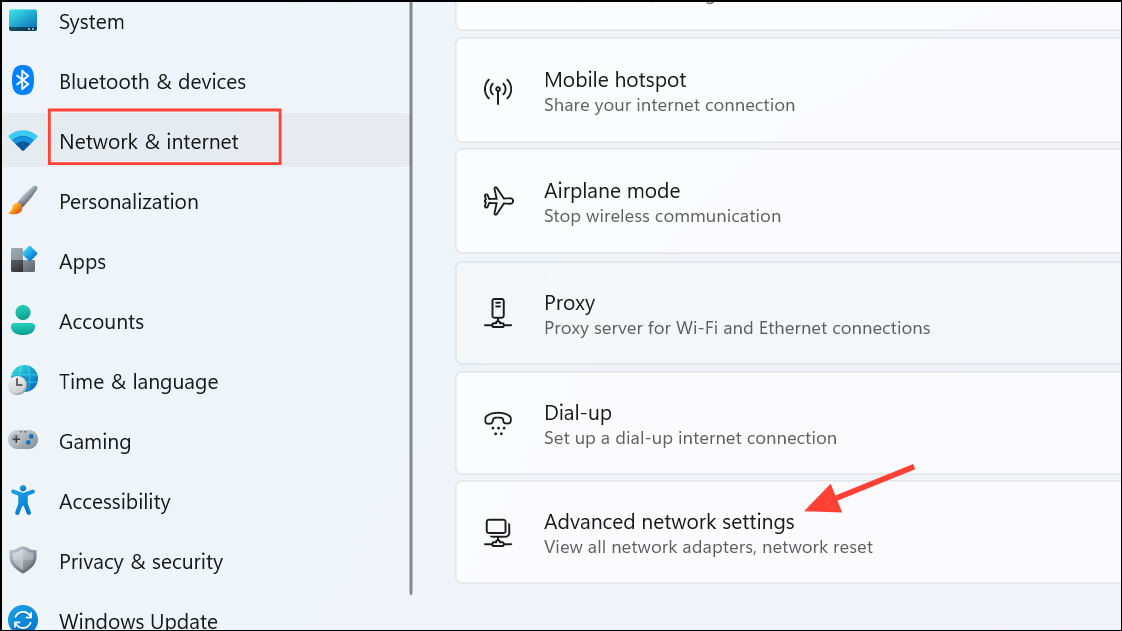
More network adapter options.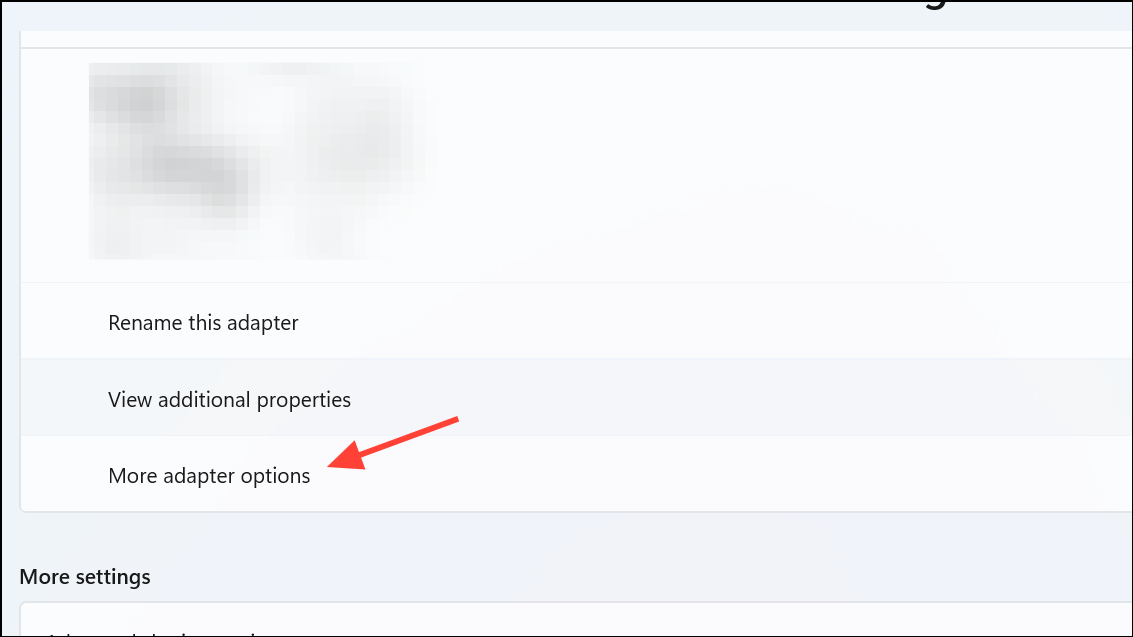
Properties.Internet Protocol Version 4 (TCP/IPv4) (or Internet Protocol Version 6 (TCP/IPv6) if you use IPv6), then click Properties.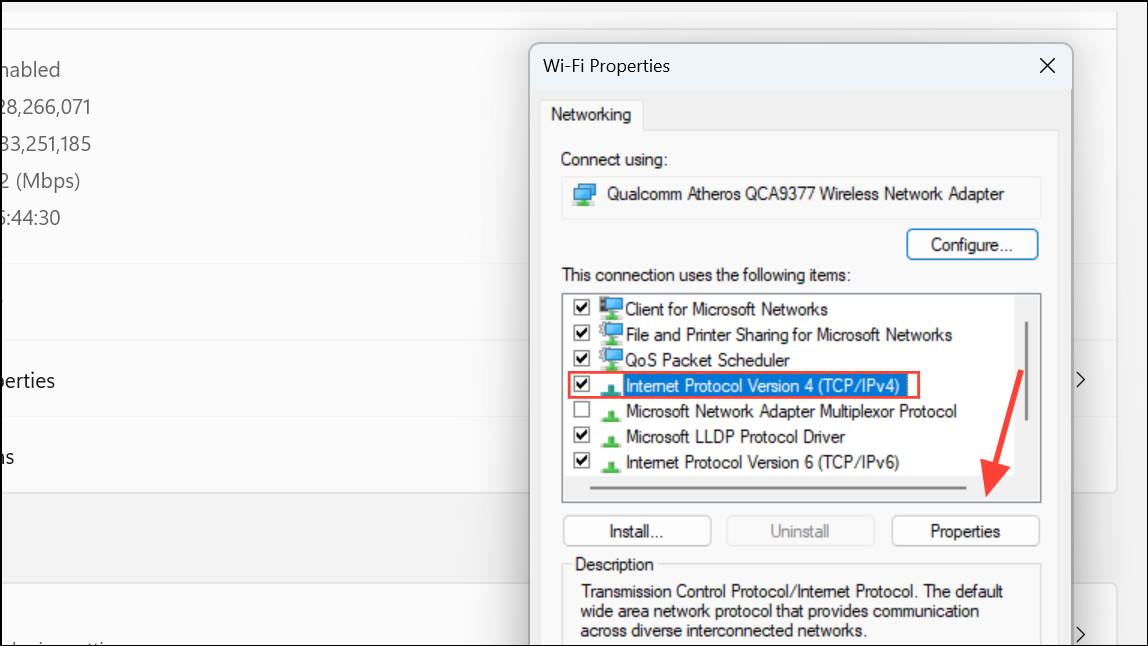
Use the following DNS server addresses. Enter your preferred and alternate DNS server IPs, then click OK and close all windows.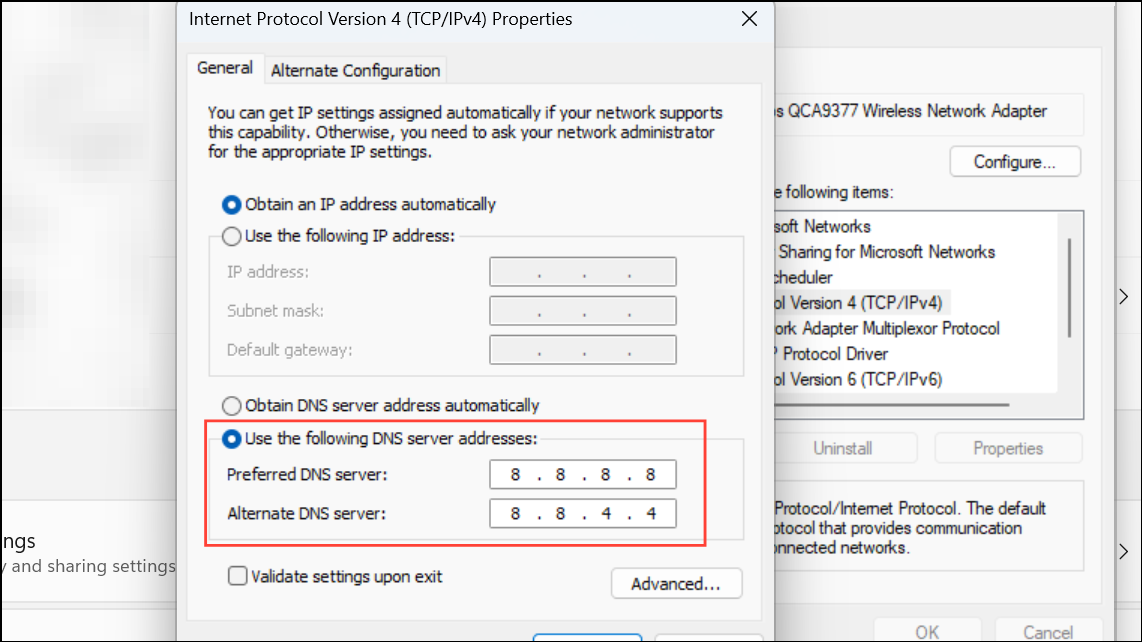
This approach offers granular control and is especially useful if you need to set DNS for a specific adapter or want to ensure compatibility with older network configurations.
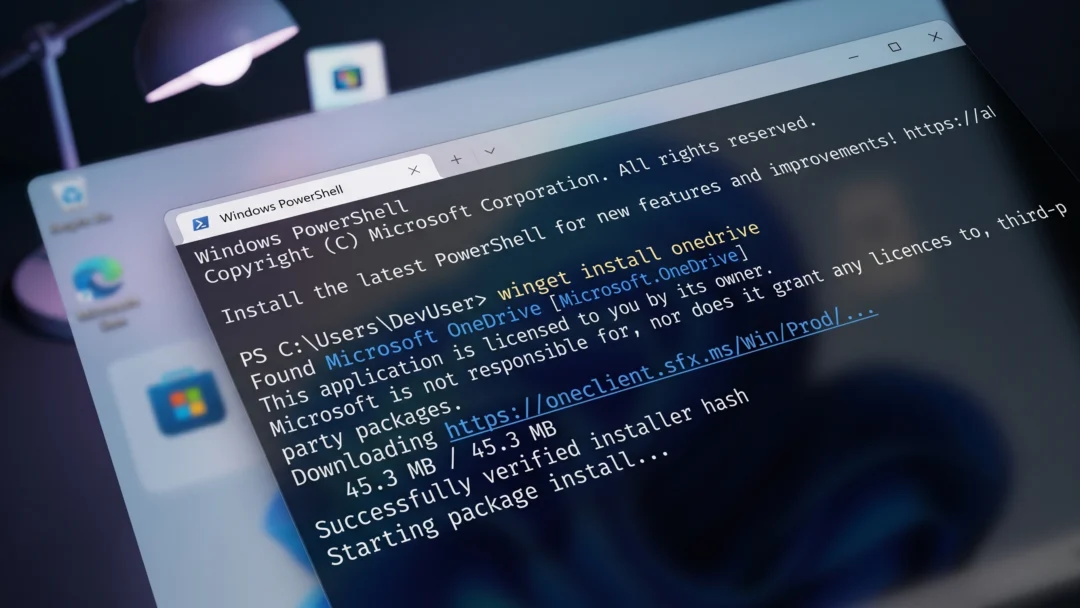
Setting DNS Servers Using PowerShell
Windows button and select Terminal (Admin) or Windows PowerShell (Admin). Approve any User Account Control prompts.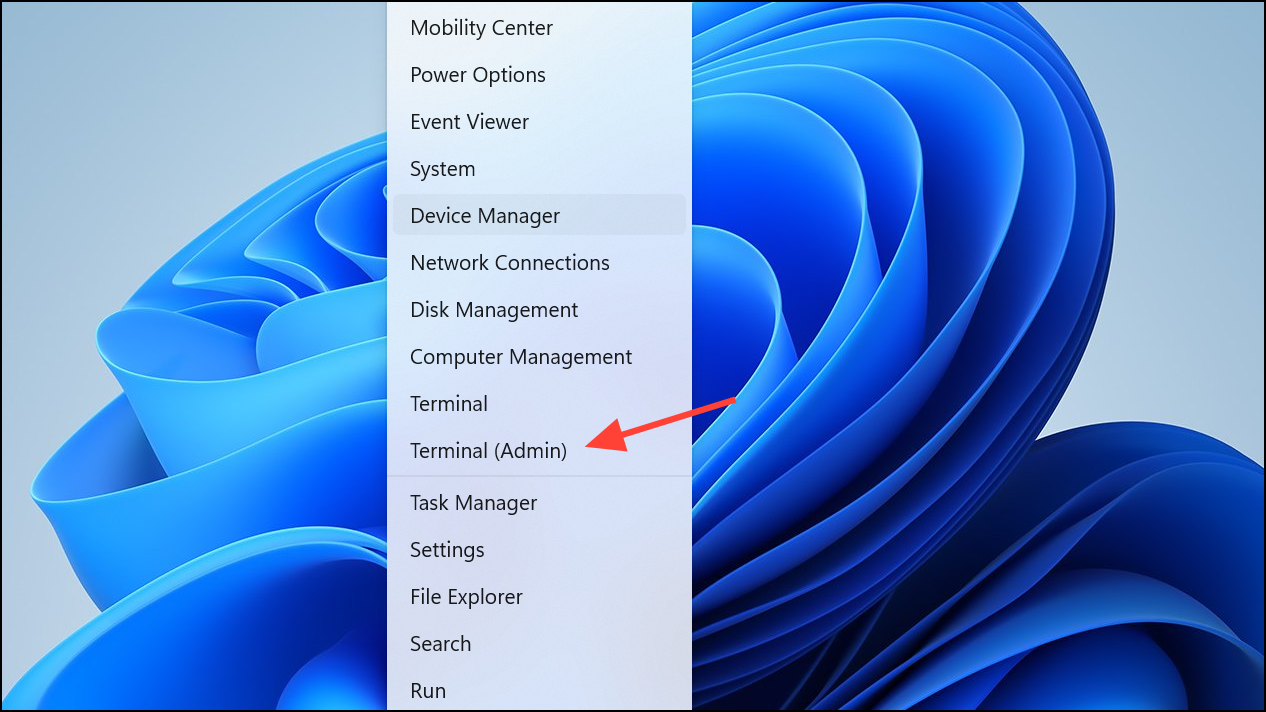
InterfaceIndex:Get-NetIPConfiguration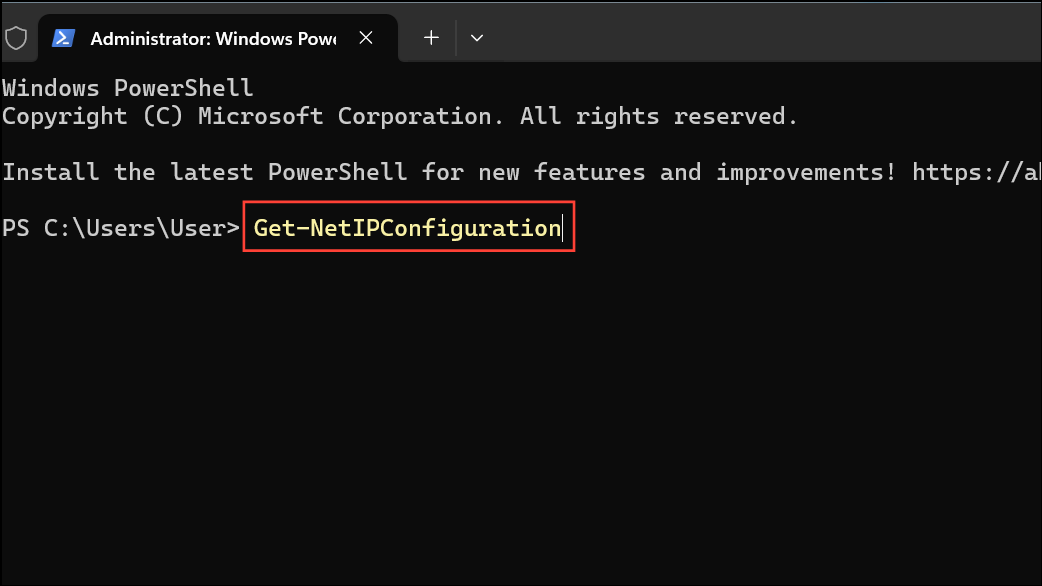
Note the InterfaceIndex number for your active connection.
6 with your actual InterfaceIndex and updating the DNS addresses as needed:Set-DnsClientServerAddress -InterfaceIndex 6 -ServerAddresses 1.1.1.1,1.0.0.1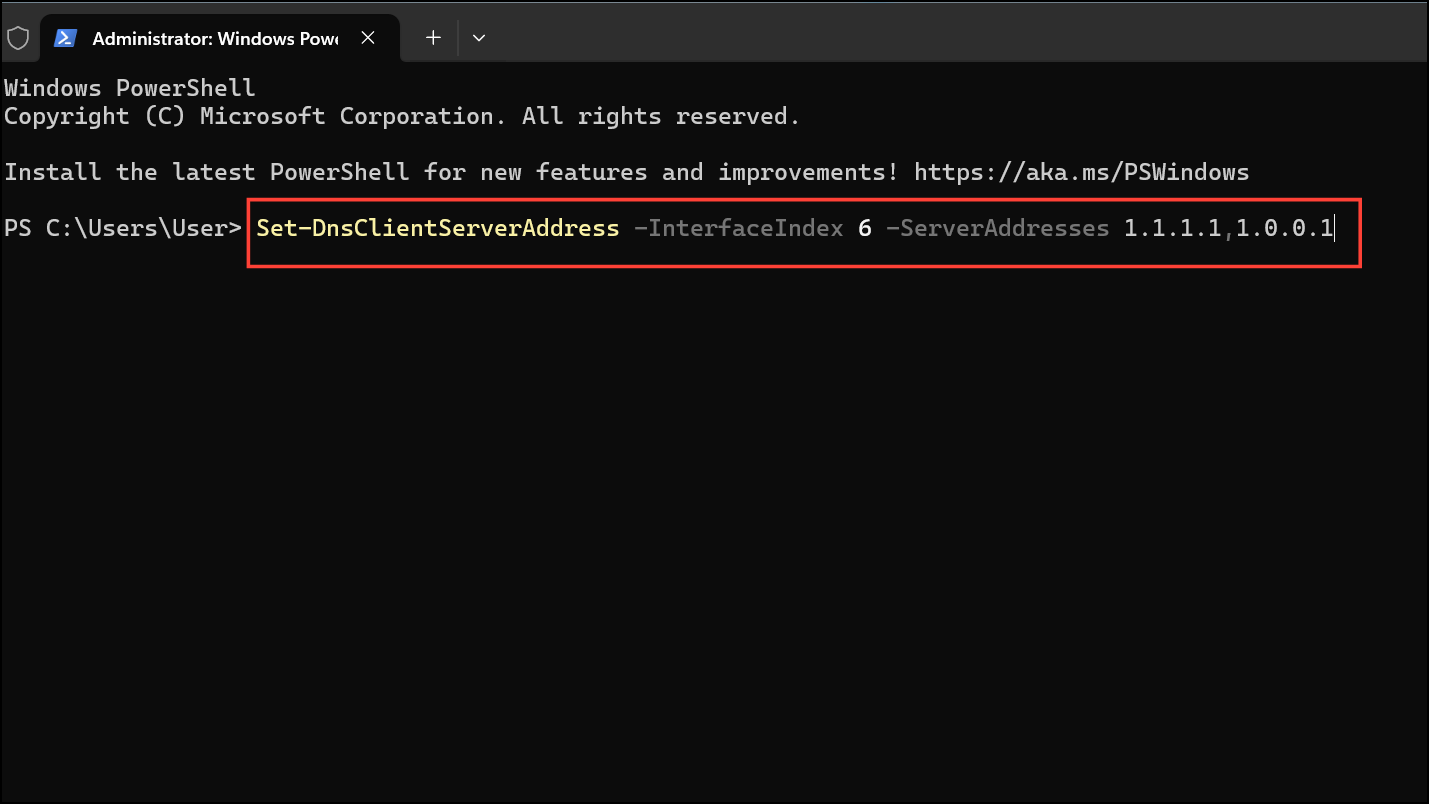
This command configures your chosen DNS servers for the specified network adapter.
Get-NetIPConfiguration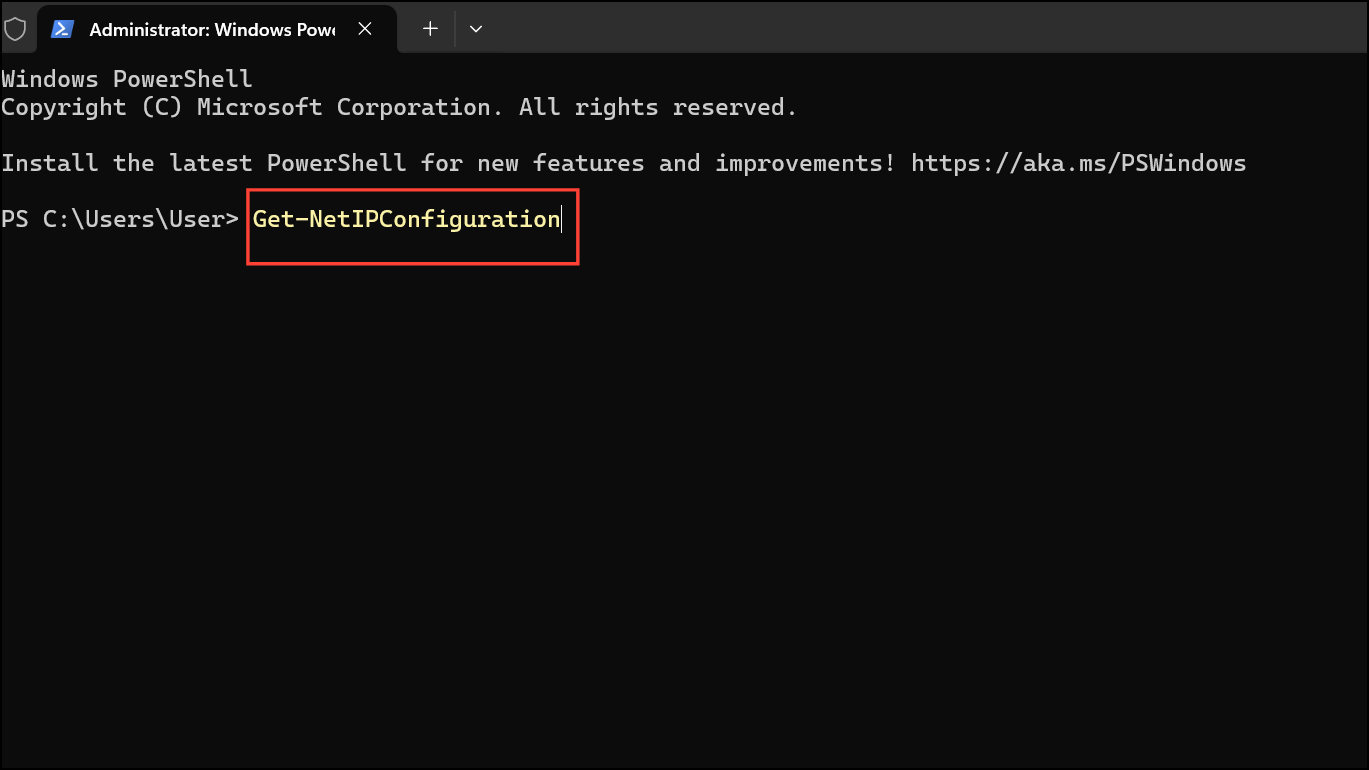
PowerShell is efficient for automating DNS changes or applying settings across multiple devices, but it requires administrative privileges and basic familiarity with command-line tools.
Troubleshooting and Additional Tips
Switching DNS servers can resolve many network issues, but sometimes settings revert or connectivity problems persist, especially on public Wi-Fi. If DNS settings keep reverting to manual or you see “connected but no internet” on open Wi-Fi, try the following:
- Reset DNS settings to
Automatic (DHCP)in theDNS server assignmentsection, then save. - Forget and reconnect to problematic Wi-Fi networks in
Settings > Network & internet > Wi-Fi > Manage known networks. - Update your network drivers via Device Manager to ensure compatibility with the latest Windows 11 updates.
- Check for conflicts with VPN or security software that might override DNS settings.
- If using public DNS (like Google or Cloudflare), ensure the addresses are typed correctly and that you save changes after editing.
Reset your network stack by opening Command Prompt as administrator and running:
netsh winsock reset
netsh int ip reset
Restart your computer after these commands.
After manually changing DNS, clear your DNS cache to avoid stale website records by opening Command Prompt and running:
ipconfig /flushdns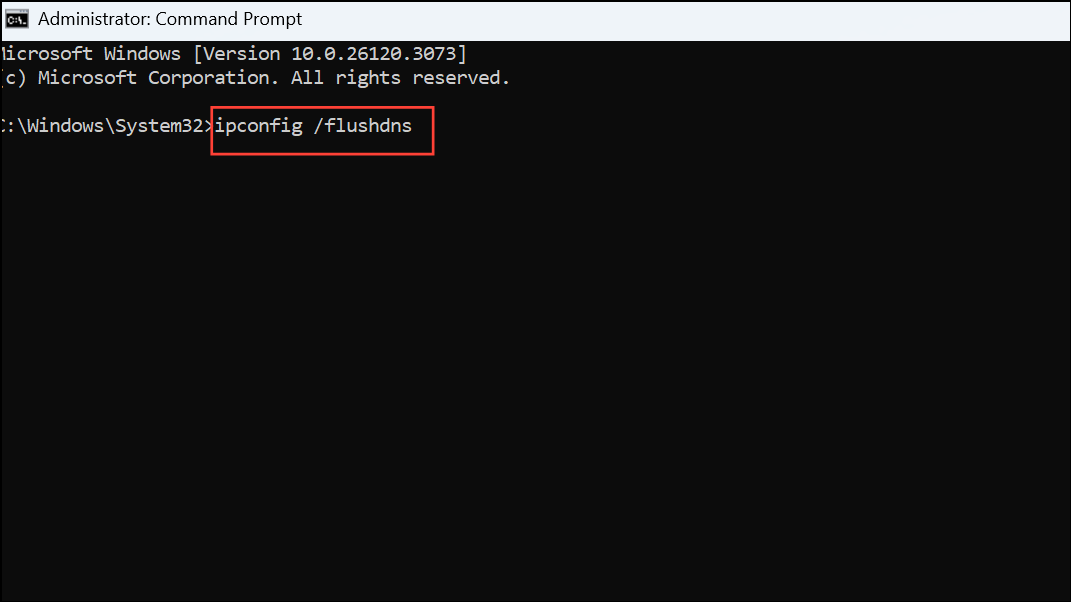
Adjusting DNS settings in Windows 11 is a reliable way to improve browsing speed, boost privacy, and resolve network issues. Regularly review your DNS configuration to keep your connection secure and efficient.