Follow these clear steps to reset your Dell laptop to factory settings, even if you've forgotten your password.
Follow these clear steps to reset your Dell laptop to factory settings, even if you’ve forgotten your password.
by Pallav Pathak
When your Dell laptop encounters severe issues or you simply want a fresh start, performing a factory reset is often the best solution. However, resetting becomes challenging if you’ve forgotten your password. Fortunately, there are several effective methods to reset your Dell laptop without needing a password, depending on your Windows version and specific situation.
Factory Reset Dell Laptop Without Password (Windows 10/8.1/8)
Begin by going to the login screen of your Dell laptop. Locate and click the power icon (usually at the bottom-right corner). While holding down the Shift key, click Restart. This action will reboot your laptop into the Windows Recovery Environment (WinRE).
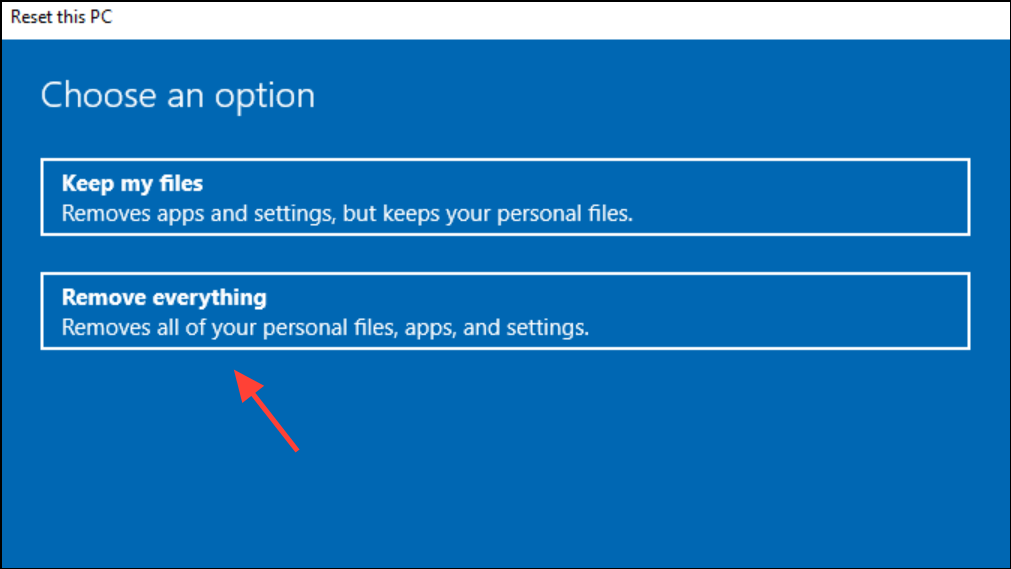
Choose the option Just remove my files to quickly erase your personal data without extensive formatting. Finally, click Reset to begin the process. Your laptop will restart and complete the reset automatically.
Factory Reset Dell Laptop Without Password (Windows 7)
Resetting a Dell laptop running Windows 7 without a password requires a slightly different approach. You’ll first need to remove the existing password protection.
On another accessible computer, download and install a reliable password removal tool such as Passper WinSenior. Insert a blank USB drive or CD/DVD into the computer and use the software to create a bootable password reset disk.
Insert the bootable USB or CD/DVD into your locked Dell laptop. Restart the laptop and enter the Boot Menu by pressing the appropriate key (often F12 or Esc) during startup. Choose the USB or CD/DVD as your boot device.
Once booted, select the option to remove the Windows password from your account. After the removal process is complete, restart your laptop without the bootable media.
Choose Repair your computer from the menu and press Enter. Select your keyboard input method and click Next. When prompted for your username and password, leave the fields blank (since you’ve removed the password earlier) and click OK.
In the System Recovery Options, select Dell Factory Image Restore, Dell DataSafe Restore and Emergency Backup, or a similar option, depending on your laptop model. Follow the on-screen instructions to reset your laptop to factory settings.
Factory Reset Dell Laptop from BIOS
If you need to reset your Dell laptop’s BIOS settings to factory defaults, follow these straightforward steps:
On another computer, download and install Dell SupportAssist OS Recovery. Insert a USB drive (at least 16GB) and use the software to create a bootable recovery drive.
Insert the bootable USB into your Dell laptop and restart the device. Press F12 repeatedly at startup to access the one-time boot menu, then select the USB drive to boot from it.
Once booted into Dell SupportAssist OS Recovery, you can back up important data if needed. After backing up, select the Reset option and follow the on-screen instructions to restore your laptop to factory settings.
With these methods, resetting your Dell laptop without a password is straightforward and effective. Choose the approach that best fits your situation and Windows version, and you’ll have your laptop back to its original state in no time.