The Windows Subsystem for Linux (WSL) allows developers and IT professionals to run a full Linux environment directly within Windows, eliminating the complexity of dual-boot setups or traditional virtual machines. With WSL, you can seamlessly run Linux applications, use Linux command-line tools, and access Linux files alongside your Windows files. This guide explains how to set up and use WSL on Windows 10 and Windows 11.
System Requirements for Using WSL
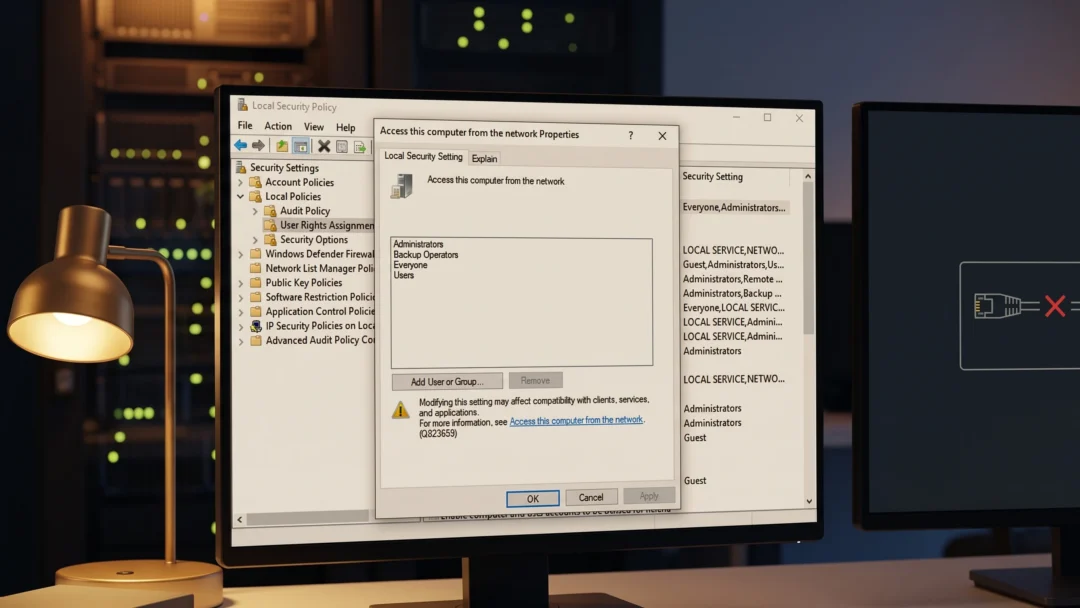
Before installing WSL, ensure your Windows system meets the necessary requirements. You must be running Windows 10 version 2004 (Build 19041) or later, or any version of Windows 11. Additionally, hardware virtualization must be enabled in your BIOS/UEFI settings (Intel VT-x or AMD-V).
Install Windows Subsystem for Linux (WSL)

wsl --install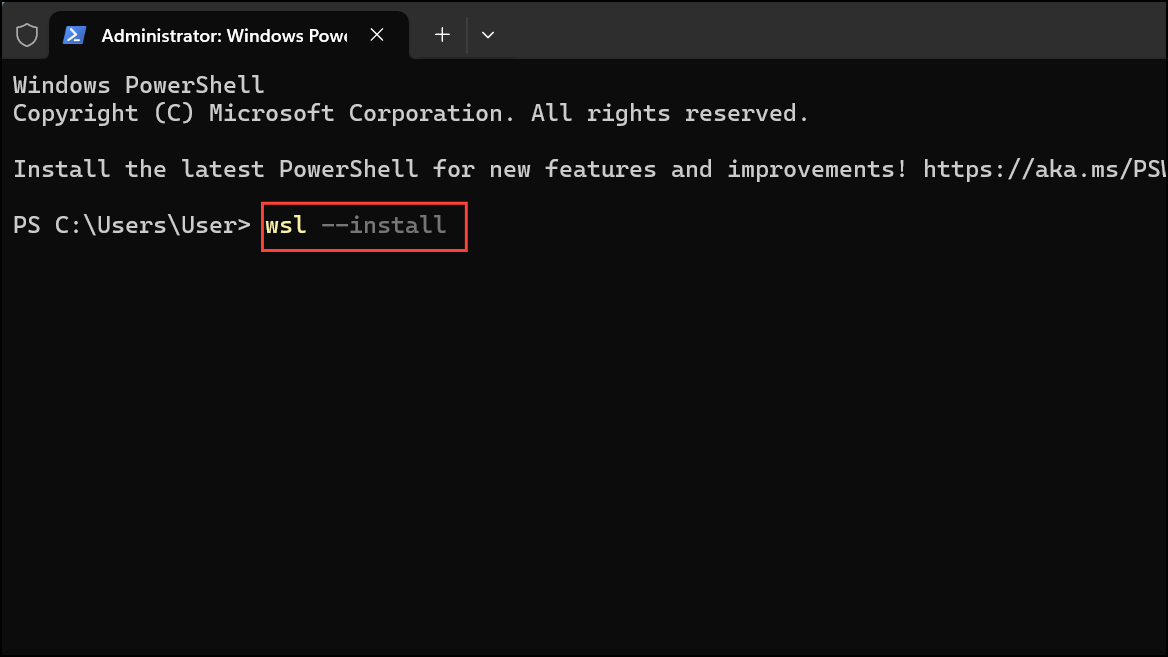
This command automatically enables the necessary Windows features, downloads the Linux kernel, and installs Ubuntu. After the installation completes, restart your computer to apply the changes.
Installing Alternative Linux Distributions
If you prefer a different Linux distribution, WSL supports multiple options such as Debian, Kali Linux, OpenSUSE, Fedora, and more.
wsl --list --online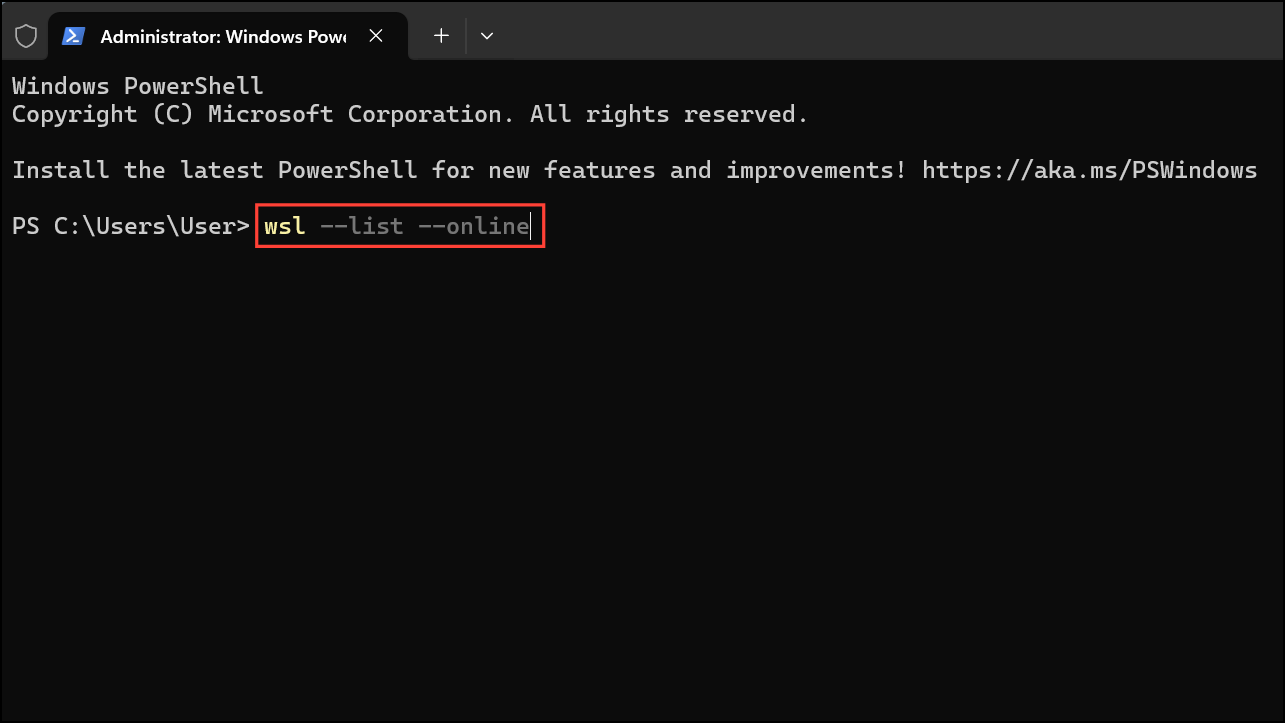
wsl --install -d Debian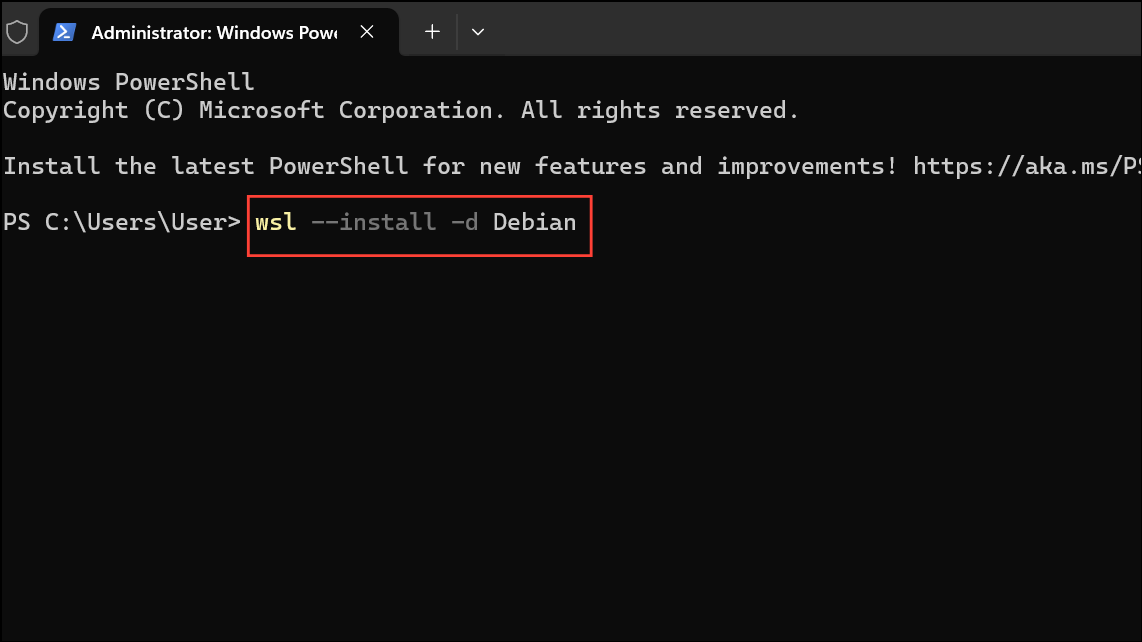
Replace Debian with your preferred distribution name. Restart your system once installation completes.
Switching Between WSL Versions
WSL has two versions: WSL 1 and WSL 2. WSL 2 offers improved performance through a lightweight virtual machine and full Linux kernel compatibility. You can easily switch between versions.
wsl -l -v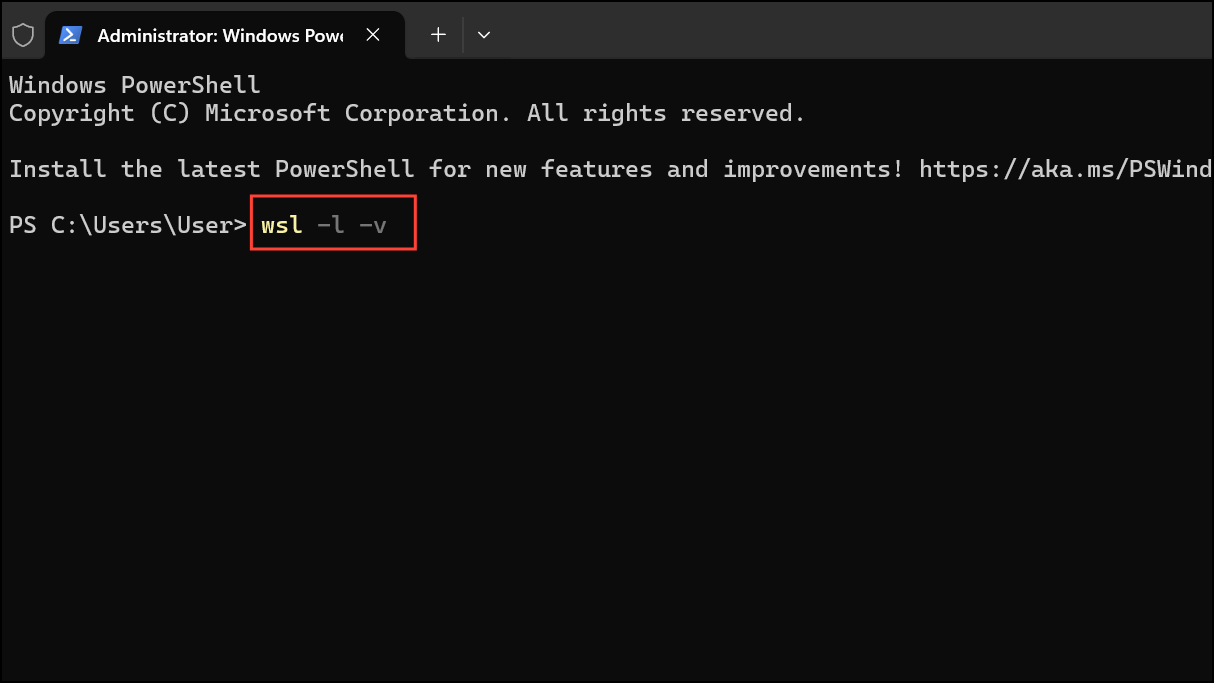
wsl --set-version Ubuntu 2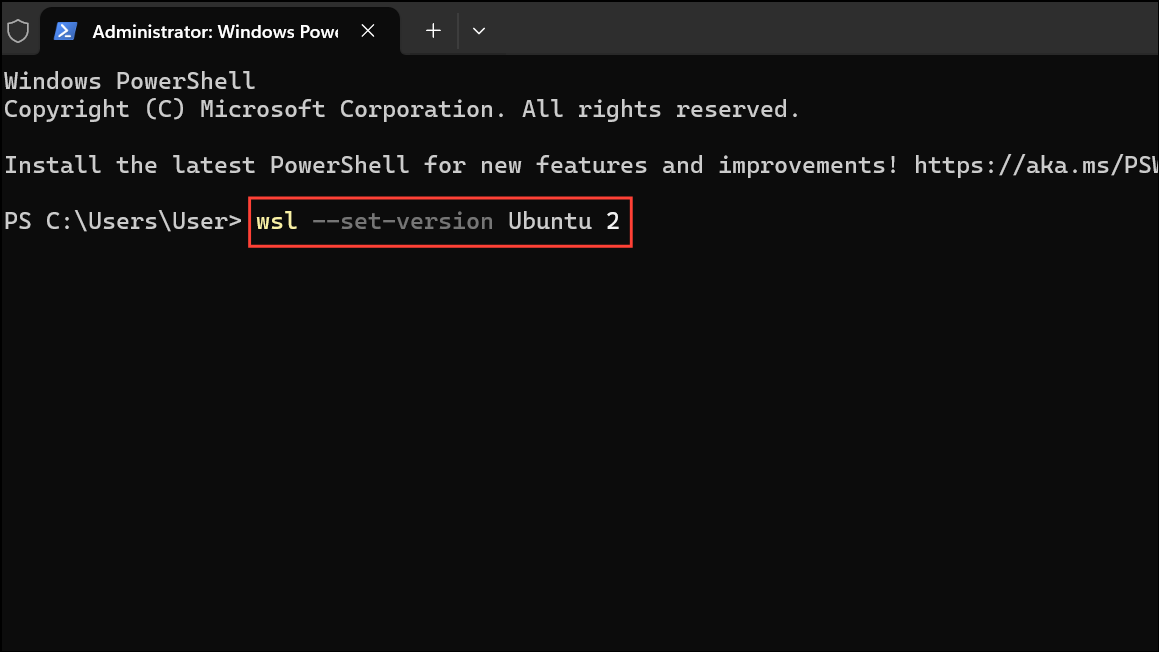
Replace Ubuntu with your distribution’s name and 2 with 1 if you wish to downgrade. This process might take a few minutes.
Accessing Files Between Windows and Linux
WSL makes it easy to access files across both operating systems.
- To access Windows files from Linux, navigate to
/mnt/c/in your Linux terminal. This directory corresponds to your Windows C: drive. - To view Linux files from Windows, open File Explorer and enter
\\wsl$\in the address bar. You will see folders representing each installed Linux distribution.
Running Linux GUI Applications on Windows
With WSL 2, you can run graphical Linux applications directly on Windows without additional software.
sudo apt update && sudo apt upgrade -ysudo apt install gedit -ygeditThe application opens in a new window on your Windows desktop, fully integrated with your system.
Integrating WSL with Development Tools
WSL integrates seamlessly with popular development tools such as Visual Studio Code and Docker. For instance, Docker Desktop supports WSL 2 natively, allowing faster container startup and better resource management. Similarly, Visual Studio Code offers a Remote – WSL extension enabling direct editing, debugging, and terminal access within your Linux environment.
To set up Docker with WSL 2, install Docker Desktop for Windows and enable the WSL 2 backend from Docker settings.
For Visual Studio Code integration, install the Remote – WSL extension from the VS Code marketplace.
Troubleshooting Common Issues
Common issues during WSL installation include virtualization-related errors. If you encounter error messages such as “Error 0x80370102,” ensure hardware virtualization is enabled in your BIOS settings. Additionally, verify that the Virtual Machine Platform feature is enabled in Windows Features.
For comprehensive troubleshooting, refer to the official WSL troubleshooting guide.
With WSL installed and configured, you now have a powerful Linux environment integrated directly into your Windows workflow. Enjoy exploring the capabilities of Linux without leaving the comfort of your Windows desktop!