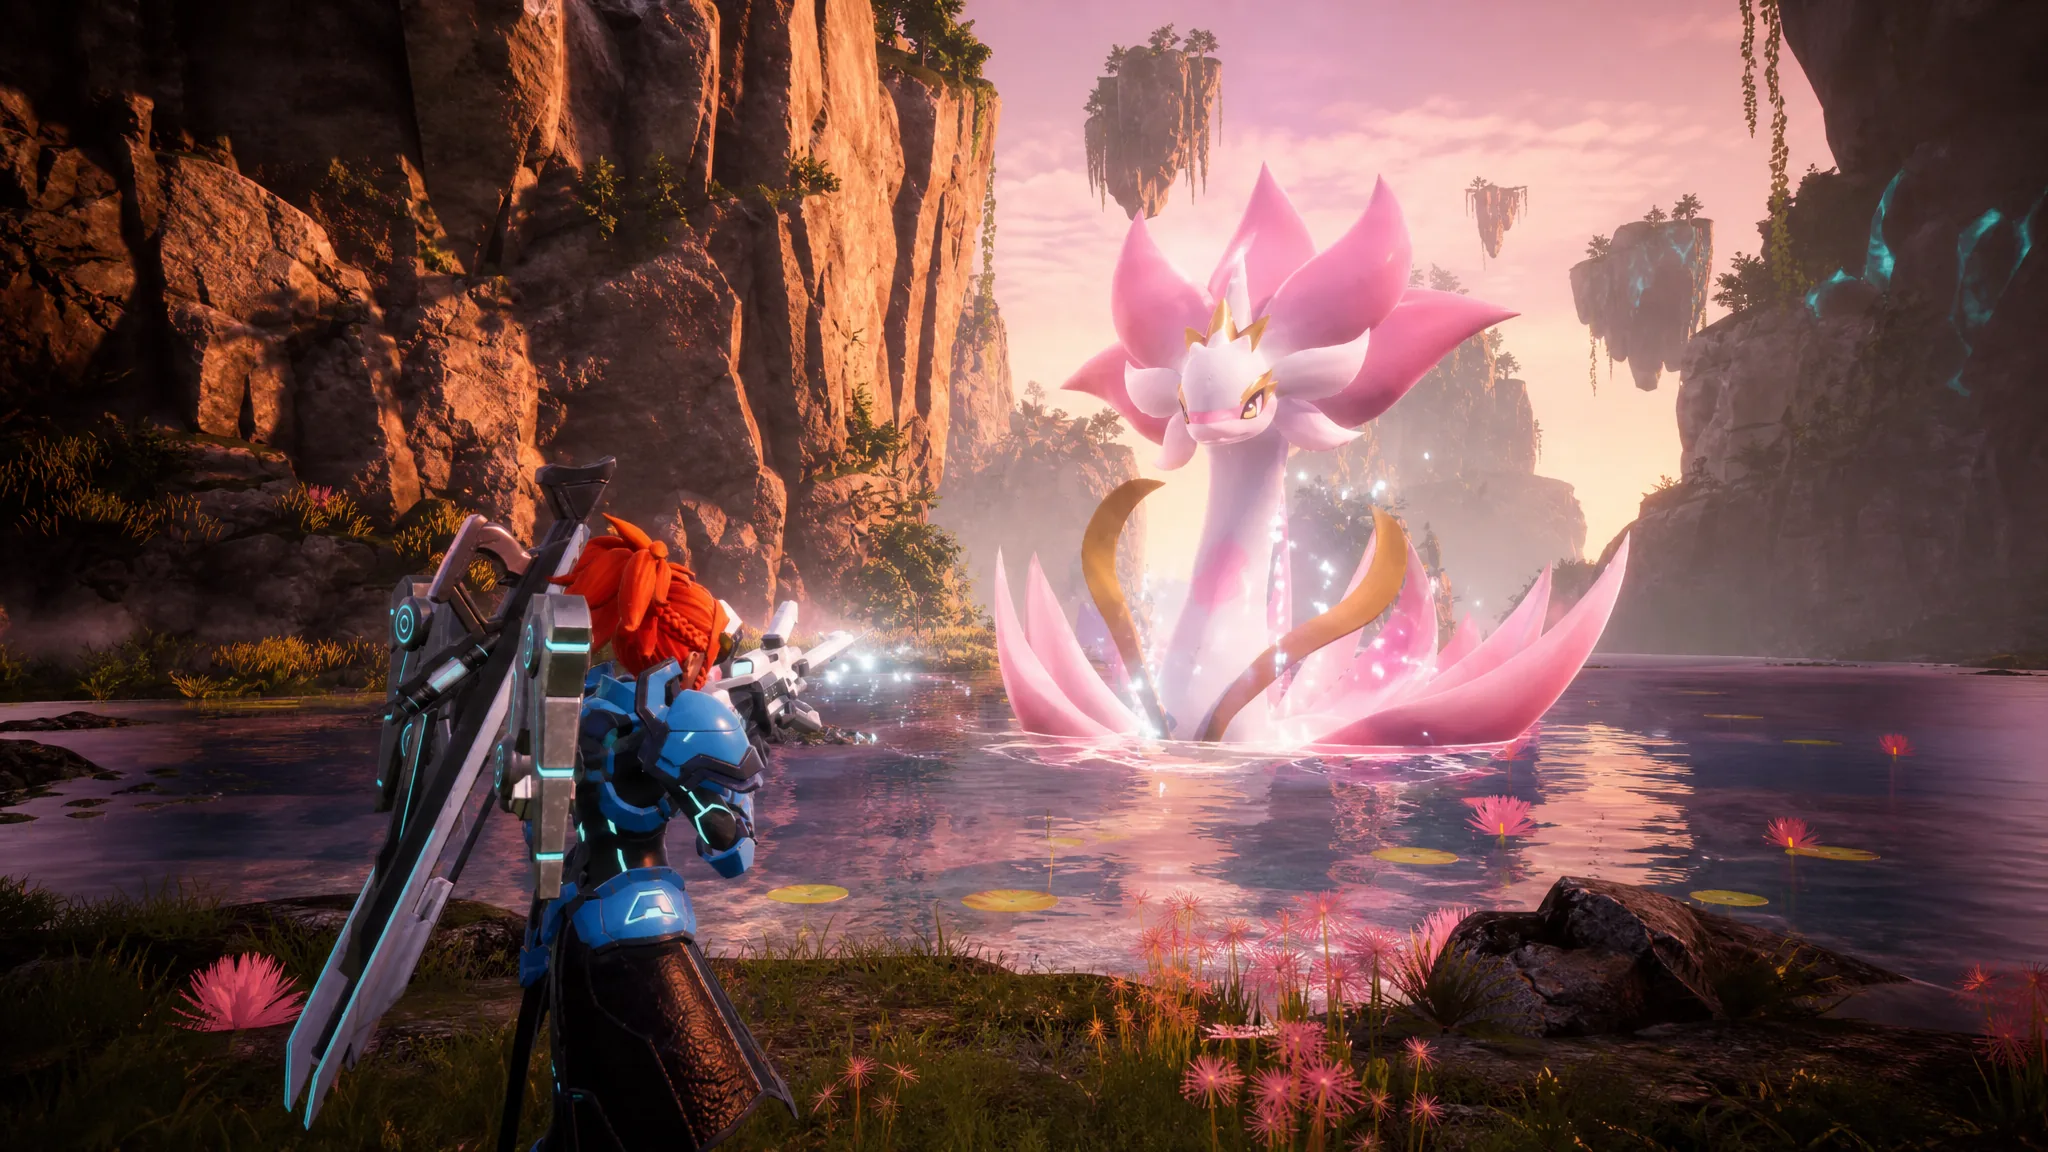
Palworld 1.0 packs the strongest gear behind Legendary Schematics, the top-tier blueprints that unlock the best version of a weapon or armor piece once one sits in your inventory or base storage. Seven of them stand out for raw power in the endgame, and each has a fixed way to be obtained. Some drop only from Hard-mode tower bosses; others hide inside high-level treasure chests.
Quick answer: Four of the seven — Beam Scatter, Plasma Rifle, Beam Launcher, and Drone Launcher — plus the Lightweight Ancient Armor come from beating specific Hard-mode raid bosses at a 10% chance on your first clear. The Laser Sword and Mechanical Bow are random chest drops in Sakurajima, Sunreach, and the World Tree. All seven are crafted at the Ancient Workbench.

The 7 best Legendary Schematics and where they come from
Here is the fast reference. Attack and defense figures are the schematic’s best-tier stats, and the source column lists the primary way to obtain each blueprint.
| Schematic | Key stat | Primary source |
|---|---|---|
| Lightweight Ancient Armor | 1092 Defense / 3120 HP | Jarl of Feybreak & Bastigor (Hard, Lv 80) |
| Mechanical Bow | 24000 Attack | World Tree biome chests |
| Laser Sword | 2400 Attack | Sakurajima or Sunreach chests |
| Plasma Rifle | 2232 Attack | Saya & Selyne (Hard, Lv 80) |
| Beam Launcher | 2232 Attack | Auri & Shoalong (Hard, Lv 80) |
| Drone Launcher | 2232 Attack | Lily & Lyleen (Hard, Lv 74) |
| Beam Scatter | 609 Attack | Zoe & Grizzbolt (Hard, Lv 72) |
Boss-locked schematics (10% on first clear)
Five of the seven are tied to Hard versions of story raid bosses. Each fight rolls a 10% chance for its schematic, and that roll only happens on your first-ever clear of that boss. Rematches are unlimited and free, but they hand out experience only, not another shot at the blueprint. Go in fully prepared, because there is no redo on the drop.
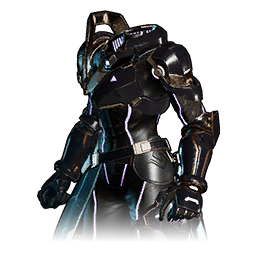
Lightweight Ancient Armor is the standout defensive piece. It stacks 1092 Defense and a huge 3120 base health on top of Cold Resistance level 2, Heat Resistance level 2, Max Carrying Capacity level 4, and Attack Up (S) level 4. It drops from the Hard, Level 80 Jarl of Feybreak & Bastigor fight, making it the all-around best endgame armor to chase first.
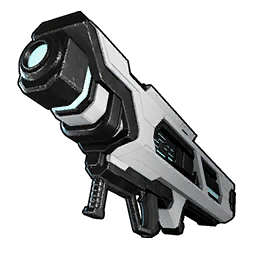
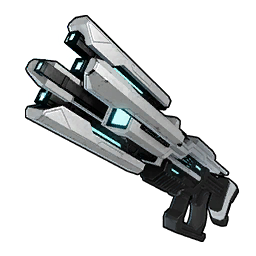
Beam Launcher is the hardest-hitting weapon in the game with a 16800 base damage figure. It fires a continuous beam that pours damage into a single target, which makes it ideal against raid bosses. The catch is that it overheats, so it cannot fire indefinitely. Beat the Hard, Level 80 High Keeper of the Azure Covenant, Auri & Shoalong, for the schematic.
Plasma Rifle is the top assault rifle option. Its chamber spins to fire plasma rounds at a high rate, and shots aimed at the ground ricochet to chain into nearby enemies, giving it useful crowd control. It comes from the Hard, Level 80 Leader of the Moonflowers, Saya & Selyne.
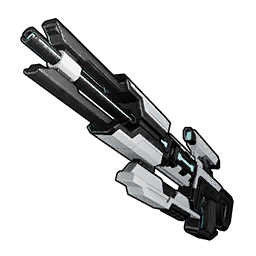
Drone Launcher summons a swarm of drones that circle you and strike any hostile Pal that attacks. That passive protection suits almost any playstyle for endgame content. Defeat the Hard, Level 74 Free Pal Alliance Founder, Lily & Lyleen, to earn it.
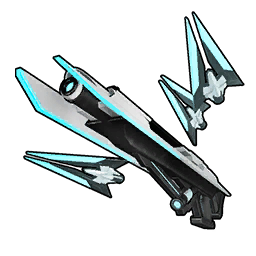
Beam Scatter works like a short-range shotgun, spraying a beam that scatters on impact and fires quickly. It has the lowest raw stat of the seven at 609 Attack, but the fire rate makes it the strongest shotgun-type option. The Hard, Level 72 Rayne Syndicate Boss Zoe & Grizzbolt drops it. Beam Scatter is also reachable through World Tree fishing, legendary treasure maps, and the Ancient Relic Recycler, though those routes carry far lower odds than the 10% boss roll.
Note: The World Tree bosses tied to these weapons also feed into fishing and relic recycling pools, so if a first-clear roll fails, those secondary sources remain open at much lower percentages.
Chest-only schematics: Laser Sword and Mechanical Bow
Two of the seven are not tied to any boss, which makes them the most luck-dependent to farm.
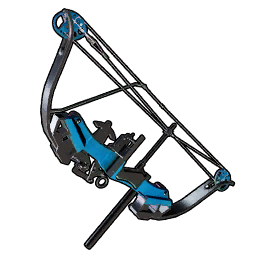
Mechanical Bow carries the single highest weapon damage in Palworld at 24000. Its schematic can drop from treasure chests in the World Tree biome, the endgame zone. There is no fixed boss for it, so opening chests across that region is the only route.
Laser Sword has the highest raw damage of any melee weapon at 2400. Its blueprint can appear in any treasure chest across Sakurajima and Sunreach, including the enemy outposts scattered around those biomes. Because it is a randomized drop with no boss anchor, plan on clearing chests repeatedly.

Crafting costs at the Ancient Workbench
Every one of these seven schematics is built at the Ancient Workbench, and the recipes lean heavily on rare Ancient materials. A schematic is never consumed by crafting, so once you own one you can build the item as many times as you can gather materials.
| Schematic | Materials |
|---|---|
| Lightweight Ancient Armor | Paloxite Ingot ×60, AI Core ×14, Corrosive Solvent ×100, Ancient Civilization Parts ×9 |
| Laser Sword | Soralite Ingot ×100, Paldium Fragment ×500, Bio Battery ×60, AI Core ×6, Ancient Civilization Parts ×9 |
| Mechanical Bow | Soralite Ingot ×80, Carbon Fiber ×40, Paldium Fragment ×400, AI Core ×6, Ancient Civilization Parts ×9 |
| Beam Scatter | Paloxite Ingot ×100, Soralite Ingot ×100, AI Core ×10, Ancient Civilization Core ×10, Ancient Civilization Parts ×10 |
| Plasma Rifle | Paloxite Ingot ×160, Bio Battery ×100, AI Core ×16, Ancient Civilization Core ×14, Ancient Civilization Parts ×10 |
| Beam Launcher | Paloxite Ingot ×200, Bio Battery ×100, AI Core ×20, Ancient Civilization Core ×20, Ancient Civilization Parts ×10 |
| Drone Launcher | Paloxite Ingot ×200, World Tree Holy Water ×80, AI Core ×16, Ancient Civilization Core ×10, Ancient Civilization Parts ×10 |
How to farm efficiently and confirm a drop
A schematic lands in your inventory as a distinct blueprint item, and once it is there the recipe unlocks at the Ancient Workbench. That is your confirmation it worked. If the recipe still shows locked, the roll simply did not land, and you need another attempt.
For the boss-locked pieces, the biggest pitfall is treating rematches as farming. Only the first clear rolls the schematic, so extra runs of the same tower boss will never produce it. That single-shot rule is why preparation matters more than repetition here.
For field Alpha Pals in general, catching a boss alive rather than killing it lets you butcher it with the Meat Cleaver afterward, which rolls the drop table a second time and effectively doubles your chance per encounter. Tower raid bosses cannot be captured, so that trick does not apply to them.
Keep drop math realistic. A 10% chance does not guarantee the tenth attempt, and a 3% rate averages roughly 23 tries for even odds. Every roll is independent, so a boss you have fought many times has the same chance on the next attempt as the first. With the two chest-only schematics, that randomness is the whole grind, so bank on repeated chest clears in Sakurajima, Sunreach, and the World Tree until the blueprint appears.