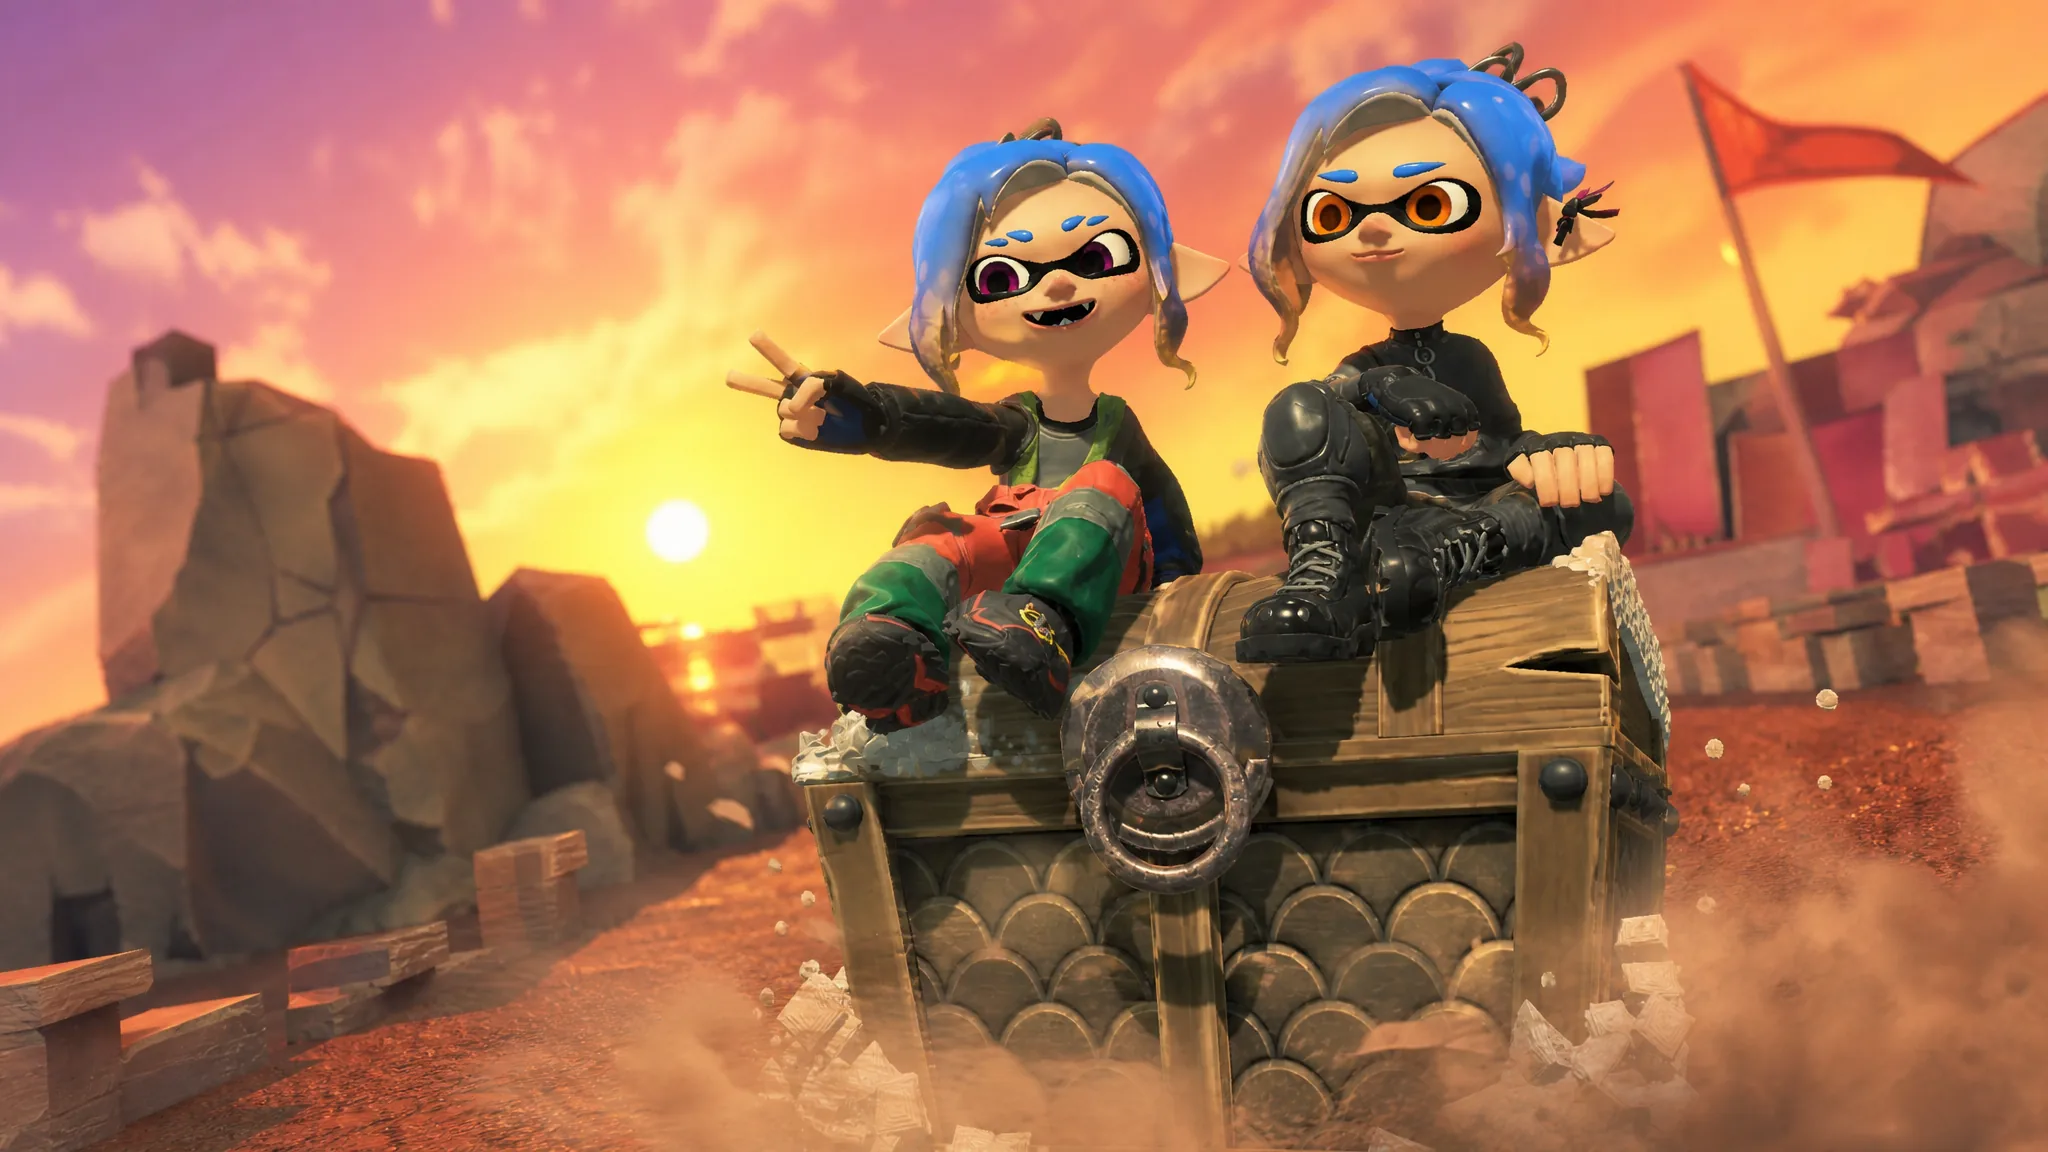
Splatoon Raiders takes the chaos of Salmon Run and rebuilds it into a solo adventure across the Spirhalite Islands, where you play as a mechanic exploring dungeons alongside Deep Cut. It runs on new systems that mainline Splatoon players haven’t seen before, so the early hours reward a bit of planning over rushing straight into the biggest raids.
Quick answer: Try all three tank types before committing, hold off on upgrading your main weapon until after the first few dungeons, gather every resource in each area, and replay earlier missions for extra XP whenever a raid beats you.
Pick a difficulty and know you can change it
When you start, you choose between three difficulty levels: Tourist, Raider, and Survivalist. The difference comes down to combat only. Higher settings make enemies move faster, hit harder, and carry more health. The loot pool stays the same across all three, so starting on Tourist does not lock you out of better gear.
You can switch difficulty at any time back on the Hideout Ship, so there is no penalty for easing in and cranking it up once you feel comfortable.
Test all three tanks before you commit
Your tank is the core of your build, and each type comes with its own family of gadgets that change how you fight. There is no reason to lock in a favorite before you have tried every option, and you can swap tanks freely between missions through the Gear menu using the + button.
| Tank | Playstyle | Good for |
|---|---|---|
| Speed | Mobility and escape | Running from danger or hopping into the air away from swarms |
| Power | Direct pressure | Pushing into groups and breaking enemy defenses |
| Tactical | Battlefield control | Deploying tools and keeping extra weaponry circling you |
This is a match to your preferred approach, not a power ranking. The best pick can shift depending on the stage, the weapons you find, and the gadget parts you have available.
Try every weapon, but wait to upgrade
Whether you are new to the series or a longtime player, it is worth cycling through the weapon types to find a new main. Buckets return, splatanas are here if you want to swing something heavy, and simple shooters remain a reliable way to keep enemies at a distance.
Hold off on upgrading your chosen weapon until you have cleared the first few dungeons. You will almost certainly pick up a higher-level version soon, so spending Spirhalite early wastes materials you could put toward gadgets and other upgrades instead.
Clear out every resource in each dungeon
Before you leave any area, sweep it for materials. Gathering everything you can gives you the parts to upgrade gadgets, tanks, and weapons later without grinding.
Keep an eye out for Spirhalite Crystals in certain dungeons, since they hand over a large stack of Spirhalite Shards. Bring the Exploration Bot next to a crystal and press X to break it open.
Attack bosses directly instead of dodging mechanics
Salmon Run veterans will notice that boss fights have been simplified to match the lack of thrown bombs. The Flyfish no longer requires you to lob bombs into its open compartments. You can now just shoot the soft target in its middle to bring it down.
Maws has been reworked the same way. Shoot it from behind and it goes down quickly. As a general rule, keep firing at anything that gets close or send your Bot Buddy after it.
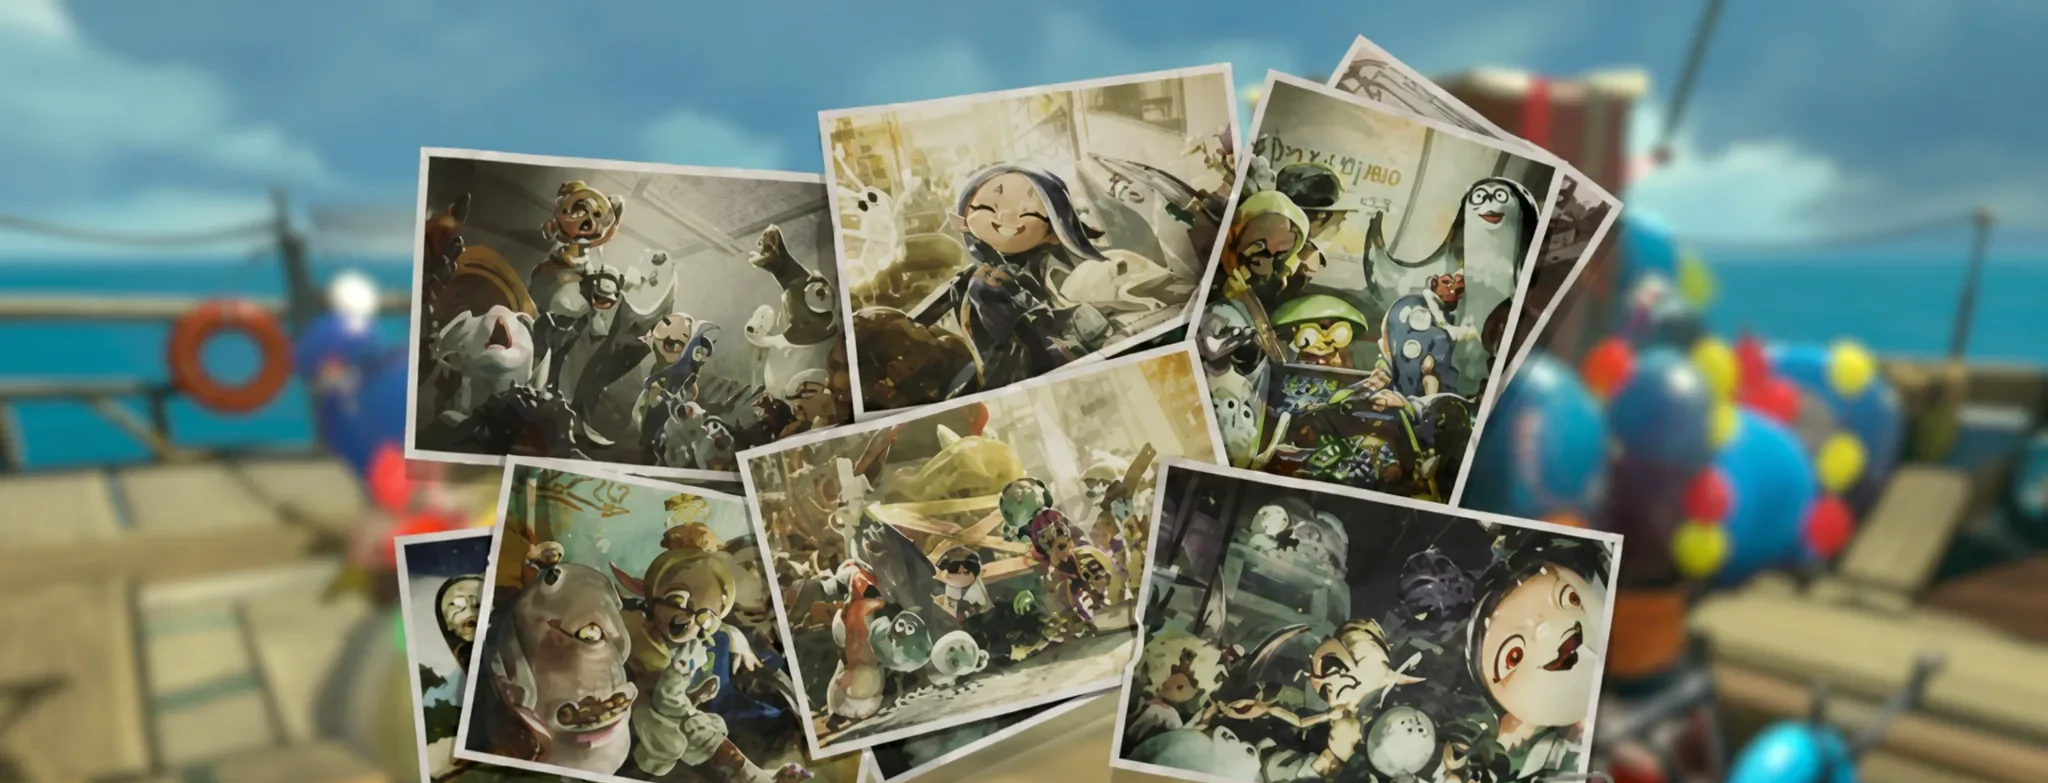
Replay missions and call for backup when a raid stops you
Raiders can overwhelm you, especially on higher difficulties, and losing a raid is not the end. You keep your solo pickups even after a defeat, so there is no reason to bail at the first sign of trouble. If a level defeats you, go back and rerun earlier missions to bank XP and materials, then return with a stronger kit.
You can also bring in help. Invite friends to tackle levels together, request random teammates, or jump in to assist other players when you are feeling generous. Co-op supports up to four players locally or online, and the game scales its difficulty to the group, so mismatched progression is not a problem. Multiplayer opens up once you finish the tutorial.
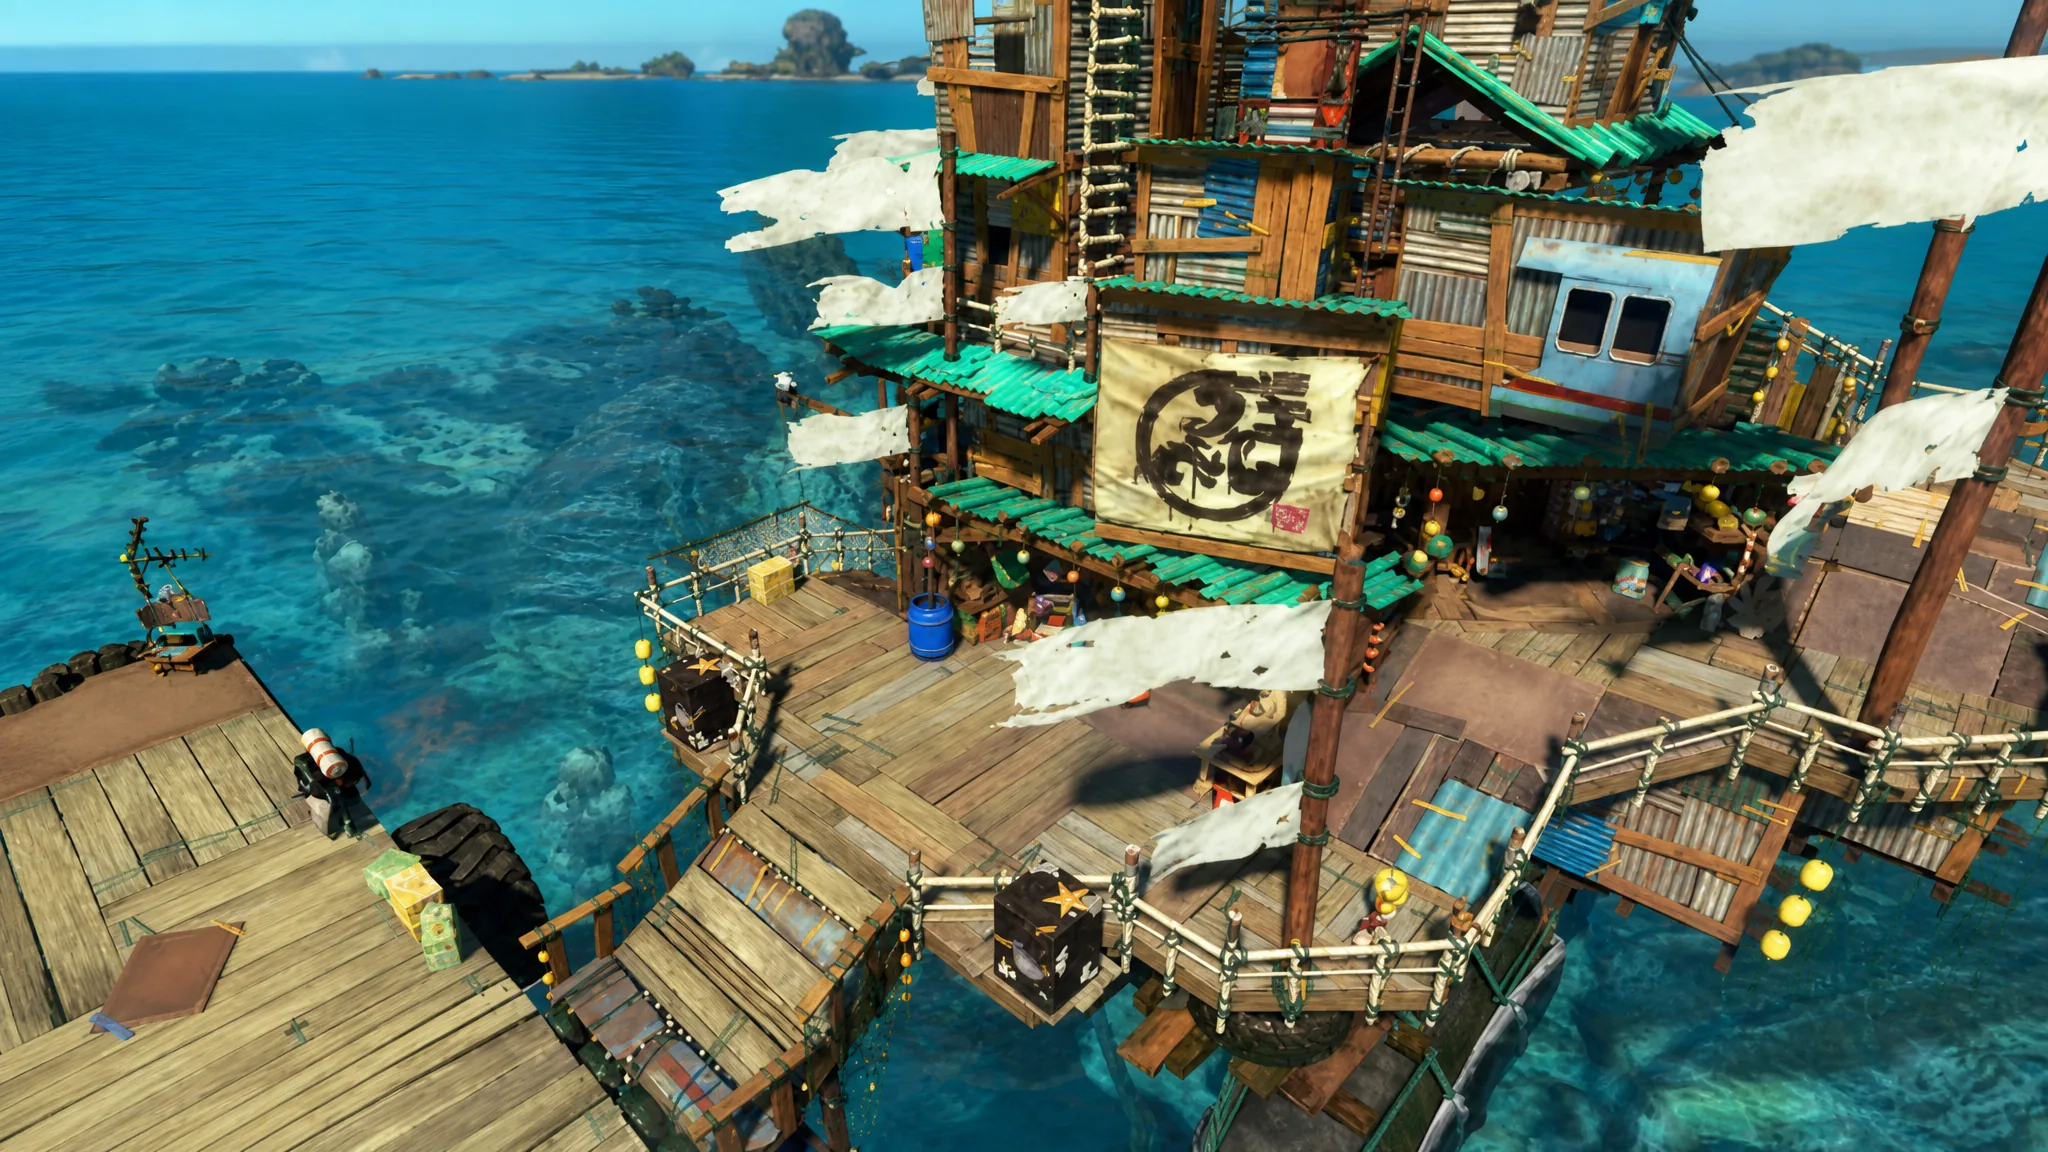
Build out the Hideout Ship
Your base, the Hideout Ship, can be upgraded several times and expanded with new sections. One of the most useful additions is a training area where you can test gadgets and weapons on dummies before taking them into a real raid.
Expanding the ship also unlocks the ability to scrap weapons for parts, develop gadget parts, and eventually swap abilities around. Prioritize the facilities that improve a system you actually use rather than building everything at once.
Go back for scrolls and compasses
Once you finish certain levels, look at the symbols on each stage’s name card. A scroll icon and a compass icon can appear, sometimes two of the same type. These collectibles hide inside differently colored crates scattered around each stage.
| Collectible | What it unlocks |
|---|---|
| Compass | New levels that award skill points |
| Briny Scroll | Extra pieces of lore to read |
Circling back to earlier stages to grab any you missed is worth the trip, since the compasses feed directly into more ways to strengthen your build.
Stick with these habits during your first stretch on the islands and the systems start to click quickly. Test freely, spend carefully, and lean on co-op whenever a raid pushes back, and you will build momentum without burning through your Spirhalite too early.