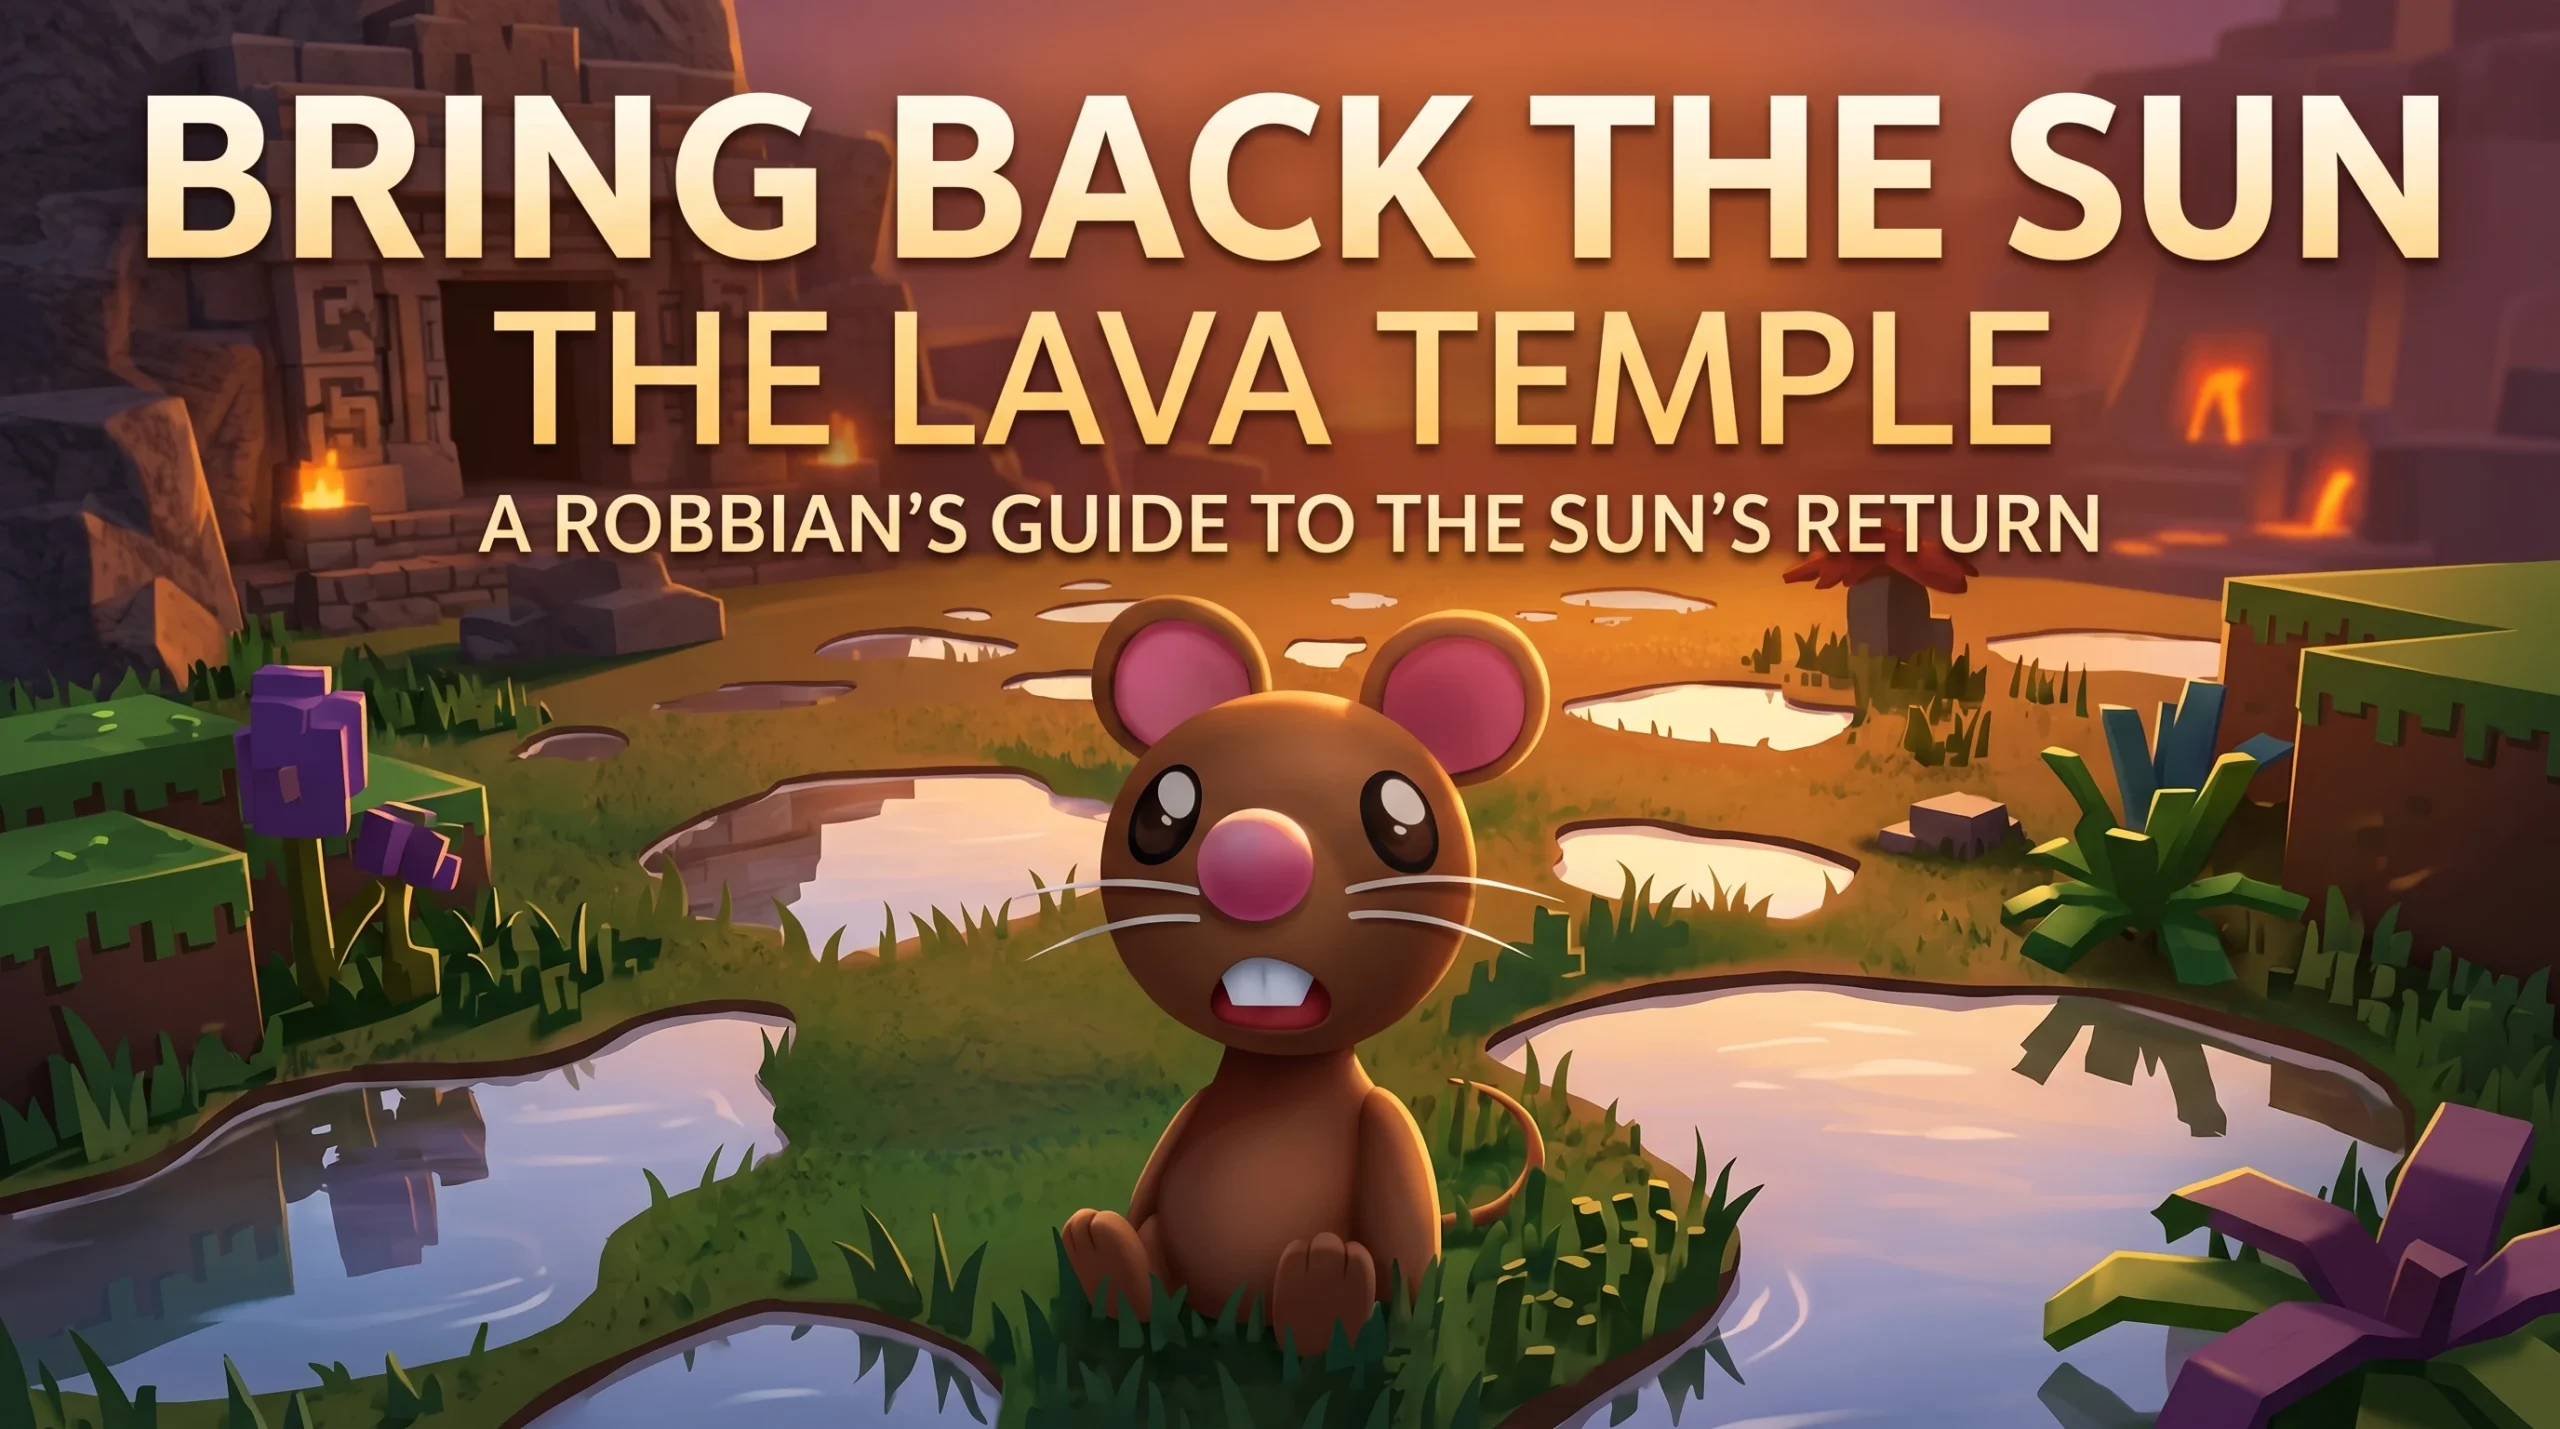
The Lava Temple is the fifth map in Bring Back The Sun on Roblox, sitting between the Restaurant and the wizard castle finale. It stacks four separate puzzles in one run — a shapes-based keypad, a flame color match, a positional canvas, and a statue rotation — and clearing all of them awards the Burning Heart of the Earth, the fourth and final legendary relic. Expect roughly 45 to 60 minutes on a first attempt.
Quick answer: The Lava Temple shapes lock is 2118111. Enter it as 211 on the first keypad and 8111 on the second.
Before you start: three relics required
Lava Temple is the last relic map, so the finale will only accept you once you already hold the three earlier legendary items. Grab them from Sinister Forest, Ancient Ruins, and the Restaurant before you commit to this stage.
| Map | Lock | Relic |
|---|---|---|
| Sinister Forest | 9898 | Tear of the Forest |
| Ancient Ruins | 882 | Shard of the Fallen Sun |
| Restaurant | 1573 | Gift of the Ancient Grain |
| Lava Temple | 2118111 (shapes) | Burning Heart of the Earth |
The earlier four-digit codes do not work here. Entering 882 or 1573 on the Lava Temple keypad will fail, because this map derives its code from symbol math instead of a fixed password.
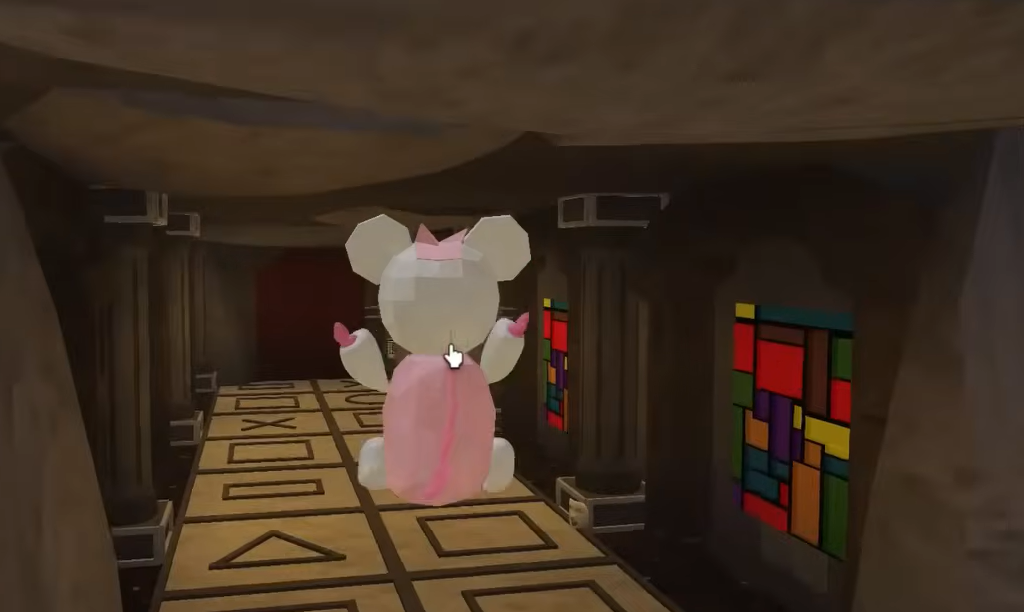
How to solve the shapes code (2118111)
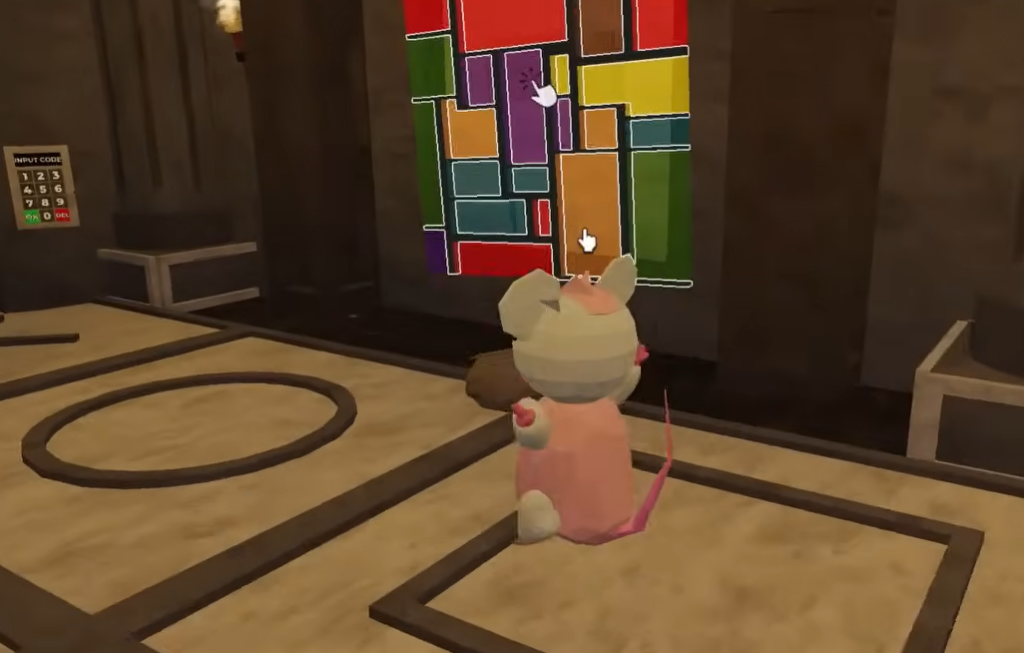
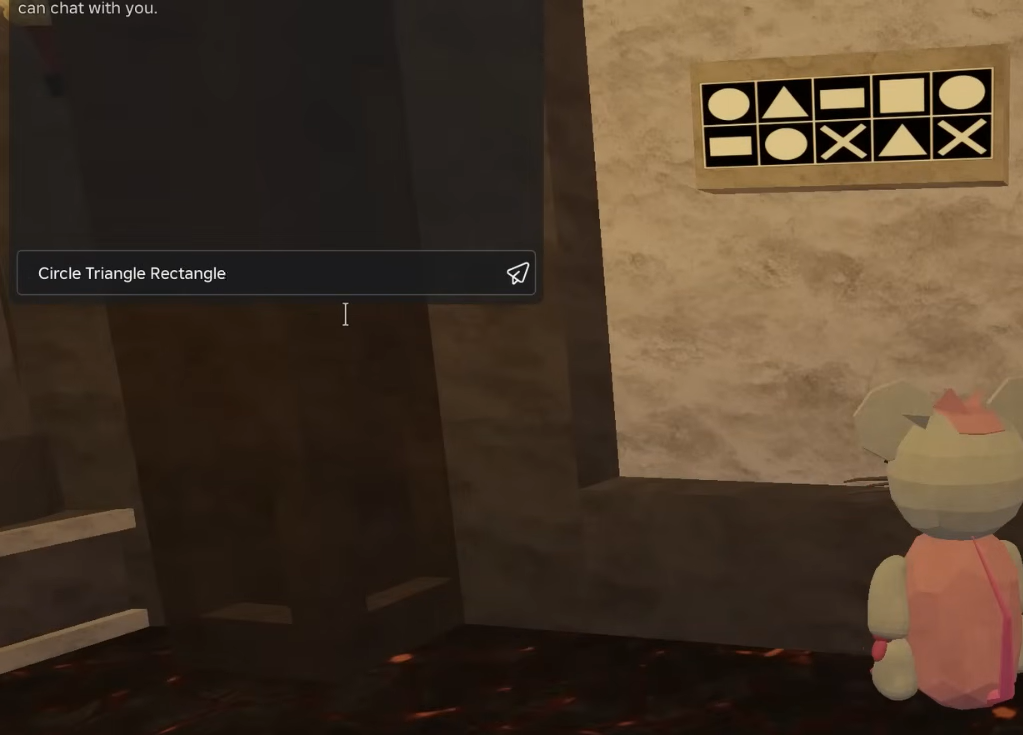
The code is built in three parts. You collect five shapes from a broken glass panel, pull a lever to reveal number values, then plug those values into short formulas to get each digit.
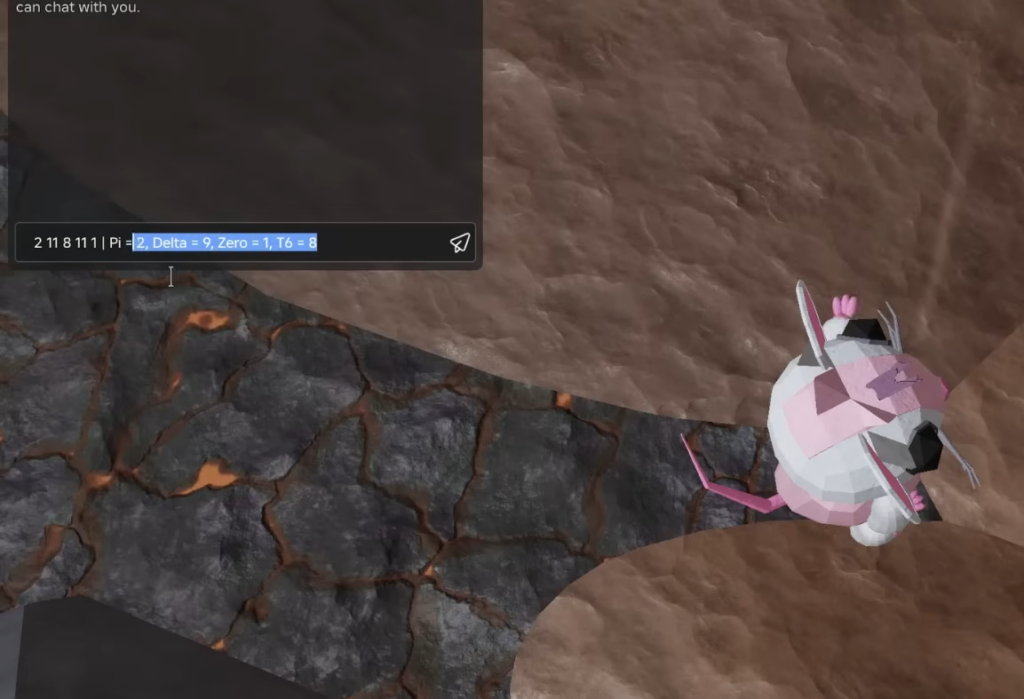
| Symbol | Value |
|---|---|
| Pi (π) | 2 |
| Delta (Δ) | 9 |
| Zero (0) | 1 |
| T6 | 8 |
| Order | Shape | Formula | Digit(s) |
|---|---|---|---|
| 1 | Circle | Pi | 2 |
| 2 | Triangle | Pi + Delta (2 + 9) | 11 |
| 3 | Rectangle | T6 | 8 |
| 4 | Triangle | Pi + Delta again | 11 |
| 5 | Cross | Zero | 1 |
211 on the first and 8111 on the second. A correct entry prints “A correct code has been entered” and the red door opens.If the lock rejects your input, confirm you traced only the yellow line and pulled the lever before reading the formulas. The math almost never changes between patches, but the lever values are worth re-checking first.
Flame color puzzle: set all four torches
The next room has four torches and stained-glass reference panels on the walls. Each panel shows a color pattern with a missing pane, and you cycle the matching torch flame to whatever color belongs in that blank slot. The door only opens when every torch matches at once.
| Torch position | Missing pane | Flame color |
|---|---|---|
| Right side, near entry | Below yellow | Orange |
| Right side, opposite entry | Bottom left | Purple |
| Left side, opposite entry | Next to yellow | Yellow |
| Right side, near entry | Top left | Yellow |
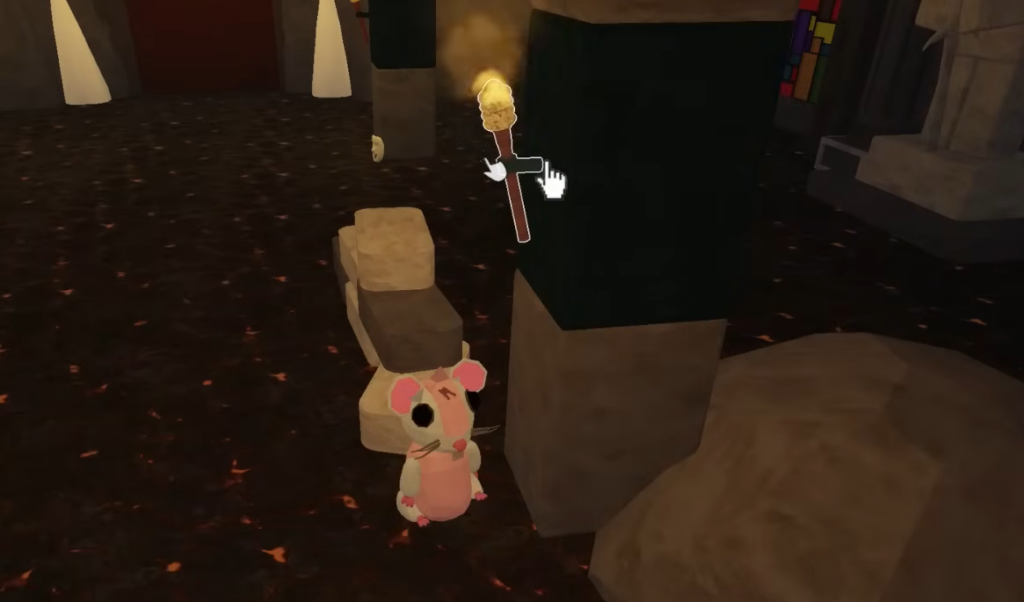
Read the flames against the glass chart, not against real fire — mixing up yellow and orange is the most common mistake. On mobile, cycle each flame slowly and wait for the confirm click. When all four are correct, the stone teeth blocking the path retract.
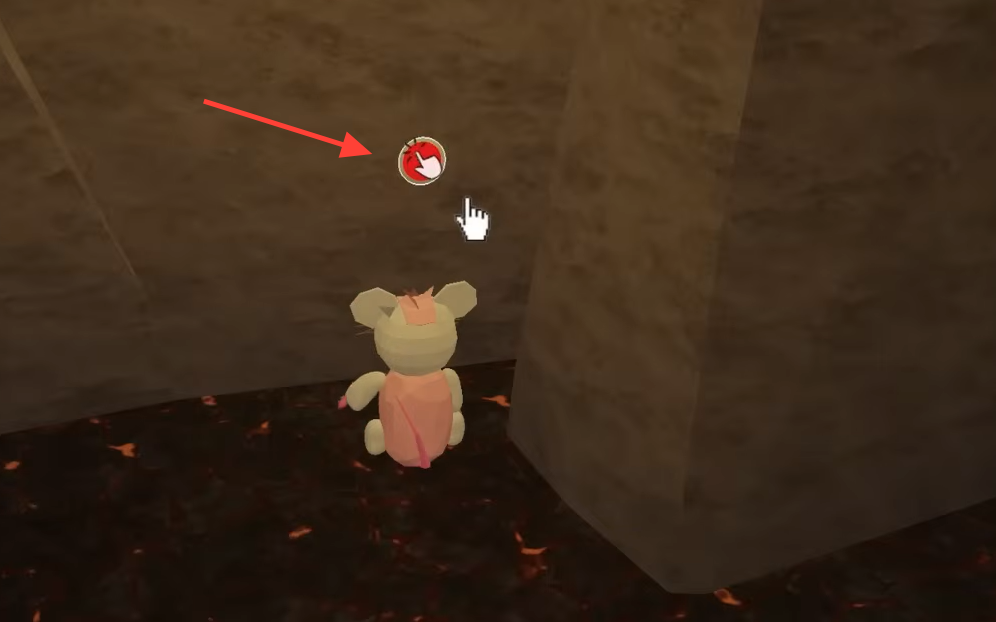
Key, pliers, and the lava bridge
Canvas color puzzle: red, blue, green, yellow
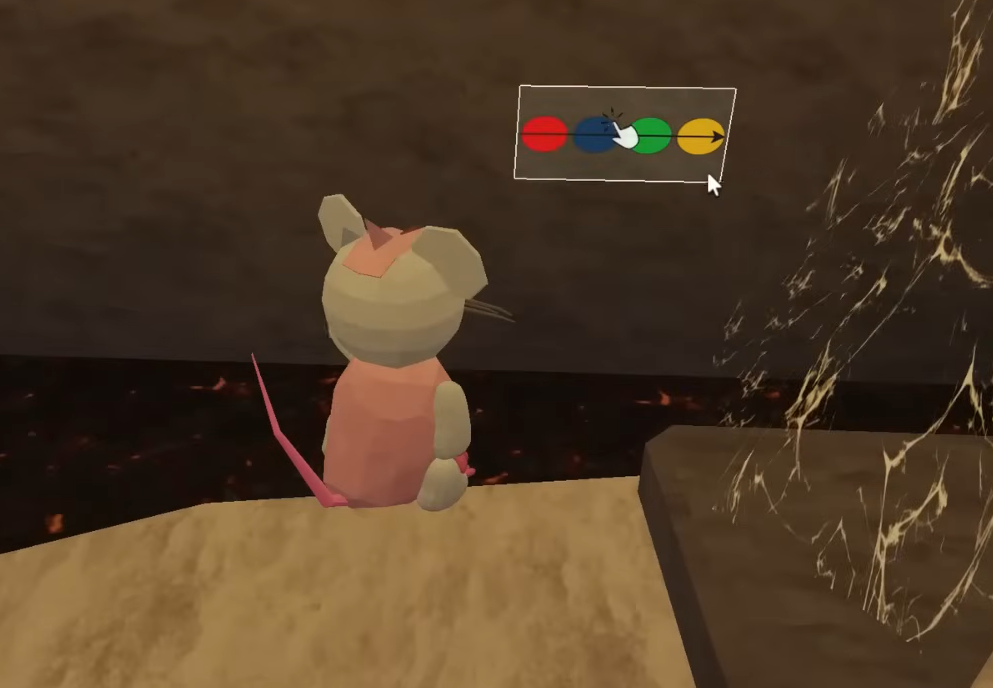
The next chamber holds a wall clue with a color sequence and a separate clue showing where each color sits on a grid. A blank six-button canvas nearby is where you enter the answer. Both the order and the positions matter.
| Order | Color | Position |
|---|---|---|
| 1 | Red | Top left |
| 2 | Blue | Bottom middle |
| 3 | Green | Top right |
| 4 | Yellow | Bottom right |
Press the canvas buttons at those exact positions in that sequence — top-left, bottom-middle, top-right, then bottom-right. Do not tap left to right blindly. A correct entry removes the spider webs covering the statues in the main room. A wrong order leaves the webs in place with no error message, so re-check positions if nothing changes.
Turn every statue to face the center
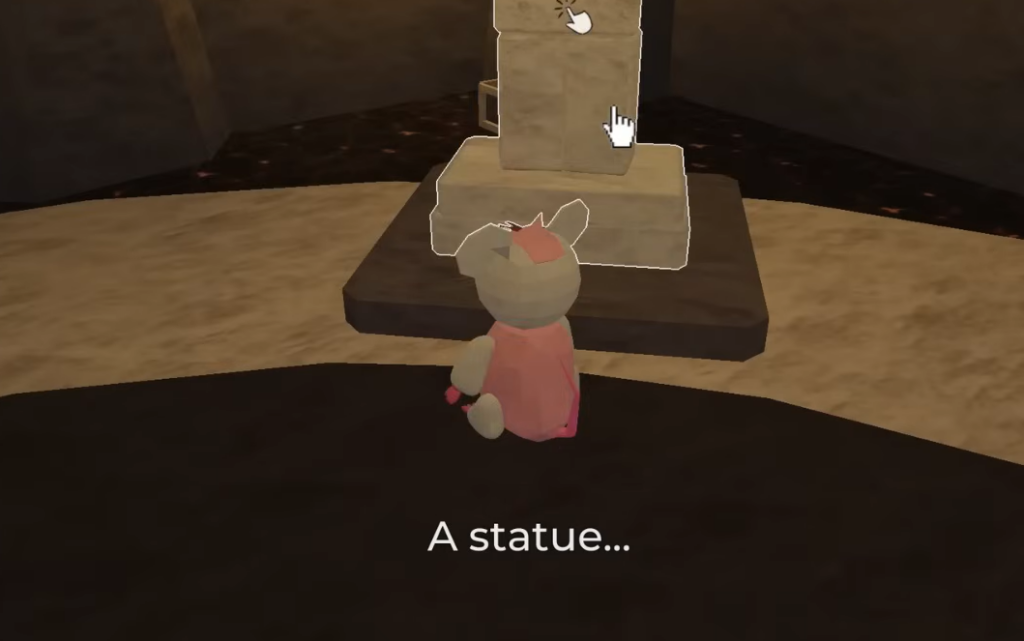
A poster on the wall reads “all statues must face the center.” Click each statue to rotate it one step until it points inward toward the central plinth, not toward you or the exit. Statues sit on both sides of the courtyard, so work through one side and then the other.
There is no reset button, so check each statue’s facing direction before moving on. When every one points to the middle, the puzzle completes.
Claiming the Burning Heart of the Earth
Once all statues face inward, the Burning Heart of the Earth rises on the central pedestal — in game it appears as a giant tomato — and the dialogue confirms it as the last item the wizard needs. A purple portal opens and the MAP COMPLETED screen shows, with LOBBY and RETRY options plus a note that the next map is coming soon.
If the relic does not spawn, one statue is still facing outward. Sweep both sides of the courtyard again and correct it. With this pickup, you now hold all four legendary relics, which is everything required for the wizard castle boss fight.