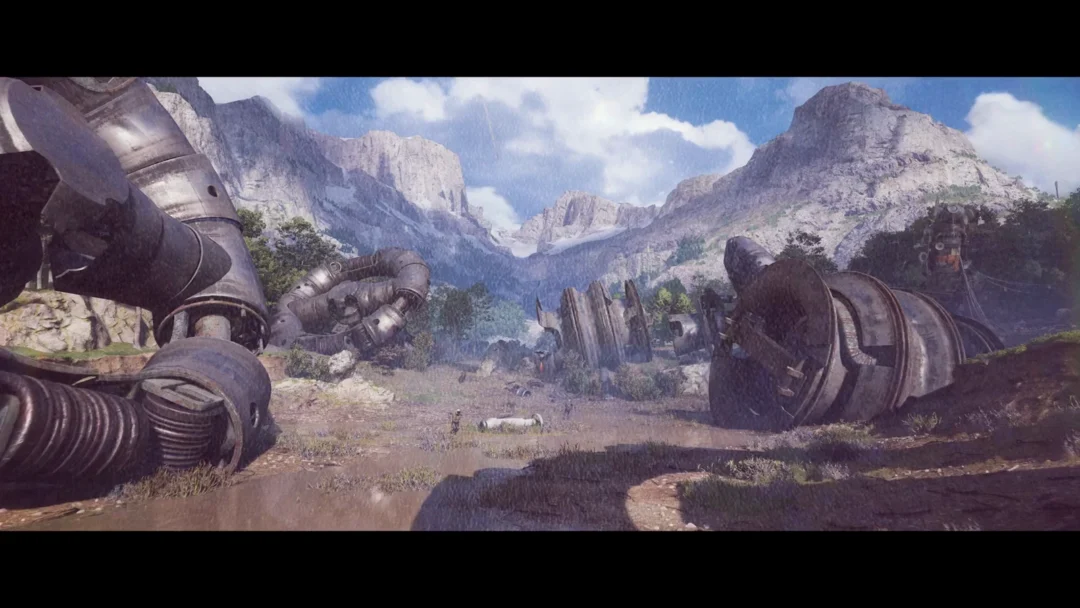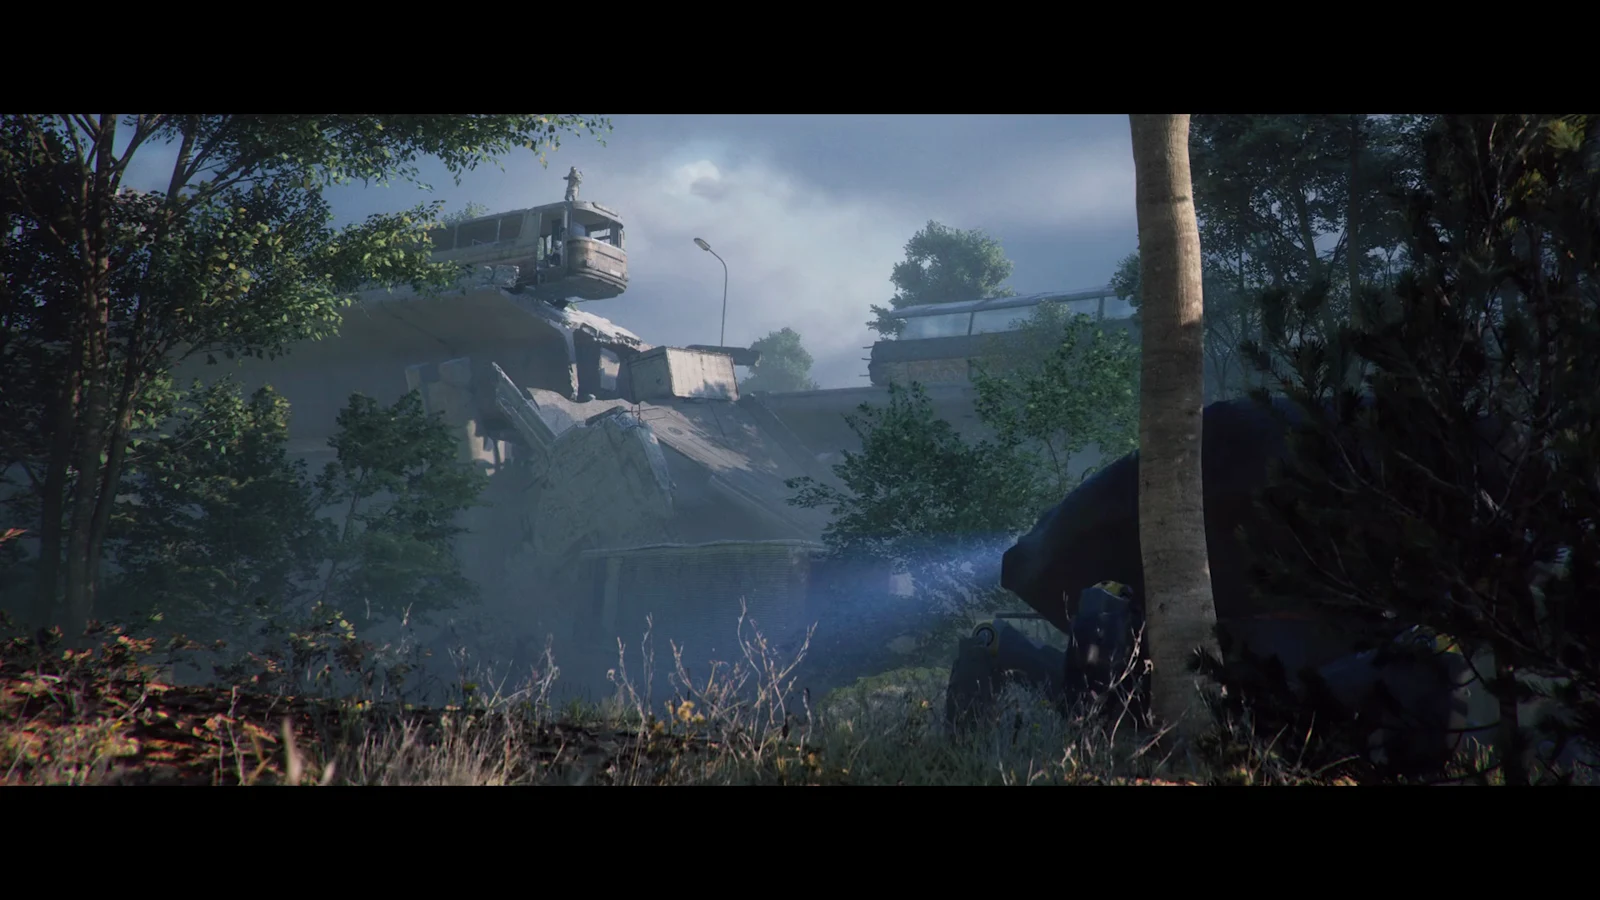
Introduced in Arc Raiders’ Frozen Trail update, the Outpost gives each Raider a private base on the surface—their first foothold there, instead of a hiding place beneath Speranza. Installing the update alone won’t grant access: clear a project to earn it. Once unlocked, the base is where you improve your guns.
Quick answer: Get to Level 18 and select the Outpost tab. Complete the Sheltered Retreat Project’s three stages: photograph a farmland house in Ruined Homestead, contribute the construction supplies, then deal damage to flying ARC and a Bully. Finishing the final stage makes the Outpost a permanent unlock.
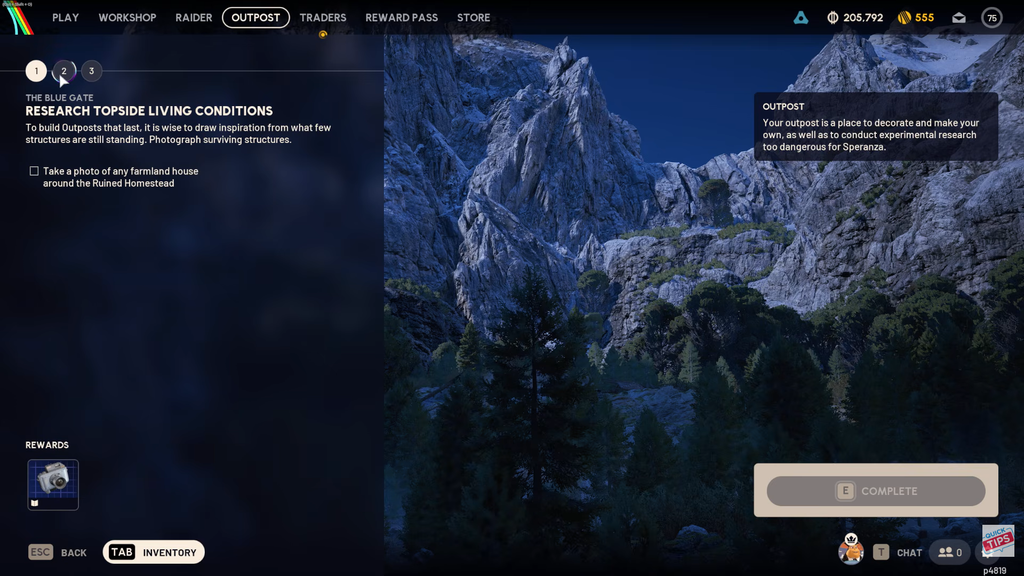
What you need before you start
At Level 18, the Sheltered Retreat Project becomes available in your Projects list. Find it by choosing the Outpost tab along the top of the Speranza menu. The base stays locked until you finish all three stages.
You can inspect the upcoming stages before beginning, and doing so can save you trouble. Players often sell or recycle construction supplies too soon and have to spend extra raids replacing them. Set those materials aside while you tackle stage one.
| Stage | Objective | Reward |
|---|---|---|
| Research Topside Living Conditions | Photograph a farmland house at Ruined Homestead on Blue Gate | Camera Blueprint |
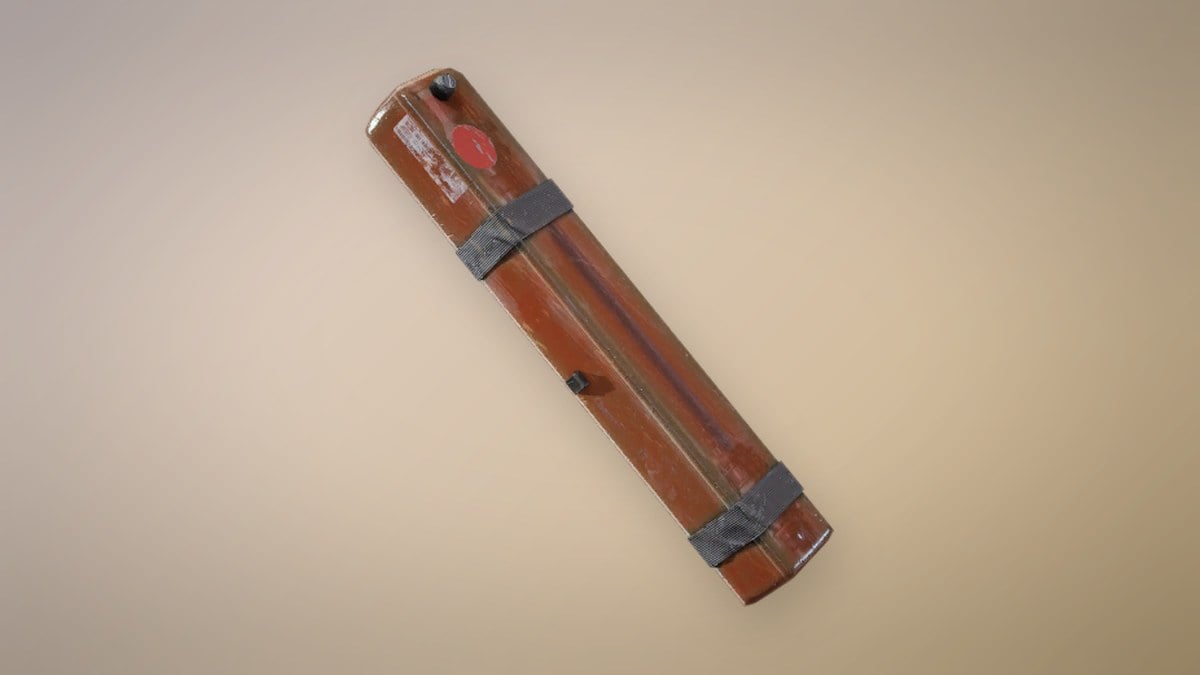
| Gather Building Materials | Contribute 3 Planks, 5 Sheet Metal, 10 ARC Alloy, and 3 Advanced Electrical Components |  Red Light Stick Blueprint Red Light Stick Blueprint |
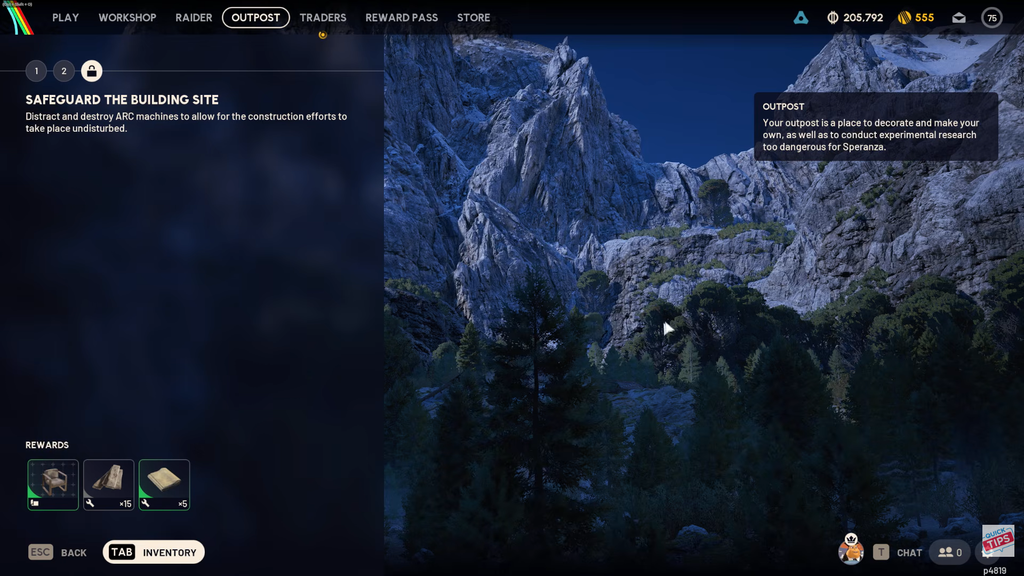
| Safeguard the Building Site | Deal damage to flying ARC enemies and a Bully | Decorative Chair, 15 Planks, 5 Durable Cloth |
Stage 1: Photograph a house at Ruined Homestead
For stage one, travel to Blue Gate and photograph a farmland house. An actual Camera must be in your loadout. Simply facing the building or standing near it won’t count—the objective completes only after you take the picture.

Watch for Spotters because a Bombardier patrols here. Fighting the ARC isn’t required. Come in by a quiet route, take the picture, and get out.
Stage 2: Hand in the building materials
This stage only requires an item hand-in, and supplies in your Stash count. Gather the required items over multiple raids if needed. Once you have them all, go back to the Sheltered Retreat Project and turn them in to complete the stage.
| Material | Amount | Where to get it |
|---|---|---|
 Planks Planks | 3 | Any map, fastest bought from Celeste with seeds |
| Sheet Metal | 5 | Industrial POIs; Stacking Yard and Customs House on Riven Tides are strong farms |
 ARC Alloy ARC Alloy | 10 | Uncommon drop from ARC machines like Wasps and Hornets on any map |
 Advanced Electrical Components Advanced Electrical Components | 3 | Rare loot from Electrical POIs |
Celeste is the fastest source for Planks and Sheet Metal, which are new items found widely. You must loot ARC Alloy and Advanced Electrical Components, so save them rather than recycling them.
Stage 3: Deal damage to the ARC
The final stage asks you to protect the construction site by damaging the ARC around it. You need two thresholds met.
- 800 damage to flying ARC enemies
- 300 damage to a Bully
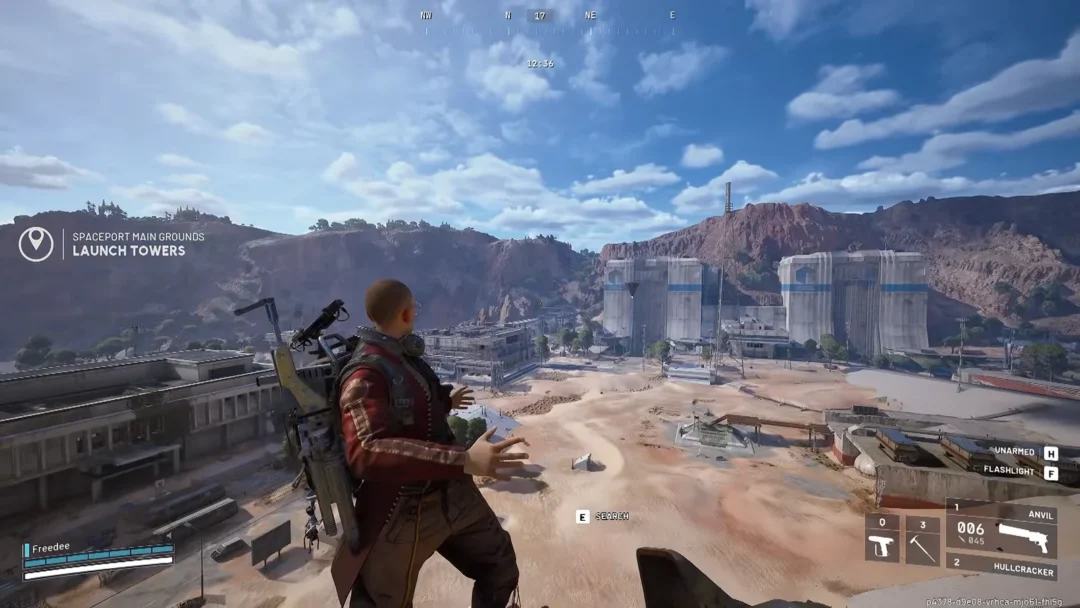
Bullies and flying enemies both appear at Pendola Pass. Flying ARC are plentiful, so about seven or eight kills should complete that part. If you only have flying enemies left to defeat, Spaceport is a convenient location to make progress. A Bully is a tough, hostile machine that moves toward you. To reach 300 damage quickly, use a Hullcracker, a couple of Wolfpacks, or Trigger Nades, and attack from indoors or a rooftop.
Bullies are an inconsistent spawn on Pendola Pass. They often appear while other Raiders are fighting, so you may need to play several matches before encountering one.

How to confirm the Outpost unlocked
The Outpost becomes a permanent unlock when stage three is complete. A changed main lobby and a new background showing your surface base confirm the result. You also get a Decorative Chair, 15 Planks, 5 Durable Cloth, and the Red Light Stick Blueprint awarded in the earlier stage, giving the base an initial set of items.
At launch, the Outpost isn’t a space you can walk through. You manage construction, decoration, and research in menus, without moving your Raider around the base. The feature is single-player; friends can’t join you there.
What the Outpost unlocks
The base brings together three systems: two are for appearance, while the remaining one affects weapon performance.
- Research Station — research Blueprints directly instead of relying on random drops, and unlock advanced weapon customization.
- Weapon amplification — upgrade eligible guns and take them to quality tier five.
- Furniture — create Designs to decorate the base. Frozen Trail contains 100 Furniture Designs.
Use the Workshop tab to fit the Research Bench into its additional slot by supplying the required items. Furniture Designs function like Blueprints: find one during a raid, learn it, and produce the item at the Research Station. Since Designs are cosmetic and provide no combat benefit, focus on the Research Workstation before decorating if weapon power is your priority.
Research Station and Amplified Weapons
Blueprints and Designs are crafted at the Research Station, which also handles amplification research. Projects there use Research Points collected Topside; certain ones additionally call for particular materials and an objective during a match, for example, dealing a specified amount of damage with a given weapon.
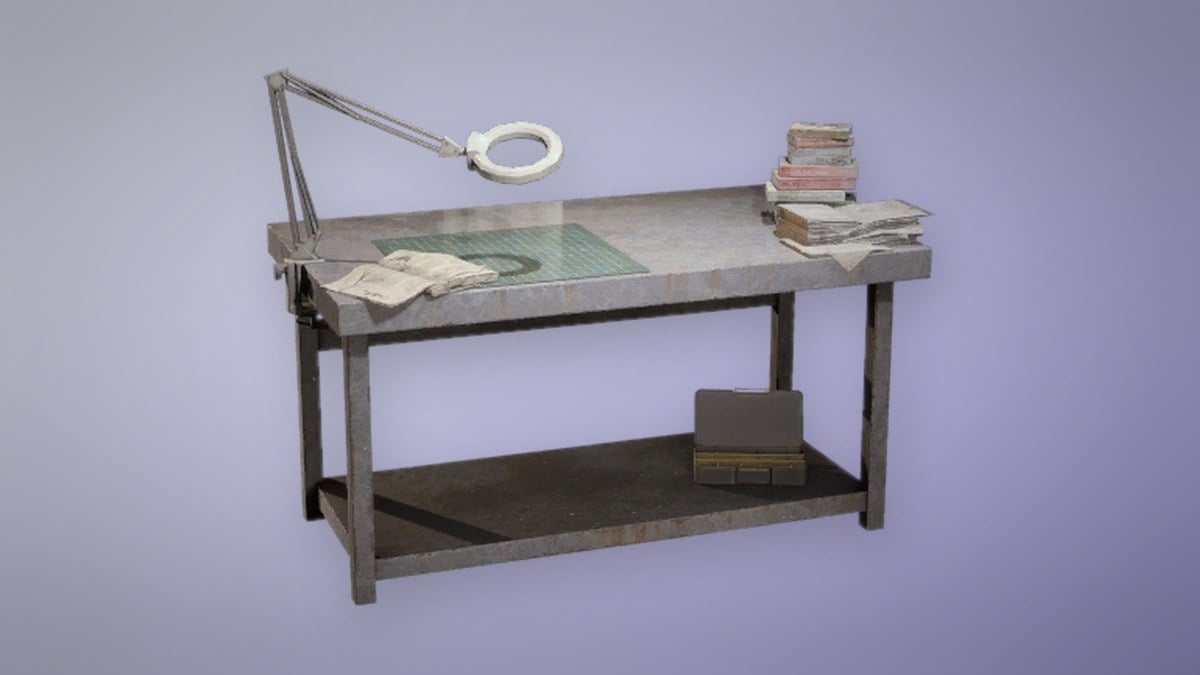
A fully upgraded Research Station is required to raise weapons to quality tier five. Frozen Trail lets you amplify 15 supported guns, with branching upgrades that can change how each one works. For example, the Burletta can become fully automatic, the Renegade can gain a scope, and the Rattler can receive incendiary ammo or a much larger magazine. An amplification cannot be reversed once applied; it remains on the weapon. The Stiletto and Bantam use this research path as well, though their Blueprints can still drop through regular gameplay.
How to upgrade the Outpost
As the Outpost grows, the Research Station upgrades with it. Materials are required to add rooms, and every room calls for the same set of items.
| Room | Cost |
|---|---|
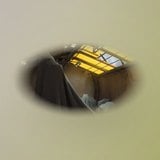 Panoramic Room Panoramic Room | 3 Steel Cables, 20 Sheet Metal, 3 Cable Strippers |
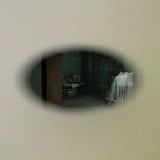 Timeless Room Timeless Room | 3 Steel Cables, 20 Sheet Metal, 3 Cable Strippers |
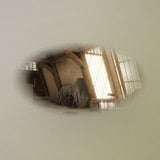 Chalet Room Chalet Room | 3 Steel Cables, 20 Sheet Metal, 3 Cable Strippers |
Your supply of crafting materials determines how quickly you can build, since construction uses materials throughout. Save Steel Cables, Sheet Metal, and Cable Strippers so one poor raid won’t halt your expansion. Put early supplies toward the Research Station: no other Outpost upgrade boosts combat power, and whoever fully upgrades it first can access amplified weapons first.