The Jail is a prison-themed escape room in Bring Back The Sun!, the Roblox puzzle game from Protocol: Anomaly, where a wizard has trapped the sun behind constant rain. It sits late in the updated map order, after Lava Temple and before the Boss Fight, and it works the same way as every other room. You drop into a locked space, search it for hidden clues, and feed those clues into the right locks until the exit opens. The Jail does not drop a relic; clearing it simply unlocks the path to the finale.
Quick answer: Throw the rock at the outside button to leave the cell, match the wall lamps to the ore colors to open the wooden door, feed the fish to learn the wardrobe code 180, cast hayfly on the hay pile for a doorknob, smelt four coals and two steel into a cube, then read its faces front-left-back-right for safe code 1936 and take the door crystal.
Before you start: prerequisites and map order
The Jail becomes available in standard progression once you have cleared the earlier maps and are holding all four legendary relics. A first clear usually takes around 25 to 40 minutes. Nothing here counts toward the relics themselves, so treat this room as a gate between Lava Temple and the wizard castle finale.
The current route runs Wizard’s House, Sinister Forest, Ancient Ruins, Restaurant, Lava Temple, The Jail, and finally the Boss Fight. If you jumped straight into this room, confirm the earlier codes and your relic count before continuing.
Escape the starting cell with the rock
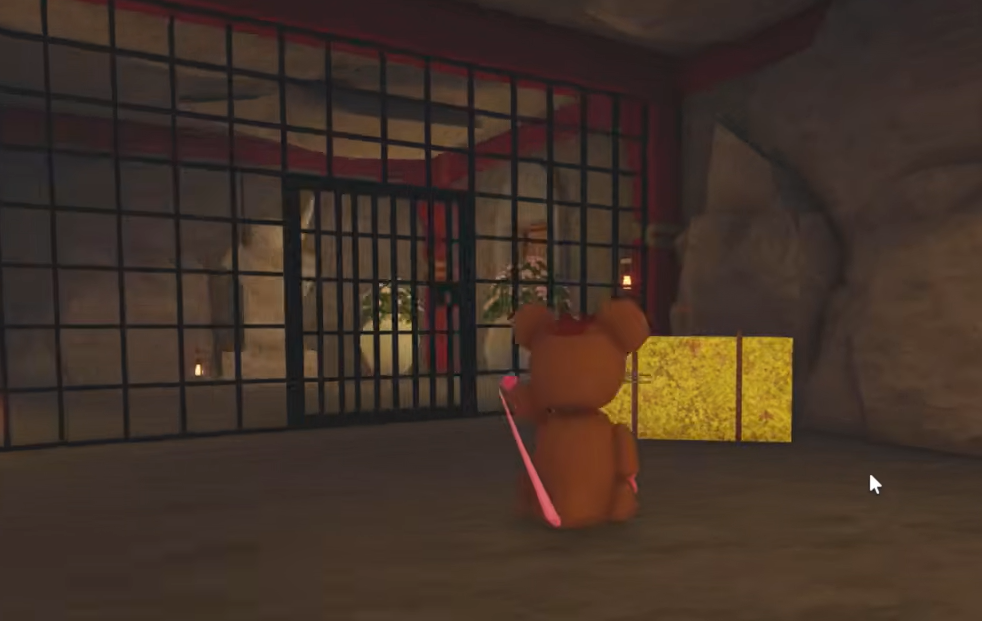
You spawn inside a locked holding cell. There is no keypad yet, just a simple physics puzzle to get you into the main corridor.
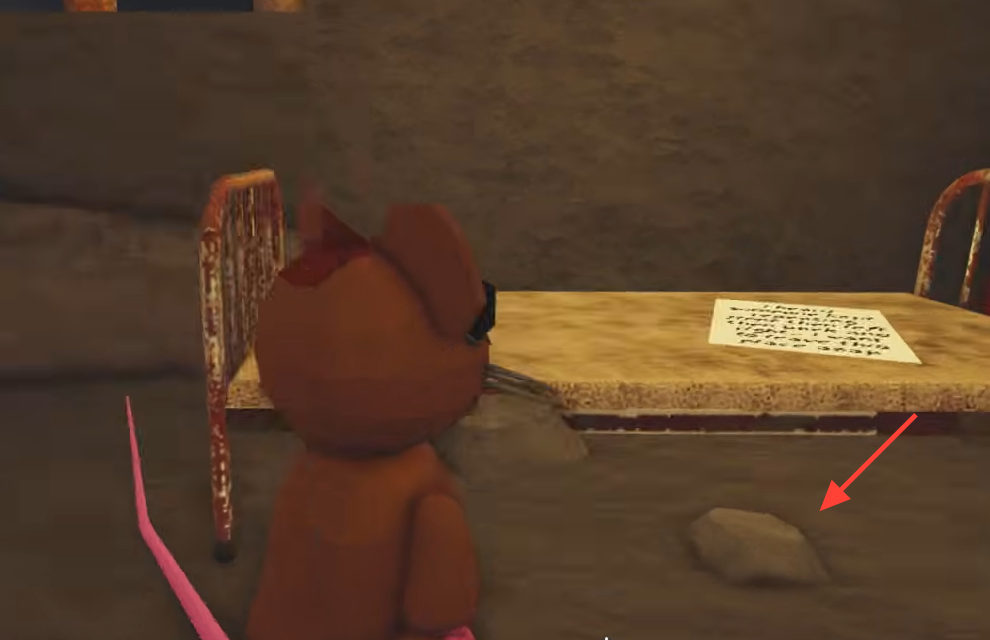
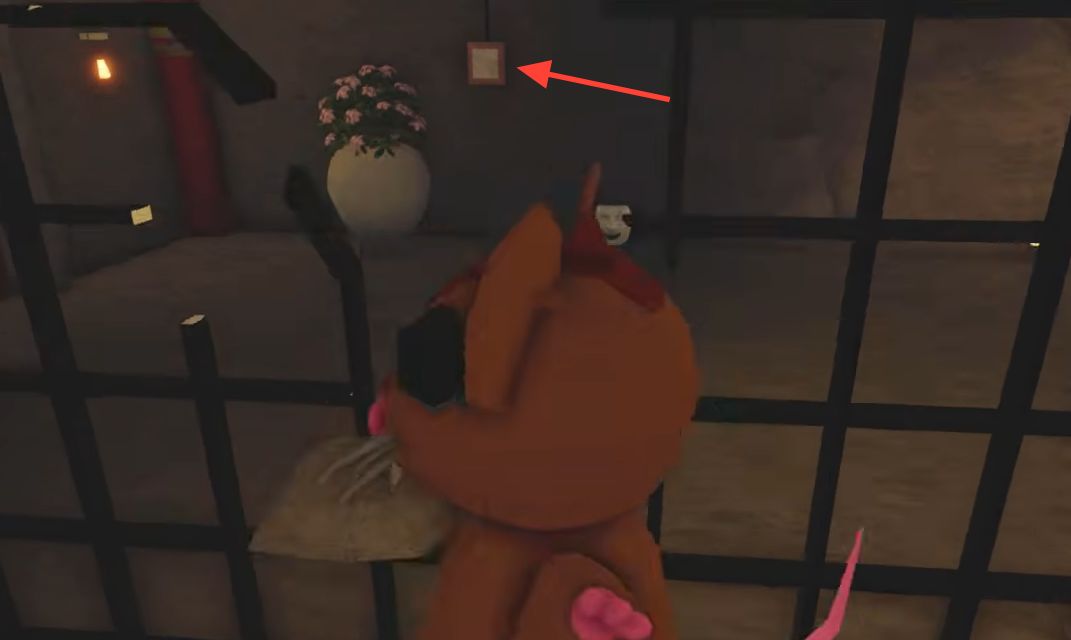
On mobile, tap to grab and then tap the button zone. On desktop, you can click and drag. If the gate stays shut, reposition and throw again.
Match the lamps to the ore colors
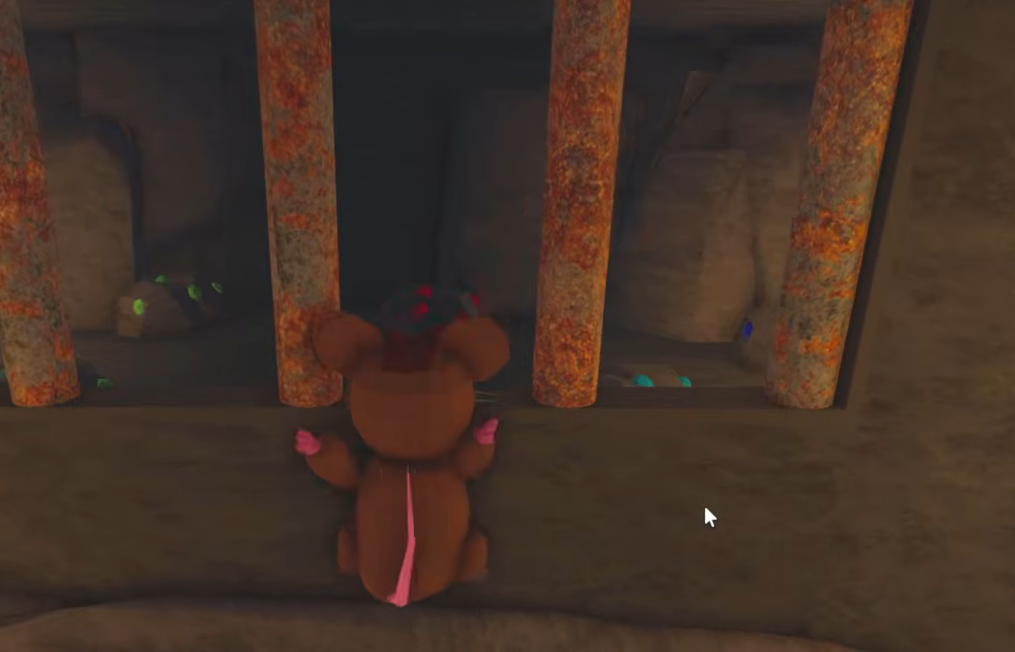
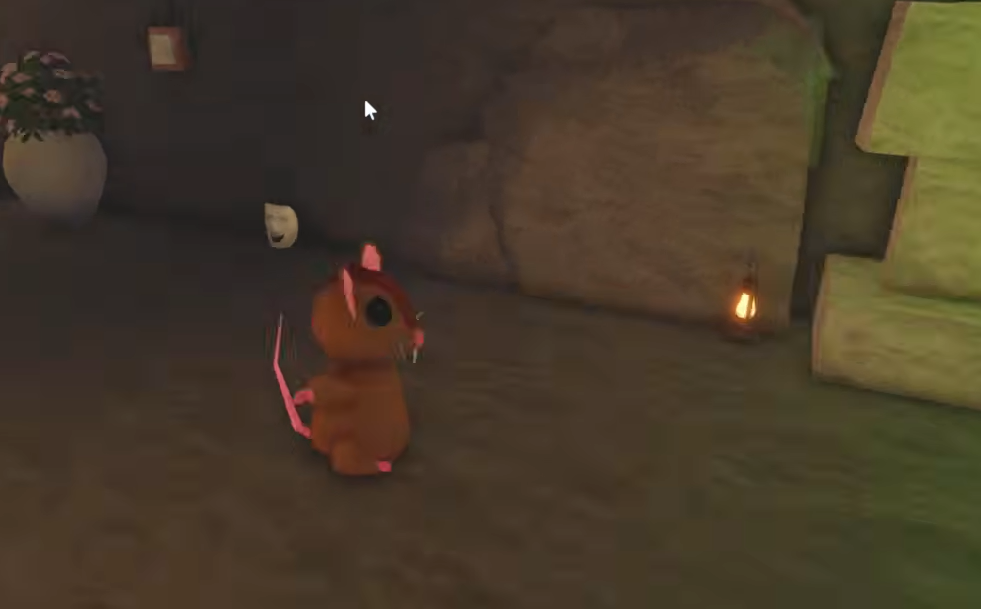
The first real lock is a color puzzle built around colored ore deposits scattered across the connected rooms. Each wall lamp cycles colors when clicked, and the wooden door only opens once every lamp matches the ore color it belongs to.
Feed the fish for wardrobe code 180
Beyond the wooden door is a bedroom with a fish bowl, a mortar on the table, and a potted plant. The fish gives up the wardrobe code, but only after you make it something to eat.
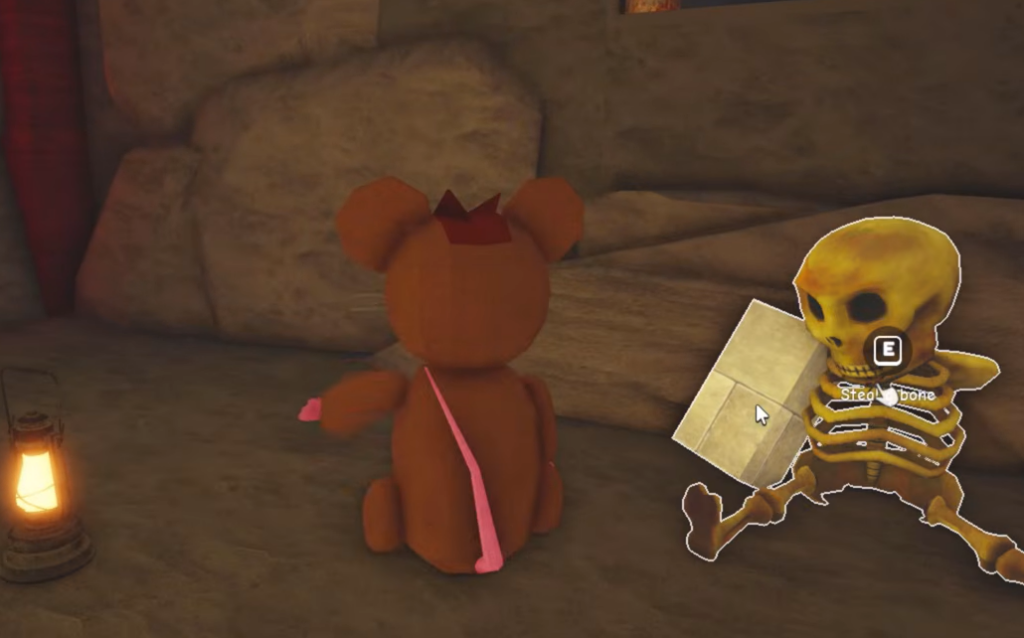
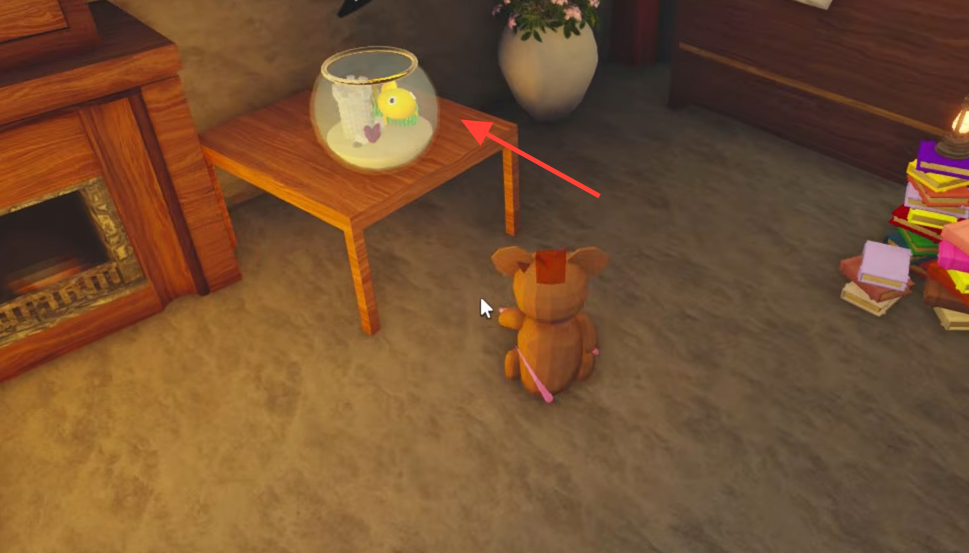
180. Enter 180 on the wardrobe padlock to open it and collect the key and the magic wand inside.If 180 is rejected, recount rather than guessing. Players often miss a stack tucked under a bench or behind the fish bowl pedestal. Grab both the key and the wand before you use the key on the green door, and let the cutscene with the two wizards finish before moving on.
Reveal and cast the spell hayfly
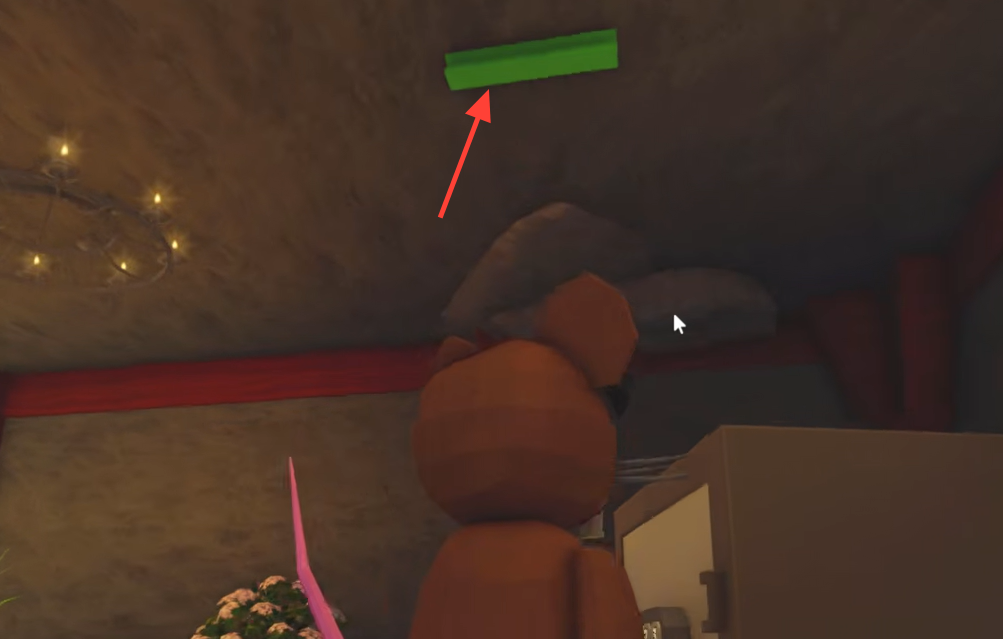
After the cutscene, you reach a library-style wing that teaches the wand spell you need to progress. The clue is hidden and must be revealed with a green torch.
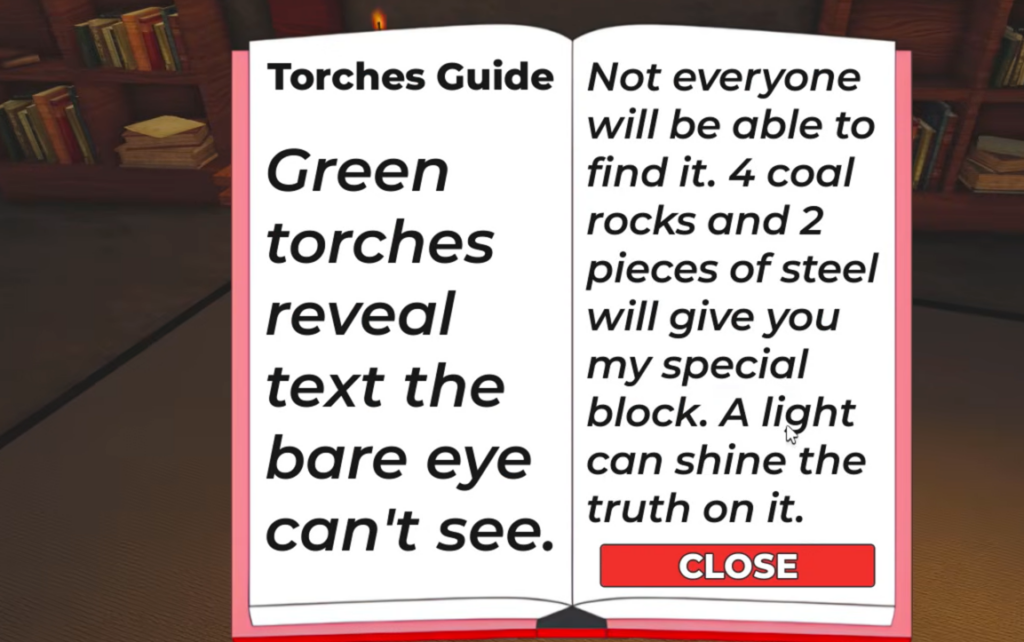
hayfly exactly. Write it as one word, not “hay fly,” and match the casing. Cast it on the hay pile so the hay lifts and drops a door knob.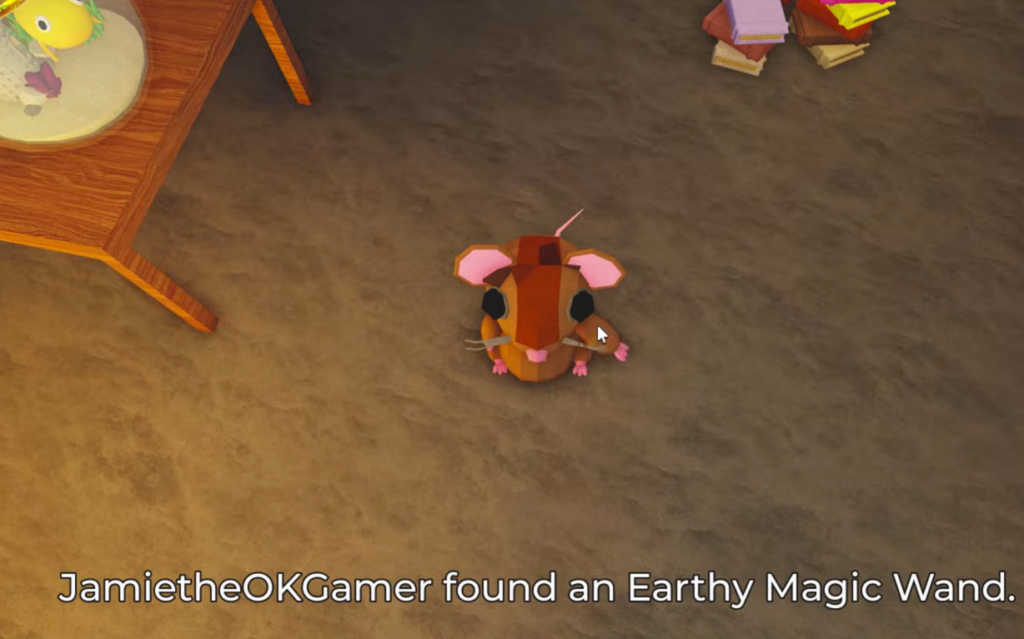
Smelt the cube for safe code 1936
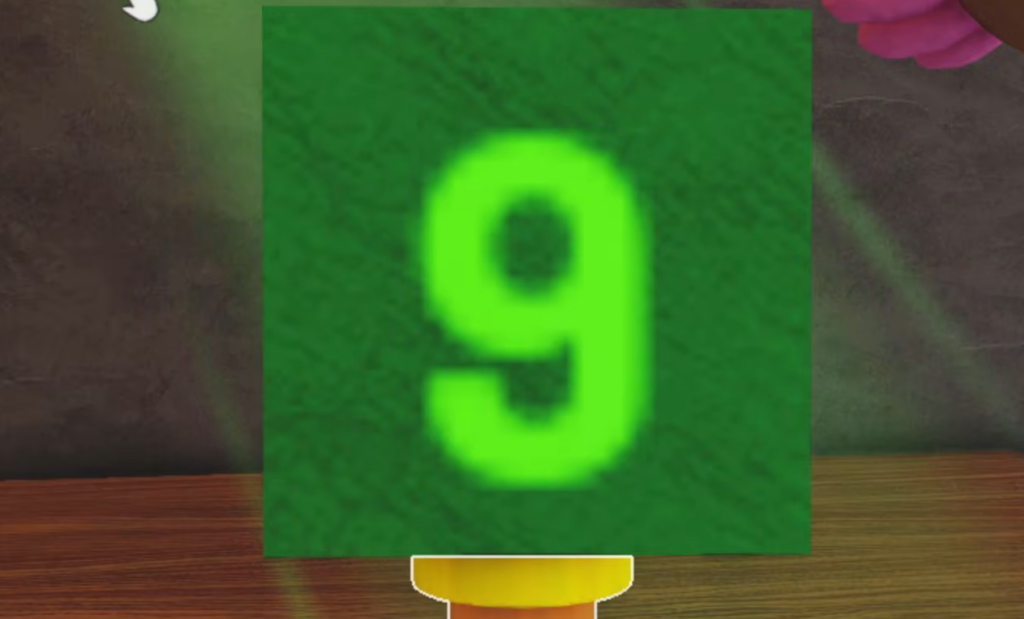
The smelting wing is the longest part of the room. You need to craft a cube in the furnace, then read its four faces to get the safe code. Read the right page of the book first, which tells you the furnace needs four coals and two pieces of steel.
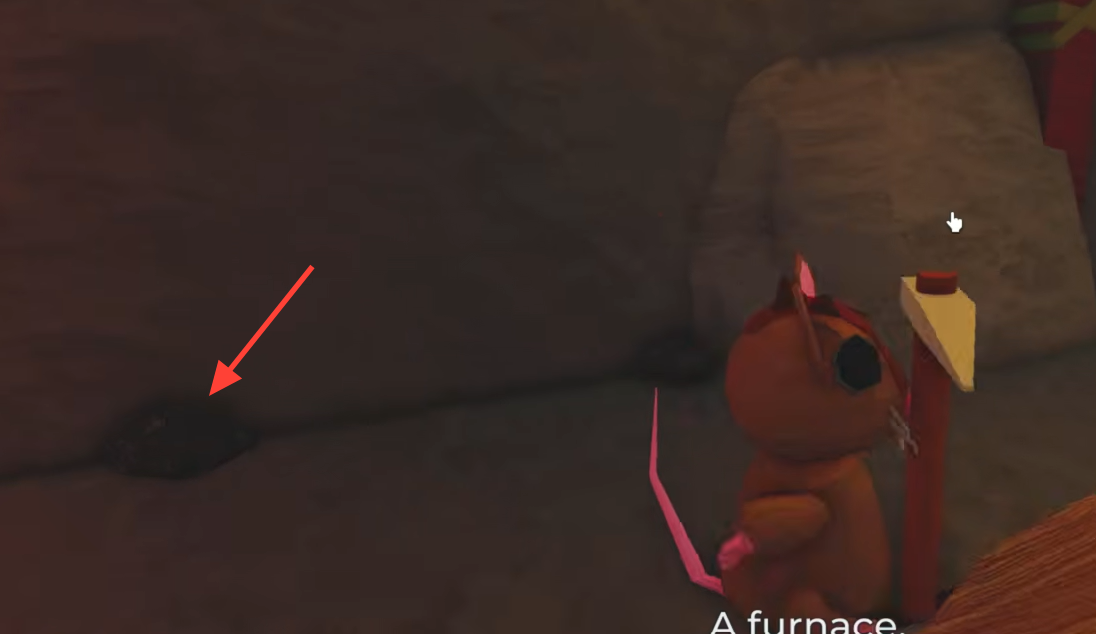
1936. Enter it and take the door crystal.| Cube face | Reading direction | Digit |
|---|---|---|
| Front | Facing you under the lamp | 1 |
| Left | Left side when facing front | 9 |
| Back | Opposite the front | 3 |
| Right | Right side | 6 |
Install the door crystal to finish The Jail
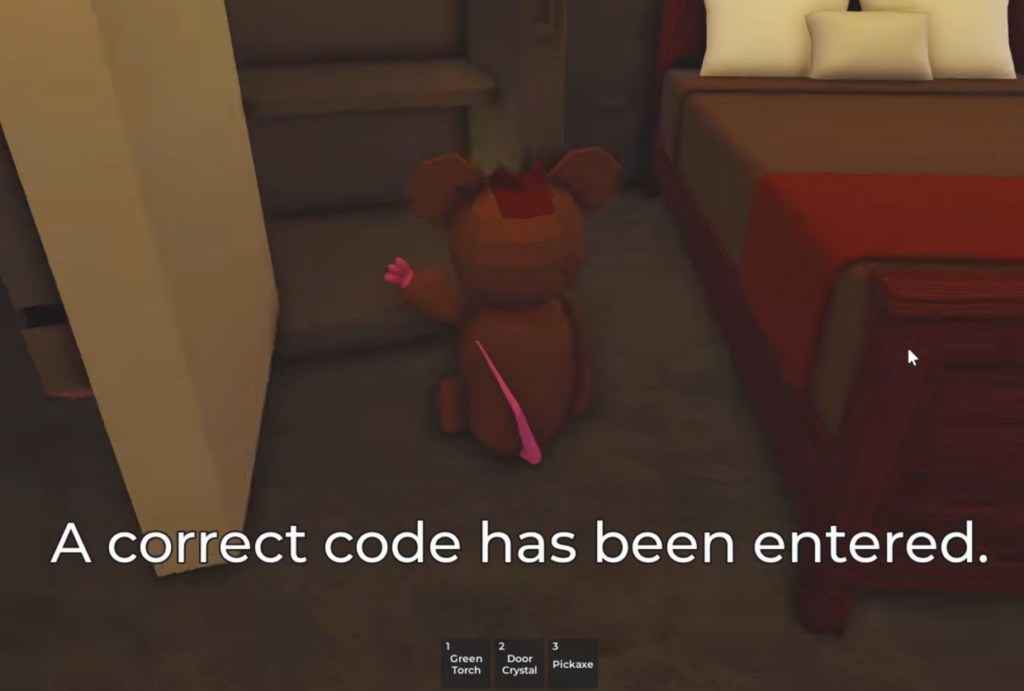
The door crystal is the last interactable in the room. Insert it into the marked socket near the exit gate. The exit becomes usable and you advance toward the finale, which confirms the room registered as complete. Any badge or challenge that pops as you leave is further confirmation.
Jail codes and answers reference
| Lock or puzzle | Answer | How it is derived |
|---|---|---|
| Cell door | Rock throw | Hit the outside button with the rock |
| Wooden door | Lamp colors | Match each lamp to its ore deposit color |
| Wardrobe padlock | 180 | 18 floor books multiplied by 10 |
| Hay pile | hayfly | Spell revealed by the green torch, cast with the wand |
| Safe | 1936 | Cube faces read front-left-back-right (1-9-3-6) |
Why a lock rejects your input
Every lock in The Jail needs its matching clue before it opens, so forcing random combinations will not work. When something refuses to accept an answer, one of these is usually the reason.
- A required clue is still hidden. Recount the books, re-check every lamp against its ore, and sweep the smelting room with the X pickaxe for a missed coal or the ceiling steel.
- The clue was entered on the wrong lock. The wardrobe takes
180and the safe takes1936; the keypads accept four-digit strings only. - The spell was typed wrong. Write
hayflyas a single word and re-open the wand menu to retype it if the hay does not react. - An earlier step is not fully cleared, so the next input has not activated yet. Finish cutscenes fully before interacting with the next door.
With the door crystal placed, you are clear to head into the Boss Fight at the wizard castle. Double-check that you are still holding all four relics before you go, since that room is the point where the curse finally breaks. You can jump back into Bring Back The Sun! on Roblox and run the whole cell block again if you ever need to reset your bearings.