

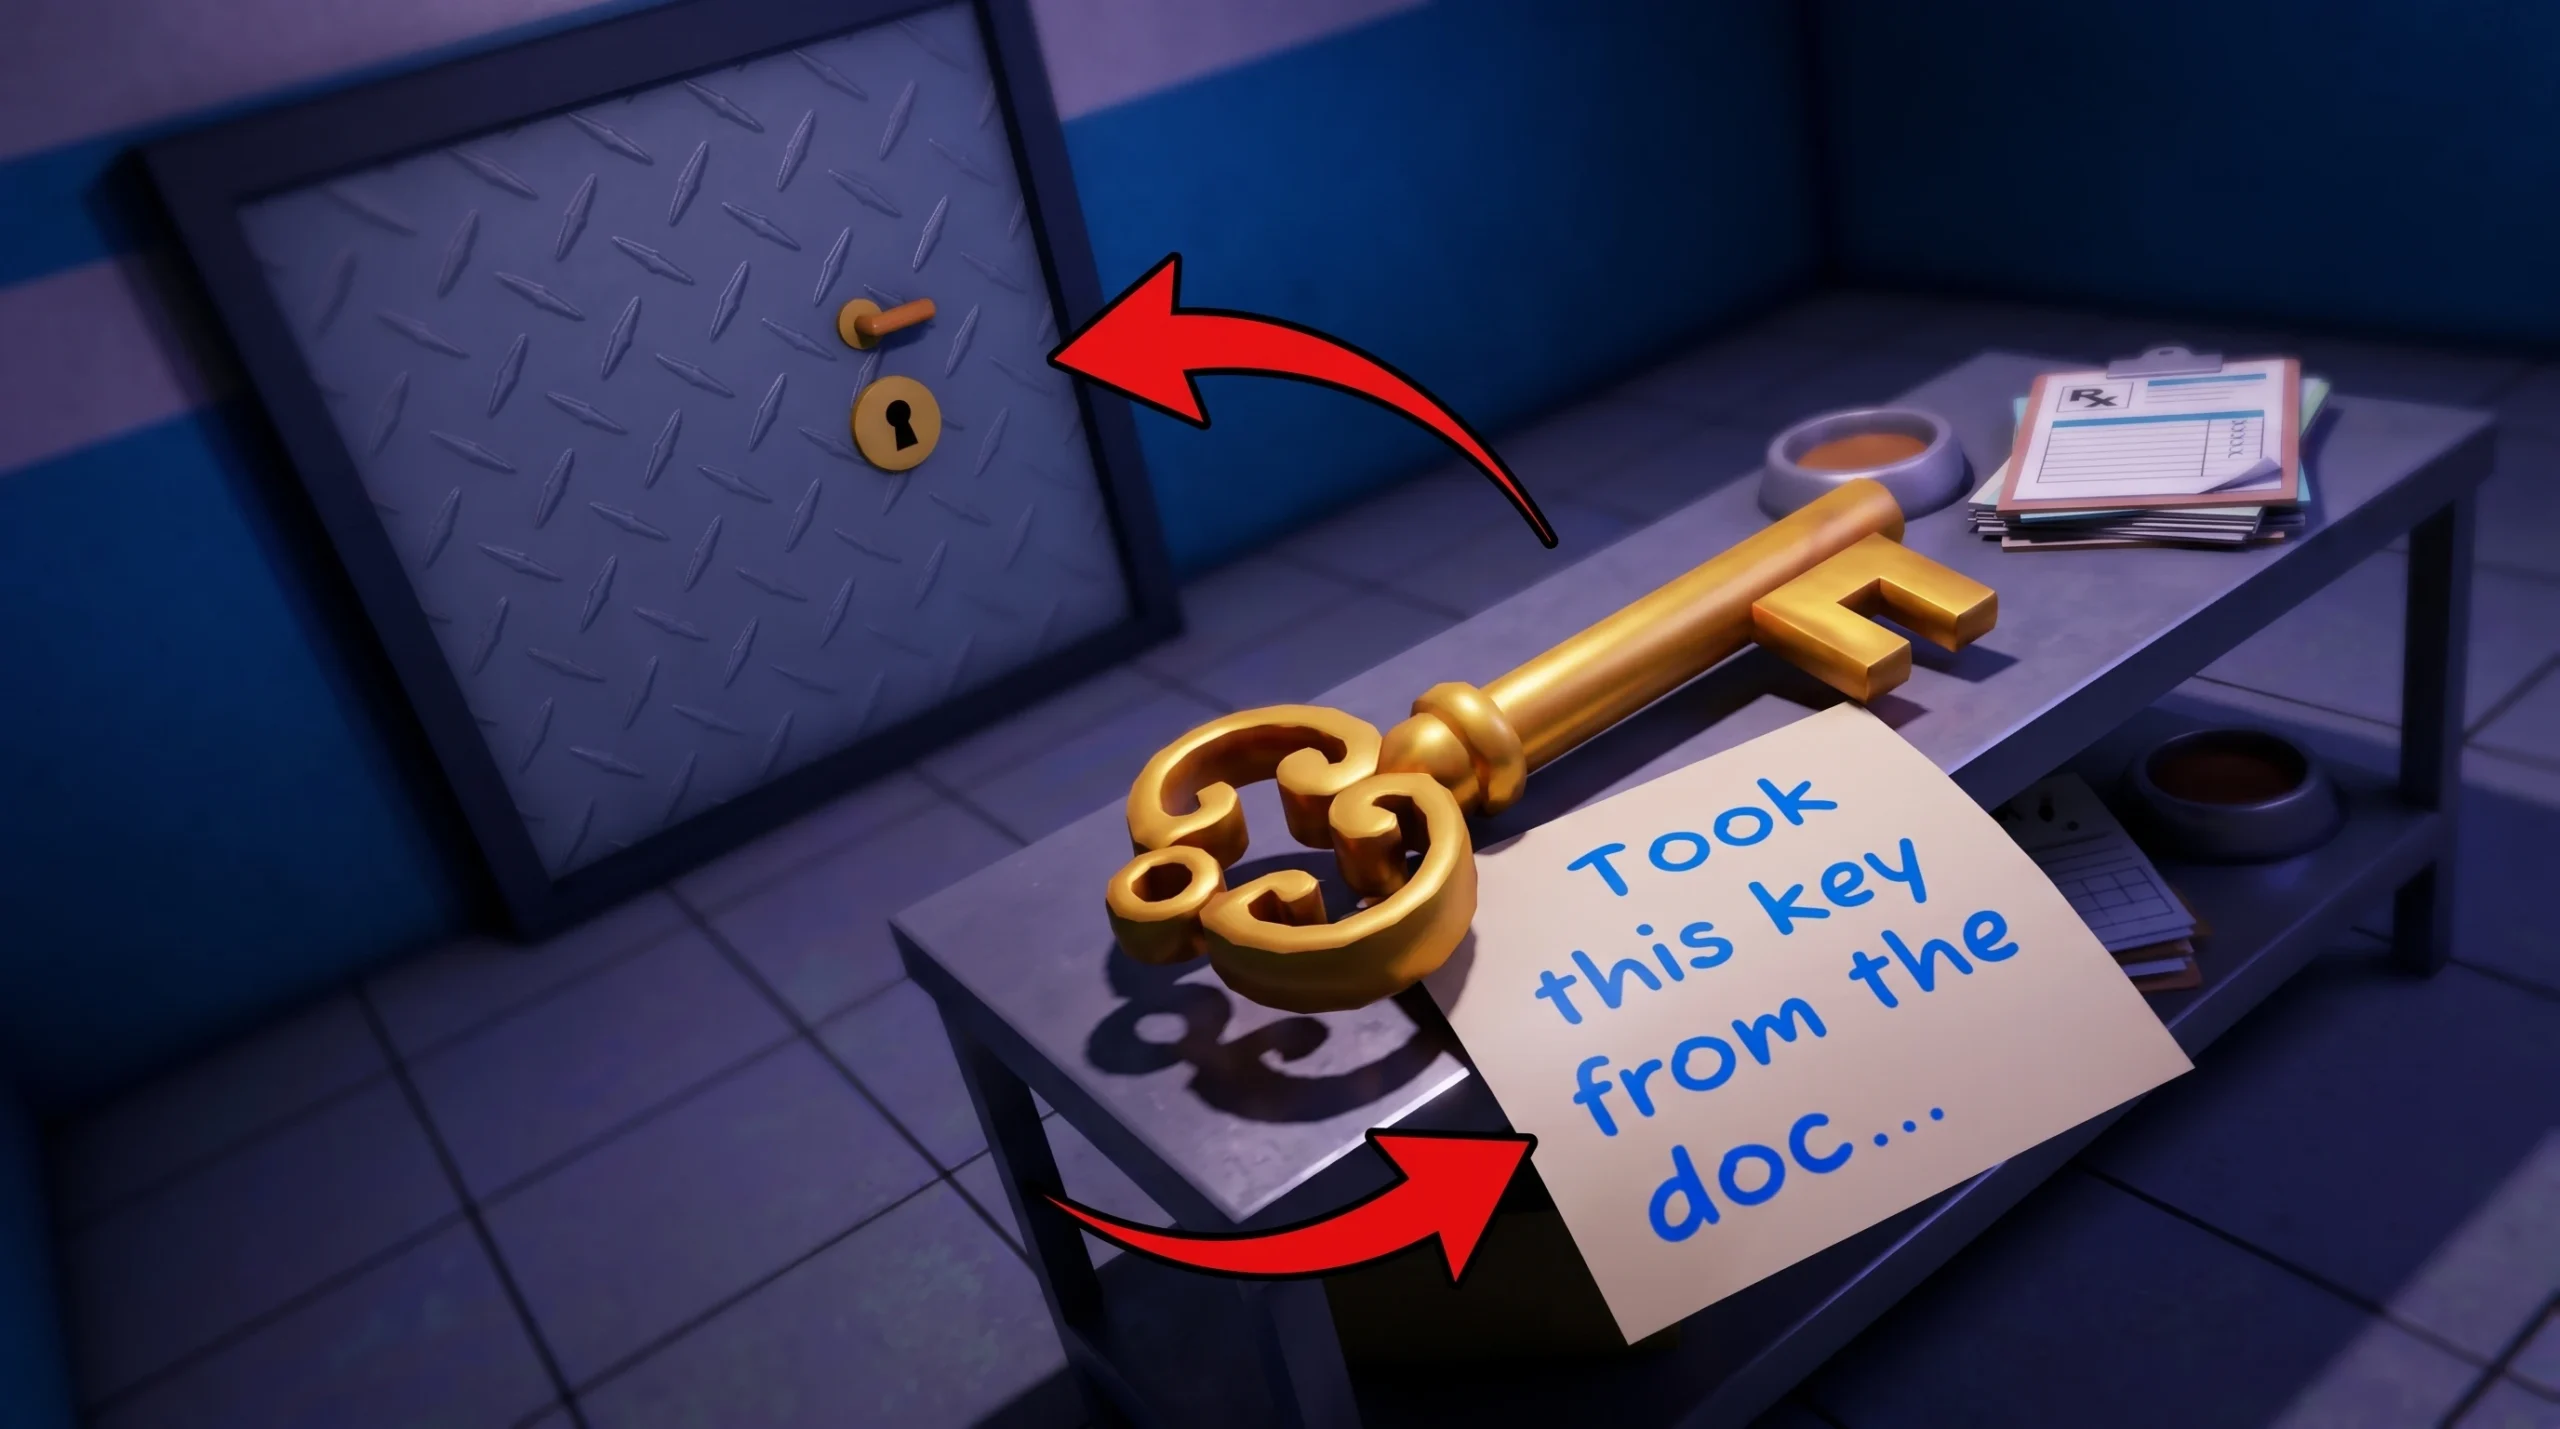
The key in Animal Hospital is a single-use item that opens a hidden wall safe in Room 5. It ties directly into the game’s storyline about the Animal Corporation, a missing scientist, and the shadow experiment. If you have never seen it, that is because the key only shows up after a specific recurring visitor sits down in your office.
Quick answer: Serve Ratthew when he visits (usually around Shift 8 to 10), pick up the key he drops on his seat after he leaves, then take it to Room 5, break the wall poster, and use the key on the safe behind it.
Where the key comes from in Animal Hospital
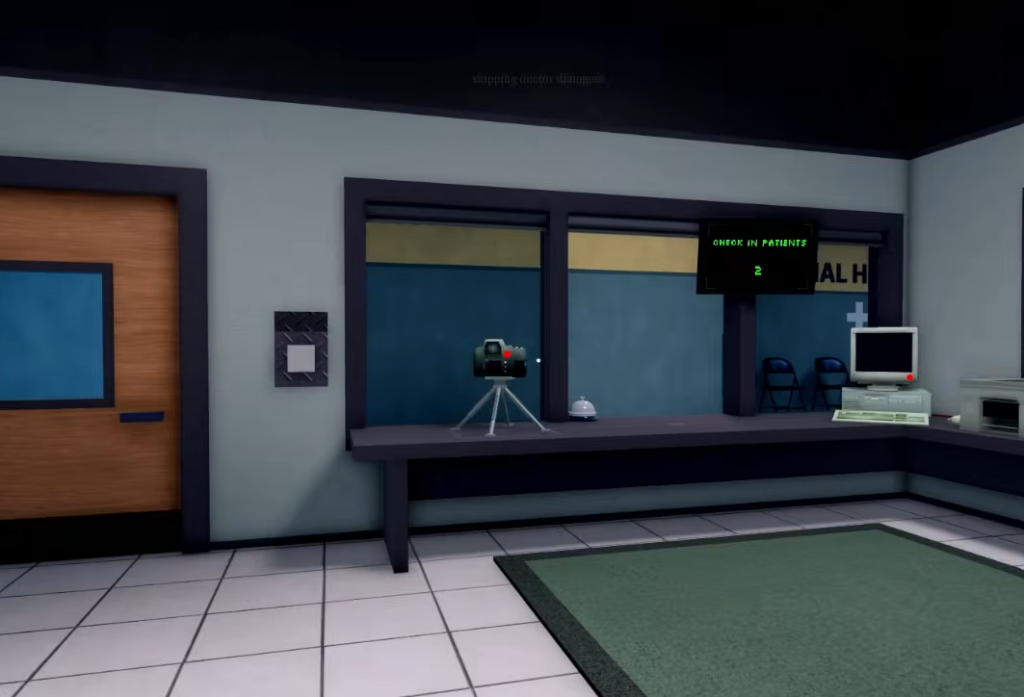
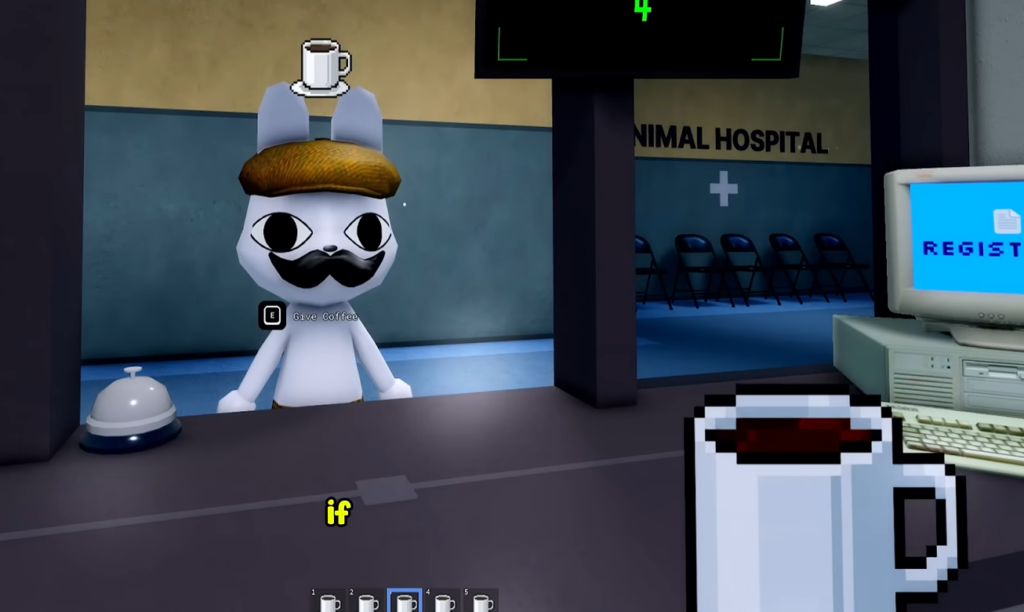
The key does not spawn in a fixed spot and it is not a purchase. It is handed to you by Ratthew, a small black anthropomorphic rat who visits the hospital as a patient. He appears periodically across your shifts, and most players first meet him somewhere around Shift 8 to 10.
When Ratthew shows up, he sits in your office and talks. During that conversation he explains that the Animal Corporation is hunting him because he knows things the company wants buried, and he mentions his twin sister Rattina, who worked for the corporation before vanishing without warning. You have to actually serve him and let the dialogue play out.
How to use the key on the Room 5 safe
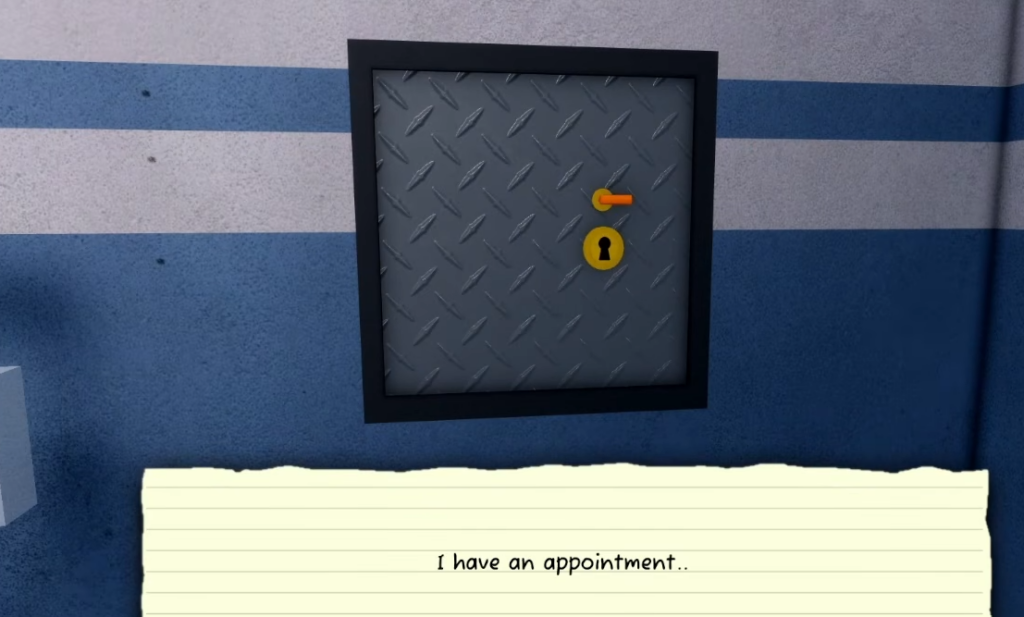
The safe is hidden inside Room 5, behind a poster on the wall. The poster shows a cat in a yellow hazmat suit with the message “Feeling unwell? We are on it.” You need to remove that poster first, because the safe will not respond to the key while it is still covered.
What is inside the safe
The safe holds three lore items rather than a gameplay reward. You can inspect the polaroid photo and read the note.
| Item | Detail |
|---|---|
| Photo of Rattina | Ratthew’s twin sister, who worked for the Animal Corporation before disappearing without a note or warning. |
| “Top Secret” suitcase | A black briefcase marked TOP SECRET in red. |
| Handwritten note | Reads: “The experiment was a success. The shadow now sees everything.” |
The note lines up with what Ratthew tells you during his visits. He has been looking for Rattina since she vanished, and the contents of the safe point to her disappearance being tied to a corporate experiment. Fan discussion links the “shadow” mentioned in the note to the Stalker anomaly, with Dr. Harlow suspected as its creator.
If the key or safe will not work
Most problems come down to skipping a required step. Check these before assuming the mechanic is bugged.
- No key yet? Ratthew has to fully finish talking and leave before he drops it. Cutting the conversation short means no key.
- Ratthew has not shown up? He appears periodically, most commonly around Shift 8 to 10, so keep completing shifts.
- Safe says “you need a key to open this”? You are interacting without the key in hand, or you skipped picking it up off his seat.
- Cannot find the safe? Break the hazmat cat poster in Room 5 first. It is hidden directly behind it.
You will know it worked when the poster drops, the safe opens on the key prompt, and the three items appear inside ready to inspect. That reveal is the payoff, connecting Ratthew’s warnings to Rattina’s disappearance and the wider mystery running through Animal Hospital.





