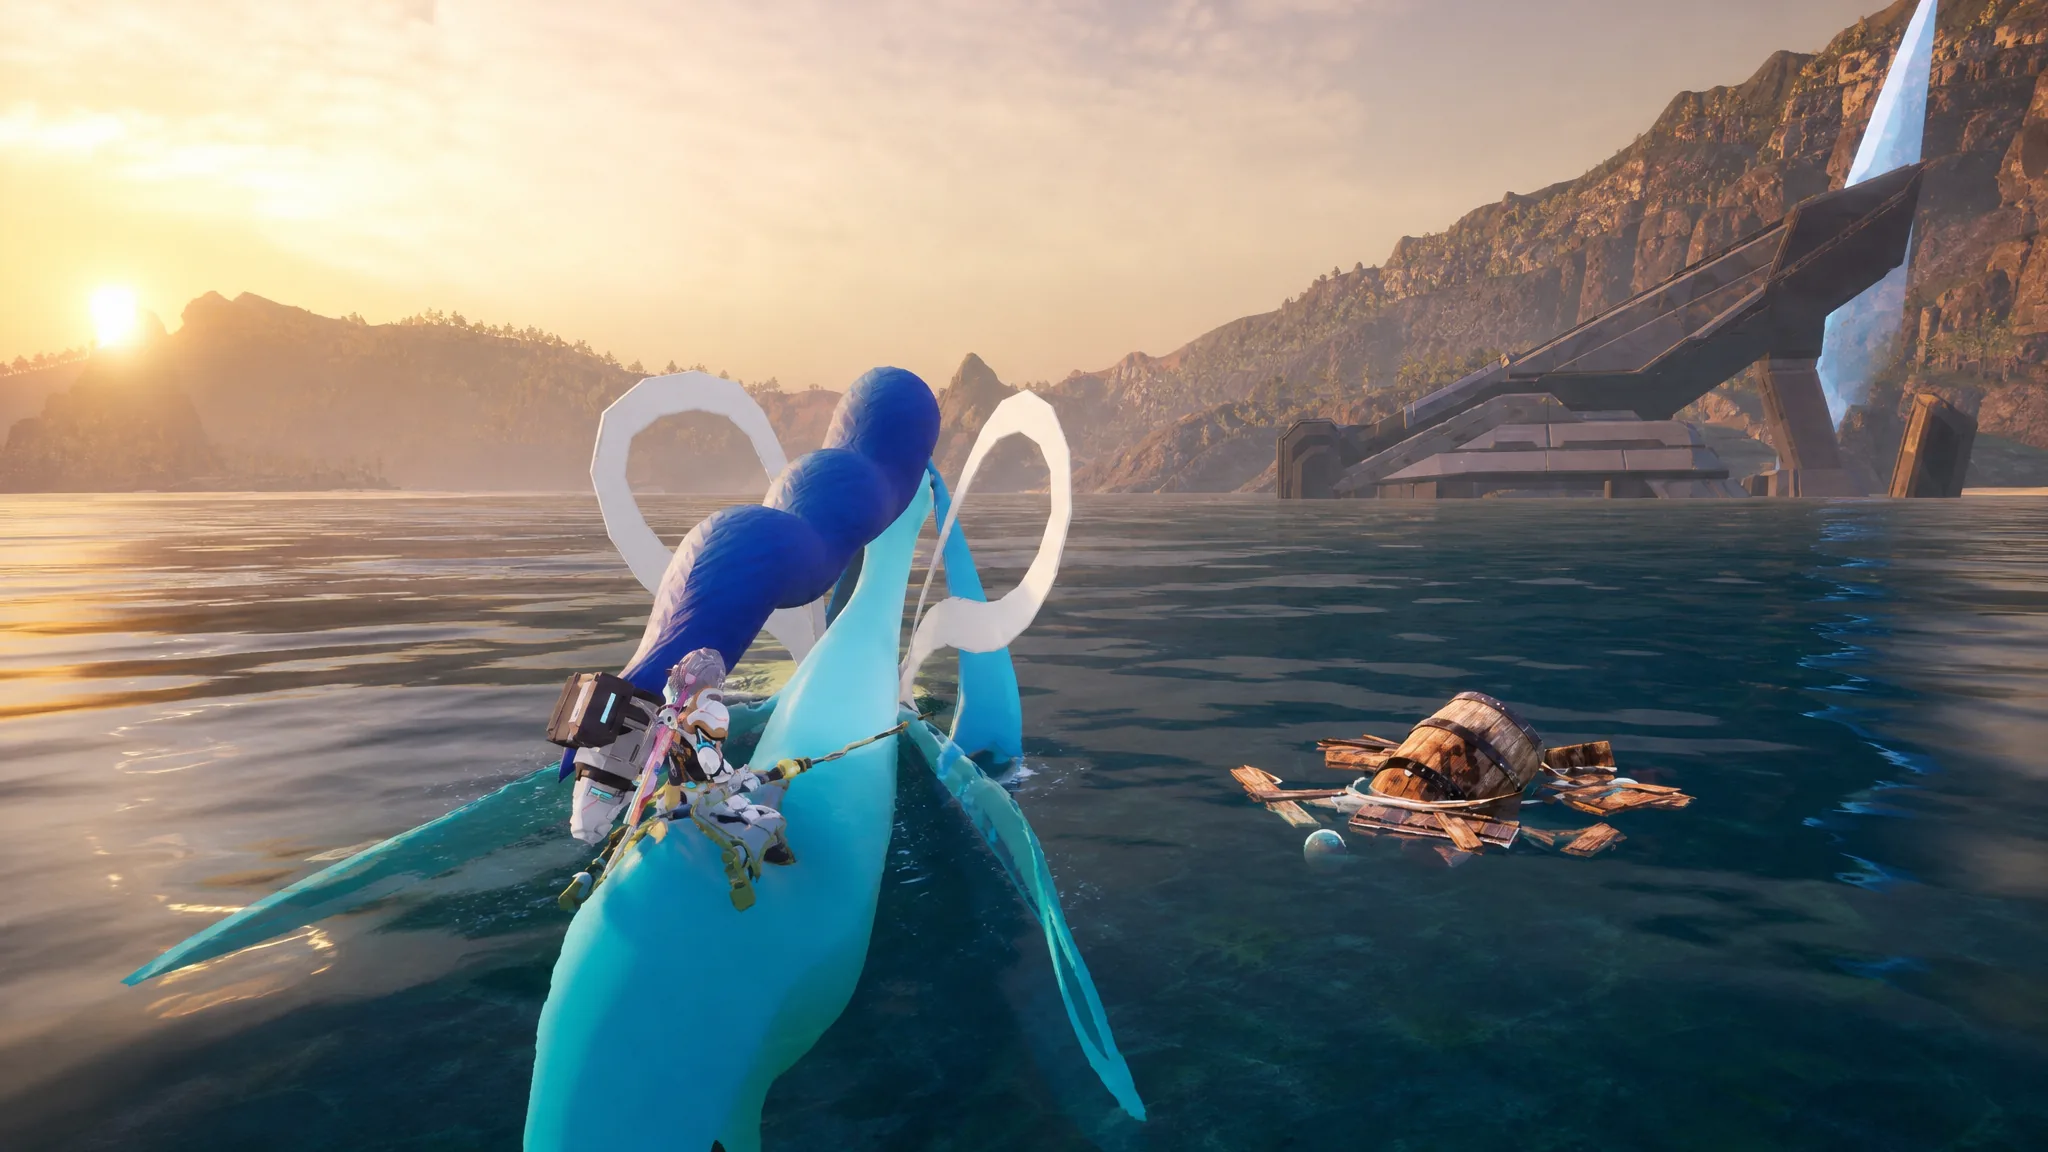
Salvaging is Palworld’s low-risk way to farm rare materials straight out of the ocean. Instead of fighting a boss or grinding a base, you ride across open water, hook floating debris, and clear a short timing minigame to collect the loot inside. It pulls in everything from Gold Coins and bait to Giant Pal Souls, Gold Keys, and legendary weapon and armor schematics.
Quick answer: Mount a Water-type Pal that can swim, equip any fishing rod, ride out to a floating barrel, interact with it, and stop the spinning pointer on the green section of the circle. Basic barrels need no extra items; gold-rimmed advanced barrels near Sakurajima and Feybreak require a Powerful Fishing Magnet in your inventory.
What you need to salvage in Palworld
Salvage spots sit out in deep water, so you need something to stand on and something to pull with. The rod type does not affect your results, because salvage is not scored by fish size the way normal Pal fishing is. Any rod works for basic nodes.
| Requirement | Details |
|---|---|
| Fishing rod | Any rod works for basic salvage. Beginner (Chillet) or Intermediate (Cattiva) is enough; advanced rods help for high-level seas. |
| Swimming Water mount | You cannot fish while swimming freely, so you need a mountable Water Pal as footing. Craft its saddle first. |
| Powerful Fishing Magnet | Only needed for advanced (gold-rimmed) nodes. Keep some in your inventory before heading into late-game waters. |
| Inventory space | Loot floats away if your inventory is full, so clear room before you start. |
Rod tiers unlock through the Technology tree. The exact tech levels are below for reference.
| Fishing rod | Technology tier |
|---|---|
| Beginner Fishing Rod (Chillet) | 15 |
| Intermediate Fishing Rod (Cattiva) | 29 |
| Advanced Fishing Rod (Pengullet) | 45 |
Crafting the Powerful Fishing Magnet
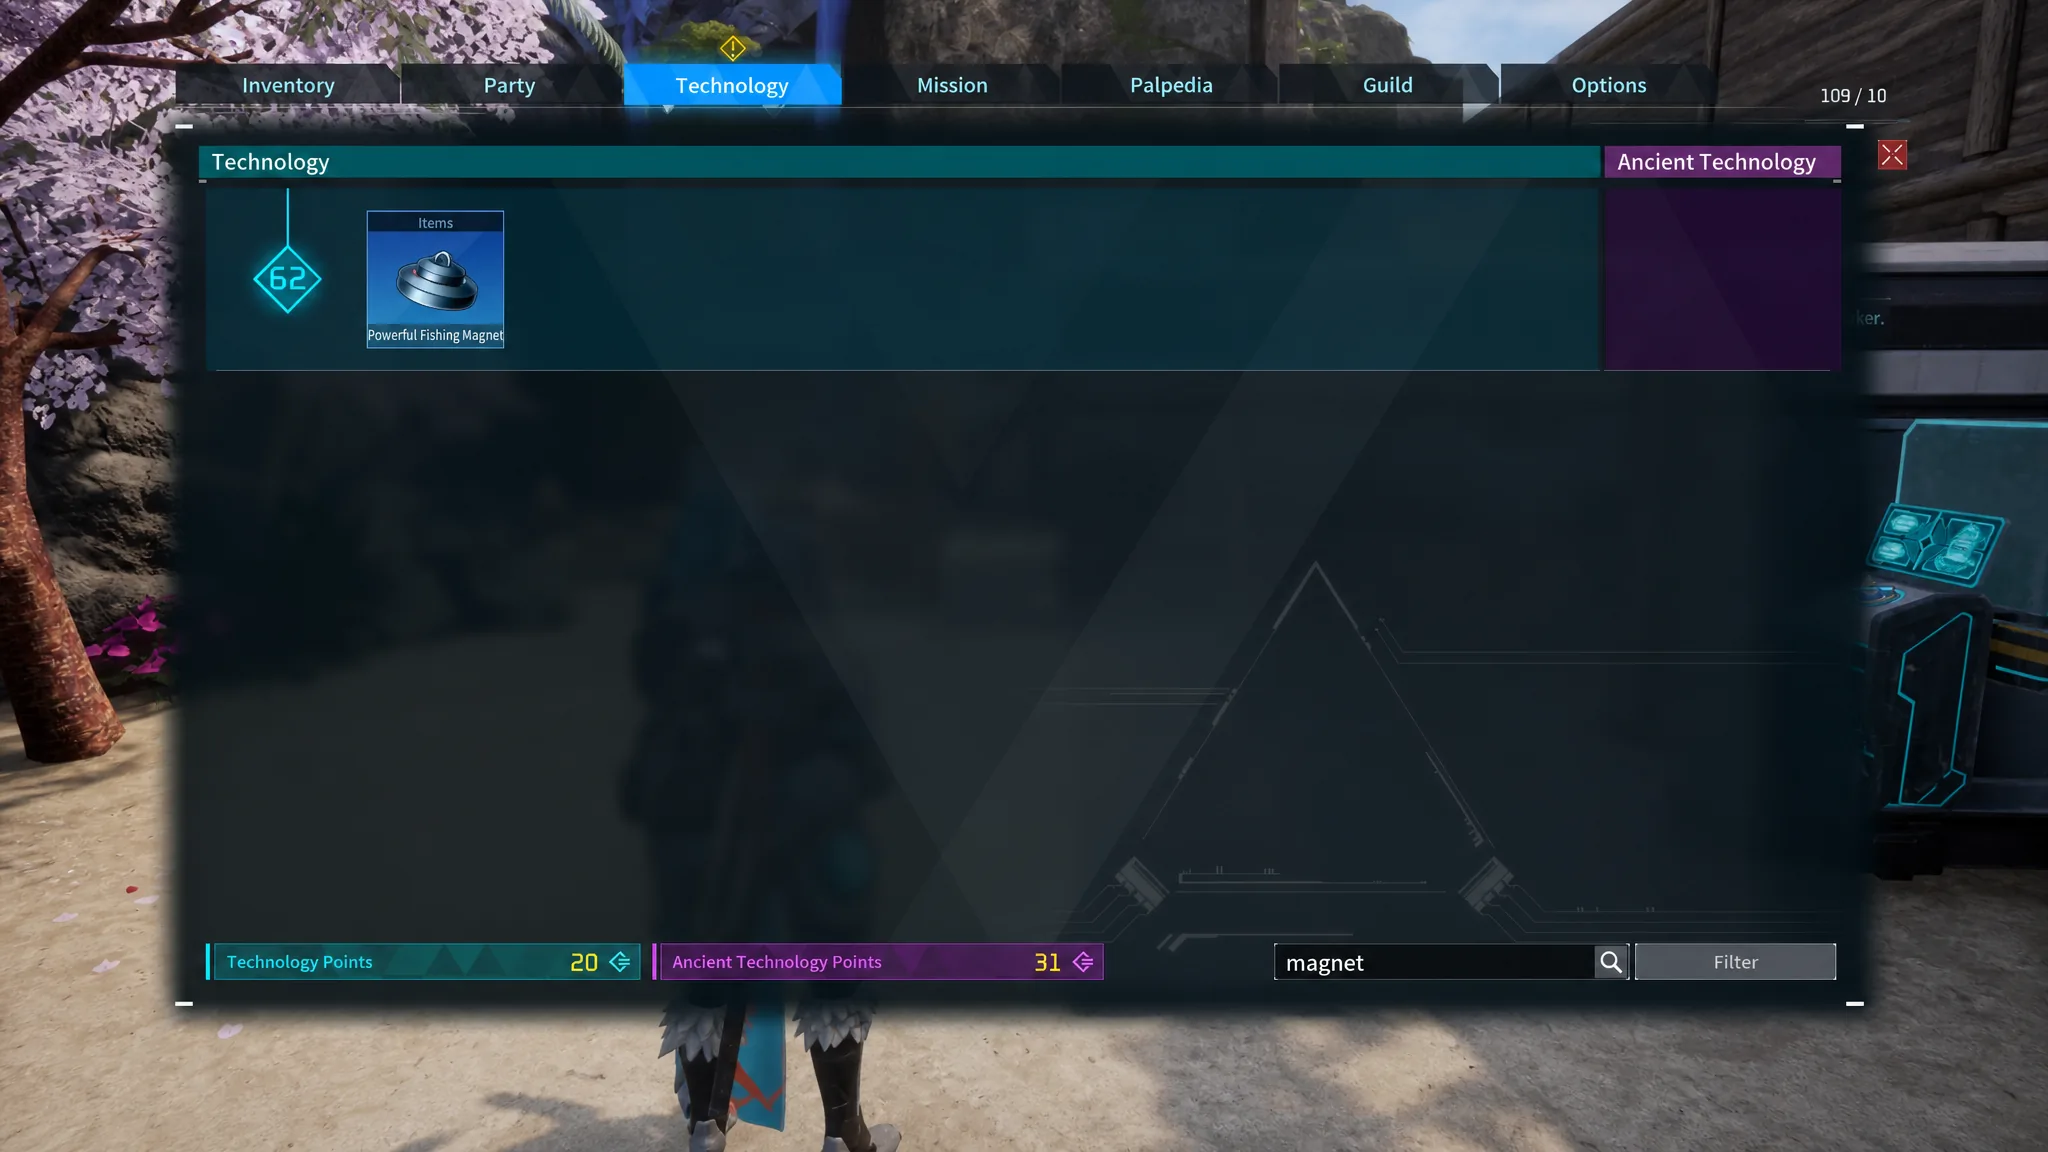
The Powerful Fishing Magnet is the one gate on advanced salvage. Its schematic unlocks in the Technology tree at level 61, and you need to be around level 62 to comfortably work the late-game waters that require it. Each magnet behaves like bait, but it only applies at salvage spots.
| Field | Requirement |
|---|---|
| Materials | Hexolite x1, Cryogenic Coolant x1, Bio Battery x1 |
| Crafting stations | Production Assembly Line II, Advanced Workshop, Ancient Workbench |
| Consumption | Used up only on a successful advanced pull, never on a failed attempt |
Because the magnet is consumed on success, craft a stack of them before a long farming run. It is safe to carry magnets everywhere, since they are never spent at early-game barrels that do not require them.
Basic vs. advanced salvage nodes
There are two kinds of floating debris, and telling them apart matters because one costs a magnet and one does not. Basic nodes are plain wooden barrels; you just interact, clear the minigame, and take the loot. Advanced nodes are marked with gold-colored metal bands and show a prompt to “Consume Powerful Fishing Magnet x1” when you approach.
Basic barrels appear across the map, including early regions. Advanced barrels are concentrated in the high-level seas around Sakurajima Island and Feybreak Island. Advanced pulls also return larger quantities. You can easily walk away with more than triple the Coralum Ore compared to a basic node, along with far rarer items.
How to salvage step by step
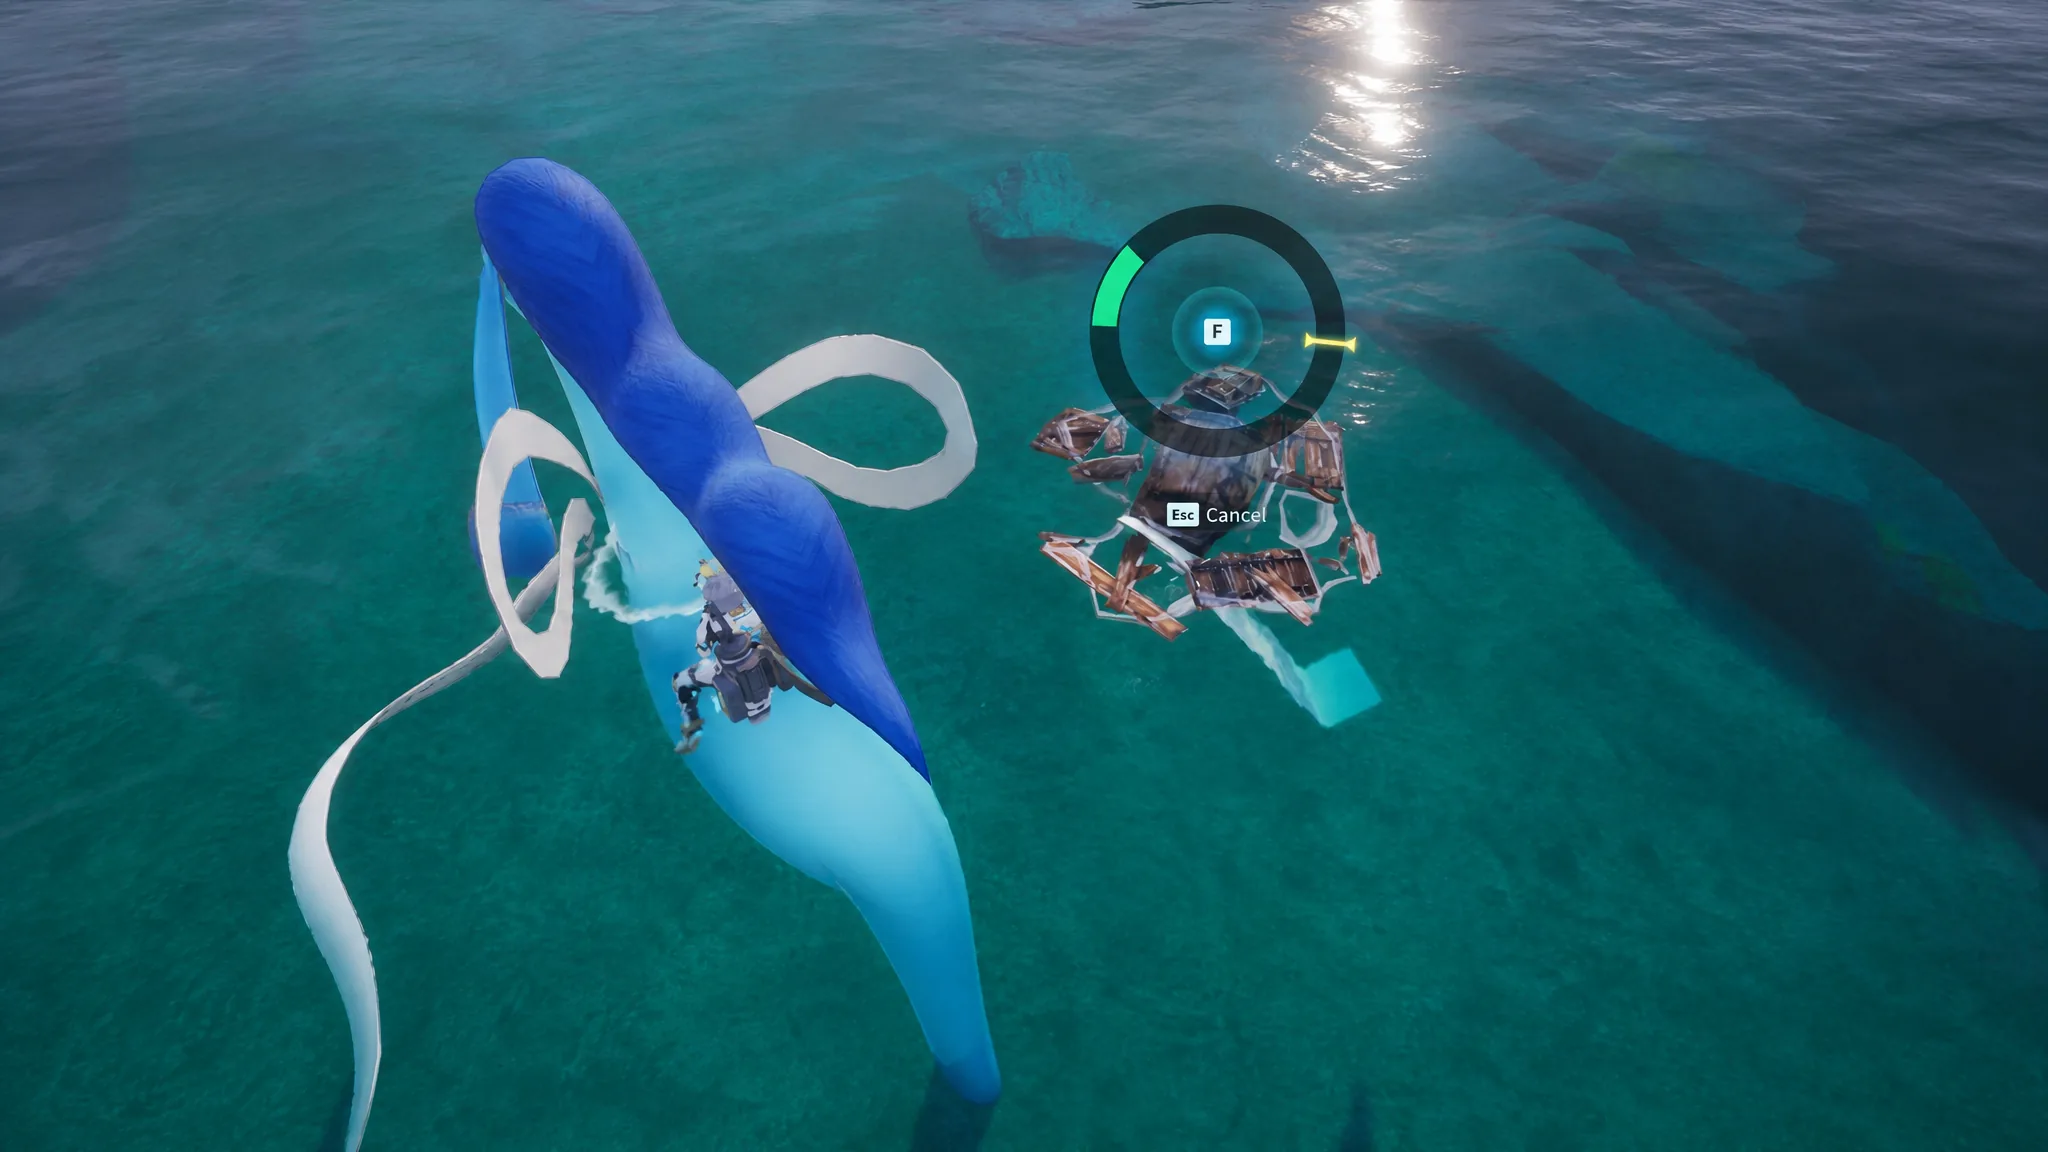
Note: Salvage never consumes fishing bait. Only Pal fishing at fish shadows uses bait, so you can salvage all day on rod and magnet alone.
Best loot to farm from salvage
Every successful pull gives a random spread of items, and the rarity scales with location. Early-game spots lean toward Gold Coins and Small Pal Souls, while Sakurajima and Feybreak waters regularly drop Giant Pal Souls and Gold Keys. These are the items worth chasing.
- Coralum Ore
- Gold Coin
- Dog Coin
- Giant Pal Soul
- Ultimate Sphere
- Gold Key
- Ancient Technical Manual
- Advanced specialization Handbooks for Pals
- Legendary armor and weapon schematics
Basic node drop highlights
| Item | Quantity | Approx. chance |
|---|---|---|
| Gold Coin | 1300–1500 | 86.84% |
| Gold Coin | 1000–1300 | 38.81% |
| Coralum Ore | 1–2 | 30% |
| Small Pal Soul | 1–2 | 25.87% |
| Simple Bait | 2–3 | 25% |
| Silver Key | 1–2 | 12.94% |
| Giga Sphere | 2–4 | 8.68% |
| Pal Reverser | 1 | 3.47% |
| Ancient Technical Manual | 1–3 | 1.29% |
| Beginner Fishing Rod (Gumoss) Schematic | 1 | 1.00% |
| Dog Coin | 3–8 | 0.5% |
Advanced node drop highlights
Gold-rimmed barrels are where the real payoff sits. Coralum Ore is guaranteed in bulk, and the top-tier consumables and schematics show up here.
| Item | Quantity | Approx. chance |
|---|---|---|
| Coralum Ore | 6–11 | 100% |
| Giant Pal Soul | 1 | 44.25% |
| High Quality Bait | 2–3 | 25% |
| Ultimate Sphere | 1–2 | 22.12% |
| Ultra Sphere | 1–3 | 21.86% |
| Training Manual (L) | 2–3 | 21.86% |
| Training Manual (XL) | 1–2 | 21.86% |
| Dog Coin | 10–20 | 21.86% |
| Gold Key | 1–2 | 17.70% |
| Pal Reverser | 1 | 8.85% |
| Laser Rifle Schematic 1 | 1 | 2.62% |
| Flamethrower Schematic 1 | 1 | 2.62% |
| Hexolite Armor Schematic 1 | 1 | 1.75% |
| Advanced Fishing Rod (Depresso) Schematic | 1 | 0.24% |
| Treasure Map | 1 | 0.12% |
Tips for better salvage runs
Keep the Jellyfish Pal Jellroy in your active party. Its partner skill gives a chance to double your haul or roll rarer items, which stacks up quickly over a long ocean loop. Pair it with a fast swimming mount so you can chain barrels without backtracking.
Before you set out, clear inventory space. If your bags are full when a pull resolves, the rewards drop into the sea instead of your inventory. The Coralum Ore you bank from advanced runs feeds directly into gold-coin production and later crafting, so a full stack of magnets and an empty pack turn a single sea route into a steady supply line.