An IP address uniquely identifies your device on a network, enabling it to send and receive internet traffic properly. Like a postal address, it ensures that the information you request online reaches the correct destination. However, when two devices on the same network are assigned the same IP address, an ‘IP Address Conflict’ occurs, disrupting network communication on those devices.
IP address conflicts can be a temporary glitch or stem from a specific configuration issue. Regardless of the cause, resolving this error is usually straightforward. In this guide, we’ll explore several methods to fix IP address conflicts on your Windows 11 computer.
How does an IP address conflict occur?
There are primarily two ways a device obtains an IP address: dynamically via DHCP (Dynamic Host Configuration Protocol) from a router, or through a manually assigned static IP address. DHCP automatically assigns unique IP addresses to devices on a network, while static IP addresses are manually configured and remain constant.
An IP address conflict often arises when a device with a static IP connects to a DHCP-enabled network without reserving that IP address on the router. The router may inadvertently assign that same IP address to another device, causing a conflict. Additionally, assigning the same static IP address to multiple devices or a router malfunction can lead to this issue. Sometimes, a device waking from a long sleep or hibernation can cause a conflict if its IP lease has expired and been reassigned.
Now, let’s look at effective methods to resolve IP address conflicts on your Windows 11 PC.
Method 1: Renew Your IP Lease
Releasing and renewing your computer’s IP address can quickly resolve an IP address conflict. This process forces your device to request a new IP address from the router, eliminating any conflicts with other devices.
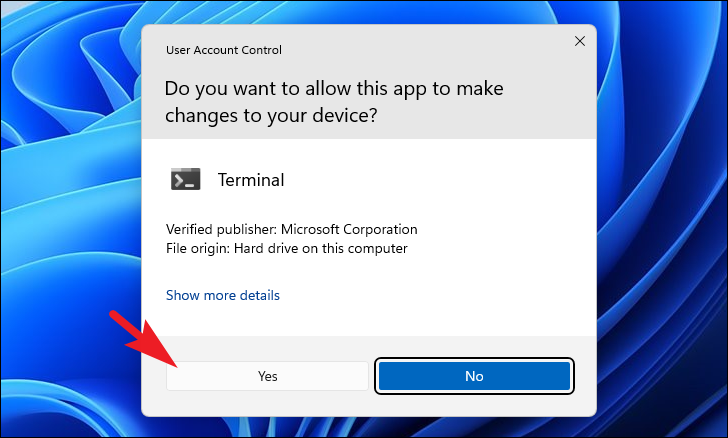
Start menu and type Command Prompt in the search bar. Right-click on the Command Prompt app and select Run as administrator.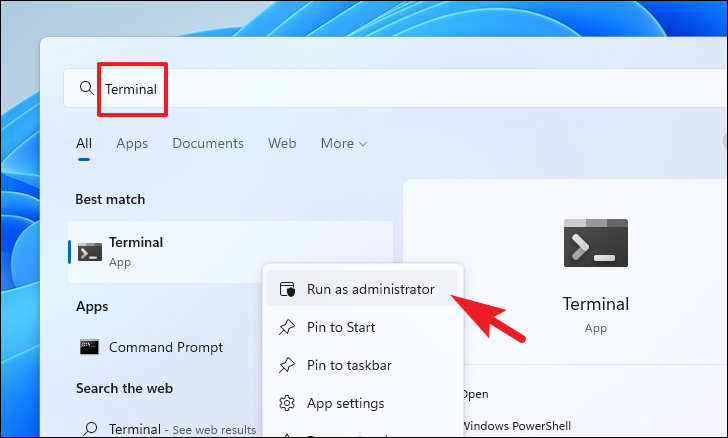
Enter to release your current IP address:ipconfig /release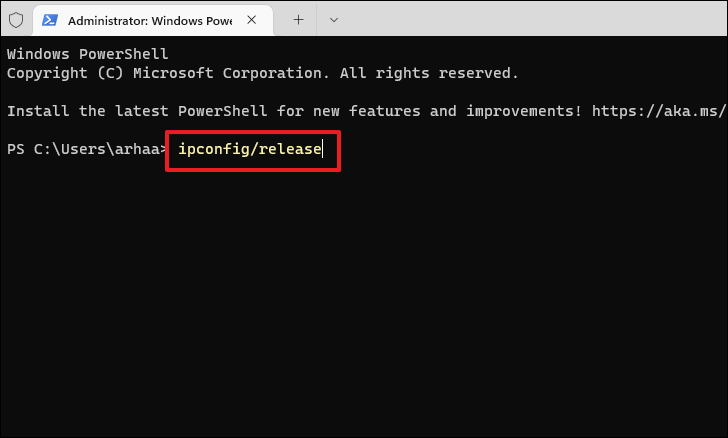
ipconfig /renew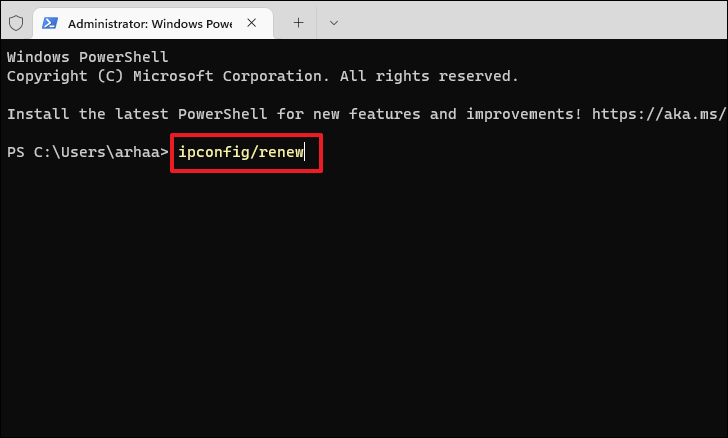
After executing these commands, your computer should obtain a new IP address from the router, resolving the conflict.
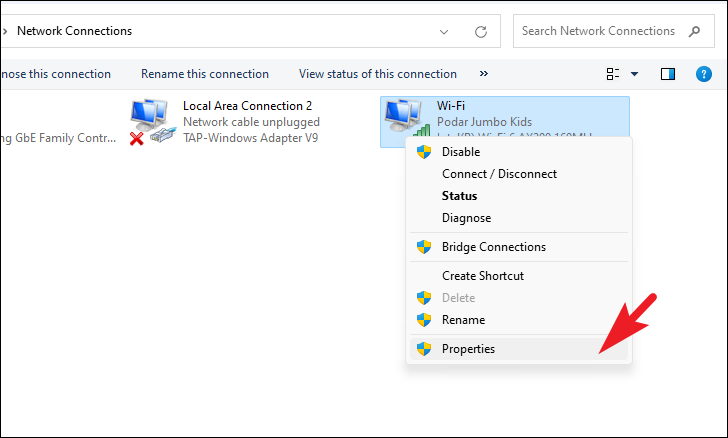
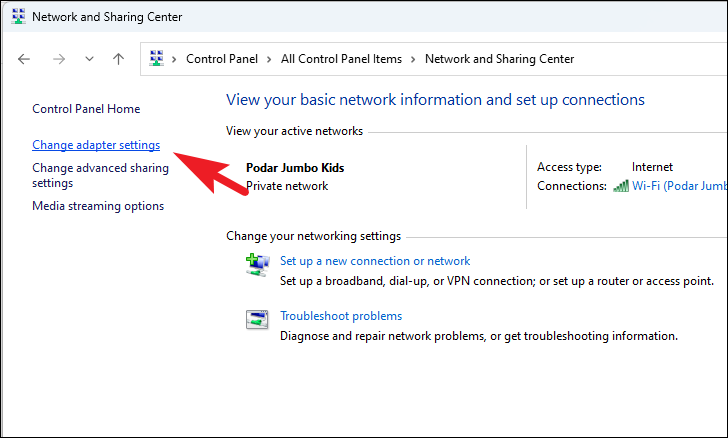
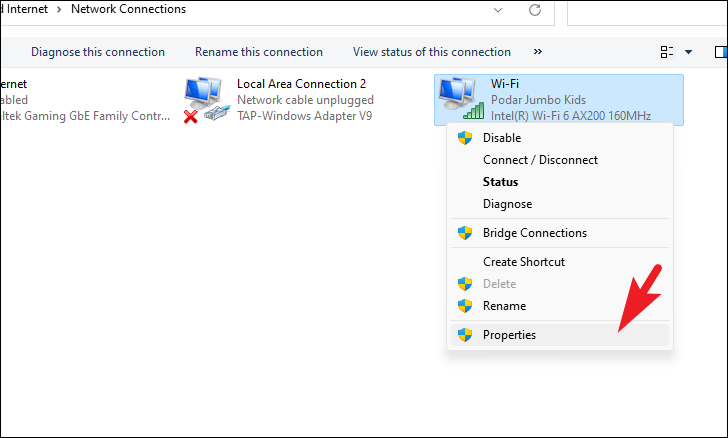
Method 2: Disable and Re-enable Your Network Adapter
Sometimes, simply disabling and then re-enabling your network adapter can fix the IP address conflict by resetting your network configuration.
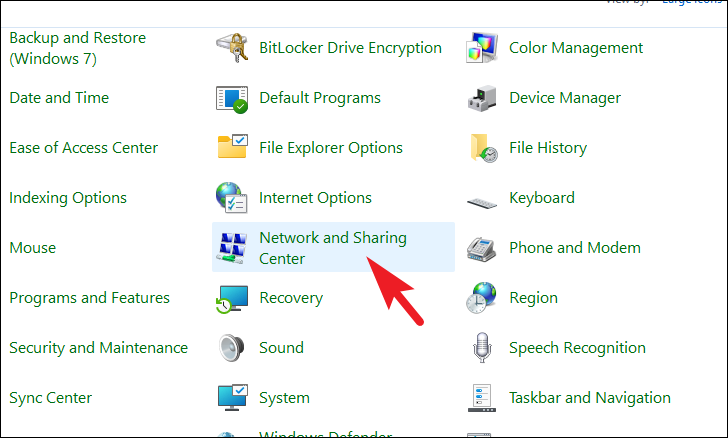
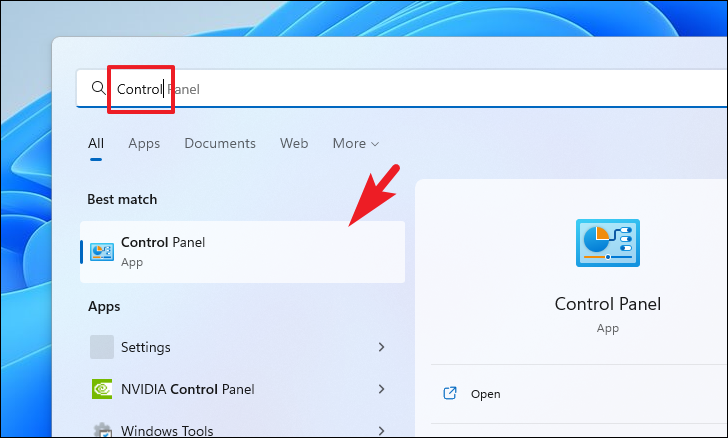
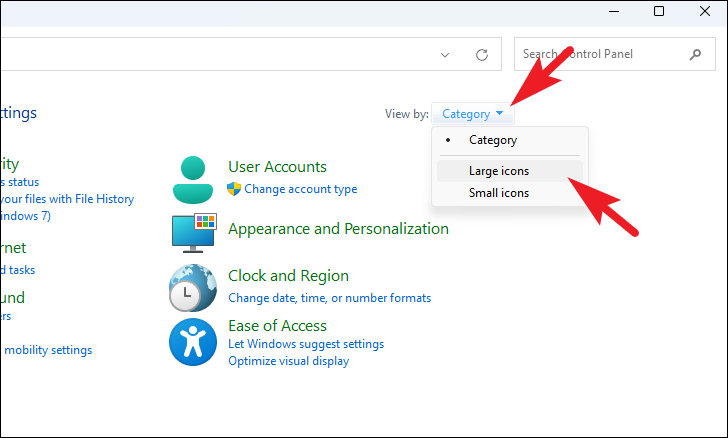
Start menu, type Control Panel, and select it from the search results.


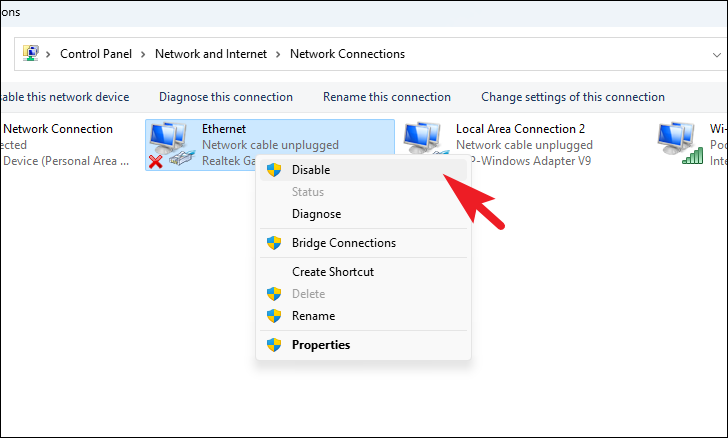
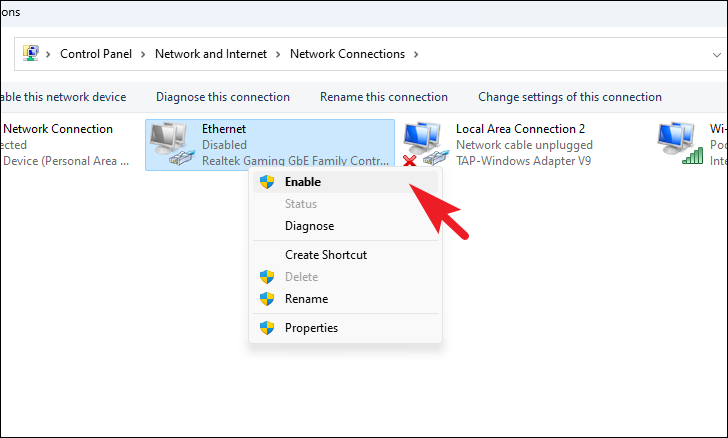
After re-enabling the adapter, your computer will reconnect to the network, and the IP address conflict should be resolved.
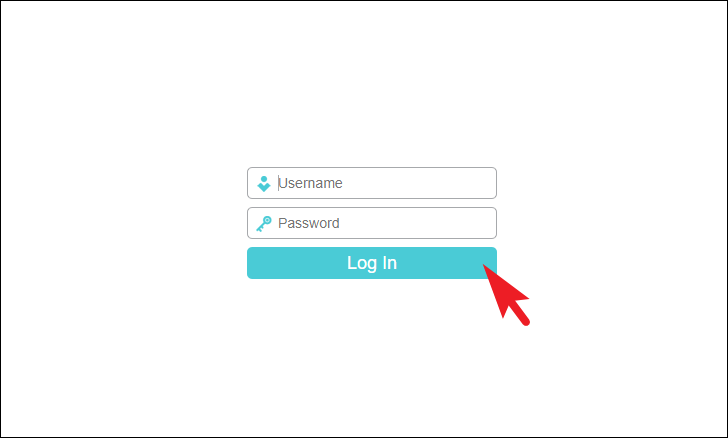
Method 3: Restart Your Router
If multiple devices are experiencing IP conflicts, restarting your router can help by refreshing the network and assigning new IP addresses to connected devices.
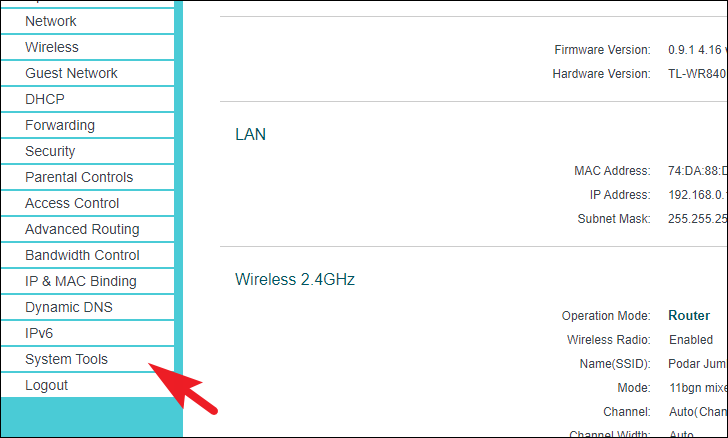
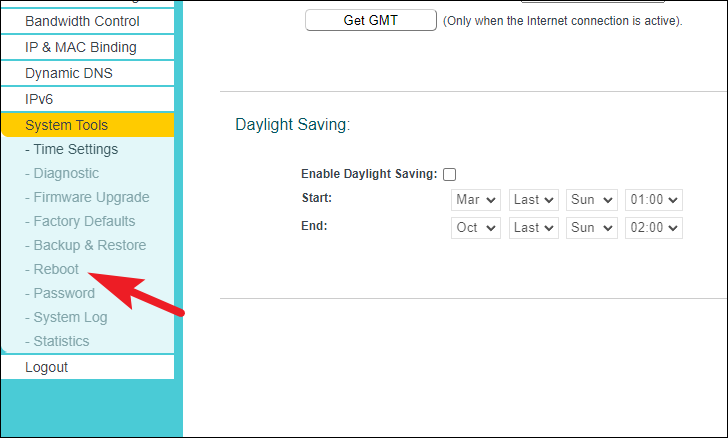
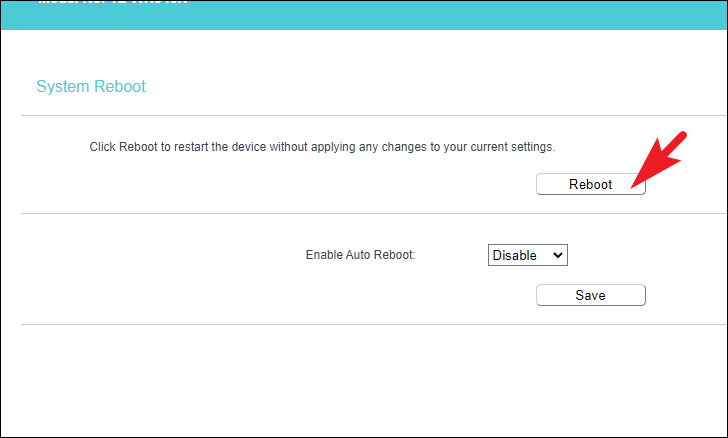
After the router restarts, it will reassign IP addresses to all connected devices, which should fix any IP address conflicts.
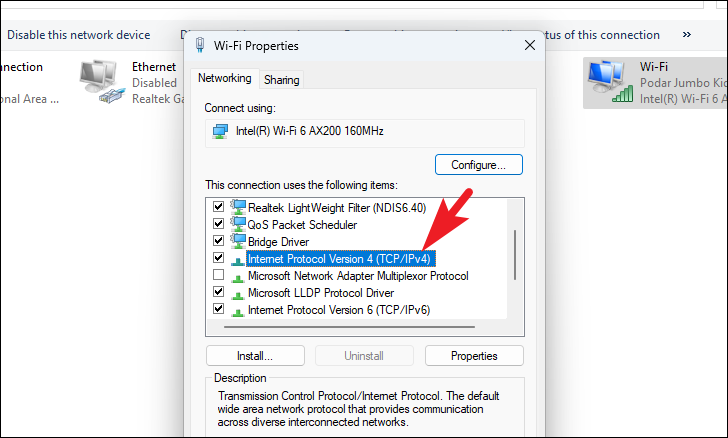
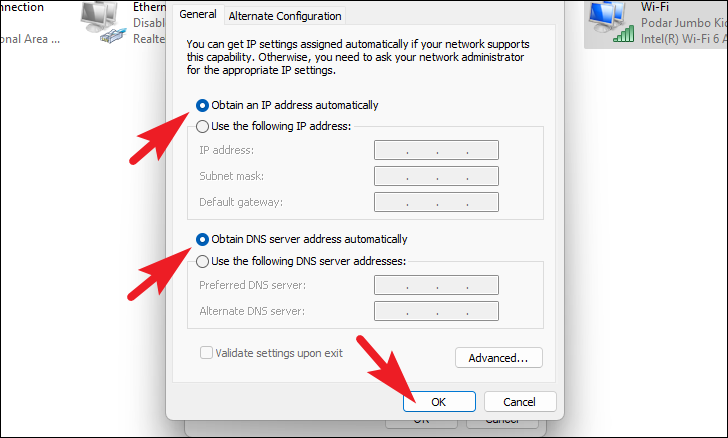
Method 4: Remove Static IP Settings
If your computer has a manually assigned static IP address that conflicts with another device, removing or changing it can resolve the issue.


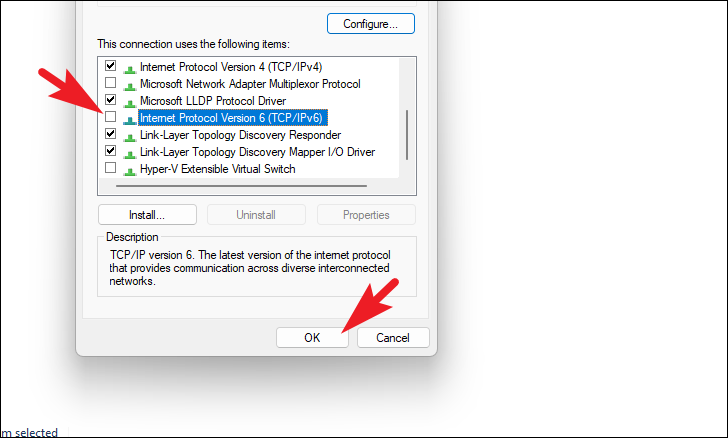
Method 5: Disable IPv6
In some cases, disabling IPv6 can help resolve IP address conflicts, especially if your network primarily uses IPv4.

Dealing with an IP address conflict can be frustrating, but these methods should help you resolve the issue on your Windows 11 PC. By renewing your IP lease or adjusting your network settings, you can restore your connection and get back online quickly.