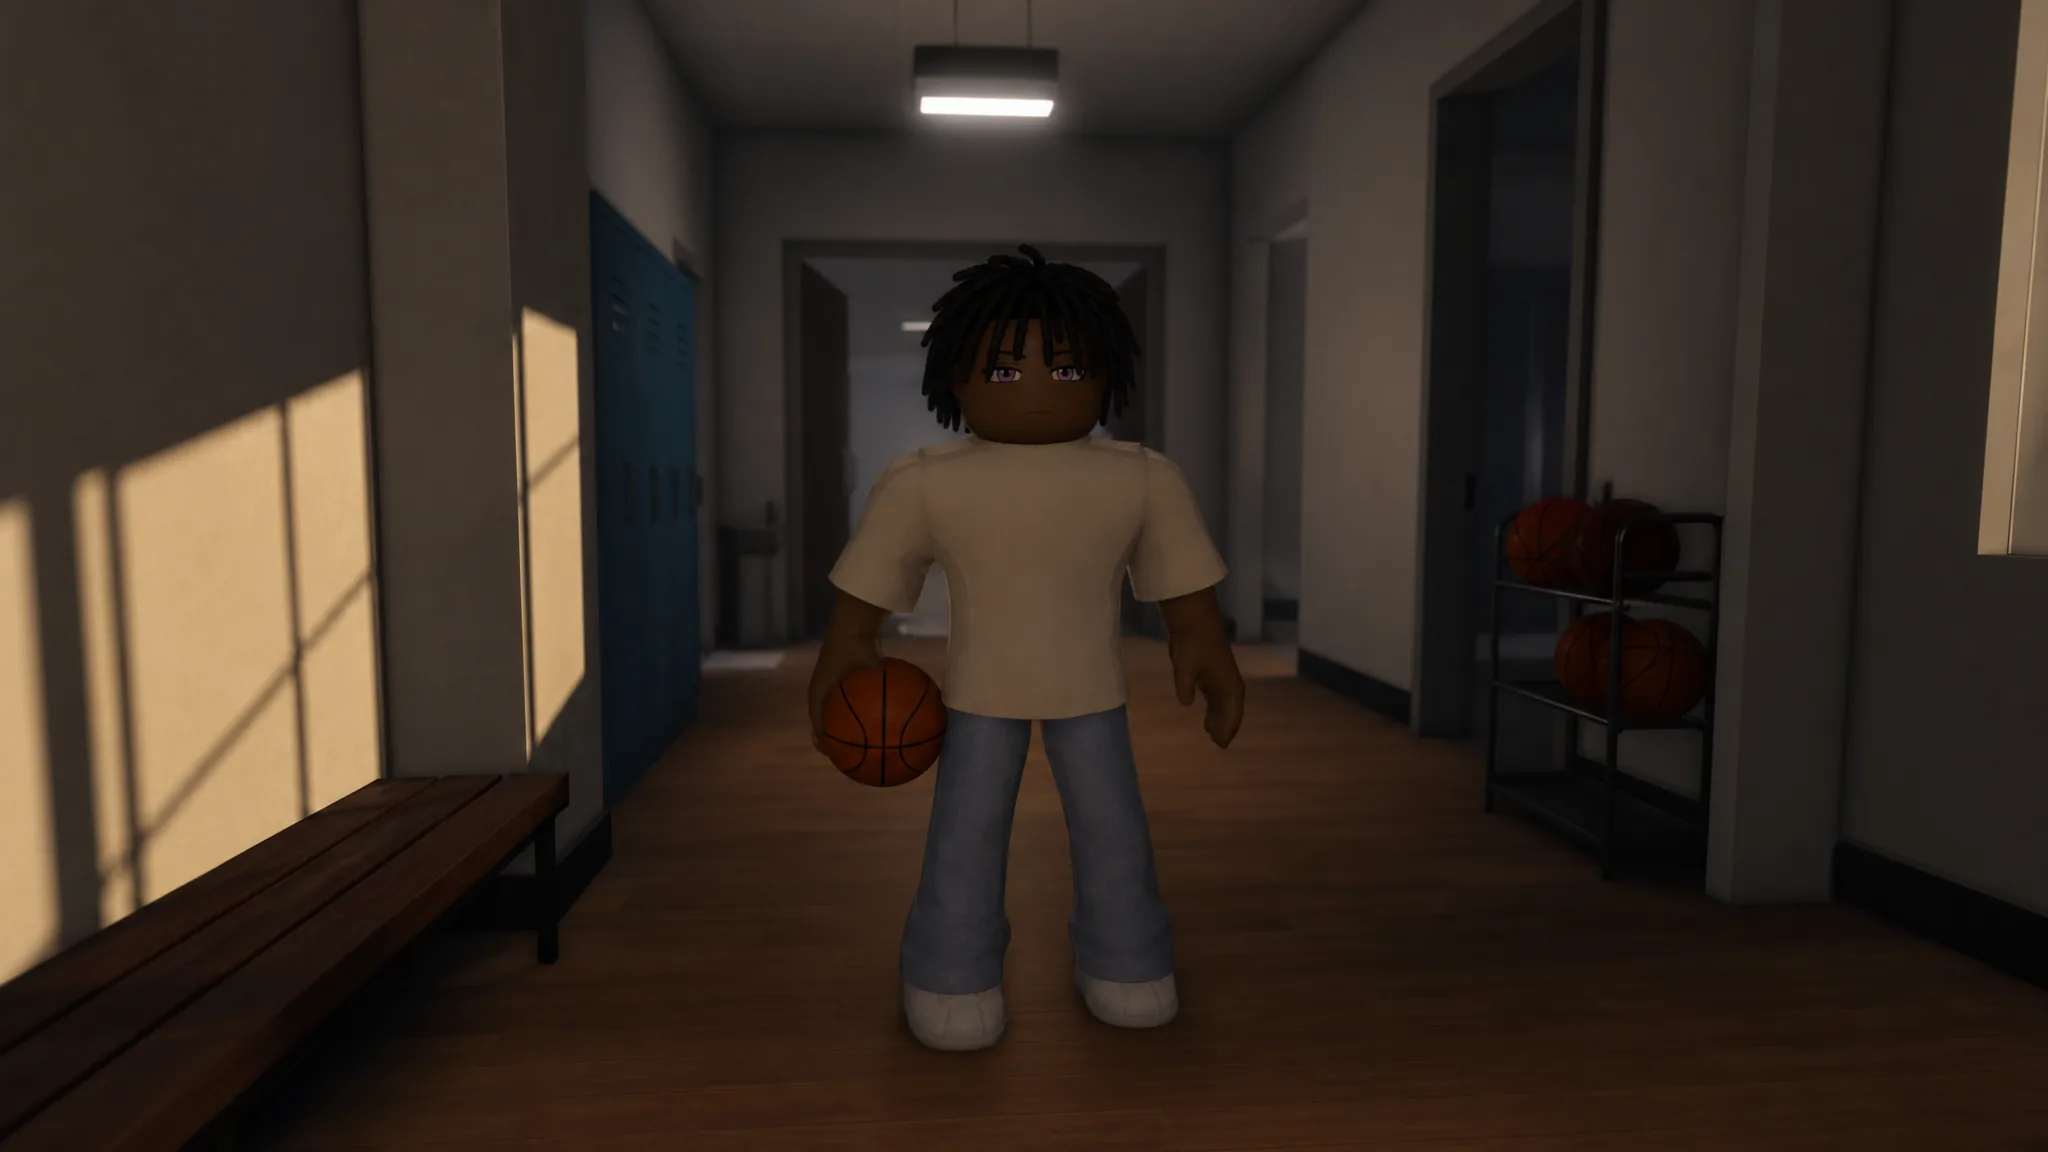
Recreating LeBron James in Practical Basketball means building a wing that finishes through contact, guards the perimeter, and still knocks down open jumpers. The setup below locks in his position, body, attribute spread, badges, and takeover so you can copy it directly into the creator.
Quick answer: Pick Small Forward, set height and wingspan to 6’9″, weight to 250 lbs, body type Built, no anomaly. Then match the attribute values in the table, run the listed badges, and select the Highlight Reel takeover.
Position, height, and body setup
Start with Small Forward. That matches LeBron’s real role and gives you the stat access and badge slots this build depends on. Set both height and wingspan to 6’9″, weight to 250 lbs, and body type to Built, which reflects a physically imposing wing. Leave the anomaly blank, since the build does not need one. Hand preference can stay right; it makes little practical difference either way.
| Setup option | Value |
|---|---|
| Position | Small Forward |
| Height | 6’9″ |
| Wingspan | 6’9″ |
| Weight | 250 lbs |
| Anomaly | None |
| Body Type | Built |
| Handed | Right |
Attribute spread
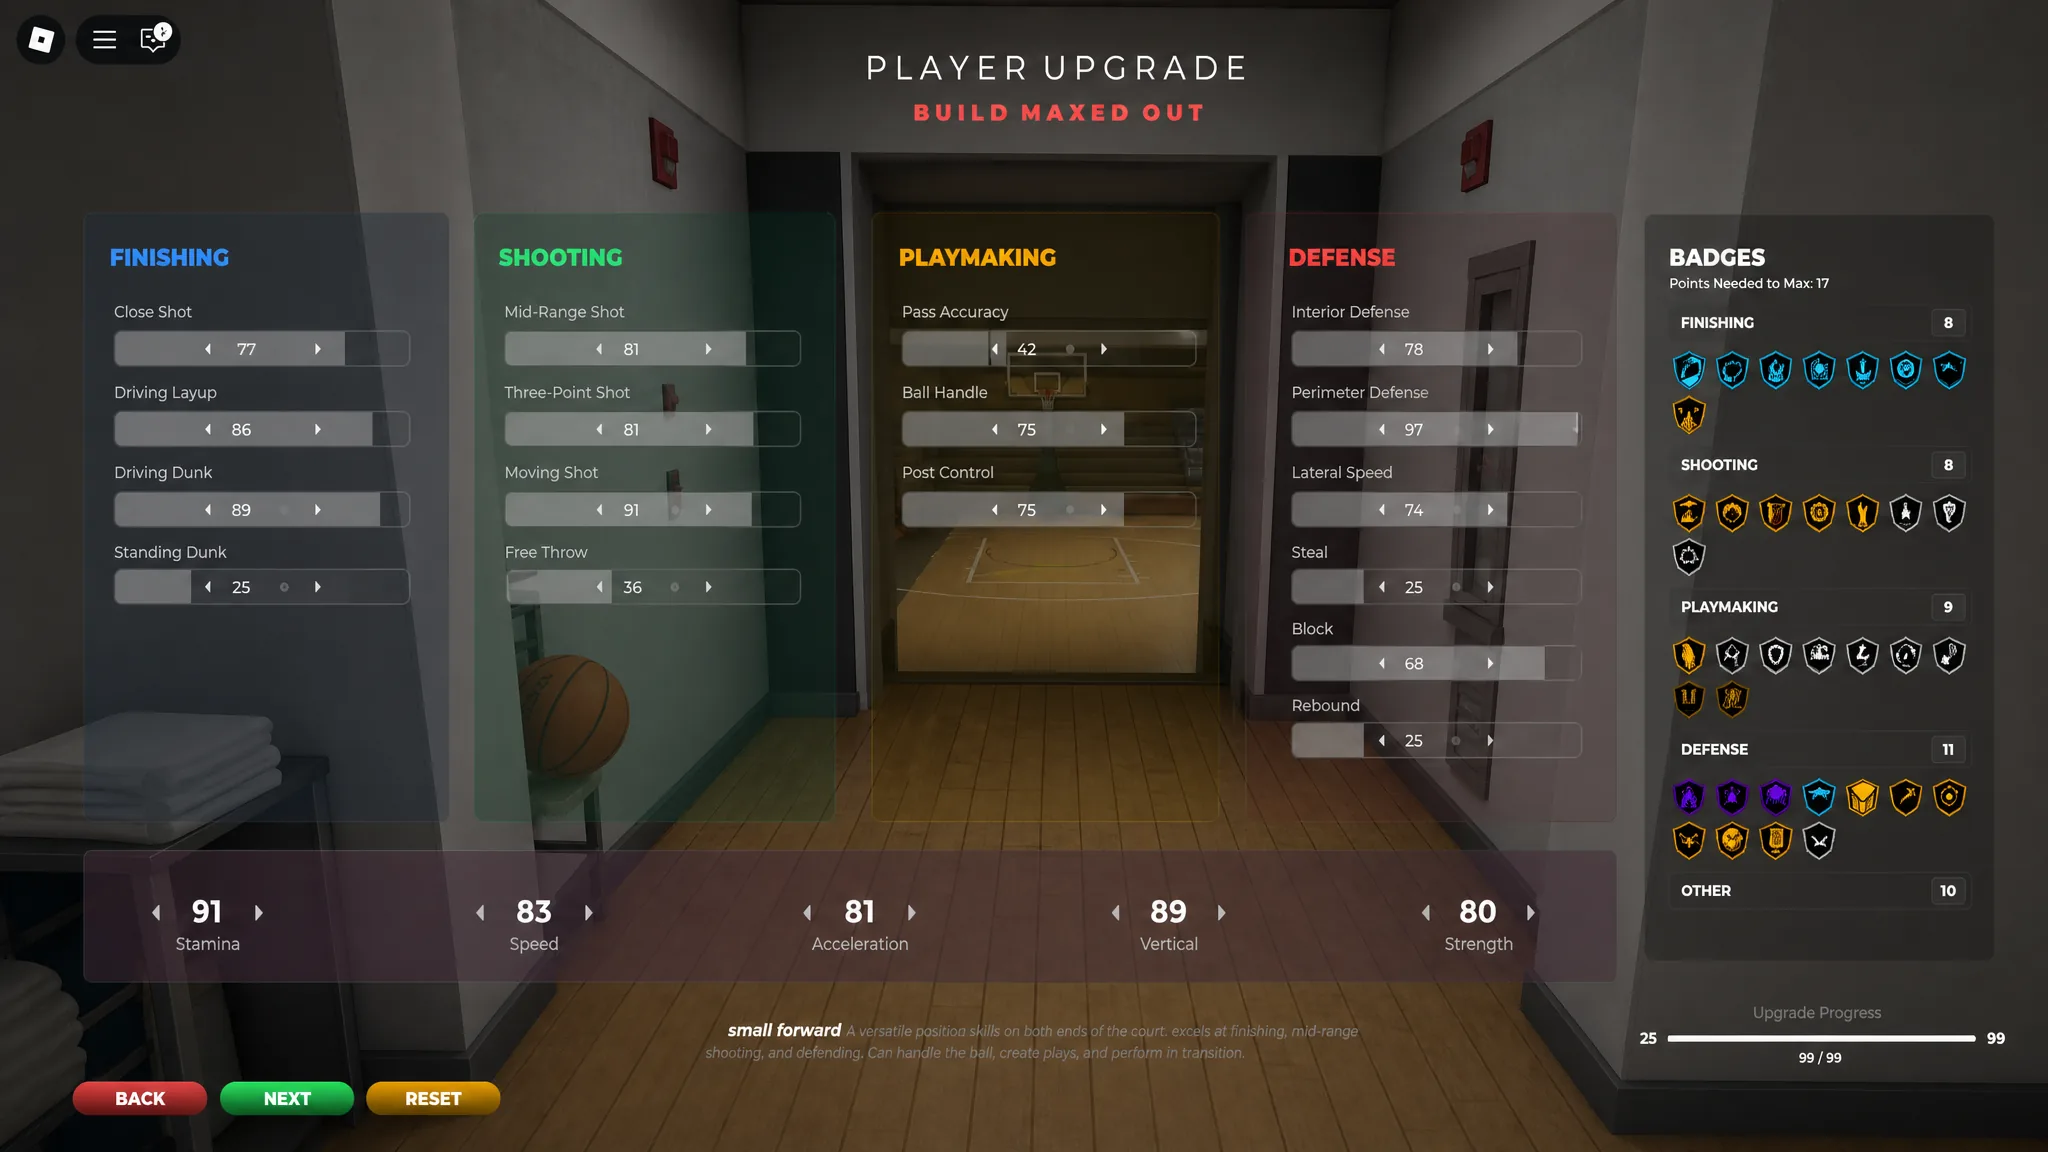
The numbers below lean into finishing, perimeter defense, and physicals while keeping a usable three-point shot. Enter each value in the creator to reach the badge tiers listed later.
| Category | Attribute | Value |
|---|---|---|
| Finishing | Close Shot | 77 |
| Finishing | Driving Layup | 86 |
| Finishing | Driving Dunk | 89 |
| Finishing | Standing Dunk | 25 |
| Shooting | Mid-Range Shot | 81 |
| Shooting | Three-Point Shot | 83 |
| Shooting | Moving Shot | 51 |
| Shooting | Free Throw | 36 |
| Playmaking | Pass Accuracy | 42 |
| Playmaking | Ball Handle | 75 |
| Playmaking | Post Control | 75 |
| Defense | Interior Defense | 78 |
| Defense | Perimeter Defense | 97 |
| Defense | Lateral Speed | 74 |
| Defense | Steal | 25 |
| Defense | Block | 88 |
| Defense | Rebound | 25 |
| Physicals | Stamina | 91 |
| Physicals | Speed | 83 |
| Physicals | Acceleration | 81 |
| Physicals | Vertical | 89 |
| Physicals | Strength | 80 |
Finishing badges
These badges reward driving to the rim and converting through contact, which is the core of how this build scores inside.
| Badge | Tier | Effect |
|---|---|---|
| Traffic Finisher | Diamond | Improves contact layups below the rim and contact dunks for dunkers. |
| High Flyer | Diamond | Extends the dunk range on driving dunk attempts. |
| Relentless Finisher | Diamond | Boosts contact layup conversion, absorbs contact on finishes, and cuts energy loss. |
| Perfect Lays | Gold | Adds a shot boost for slightly early, slightly late, or excellent layup timing. |
| Paint King | Silver | Raises the chance of bumping your defender. |
Shooting badges
The shooting set keeps jumpers viable against closeouts and on low stamina, so the build stays a threat from mid-range and deep.
| Badge | Tier | Effect |
|---|---|---|
| Tunnel Vision | Gold | Reduces the penalty from a closing-out defender on mid-range and 3PT shots. |
| Relentless Shooter | Gold | Softens the shot penalty when shooting on low stamina. |
| Quick Draw | Silver | Speeds up the catch-and-shoot jump shot release. |
| Limitless Shooter | Silver | Extends effective range on standing 3PT shots. |
| Formless Shooter | Silver | Boosts difficult off-dribble jumpers like hop steps, spins, stepbacks, and pull-ups. |
| Deep Post Bag | Bronze | Increases the speed of shots taken out of the post. |
Playmaking badges
Playmaking focuses on chaining dribble moves and protecting the ball rather than pure passing, which fits the lower pass accuracy on this spread.
| Badge | Tier | Effect |
|---|---|---|
| Space Maker | Gold | Raises the chance of creating separation on stepback moves and shots. |
| Quick Handles | Silver | Speeds up chaining dribble moves together. |
| Tireless Handles | Silver | Cuts energy loss on dribble moves so you can combo longer. |
| Soul Snatcher | Bronze | Increases the chance of freezing or dropping a defender on dribble moves. |
| Post Footwork | Bronze | Speeds up post moves. |
| Glove | Bronze | Lowers the chance of getting stripped while dribbling. |
Defense badges
With 97 perimeter defense and 88 block, this build is a switchable stopper. The badge set supports on-ball containment, rim protection, and chase-down blocks.
| Badge | Tier | Effect |
|---|---|---|
| Intimidator | Amethyst | Makes contested offensive players miss more and boosts tight shot defense. |
| Tough Ankles | Diamond | Lowers the chance of getting crossed over or ankle-broken. |
| Locks | Gold | Improves staying in front of the ball handler with quicker cut-off moves. |
| Rim Saver | Silver | Improves shot blocking, unlocks special block animations, and boosts the Takeover meter after a block. |
| Lurker | Silver | Improves chase-down blocks. |
| Post Lockdown | Silver | Improves post defense with more bumps and pushbacks. |
| Hustler | Bronze | Improves overall speed, loose-ball recovery, and fast-break defense. |
| Trampoline | Bronze | — |
Best takeover: Highlight Reel
Select Highlight Reel. It increases blowby success, raises driving dunk percentages, and boosts posterizer chance. Unleash is a common alternative, but Highlight Reel is the stronger fit here because it opens up contact dunk animations. Once the takeover bar fills, drives become far harder to stop, and the build cashes in on its high driving dunk rating.
The result is an all-around wing that finishes through contact, defends across the perimeter, and keeps enough handle and shooting to stay a threat on both ends. Set the vitals exactly, match the attribute values, run the badges by category, and lock Highlight Reel to complete the build.