Grinding the same acts over and over for experience, sprites, and Mastery in Anime Expeditions gets old fast. ExoPanda is a free automation tool that takes over the repetitive part. It enters the stage you picked, places your saved units, upgrades them in the order you set, watches the screen to confirm the round actually ended, and then loops the whole run for as long as you leave it on.
Quick answer: Install ExoPanda, generate a free Runtime Key, set Roblox UI Scale to 1 with Auto Skip Waves enabled, then use F7 to record your unit placements and upgrades and F3 from the lobby to start the automated loop.
What ExoPanda automates
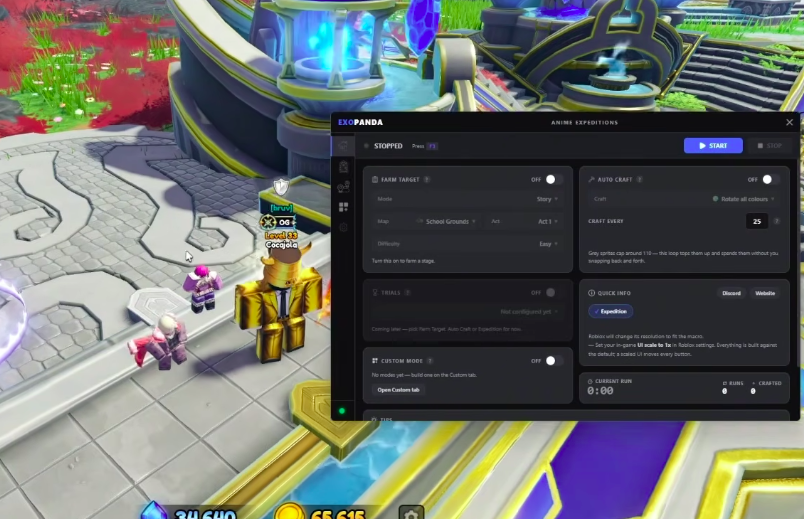
ExoPanda reads the game purely from what is on screen. Nothing is injected into Roblox and no game files are touched, which is why it resizes the Roblox window to a fixed size it was built around. Once configured, it handles Story acts, raids, and the cart-defense Expedition mode without any manual clicks.
| Task | What it does |
|---|---|
| Auto place units | Deploys your recorded team to the exact spots you calibrated, in your placement order. |
| Upgrade priority | Upgrade All, a timed Timeline, or Per Unit so money units max out first. |
| Round-end detection | Reads the hotbar to confirm the round genuinely ended before looping. |
| Auto expeditions | Runs the cart-defense mode at the difficulty you choose. |
| Sprite auto-craft | Farms Mastery until grey sprites cap, returns to lobby, crafts, then keeps farming. |
Requirements before you start
The macro’s button-clicking logic is calibrated to a fixed layout, so a few Roblox settings must match exactly or the clicks land in the wrong place. Set these first.
| Setting | Value |
|---|---|
| UI Scale | Exactly 1 |
| Auto Skip Waves | Enabled |
| Auto Vote Start | Disabled while recording, enabled when running the loop |
You also need a free Runtime Key. Open the key page, click Watch ad – get more time, close any pop-ups, then copy the generated code into ExoPanda. You can stack more time by pressing + Add 24h (watch ad) multiple times. If a key expires mid-run, the macro keeps executing until you stop it manually. Grab a key from the ExoPanda key page.

Install ExoPanda on Windows
ExoPanda_Setup.exe and launch the app once it installs. The setup tool pulls the newest version for you.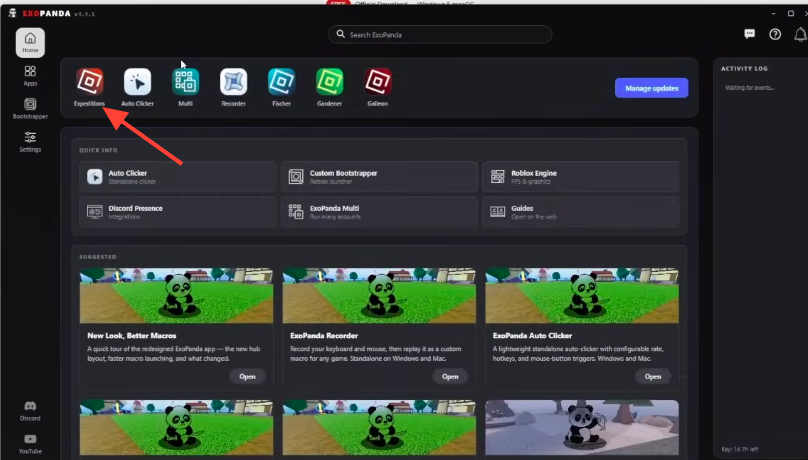
Record and run a Story Mode macro
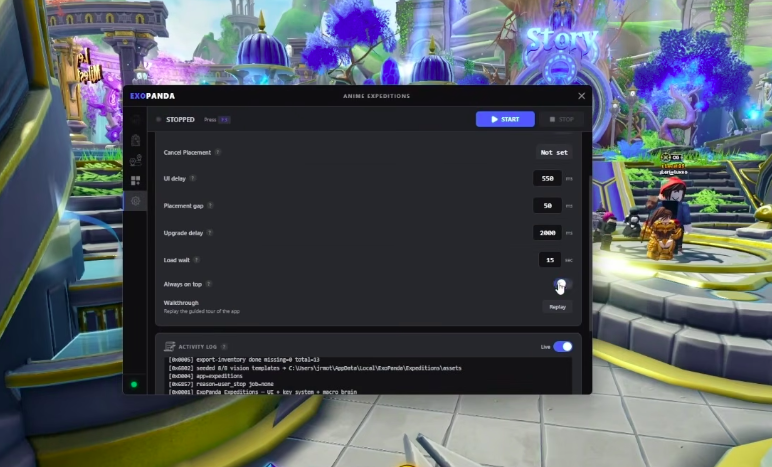
F7 to start recording, place your units on the map, then press F7 again to stop. Do not move or rotate the camera during recording, since any camera shift breaks the placement coordinates.F7, open the Unit Manager, click Auto Upgrade All, click Close, then press F7 to stop.F3 to start the loop. The macro re-enters the stage, replays your placements and upgrades, and repeats.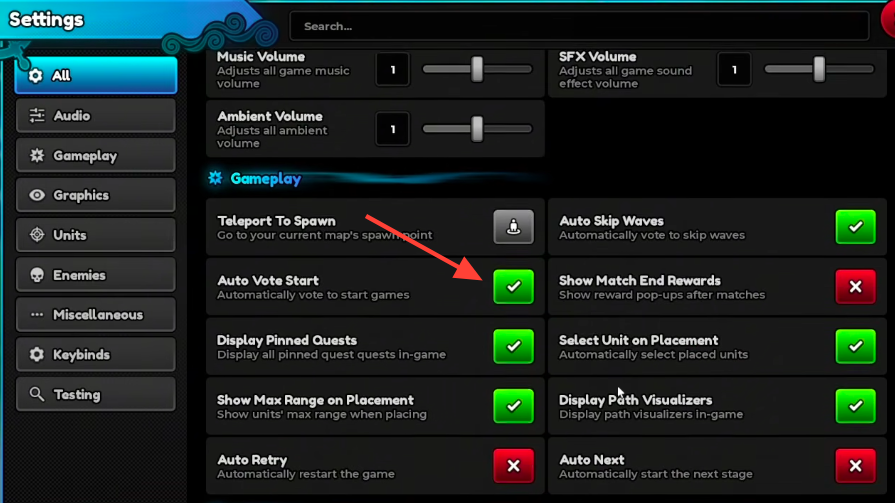
Set up an Expedition Mode macro
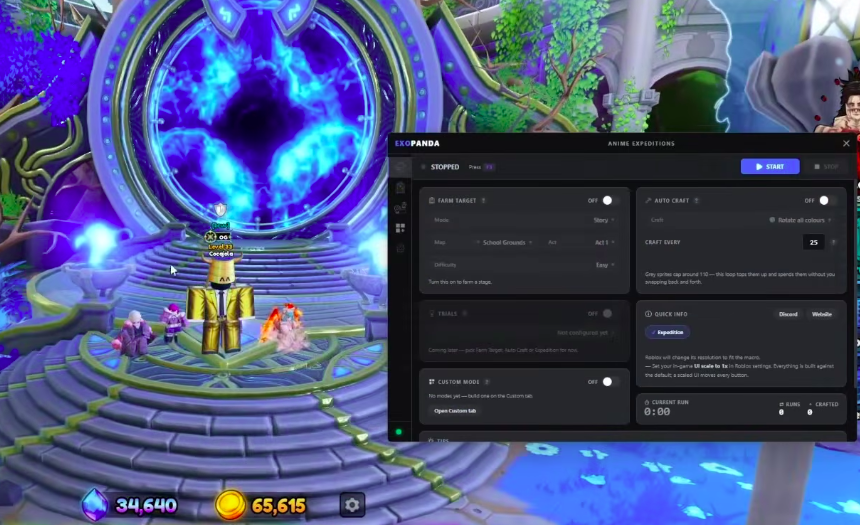
F3 to run the expedition loop. Keep in mind that a config built for a Story or Mastery stage will not behave in an expedition, so match the config to the mode.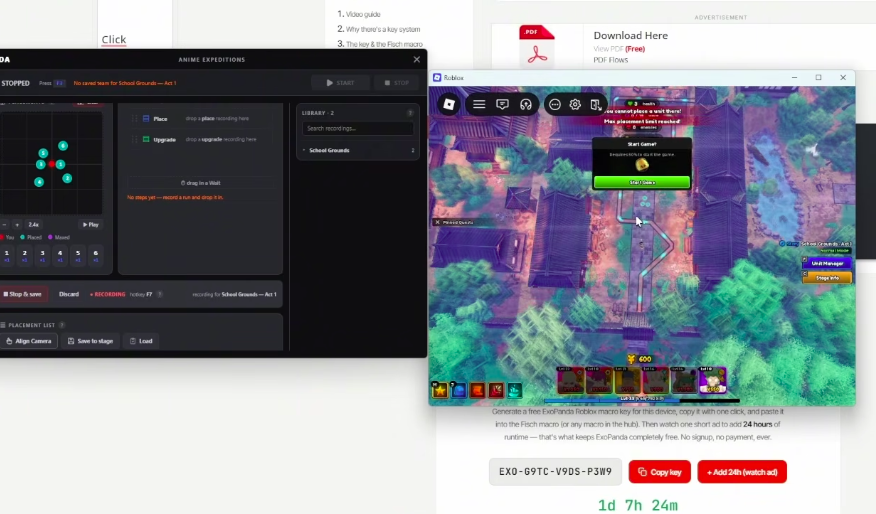
How to confirm it is working
After you press F3, the macro should navigate the menus on its own, enter the stage, drop your units in the recorded spots, and upgrade them. When the round ends, it reads the on-screen hotbar to confirm the round genuinely finished and the rewards were handed out, then restarts the run. If it enters the stage and places units without you touching anything, the loop is running correctly and will keep farming experience and levels hands-free.
Why the macro fails to start or misclicks
- UI Scale is not set to exactly
1, so the button-clicking logic lands off target. - The camera was moved after aligning, or Align Camera was never pressed for the current mode.
- Auto Skip Waves is off, so the run never advances the way the macro expects.
- You started the macro mid-stage instead of from the lobby, where it needs to drive the menus itself.
- On a laptop, the function keys may need
FN + F7orFN + F3instead of the plain keys.
Note: Automation is not endorsed by the game, and its moderators act against exploit use, so running any macro carries real account risk. Keep your settings locked to the values above, record your placements cleanly, and the loop will hold together for long unattended sessions.