Project Zomboid lets you ride out the zombie apocalypse alone or with a group, and hosting your own co-op world is one of the simplest ways to play together. The Host option builds a listen server straight from your machine, but the wall of settings it throws at you can make the process feel harder than it is. Here is how to get a private world running, keep strangers out, and pull your whole group into the same location.
Quick answer: From the main menu, pick Host, choose a server name, allocate 4–6GB of memory, add a password under Manage Settings, and turn the Public option off. Then invite friends through Steam or the in-game Invite Friends menu.
Host a listen server from the main menu
A listen server runs on your own PC and works without any external tools or extra cost. Everything starts from the Host Game screen, where you set which world you load and how much memory it gets.
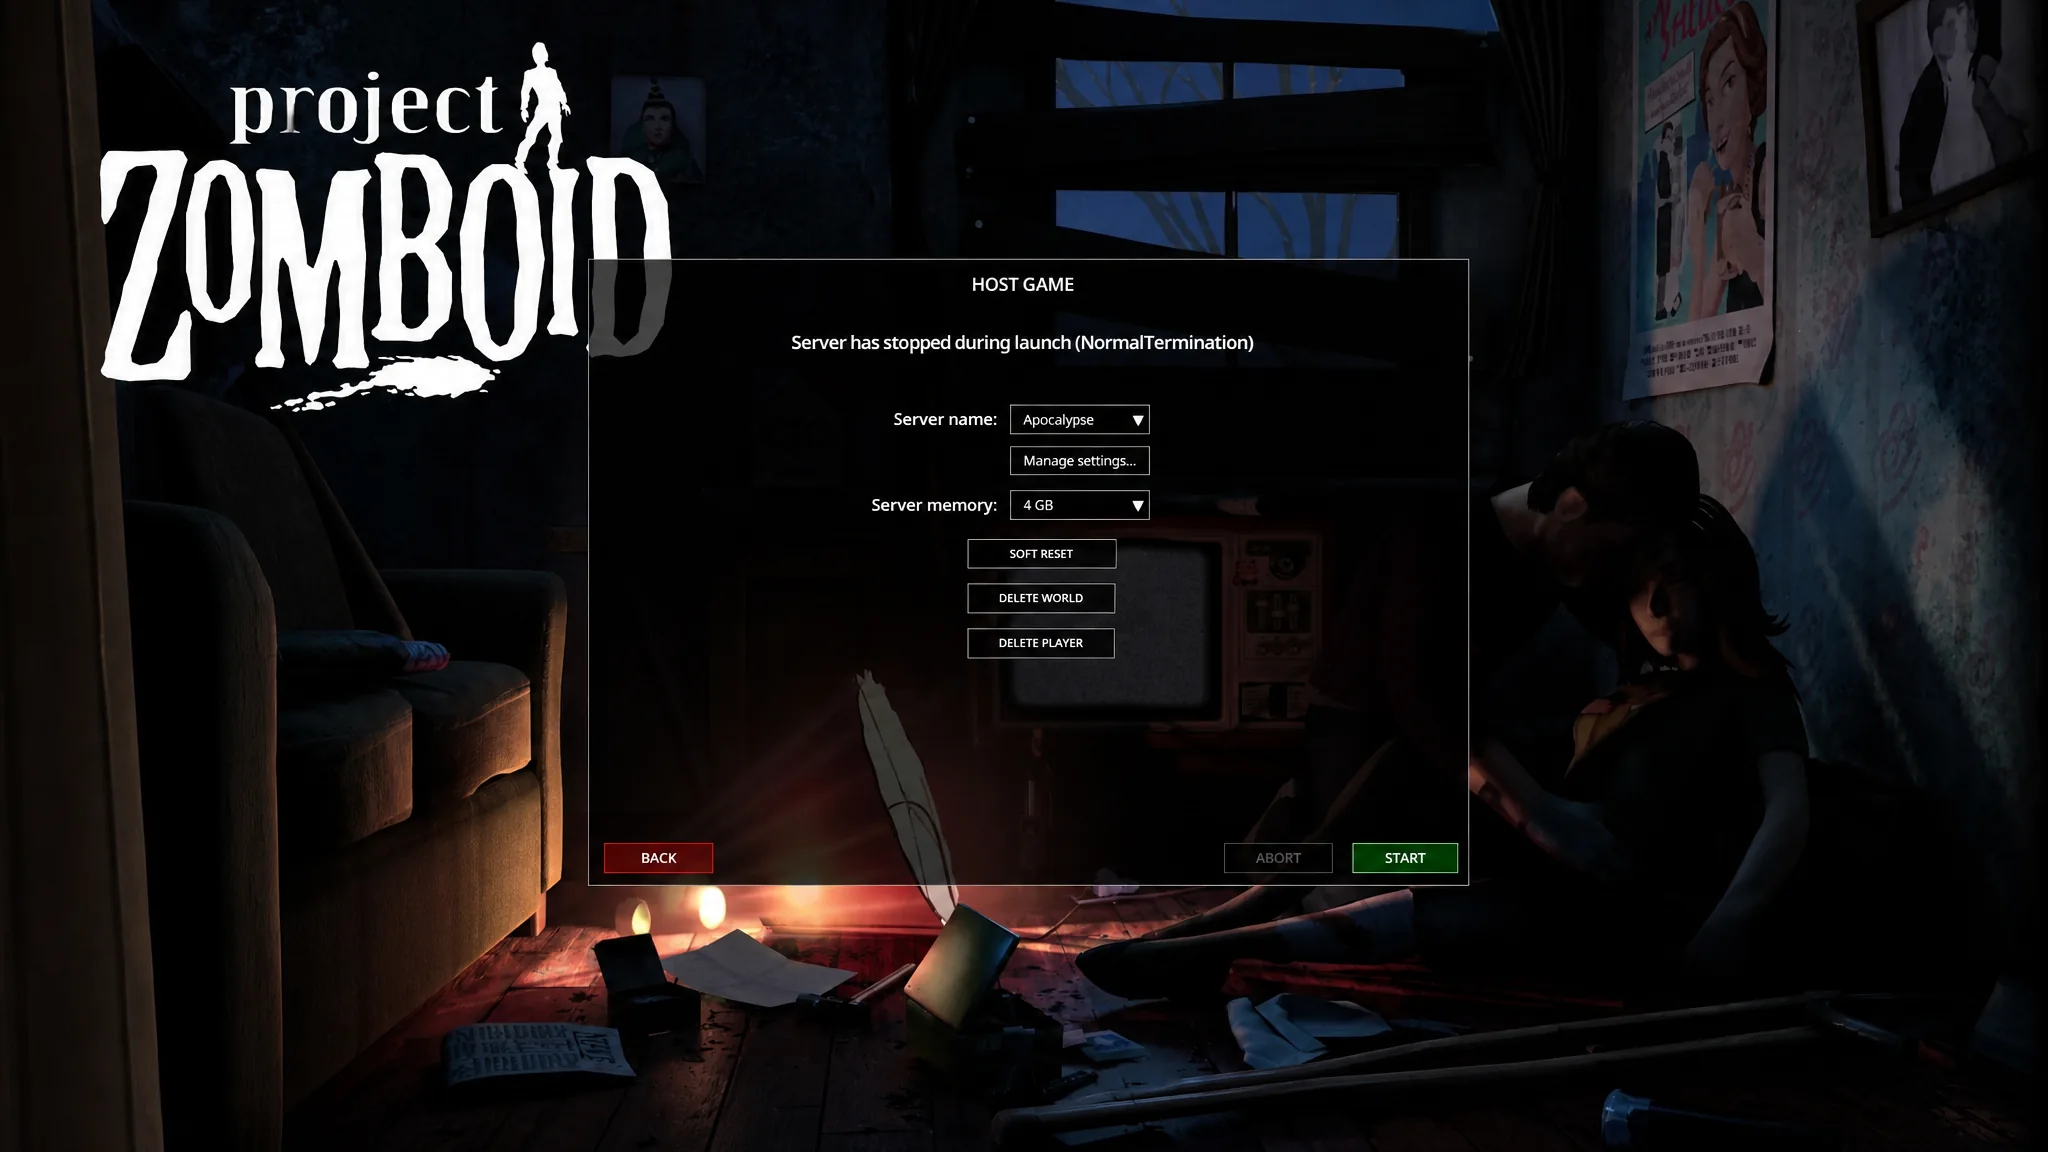
For a small co-op group, 4–6GB of memory is usually enough. Each connected player adds roughly 200MB of RAM use, so a four-player game built on a 4GB base lands near 6GB in total.
| Setup | Suggested memory |
|---|---|
| Base server | 4GB |
| Per connected player | +200MB each |
| 4-player co-op game | ~6GB total |
Keep strangers out with a password, whitelist, or hidden listing
Three settings control who can reach your world. You can use them alone or stack them for tighter control. For a friends-only group, a password plus a whitelist is the strongest combination.
| Method | Setting | Effect |
|---|---|---|
| Password | Password= | Only players who know the password can join, even if they find the server. |
| Whitelist | Open=false | Only players an admin manually adds can connect. |
| Hidden listing | Public=false | Server stops appearing in the public Steam server list. |
Set a password in the world’s settings and only people who have it get in, which is the easiest way to lock a friends-only game. Turning Public off hides the world from the Steam server browser, so only players who know the address can reach it. Setting Open=false switches on the whitelist, after which you approve players yourself.
To manage the whitelist, use the server console. AddUser [username] [password] creates a player and adds them to both the user and whitelist. Other useful commands include AddUserToWhitelist [username], RemoveUserFromWhitelist [username], and AddAllToWhitelist to whitelist everyone currently online.
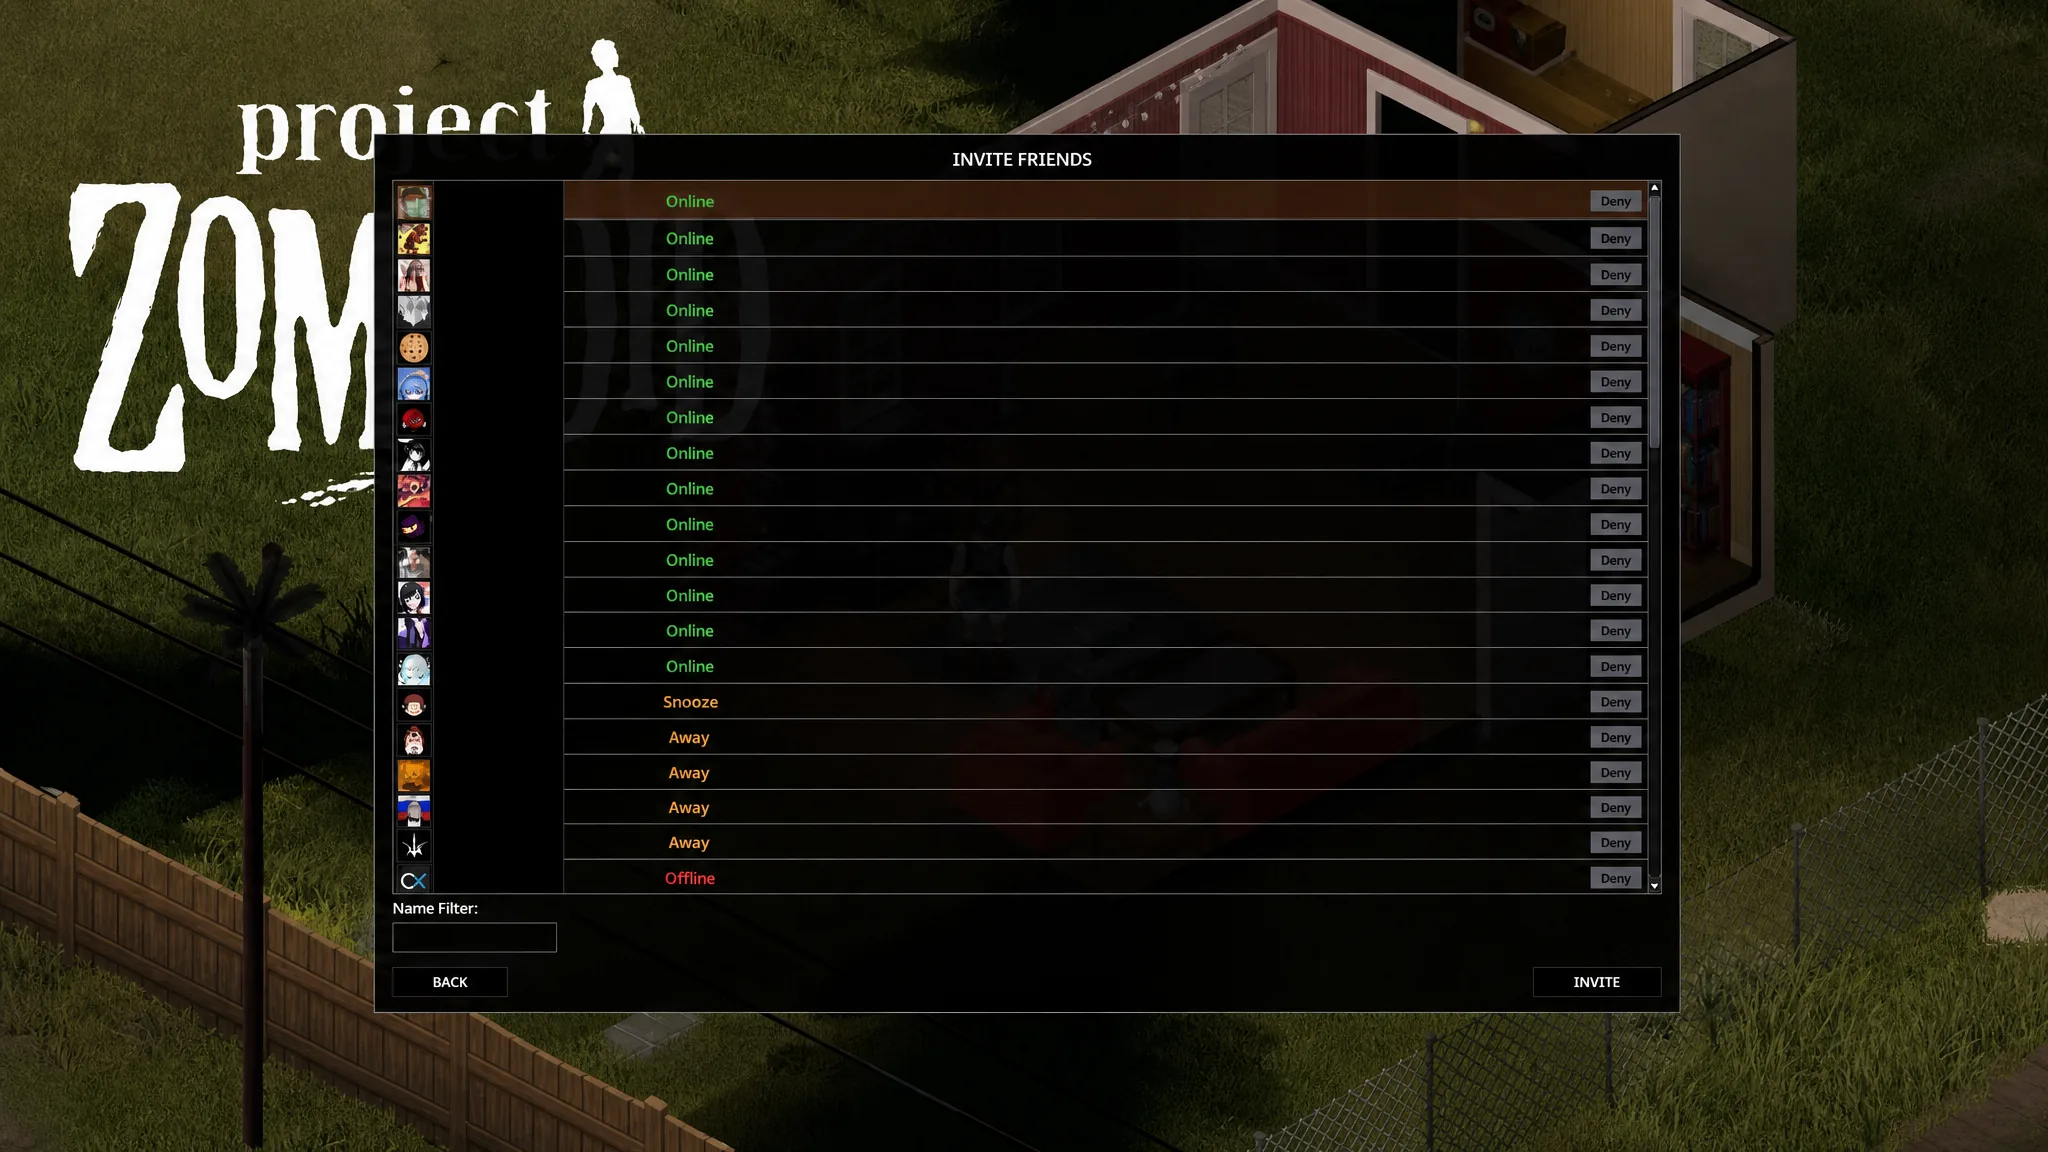
Invite friends to your server
Once you have loaded into the world, you can bring people in through Steam or through the game itself. If Steam does not offer an invite option in your friends list, use the in-game menu instead.
Make everyone spawn in the same place
By default, players scatter to different starting points even when they pick the same town. To land your whole group in one spot, set a fixed spawn point in the world’s settings using map coordinates.
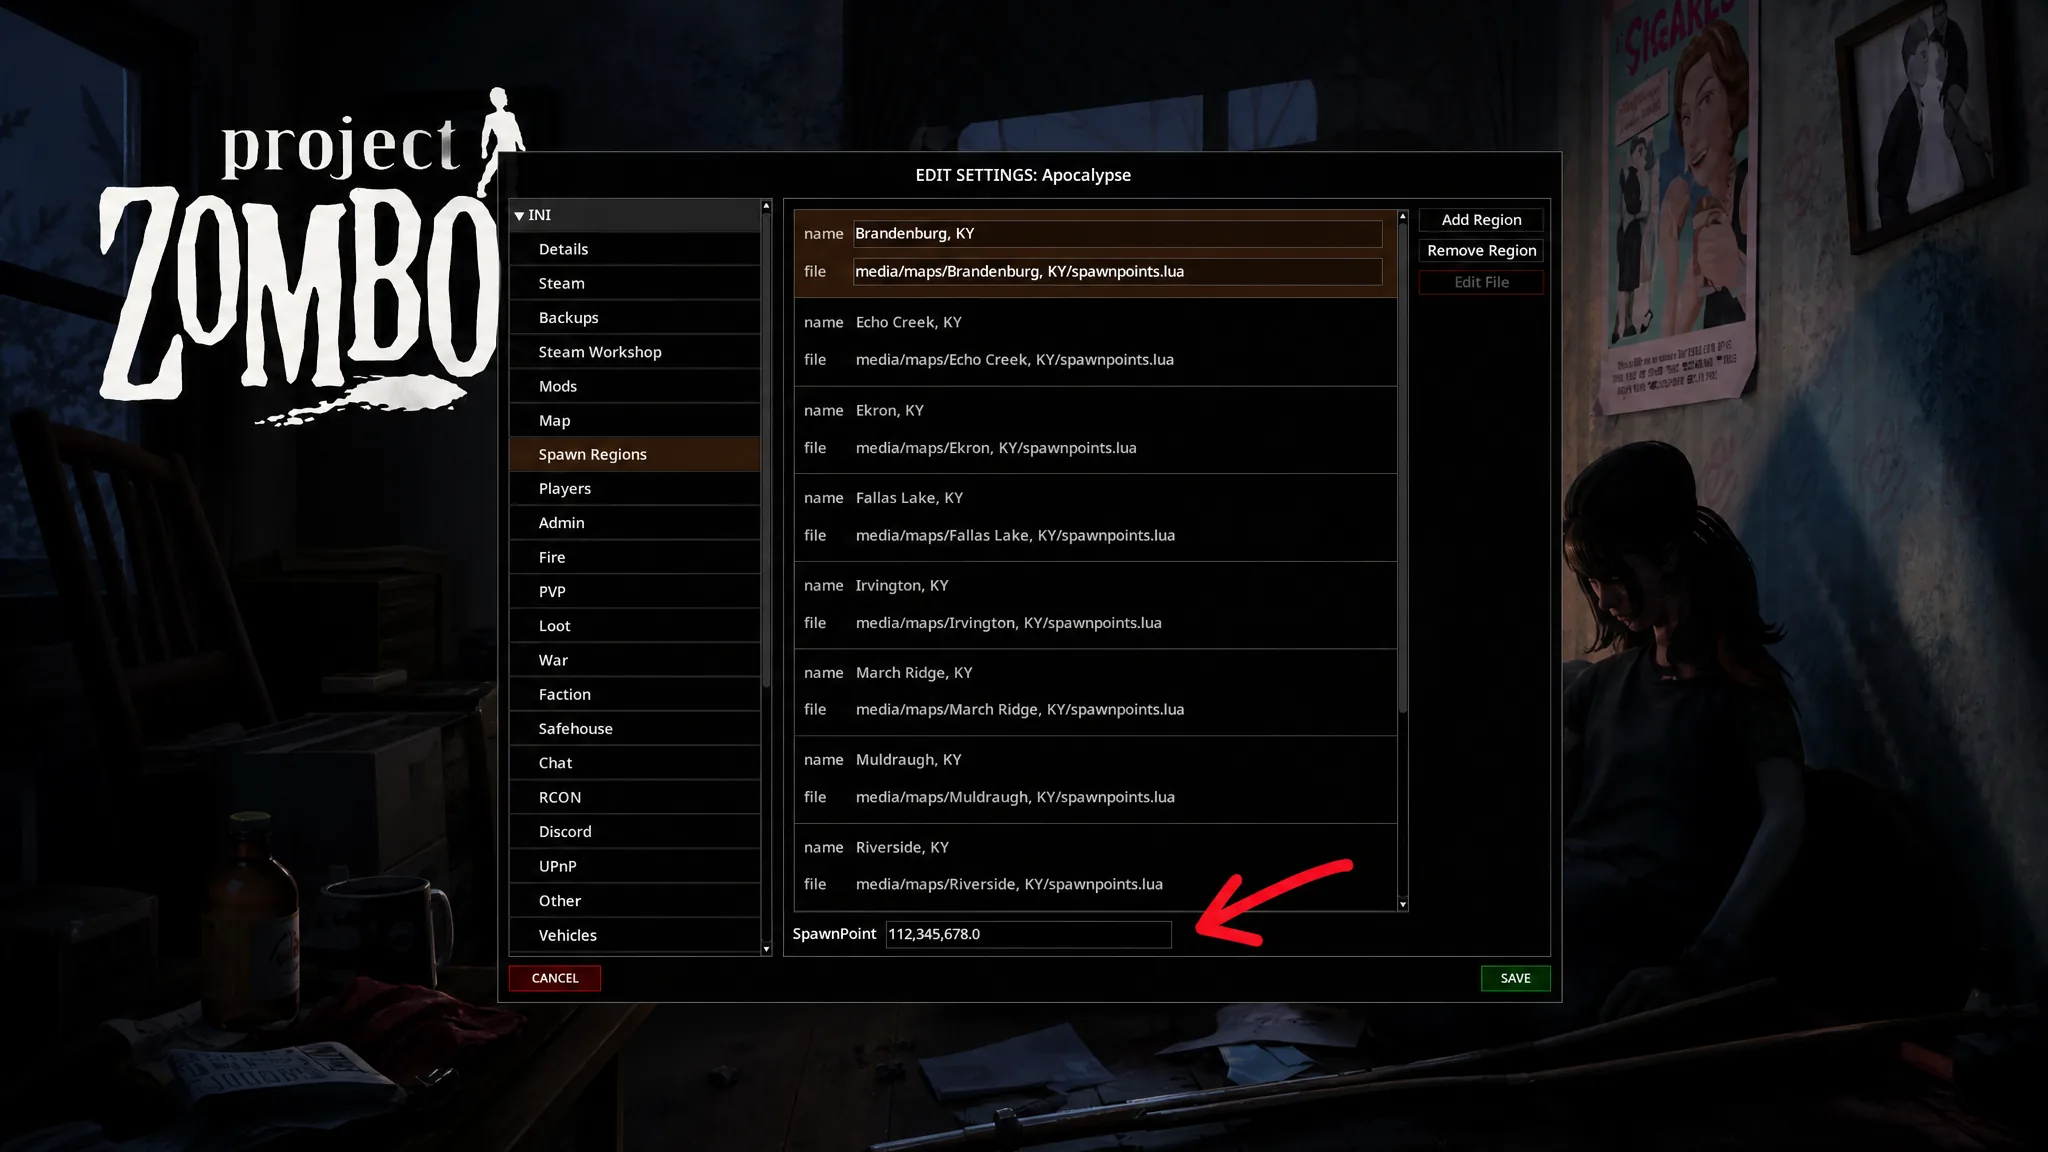
10694,9355,0, then start your server.Done correctly, every player spawns at the exact coordinates you entered. Choose the location carefully, since a bad pick can drop the whole group into a zombie-packed area.
Fix the Normal Termination error
If a Normal Termination error appears while you are hosting, load a different server from the Host screen. That world is a separate save, so anything you built on the original world stays where it was and does not carry over.
Once the world loads without the error, the fix has taken hold and your friends can connect again. If lag or minor bugs crop up after everyone joins, a simple server restart clears most of them, and adding more memory helps when performance dips as players log in.
A quick reminder on connecting from the other side. Players joining a world hosted from home need the host’s IP address, the password if one is set, and the default port 16261. With those in hand, they can use the Online tab or a direct connection to drop straight into your private world.