A Bizarre Run starts you on horseback, not in a menu. Before you reach Devil’s Palm or the Steel Ball Run, the game drops you into a short tutorial race against AI riders. The race takes you through a canyon, a cactus field, a collapsing bridge and a steep downhill run. It teaches three things you will use for the rest of the game: steering your horse, shooting obstacles with your revolver and firing off a speed boost. The track is short and only one section is tricky, but how you ride decides your grade and what you walk away with.
Quick answer: Follow the yellow arrows, press C then M1 to shoot the dynamite, press Z at the bridge, and cross the goal first. First place earns Grade S, +$400 Cash and one Spin Ticket.
A Bizarre Run tutorial race controls
You don’t need to bring anything into the tutorial. The game gives you a horse, a revolver and a full stamina bar, which reads STAMINA 100% at the start. Every mounted control sits in a list on the right side of the screen while you ride, so you can check a key mid-race without opening a menu.
| Action | Key | Used in the tutorial for |
|---|---|---|
| Sprint | L. Shift | Holding top speed |
| Boost | Z | Crossing the bridge |
| Sidearm | Hold C | Drawing the revolver |
| Shoot | M1 | Destroying dynamite |
| Get Off | N | Dismounting |
| Hang | Q | Mounted action |
| Summon Stand | B | Stand control |
| Emote | X | Cosmetic |
The HUD also shows a few labels you won’t need yet: Time Skip, Enhance and Revolver | Hold to charge. The last one tells you the revolver has a charged shot if you hold the button. The tutorial only asks for a basic shot. Keep Get Off (N) in mind as the one key to avoid during the race, because dismounting mid-track costs you positions you can’t easily win back.
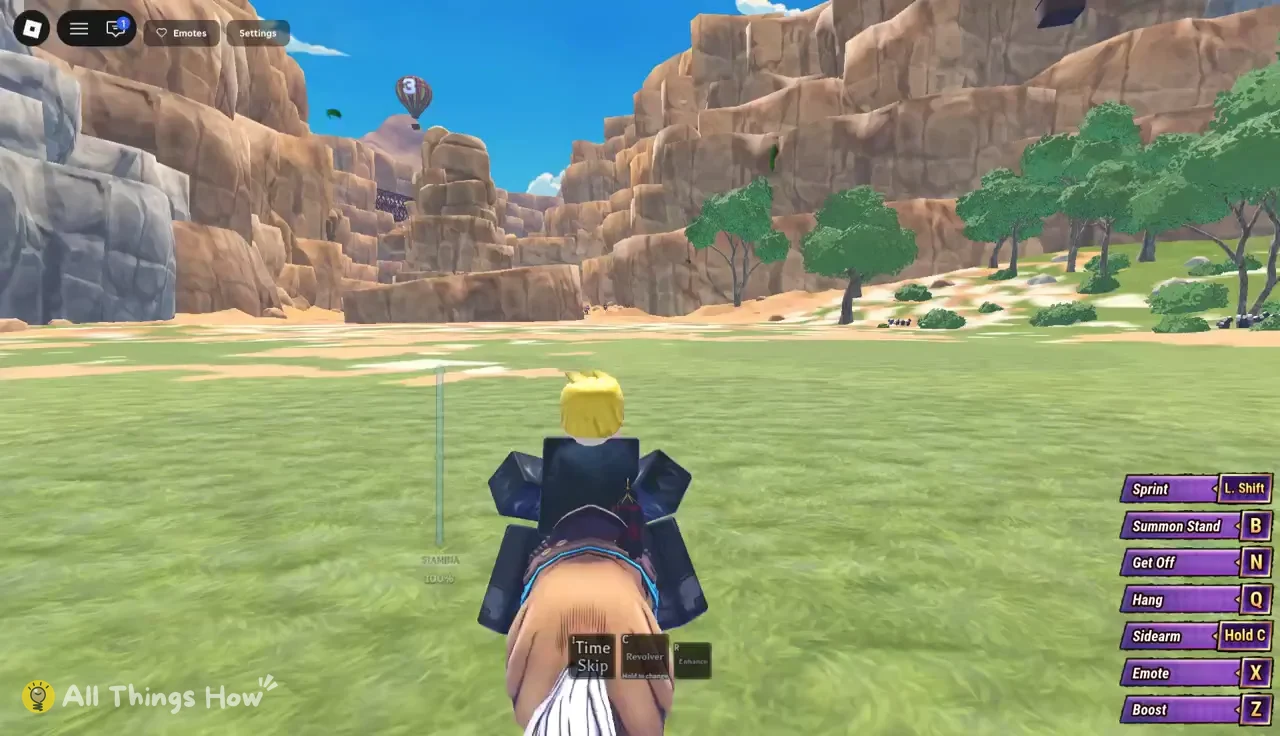
Your stamina gauge sits to the left of your rider. Sprinting is how you keep pace with the pack, so watch the gauge instead of holding Shift through every turn. You need speed left over for the open stretches, where most passing happens.
Tutorial race route, section by section
The course is one fixed route, and the game marks it for you in two ways. Large yellow arrows on the ground point down the best line, and numbered hot air balloons float above the track as landmarks. You start near the back of the field. A clean run climbs from around 9th to 1st by the finish, so every section is a chance to gain ground.
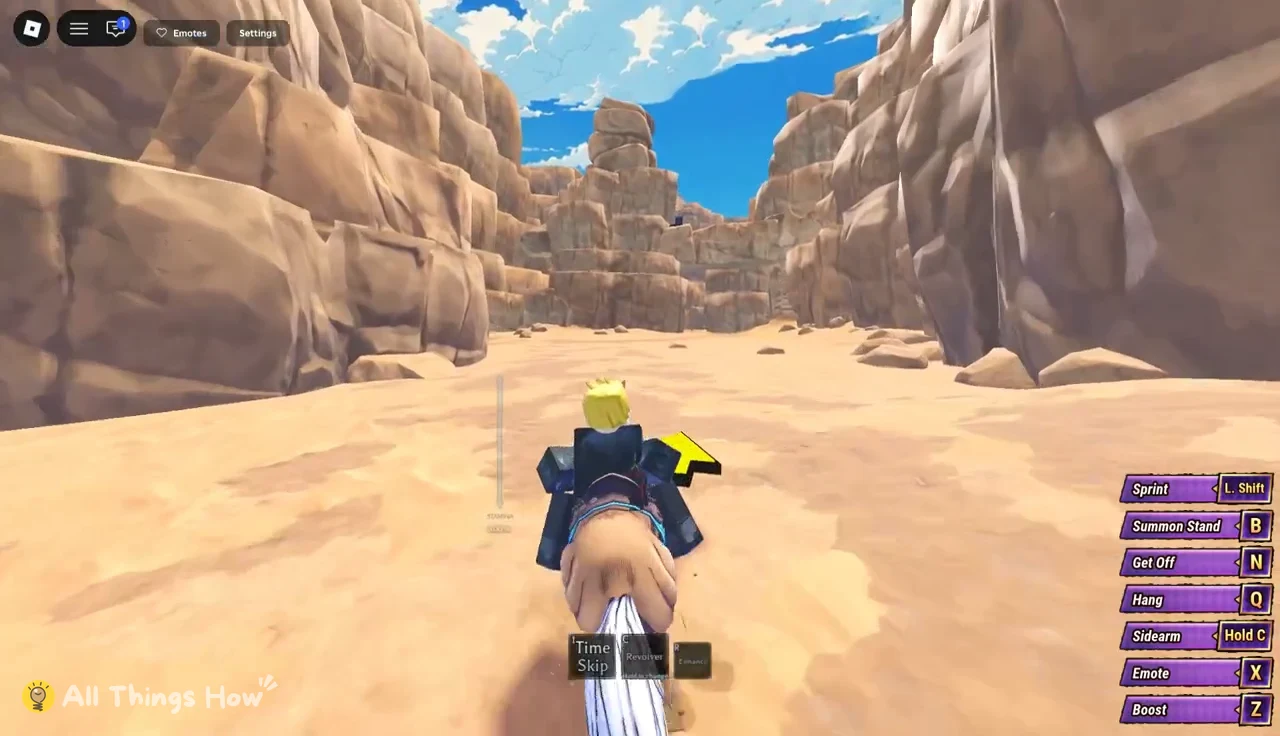
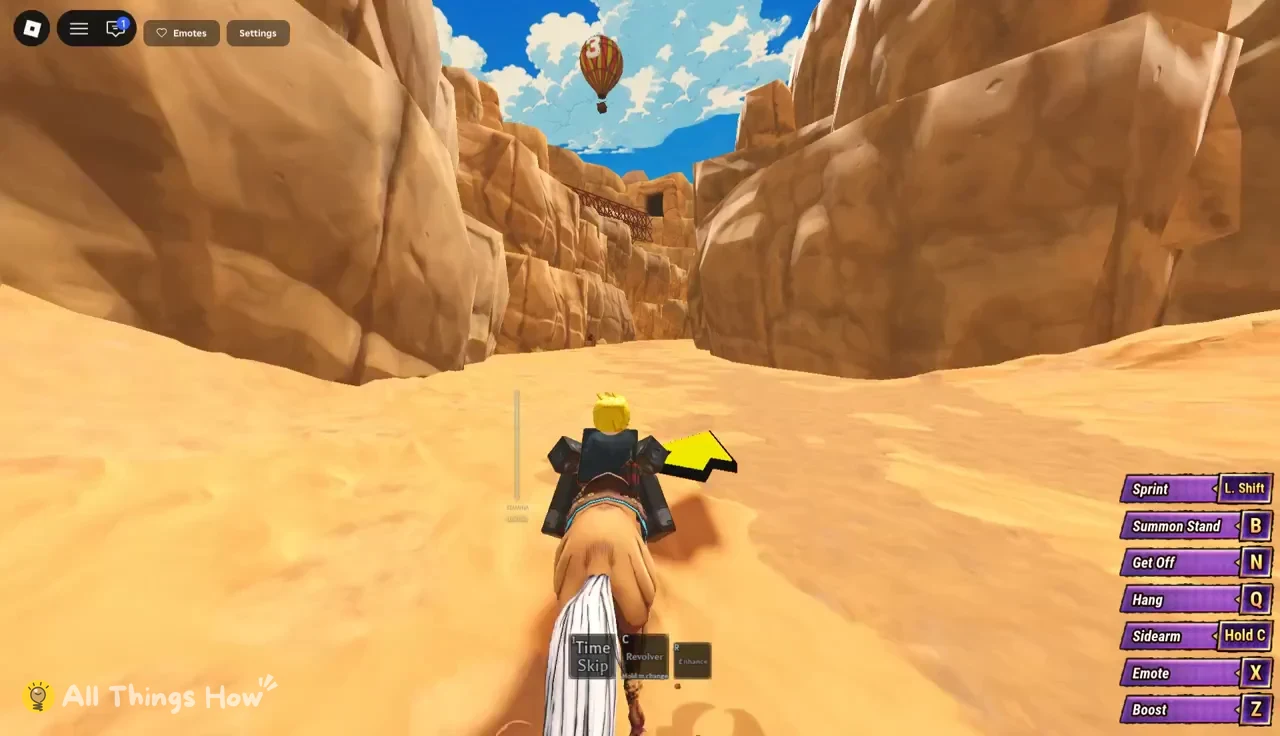
PRESS C TO PULL OUT YOUR REVOLVER appears, hold C to draw your sidearm. Dynamite blocks the path ahead, and you can’t ride through it.PRESS M1 TO SHOOT appears. A counter on screen drops from 6 / 20 to 5 / 20 as you fire. A hit shows GREAT SHOT! and blows the crate, which opens the canyon route.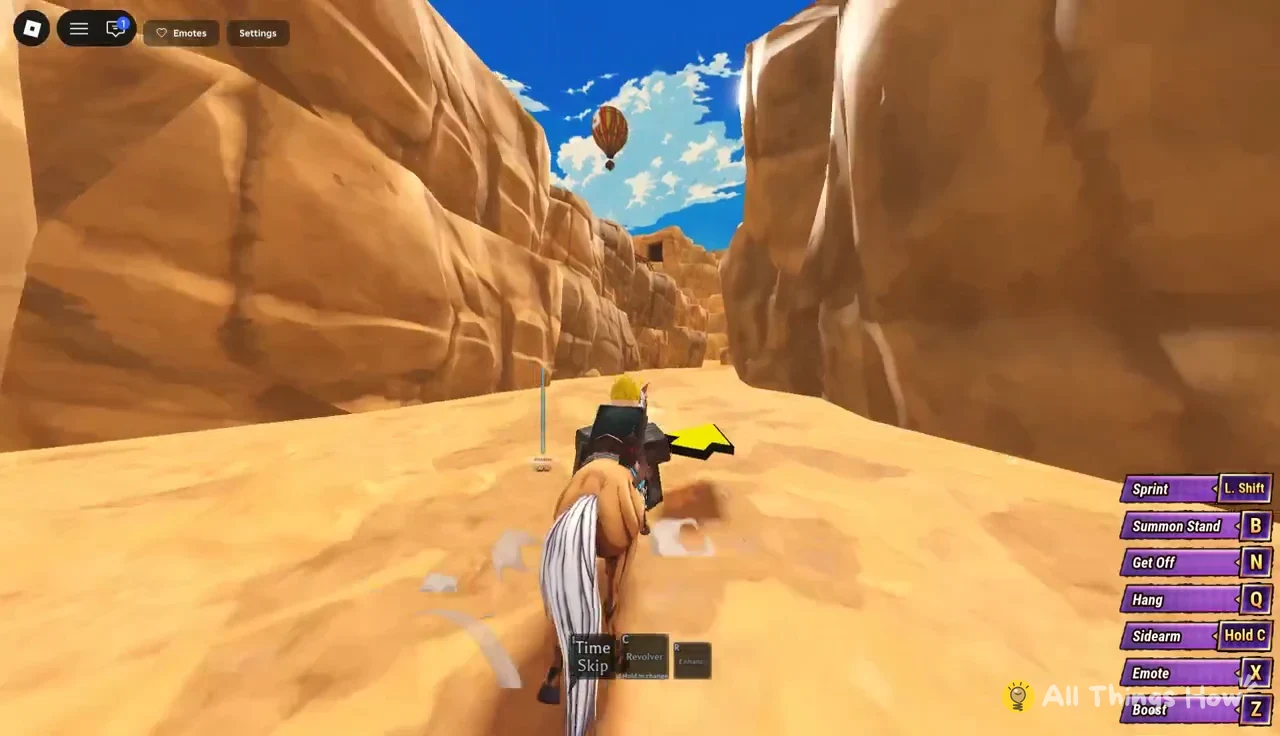
From here on, Boost (Z) shows up in the control list next to Sprint and Get Off. Hold off on it for now. The game prompts you when to use it.
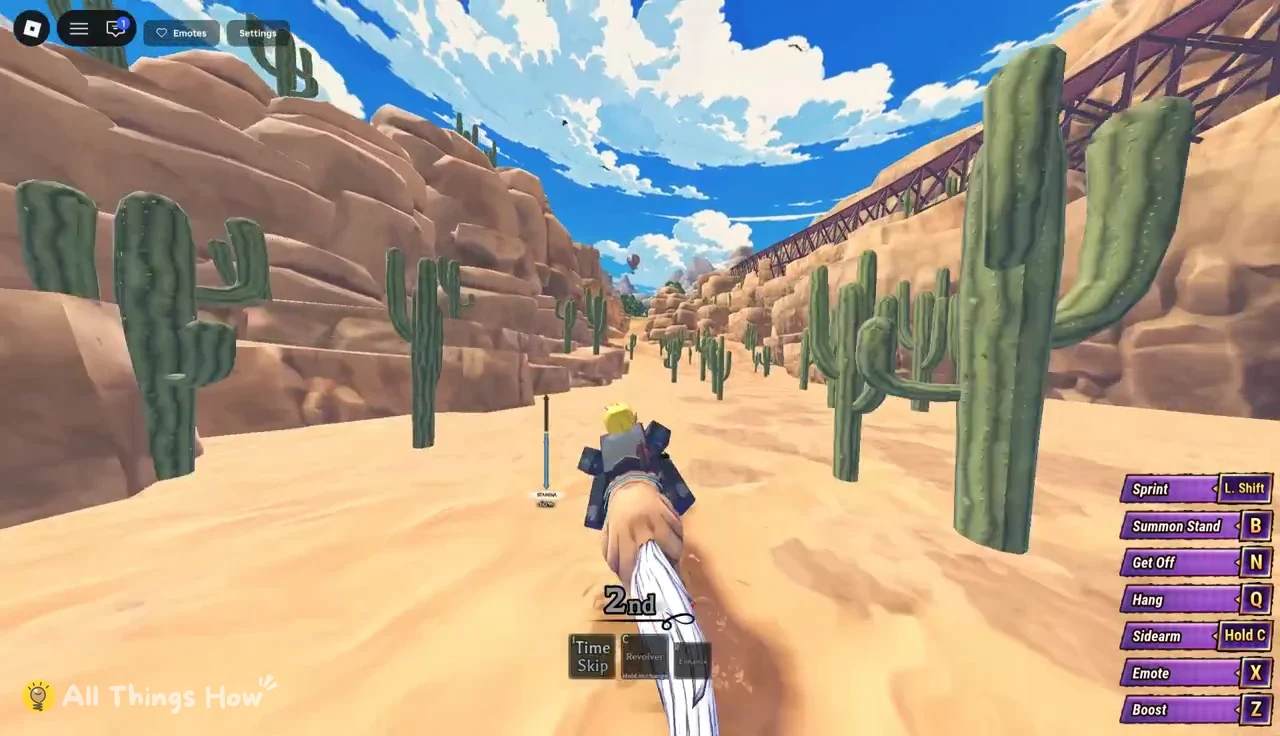
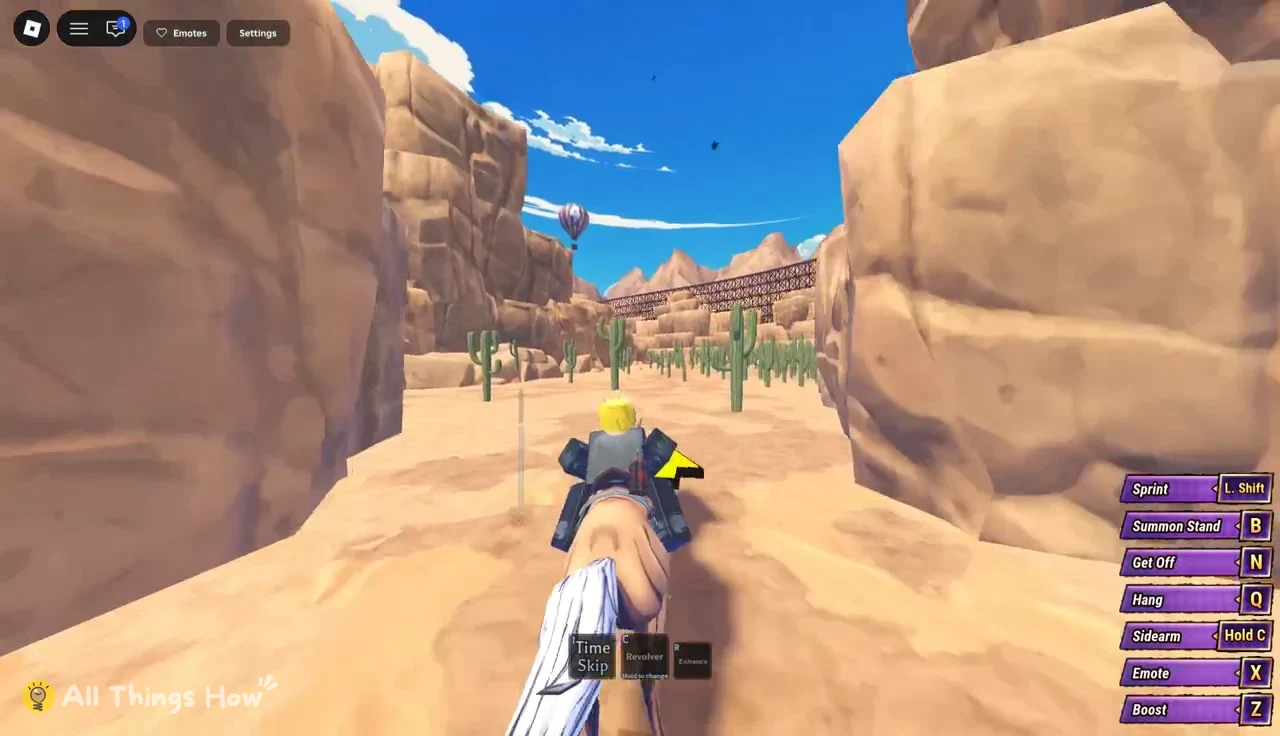
PRESS Z TO USE YOUR BOOST appears at the wooden suspension bridge. The bridge collapses under the riders, and the boost pushes your horse across before it gives way. A well-timed boost here can lift you as high as 2nd place.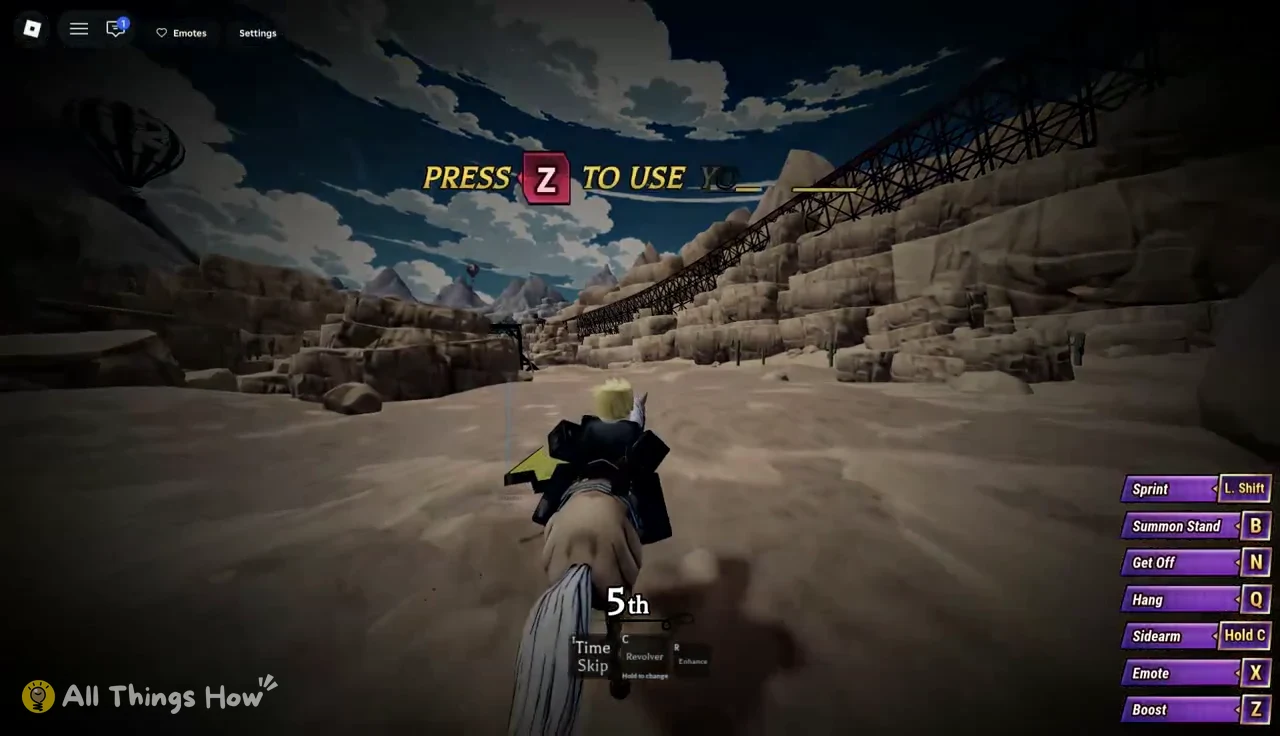
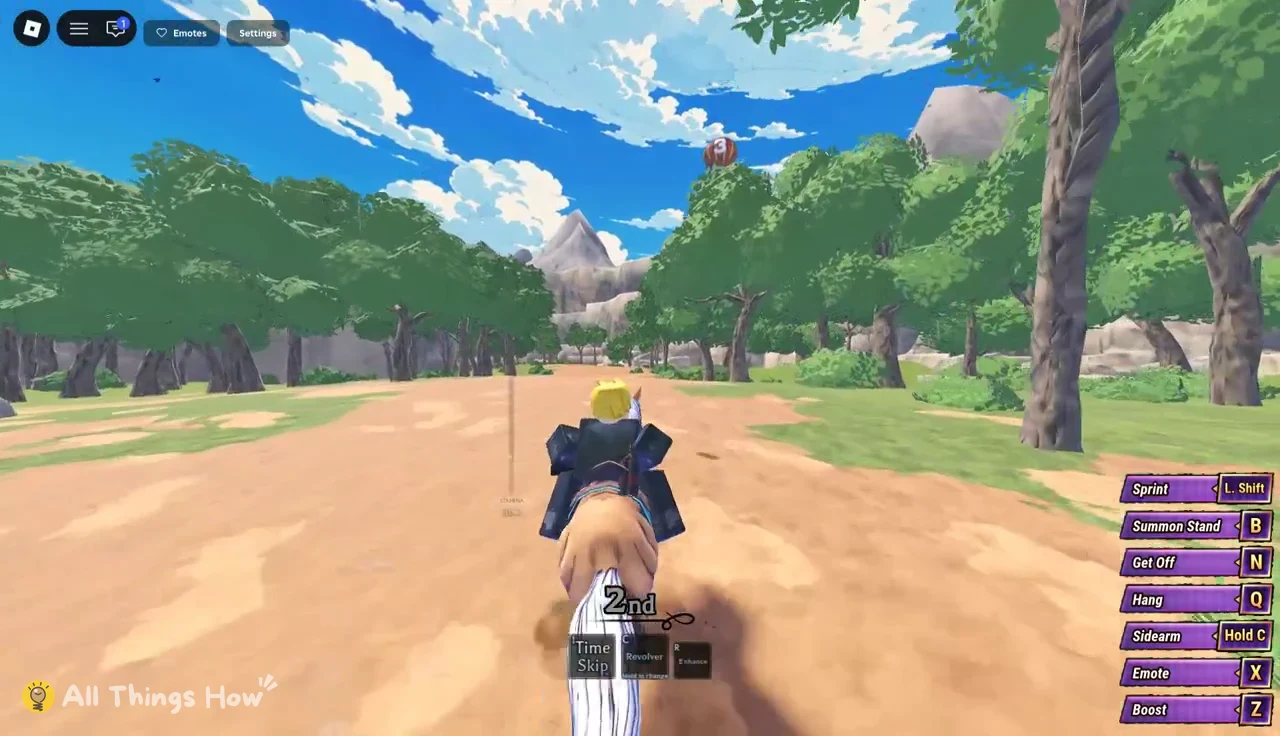
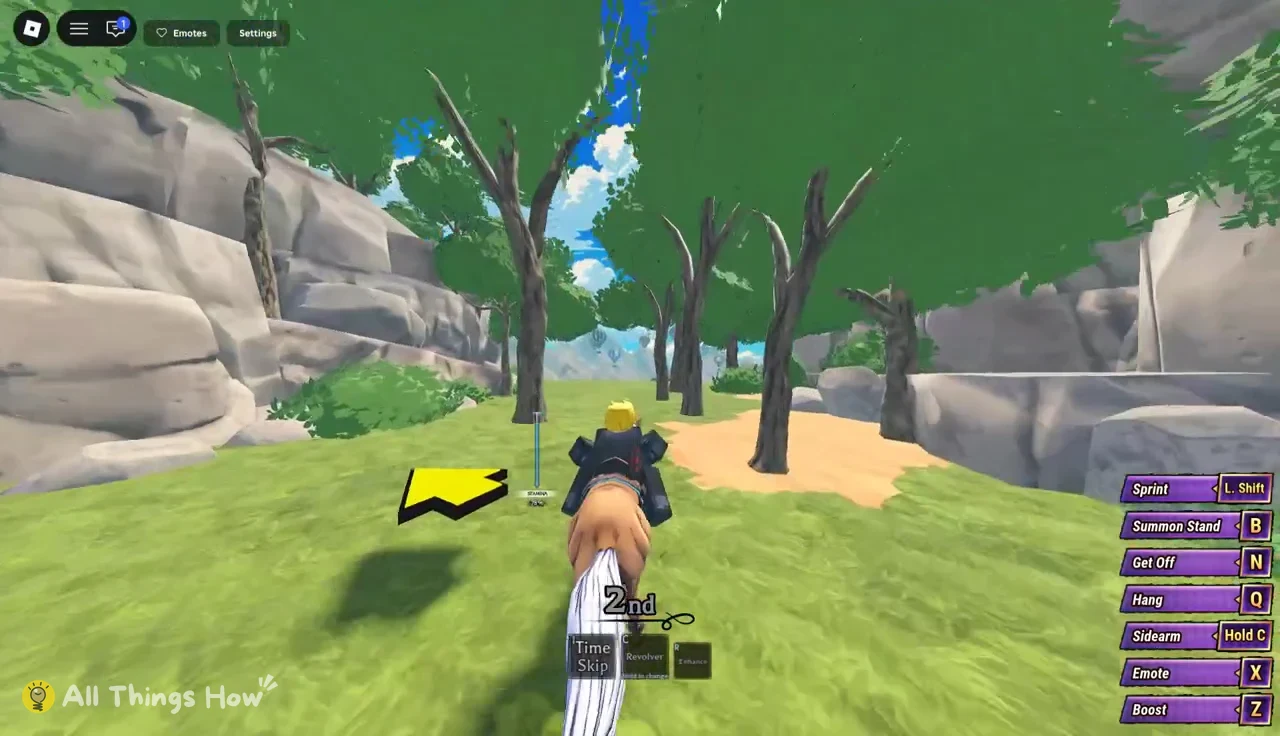
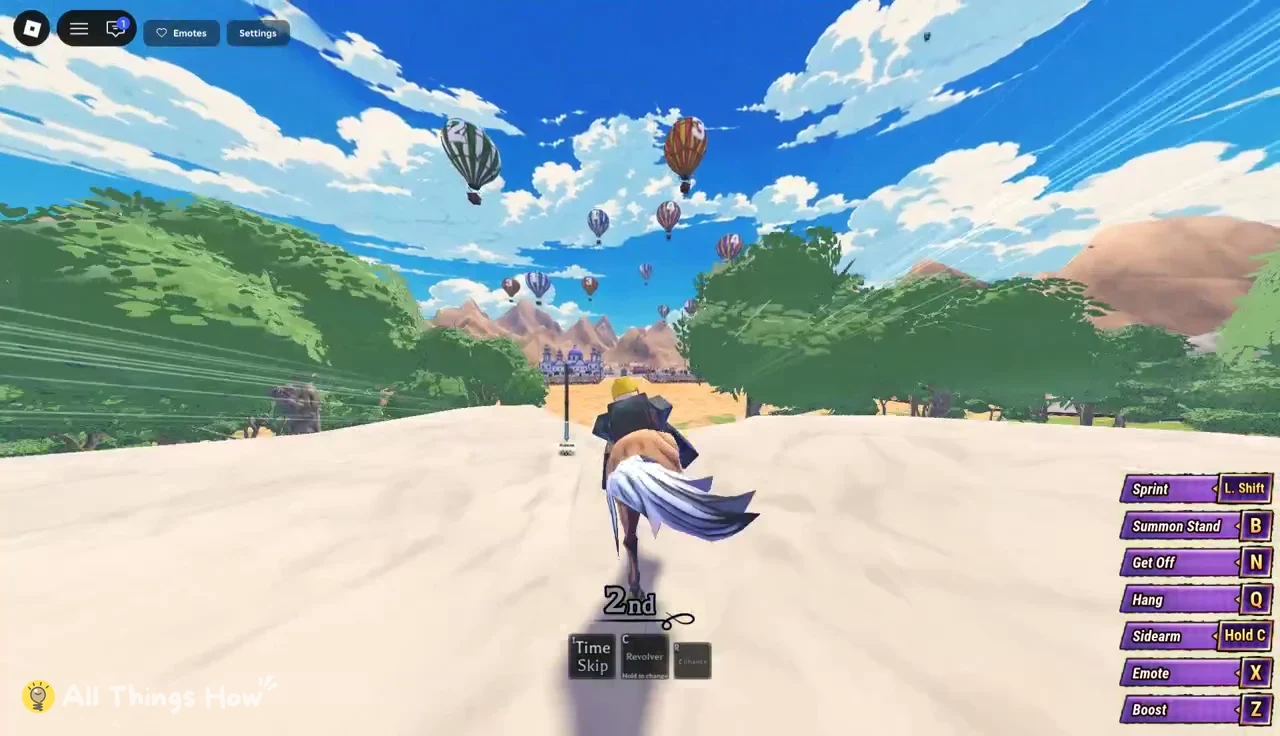
A BIZZARE RUN /// ★★ GOAL ★★ /// A BIZZARE RUN. Crossing it ends the race and shows a glowing STAGE COMPLETED star graphic.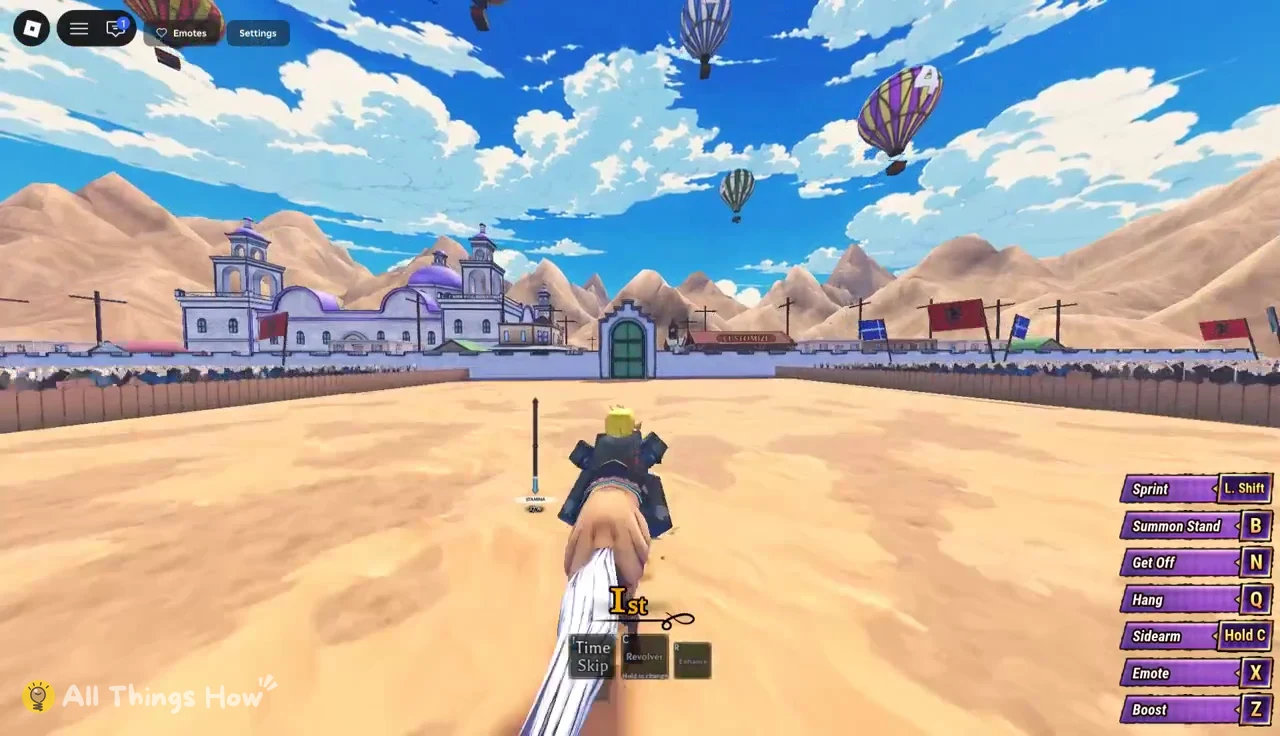
Race Ledger: Grade S and tutorial rewards
Once you cross the line, GREAT RACE! appears and a results card titled Race Ledger follows. It’s labelled TUTORIAL and shows your placing, your stats, your grade and a Rewards & Loots panel. Seeing this card is how you know the race counted.
| Ledger field | First-place result |
|---|---|
| Placement | 1st PLACE |
| TIME | 03:23 |
| TOP SPEED | 120 MPH |
| KILLS | 0 |
| SABOTAGES | 0 |
| Grade | GRADE S |
| Cash | +$400 CASH |
| Item | x1 SPIN TICKET |
Your time and top speed will vary with your line, but a first-place finish earns Grade S, +$400 Cash and one Spin Ticket. The Kills and Sabotages fields read zero in the tutorial, since the race never asks you to attack another rider. Their spot on the ledger shows they are tracked in later races, where rival riders can be fought and slowed down.
Combat Tutorial or Skip: The train car choice
After the ledger, you spawn inside a passenger train dining car. A message reads CONGRATULATIONS ON COMPLETING THE TUTORIAL!, followed by CONTINUE TO COMBAT TUTORIAL? with two buttons, Combat Tutorial and Skip. The riding tutorial is already done at this point, so the choice is only about whether you want guided practice with on-foot fighting.
Once you’re off the horse, the control list on the right switches to a combat layout. These are the keys the Combat Tutorial builds on:
Attackon LMBBlockon FDashon QCall Horseon TShift Lockon L. Ctrl
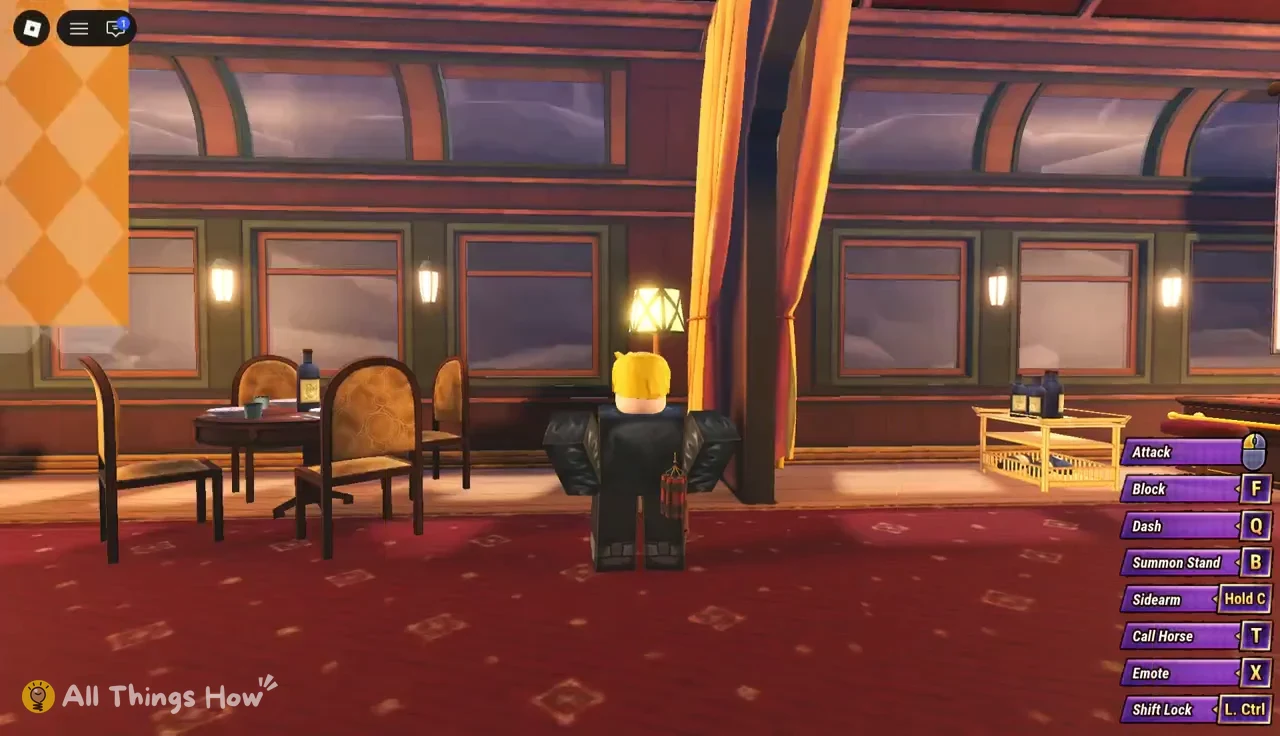
Dash uses Q on foot, while Q is Hang when you’re mounted. Remember that the same key does two different things depending on whether you’re in the saddle.
If you’re new to the game, take the Combat Tutorial. Stands, PvP and the open world all lean on blocking and dashing far more than the horse race does. Players who already know the basics can press Skip and keep the $400 and Spin Ticket from the race either way.