Enshrouded’s 1.0 update reset every skill tree and raised the level cap to 50 and gear cap to 55. A pure caster now centers on Eternal spells, switching between a staff and wand, and dealing fire damage. Fell enemies—including the final boss—are vulnerable to extra fire damage, making a fire Wizard effective through most of the late game. The downside is a low health pool, offset by staying at range, using Blink, and benefiting from passive healing.
Quick answer: Stack Intelligence, then Constitution and Spirit. Rush Wand Specialization, Quick Charge, and Mana Currents. Then build Wizard-tree fire nodes. Cast Eternal Fireball from a fire staff and swap to a wand and ward for defense.
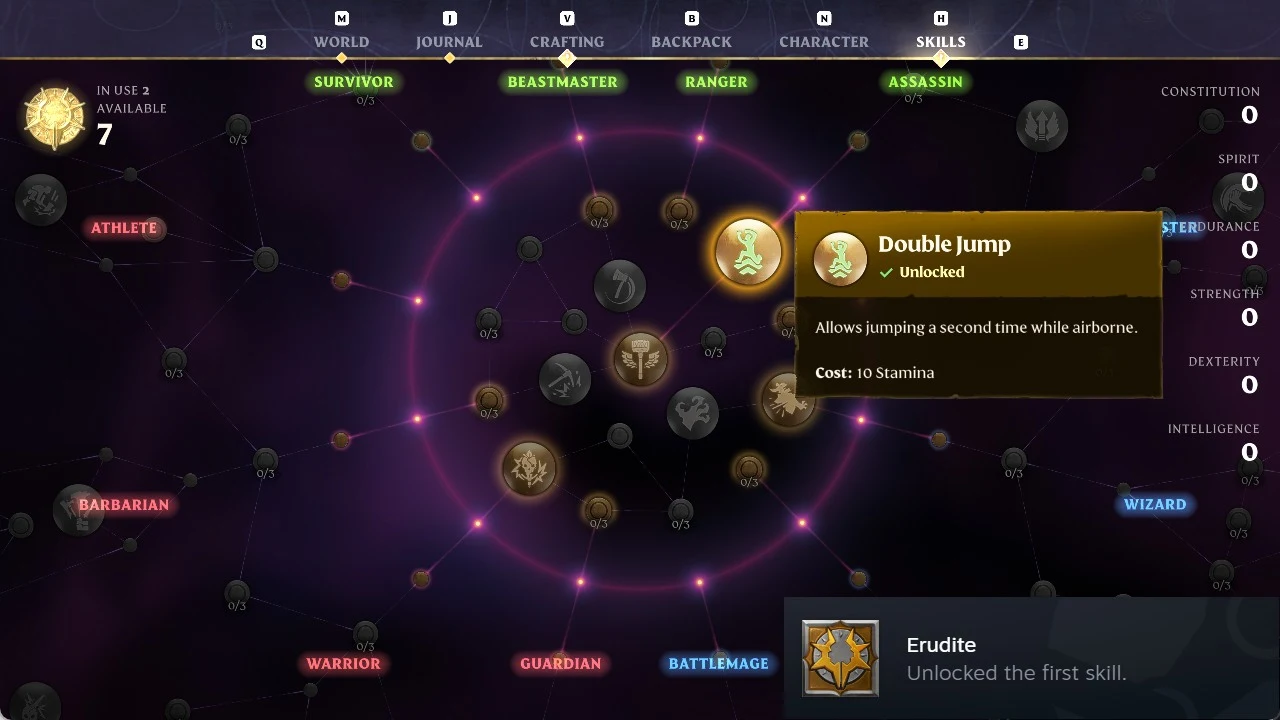
Saves created before 1.0 had their skill trees reset. Your level and items carried over, but you have to spend every point again before this build works. Do it in your base before you head out.
How the Enshrouded 1.0 Wizard plays
Enshrouded has no set classes. “Wizard” describes a route through the blue Mage branch of the shared skill tree, which contains the Wizard, Battlemage, Healer, and Trickster sections. This setup also takes a few nodes from Assassin, Survivor, and the center hub.

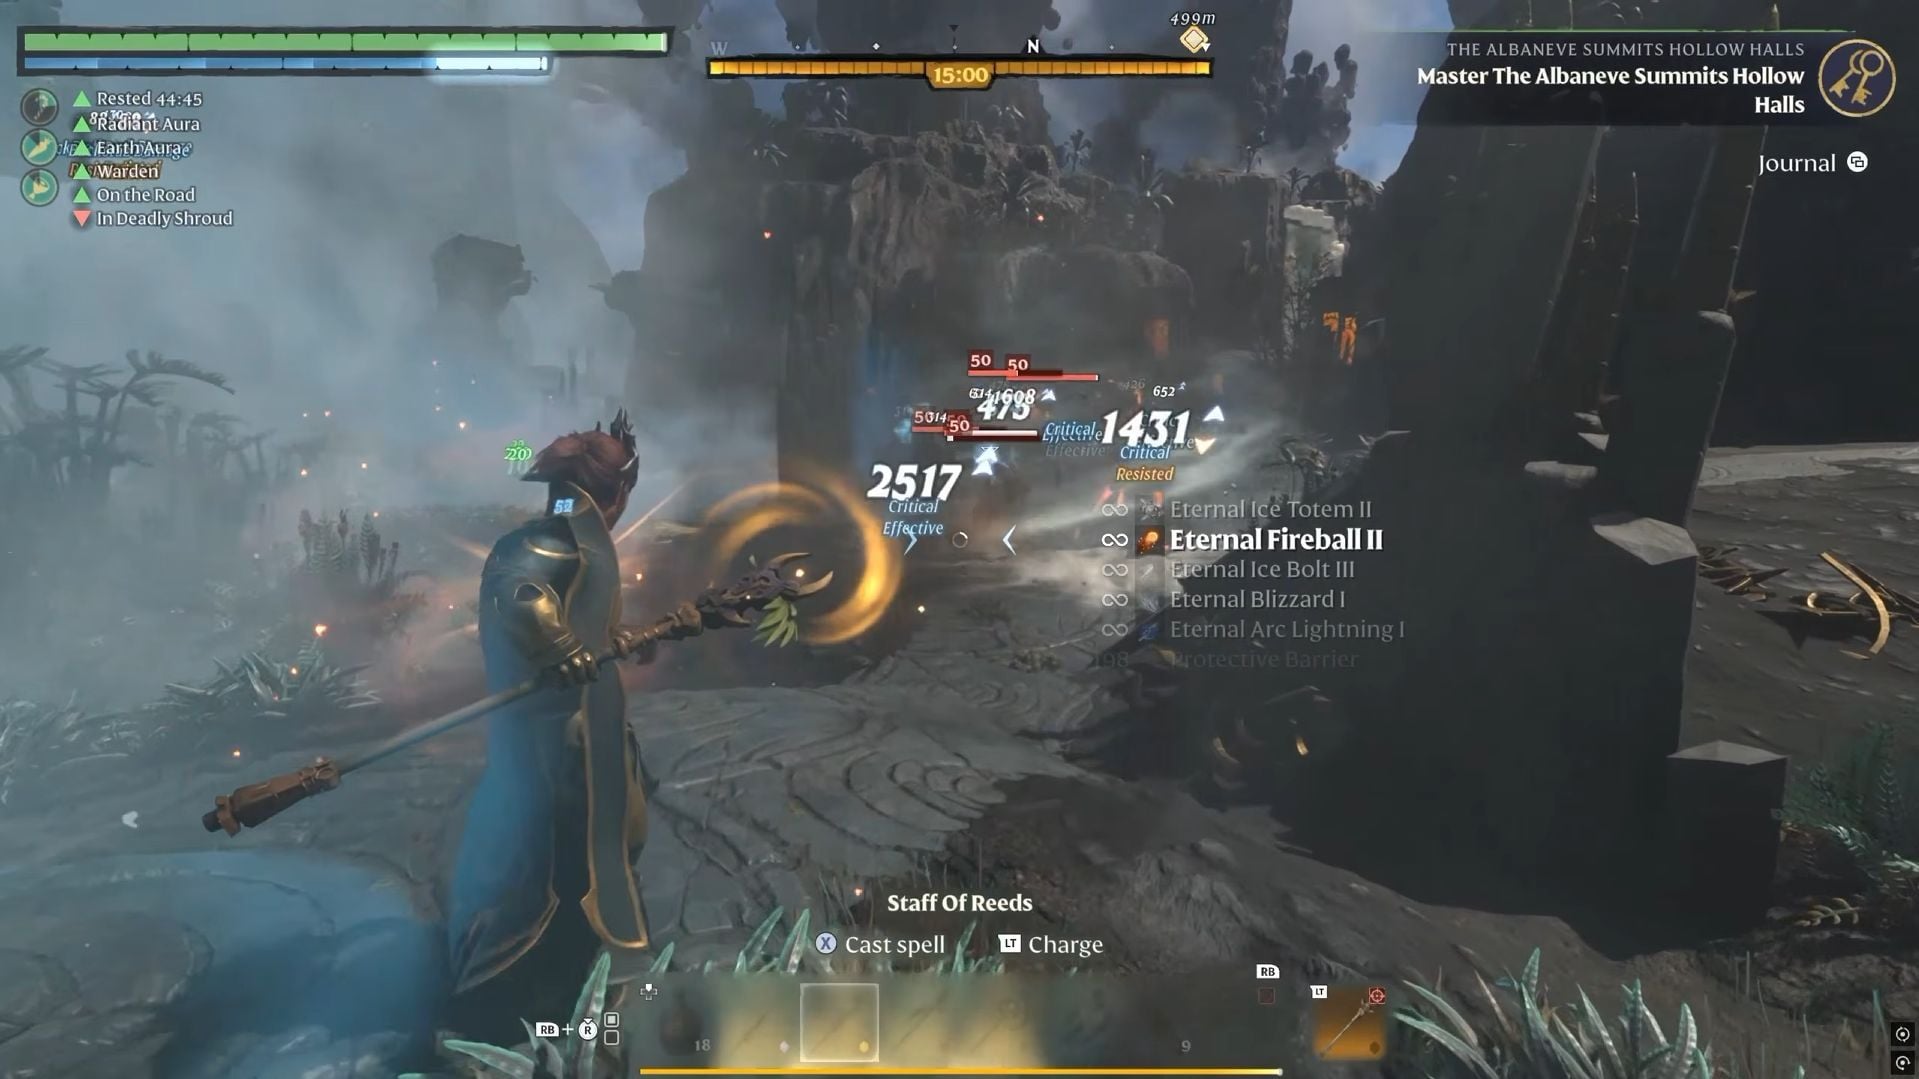
The staff is your damage weapon. It charges a spell, spends mana, and hits an area. Eternal spells never use up Spell Charges, so you can keep casting the big ones as long as your mana holds. The wand covers everything else. It chips at enemies, refills mana through Unity, and sets up critical hits. Paired with a ward, it also lets you block when something reaches you.
The early game is slow. You fire single spells instead of combos, and the build really starts working around level 15. From the mid game on, you chain effects together. For example, you can root a group in place with Entangle and then drop a Fireball on it. Late-tier spells can take several seconds to charge, which is risky solo until Quick Charge is filled in.
Wizard attributes and the level 50 point budget
A level 50 character who has explored everything can earn 212 skill points. This total combines 2 points per level with the Shroud Roots and Elixir Wells found across all seven biomes. Clear the roots and wells in each zone as you progress, all the way to the final zone, Cinder’s Cradle, to keep your points in step with your level.

| Attribute | Per point | Level 50 example |
|---|---|---|
| Intelligence | +5% magic damage | 26 |
| Constitution | +50 Health | 20 |
| Spirit | +20 Mana | 19 |
| Dexterity | Stamina recovery for Blink | 11 |
| Endurance | +10 Stamina | 10 |
| Strength | No caster value | 10 |
Intelligence does triple duty. It scales staff and wand damage, Water Aura healing, and fire nodes like Radiant Aura. Constitution comes next because some hits always land, and you have no heavy armor to absorb them. Spirit matters less than it looks. Unity, mana leech rolls, and Mana Currents keep the bar full, so buy Spirit nodes when mana is actually the problem. Arcane Concentration and Exalted add free Spirit and Intelligence as your Flame levels rise.
Wizard skill order: Levels 1 to 15
Spend the opening points on movement, mana, and the wand. Pick up every Intelligence, Spirit, and Constitution node you pass on the way.
| Skill | Tree | Points |
|---|---|---|
 Double Jump | Core | 2 |
| Healer 1 | Healer | 2 |
 Blink | Healer | 4 |
| Water Aura 1 | Healer | 1 |
| Waters of Life | Healer | 2 |
| Eternal Spark | Battlemage | 1 |
| Unity 1 | Battlemage | 1 |
 Wand Specialization | Battlemage | 3 |
| Arcane Deflection | Battlemage | 1 per rank |
| Wand Mastery | Battlemage | 1 per rank |
Since staves have no weapon specialization node, take Wand Specialization first. It grants access to wand special abilities, which activate when your Focus bar is full.

Blink replaces your dodge roll with a short teleport, and it is your main defense. Arcane Deflection gives 10 Mana per rank on a successful parry, up to 30 Mana at rank 3. That makes a ward a reliable mana source while your regeneration is weak. Once your gear provides enough passive regeneration, you can refund those points.
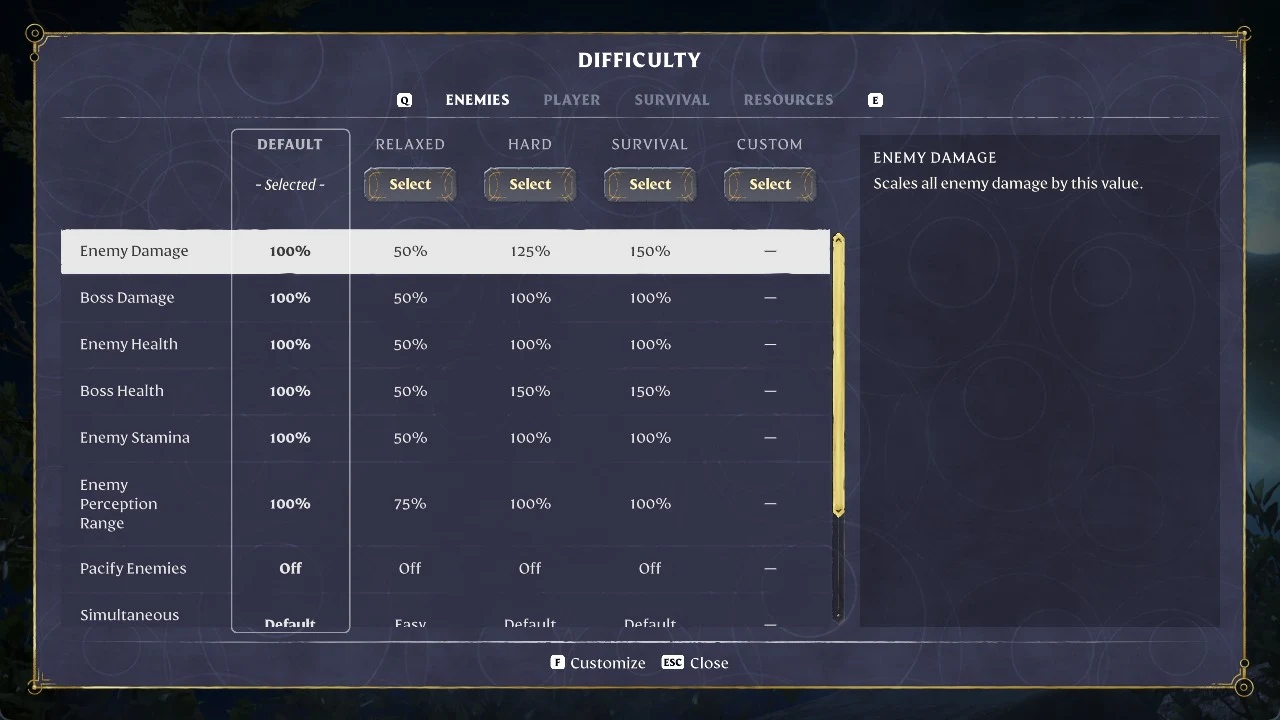
Wand durability drains quickly early on. Carry backup wands, or set Weapon Durability to Off in your world’s custom difficulty settings.
Wizard skill order: Mid game Trickster, wand, and fire nodes
Next, go into Trickster for spell speed and a bigger mana pool. Then finish the wand moves and start on the Wizard tree.
| Skill | Tree | Points |
|---|---|---|
| Mage Apprentice 1 | Wizard | 1 |
| Counterstrike 1 | Trickster / Wizard | 1 |
| Mana Currents 1 | Trickster | 1 |
| Quick Charge 1–3 | Trickster | 1 each |
 Updraft | Trickster / Assassin | 4 |
| Water Aura 2–3 | Healer | 1 each |
 Wand Evasion Attack | Battlemage | 4 |
| Life Burst | Battlemage | 4 |
 Aerial Wand Attack | Battlemage | 3 |
| Exalted | Battlemage | 5 |
| Life Essences 1–3 | Healer | 1 each |
| Emergency Blink | Healer | 2 |
 Begone! | Trickster | 3 |
| Terror 1 | Trickster | 2 |
| Spellslinger 1–3 | Trickster | 1 each |
| Arsonist 1–3 | Wizard | 2 each |
| Wizard 1–3 | Wizard | 2 each |
| Chain Hit | Wizard | 3 |
| Mass Destruction | Wizard | 3 |
| Radiant Aura 1–3 | Wizard | 1 each |
| Bone to Ash 1 | Wizard | 1 |
| Necromancer 1–3 | Wizard | 1 each |
Quick Charge cuts spell Charge Time by 10% per rank. Without it, staff spells feel sluggish. Take the small Spirit nodes inside Trickster too, since they fill out your mana pool, and finish the section with Spellslinger.

Mage Apprentice is the first damage node to take in the Wizard tree, with elemental bonuses arranged around it. Each rank increases wand and staff damage by 5%.

With a wand equipped, Aerial Wand Attack lets you keep the item-use button pressed while jumping to launch a small-area shot that adds 50% weapon damage. It costs 25 Mana. Wand Evasion Attack activates during a dodge instead, launching a piercing disc with the same 50% weapon-damage bonus.

Wizard skill order: Endgame defense and elemental nodes
With the core loop in place, spend late points on mitigation and crit payoffs. Then fill out the remaining elemental ranks.
Survivability and crit nodes
| Skill | Tree | Points |
|---|---|---|
| Shroud Mitigation 1–3 | Healer | 1 each |
| Shroud Resistance 1–3 | Healer | 1 each |
| Shared Misery 1–3 | Healer | 2 each |
| Healer 2–3 | Healer | 1 each |
| Bloodletting 1–3 | Trickster | 2 each |
| Terror 2–3 | Trickster | 2 each |
| Arcane Concentration | Trickster | 5 |
| Mage Apprentice 2–3 | Wizard | 1 each |
| Counterstrike 2–3 | Trickster | 1 each |
| Mana Currents 2–3 | Trickster | 1 each |
| Airborne 1–3 | Assassin | 1 each |
| Backstab Mastery 1–3 | Assassin | 1 each |
| Righteous Fire | Healer | Per rank |
| Blast and Cast | Trickster | 3 |
| Fatal Precision | Assassin / Trickster | Per rank |

Fatal Precision sits on the Assassin side. Reaching it costs a few route nodes such as Vitality Surge and Dexterity, which makes it a good use for your last points. Backstab Mastery adds 20% backstab damage per rank and is optional. If you want it, pull points from Arcane Deflection, but keeping parry mana is a fair trade.
Elemental and utility nodes
Fire is the build’s focus, so treat the ice, shock, and shadow nodes as optional. You can trade them for more survivability.
- Wizard, 2 points per rank: Iceman 1–3, Frost 1–3, Thunder 1–3, Dark Arts 1–3, Advanced Necromancy 1–3
- Wizard, 1 point per rank: Ice Resistance, Shock Resistance, and Fire Resistance 1–3
- Survivor: Endurance, Dexterity, Runner 1–3, Good Metabolism (3), Dessert Stomach (4), Wanderlust (3)
- Center: Well Rested 1–3, Mason 1–3, Lumberjack 1–3, Prospector 1–3, Quality Gear, Miner (2)
- Center tools: Felling Axe Specialization (2), Pickaxe Specialization (2), Airborne Architect (3)
Dessert Stomach unlocks a fourth food slot. Advanced Necromancy raises your maximum summoned Hollow allies by 1 per rank, which matters only if you keep a Hollow Skeleton spell on the bar.
What the key Wizard nodes do
| Skill | Effect per rank | Max rank |
|---|---|---|
| Wizard | +2% wand and staff crit chance | 3 (6%) |
| Arsonist | +10% all Fire damage | 3 (30%) |
| Arcane Deflection | +10 Mana per parry | 3 (30) |
| Quick Charge | −10% spell Charge Time | 3 |
| Mana Currents | +5 base Mana Regeneration | 3 (15) |
| Mage Apprentice | +5% wand and staff damage | 3 |
| Spellslinger | +5% staff damage | 3 |
| Terror | +20% chance spell crits stun for 2 s | Raised by gear |
| Bloodletting | +20% chance spell crits drop 2 orbs | Raised by gear |
| Righteous Fire | +20% of a heal dealt as Fire | 3 (60%) |
Terror pairs well with Bloodletting. As your crit chance rises, a rapidly ticking spell such as Blizzard can land frequent critical hits, leaving enemies stunned while Health, Mana, and Stamina orbs gather around them. Each orb restores 10% of its resource. Armor pieces grant extra ranks in both nodes in addition to the tree.
Chain Hit and Mass Destruction spread critical-hit damage to nearby foes. A magic critical hit from Chain Hit jumps to another target within 15 meters, dealing 5 Shock damage per Intelligence. Mass Destruction inflicts 2 Shock damage per Intelligence on each enemy within 15 meters of the target.
Radiant Aura burns nearby Fell foes, inflicting 3 Fire damage for every point of Intelligence each second. With Righteous Fire, healing triggers a fiery blast against nearby Fell; Water Aura ticks qualify as healing. Arsonist boosts both.
Blast and Cast is new in 1.0. A wand crit raises the base damage of your next staff attack by 50% for 10 seconds. Arcane Proliferation gives wand attacks a 30% chance to fire double projectiles, with the extras dealing 50% less damage.
Water Aura heals you and injured allies within 5 meters, and its radius grows by 5 meters per rank. The base rate is 1 Health per 2 Intelligence. Waters of Life doubles that to 2 Health per 2 Intelligence, and Healer adds 15% per rank to spell and aura healing. Until Water Aura is filled out, use Eternal Heal Cascade II for healing.
Wizard spells: Eternal Fireball and the rest of the hotbar
Eternal Fireball is the main nuke. It launches a fireball that explodes on impact and hits everything in its radius. All three tiers are crafted at the Alchemist, under a roof.
| Spell | Fire damage | Mana / Radius | Unlock |
|---|---|---|---|
 Eternal Fireball I (Rare, lvl 15) | 120 | 95 / 380 | Pick up Bronze Bars |
 Eternal Fireball II (Epic, lvl 36) | 241 | 209 / 500 | Quest: A Glimpse Of Eternity |
 Eternal Fireball III (Legendary, lvl 45) | 291 | 231 / 620 | Pick up Sparkling Dust |
All three have a 2.5-second Charge Time before perks. Each tier’s perks reduce Mana Cost by 5% and add Magical Critical Strike Chance, at 3%, 4%, and 5%. Tier I cuts Charge Time by 5%, as does tier II. Tier III cuts it by 10%. Tiers II and III also add 5% and 10% All Magic Fire Damage.
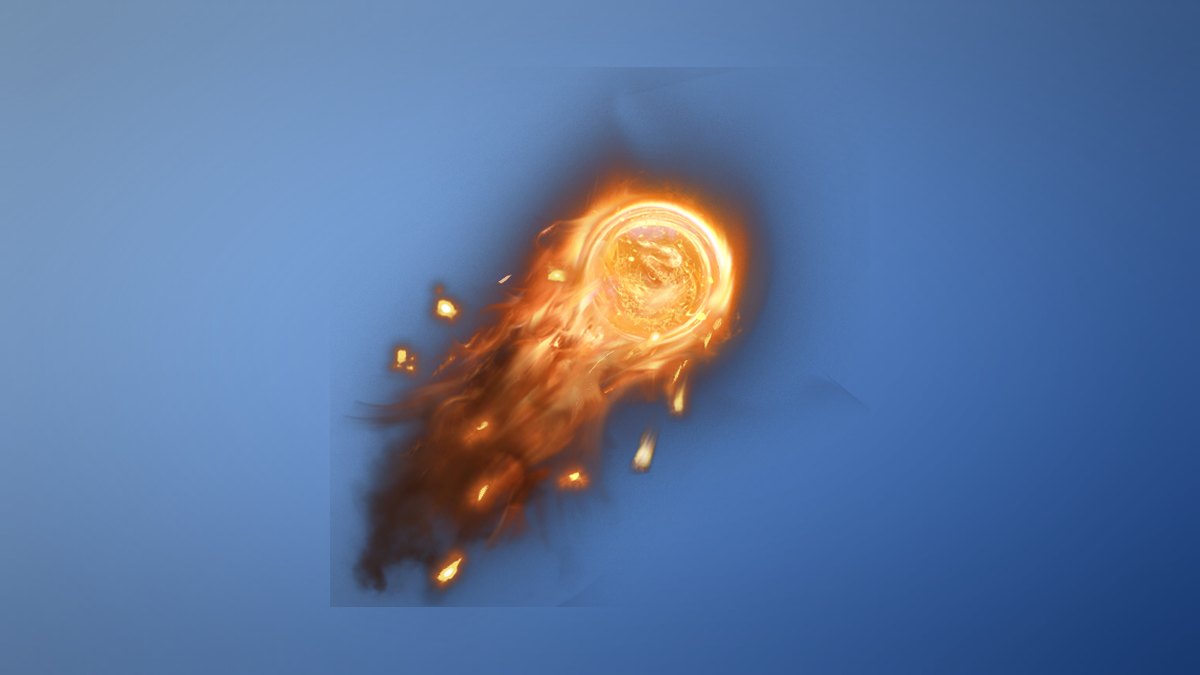
Pair Fireball with the Eternal Fire Totem II. Fireball deals with tough single targets, and the totem burns down packs. Round out the bar with these:
- Eternal Pillar of Flames I: a stationary fire column. Place it under a large enemy and back off.
- Eternal Blizzard II: group damage whose rapid ticks feed Terror and Bloodletting.
- Eternal Entangle: roots enemies so a Fireball can’t miss.
- Eternal Shroud Meteor: drops five meteors per cast on Shroud clusters.
- Eternal Protective Barrier and Eternal Heal Cascade II: defense and healing.
- Ice Totem II, Shock Totem, and Hollow Skeleton: pull aggro and slow or drain enemies.
Two non-Eternal spells are worth knowing. Fire Bolt VIII, made through Manual Crafting, hits one target for 109 Fire damage. It costs 142 Mana and has a 0.75-second charge, but its charges run out, so save it for burst. Mana Drain VIII pulls 28 Mana per second from a target and deals no damage. It loses its value once your regeneration is strong.
Staves, wands, and wards for a fire Wizard
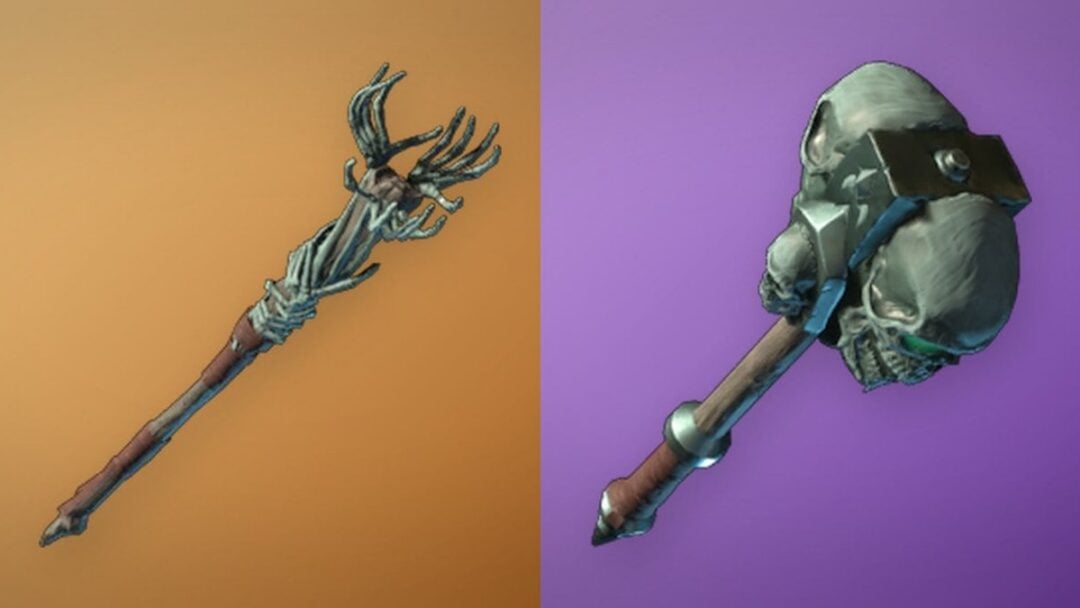
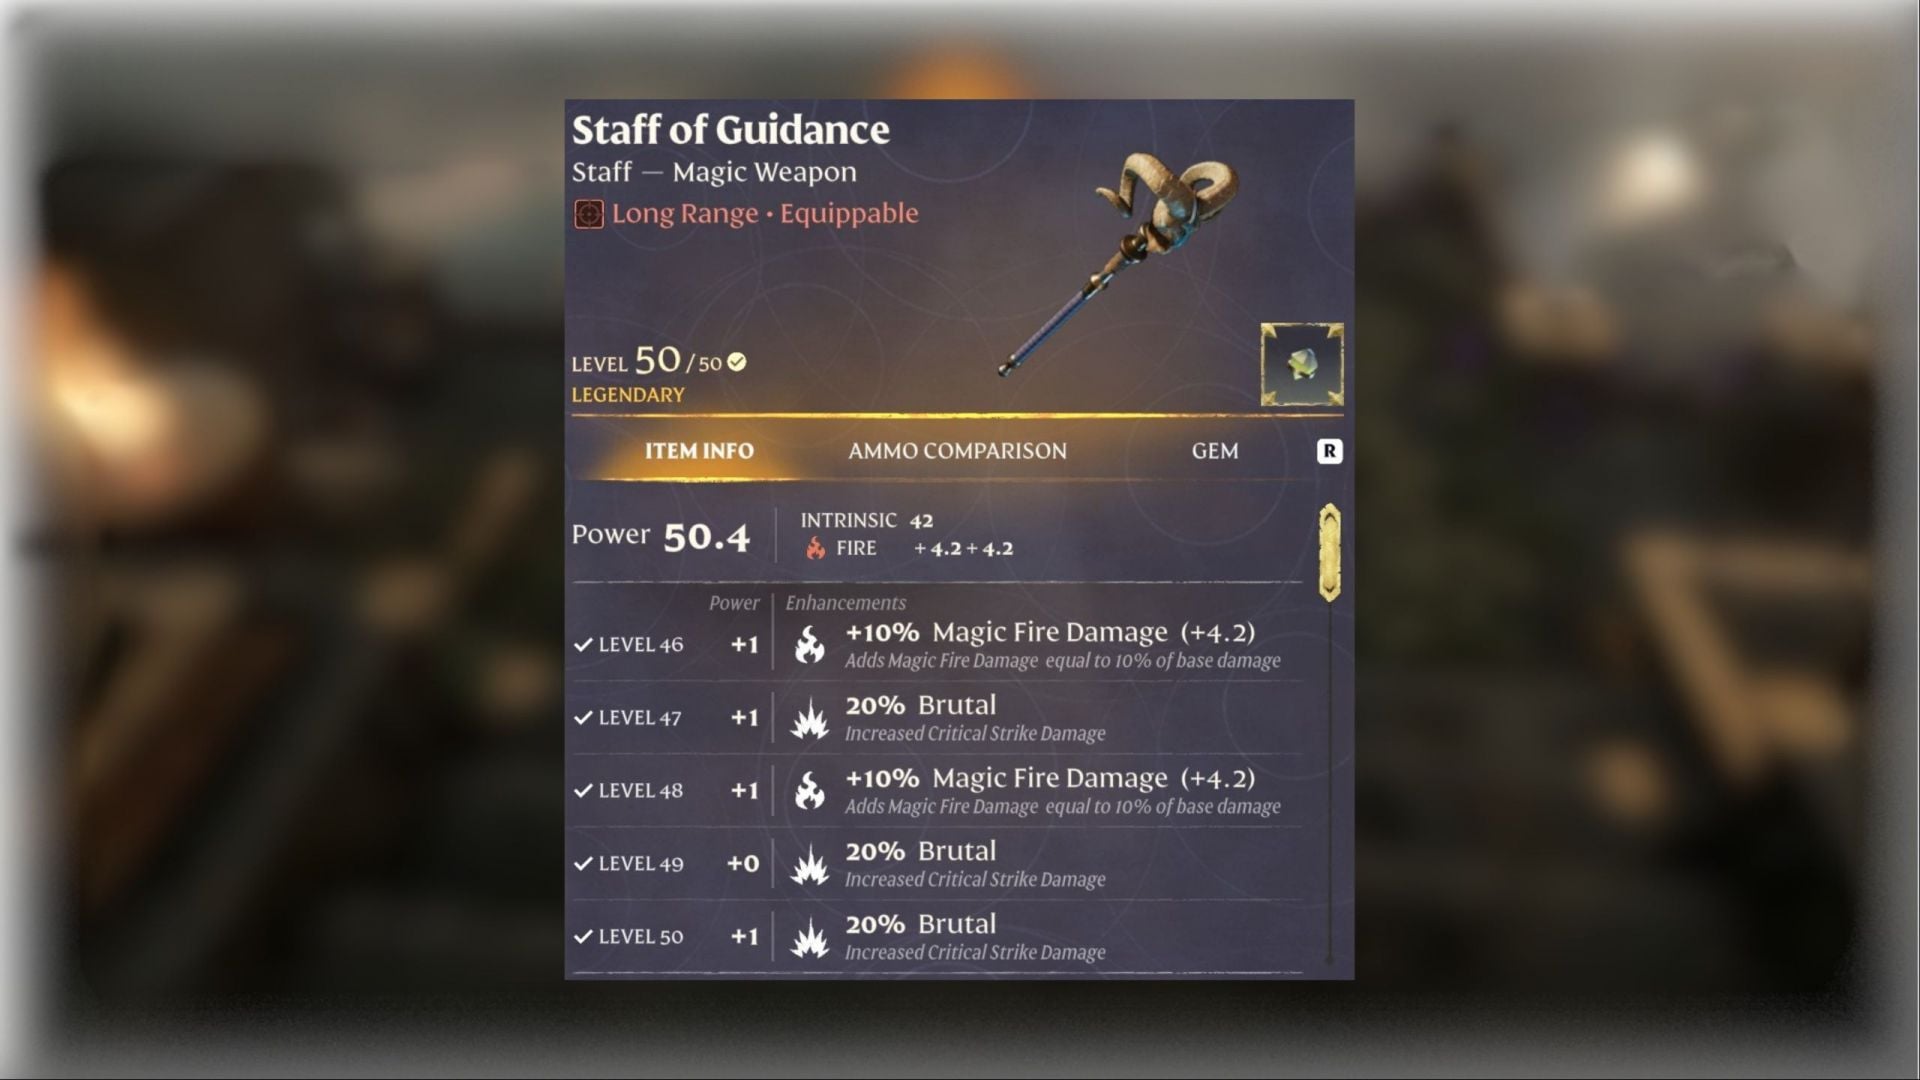
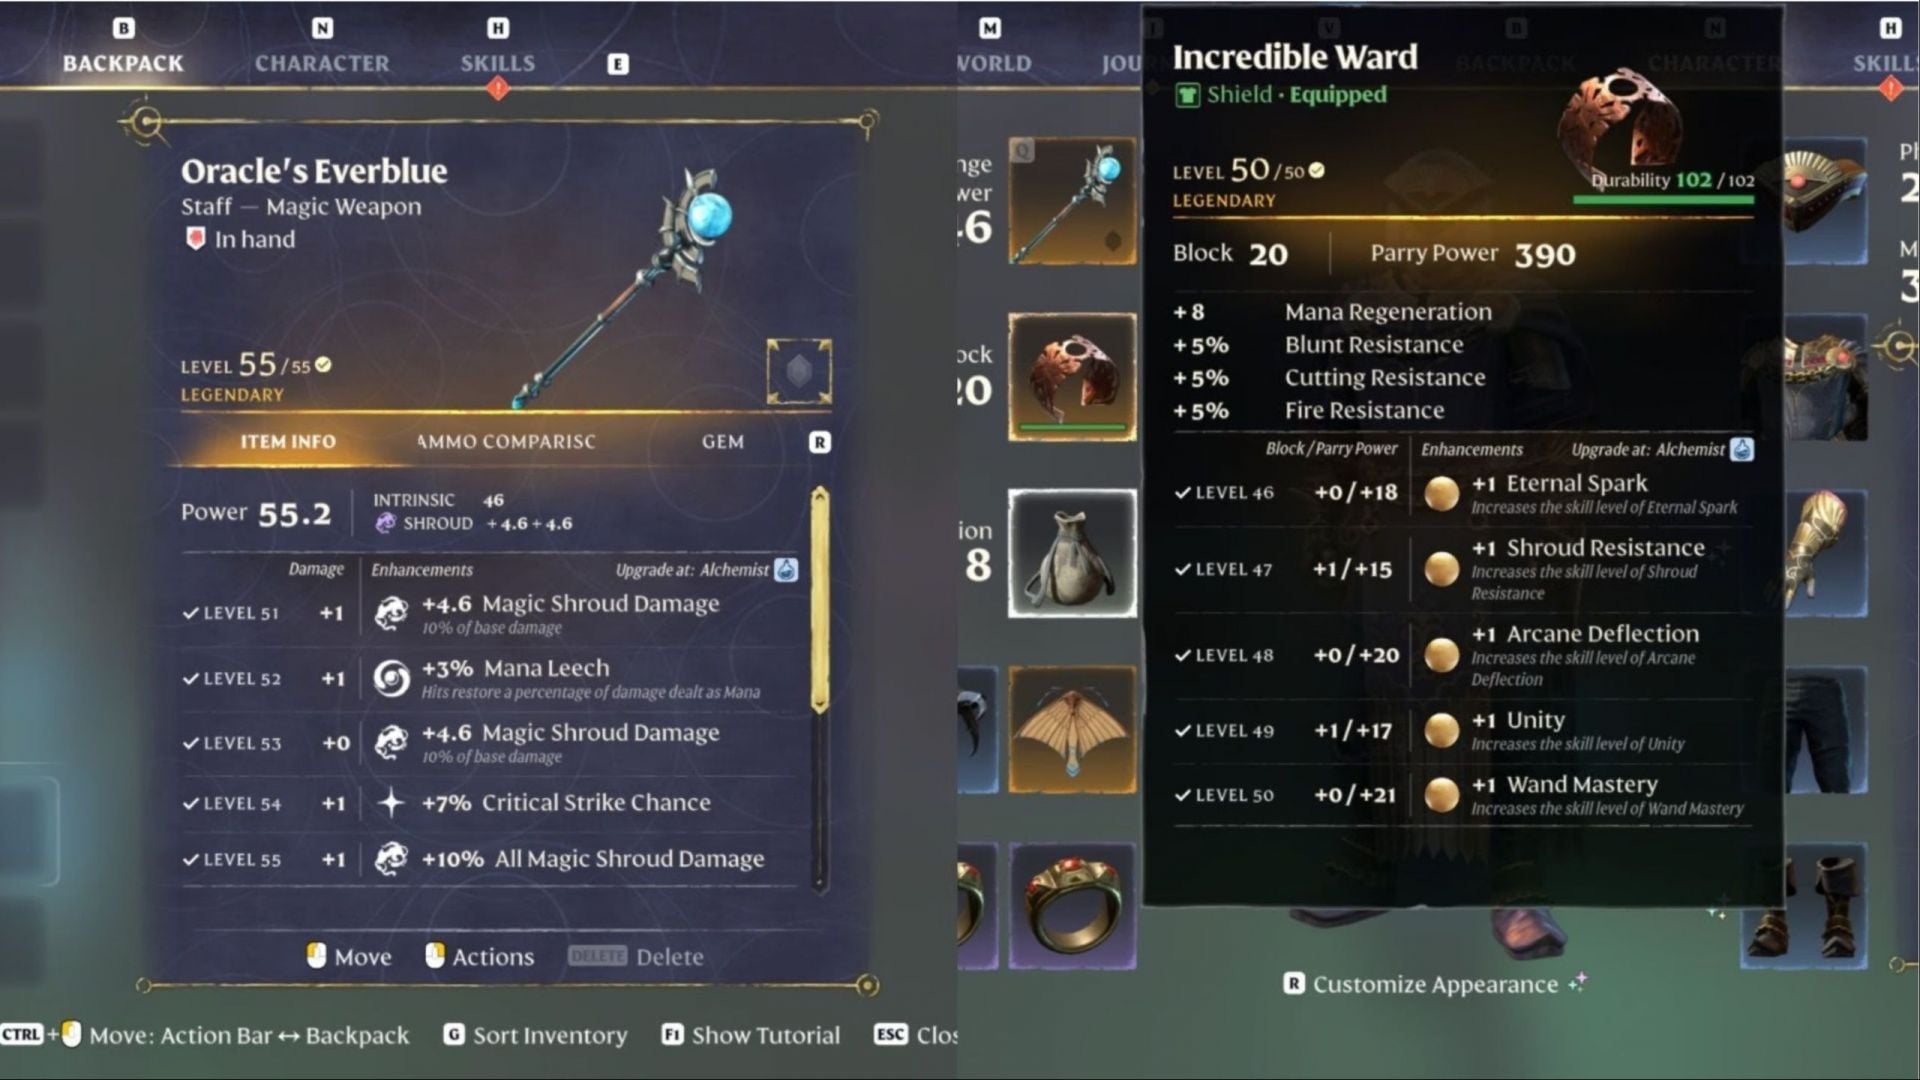
The Staff of Guidance is the fire staff this build is designed around. The Oracle’s Everblue (Legendary, level 53) is a strong alternative. It carries +5% Mana Leech, +7% Critical Strike Chance, and +10% All Magic Shroud Damage. The Crystalwater Staff and Violet Storm are other good options if you want mana leech and crit.
The Candlelight Wand is your fire wand. Carry Androme’s Wand for ice and the Electric Initialiser for shock so you can hit enemy weaknesses. In your off-hand, the Incredible Ward handles blocking. The Prismatic Ward (Block 18, Parry Power 299 at level 45) adds Wand Mastery, Eternal Spark, and Mana Regeneration. Keep it at the highest level you can for mana on parries.
Gems
- Gem of Armoring (level 48): Killing an enemy leaves an orb behind. Collect it to gain resistance to all damage for 5.8 seconds.
- Gem of Currents (level 45): while you are Wet or Soaked, your hits Soak enemies for 9.3 seconds. Hits on Soaked targets can add +18 Shock damage.
- Gem of Hyperspecialization (level 48): a kill within 3 seconds of a weapon Special Ability returns 34 Focus.
- Gem of Burning: a fire-themed gem that suits this staff setup.
Gem of Currents only works while you are wet. You can soak yourself before a fight with a Water Balloon.

A Portable Water Pump aimed at a rock face does the same job. The trick is less useful when your armor already cuts Wet duration heavily.
Wizard armor and rings for Enshrouded 1.0
In 1.0, armor can add ranks to skills. A piece that boosts a core node often beats a small stat difference elsewhere.
| Slot | Fire setup | Alternative |
|---|---|---|
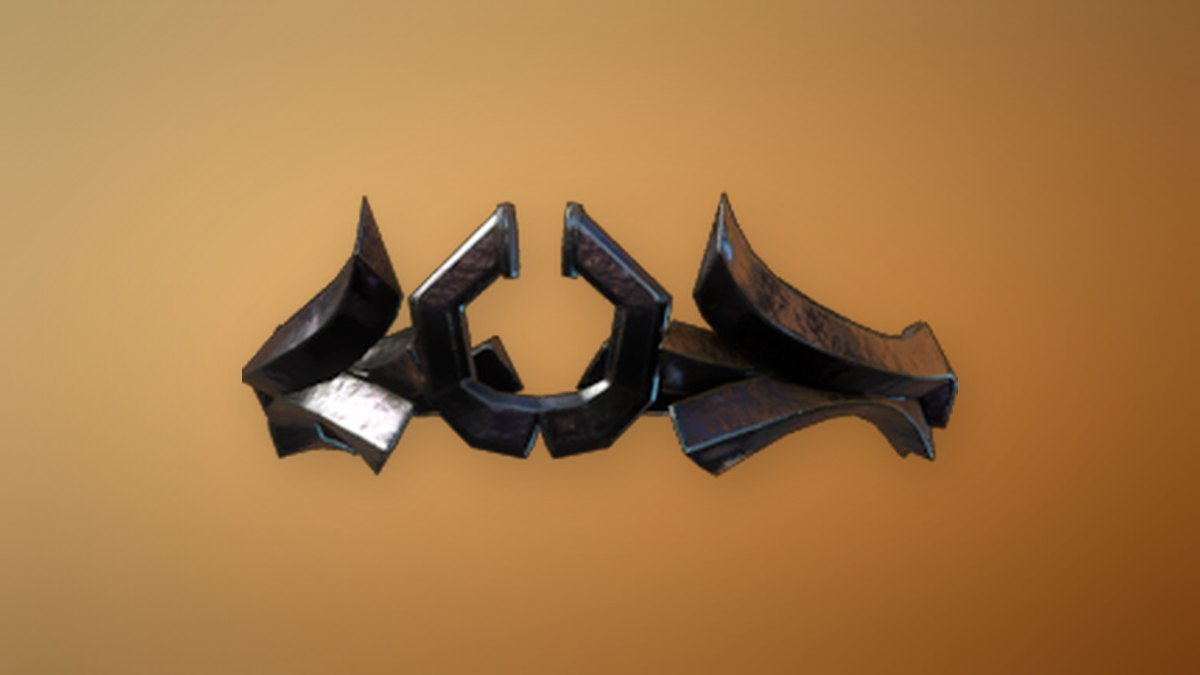
| Head | 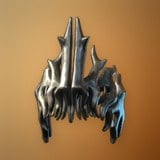 Vorgoth’s Soulbound Crown | Circlet Of Lightning |
| Chest |  Flame Arcanist Chest | Crestflame Chest |
| Hands | 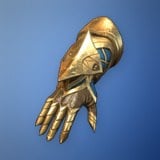 Flame Arcanist Gloves | Frozen Gauntlets |
| Legs | 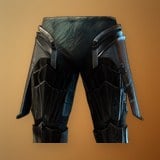 Vorgoth’s Soulbound Pants | None needed |
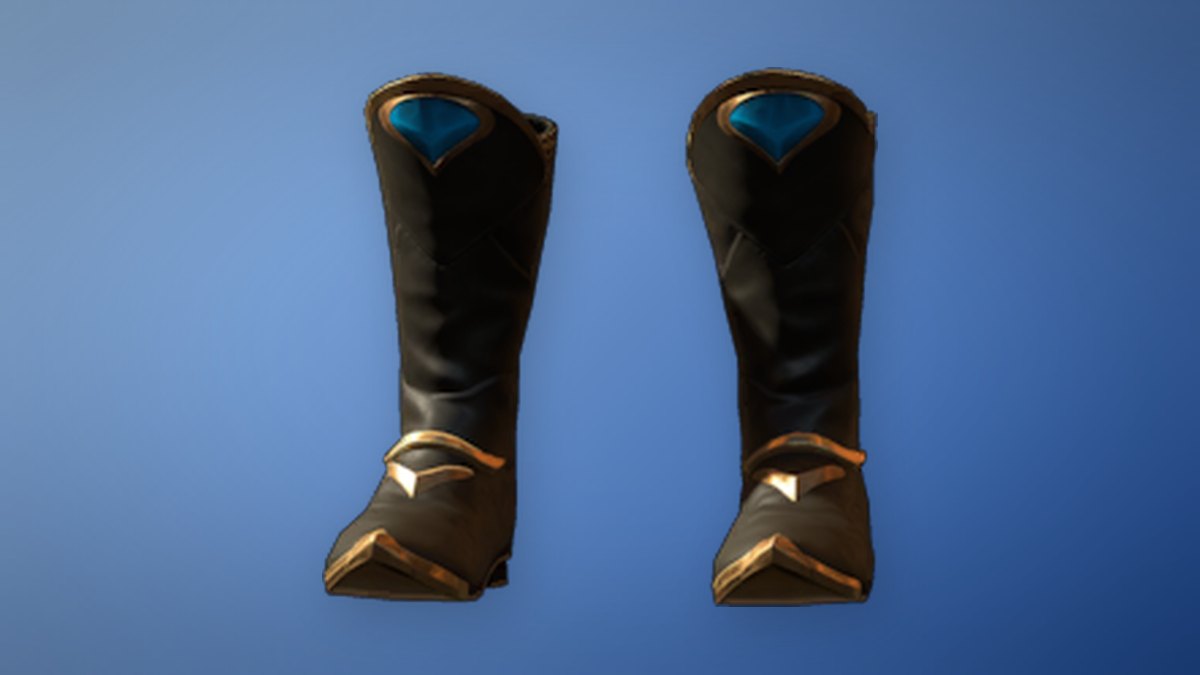
| Feet | 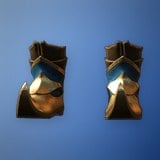 Flame Arcanist Boots | Lifelock Boots |
| Rings | Ring of the Mother Flame ×2 | Commander’s Ring, Ring of Thundersnow |

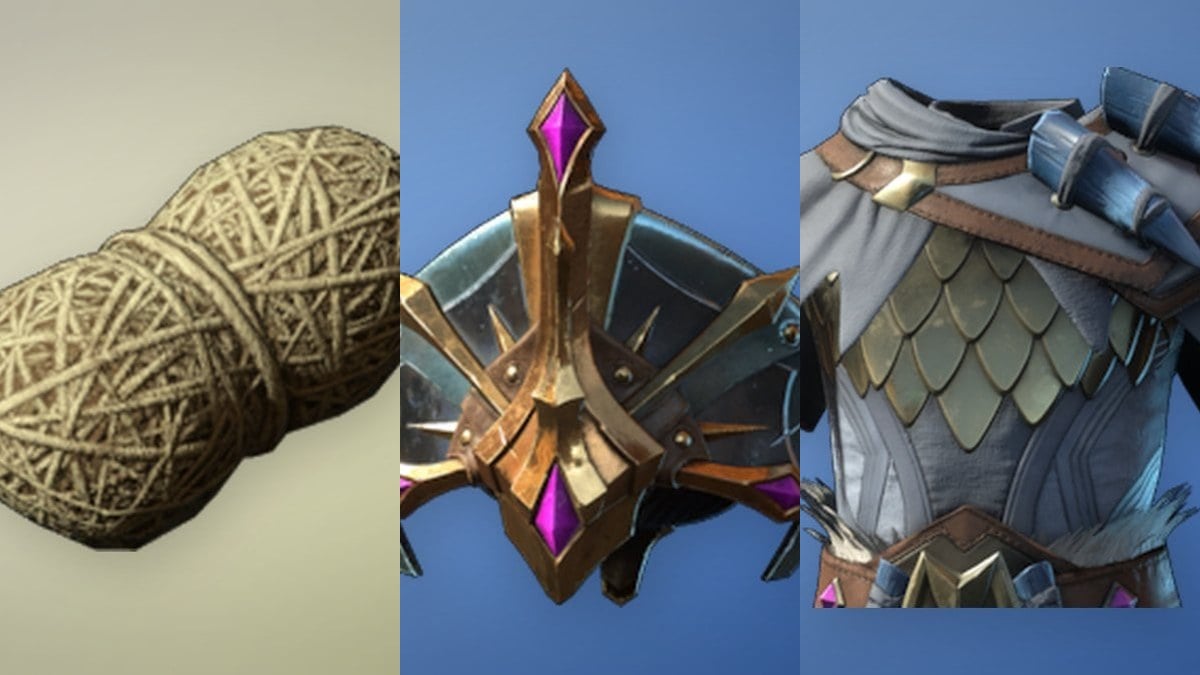
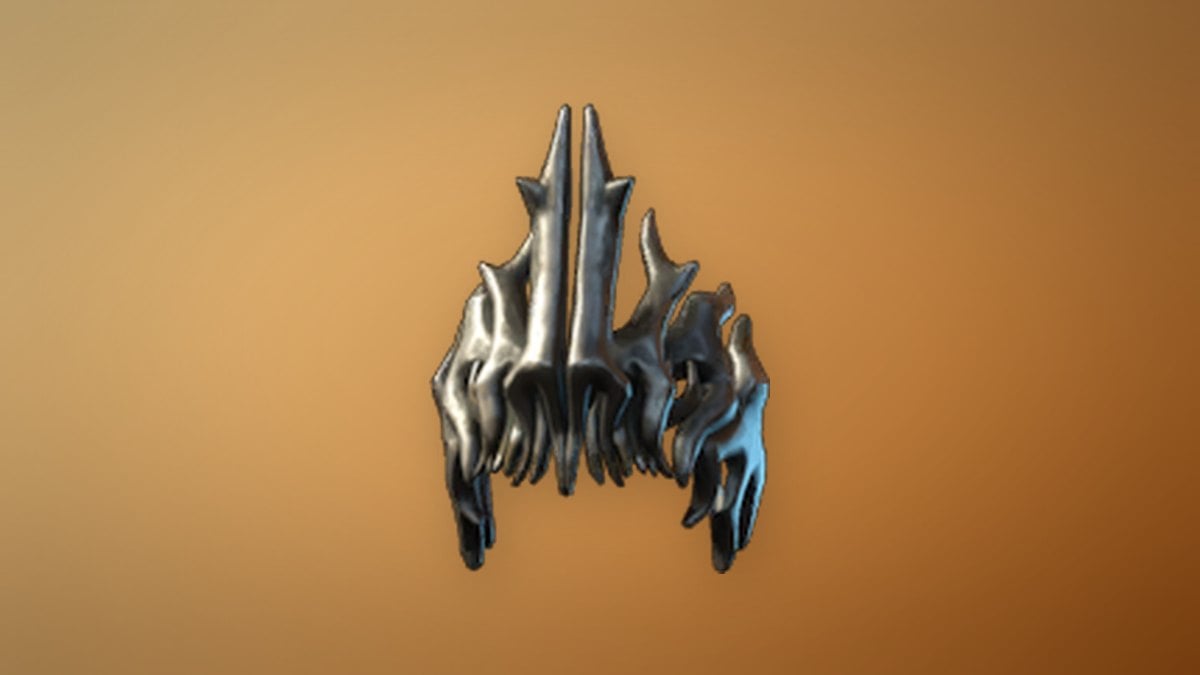
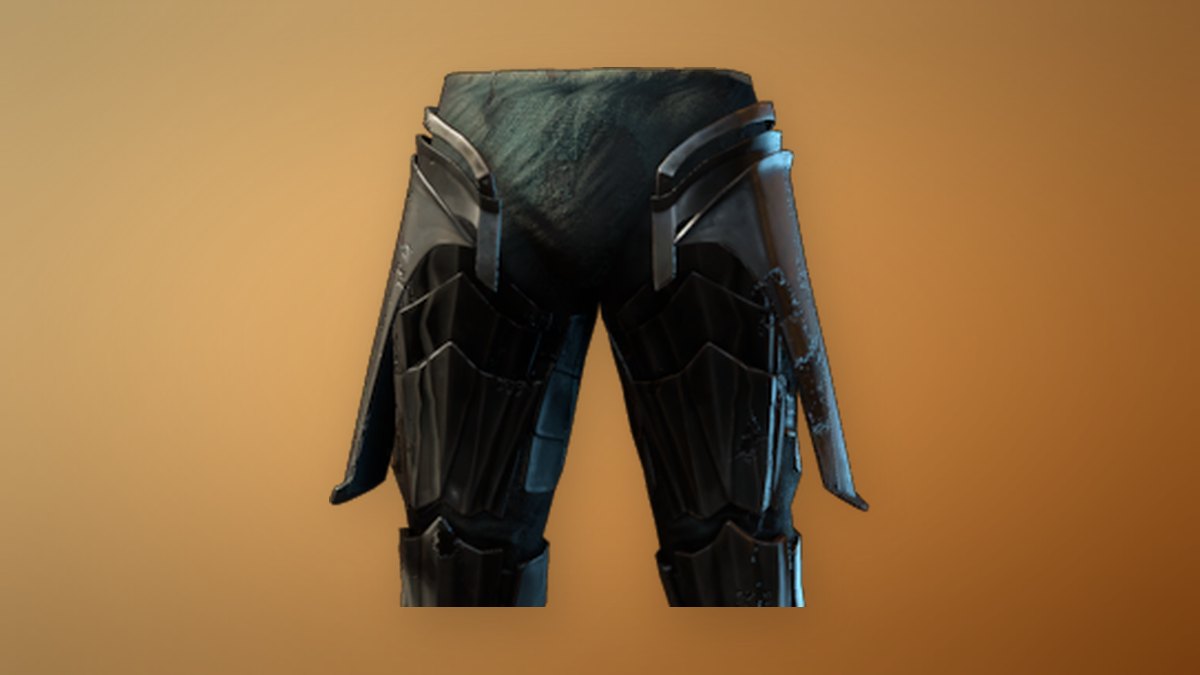
Vorgoth’s Soulbound Crown and Pants
Both are level 45 Legendary Mage pieces from the Vorgoth’s Soulbound set in Cinder’s Cradle. The Ancient Researcher teaches the recipes once you pick up Vorgoth’s Bound Essence, and you craft them under a roof. The crown is also a reward from the quest Cinders Of The End.
The crown has 56 Magical and 42 Physical Armor. It adds +10% Staff Damage, +14% Magical Critical Strike Chance, +17% Critical Strike Damage, and 28 Mana Regeneration. It also gives Terror 1, Necromancer 2, Spellslinger 2, and Counterstrike 2, plus 120 seconds of Wet Duration Reduction and +2 Frost Resistance.
The pants have the same armor values. They add +63 Mana, +10% Wand Damage, and 14 Mana Regeneration as a stat, plus a 28 Mana Regeneration perk. Their skill ranks are Unity 2, Terror 1, Wand Mastery 2, and Life Essences 2. They also give 120 seconds of Wet Duration Reduction and +2 Frost Resistance.
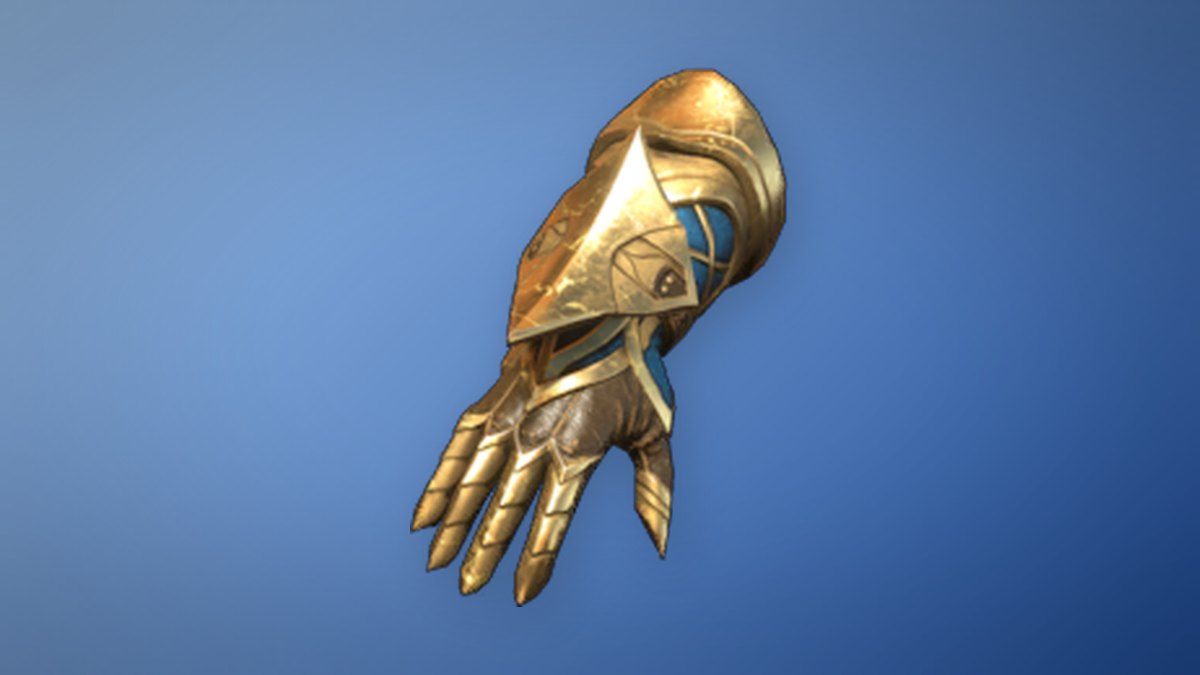
Flame Arcanist pieces
The Flame Arcanist Gloves are a level 45 Rare crafted at the Alchemist. They unlock at Flame level 9 and must be made under a roof. They have 56 Magical and 28 Physical Armor and add +21% Staff Damage, +16% damage against Magical enemies, and +40 Mana. They also give Arsonist 1 and Quick Charge 1, 90 seconds of Wet Duration Reduction, and +1 Frost Resistance.
The Flame Arcanist Chest and Boots also come from the Alchemist. The chest adds Health, a large Mana bonus, and 3 minutes of Wet Duration Reduction. The boots add 28 Mana Regeneration and cut the Mana Regeneration delay.
Alternatives worth farming
Circlet Of Lightning is a level 40 Legendary from the Veilwater Basin, looted at Drak’Dal Camp. It has 50 Magical and 37 Physical Armor and adds 54 Mana, 18 Mana Regeneration, +5% All Magic Shock Damage, and +21% crit chance against Soaked enemies. It also gives Terror 1, Thunder 1, and Spellslinger 1, which suits a shock and Soaked variant.
- Crestflame Chest (level 48): 267 Physical and 149 Magical Armor, a large Health bonus, and Heavy Plates 1, for players who want a tankier caster.
- Frozen Gauntlets (Legendary, level 45): +10% Wand Damage, +5% Ice damage, and +25% Crit Damage against Soaked enemies. Dive under the ice at Lacemaker Pond in the Veilwater Basin to loot them.
- Lifelock Boots (level 48): +28 Mana Regeneration, +15% healing, and Healer 1. Swap to stamina boots for long trips.
- Ring of the Mother Flame: a fire ring from a world chest in Cinder’s Cradle. Wear two in a fire setup.
- Commander’s Ring and Ring of Thundersnow: Health Leech, and Mana Regeneration with Wizard, Thunder, and Bloodletting ranks.
Gear before the endgame
Start in Rugged armor at level 3 and the Fur set at level 5, both from the Blacksmith. Move to the Alchemist Apprentice set at level 8 and the Mage set at level 13. After that, upgrade to the Magician set at level 18, then Archmage, Elder at level 25, and Thaumaturge at level 33. The Archmage Boots are a level 20 Rare that unlocks at Flame level 5. They add 16 Mana Regeneration, a −350 Mana Regeneration delay, Iceman 1, and Necromancer 1.
Wizard food and consumables
| Item | Effect |
|---|---|
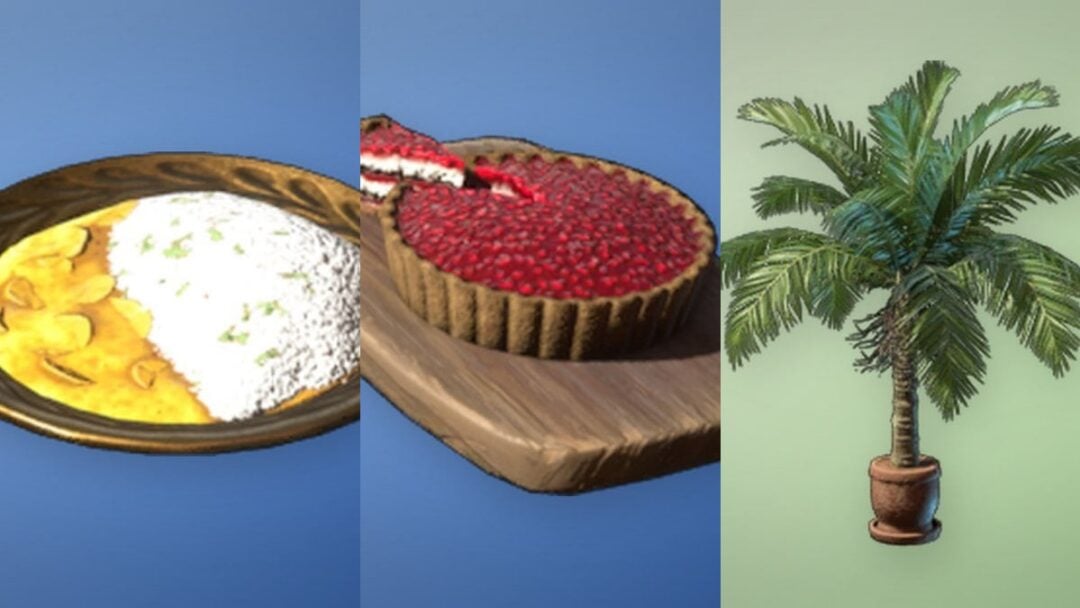
 Cabbage Mushroom Rice | +24% Magic Damage |
 Meat Wrap | Health and Magic Damage |
 Thyme Tea | +16 Mana Regeneration for 1 hour |
 Ultimate Mana Potion | +350 Mana instantly |
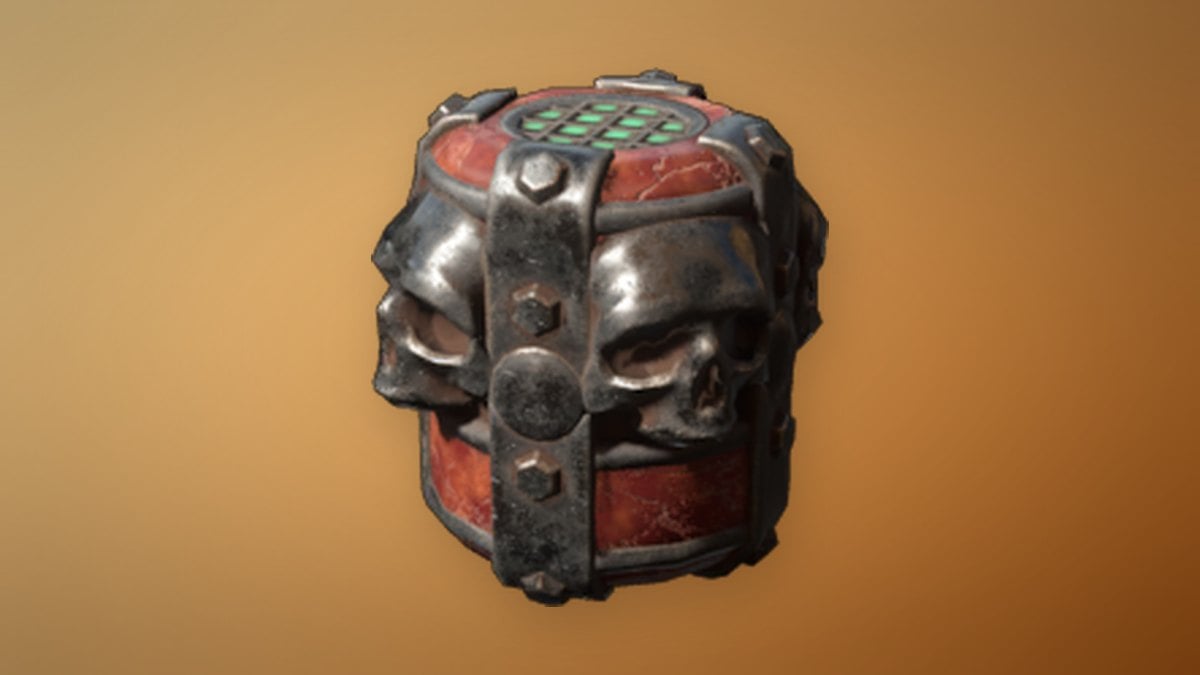
 Skull Summoning Vessel V | Skull companion for 120 s |
Mana refills quickly with this setup, so keep Ultimate Mana Potions for bosses that need nonstop casting. Carry bandages as well. The Skull Summoning Vessel V is a Legendary throwable crafted at the Collector, under a roof, after you pick up an Ectoplasm Cluster. It deals 70 Fire damage, costs 150 Mana, throws once per second, and stacks to 20.
Wizard combat rotation
Open each fight by placing the Eternal Fire Totem II. Then start firing Eternal Fireball at the toughest target. Against groups, root them with Entangle first, or lay Blizzard and Pillar of Flames on top of each other so Terror keeps them stunned while orbs drop.
Between casts, lock on and fire the wand. A wand crit starts Blast and Cast’s 10-second window, so swap to the staff and cast into it when you have a safe opening. If an enemy closes in, Blink out, or keep the wand and ward up and block. Parries refill mana through Arcane Deflection. In crowded fights, killing enemies with the Gem of Armoring equipped gives near-constant damage immunity as you collect its orbs.
Almost nothing in the endgame holds up against this loop. The Fell Dragon is the exception. Bring a bow and stun arrows to knock it out of the air, because soloing it with spells alone is a slog.