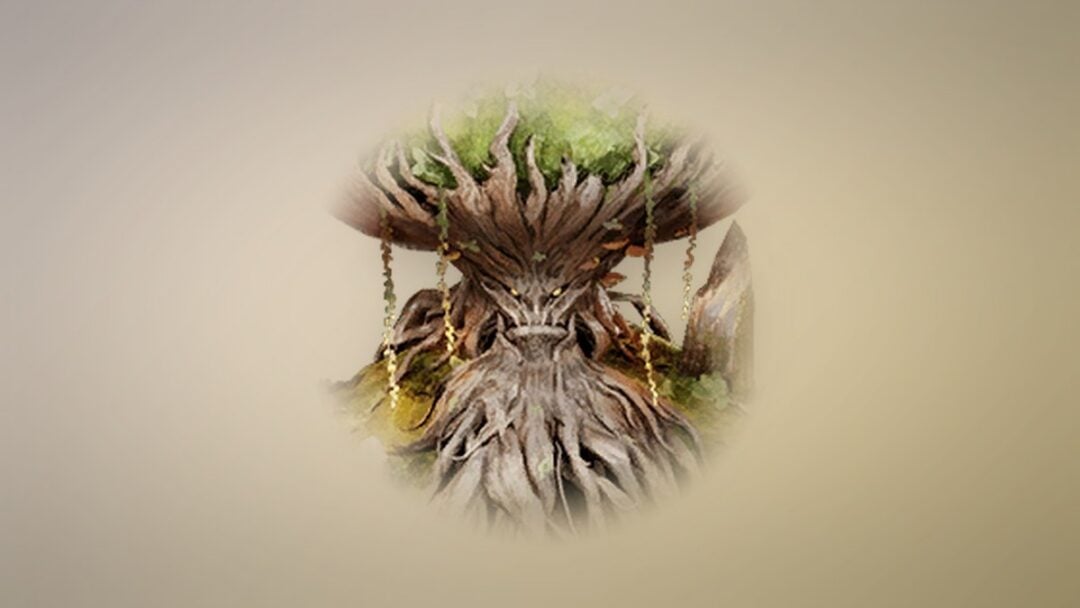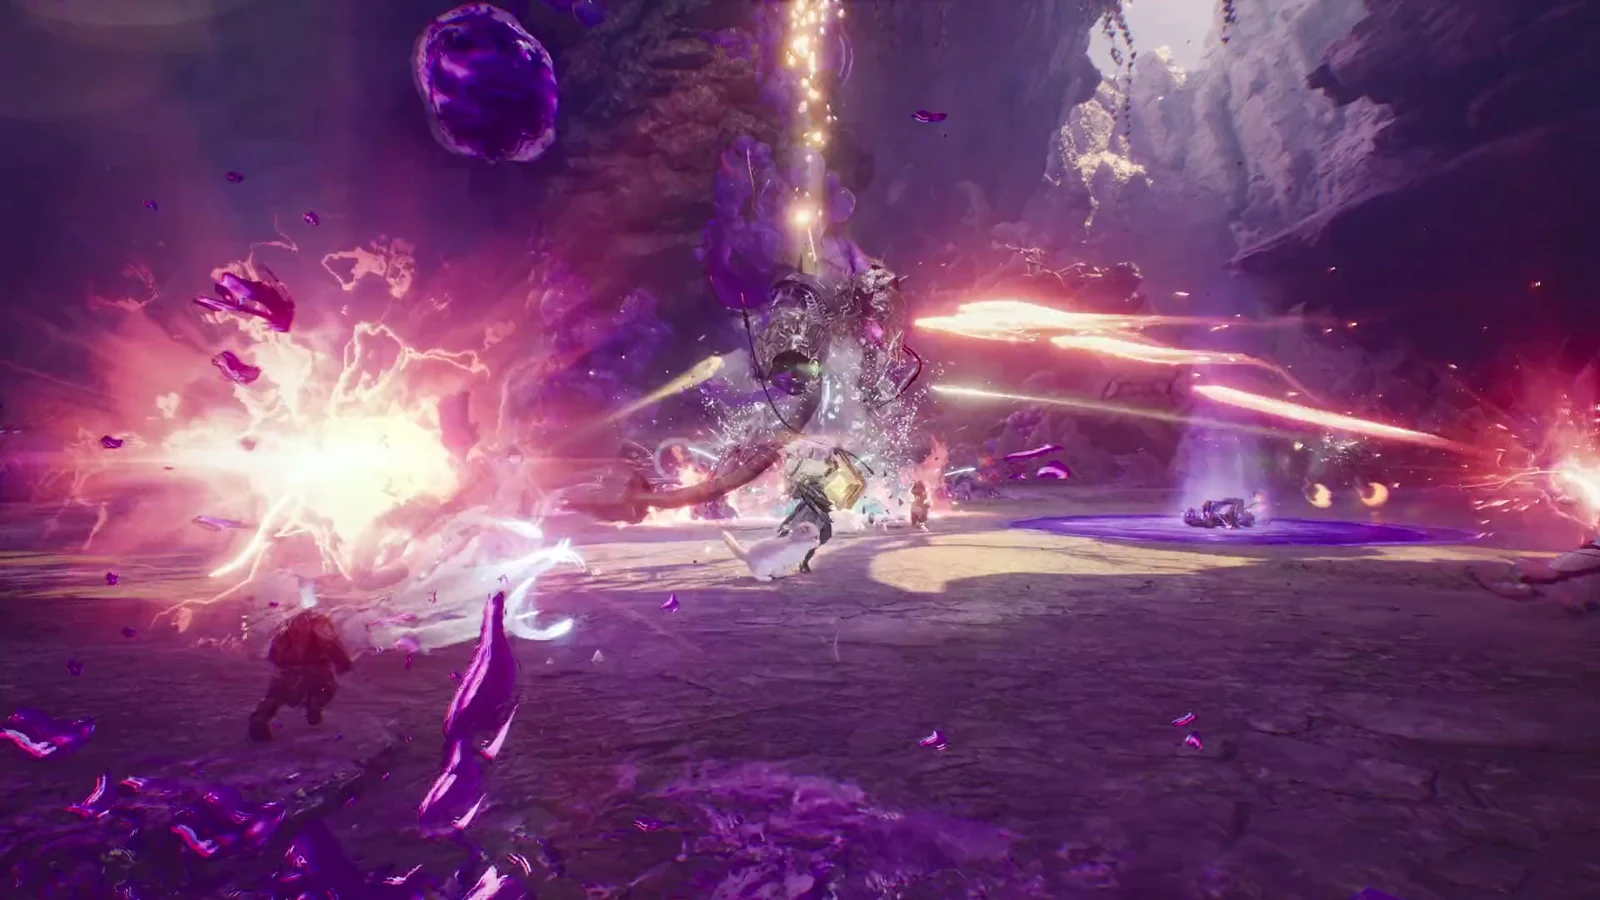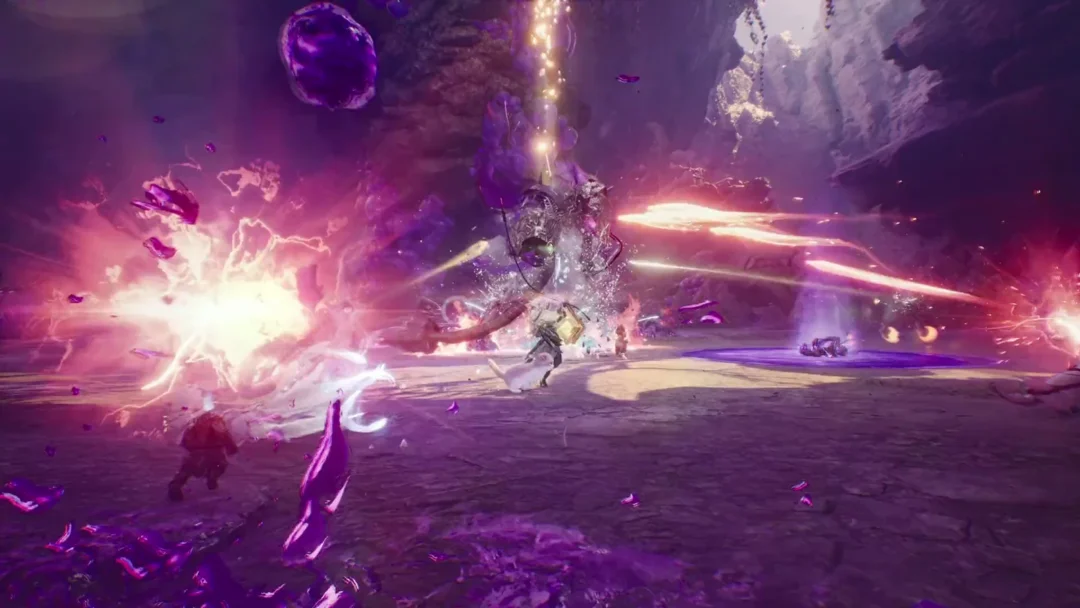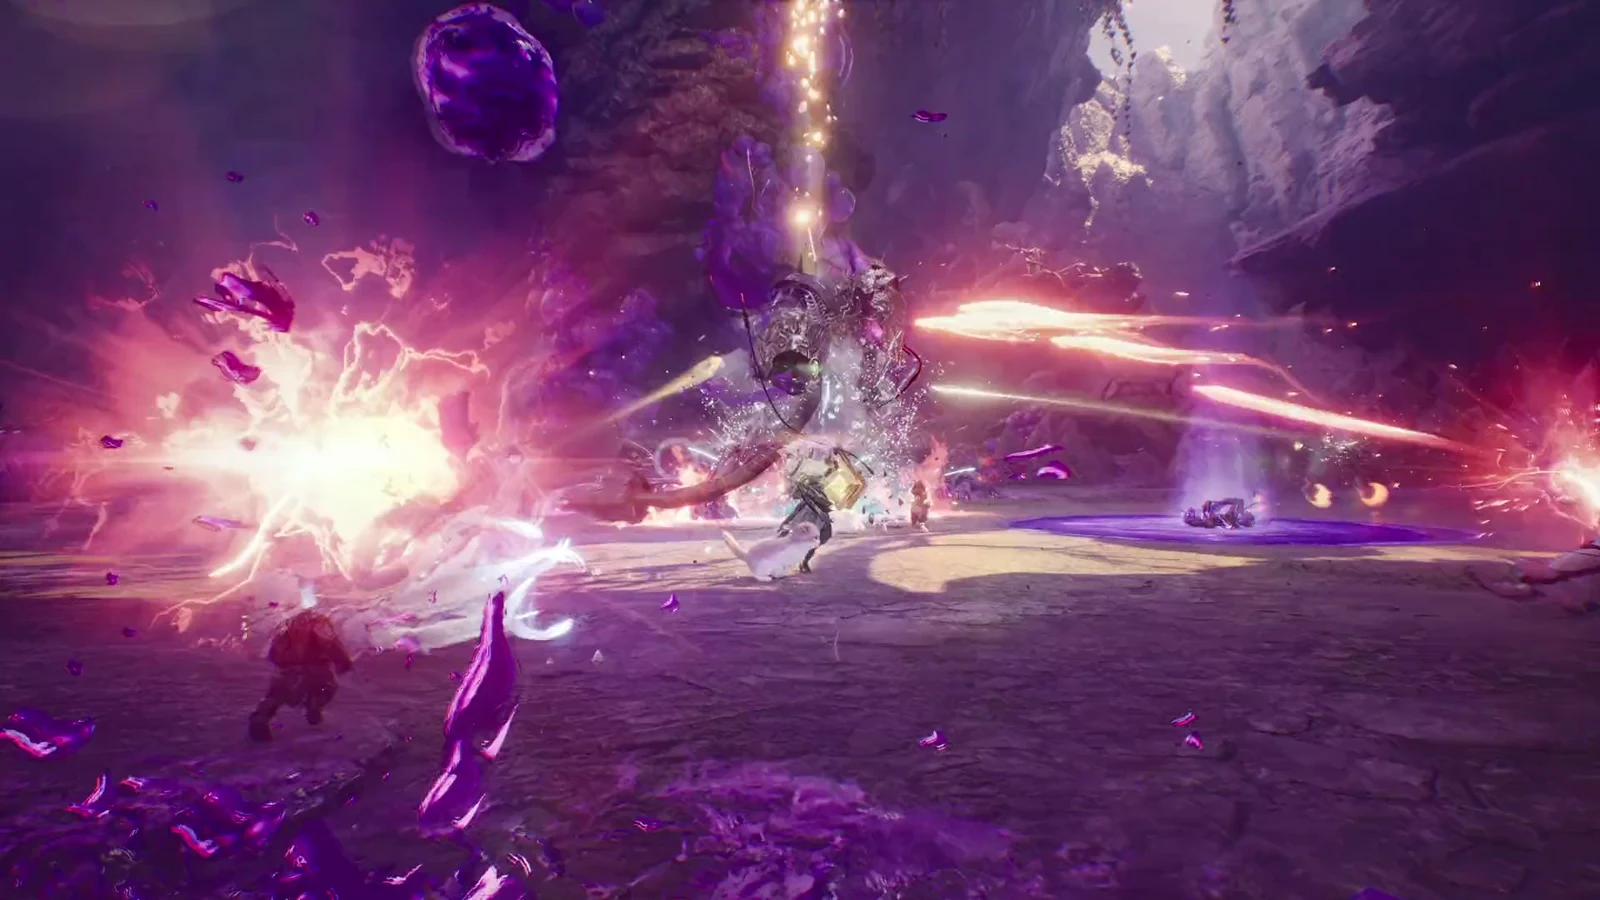
Abyssal Forge: Ludra is the first Sanctuary raid in AION 2, a 10-player fight that moves through an opening reactor objective, two split encounters, and a final battle against Eternal Ludra. It runs on Conquest difficulty and rewards the Ludra weapon set, Bakarma armor, Draconic crafting materials, and the stones used to awaken and enchant unique gear.
Quick answer: Abyssal Forge: Ludra is a 10-player Conquest raid requiring level 45 and Item Level 2,800. Its four level 75 bosses end with Eternal Ludra, who drops the Ludra weapons at 0.56% each and both Amplify Stone Fragment and Balaur’s Essence at 100%.
Sanctuary content is switched off on the Global client at launch and returns on October 16, 2026. You cannot enter the raid before that date.
Entry requirements and raid rules
You enter as a full raid of ten, usually split into two parties of five so each group can handle its own intermediate boss. The run has hard limits on deaths and time, so progress depends on surviving mechanics rather than pushing damage through every phase.
- Minimum character level: 45
- Required Item Level: 2,800
- Raid size: 10 players (two parties of five)
- Difficulty: Conquest
- Revive limit: 2 per run
- Time limit: 120 minutes
Clearing the instance produces an Od Energy Cube reward at an entry cost of 40 tickets, with a guaranteed reward ceiling reached at eight clears. Everything from that cube and the final boss is bound when obtained.
Boss order and encounters
The raid runs through four encounters in a fixed order, all at level 75: the Central Abyss Fusion Reactor opens the route, Isolation Specialist Rahu and Abyssal Wings Ketu are handled by the two separate parties, and the whole raid reunites for Eternal Ludra.
Central Abyss Fusion Reactor
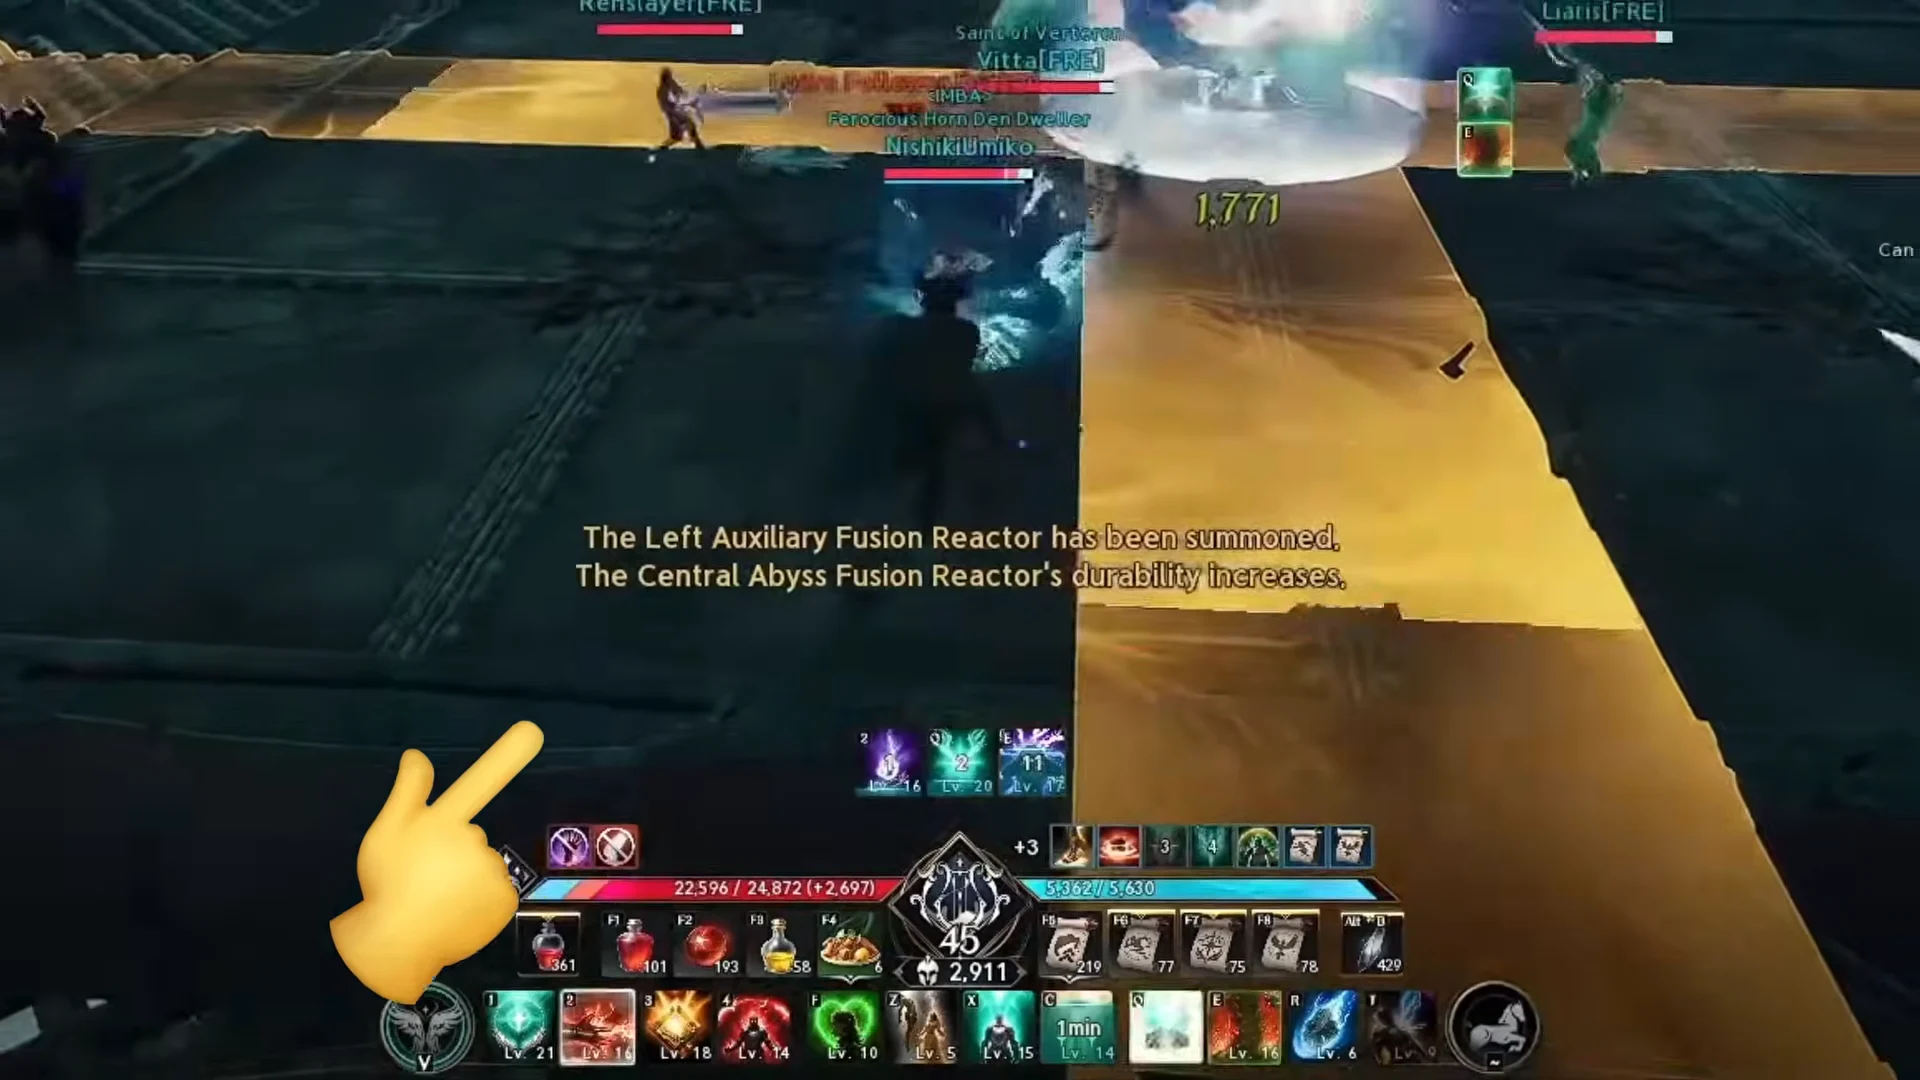
The Central Abyss Fusion Reactor is an environmental objective rather than a conventional named boss. You damage the central reactor while clearing spawned enemies and dodging its circular and cross-shaped area attacks.
Isolation Specialist Rahu
Isolation Specialist Rahu combines directed attacks, a transferable circle, and mechanics that shrink the usable arena. If the circle is left untransferred three times, three hazard zones build up and Rahu wipes the party.

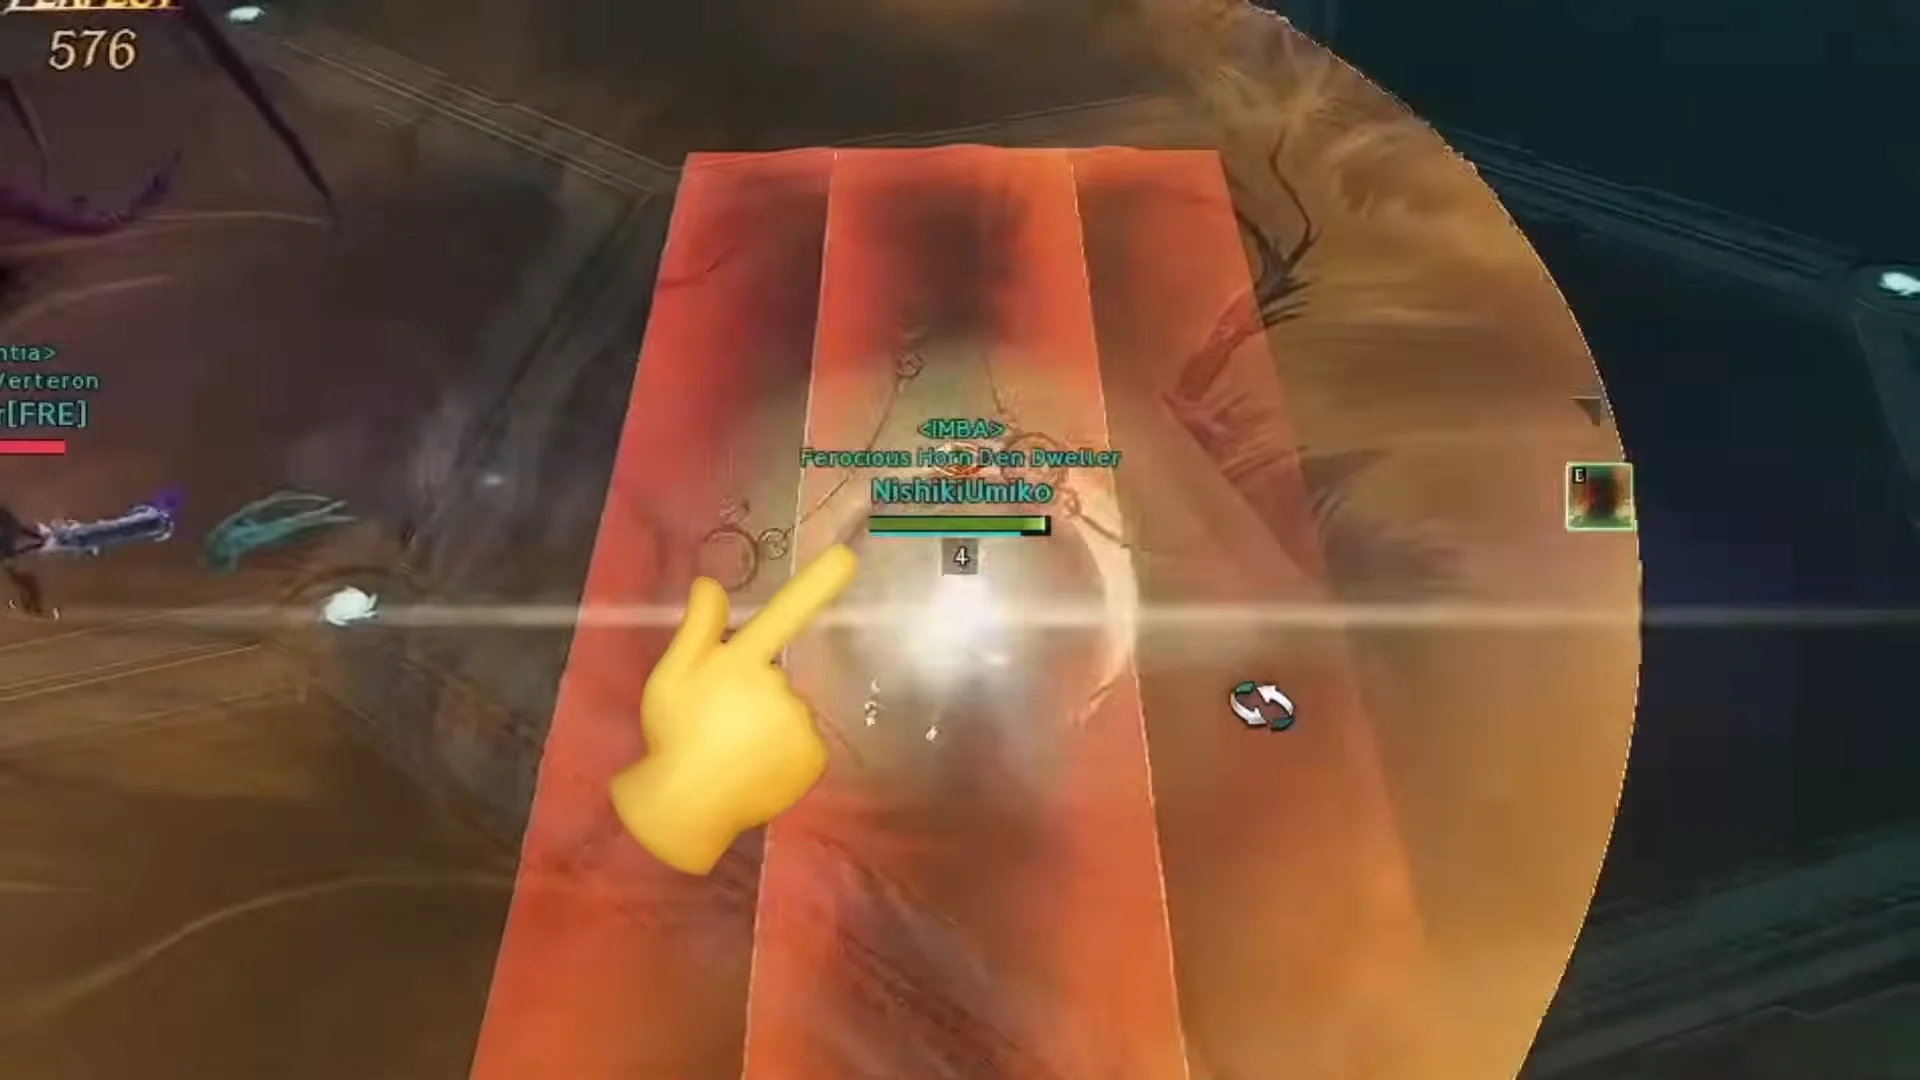
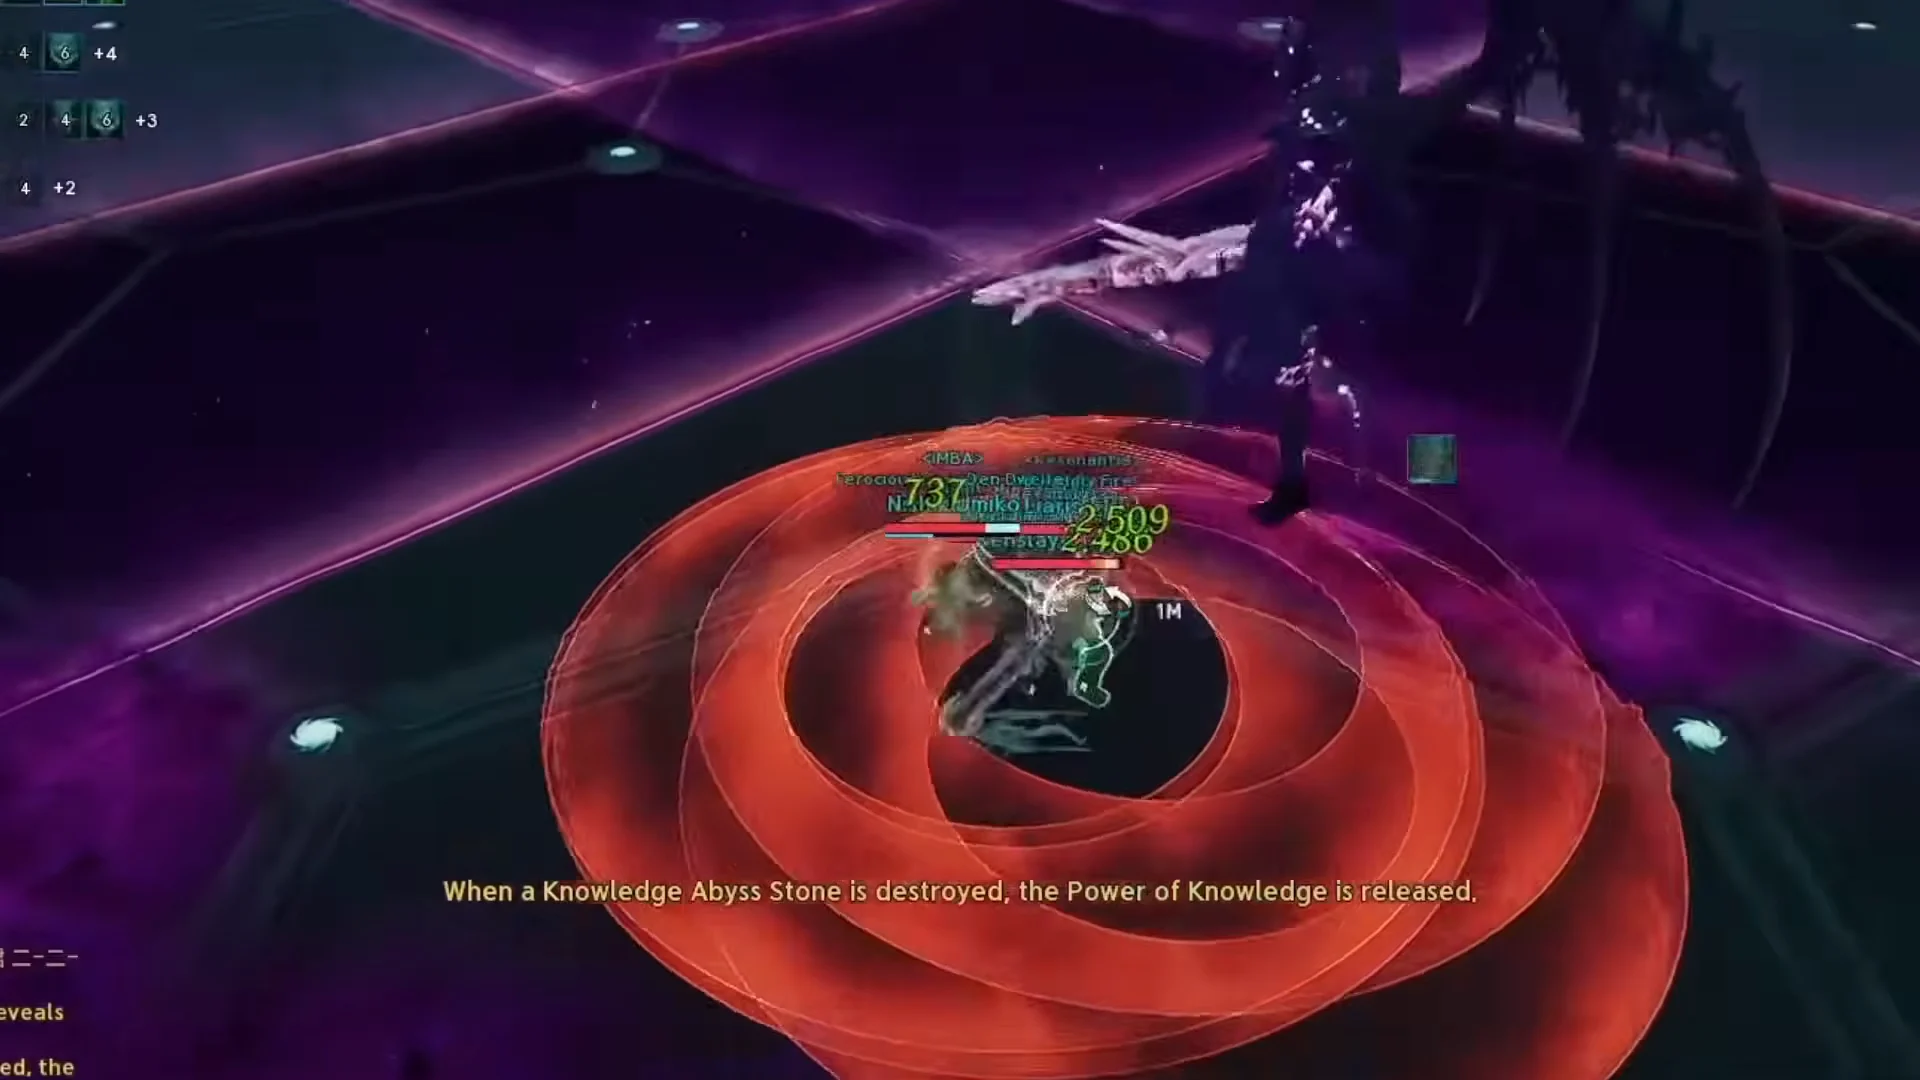
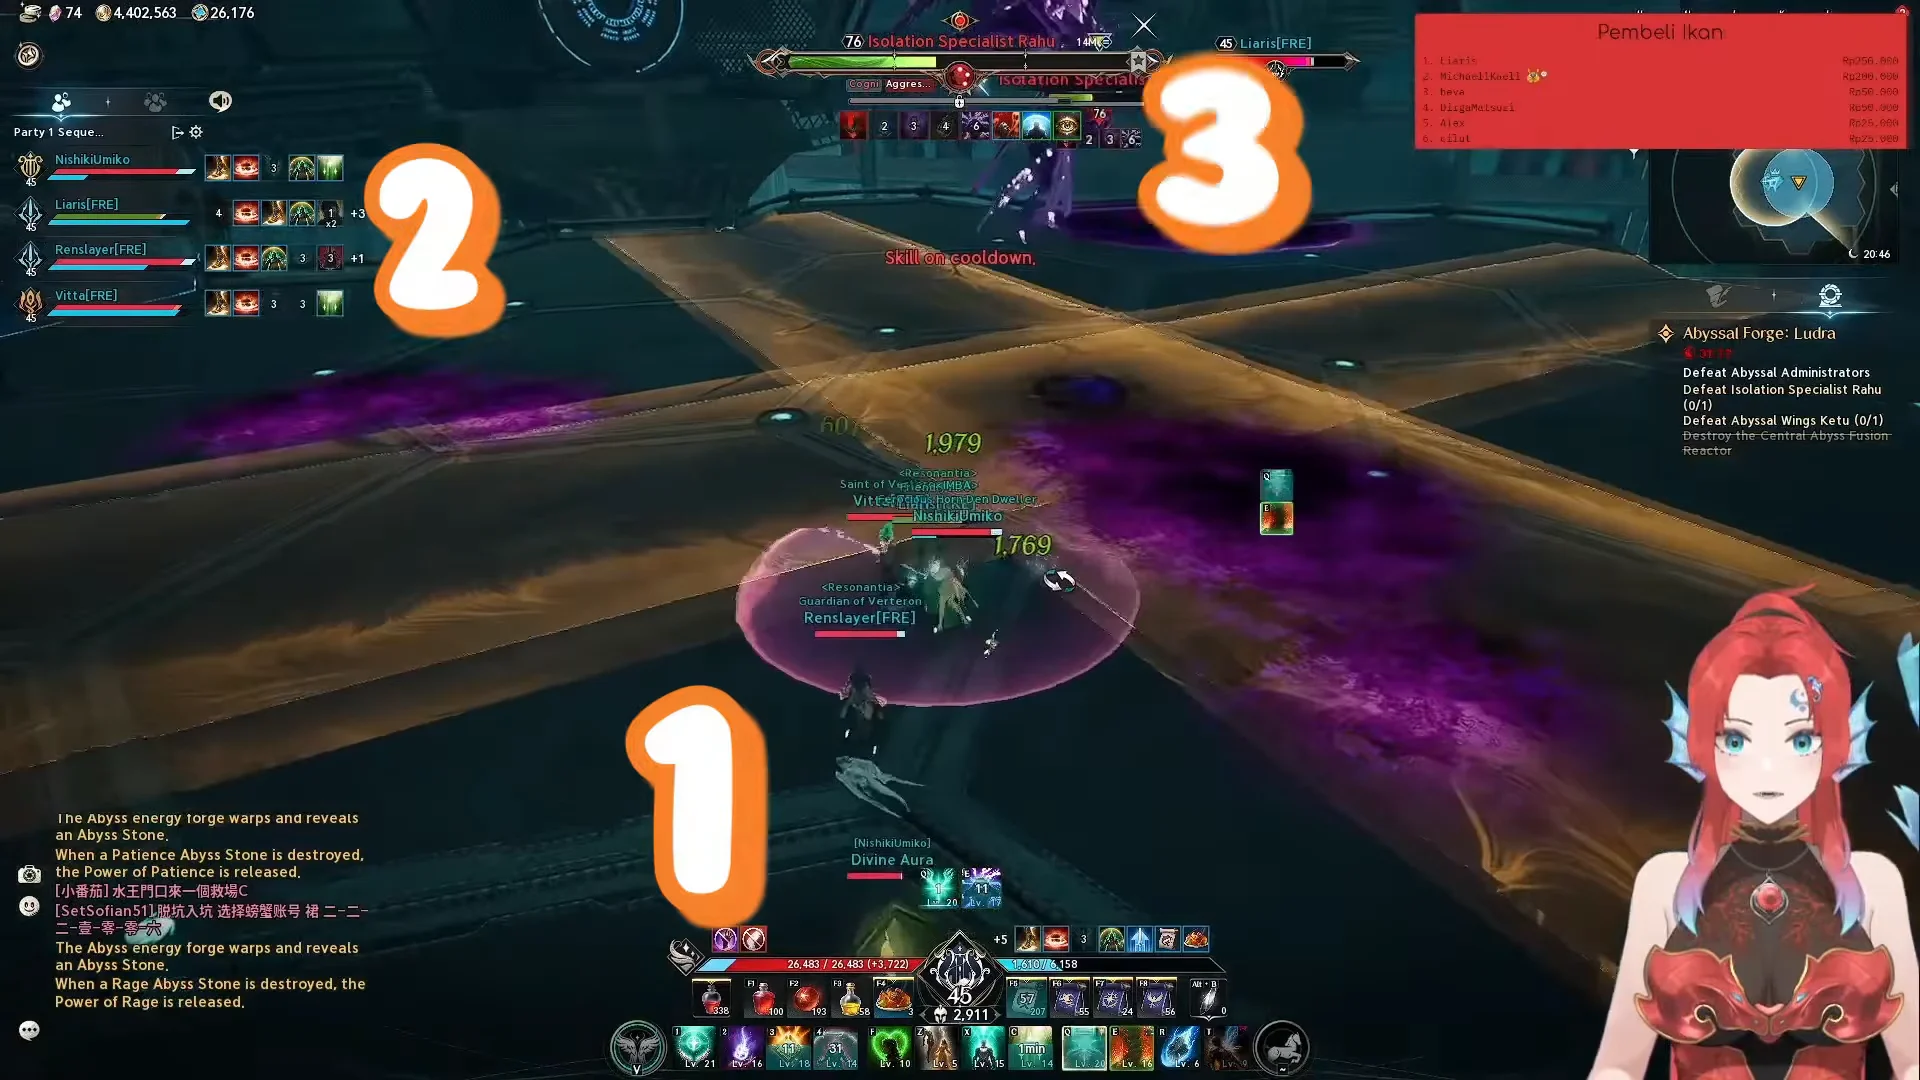
At 25% HP Rahu summons monsters, and players marked with directional beams must aim them at the adds. Failing to clear the adds creates the same expanding hazard zones that force a wipe at three stacks.
Abyssal Wings Ketu
Abyssal Wings Ketu fills the room with rotating laser walls and gaze checks. The key opening move is to find the single safe wedge the lasers leave open and gather there for healing.

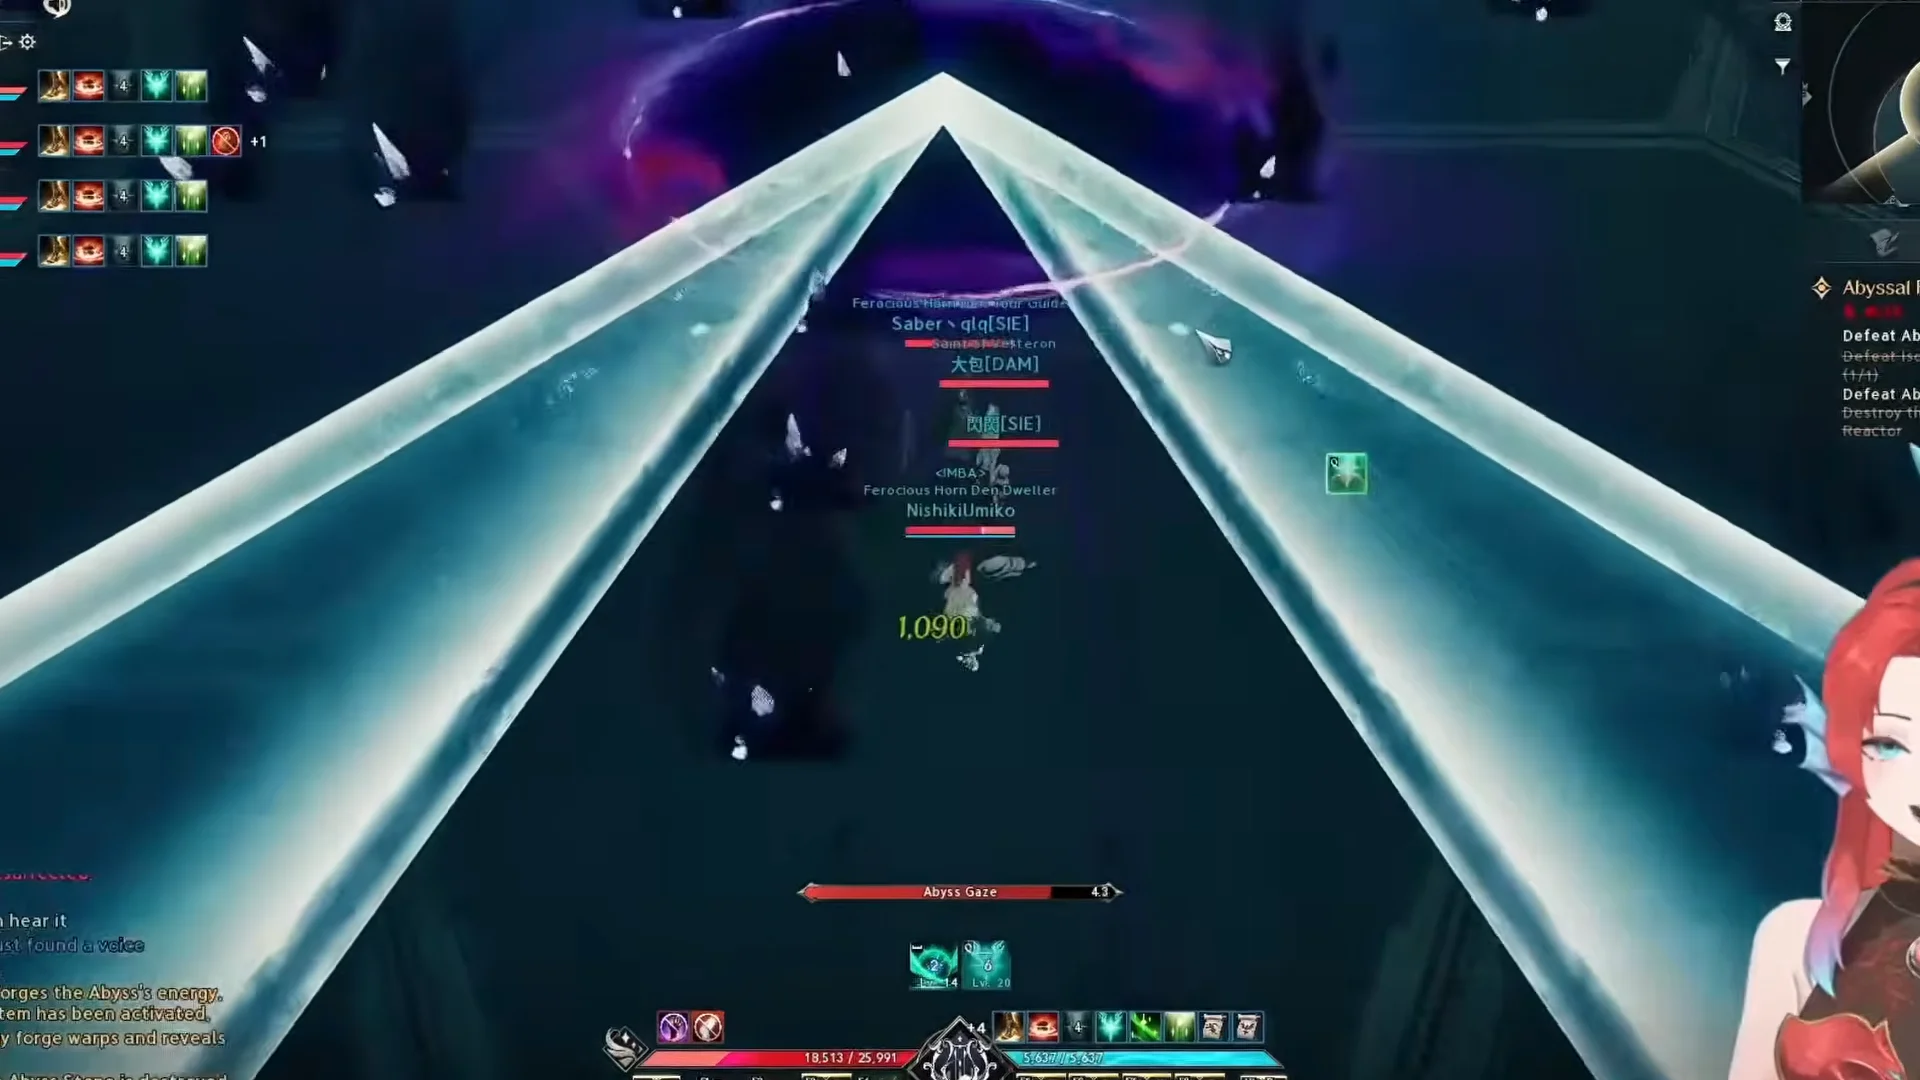
Inside that wedge a gaze orb appears: face a red orb directly and turn away from a blue one. Ketu also drops falling orbs that two players must intercept before they land, summons chasing blades, and at low HP forces cone attacks that are survived by hitting the Mortal Soul Stones for a brief invulnerability window.
Eternal Ludra
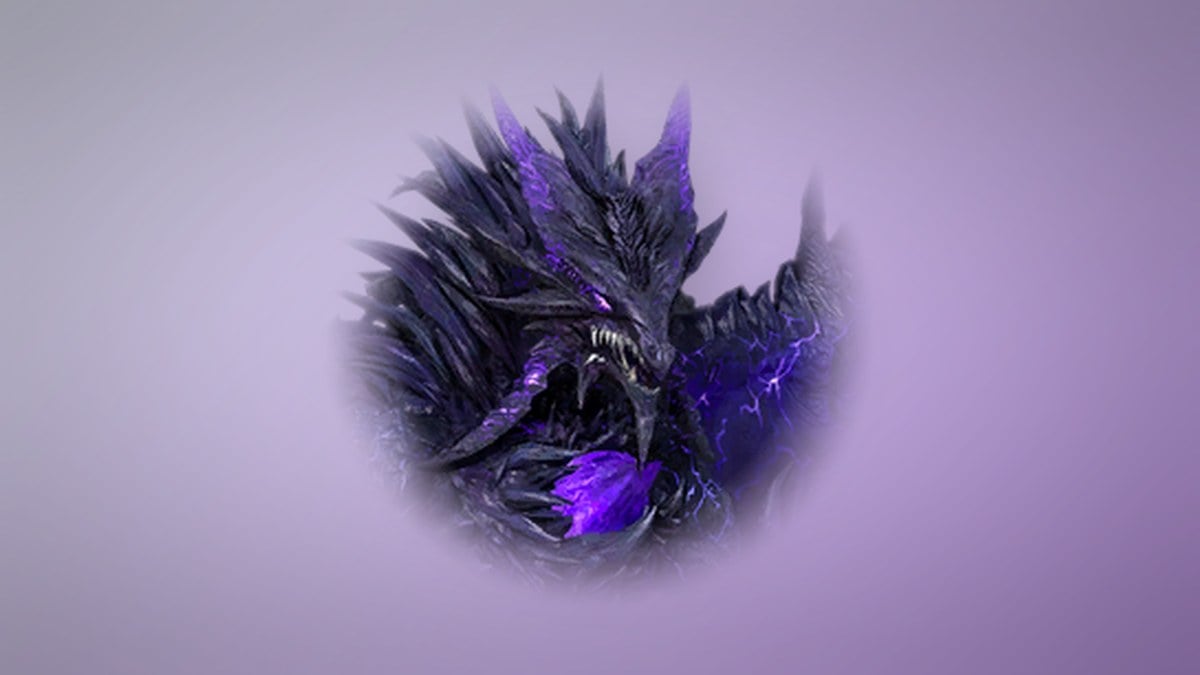
Eternal Ludra is the final encounter and the only boss that drops gear and materials. The fight layers claw slams, red and blue orb assignments, a large donut zone with tornadoes and lightning, and two Bingo phases at 50% and 25% HP where the floor becomes a grid of tiles that must be cleared in order. The red orb specifically needs a player with an invulnerability or block skill to absorb it.
Eternal Ludra drops and drop rates
Every roll on the table below comes from Eternal Ludra. The eight Ludra weapons and Ludra’s Heart each sit at 0.56%, so they are the rare chase items, while Amplify Stone Fragment and Balaur’s Essence drop on every clear.
| Drop | Grade | Chance |
|---|---|---|
| Amplify Stone Fragment (Bound) | Unique | 100% |
 Balaur’s Essence Balaur’s Essence | Epic | 100% |
 Philosopher’s Stone: Revelation (Bound) Philosopher’s Stone: Revelation (Bound) | Special | 30% |
| Wrathful Mind | Unique | 10% |
| Wrathful Will | Unique | 10% |
| Wrathful Ego | Unique | 10% |
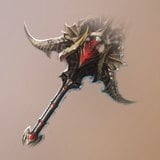 Ludra’s Blade of Extinction Ludra’s Blade of Extinction | Unique | 0.56% |
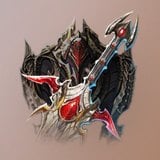 Ludra’s Scale Sword Ludra’s Scale Sword | Unique | 0.56% |
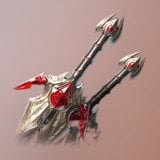 Ludra’s Claw Ludra’s Claw | Unique | 0.56% |
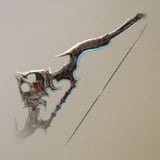 Ludra’s Fatal Bow Ludra’s Fatal Bow | Unique | 0.56% |
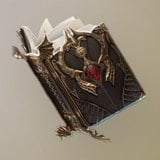 Ludra’s Grimoire Ludra’s Grimoire | Unique | 0.56% |
 Ludra’s Abyssal Jade Ludra’s Abyssal Jade | Unique | 0.56% |
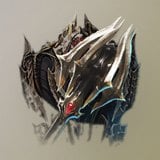 Ludra’s Fatal Mace Ludra’s Fatal Mace | Unique | 0.56% |
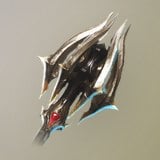 Ludra’s Heavenbound Staff Ludra’s Heavenbound Staff | Unique | 0.56% |
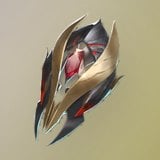 Ludra’s Heart Ludra’s Heart | Unique | 0.56% |
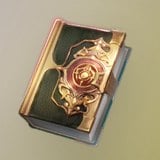 Soul Codex (Bound) Soul Codex (Bound) | Special | — |
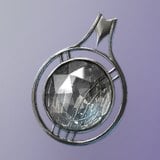 Silentium (Bound) Silentium (Bound) | Special | — |
| Kina | Common | — |
| Lesser Manastone (Bound) | Common | — |
| Lesser Soulstone (Bound) | Common | — |
Eternal Ludra also drops the Berk Ring, Bakarma Gloves, and Bakarma Cloak, which are covered in the gear section below. Entries shown with a dash are frequent or guaranteed fillers without a fixed per-roll percentage.
Gear from the raid
The three named armor and accessory pieces are all Unique, item level 54, with four manastone slots and a maximum of +15. Enchanting is a 100% success up to +10, then the success rate falls each step, reaching 20% at +15 with a 5% catch-up added on each failure.
The Bakarma Cloak carries HP 108 and Defense 265. Its Defense of 265 is the 8th highest value among 145 Cloak items; the highest is 504, shared by the Splendent Ebony Dragon Lord Cloak and Splendent Wise Dragon Lord Cloak.
The Bakarma Gloves share the same HP 108 and Defense 265. That Defense ranks 8th highest among 147 Gloves items, again behind the 504 on the Splendent Ebony Dragon Lord Gloves and Splendent Wise Dragon Lord Gloves.
The Berk Ring provides Attack 55 and Defense 132. Its Defense of 132 is the 8th highest among 60 Ring items, with the top value of 252 held by the Splendent Ebony Dragon Lord Ring and Splendent Wise Dragon Lord Ring.
Materials and awakening stones
Amplify Stone Fragment drops at 100% and is used to awaken the unique power of gear. It converts into a full Amplify Stone through Substance Morph, which feeds the amplify steps on Unique equipment past its enchant cap.
Balaur’s Essence also drops at 100% and is a core crafting material for Draconic gear. It is tradeable, unlike most of the raid’s output.
Philosopher’s Stone: Revelation has a 30% drop rate; applying it to soul-bound gear unlocks new abilities.
Wrathful Mind, Wrathful Will, and Wrathful Ego each drop at 10%. All three are materialized Balaur fragments used in crafting Draconic gear, and each is tradeable.
What a clear confirms
A finished run registers when the objective tracker ticks off Rahu, Ketu, and Eternal Ludra, and the Od Energy Cube appears for you to claim. Every clear hands over Amplify Stone Fragment and Balaur’s Essence at minimum, so even runs without a Ludra weapon still move your awakening and crafting materials forward, with the guaranteed reward arriving once you reach the eight-clear ceiling.