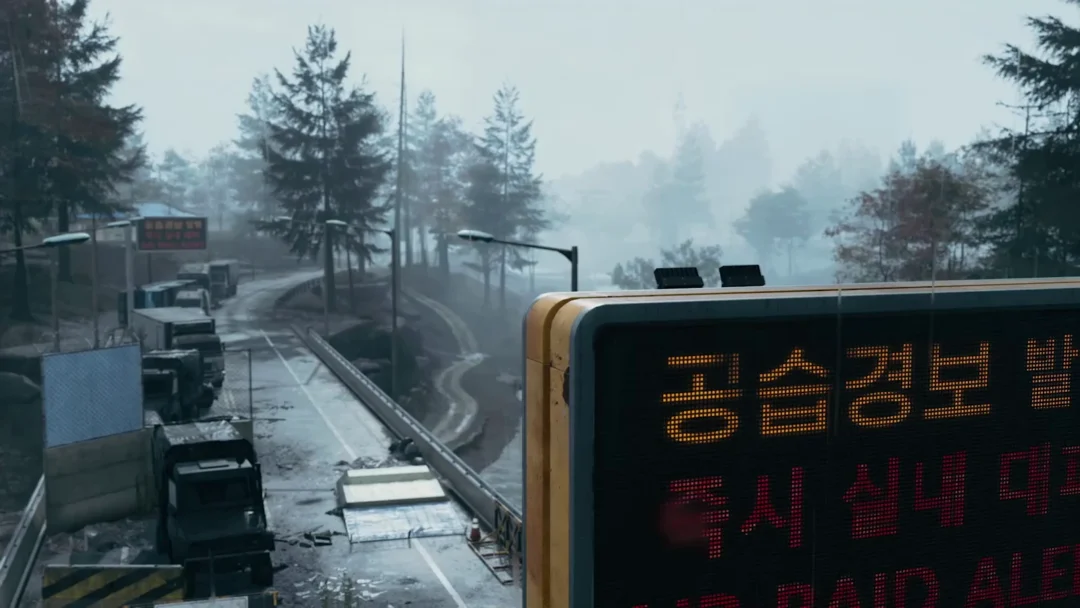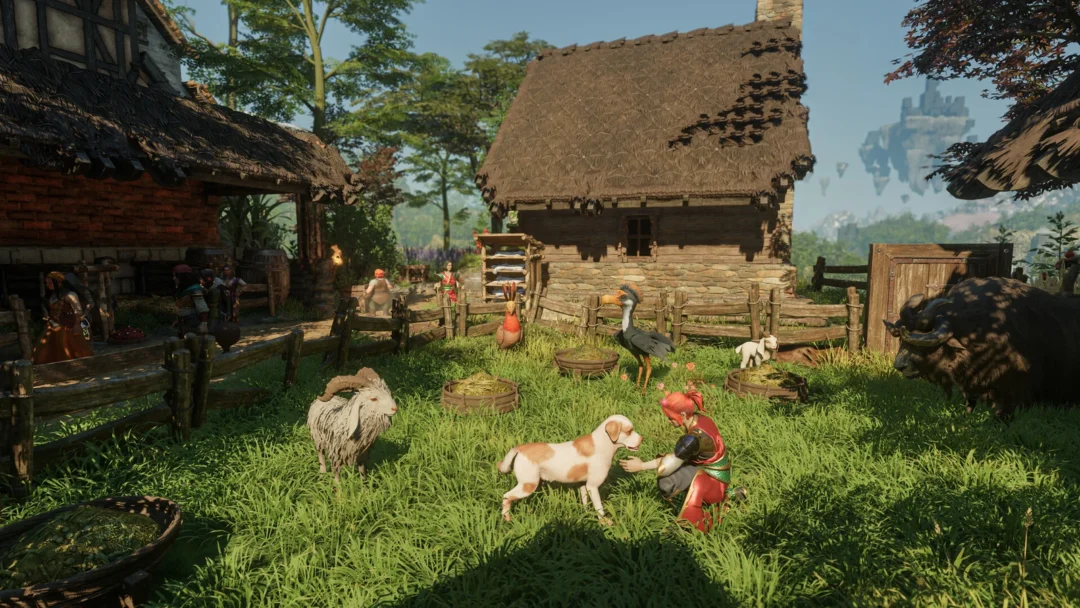
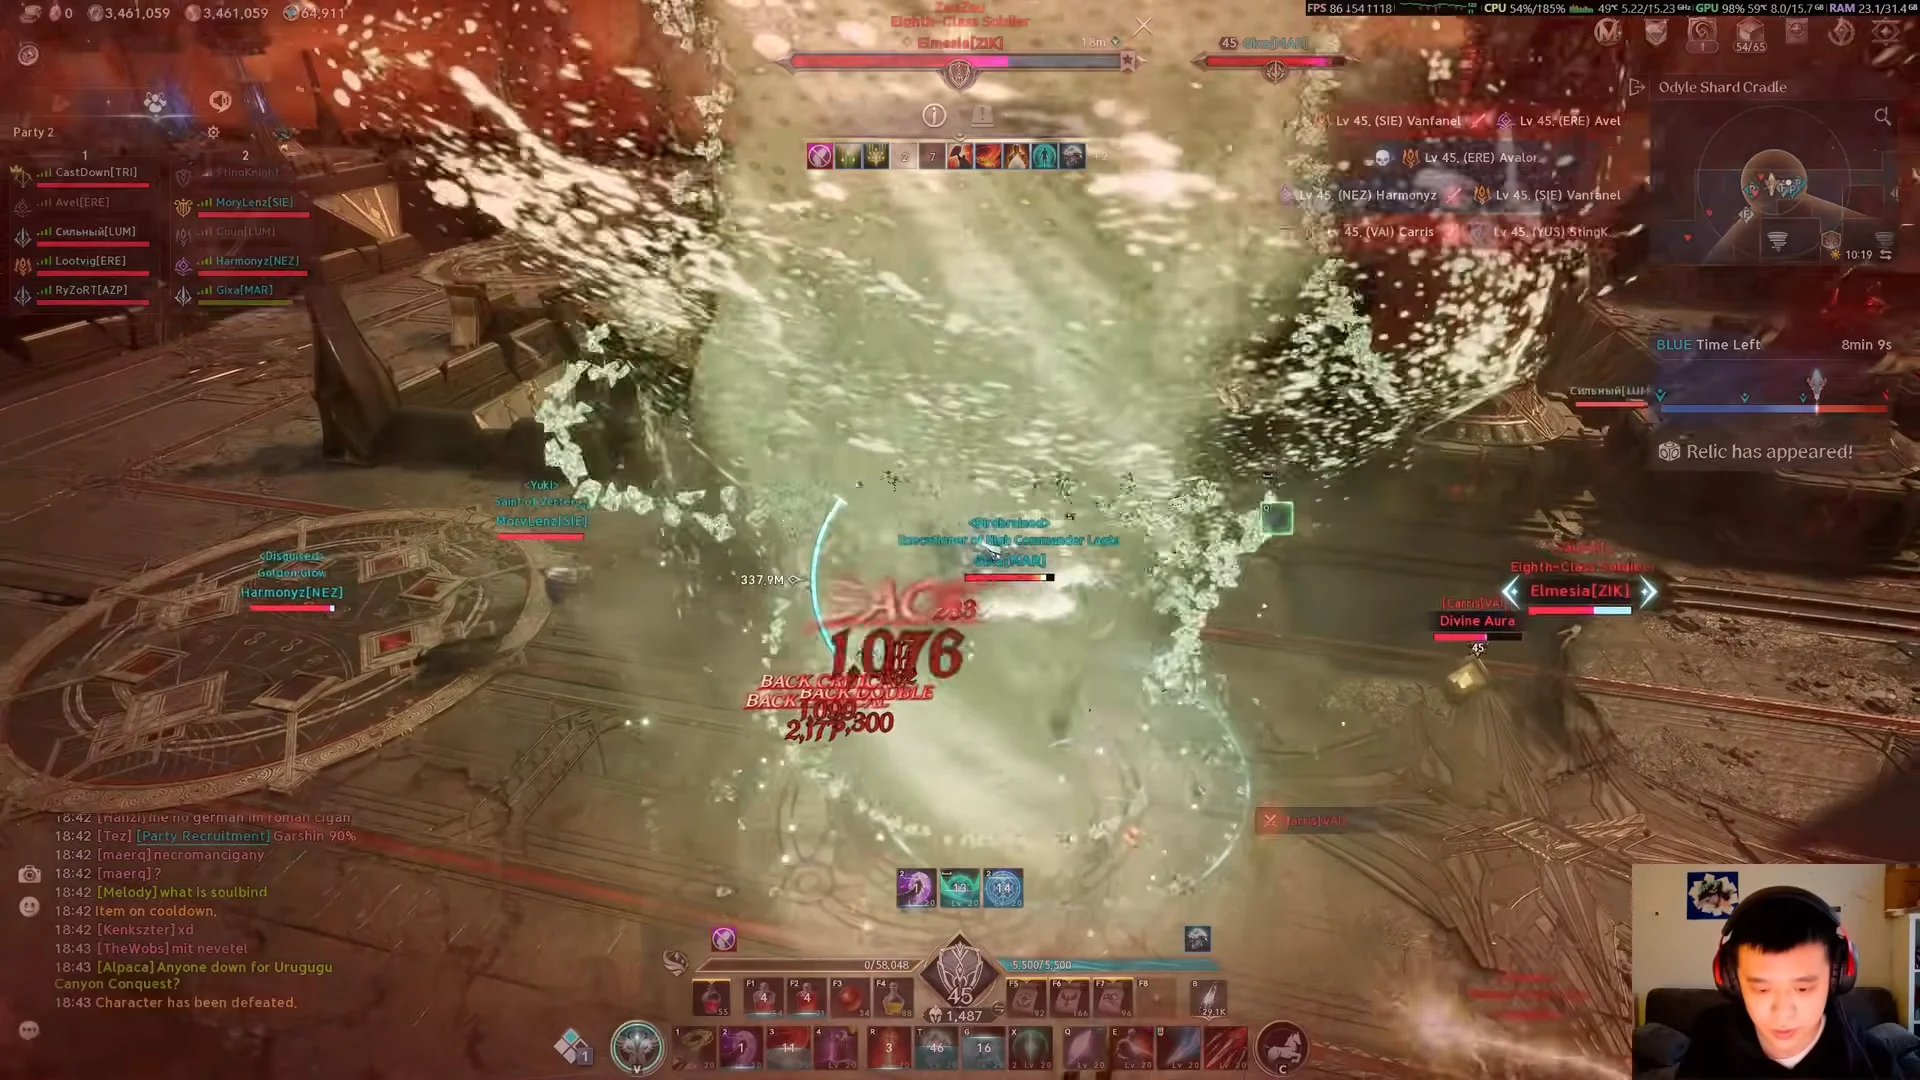
Arena of Tactics is the big-team entry in Aion 2’s Battlefield menu, a 10v10 fight where both sides drop into the same floating arena with their stats flattened. Nobody brings a gear advantage, which is the point. A Templar playing it does not win by topping the kill chart. The match is decided by who holds the central relic nodes while the clock runs, and the footage below makes that trade-off obvious within the first minute.
Quick answer: Arena of Tactics is Aion 2’s 10v10 equalized battleground on Odyle Shard Cradle. Teams win by holding central relic nodes, not by kill count, and earn Abyss Points plus a Silver Medal of Honor.
What Arena of Tactics is
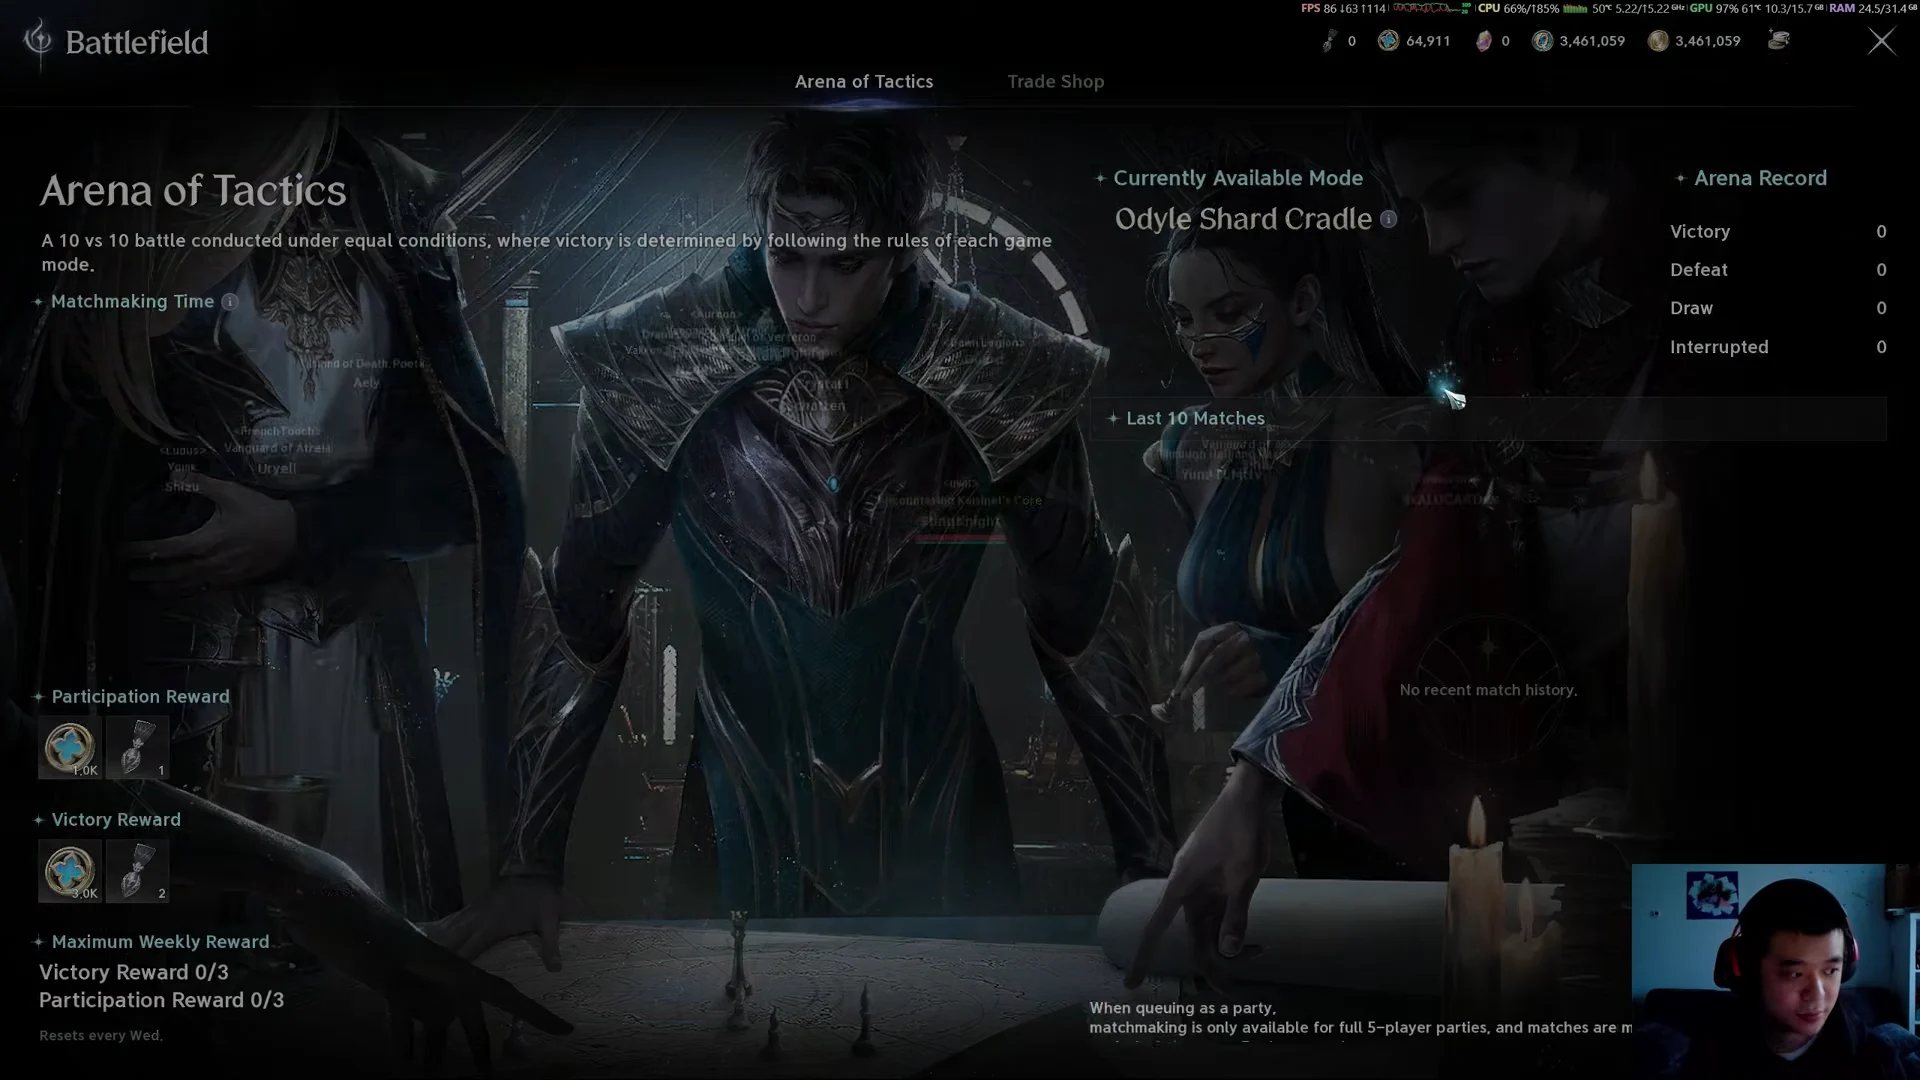
You reach it from the Battlefield tab, which sits alongside the Trade Shop and lists Arena of Tactics as a currently available mode. The queue is open across the whole matchmaking period, so you ready up and wait for the teams to fill. The mode’s own description is blunt about its design: a 10v10 battle run under equal conditions, with victory set by each game mode’s rules.
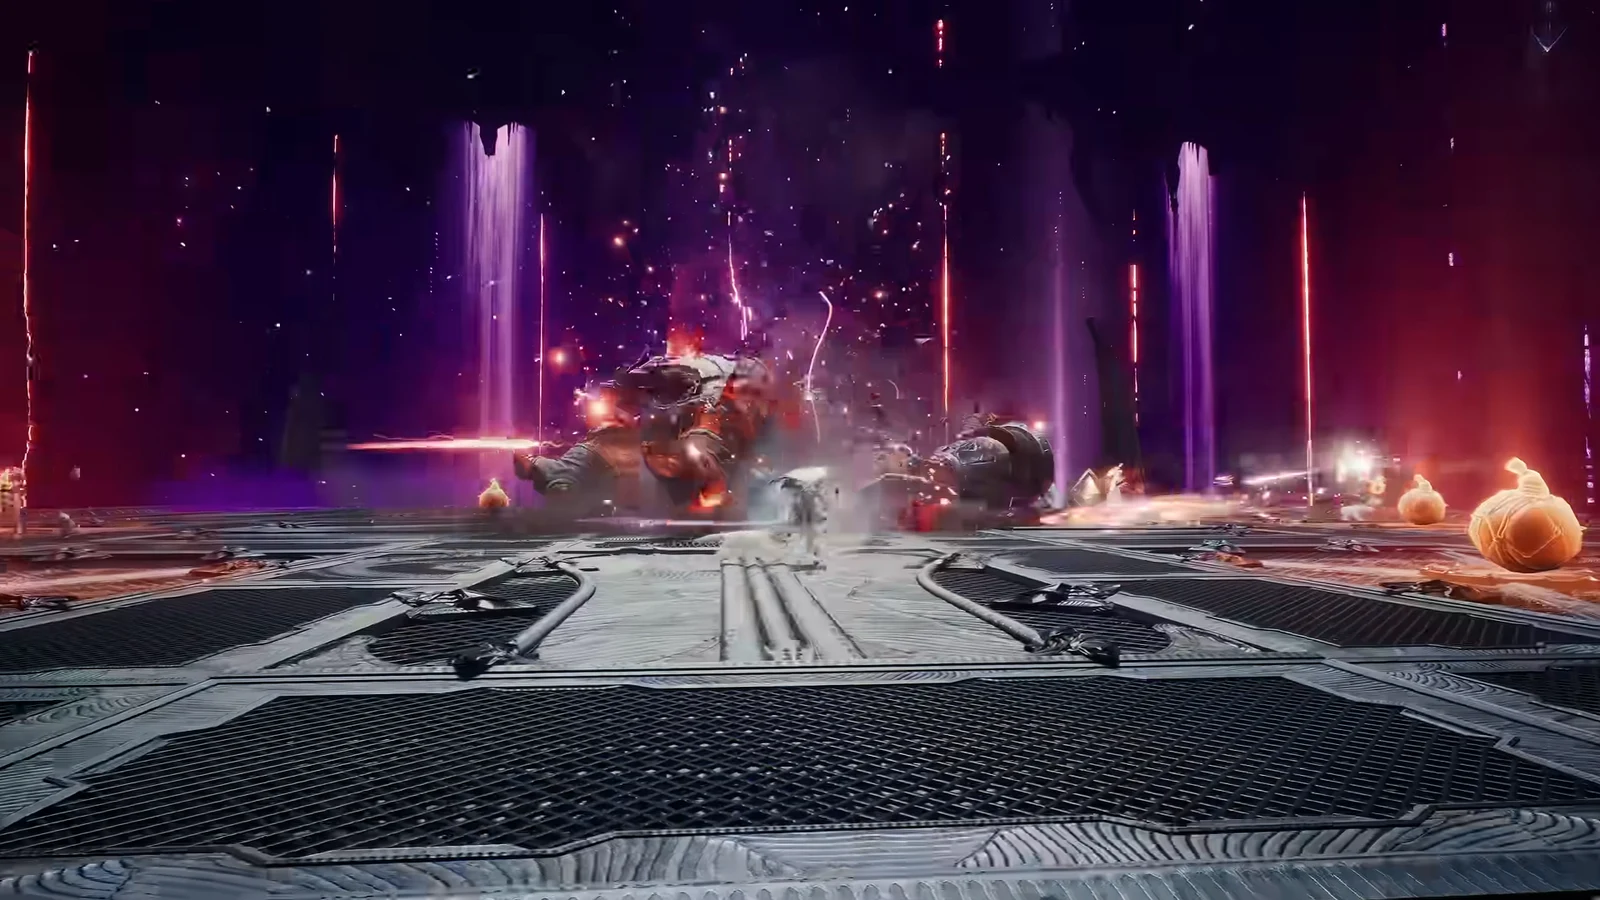
Once matchmaking completes, a roster screen pairs Team Blue against Team Red, ten players each, before a panning camera shows the arena and a ten-second countdown. Matches run up to 10 minutes. The map itself is a multi-tiered platform strung together by raised bridges, with jump and glide routes between sections, so positioning happens in the air as much as on the ground.
Odyle Shard Cradle and the relic objective
Odyle Shard Cradle is the map Arena of Tactics runs on. Scoring is tied to the central floating nodes, shown as glowing green rings, and to relics that spawn across the middle walkway. A prompt announces when a relic has appeared, and teams fight to capture and hold the point rather than scatter across the bridges chasing individuals.
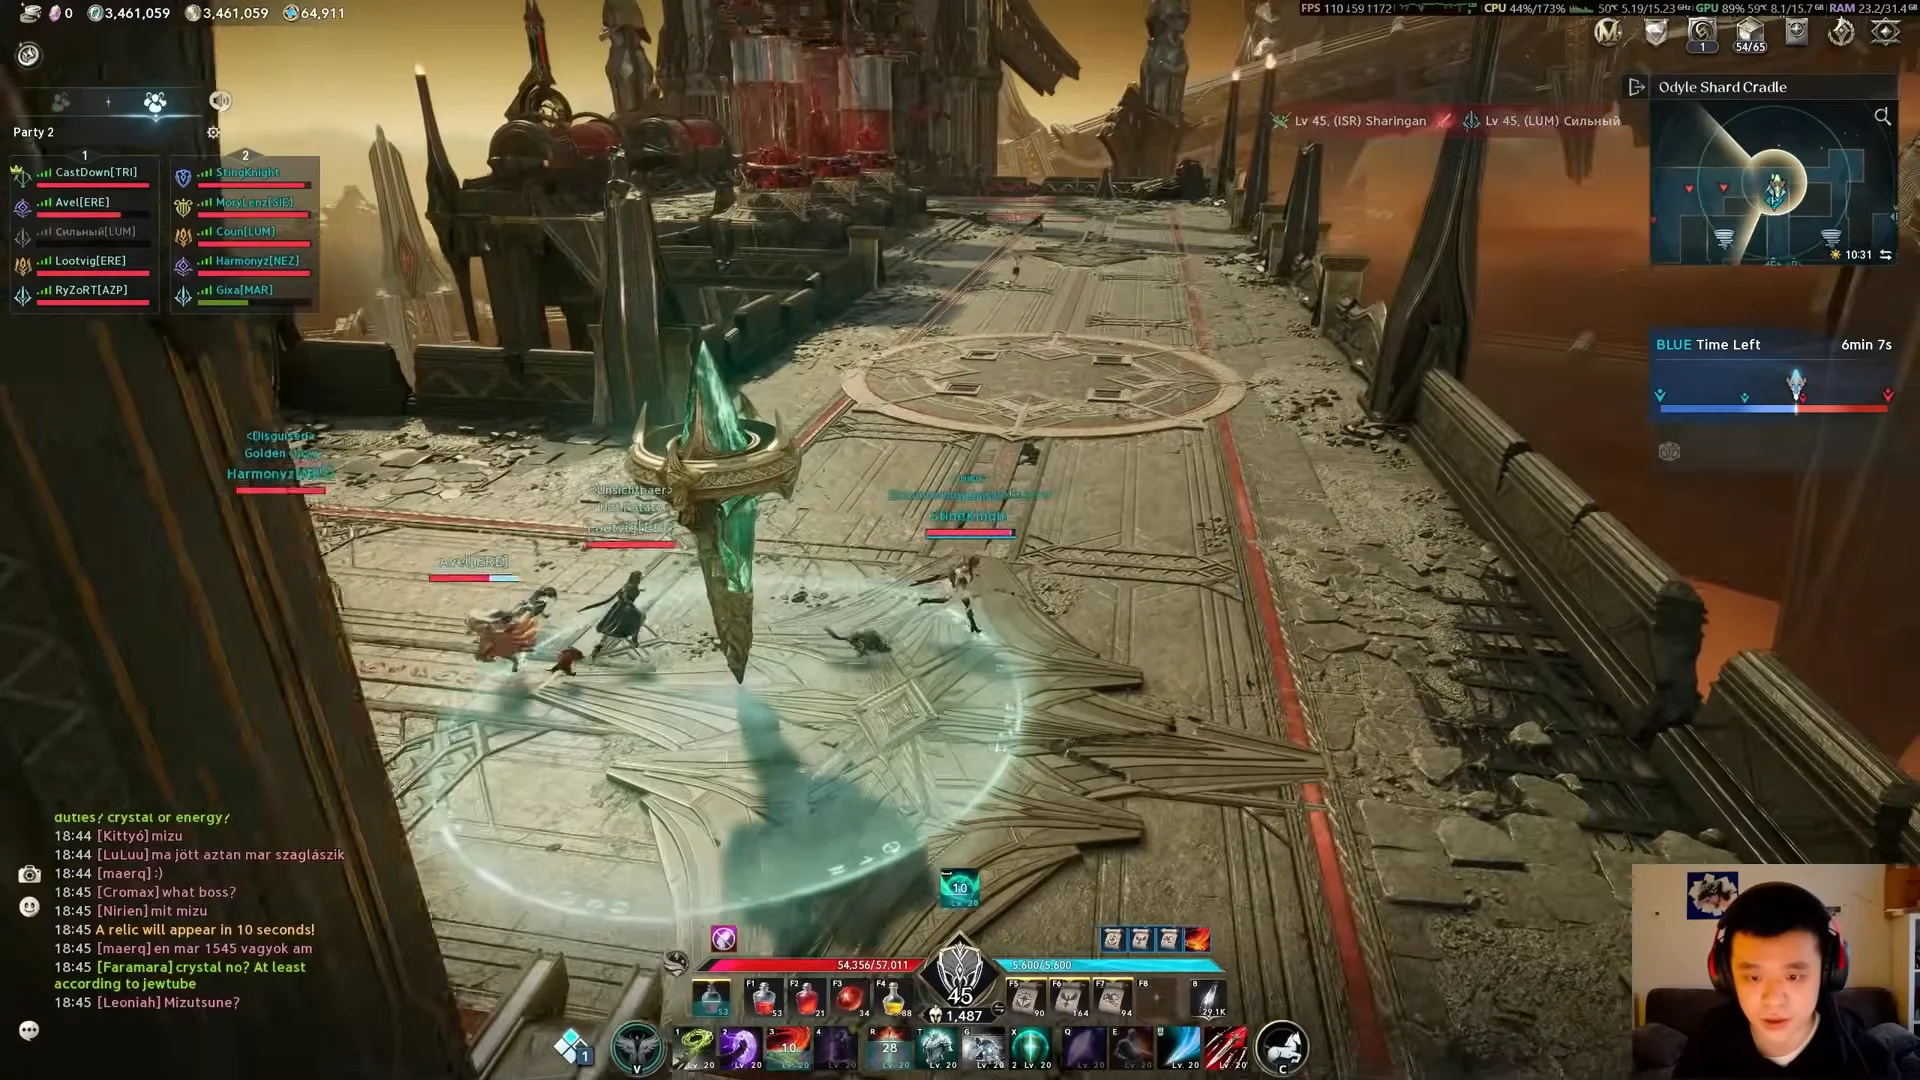
The clearest read on how the mode rewards board control comes from the featured match: Team Blue won 66 to 42, and the Templar who captured and defended the center finished with 3 kills, 3 deaths, and 27 assists. That spread is the mode in one line. Presence on the point, not personal kills, is where the value sits.
Equal conditions: no gear gap
Before the gates open, a banner reads “Survival Willpower: Now Lv.120.” That is the equalization layer. Everyone enters at level 45 on the roster, and the normalization pass pulls each player’s stats to the same baseline so a fully kitted account cannot one-shot a newer one. The result is a battleground where rotation timing, control, and point discipline decide the match instead of who farmed the most dungeons.
How a Templar plays the mode
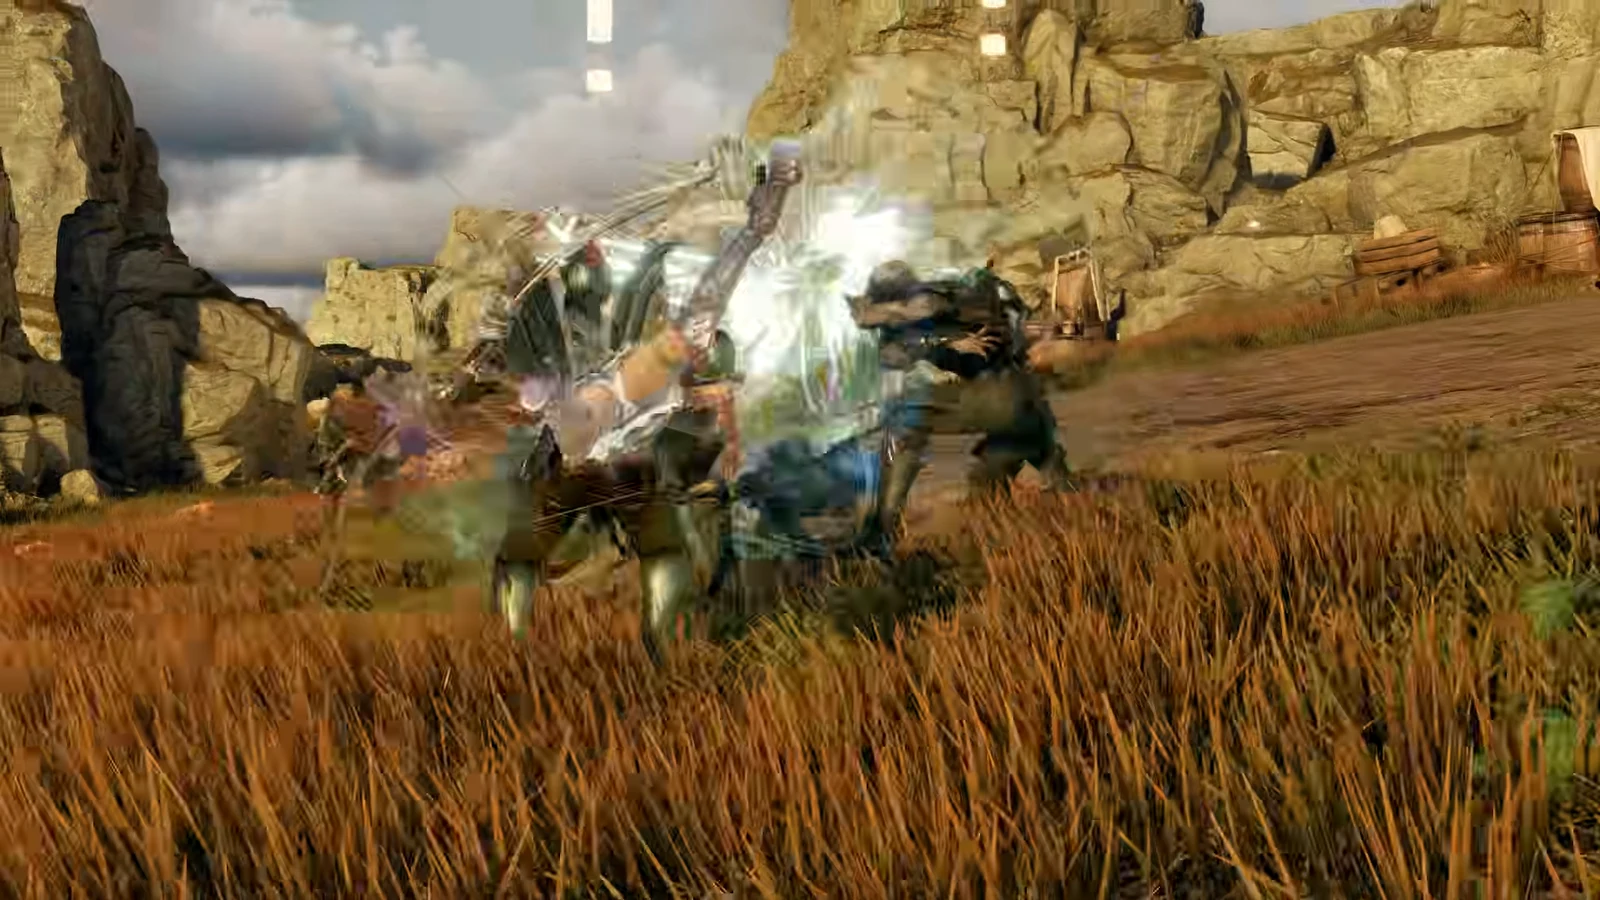
The opening is punishing for a frontline. Both teams glide toward the middle bridge at once, and a sword-and-shield Templar wading in first eats concentrated area damage. In the footage, the first push ends in a quick death at the enemy frontline, and a second trip in gets swallowed by a large whirlwind effect over the central relic.
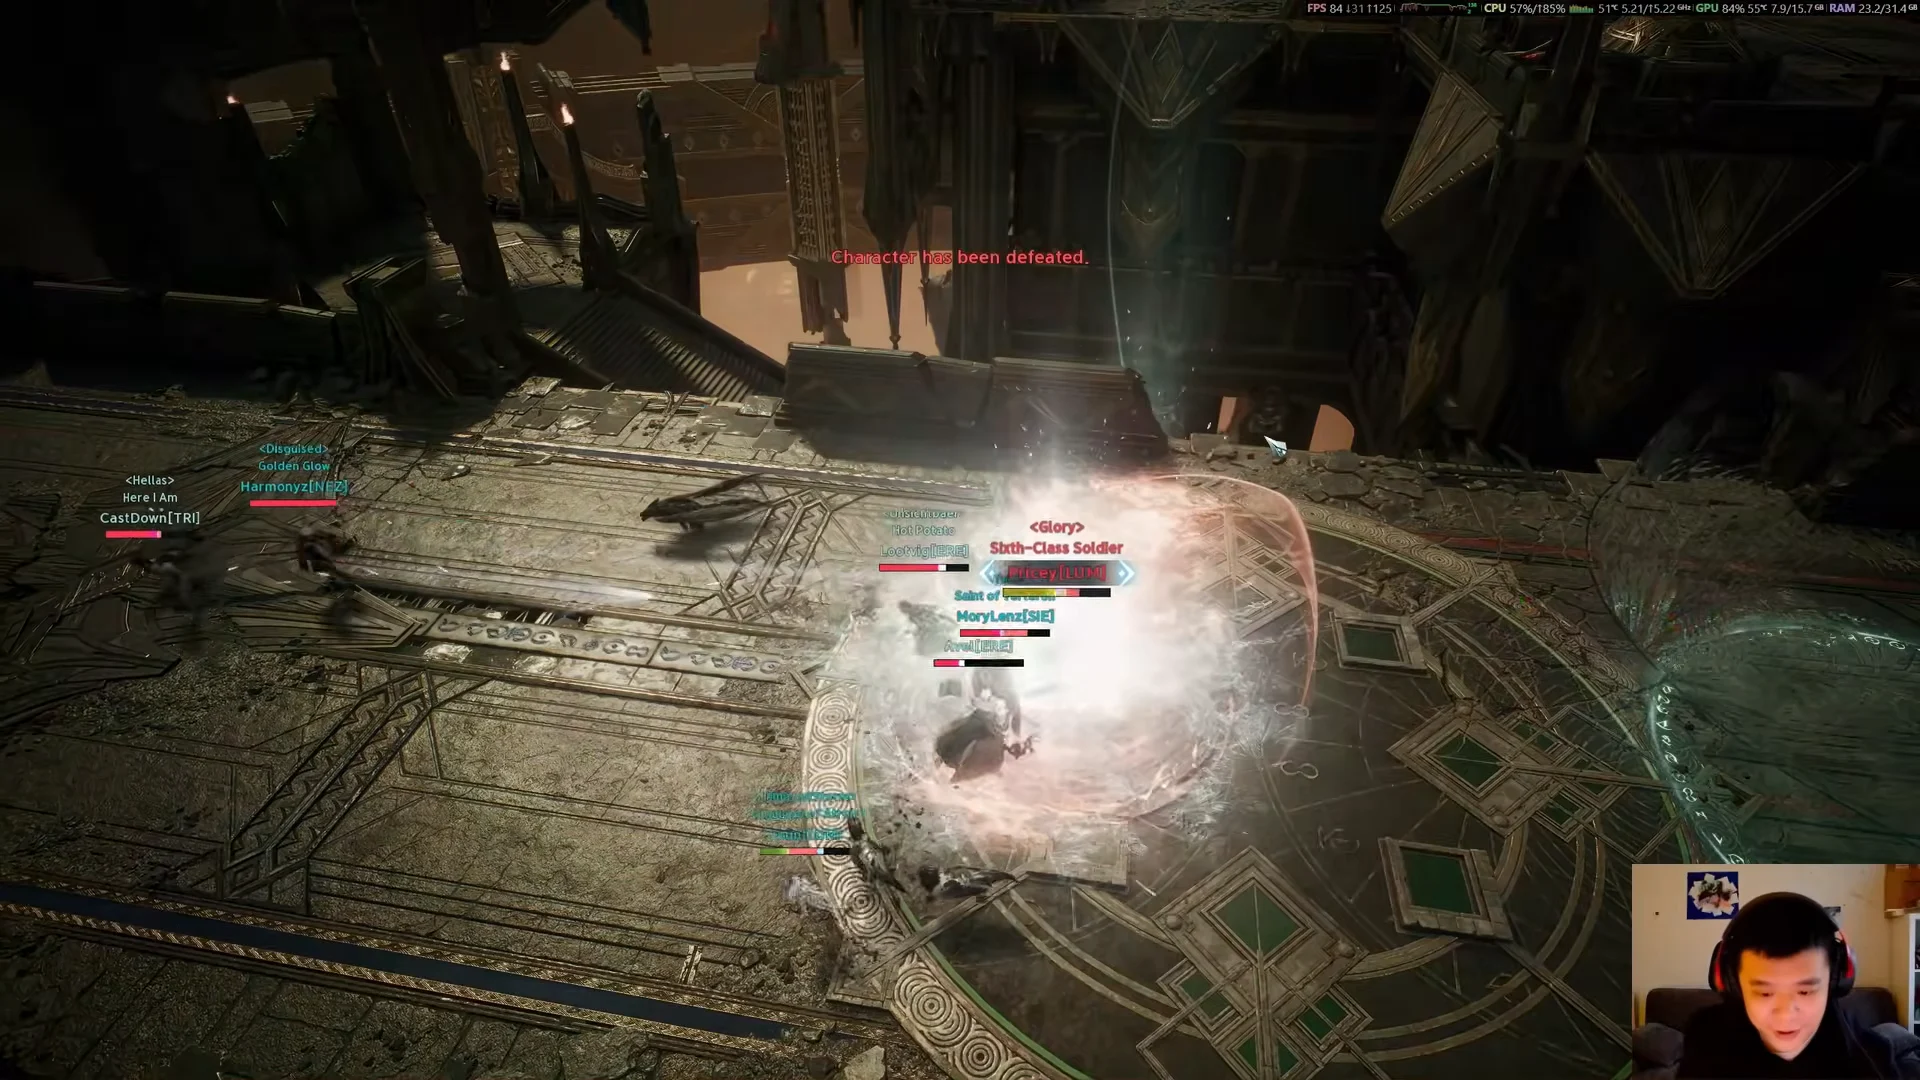
What turns it around is using the class as a controller rather than a battering ram. The Templar leans on shield blocking to absorb the first wave, then uses a long-range pull to drag isolated opponents into friendly focus fire, backed by area stuns to lock down anyone pushing the point. The Templar’s stigma list includes Grapple, which lines up with the hook that keeps yanking enemies out of position in the footage.
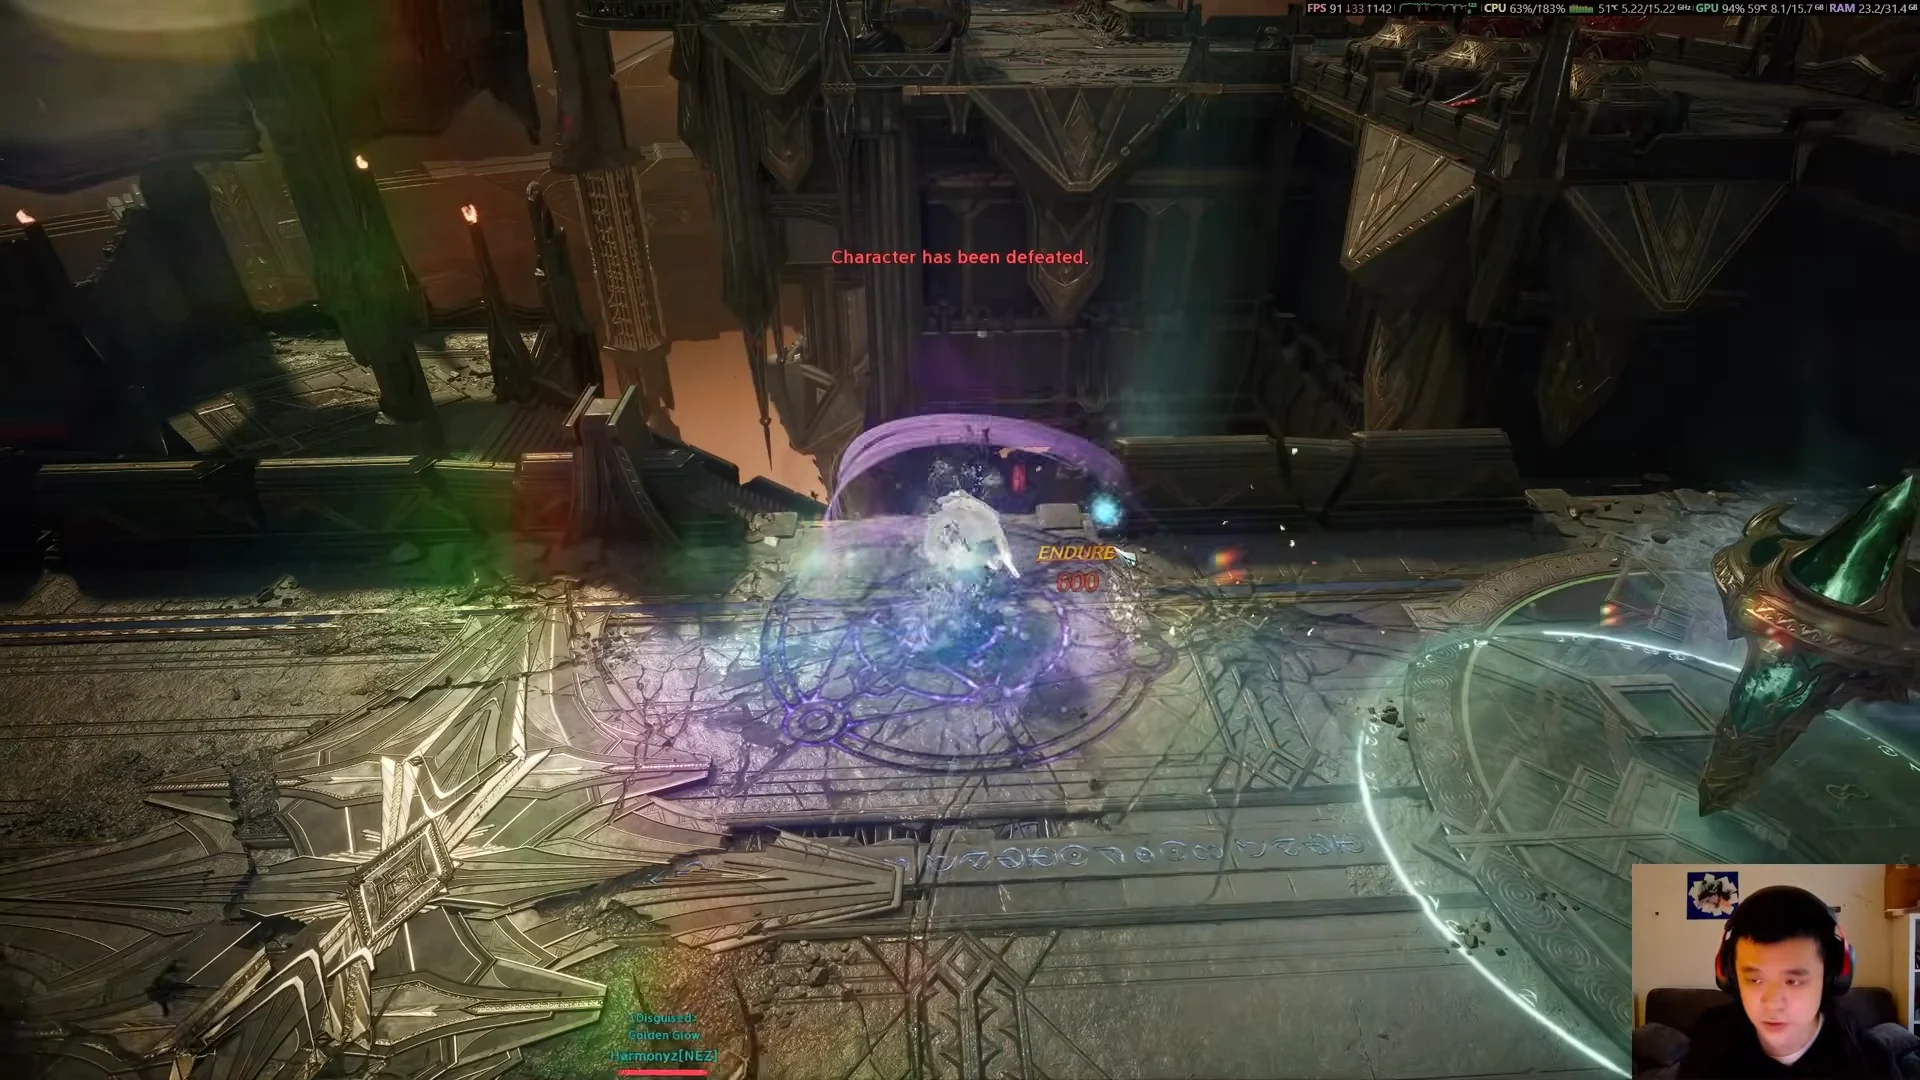
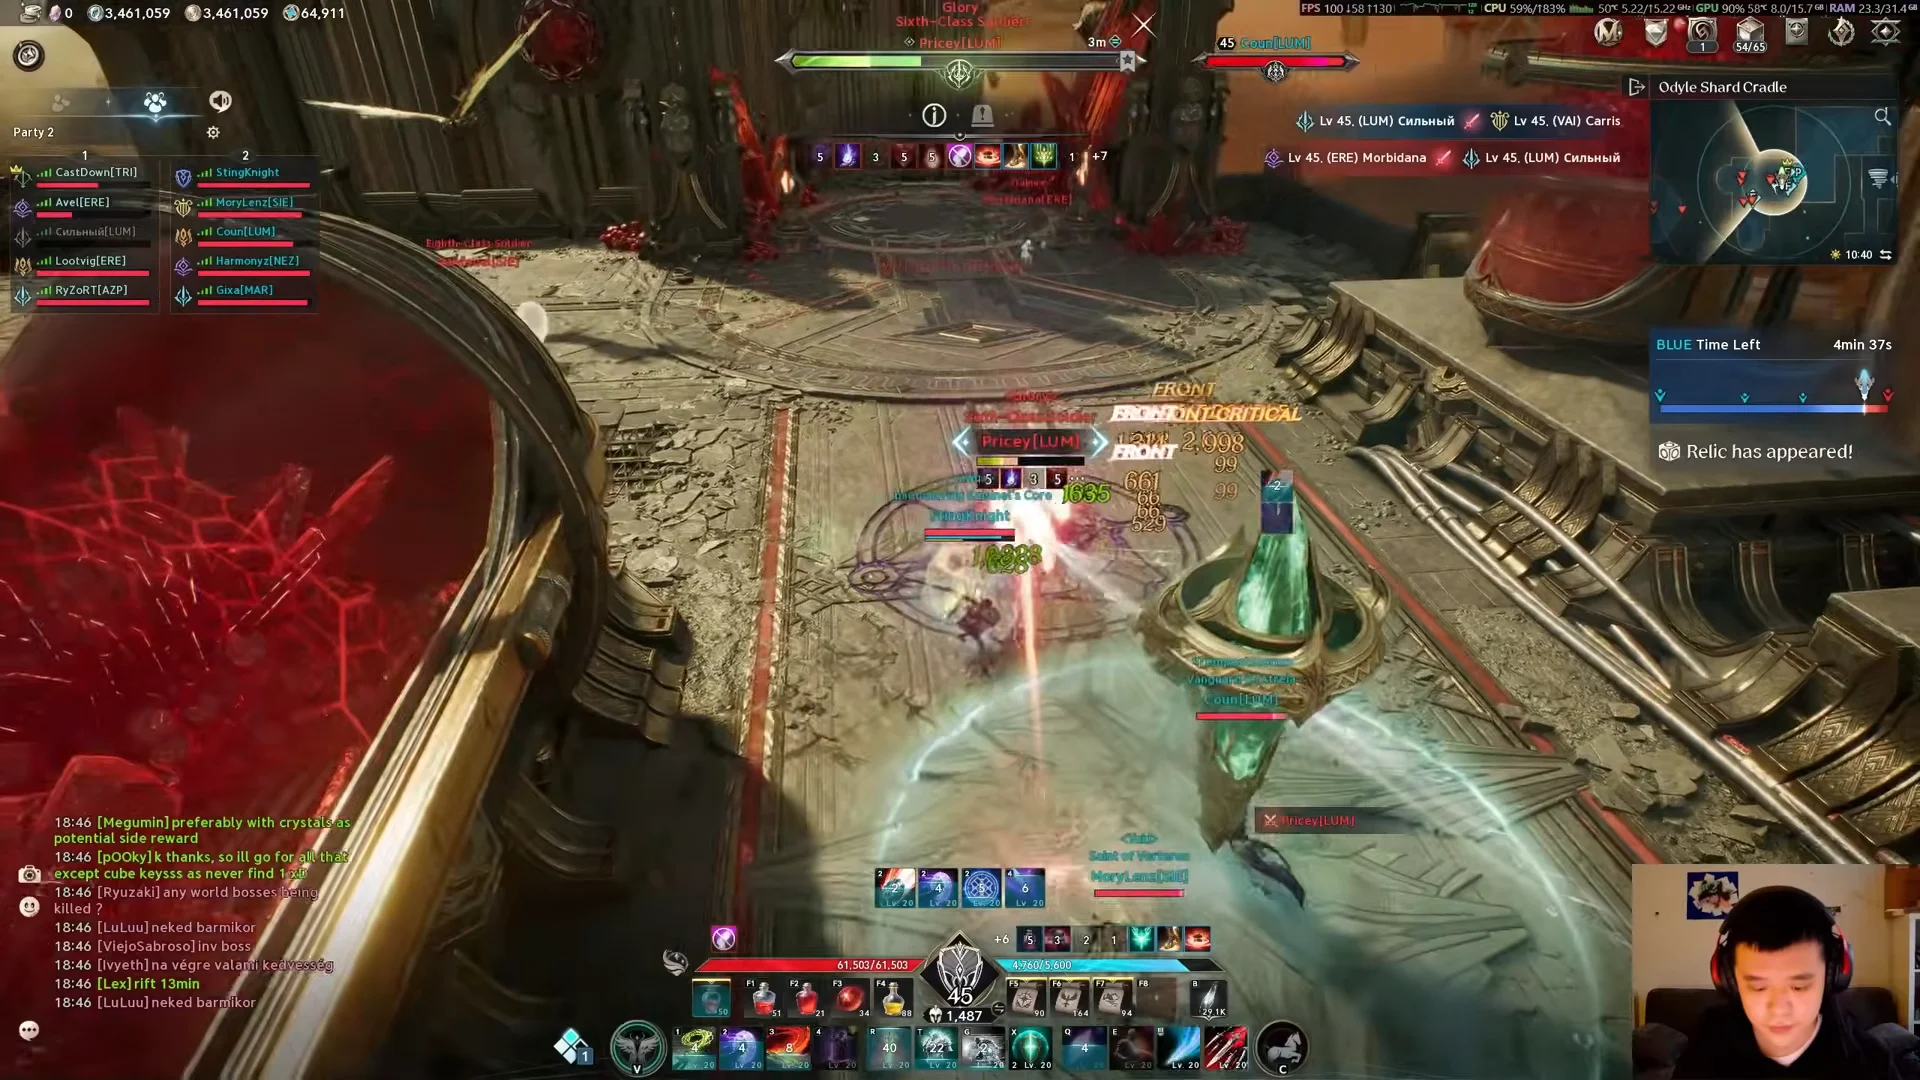
Once Team Blue regroups and captures the green node, the Templar’s job shifts to holding it. Chaining hooks and stuns onto incoming attackers lets the team deny the contest, and the enemy’s repeated pushes fall apart against coordinated crowd control at the point.
Templar skill reference for the arena
The Templar is one of two tank classes in Aion 2, alongside the Gladiator. Where the Gladiator fills both Tank and Dealer roles with a Greatsword, the Templar is a dedicated Tank built around a Longsword and shield, which is exactly the toolkit the mode rewards.
| Attribute | Templar |
|---|---|
| Main weapon | Longsword |
| Party role | Tank |
| Total skills | 36 |
The pieces that matter in a point fight are the defensive and control tools. The regular kit carries block and defense layers like Block Pain, Ironclad Defense, Warding Shield, and Warding Strike, plus the Shield Rush and Shield Smite closers and the Insulting Roar taunt. The stigma list adds the heavier control and utility picks:
- Grapple — the long-range pull that drags enemies into your team.
- Taunt — forces aggro to hold attention on the frontline.
- Shield of Protection and Doom Shield — defensive and offensive shield skills.
- Battlefield Banner and Comrade in Arms — team support on the point.
- Nezekan’s Shield, Noble Armor, Second Skin, Armor of Balance — survivability layers.
Survival Willpower, the skill behind the banner
Survival Willpower is a passive the Templar learns as a regular skill, available from required level 23 and scaling to a maximum skill level of 40. It raises the caster’s Status Effect Resist by 17%. When you get hit with Stun, Knockdown, Airborne, Frost, or Fear, it also adds 12% PvE Damage Tolerance and 6% PvP Damage Tolerance for 5 seconds, which is precisely the window where a tank soaks a burst at the point.
It is not Templar-only. The same passive appears on the Gladiator, Cleric, and Chanter at the same required level and effect, each tied to that class’s weapon. In the arena, the “Survival Willpower: Now Lv.120” condition is the mode’s equalization setting rather than this skill’s live rank, so treat the two as separate things that happen to share a name.
Rewards and weekly limits
When the match ends, the scoreboard shows your kills, deaths, assists, and tokens earned. The featured win awarded a Silver Medal of Honor and 4,000 Abyss Points. In-game, Abyss Points are a PvP currency representing honor earned in an unending war; you can spend them in the Battlefield Trade Shop’s Consumables, Growth, Gear, and Wings tabs.
The mode caps how often those rewards pay. Arena of Tactics lists three victory rewards and three participation rewards per week, with the counter resetting on Wednesday. Participation and victory payouts differ, so the exact Abyss Point total and medal count depend on whether your team wins and how many of your weekly rewards remain.
Check the end-match results screen and your remaining weekly counters before assuming a payout. The reward categories are fixed, but the amount you actually bank each week is limited by those counters.
Stripped down, Arena of Tactics is Aion 2’s answer to gear anxiety: a 10v10 on Odyle Shard Cradle where the stat sheet is leveled and the win comes from holding ground. A Templar thrives there not by racking up eliminations but by pulling, stunning, and shielding the point long enough for the team to score, which is why a 3-kill, 27-assist line can still sit on the winning side of a 66-42 result.