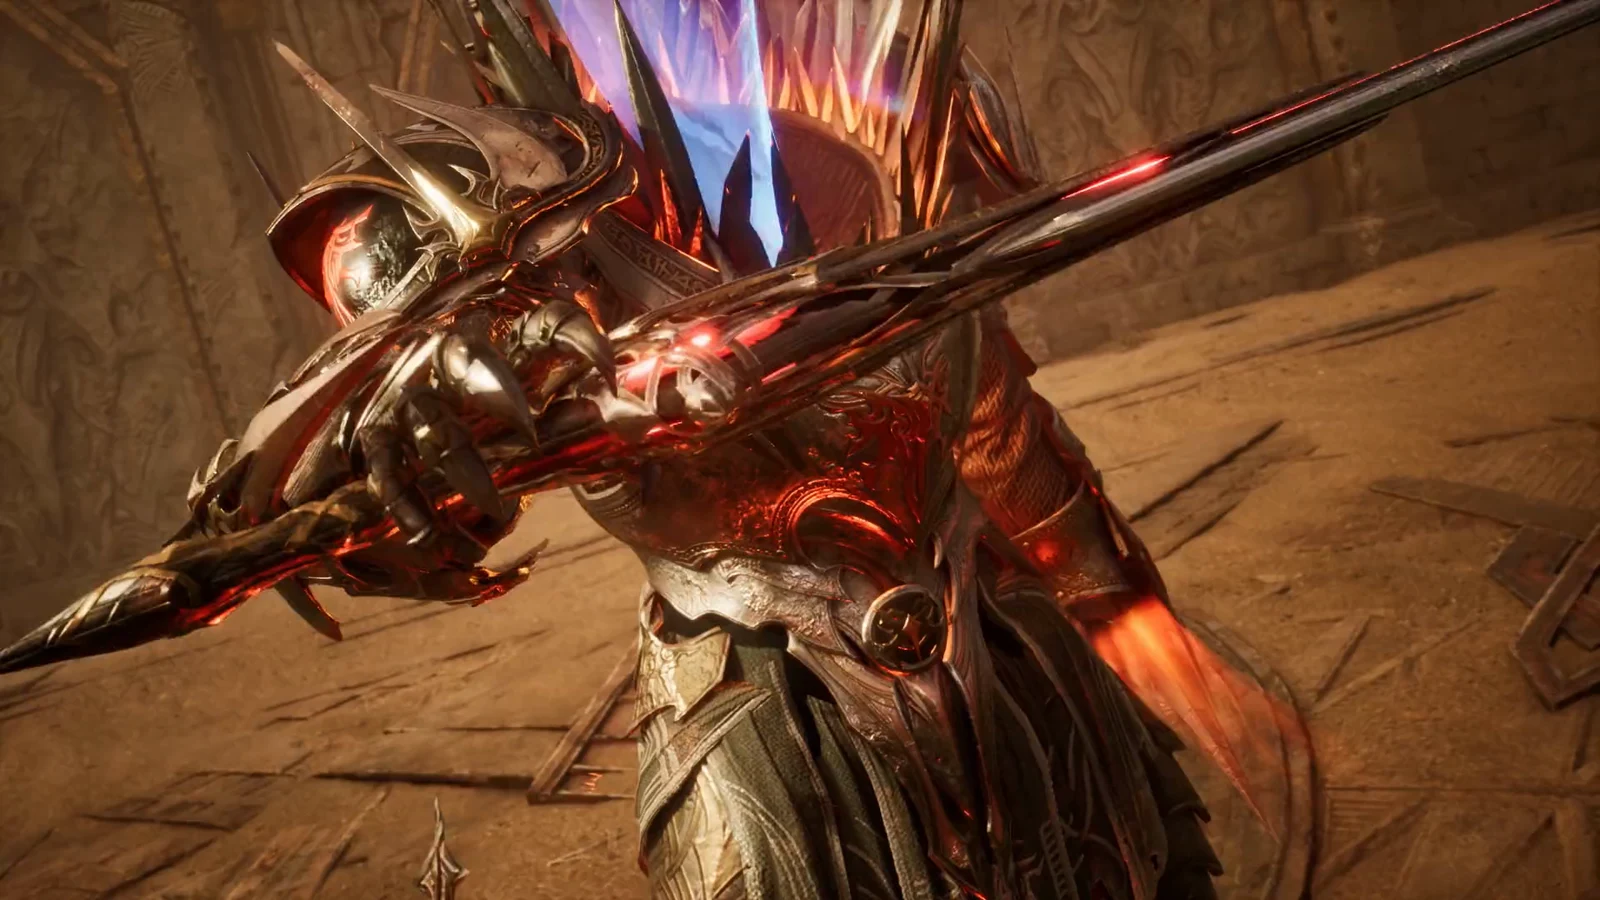
The Gladiator in AION 2 is a greatsword frontliner that the game lets you play as either a tank or melee damage. In groups its area damage pulls a lot of threat, so you often end up holding the boss even when you queue as a dealer. For PvE, the whole build is really one tight resource loop built around three damage skills, four Stigmas, and a single breakpoint that changes everything once you hit it.
Quick answer: Build for Overhead Slam, Rending Blow, and Ruinous Blow; slot Rage Burst and Zikel’s Blessing alongside Lunge Stance as your three core Stigmas, keep slot four flexible, and raise Overhead Slam to skill level 16 to eliminate its cooldown.
The core damage loop: four skills doing four jobs
Stop ranking buttons by their tooltip damage. The Gladiator’s output comes from how the skills feed each other, not from any single big hit. Four abilities carry the loop.
- Ruinous Blow opens the damage window. It applies Prepare for Battle, so use it early and refresh it as it comes back up rather than hoarding it.
- Rage Burst is what unlocks Overhead Slam against your target, so it sits right in front of the main sequence.
- Overhead Slam is the payoff and a big source of enmity and stagger pressure. Its Upward Strike chain adds a second hit right after it.
- Rending Blow is your filler. It has no cooldown and fills every gap when the higher-priority skills are not ready.
Holding the engine together is Keen Strike, your basic attack and main source of MP. Take its mana-restoration specialty and its Ruinous Blow cooldown-reduction option, and treat it as the action that keeps the rest of the rotation alive. Against staggered bosses, Sword Aura Rampage deals bonus damage and can restore MP if you pick its mana specialty.

For open-world farming, add the cooldown-reset specialty to Leaping Slam so you can bounce between packs after each kill. Crushing Wave, Defiance, and Aerial Snare are not priorities for a pure PvE damage setup and can stay low.
Overhead Slam at Level 16 is the breakpoint that matters
Reaching skill level 16 on Overhead Slam unlocks the Remove Cooldown modifier. With Rage Burst feeding the trigger, you can fire Overhead Slam and its Upward Strike chain repeatedly instead of waiting on a timer. On a training dummy, that single change pushes Gladiator damage from around 20,000–25,000 DPS up past 41,000 DPS. Overhead Slam and Upward Strike together end up making over 55 percent of total damage.
Rending Blow has its own skill-level-16 option that restores 50 MP on a critical hit, which eases your mana problems so much that you no longer need to lean on Keen Strike purely for MP. Push both skills toward 16 before chasing anything else.
Overhead Slam does not lose its cooldown just by reaching Level 16. You still have to equip the Remove Cooldown specialty in the skill’s specialty slots, or the upgrade does nothing.
Passive priorities
Passives work on their own, so your gear and Daevanion board decide which ones grow. Focus on three.
- Attack Preparation gives a flat +5.5% PvE Damage Boost, +2% Defense, and +100 Accuracy. It unlocks at level 13.
- Experienced Counterstrike adds +0.4% Front Attack Damage Boost and, on a successful Block, grants +5.4% PvE Damage Boost for 20 seconds to you and your party. It unlocks at level 21.
- Impact Hit supports the build’s Smite (double chance) focus, and Murderous Burst stacks critical damage through repeated attacks.
Experienced Counterstrike lets you block while tanking without sacrificing damage. Time a block against a boss’s opening attack to protect yourself and grant the whole group an offensive buff, making boss-pattern knowledge directly valuable. Keep defensive passives like Survival Willpower (+17% Status Effect Resist; +12% PvE Damage Tolerance for 5s after a crowd-control hit) and Protection Armor behind the four damage passives.

Stigma loadout before and after Level 16
Because the Gladiator’s survival lives in its passives, you can spend every Stigma slot on offense. The exact four you run depends on whether Overhead Slam is at Level 16 yet.
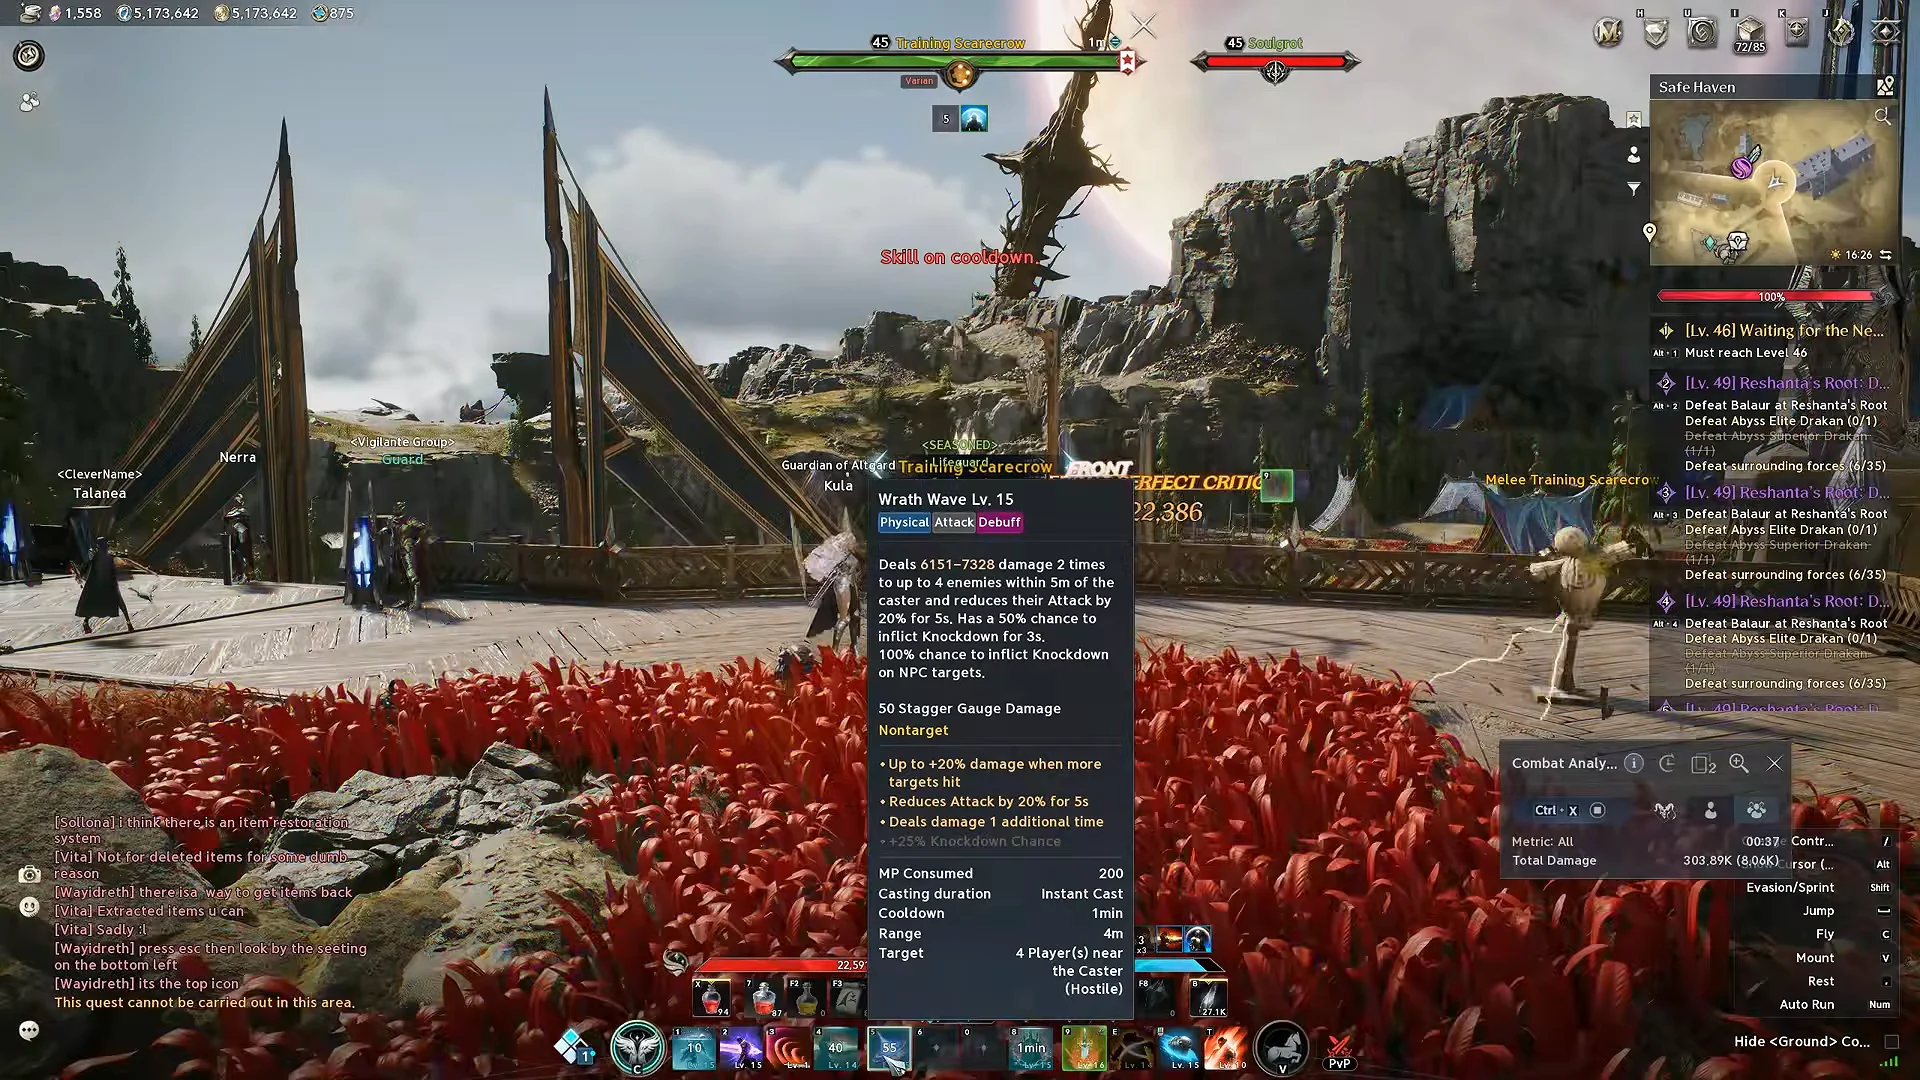
Until Overhead Slam’s cooldown-removal upgrade is available, pair Wrath Wave with Zikel’s Blessing; complete the set using Rage Burst and Blade Toss. Lunge Stance remains weak below skill level 15, making Wrath Wave the better choice during that stretch. Focused Block is also not needed in current PvE: Gladiators maintain threat by dealing damage instead of relying on a dedicated taunt, and most boss attacks are dodgeable.
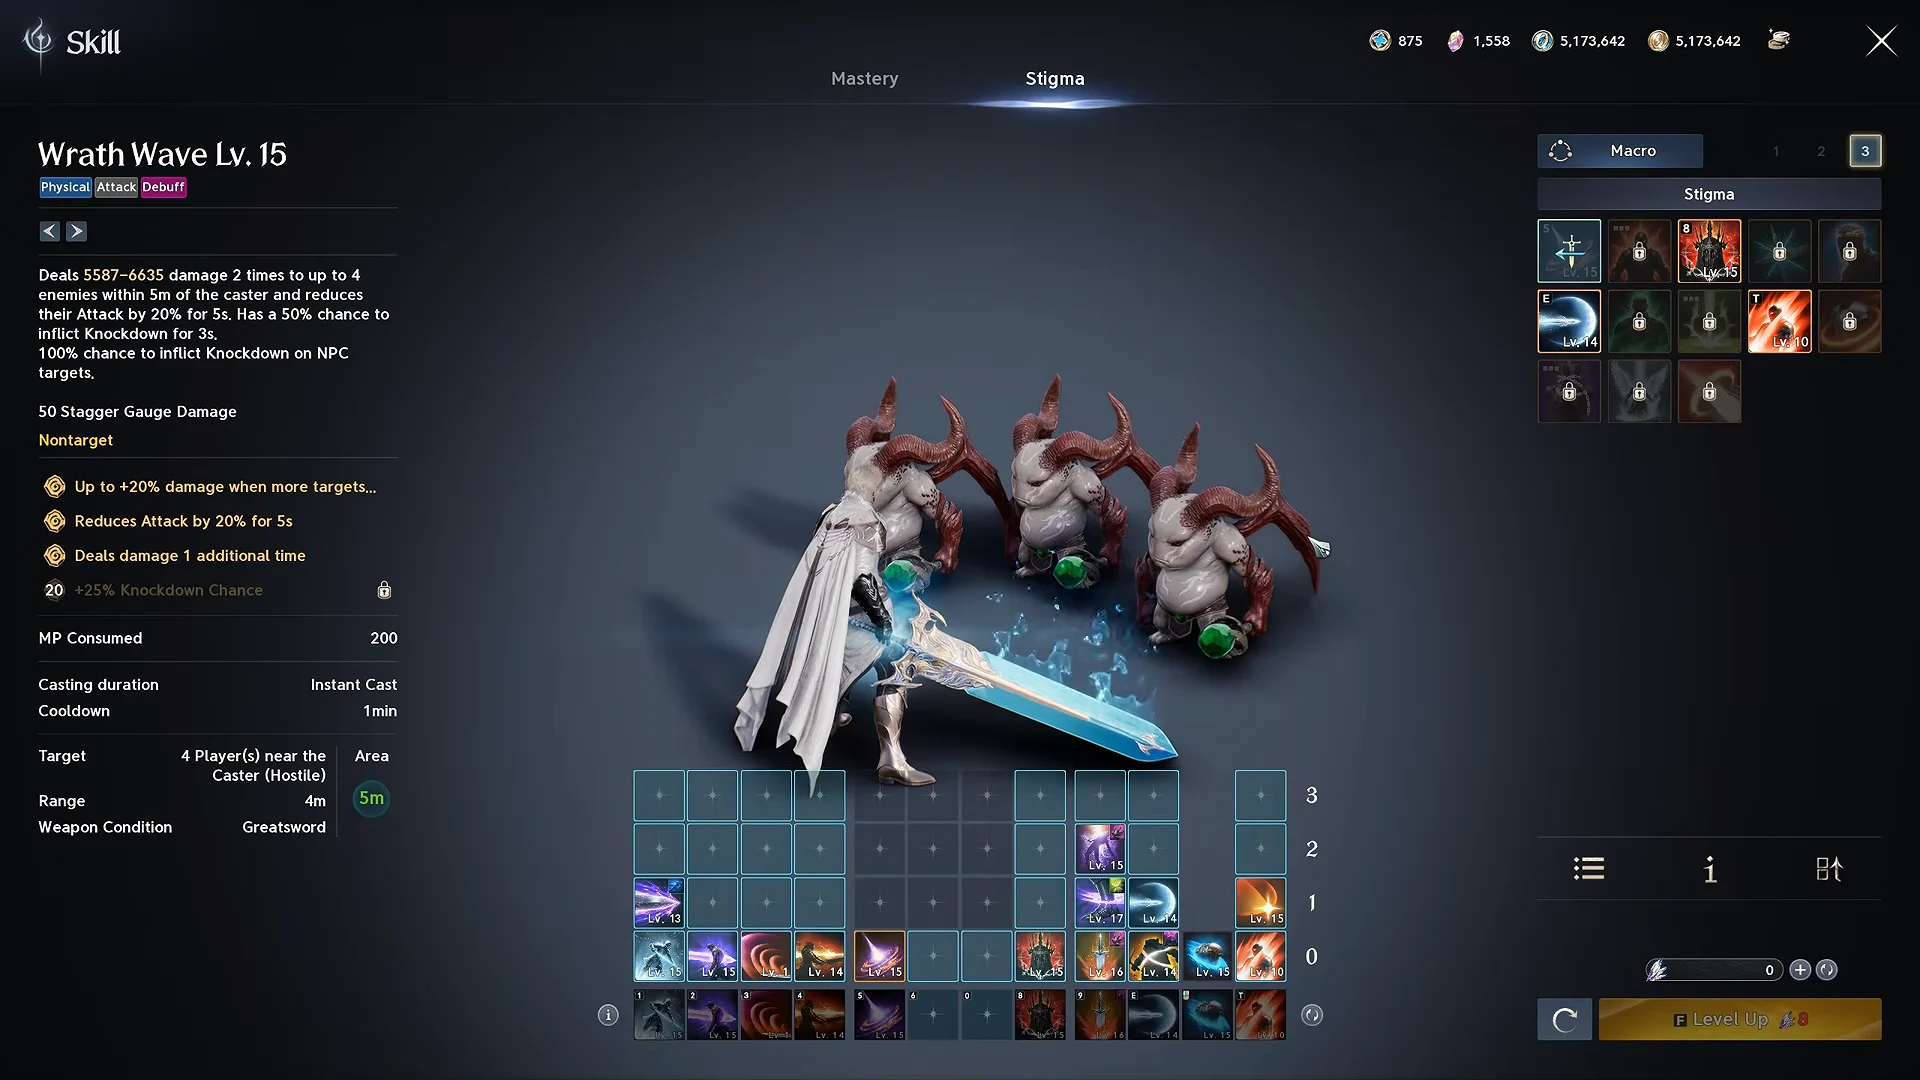
Once Overhead Slam hits Level 16, swap Wrath Wave out for Lunge Stance at skill level 15. At that level its critical-hit cooldown reduction keeps your buffs and Overhead Slam triggers running almost constantly. The post-16 core becomes Lunge Stance, Zikel’s Blessing, Rage Burst, and a flex slot.
For the fourth slot, match the fight. Blade Toss adds party offense through a Defense reduction. Lifestealing Blade is the sustain pick for solo play, learning a boss, or patchy healing. Focused Block is the defensive option when you are the effective tank and the boss has reliable blockable hits.
Gladiator Stigma reference values
Here are the shipped numbers behind the Stigmas you rotate through, so you can weigh cooldowns and MP costs against your flex choice. All of these unlock at character level 22 and cost one Stigma point. Base damage is the skill-level-1 value.
| Stigma | Cooldown | MP cost | Base hit (Lv 1) |
|---|---|---|---|
 Rage Burst Rage Burst | 45s | 100 | 1,327 |
 Wrath Wave Wrath Wave | 60s | 200 | 1,068 |
 Lifestealing Blade Lifestealing Blade | 90s | 200 | 1,522 |
 Blade Toss Blade Toss | 20s | — | 534 |
 Wave Armor Wave Armor | 60s | 200 | 207 |
 Lunge Stance Lunge Stance | 60s | — | — |
 Zikel’s Blessing Zikel’s Blessing | 120s | — | — |
 Focused Block Focused Block | 20s | — | — |
 Armor of Balance Armor of Balance | 90s | — | — |
 Tenaciousness Tenaciousness | 150s | — | — |
A few specialties are worth planning around. Rage Burst at skill level 5 cuts its own cooldown by 15 seconds and at 20 adds +10% PvE Damage Boost. Lifestealing Blade at 15 drops its cooldown by 30 seconds. Zikel’s Blessing raises your Attack by 20% and Accuracy by 100 for 10 seconds, and Blade Toss reduces a target’s Defense by 30% for 10 seconds from up to 20 meters.
Rotation: run a priority, not a fixed script
Bosses move, phase, and force blocks at awkward moments, so treat the loop as a priority list you react around rather than a sequence you must finish. A clean opener looks like this.
Macro setup and attack weaving
The in-game macro system groups several skill inputs under one binding. Combine Keen Strike, Rage Burst, and Overhead Slam with a 10 ms delay between each, then assign the macro to right-click so it weaves light attacks between your abilities automatically. That weaving adds roughly a 50 percent damage increase over the same inputs without it.

Keep your defensive skills on separate, reachable keys so you can still interrupt the macro to move or block. Assigning the macro key alone does not configure the rest of your bar, so check your quick-slot bindings too. Add weaving only after the base loop is consistent, and compare a full repeatable window rather than one lucky burst. If faster inputs leave you MP-starved or make the next Overhead Slam land late, slow back down.
Daevanion board priorities
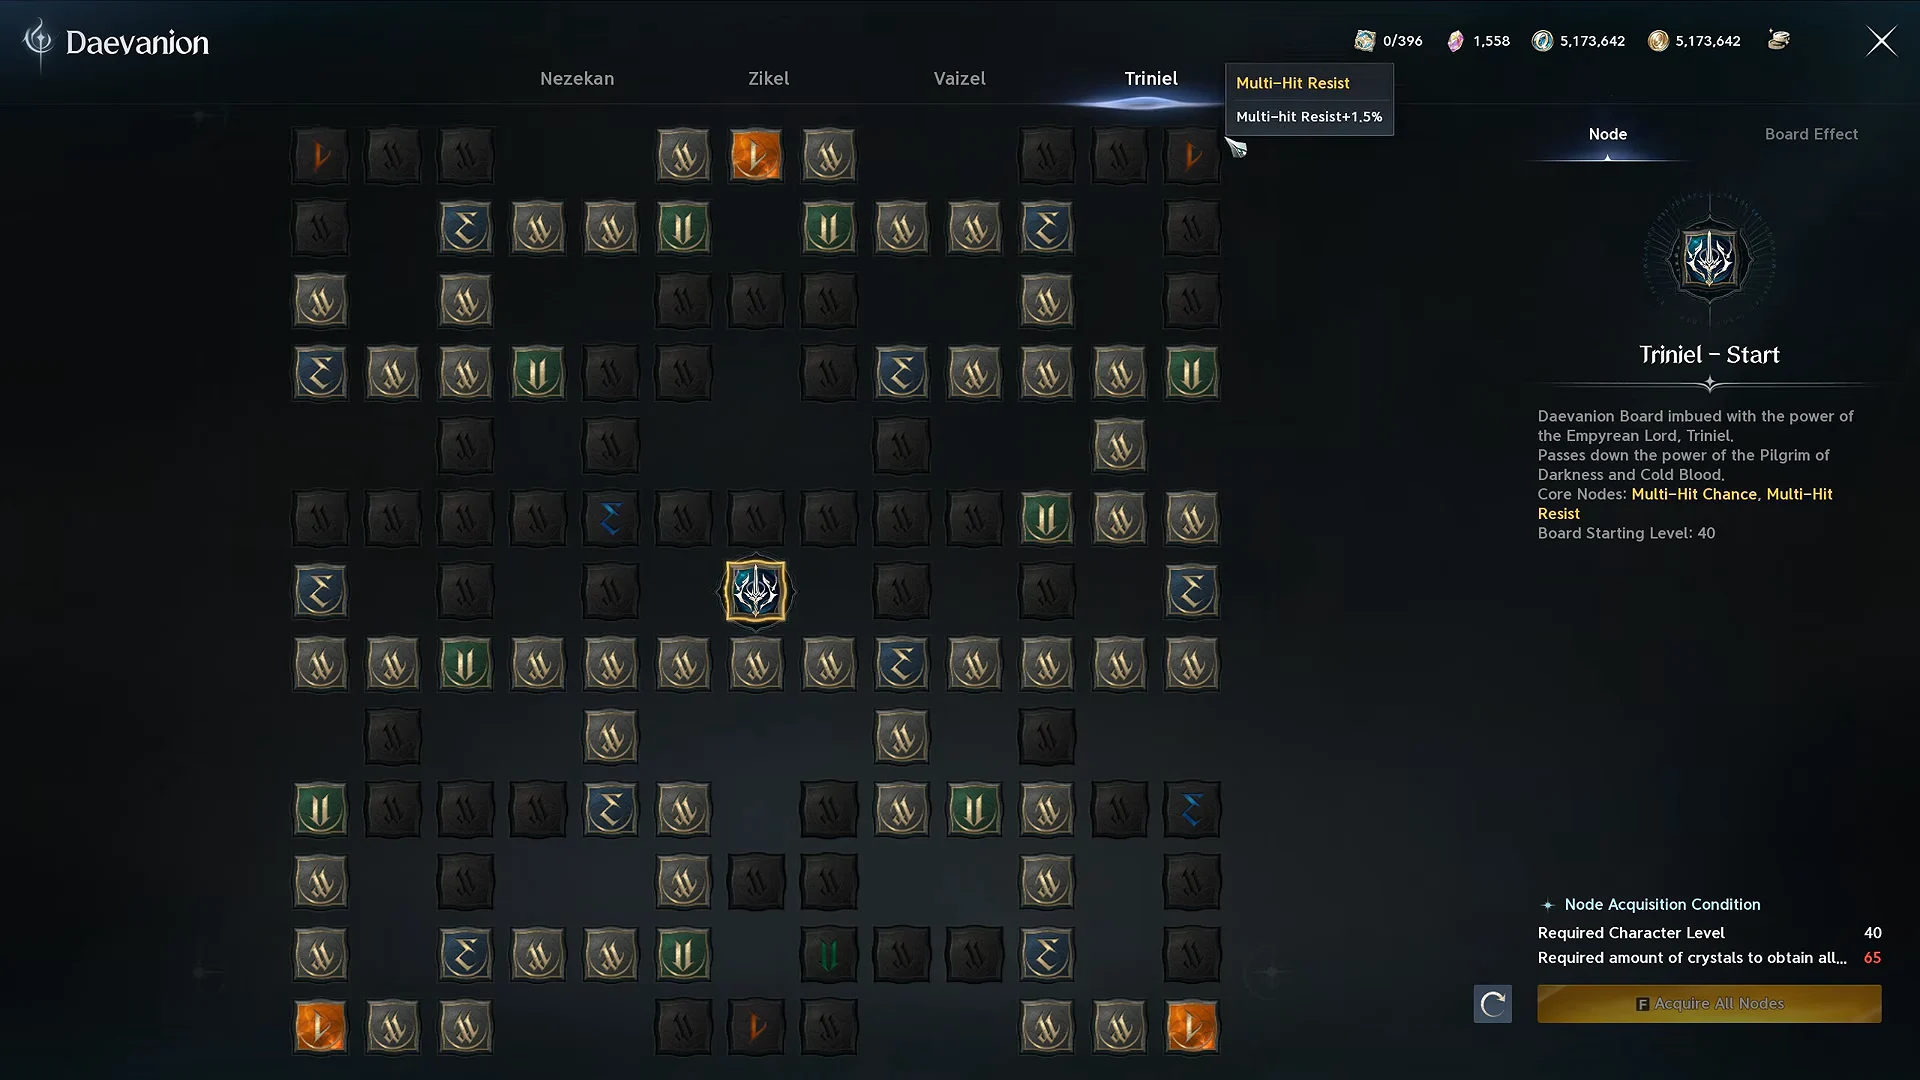
Start your Daevanion nodes on Overhead Slam, Ruinous Blow, and Rending Blow to raise your main damage skills past their skill-point caps. The boards worth working through are Nezekan, Zikel, Vaizel, and Triniel. After the core active skills, follow this order.
- Legendary nodes that increase damage, such as Damage Boost and Critical Damage Boost.
- Invest in the passive enhancements for Attack Preparation, Impact Hit, and Experienced Counterstrike.
- Attack nodes, then Critical Hit nodes.
- MP nodes where your rotation still runs short on mana.
On the Triniel board, skip the Multi-Hit Resist nodes for a PvE damage build and spend those points on direct skill levels and active nodes instead.
Stats, gear, and mana sustain
Look for offensive bonuses that feed your regular attacks: Weapon Damage Boost, Damage Boost, Combat Speed, Critical Hit, and Smite, with Accuracy becoming more important in harder content. For Soul Binding, prioritize Weapon Damage Boost, Combat Speed, Might, and Precision on the weapon, and Weapon Damage Boost, Combat Speed, Damage Boost, and Might on the guard. For Pantheon bonuses, Wisdom covers mana efficiency and double chance, Time gives Combat Speed, and Destruction adds damage.
Mana is the most common failure point before the Level 16 breakpoints. Use Keen Strike regularly with its MP-recovery option, and if you still run dry, add Maximum MP, MP regeneration, or Daevanion mana nodes before piling on more damage stats. Rending Blow’s Level 16 crit refund and Sword Aura Rampage during stagger windows both take pressure off once you reach them. Diagnose the mana leak first, because damage upgrades only help if your rotation actually keeps running.
Reaching Level 16 with Mysterious Crystals
Skill levels above 10 come from gear, rings, Arcana cards, and Daevanion. To push Overhead Slam and Rending Blow to 16 reliably, farm Mysterious Crystals for Arcana transmutation through two routes.
You know the build has come together when you take it to a training dummy: before the breakpoint you sit around 20,000 to 25,000 DPS, and with Overhead Slam at Level 16 running the Remove Cooldown specialty, the same rotation clears 41,000 DPS. If your number has not jumped, check that the specialty is actually equipped rather than just unlocked, and that Rage Burst is live before every Slam.