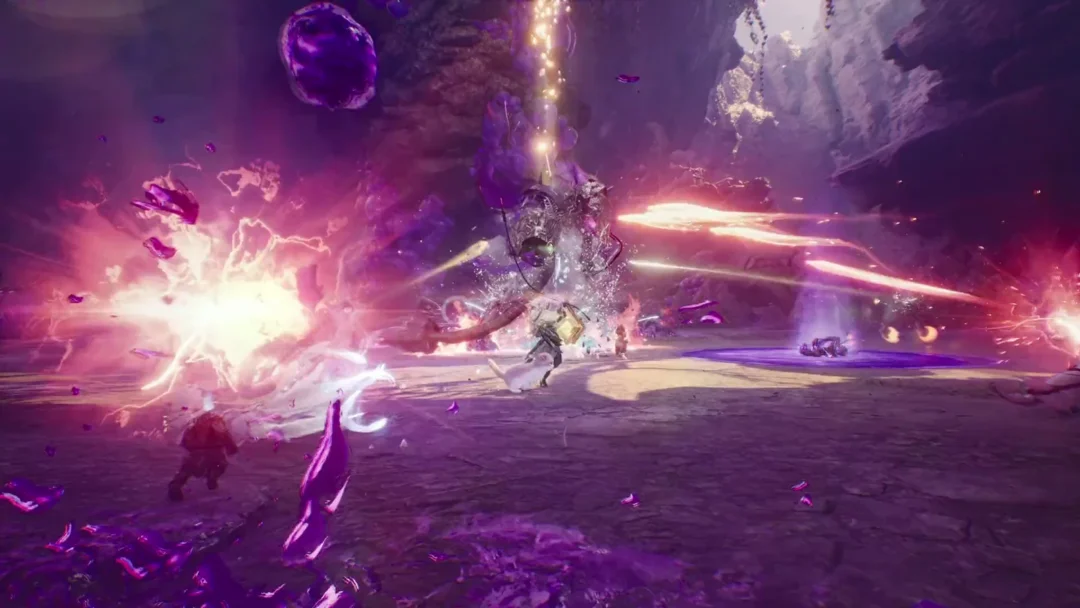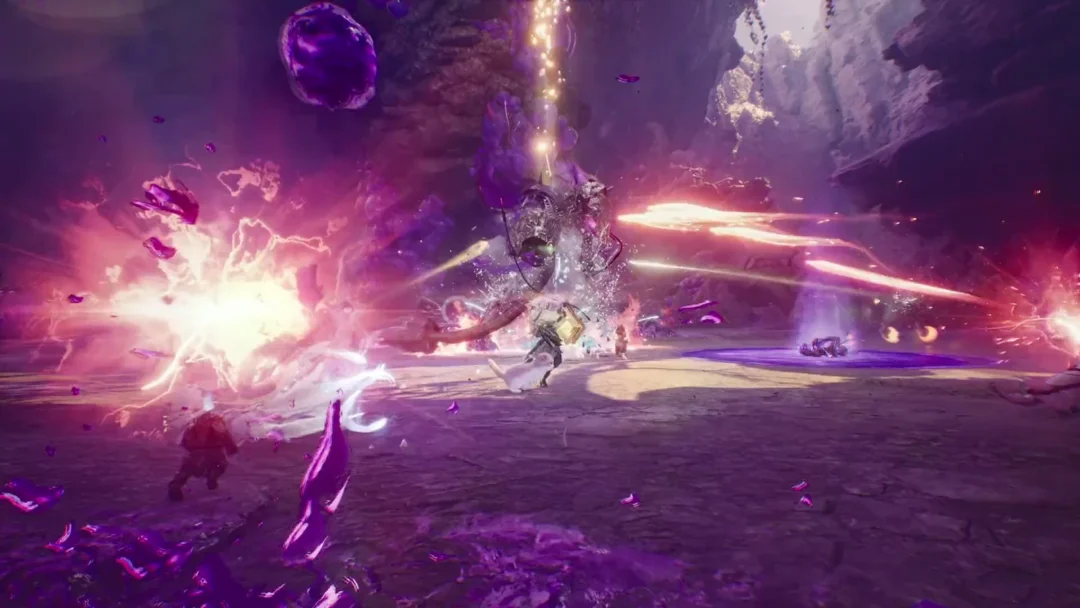
The Ranger is Aion 2’s non-positional ranged damage dealer, which is a big part of why it is the game’s most-picked class. You keep firing bow skills at a boss, step out of its swipes and slams, and let your cooldown reduction do the rest. Once you have a tuned skill macro and a decent gear score, most PvE content falls over quickly. Here is the full build, from the first levels through the Level 45 endgame.
Quick answer: Build your damage around Deadshot, Drill Dart, and Tempest Shot. Run a three-line damage macro anchored by Snipe on left click, and manually cast Vaizel’s Authority, Bow of Blessing, and Supporting Fire before bosses.
Ranger role and PvE playstyle
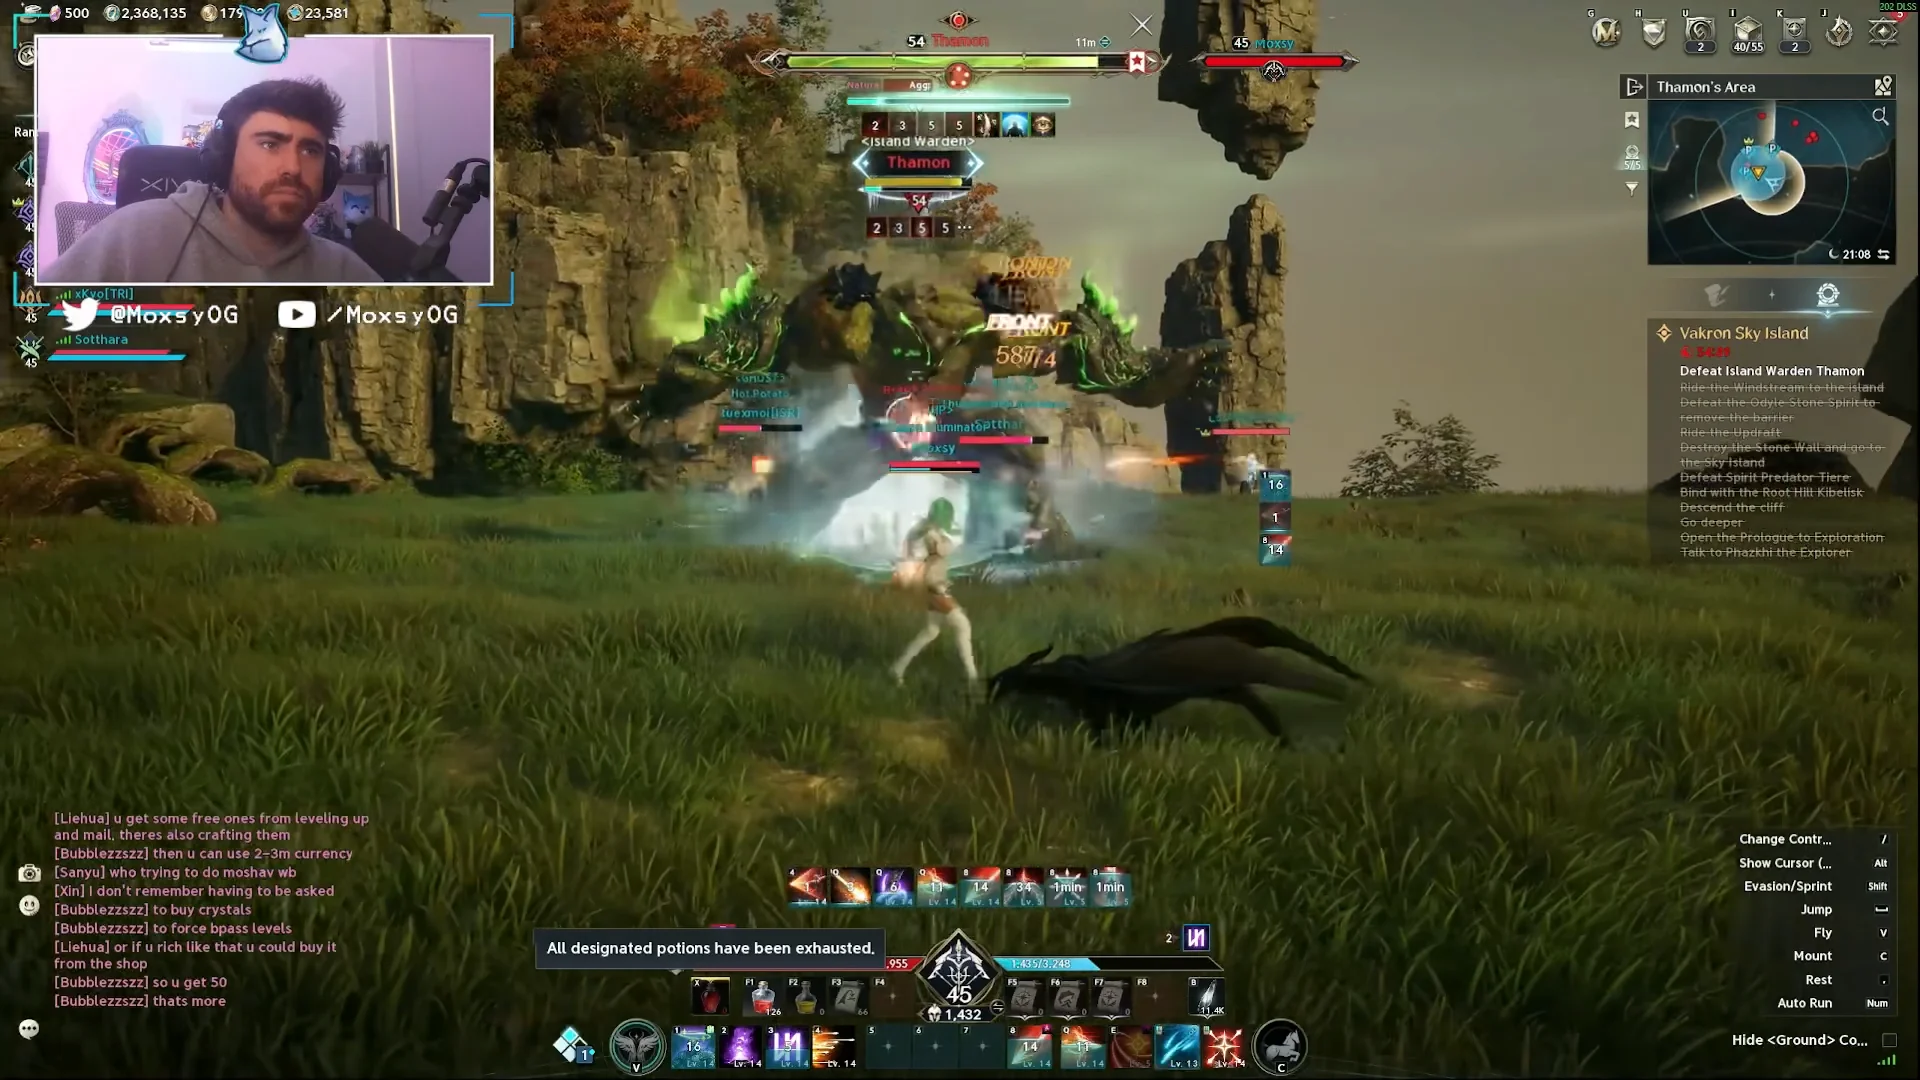
As a Ranger you are pure DPS. Your kit is personal buffs and damage skills, plus a healing Stigma and three crowd-control tools you use on regular mobs but rarely on bosses. There is no positional requirement, so the only movement that matters is dodging the occasional boss mechanic.
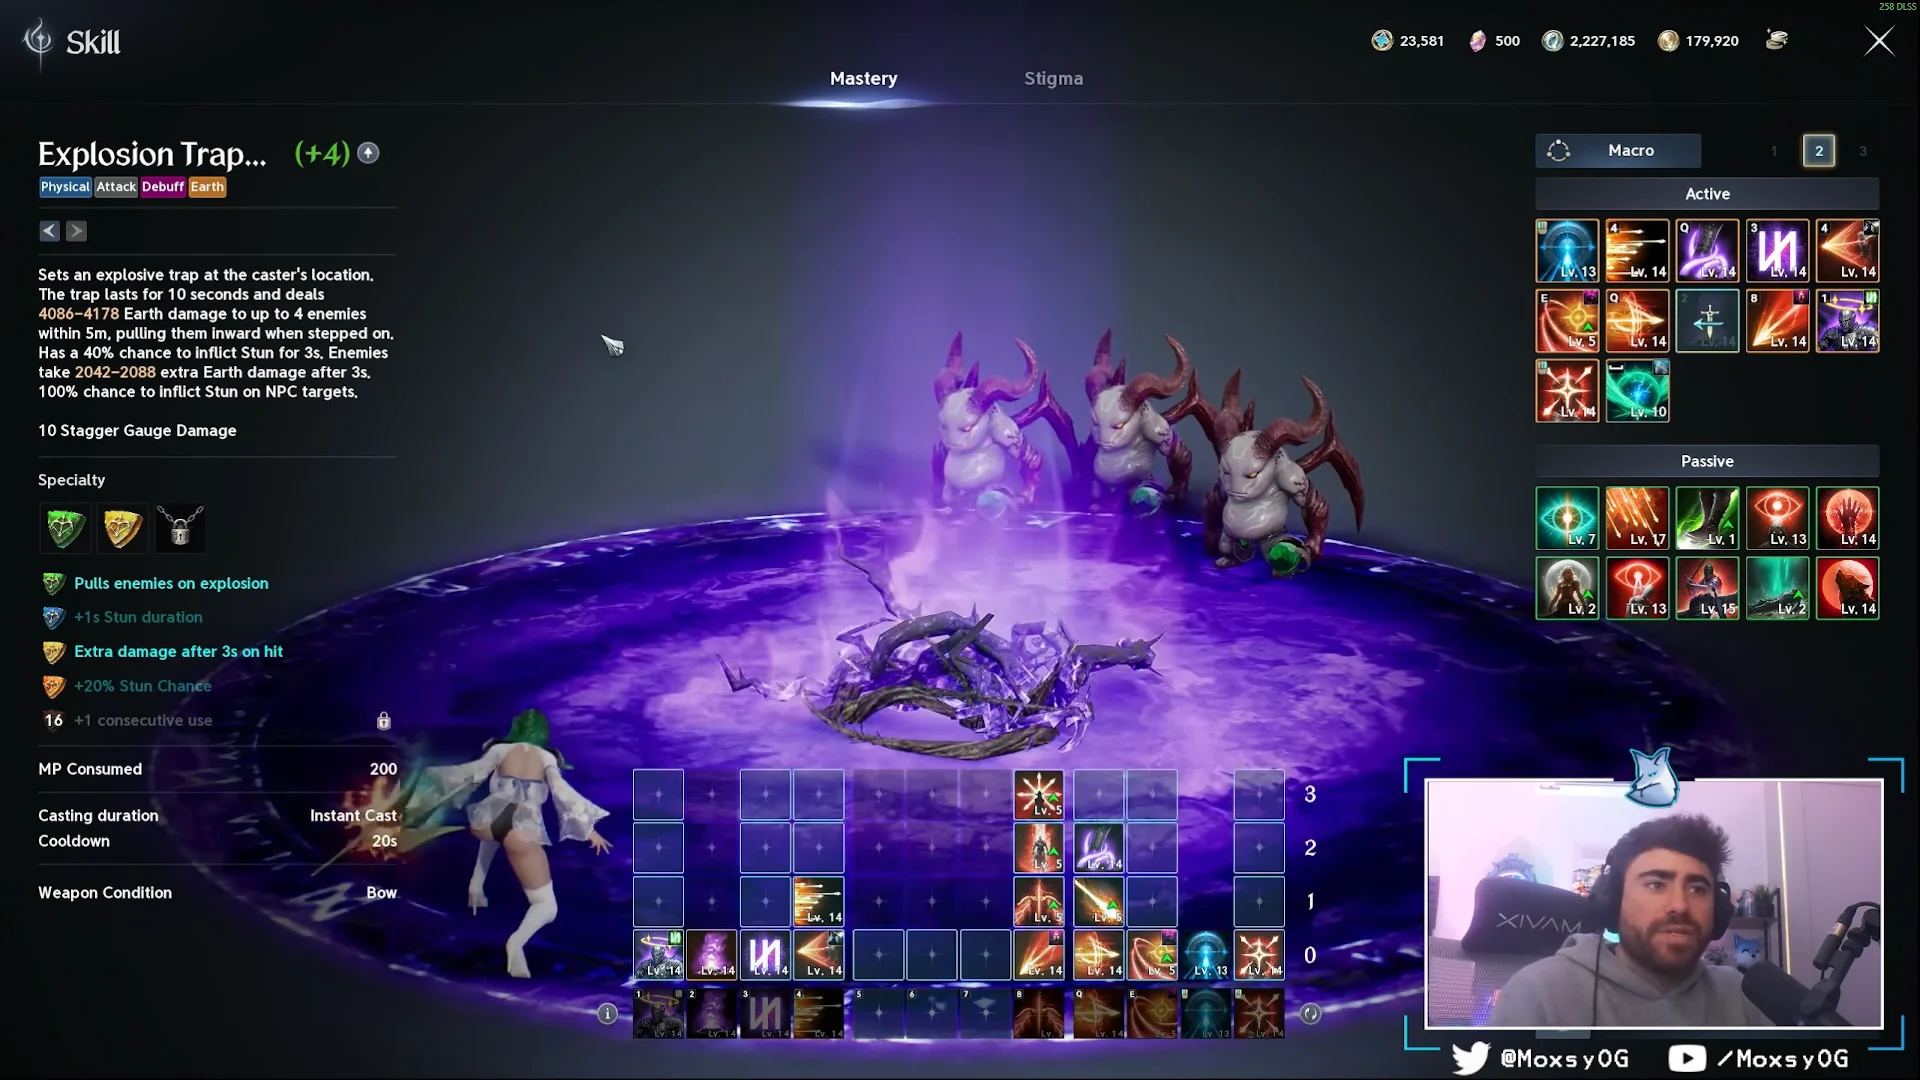
The main limitation is the short reach of your area attacks: most Ranger AoE skills hit as many as four enemies within four meters of the target. For packs, draw enemies in one at a time with Snipe or basic shots, use Explosion Trap with its pull specialty to bunch them together, and then burst them down.
Ranger skill leveling order
At the start, cycle through the short-cooldown attacks Snipe, Tempest Shot, Gale Arrow, and Drill Dart, alongside Deadshot, your charged single-target nuke. Skill caps increase with Ranger level, so you cannot take any one skill directly to its maximum early. Distribute points across your core skills to level them together.
The first breakpoint is level 8, which opens each skill’s first Specialty slots. Push these to that threshold in order:
- Tempest Shot
- Drill Dart
- Gale Arrow
- Deadshot
- Snipe
- Burst Arrow
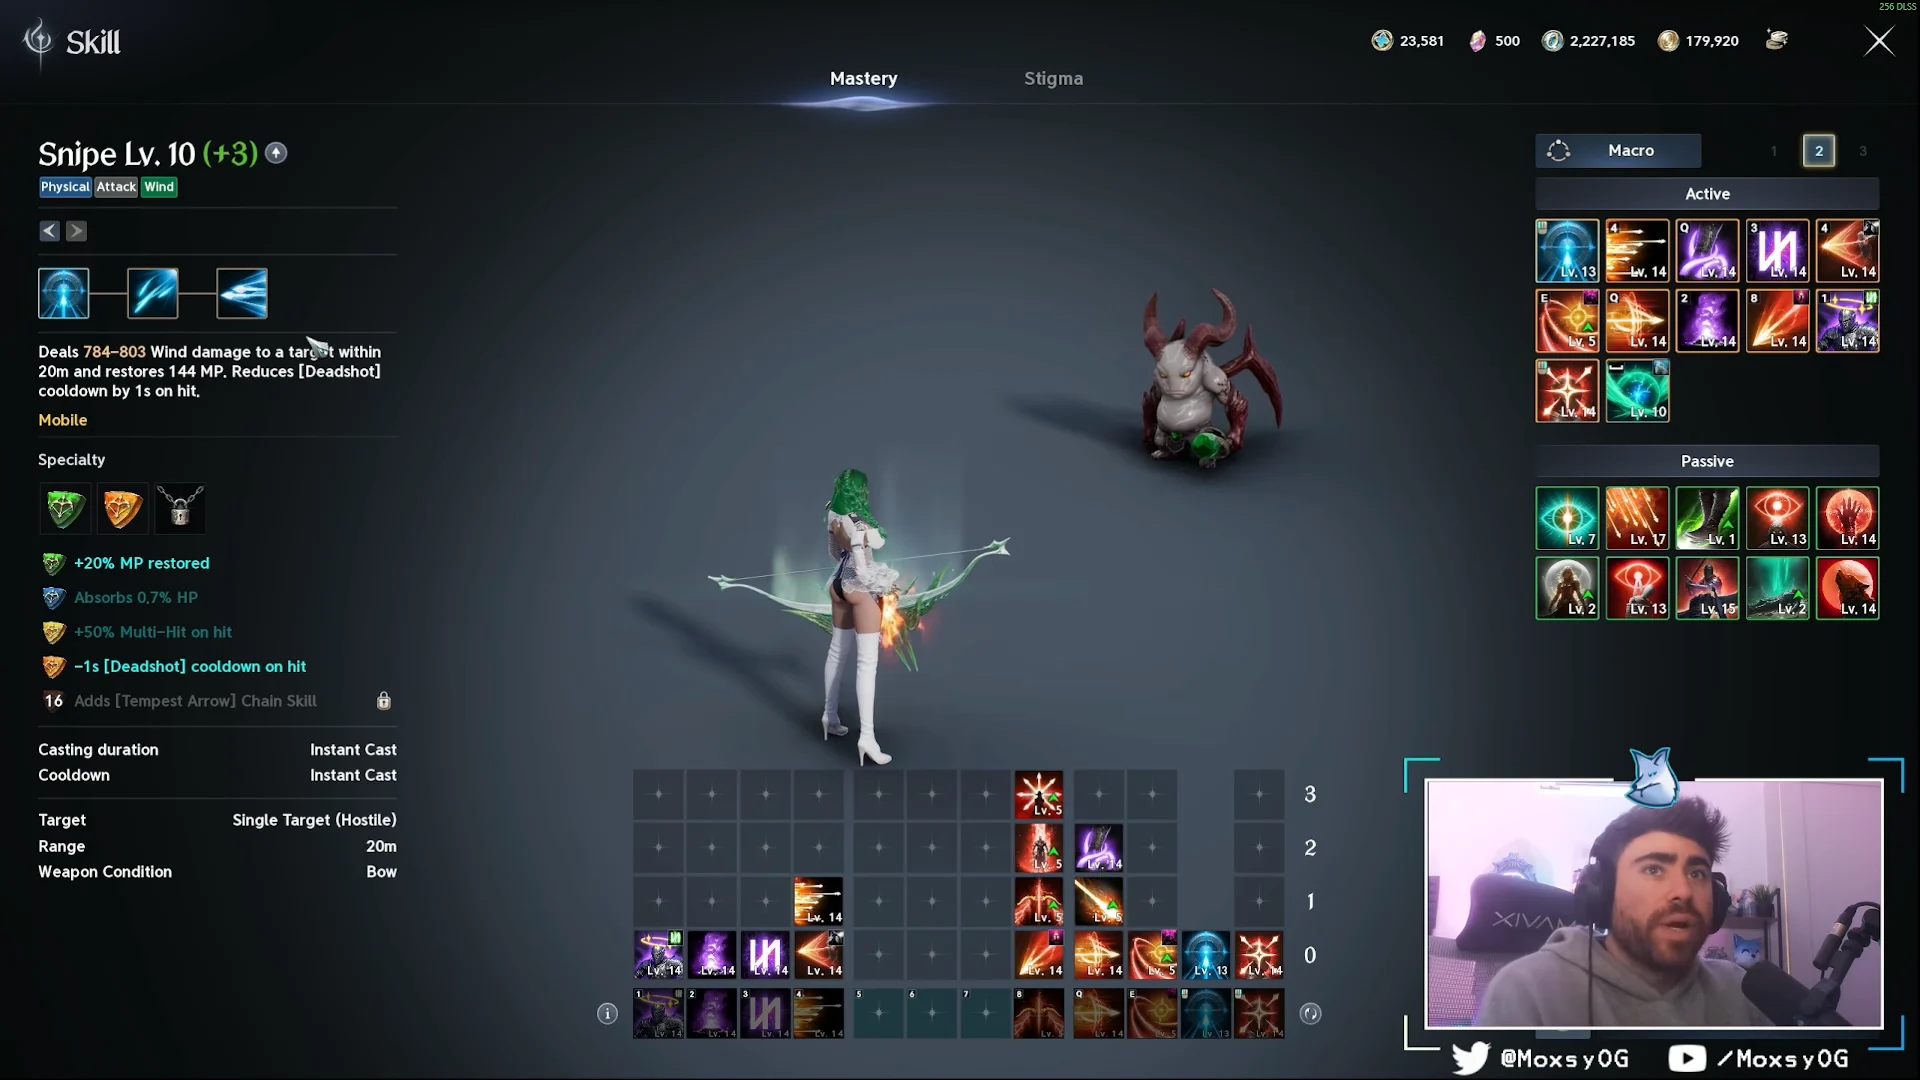
After that pass, keep raising Gale Arrow, Deadshot, Drill Dart, and Tempest Shot toward level 10 and then level 12 for the next breakpoint. Fold in the offensive passives as you go: Focused Eye, Hunter’s Resolve, Hunter’s Soul, and Concentrated Fire. Bring Suppressing Arrow, Arrow Scattershot, and Marking Shot up last. Leave Snare Shot and Explosion Trap at low rank, you still use them to control mobs, but extra levels add almost nothing.
Your endgame target is Deadshot, Drill Dart, and Tempest Shot at level 16, reached with Daevanion board levels plus +1/+2 skill-level sub-stats from gear. Tempest Shot wants the +20% Skill Speed effect and Gale Arrow wants its -10 second cooldown at that point.
Best Ranger specialties to pick
Each skill gains two Specialty slots as it levels. In PvE, choose effects that sustain your resources and maintain damage against one target. Snipe’s cooldown reduction on hit and Deadshot’s speed effects let you launch charged shots much more often. Marking Shot’s Perfect buff supplies the critical hits that keep Drill Dart’s cooldown down.
| Skill | Specialty 1 | Specialty 2 |
|---|---|---|
 Snipe | +20% MP restored | -1s Deadshot cooldown on hit |
 Tempest Shot | -20% MP consumed | Up to 12% more damage vs fewer targets |
 Marking Shot | +5% Perfect chance | +1 consecutive use |
 Drill Dart | Absorb 3% HP | Multi-hit on hit (swap to +20% Skill Speed at endgame) |
 Arrow Scattershot | Changes to mobile skill | Multi-hit on hit |
 Gale Arrow | +5s duration | Combat Speed and PvE Damage Boost |
 Burst Arrow | +50% Multi-hit on hit | Up to 20% more damage vs fewer targets |
 Suppressing Arrow | +20% Skill Speed | — |
 Deadshot | Removes MP cost | +30% Skill Speed |
Ranger skill damage reference
These are the shipped values for the bow skills you lean on. Listed damage is the base number at skill level 1 and at level 40, and every one of these also scales with a percentage of your Attack, so your real numbers climb much higher as your gear improves. Use the required level and cooldown columns to plan your rotation around what is actually off cooldown.
| Skill | Req. level | Cooldown | Damage (Lv1 → Lv40) |
|---|---|---|---|
| Snipe | 1 | — | 47 → 846 (+39.6% Atk) |
| Tempest Shot | 1 | — | 56 → 1,201 (+56.7% Atk) |
 Snare Shot | 1 | 15s | 60 → 2,262 (+109% Atk) |
| Marking Shot | 3 | 10s | 142 → 3,095 (+146.25% Atk) |
| Drill Dart | 4 | 5s | 112 → 2,444 (+115.5% Atk) |
| Arrow Scattershot | 5 | — | 96 → 1,510 (+70% Atk) |
| Gale Arrow | 7 | 20s | 365 → 4,474 (+203.5% Atk) |
 Explosion Trap | 8 | 20s | 344 → 4,222 (+192% Atk) |
| Burst Arrow | 10 | 20s | 544 → 5,051 (+225.5% Atk) |
| Suppressing Arrow | 12 | 20s | 362 → 3,360 (+150% Atk) |
A few skills carry effects that matter as much as their numbers. Marking Shot grants Precision for 10 seconds, which raises Critical Hit by 300, so it is your opener. Snare Shot drops Move Speed by 40% and sets up Burst Arrow, which requires a Slow or Root target. Suppressing Arrow lands a guaranteed Stun on NPCs and is held for boss stagger windows. Drill Dart restores 100 MP on a critical hit and has only a five-second cooldown, which is why you want crits flowing.
Stigma skill priority and the Vaizel’s Authority spike
Put your first Stigma point into Vaizel’s Authority. It gives you 20% more Attack for 10 seconds and has a 60-second cooldown. Three Stigmas are buffs to have active in boss fights, so unlock them in this sequence:
- Vaizel’s Authority to Level 1
- Bow of Blessing to Level 1
- Explosive Arrow to Level 1, then Level 5
- Supporting Fire to Level 1, then Level 10
- Vaizel’s Authority to Level 5
- Bow of Blessing to Level 5
- Raise all of them to Level 10 over time
The endgame turning point is Vaizel’s Authority at rank 20. Its specialty gives a 50% chance to reduce every skill cooldown by one second on each critical hit for the duration, which transforms a crit-heavy Ranger’s uptime. Once you have enough total Stigma points, use a free respec and pour them into Vaizel’s Authority to reach that rank. An alternative line, available once you hit around 45+ Stigma points, swaps Supporting Fire for Griffon Arrow at Level 15, giving a low-cooldown burst opener you can even slot into your mob line.
| Stigma | Req. level | Cooldown | Effect |
|---|---|---|---|
 Vaizel’s Authority | 22 | 60s | +20% Attack for 10s |
 Bow of Blessing | 22 | 120s | +200 Critical Hit, +100 Accuracy for 10s |
 Explosive Arrow | 22 | 45s | 1,426 → 6,085 (+253% Atk) Fire AoE |
 Supporting Fire | 22 | 90s | Orb fires for 15s, 243 → 1,039 (+43.2% Atk) per shot |
 Mother Nature’s Breath | 22 | 90s | Defensive buff, +20% PvE Damage Tolerance |
Daevanion board targets
The Daevanion boards work the same as for any class: you use them to buy extra skill levels on your priority skills. Across the four PvE boards (Nezekan, Zikel, Vaizel, and Triniel), hunt for levels in these, grabbing Deadshot first:
- Deadshot (take these first)
- Tempest Shot
- Snipe
- Drill Dart
- Gale Arrow
- Burst Arrow
On each board, route through the orange corner nodes for their +4 Item Level and strong stats. Avoid nodes that provide only Critical Hit Resist, since that stat does not increase your damage. Boards can eventually be filled out completely; once the key nodes are secured, the precise route no longer matters.
Ranger damage macro setup
Keep the setup divided rather than putting everything in one macro: automate the damage rotation with one macro, cast buffs manually from another line, and use a separate hotkey to charge Deadshot. Once you hit Level 45, nearly all of your spam can go into the damage macro.
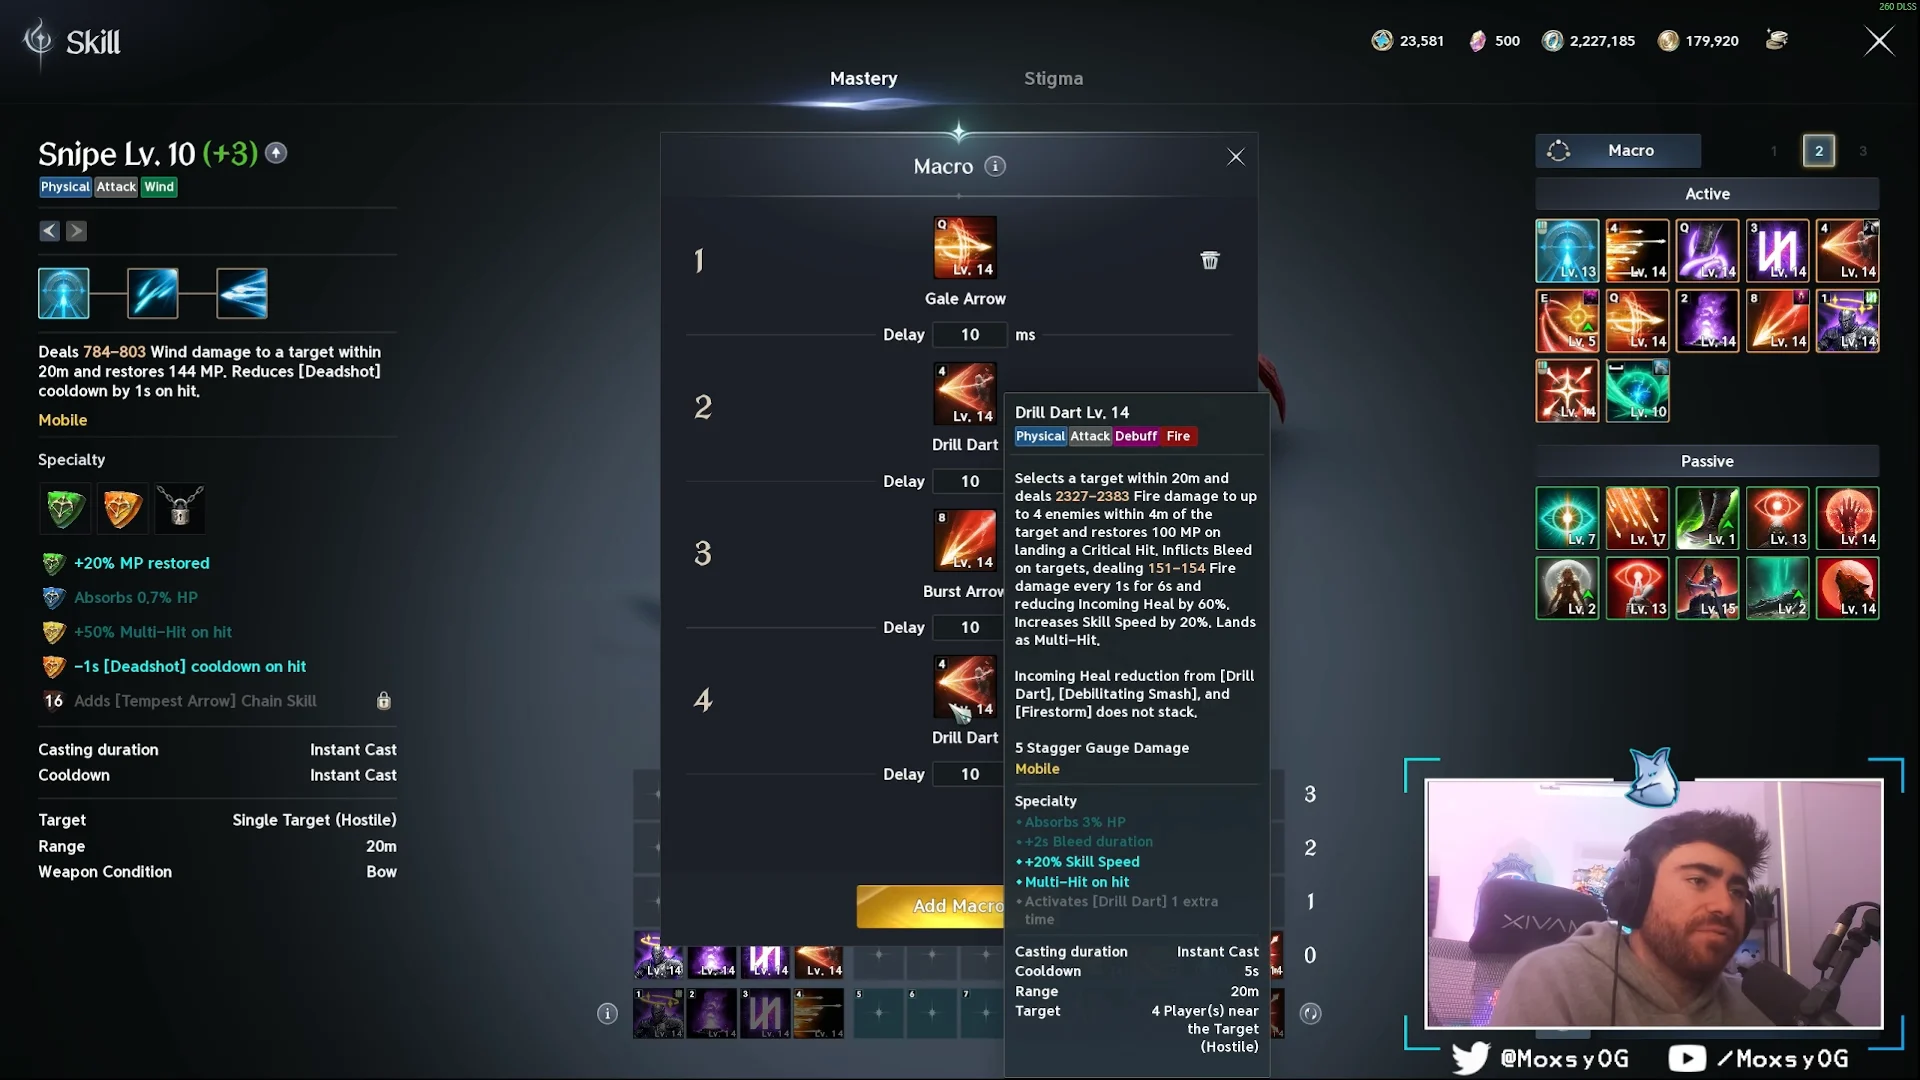
The setup is functioning when your Ranger fires damage skills as soon as their cooldowns end and cancels the animations at the end of each cast. A steady, uninterrupted run of attacks confirms it.
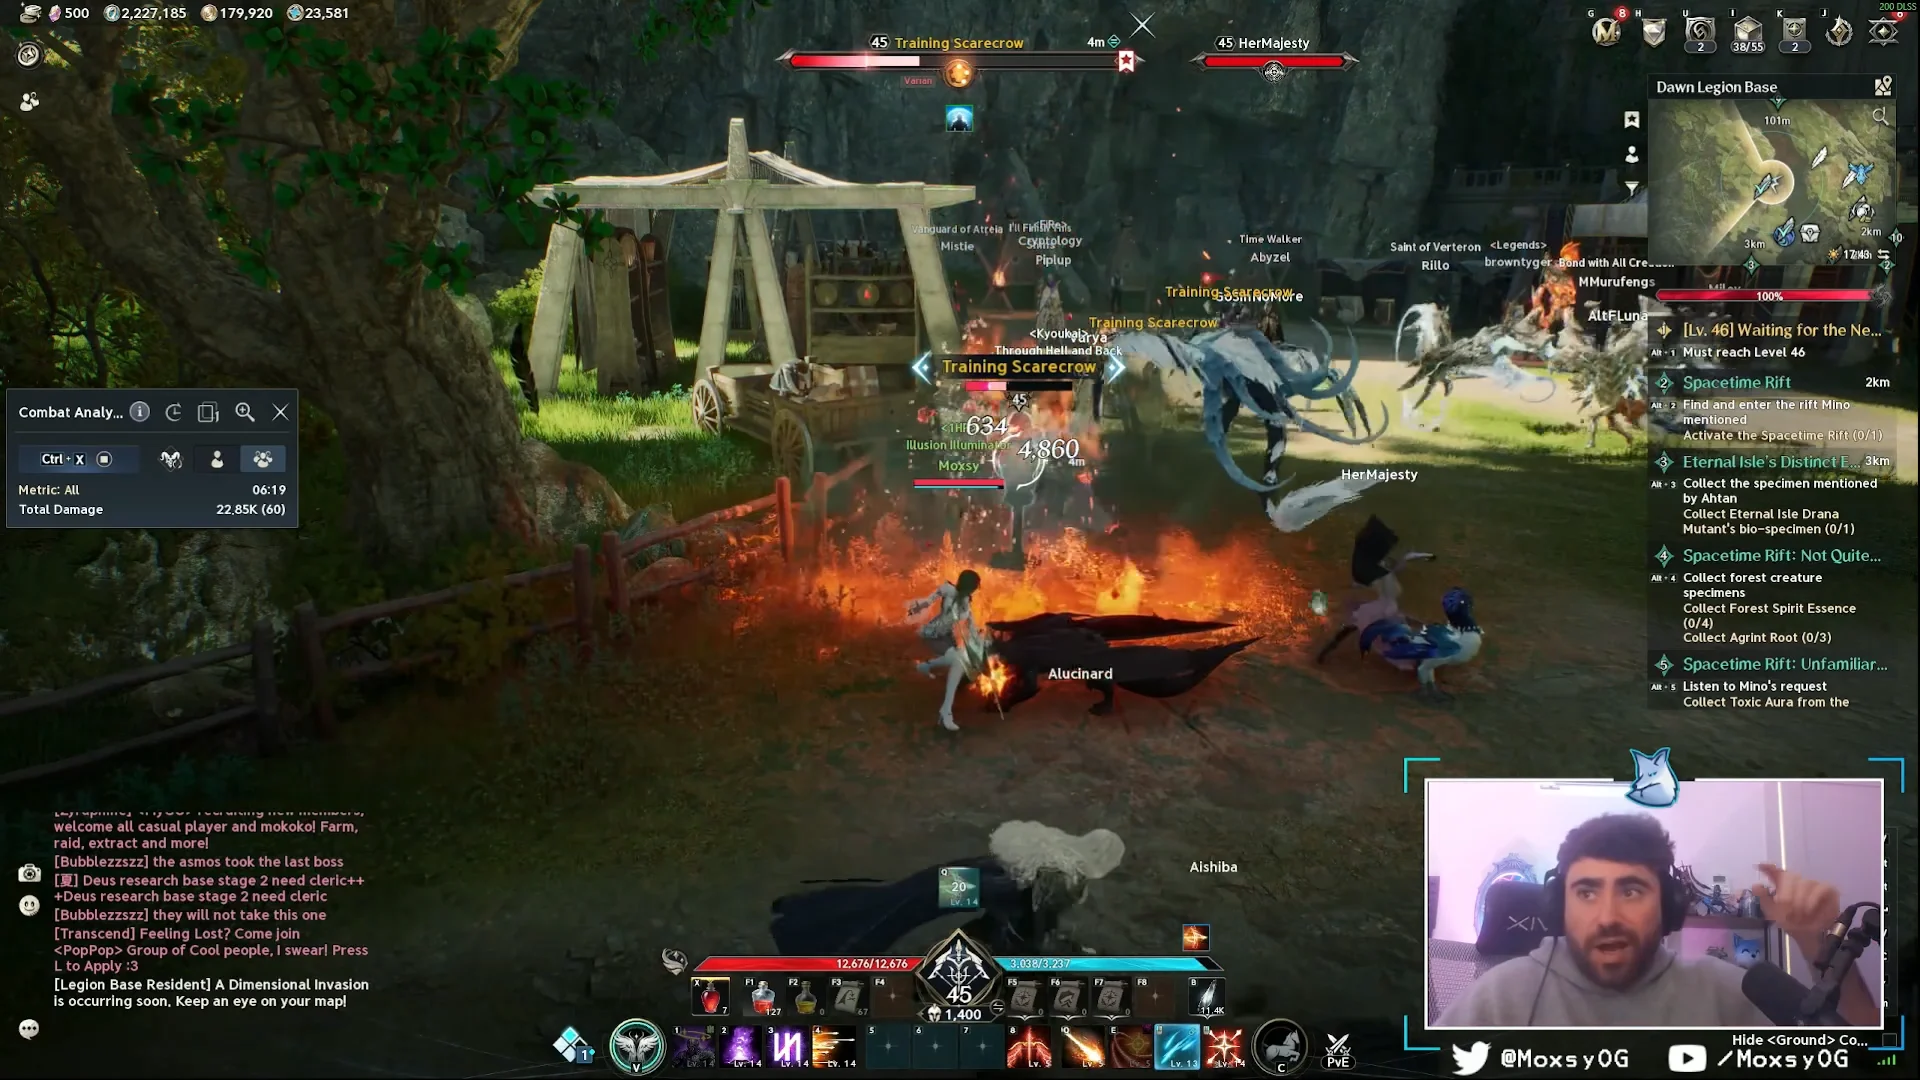
Skills you still cast manually
Your core damage comes from the macro. Some skills need manual use because their timing can be mishandled by automation.
- Buff line: Start a fight with Vaizel’s Authority, followed by Bow of Blessing and Supporting Fire. If a boss is expected within the next minute, hold these buffs instead.
- Deadshot: once its cooldown clears, charge it all the way to maximum before firing. A macro would trigger it instantly and waste the charge.
- Snipe: When mana runs low, hold left click to keep shooting. It restores MP for free and reduces Deadshot’s cooldown.
- Explosion Trap: When mobs get close, use the trap to kite them. At endgame, you will use it only rarely and in specific situations.
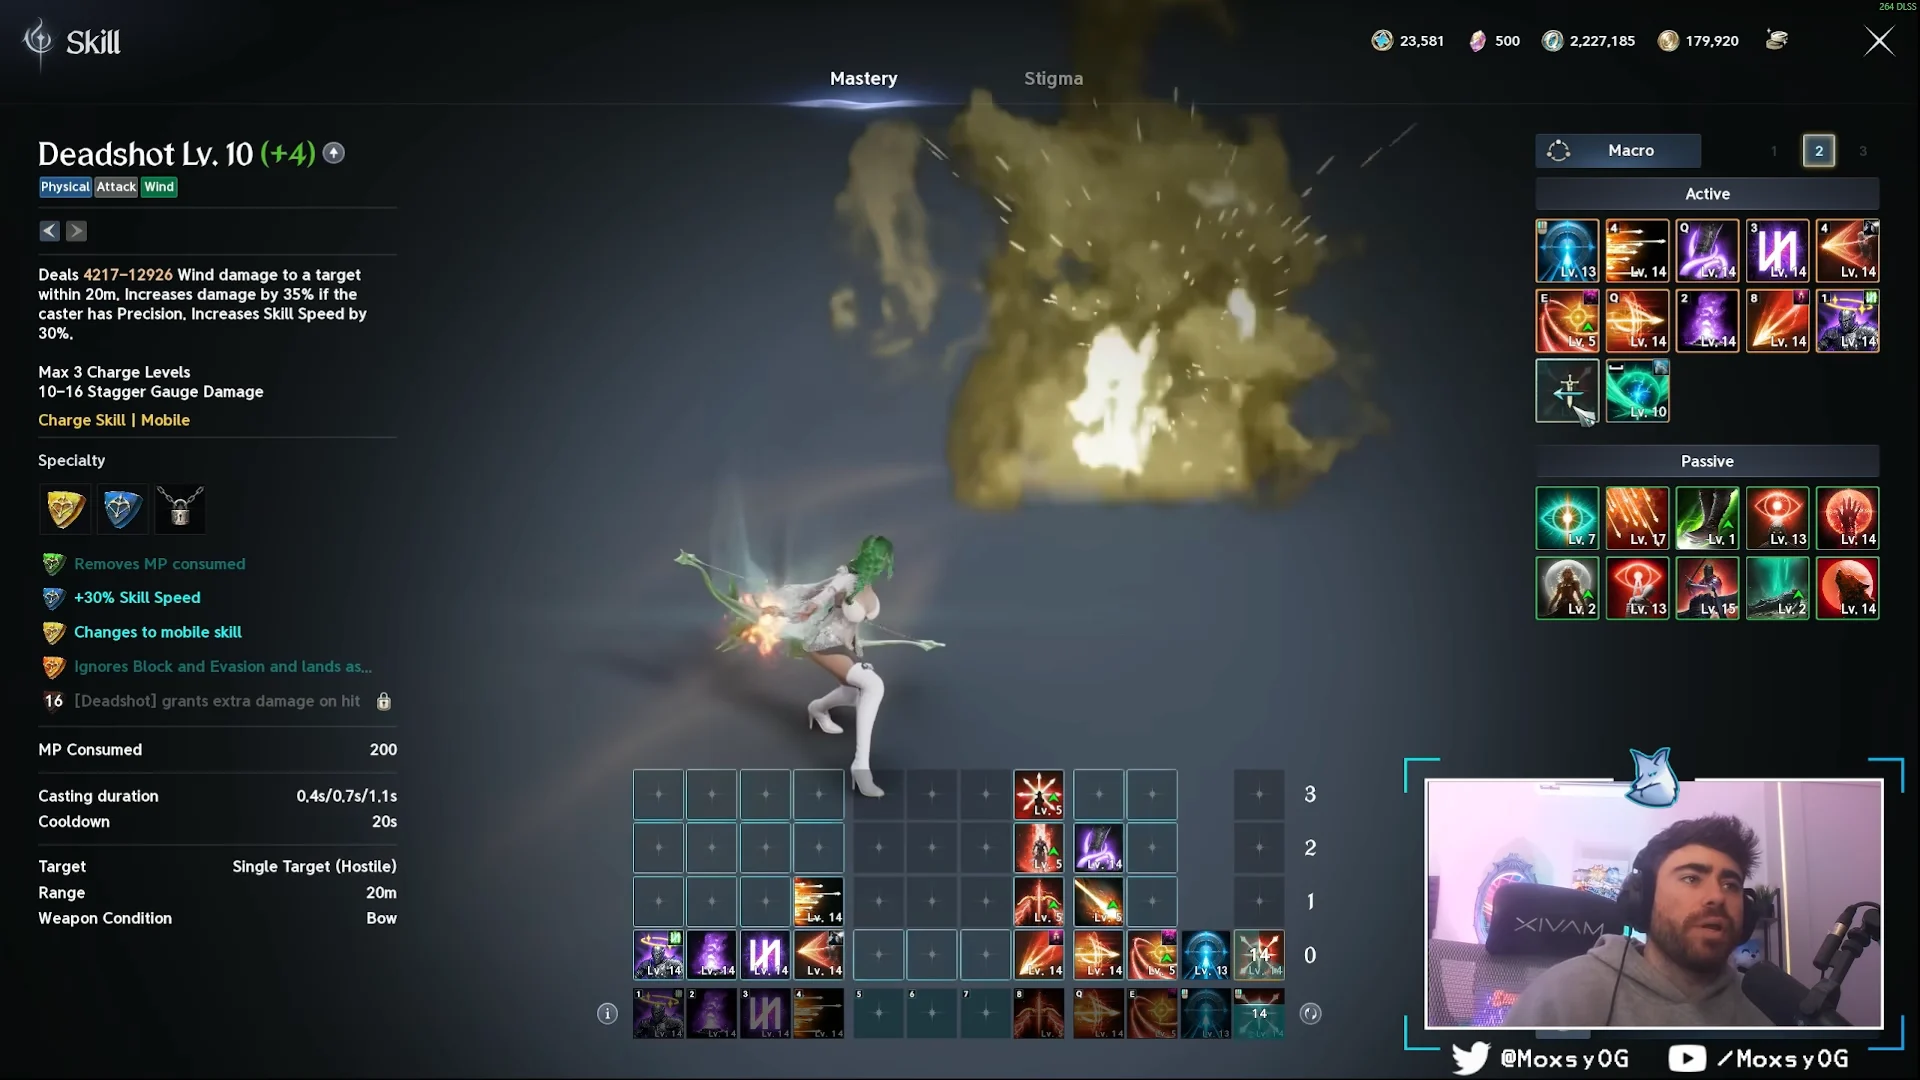
Deadshot is a three-charge nuke and your biggest single hit, so the priority is to charge it fully every time it comes up. Defiance is your panic button, clearing stun, knockdown, and fear while restoring HP and stamina.
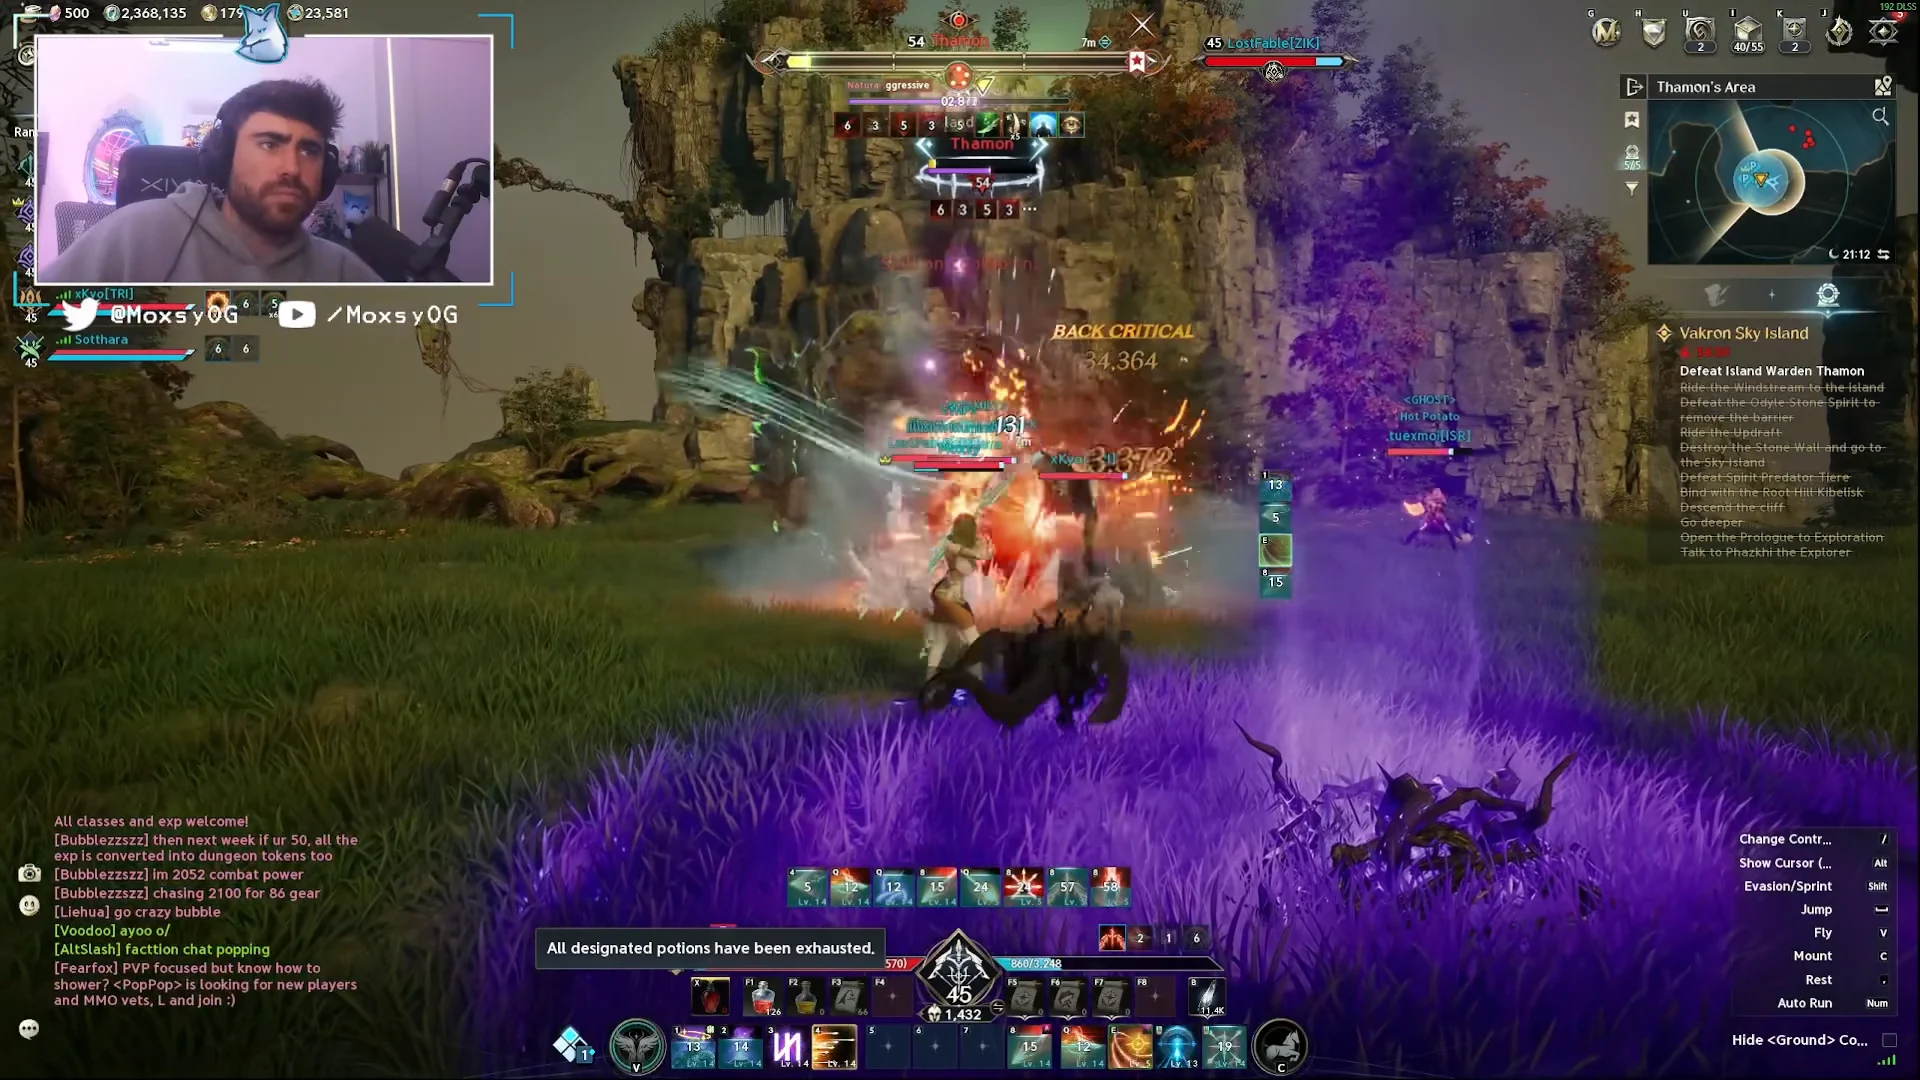
Best gear stats and sub-stats for Ranger
Keep Critical Hit on every gear slot, and retain any piece with that stat. Once you begin endgame crafting and rerolling sub-stats, prioritize the following options for each slot.
| Gear slot | Priority sub-stats |
|---|---|
| Bow | Combat Speed, Might, Weapon Damage Boost |
| Shoulders and Chest | Critical Damage Boost, Damage Boost |
| Gloves | Combat Speed, Perfect Chance |
| Legs | Double Chance |
| Cloak | Perfect Chance |
Rangers have little need for defensive stats. Evasion can make mob farming trivial, but the added crafting RNG is not worthwhile. If you spend Auction House currency on one item, choose a powerful crafted Bow rather than Evasion gear. Put Life Potions in your auto-use slot, use range and mobility skills to stop enemies from surrounding you, and let the macro handle most of the rotation while you charge Deadshot and watch the boss.