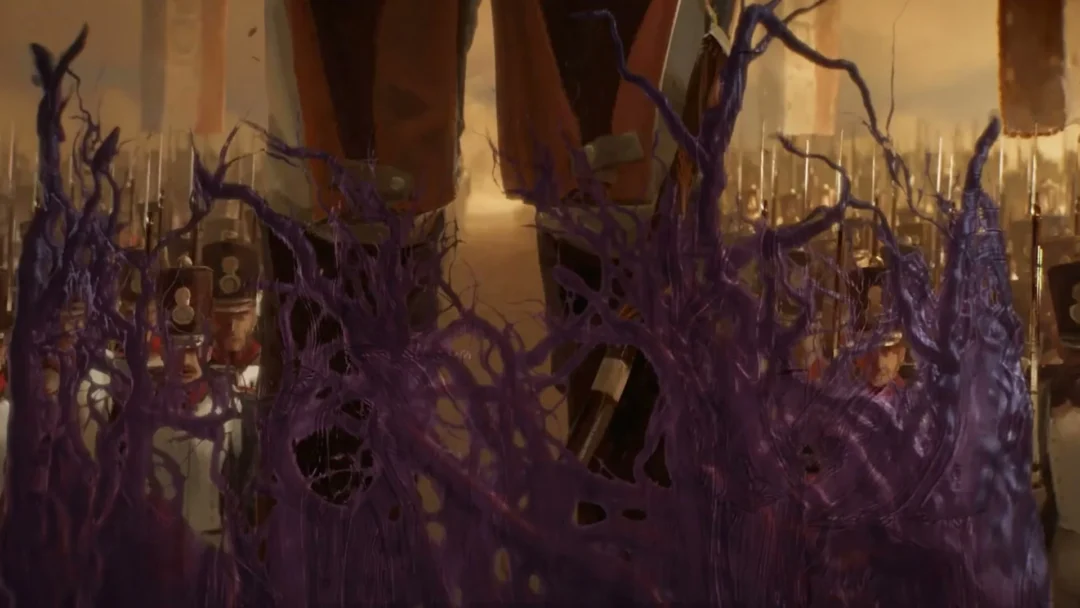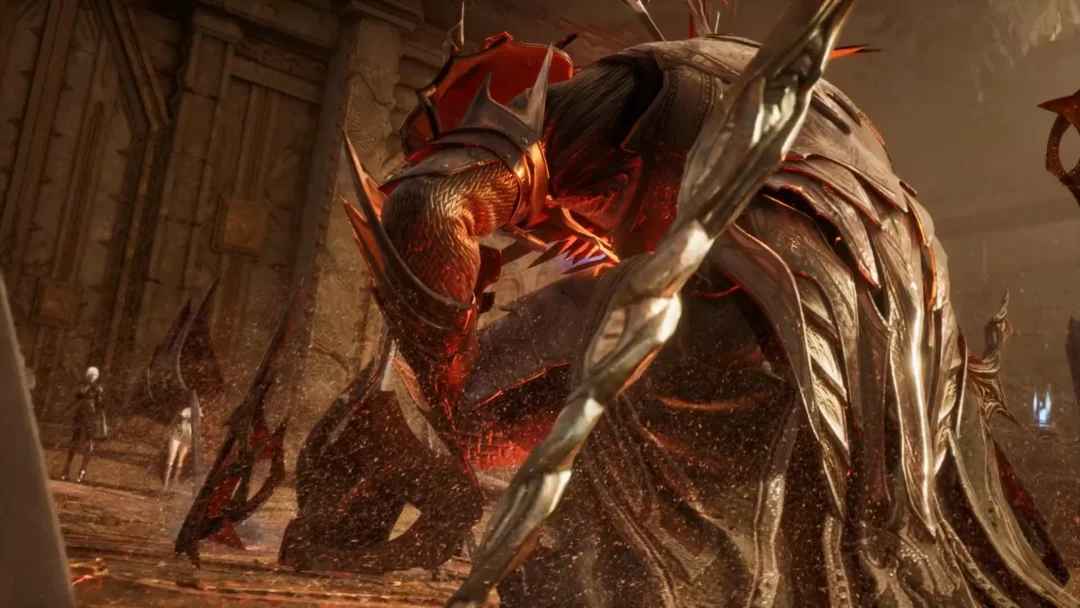
Shattered Arkanis is a Transcendence party dungeon in Aion 2, set across broken temple platforms that float in the sky and are linked by windstreams you glide between. Stage 3 is the three-star difficulty, and it runs the same layout as the easier tiers but with added combat conditions and a higher gear requirement. A full clear means killing enough enemies to open the final gate, downing two optional bosses along the way, and finishing at Talisra of the Void.
Quick answer: Stage 3 Shattered Arkanis requires 2,200+ gear score, adds the Poison Blood and Elevation debuffs, and ends at Talisra of the Void. A Templar can tank it solo in a five-player group and still land a mid-tier rank.
Entry requirements and Stage 3 debuffs
Shattered Arkanis holds 2 to 5 players and offers two modes, Exploration and Transcendence. Transcendence has four stages, each with its own gear-score gate. Stage 3 sits at 2,200, between the 1,900 wall of Stage 2 and the 2,500 wall of Stage 4.
| Stage | Gear score | Active debuffs |
|---|---|---|
| Stage 1 | 1,600+ | None |
| Stage 2 | 1,900+ |  Poison Blood |
| Stage 3 | 2,200+ | Poison Blood, Elevation |
| Stage 4 | 2,500+ | Poison Blood, Elevation, Tolerance |
Poison Blood creates a damaging zone wherever an elite enemy of Tier 3 or higher dies. The zone heals monsters standing in it and ticks damage onto players, so you do not want to fight on top of a corpse. Elevation makes nearby non-boss enemies hit harder each time another non-boss enemy dies in a pack, which punishes slow, drawn-out trash clears.
The fourth debuff, Tolerance, raises the stagger gauge on bosses and only appears at Stage 4, so Stage 3 stagger numbers stay at their normal values.
How the run opens up
The party begins at the Shattered Floating Temple. When the barrier falls, clear groups of Shattered Water Spirits and Arkanis Elite Priests from the temple steps. The gate to the final boss opens only after enough enemies have been defeated, and the two optional bosses make a substantial contribution. Each one adds 45 enemy kills, so the usual approach is to fight both instead of grinding through trash.
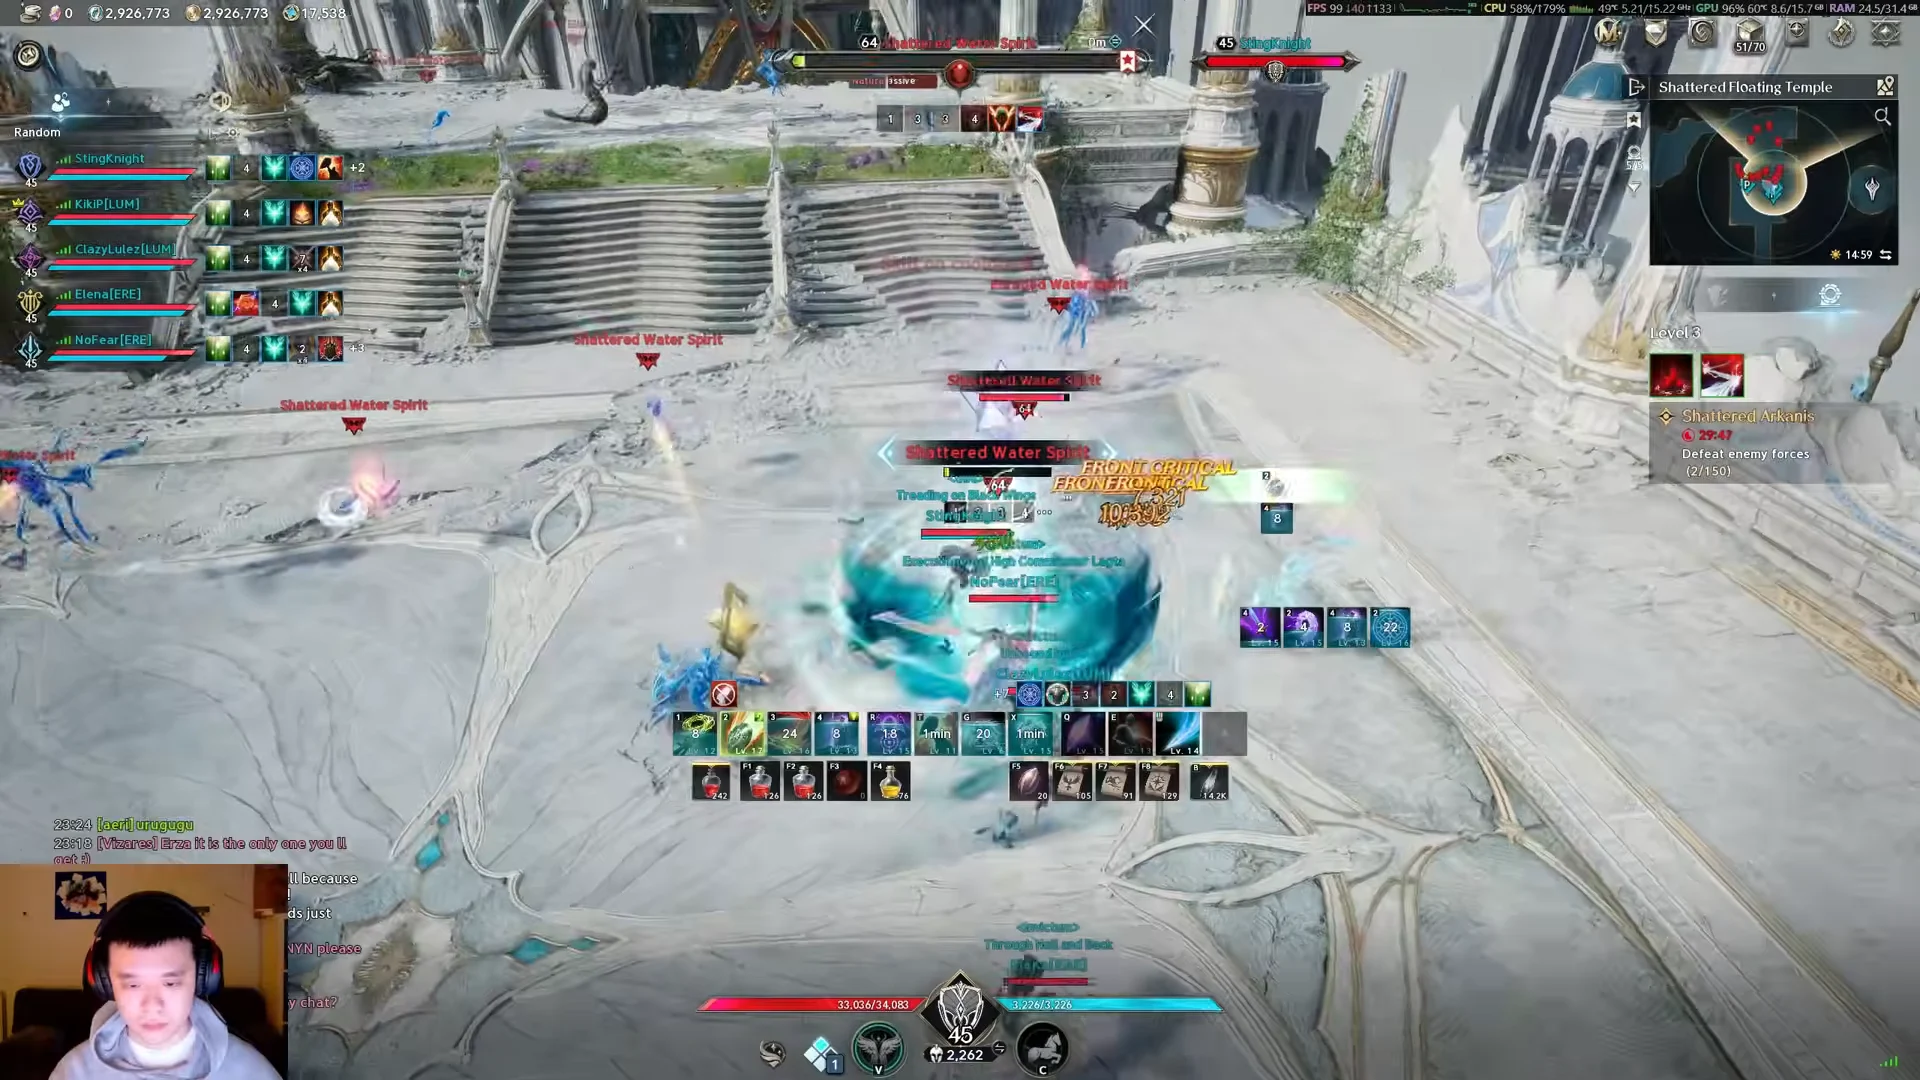
From there the group moves across the outer walkways, cutting down more water spirits and Arkanis Elite Guardians before the first boss platform. Dead elites leave Poison Blood pools behind at Stage 3, so the party keeps moving rather than standing to loot.
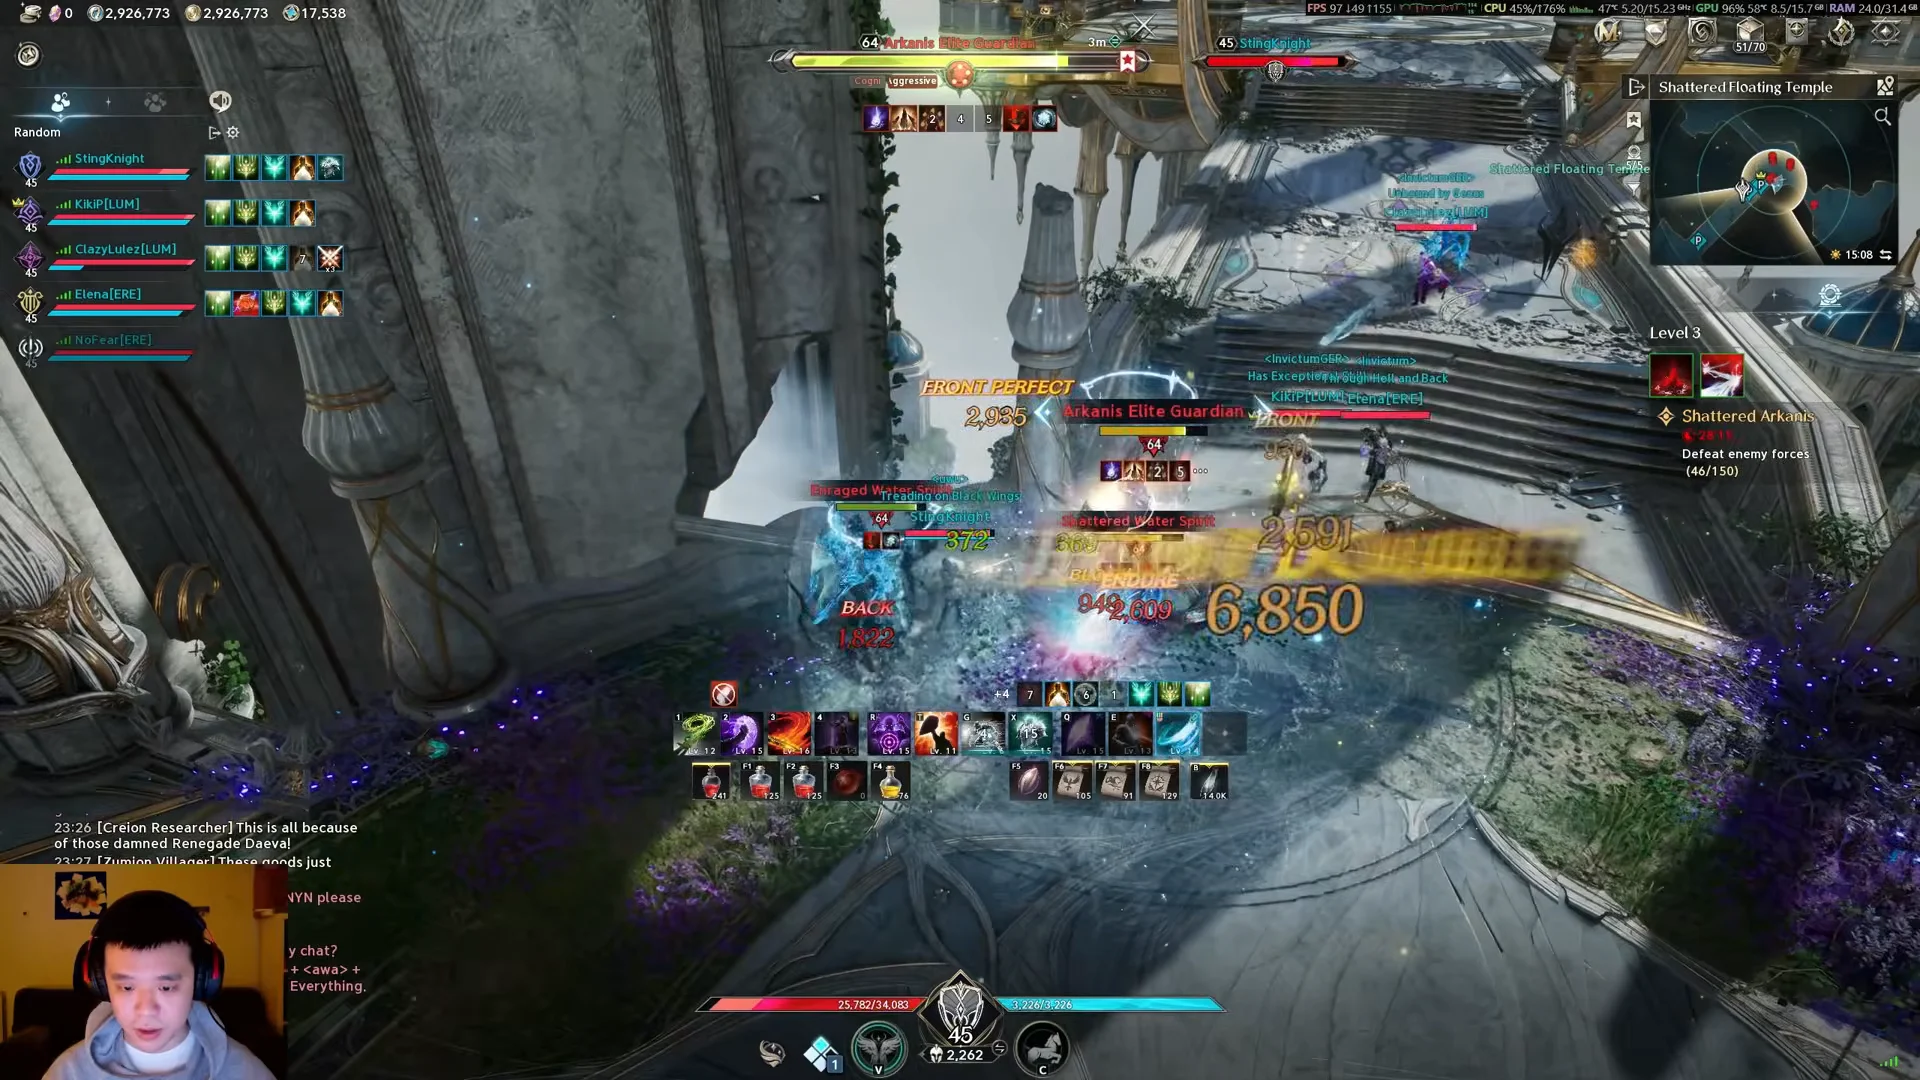
The three arenas are connected by high-speed windstreams. After each boss the party mounts wings and rides a current across the sky to the next platform, so travel between fights is fast once the gate conditions are met.
The three Shattered Arkanis bosses
All three bosses are level 56 and share the same loot anchor, a 20 percent chance at an Amplify Stone Fragment. The first two are optional but worth taking; the third is required to clear.
| Boss | Arena | Level | Amplify Stone Fragment |
|---|---|---|---|
 Siliator of Deceit | Shattered Floating Temple | 56 | 20% |
 Ruthilis of Pain | Collapsed Corridor | 56 | 20% |
 Talisra of the Void | Void Altar | 56 | 20% |
Siliator of Deceit
The first boss fights with wide linear and circular telegraphs and tags players with persistent red laser lines that have to be kited. Around 70 percent health it targets two players and throws two chakrams down their paths. Those chakrams deal continuous heavy damage but cancel each other out when they collide, so the two targets line up and step out at the last moment to force the collision. Later it pulls the chakrams back along their return path, and the edge of the arena shows where they will travel, which marks the safe spots.

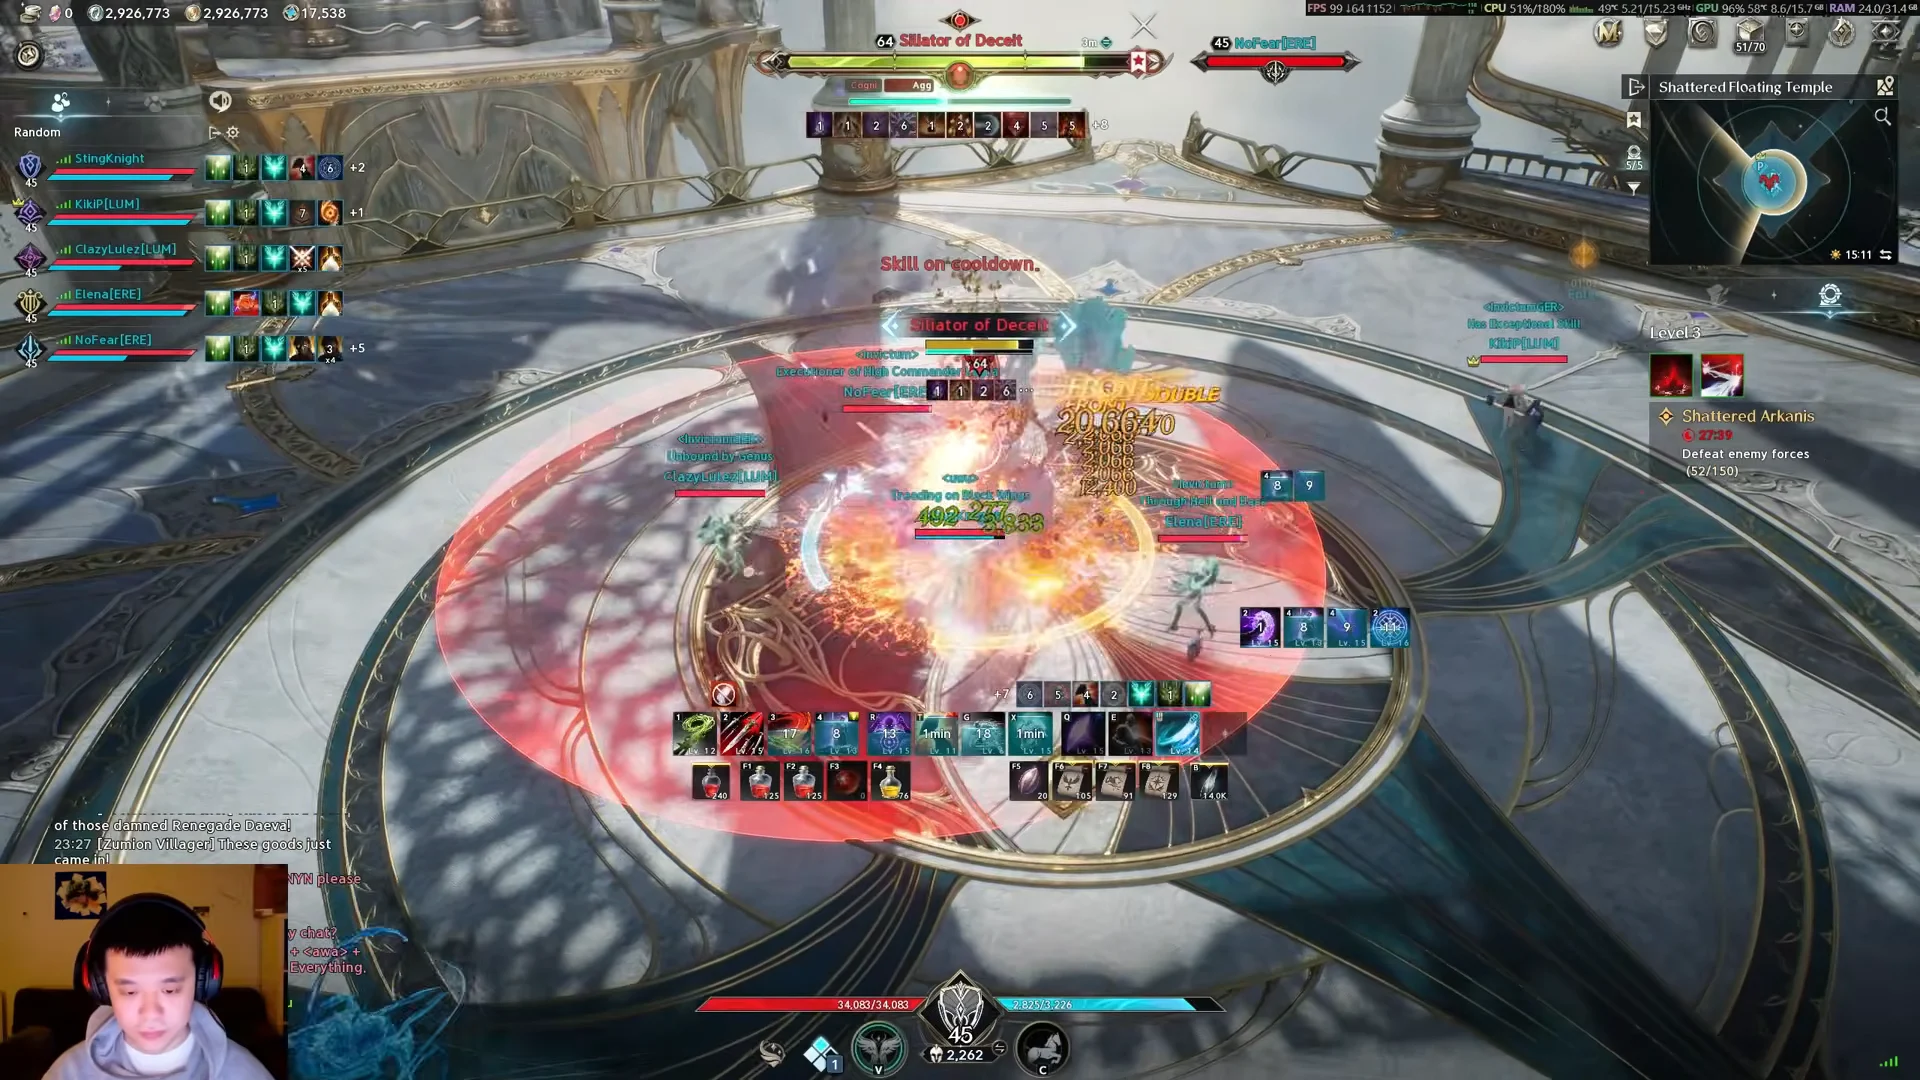
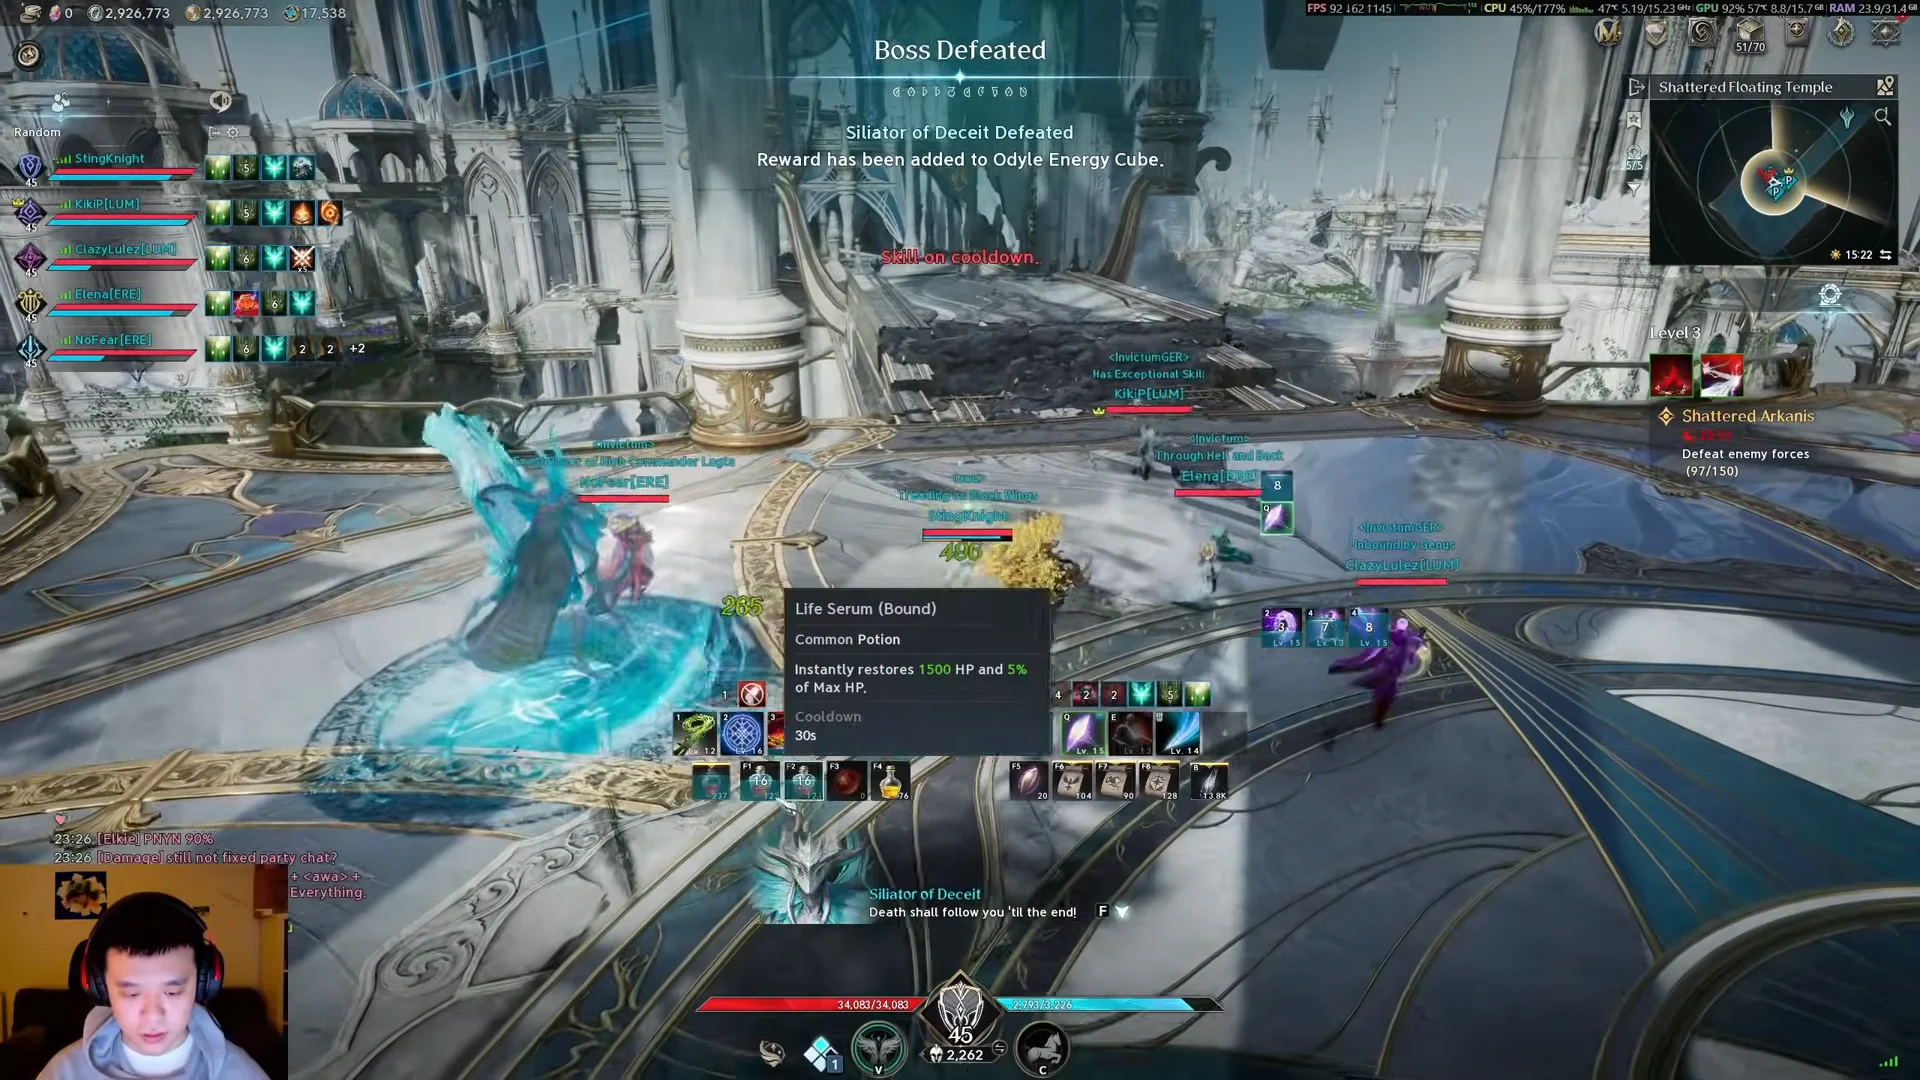
When it goes down, its reward is folded into the Odyle Energy Cube and the kill counts toward the 45-enemy credit for the final gate.
Ruthilis of Pain
The Collapsed Corridor boss covers the floor with lightning. It envelops parts of the arena in electricity that lingers and rapidly damages anyone standing in it, steadily shrinking the safe ground. It also targets the farthest player with a melee lunge followed by a shockwave, so when it uses its gap closer you want to be close to it rather than at range.
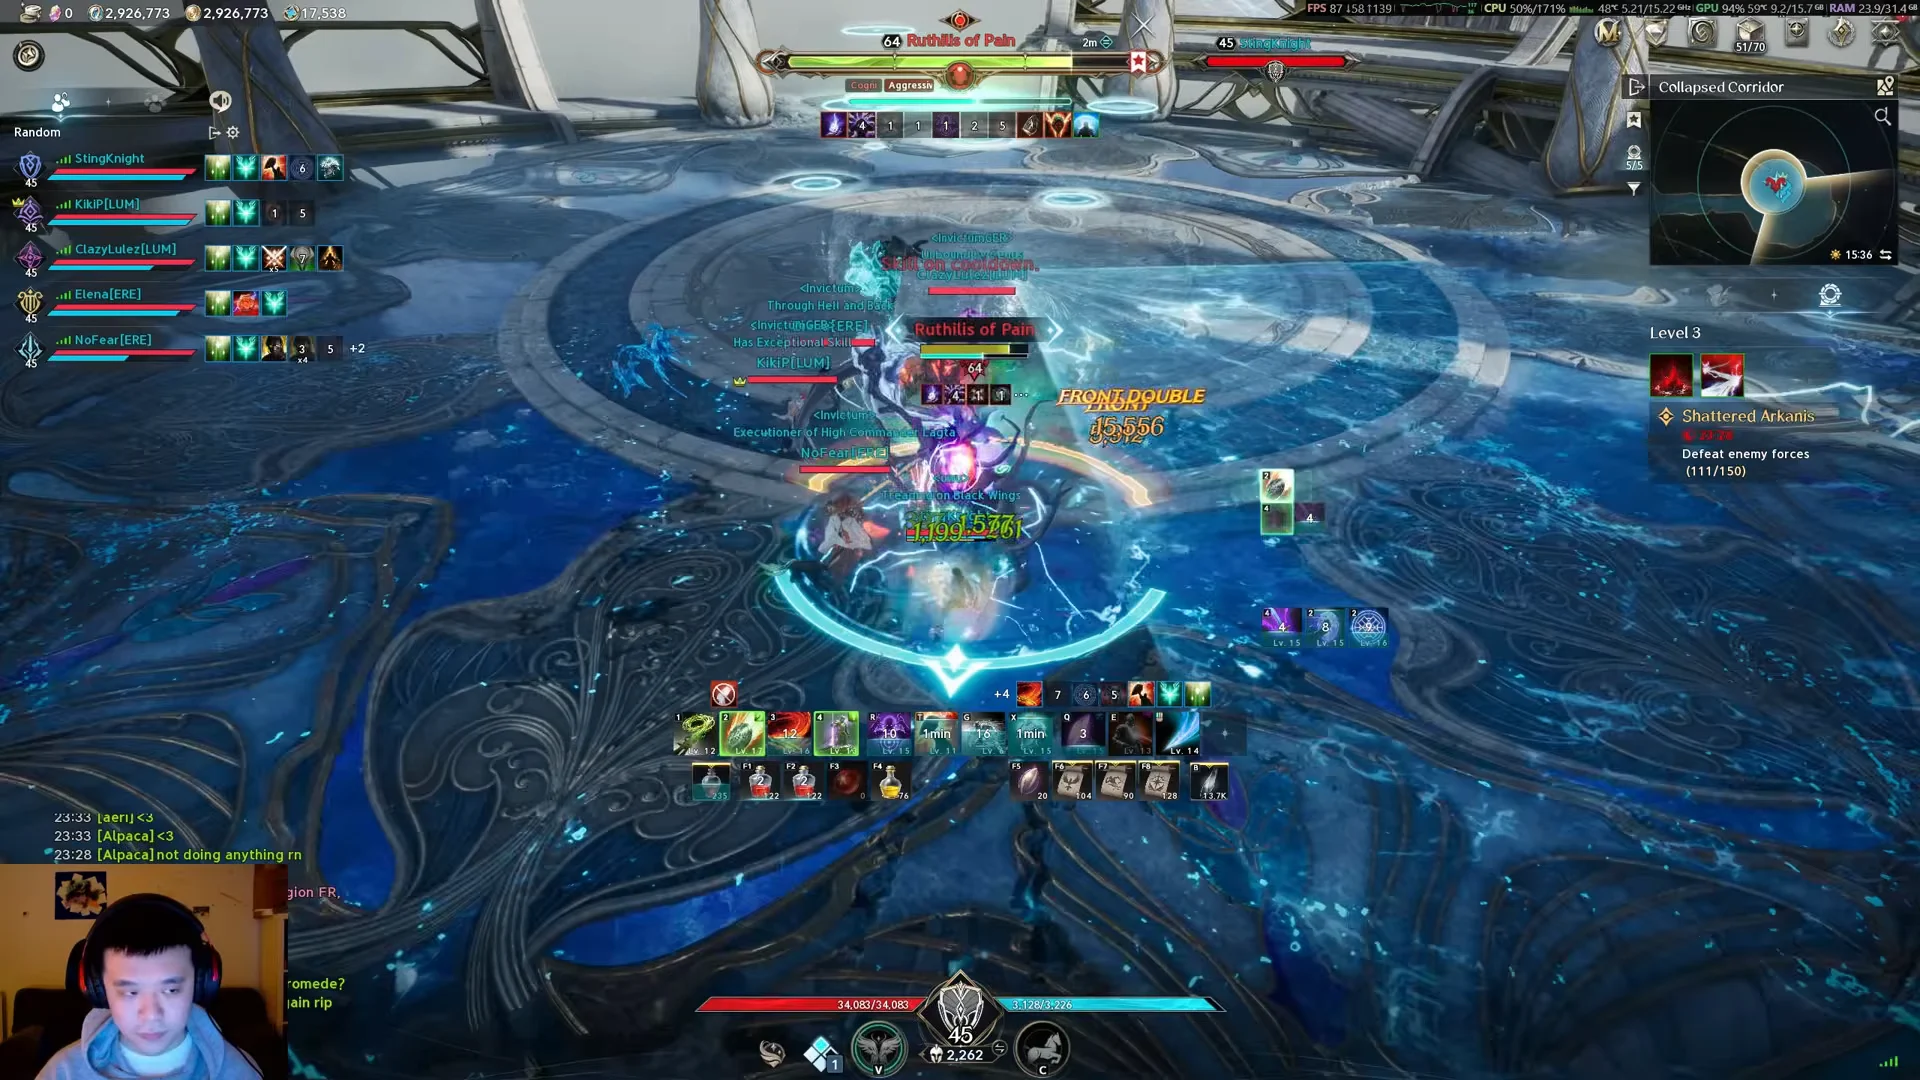
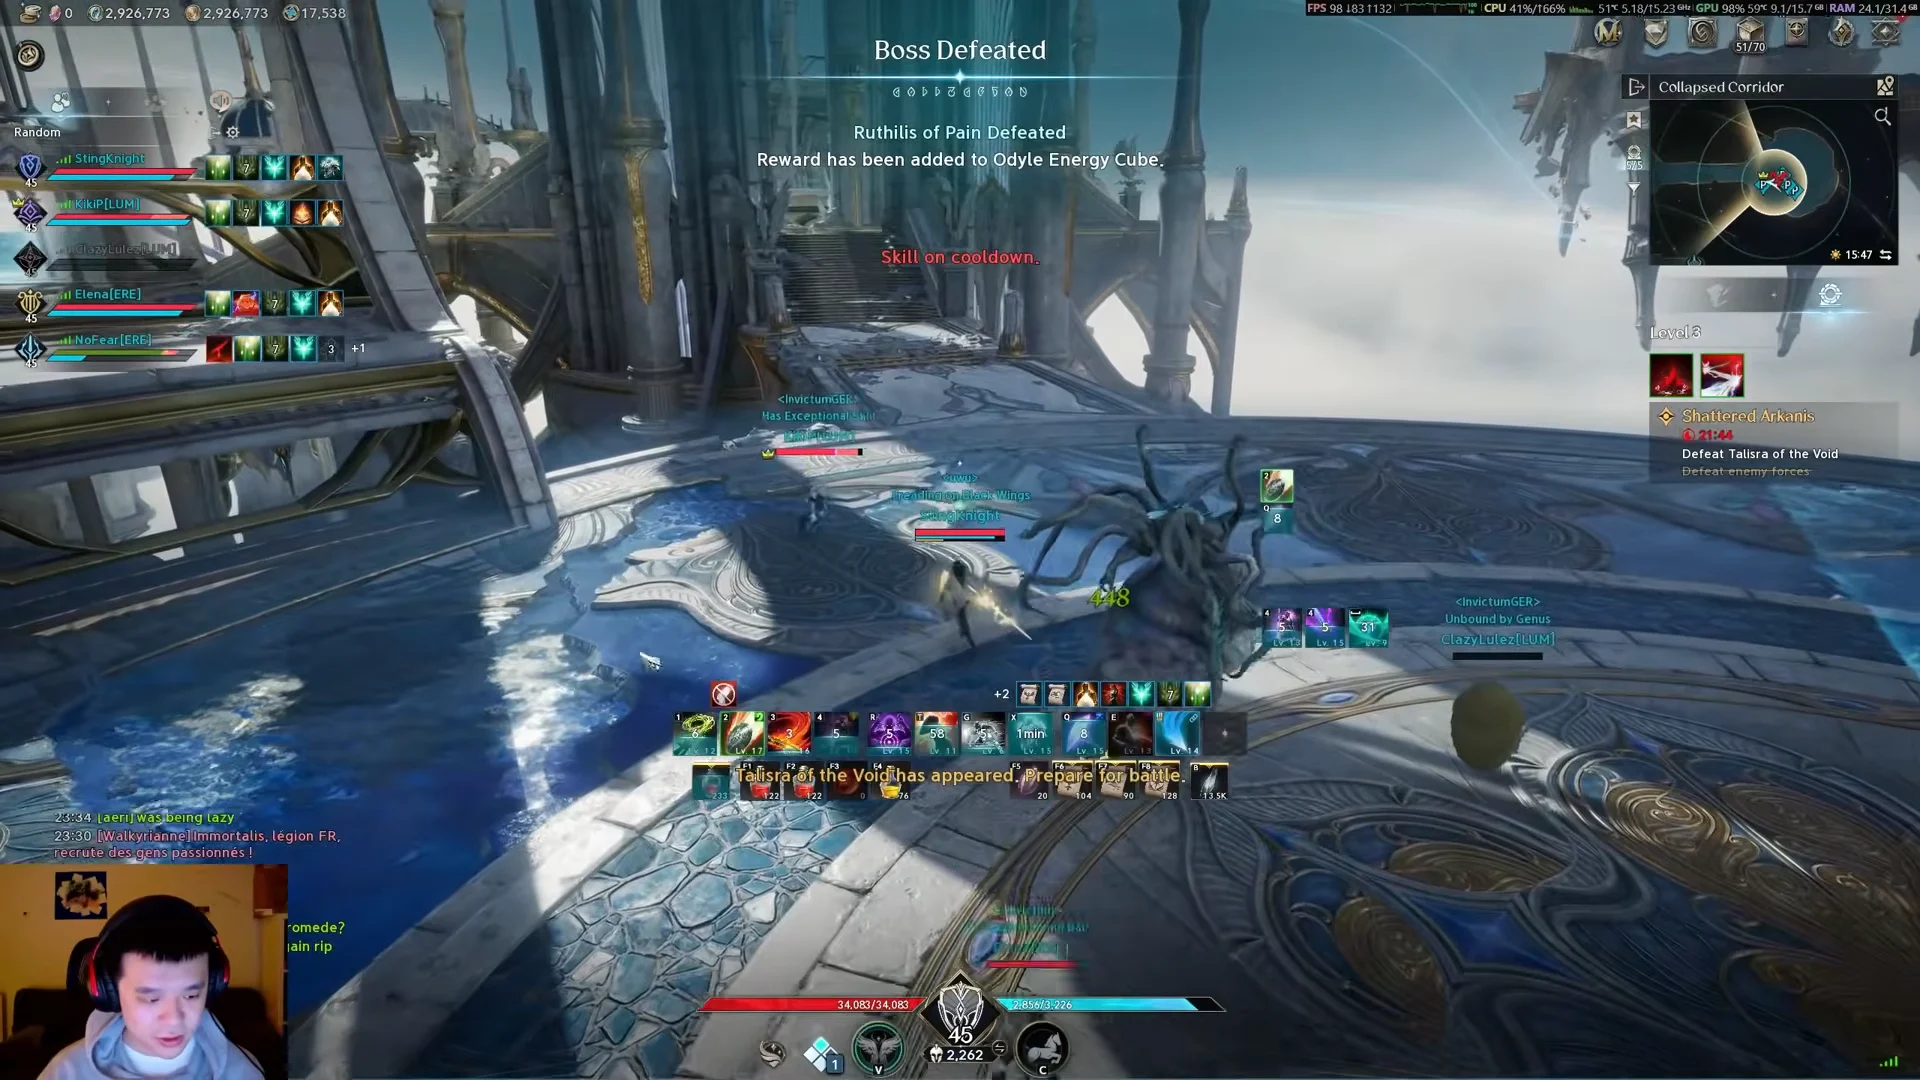
Its delayed lightning bolts chase a single player with each successive strike, so staying on the move shakes them. A player hit by this attack gets a timed debuff shown as a white ring, and when it expires a ring of lightning bursts out and damages anyone nearby. Marked players spread out and call it so the rest of the group does not cross their path.
Talisra of the Void
The final fight at the Void Altar takes place on a flooded circular platform and is the one that wipes groups. At 70 percent health Talisra teleports to the center and spawns light and dark projectiles at the arena’s edge. Those projectiles travel toward her, and the party has to intercept them by running into them, because every projectile she absorbs buffs her. Each player can only carry one color at a time; touching the opposite color stuns you and strips everything you have gathered. The same phase repeats around 40 percent.

After two waves, Talisra drops a protective dome over the players who gathered the most projectiles, and that dome is the shelter from the following room-wide blast. She flashes her crystal several times, and the order of those flashes sets the order the explosions go off in, which tells players which colored dome to stand in. Assigning a color to each party member before the phase starts keeps people out of the wrong projectiles.
Her Double Radial Attack covers the whole floor in two passes, one traveling outward and one inward, and both are cleared by timing jumps. She also casts Reflecting Spear alongside multi-directional line blasts that stretch across the arena. In the Templar run, the group wiped once here before the sphere phase, reset, and brought her down on the second pull.
What drops and how you collect it
Rewards do not drop straight into your bag. Each boss adds a segment to the Odyle Energy Cube, and at the end of the run you spend Odyle Energy to charge the cube and extract the loot. Odyle Energy caps at 560, or 840 with membership, so you cannot bank runs indefinitely. Taking both optional bosses adds their loot pools to the cube, which is the reason to clear them rather than rush the gate.
Shattered Arkanis has 14 obtainable items across its pool, weighted toward the Mirror and Parchment Arcana families plus upgrade and crafting materials:
- Amplify Stone Fragment (Unique)
- Arcana: Mirror of Magic / Mirror of Vigor
- Arcana: Parchment of Magic / Parchment of Vigor
- Arcana: Chalice of Magic / Chalice of Vigor
- Enhance Stone, Silentium, Soul Codex
- Lesser and Intermediate Manastone and Soulstone
The Templar as the tank in this run
The player cleared Stage 3 as a Templar, Aion 2’s dedicated tank. The Templar wields a Longsword and a shield and fills the Tank role only, which is what holds the bosses’ melee lunges and shockwaves while the rest of the group deals with telegraphs. It has 36 regular skills and 13 stigma skills to draw from.
| Class | Weapon | Role | Skills |
|---|---|---|---|
| Templar | Longsword | Tank | 36 |
| Gladiator | Greatsword | Tank, Dealer | 39 |
| Chanter | Staff | Healer, Dealer | 37 |
| Cleric | Mace | Healer | 36 |
When Ruthilis targets the player farthest away or Talisra’s blasts make the group reposition, Templars can draw on defensive and threat options in their stigma list: Warding Shield, Shield of Protection, Noble Armor, Doom Shield, and Taunt. At level 22, Clerics learn Summon Resurrection, which can bring an incapacitated party member back from as far as 40m away—a recovery that can save the group after a Void Altar slip without a full wipe.
What a clear looks like
A finished Stage 3 run shows the Transcendence Complete screen with a rank, a clear time and a rank-point total. The Templar run landed Rank A with a time of 17:05 and 3,244 rank points, with a single wipe on Talisra of the Void counting against the time. That is a comfortable Stage 3 result rather than a record one. Once the screen clears, you charge Odyle Energy at the cube to pull your loot, then leave the party and teleport back to Zunrele Village, and the rewards you extracted are what carry over into your Arcana progression.