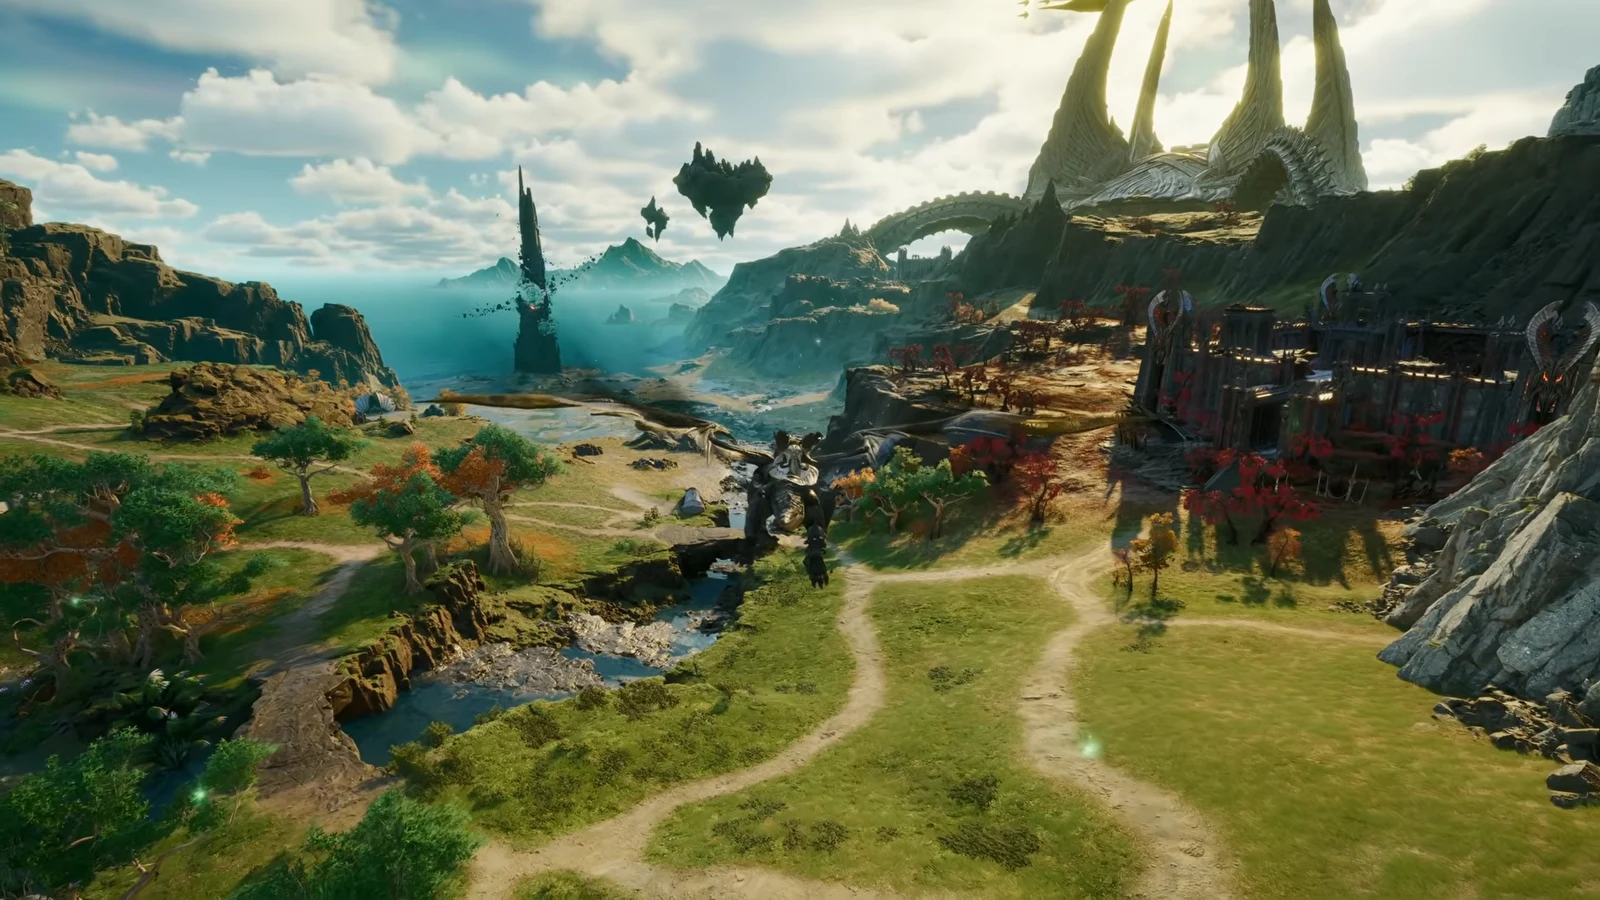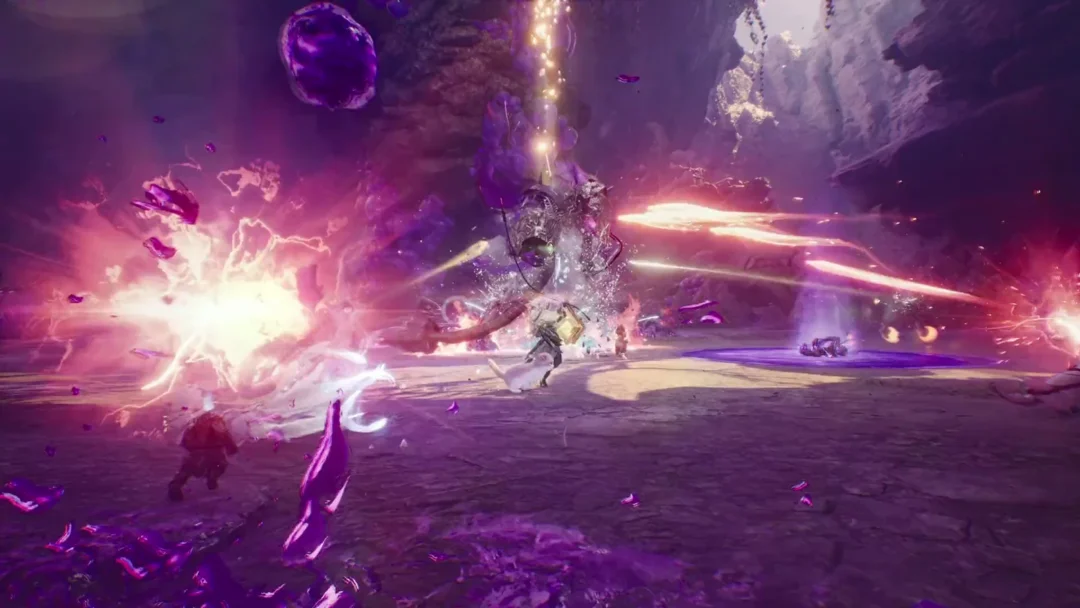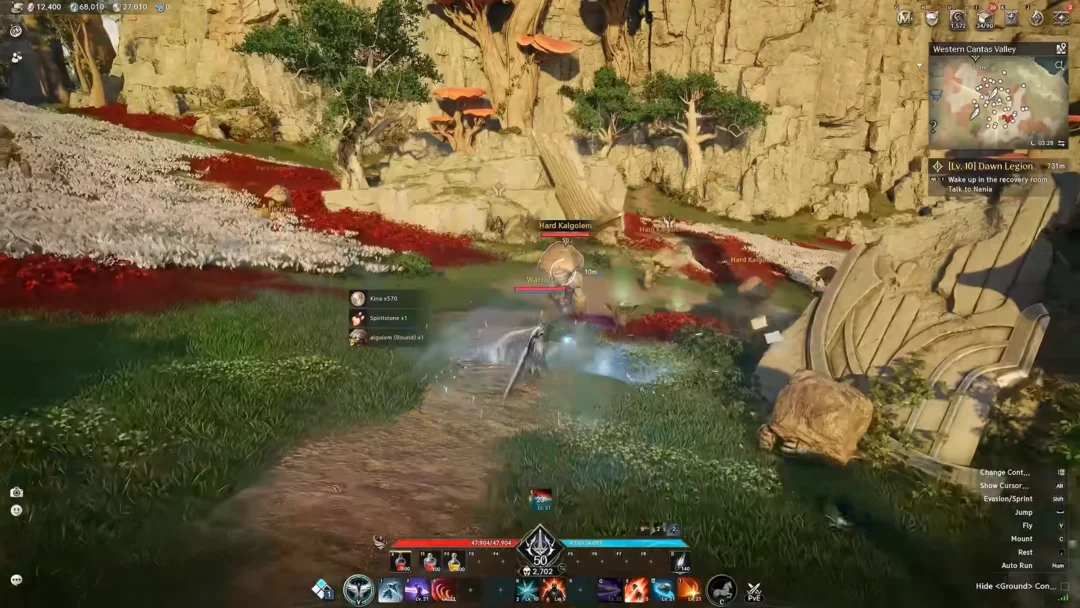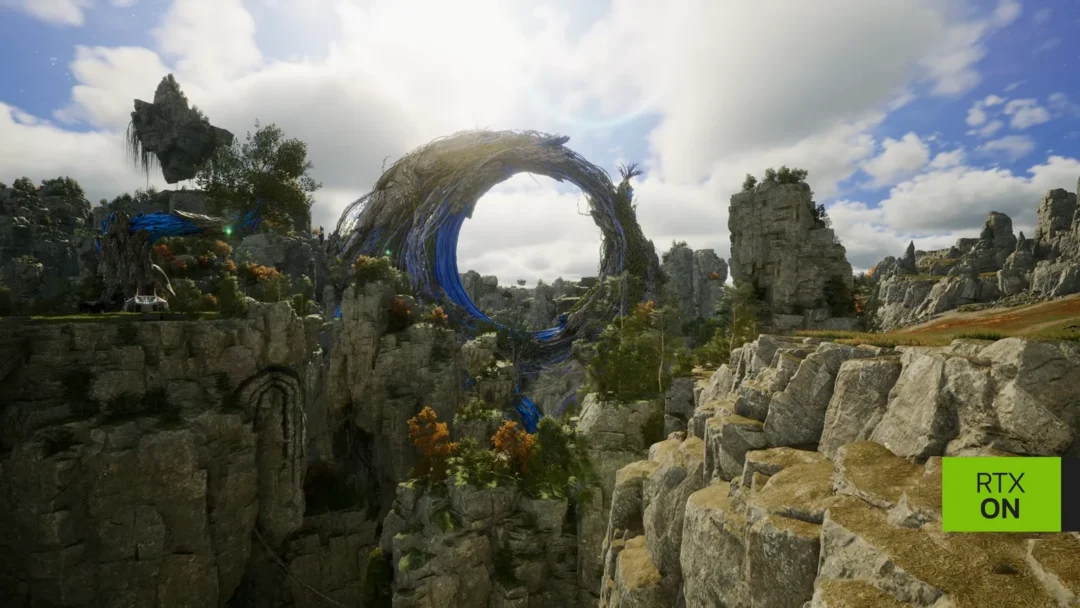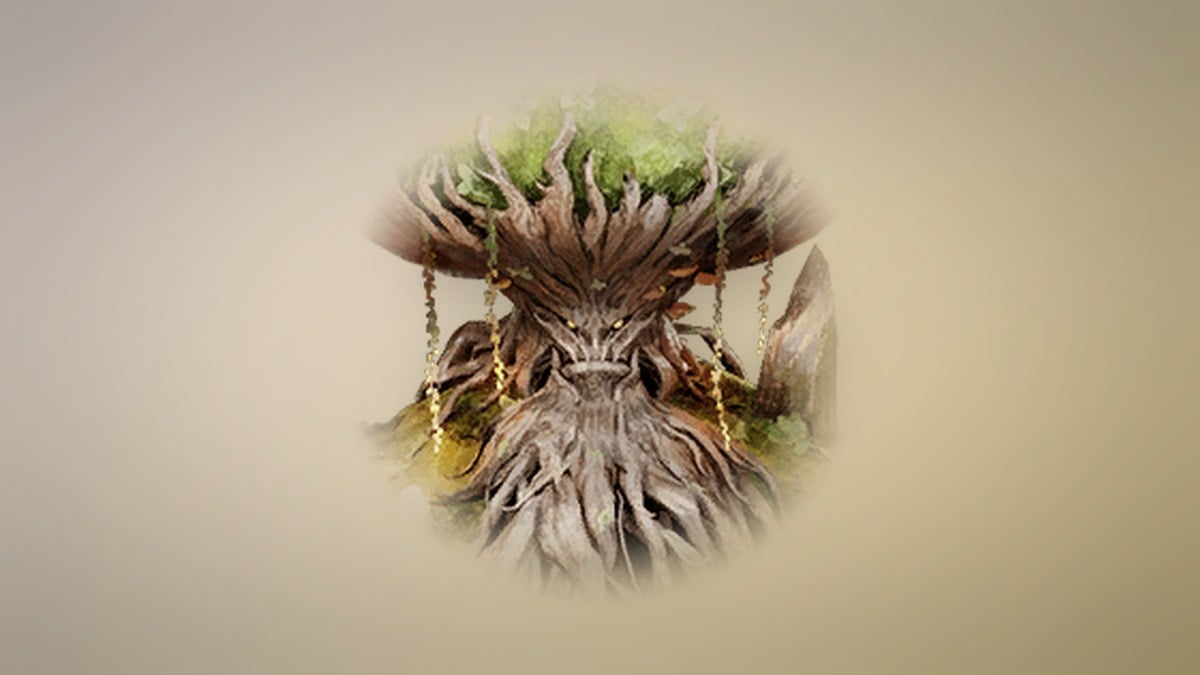
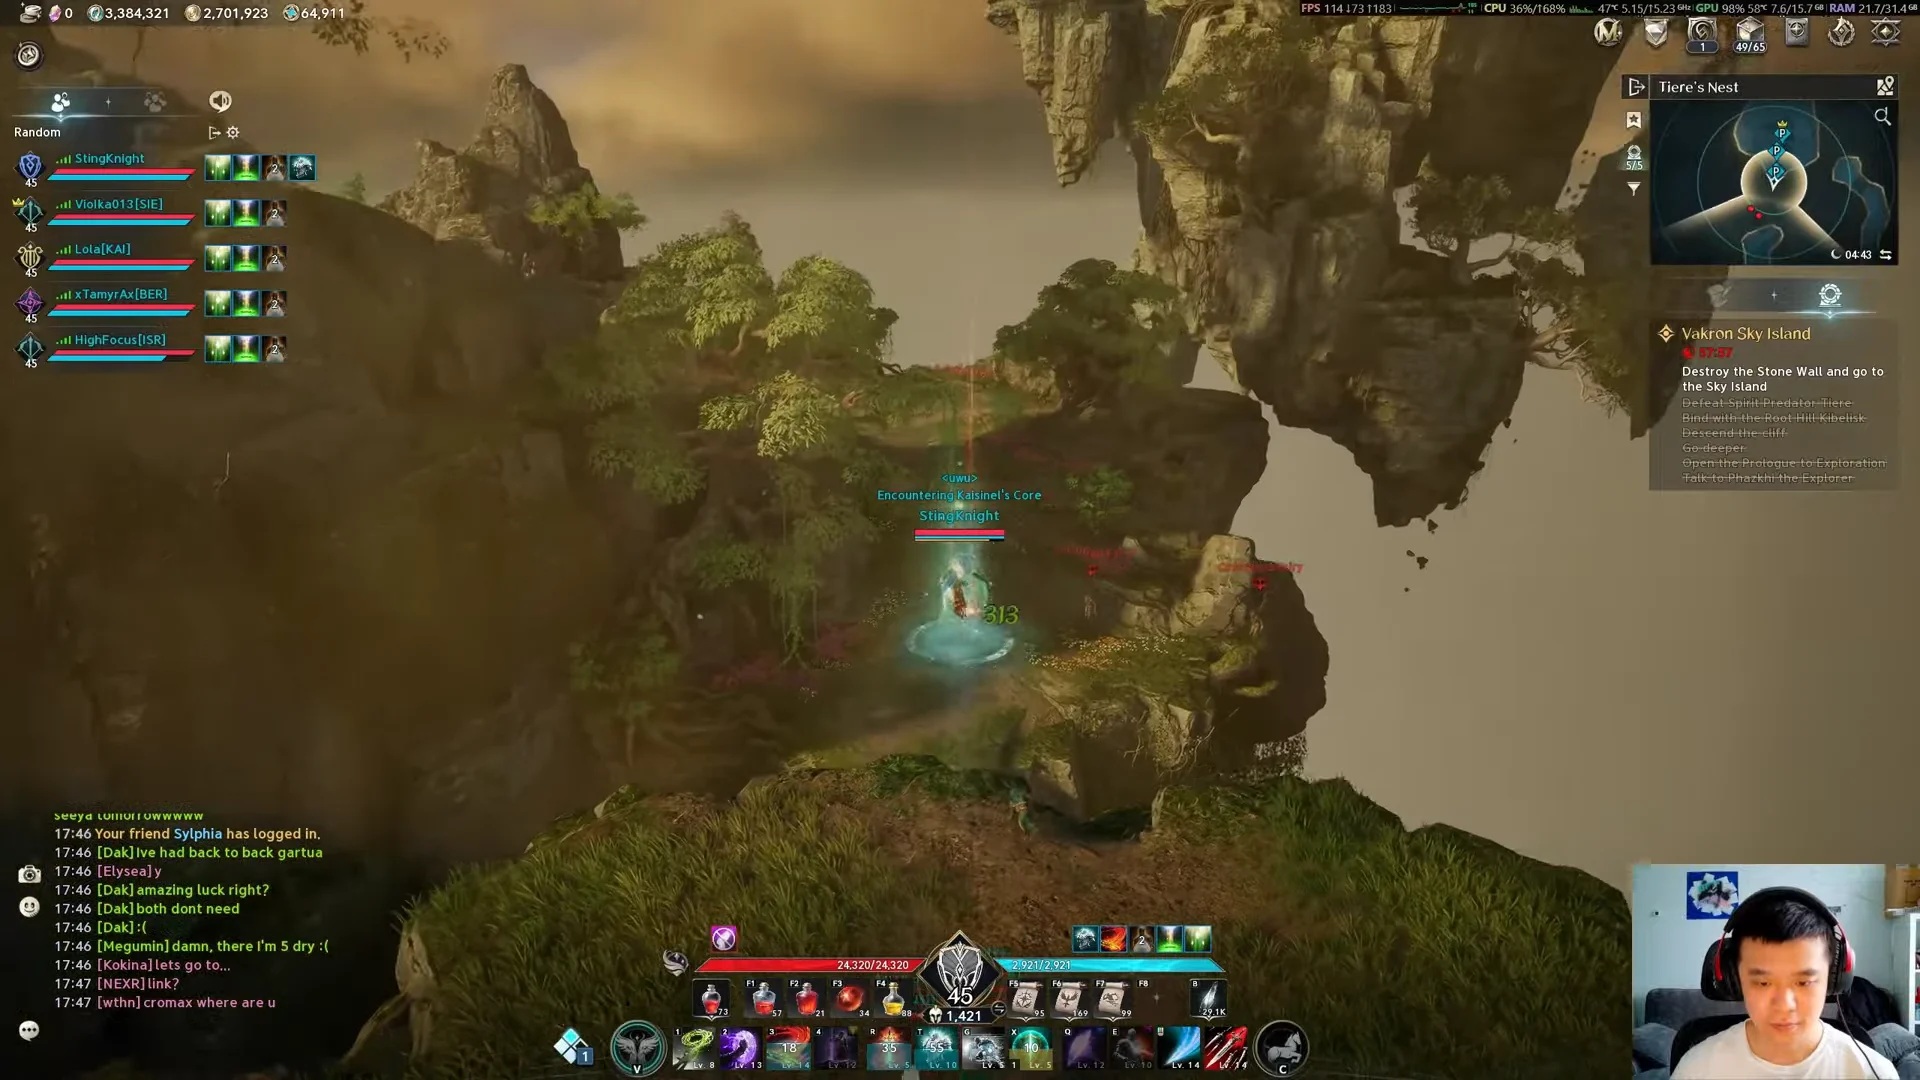
Vakron Sky Island is a party expedition in Aion 2 set across a chain of floating landmasses in the spirit realm of Etheria, ruled by Boulder Lord Vakron. It runs in two difficulties, Exploration and Conquest, for a group of two to five players, with a 60-minute time limit. A run moves through grassy plains, cliff glides, and high-speed windstreams before ending in Vakron’s arena, and footage from a Templar tank playthrough shows the full loop from queue to loot cube.
Quick answer: Vakron Sky Island is a two-to-five-player expedition that unlocks at level 45. You clear mid-bosses Tiere and Thamon, activate four elemental altars, then defeat Vakron to open the Odyle Energy Cube for Unyielding-set gear.
Entry requirements and party size
Both variants open at character level 45 with an item level of 1,400. The expedition seats two to five players and caps every run at 60 minutes. The three bosses inside sit at level 54, so the entry level is a floor rather than a match for the fight.
| Field | Value |
|---|---|
| Difficulties | Exploration, Conquest |
| Level requirement | 45 |
| Item level requirement | 1,400 |
| Players | 2–5 |
| Time limit | 60 minutes |
| Bosses | Tiere, Thamon, Vakron (all level 54) |
The route across the floating islands
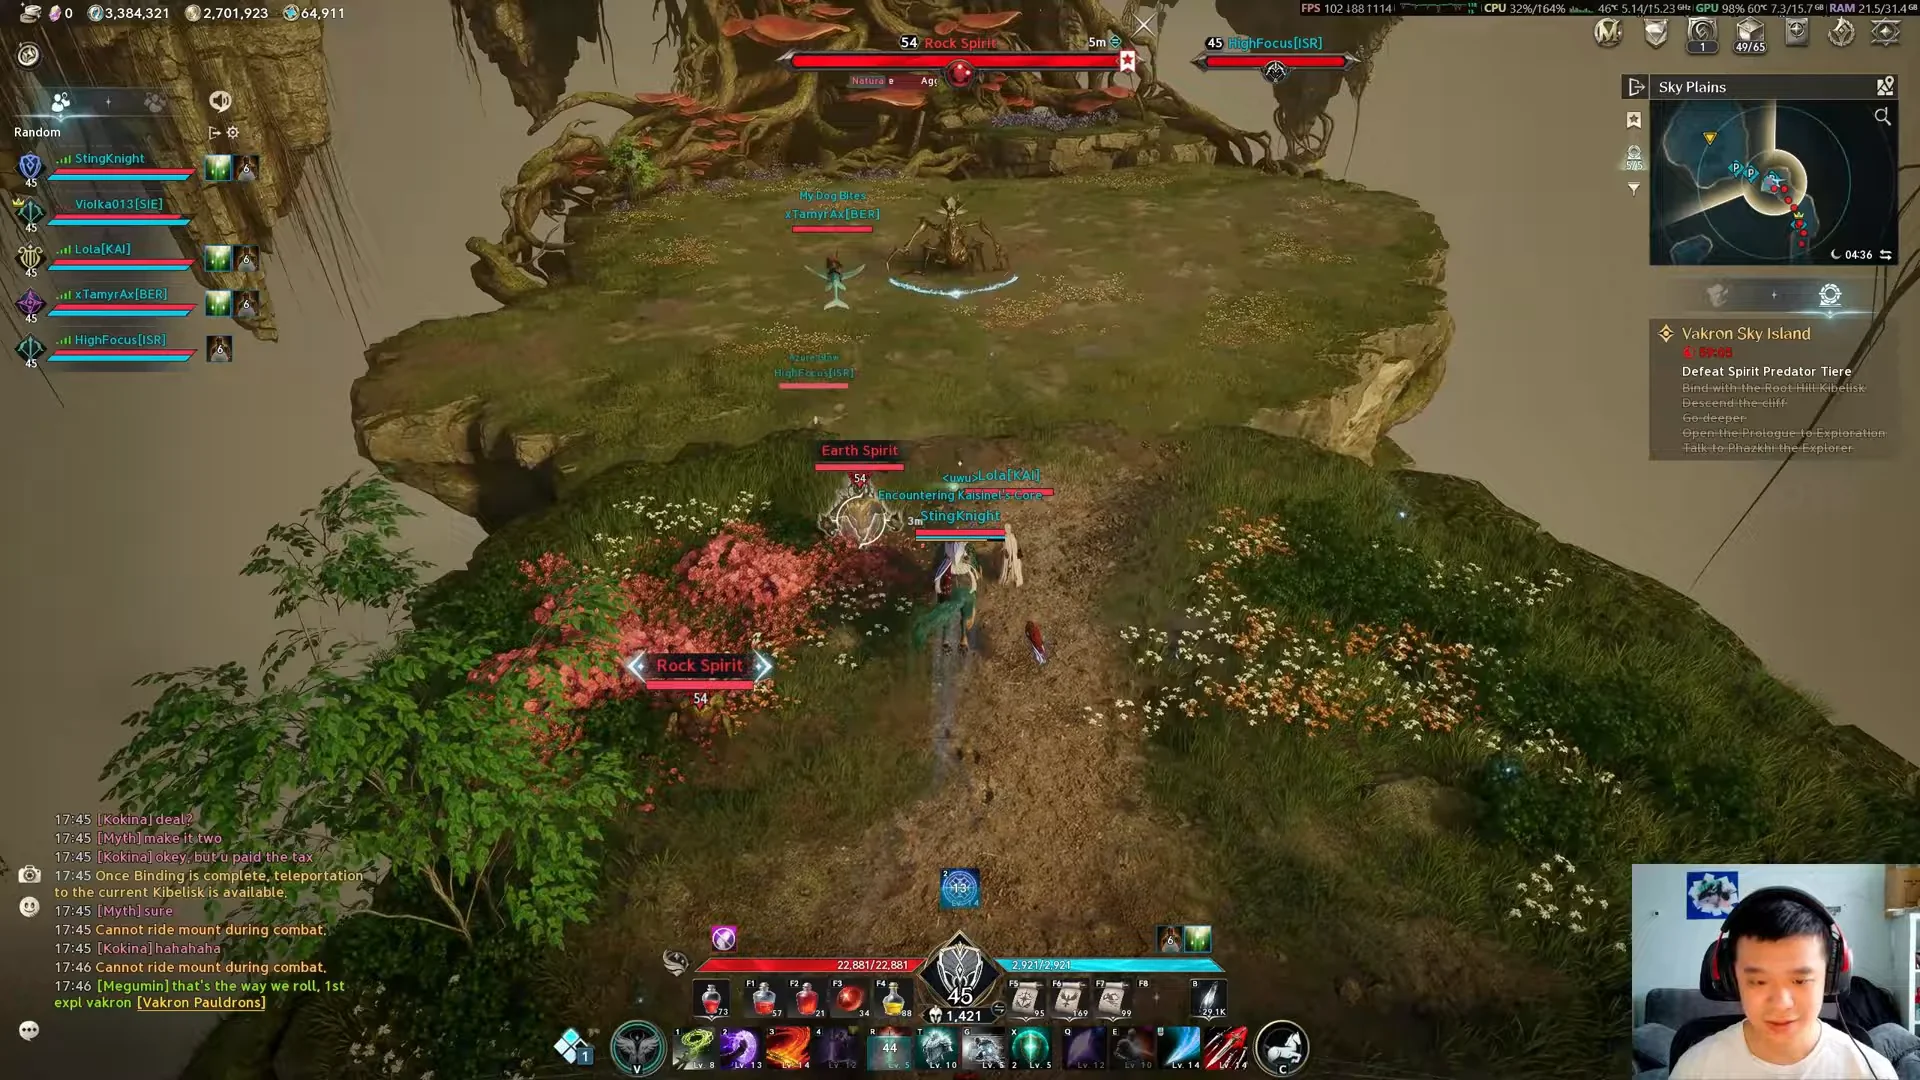
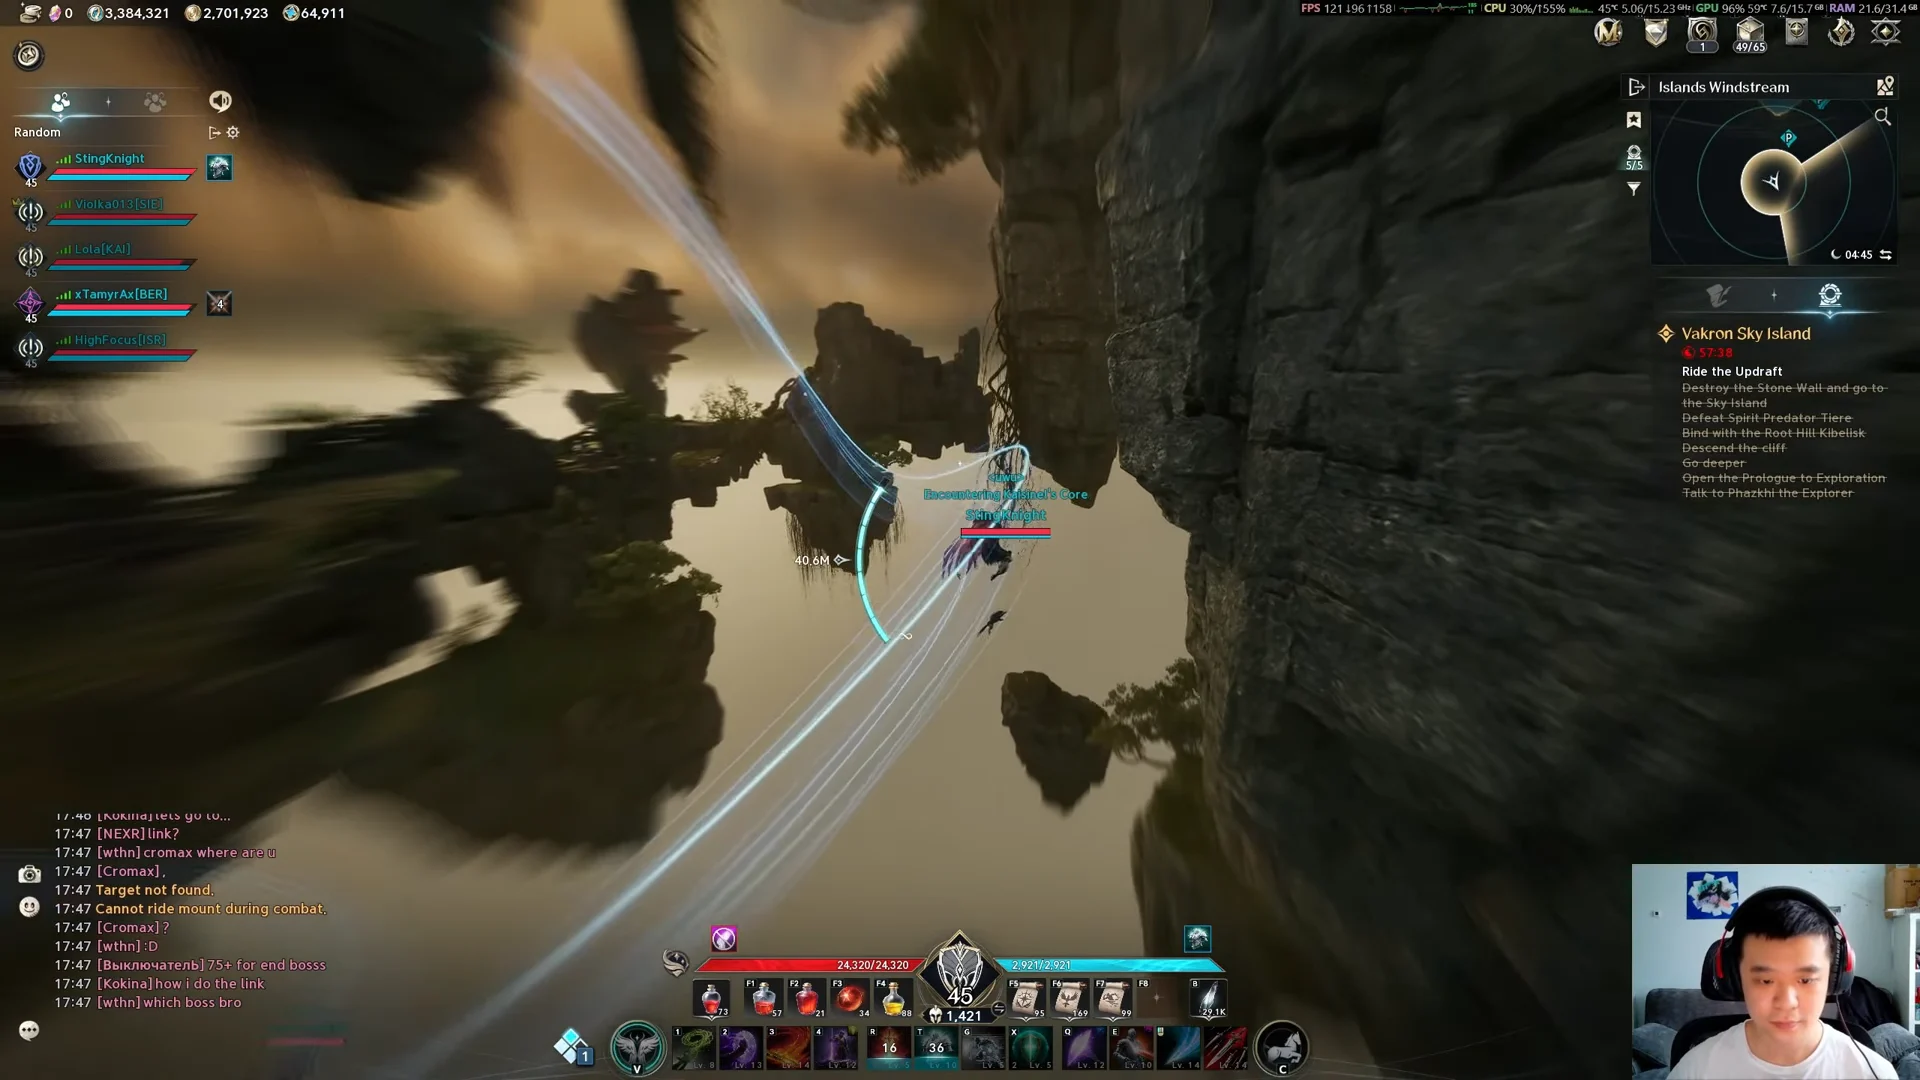
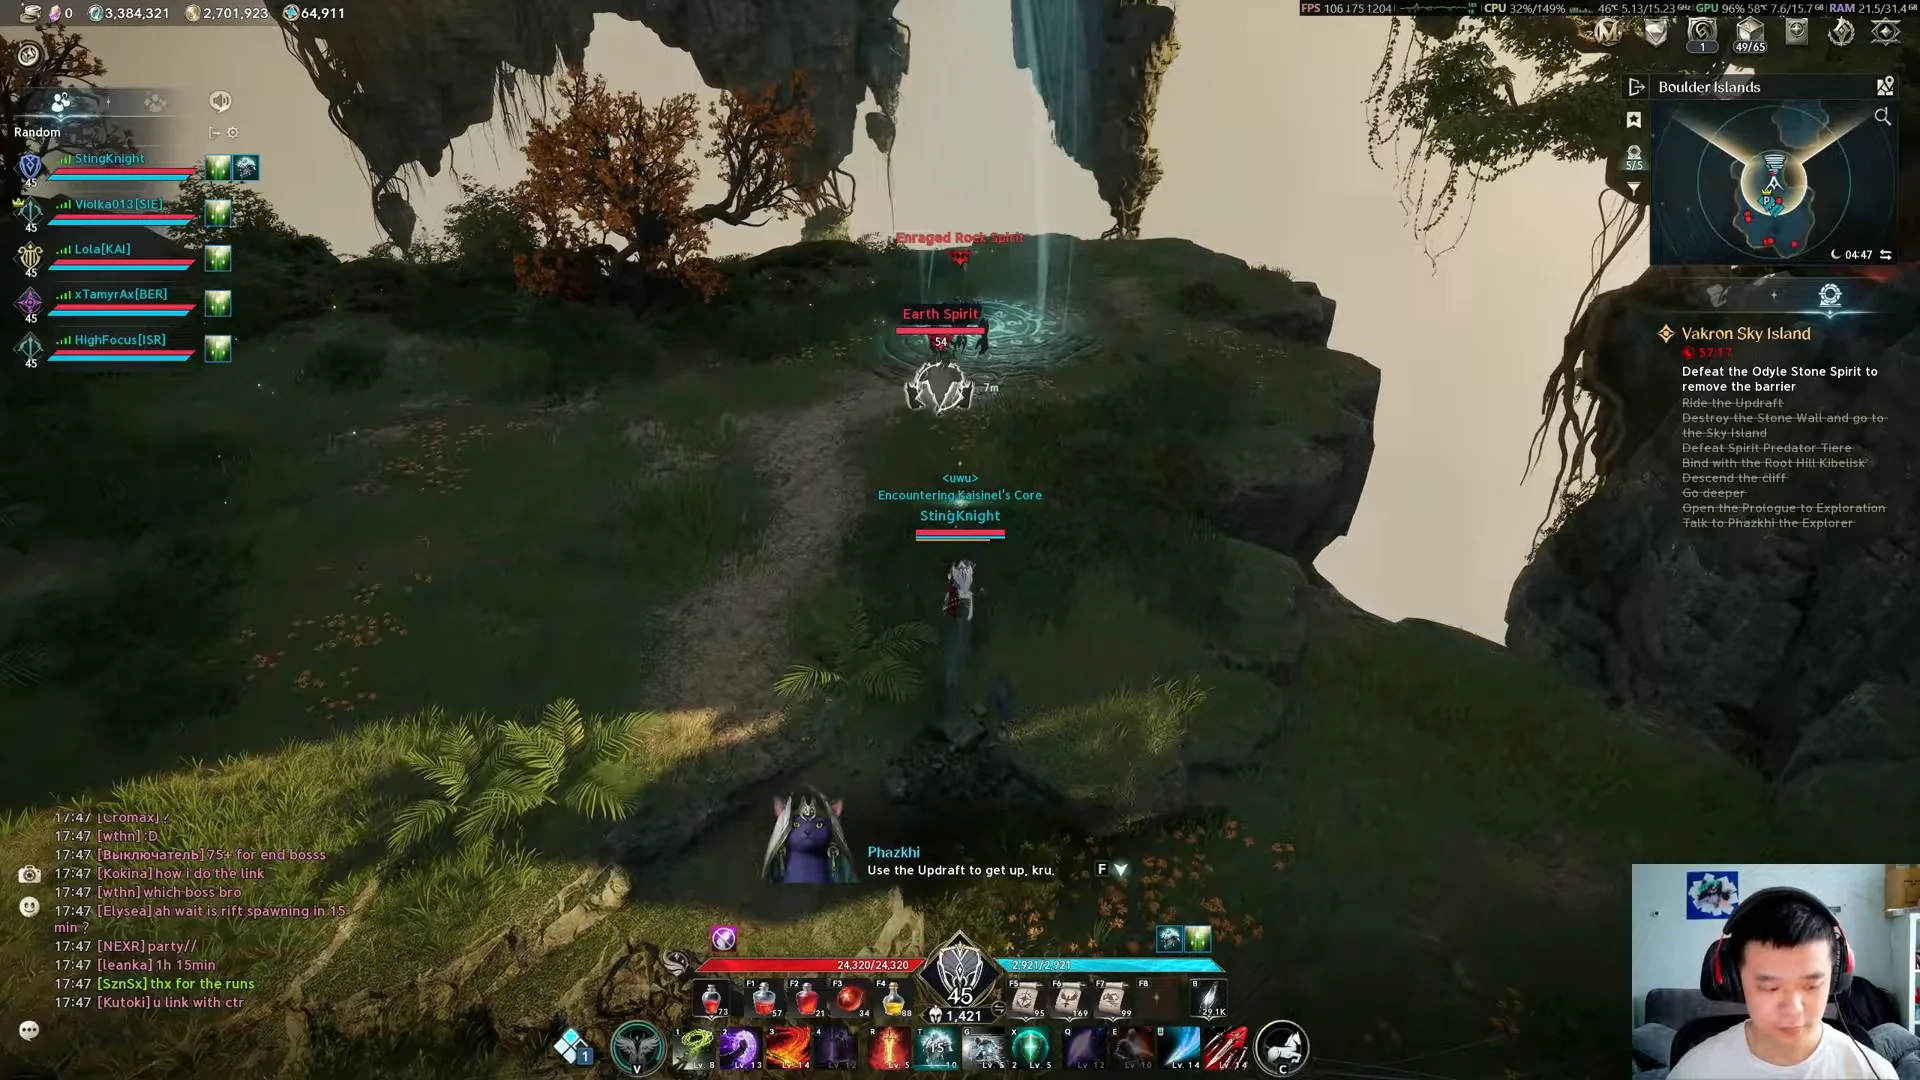
The expedition is not a single corridor. Movement between islands relies on gliding off cliffs, rising on updraft wind columns, and riding glowing blue windstreams that fire the character rapidly across gaps. Kibelisks placed along the way act as bind points, so a wipe sends the party back to the last one activated rather than the entrance.
A persistent stacking debuff follows every player through the instance. Left alone to three stacks, it snares the character and drains health until death. Fog Spiritstones scattered along the path reset those stacks, and a teammate can free a snared player by attacking them.
After the opening area, the party glides down to the lower island holding the first boss, Tiere, then crosses to a destructible stone wall. Breaking that wall exposes a windstream that leads to the Boulder Islands.
An Odyle Stone Spirit mini-boss guards the barrier path on the Boulder Islands. Past it, another windstream carries the party toward Thamon’s island for the second boss.
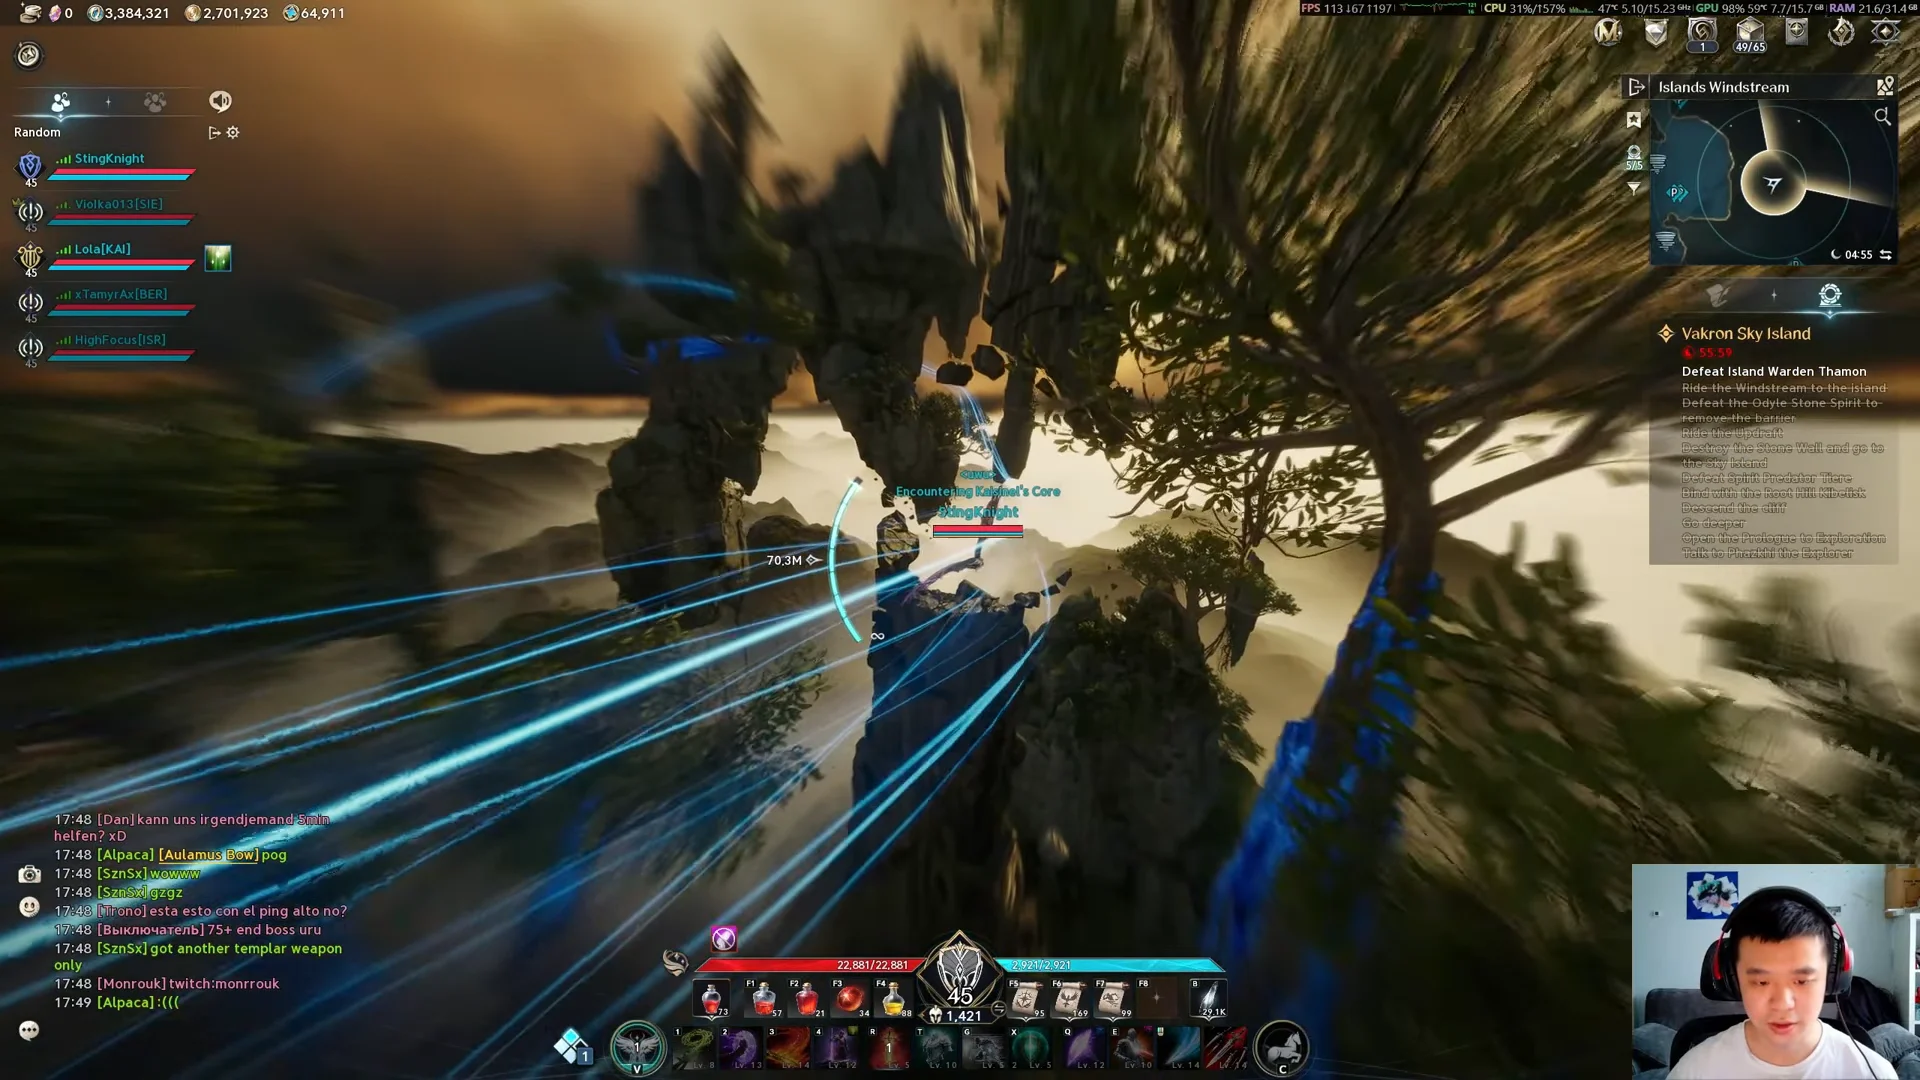
Once both mid-bosses fall, the party flies through a chasm to collect four elemental essences, Earth, Wind, Water, and Fire, and offers each to its matching altar. That lowers the barrier sealing Vakron’s arena. In Conquest, all four elements are required; the Exploration route is more forgiving.
The three bosses and their mechanics
Tiere
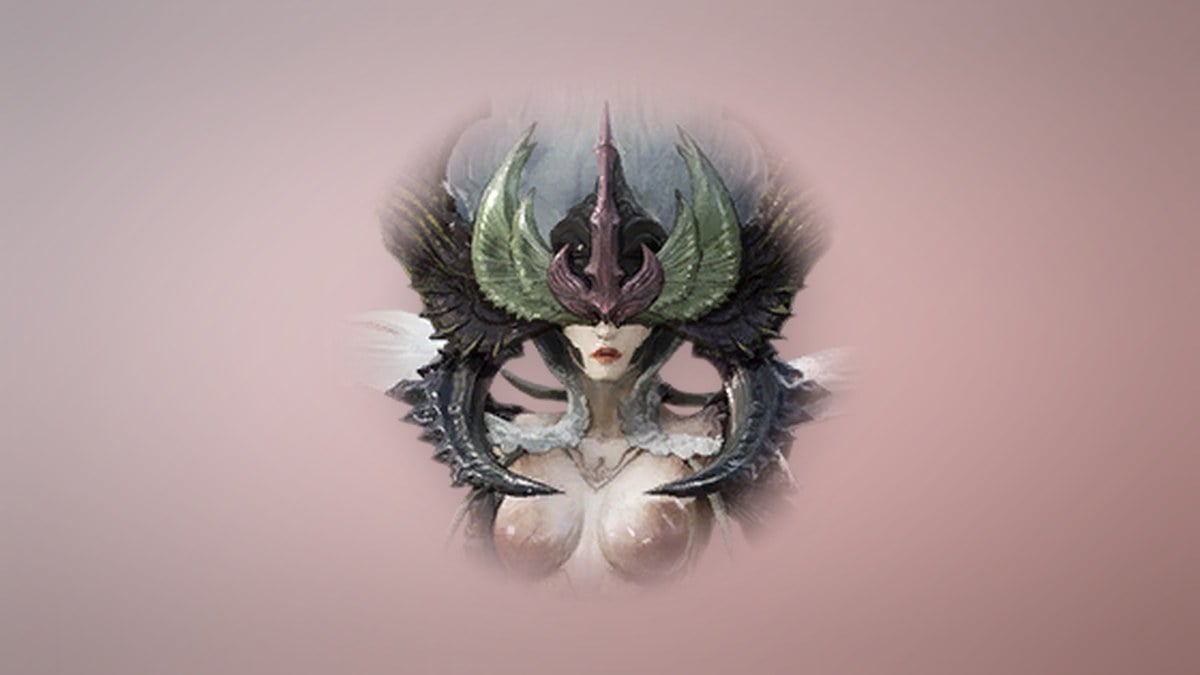
The first boss fills the arena with green poison mist and fires targeted purple poison at players. Her voice line signals the start of that phase, and the area right next to her becomes the only safe spot. The party stays grouped and drifts in one direction so the purple pools do not overlap into the usable space.
Thamon
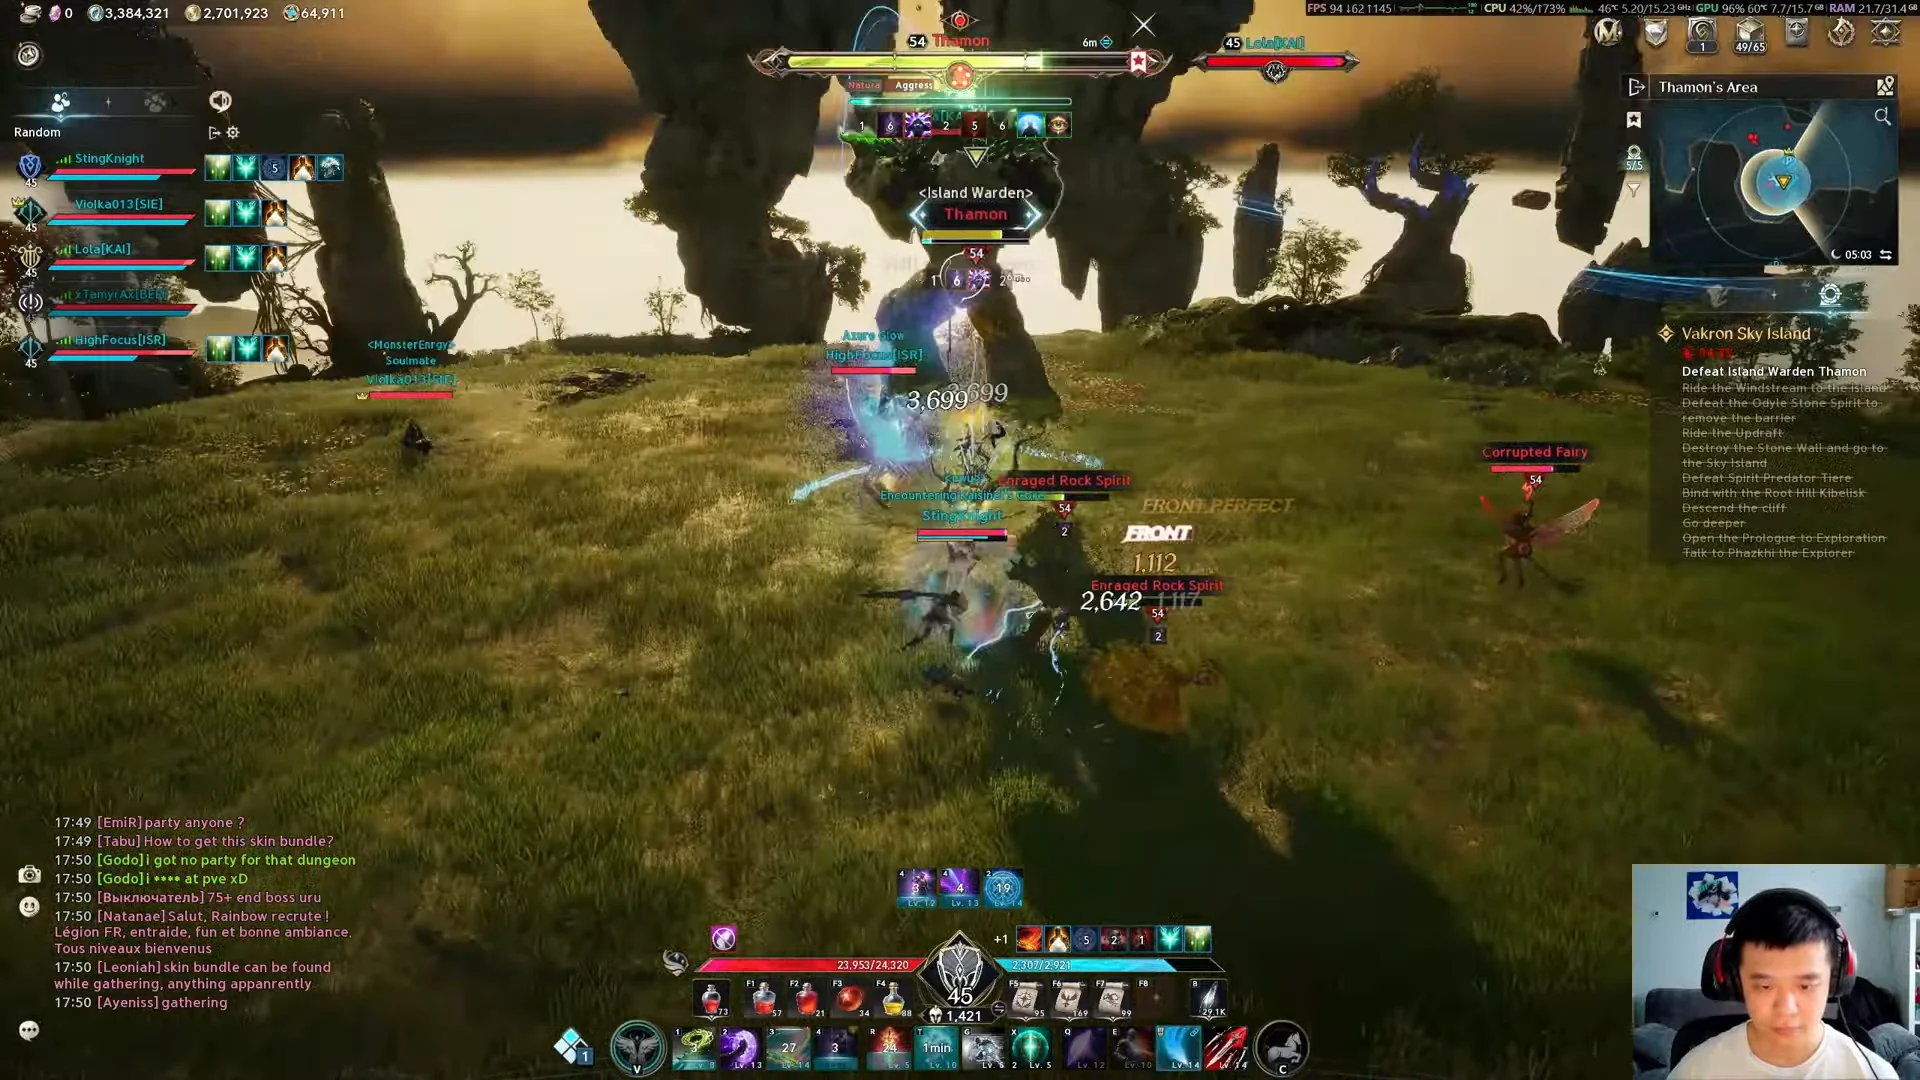
Thamon summons stones across the arena that petrify anyone struck, and a petrified player is then guaranteed to eat his arena-wide shockwave. When the big circular indicator appears, the smaller circles are dodged first, then the shockwave is jumped.
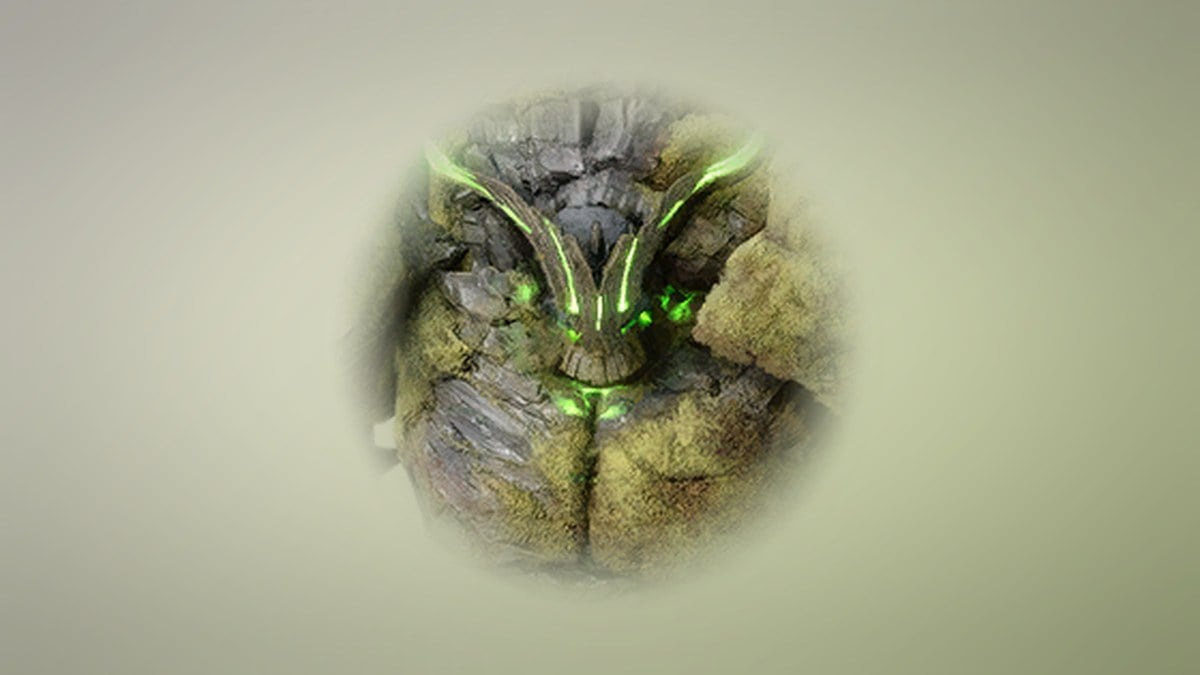
His aura mechanic is the one that catches damage dealers. A purple aura heals him from magic damage; a red aura heals him from physical damage. The buff lasts eight seconds, and the correct play is to stop dealing the countered damage type until it drops.
Vakron
The final boss combines the earlier lessons into a busier fight. His Surging Thorn sequence turns the floor red and sends out three expanding rings followed by a room-wide blast. Each ring is jumped, and after the third the player jumps again and glides so they are still airborne when the blast lands.
Lodestone Prison pulls everyone to the center and walls each player inside stones. One stone glows red and breaks faster than the others, and the group destroys it together to escape before the blast resolves. He also marks a single player, who should move clear before the thorns root them, and a timer under his health bar wipes the party if the fight runs long.
The Lodestone Prison blast has no floor marker and hits everyone within range of Vakron for a lethal amount, so breaking out early is not optional.
Rewards and the Odyle Energy Cube
Loot from each boss is added to the Odyle Energy Cube pool displayed after the run. Every pull costs 80 Odyle Energy and can grant equipment or crafting materials while building guaranteed reward progress. The cap is 560 Odyle Energy, or 840 with a membership, limiting the rolls you can save between runs.
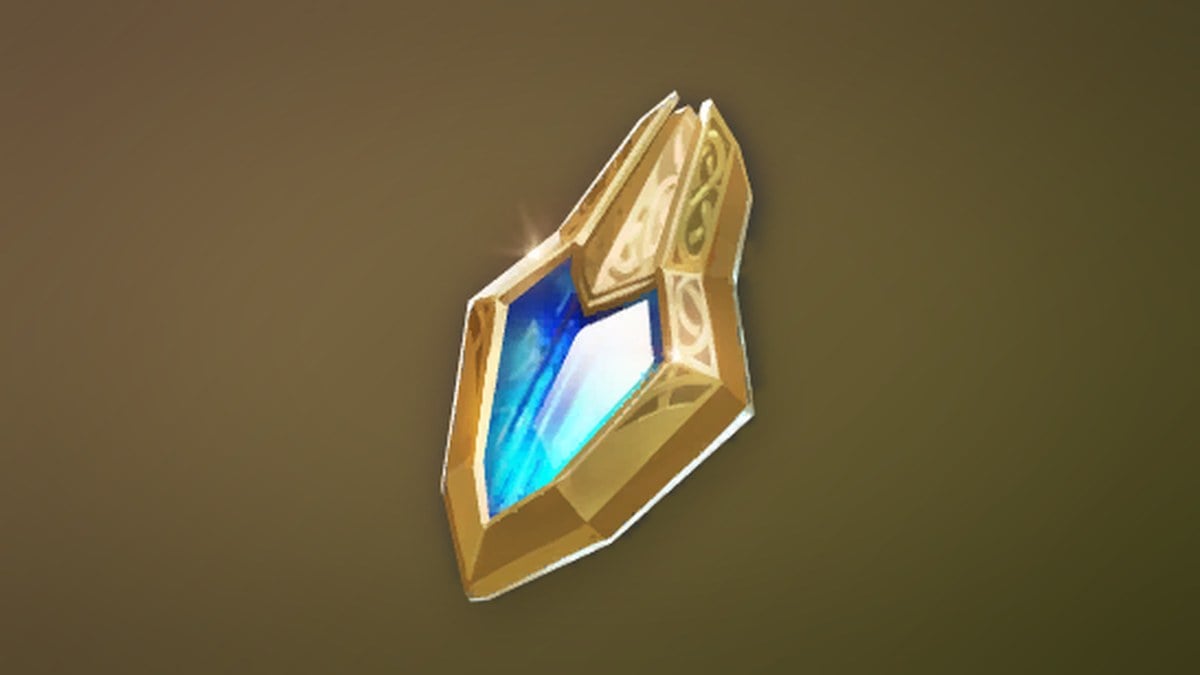
The Epic drops center on the Unyielding armor set, with Vakron carrying the highest chances of the three bosses.
| Boss | Level | Top Epic drop (chance) |
|---|---|---|
 Tiere | 54 | Wind Forest Ring (5.7%) |
 Thamon | 54 | Wind Forest Ring (5.7%) |
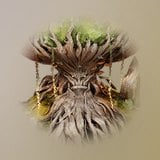 Vakron | 54 | Unyielding Gloves / Cloak / Earrings (9.6%) |
Tiere and Thamon each drop Unyielding gloves, cloak, and earrings at 4.3%, and the helm, pauldrons, boots, and necklace at 3.4%. Vakron’s table runs higher across the board, with the helm, pauldrons, boots, and necklace at 7.7% and the greaves at 6.4%. The wider loot pool also includes Earth-grade weapons and armor, Balaur’s Essence, refining stones, and an Amplify Stone Fragment.
One shield in the pool is the Vakron Guard, a Unique shield with a required level of 45. Its stat line is fixed as follows.
| Vakron Guard stat | Value |
|---|---|
| Attack | 144 |
| Critical Hit | 50 |
| Accuracy | 55 |
| HP | 247 |
| Precision | 16 |
| Soul Binding Rate | 28.1% |
| Status Effect Chance | 17.4% |
A dropped Vakron Guard starts at +0 and can be pushed up through the enhancement interface, reaching +7 at the early tiers before success rates stop being guaranteed. Older gear can also feed into it through the transfer system using Transfer Stones, carrying stats forward from a piece like a +10 Spiritforged Guard.
Templar tank reference
The playthrough uses a Templar, one of two classes that can hold the tank role. The Templar fights with a Longsword and shield and is a dedicated tank, while the Gladiator is the flexible option that can tank or deal damage with a Greatsword.
| Class | Weapon | Roles | Skills |
|---|---|---|---|
| Templar | Longsword | Tank | 36 |
| Gladiator | Greatsword | Tank, Dealer | 39 |
The Templar’s 36 skills split into 23 regular skills and 13 stigma skills. Its defensive kit includes Warding Shield, Ironclad Defense, Shield of Protection, and Noble Armor, while Taunt and Insulting Roar pull enemy attention, which matters in fights like Vakron where the tank holds the boss in the center for the rest of the party.
Its stigma skills are Armor of Balance, Assault Fury, Battlefield Banner, Comrade in Arms, Doom Shield, Empyrean Lord’s Punishment, Executing Blade, Grapple, Nezekan’s Shield, Noble Armor, Second Skin, Shield of Protection, and Taunt. For the Surging Thorn phase, a Templar can use an invulnerability skill after the first rings instead of gliding through the blast.
Vakron’s death ends the run, bringing up the expedition-clear window and its player commendations. The Odyle Energy Cube is then available to spend on. Next, the character leaves the instance for the open world with gear in hand and Odyle spent.
Boss Material Drops and Enemies by Area
Beyond the Unyielding set, the bosses carry crafting materials and upgrade items. Balaur’s Essence is used to craft Draconic gear, and Vakron drops it at three times the rate of the mid-bosses. A dash means no chance is listed for that boss.
| Drop | Tiere / Thamon | Vakron |
|---|---|---|
| Soul Codex (Bound) | 60% | — |
| Refining Stone | 53.7% | — |
| Amplify Stone Fragment (Bound) | 20% | 20% |
| Balaur’s Essence | 10% | 30% |
| Hard Balaur Scale / Leather / Horn | 8.7% each | 26% each |
| Expert’s Refining Stone | 5.4% | — |
| Unyielding Breastplate | 4.3% | 4.8% |
| Wrathful Will (Unique) | — | 3.6% |
| Unyielding Greatsword | — | 3.2% |
Vakron also drops Silentium (Bound) and Enhance Stones. Tiere and Thamon share the same drop list.
The islands are populated by elite and normal enemies, all in the level 54–86 range unless noted. Fog Spiritstones are the only non-aggressive ones.
| Enemy | Type | Where |
|---|---|---|
| Rock Spirit | Natura | Sky Plains |
| Earth Spirit | Natura | Sky Plains, Boulder Islands |
| Forest Coradon | Fera | Sky Plains, Boulder Islands, Thamon Island |
| Corrupted Fairy | Natura | Sky Plains, Boulder Islands, Thamon Island |
| Sweet Poison Flower | Natura | Sky Plains, Boulder Islands, Thamon Island |
| Eroded Kalgolem | Varian | Boulder Islands |
| Enraged Rock Spirit | Natura | Boulder Islands, Thamon Island |
| Island Guardian Ranger | Natura | Boulder Islands, Thamon Island |
| Enraged Earth Spirit | Natura | Thamon Island, Earth Altar |
| Floating Tourmaline | Varian | Spirit Altar (elite only) |
| Fog Spiritstone | Varian | Sky Plains, Boulder Islands, Thamon Island (level 54–72) |
Earth Spirit has the most spawn points of any enemy at 216, followed by Enraged Rock Spirit at 189. Fog Spiritstones have 50 spawn points across the three main areas. The Odyle Stone Spirit on the Boulder Islands has 3 spawn points and is aggressive.