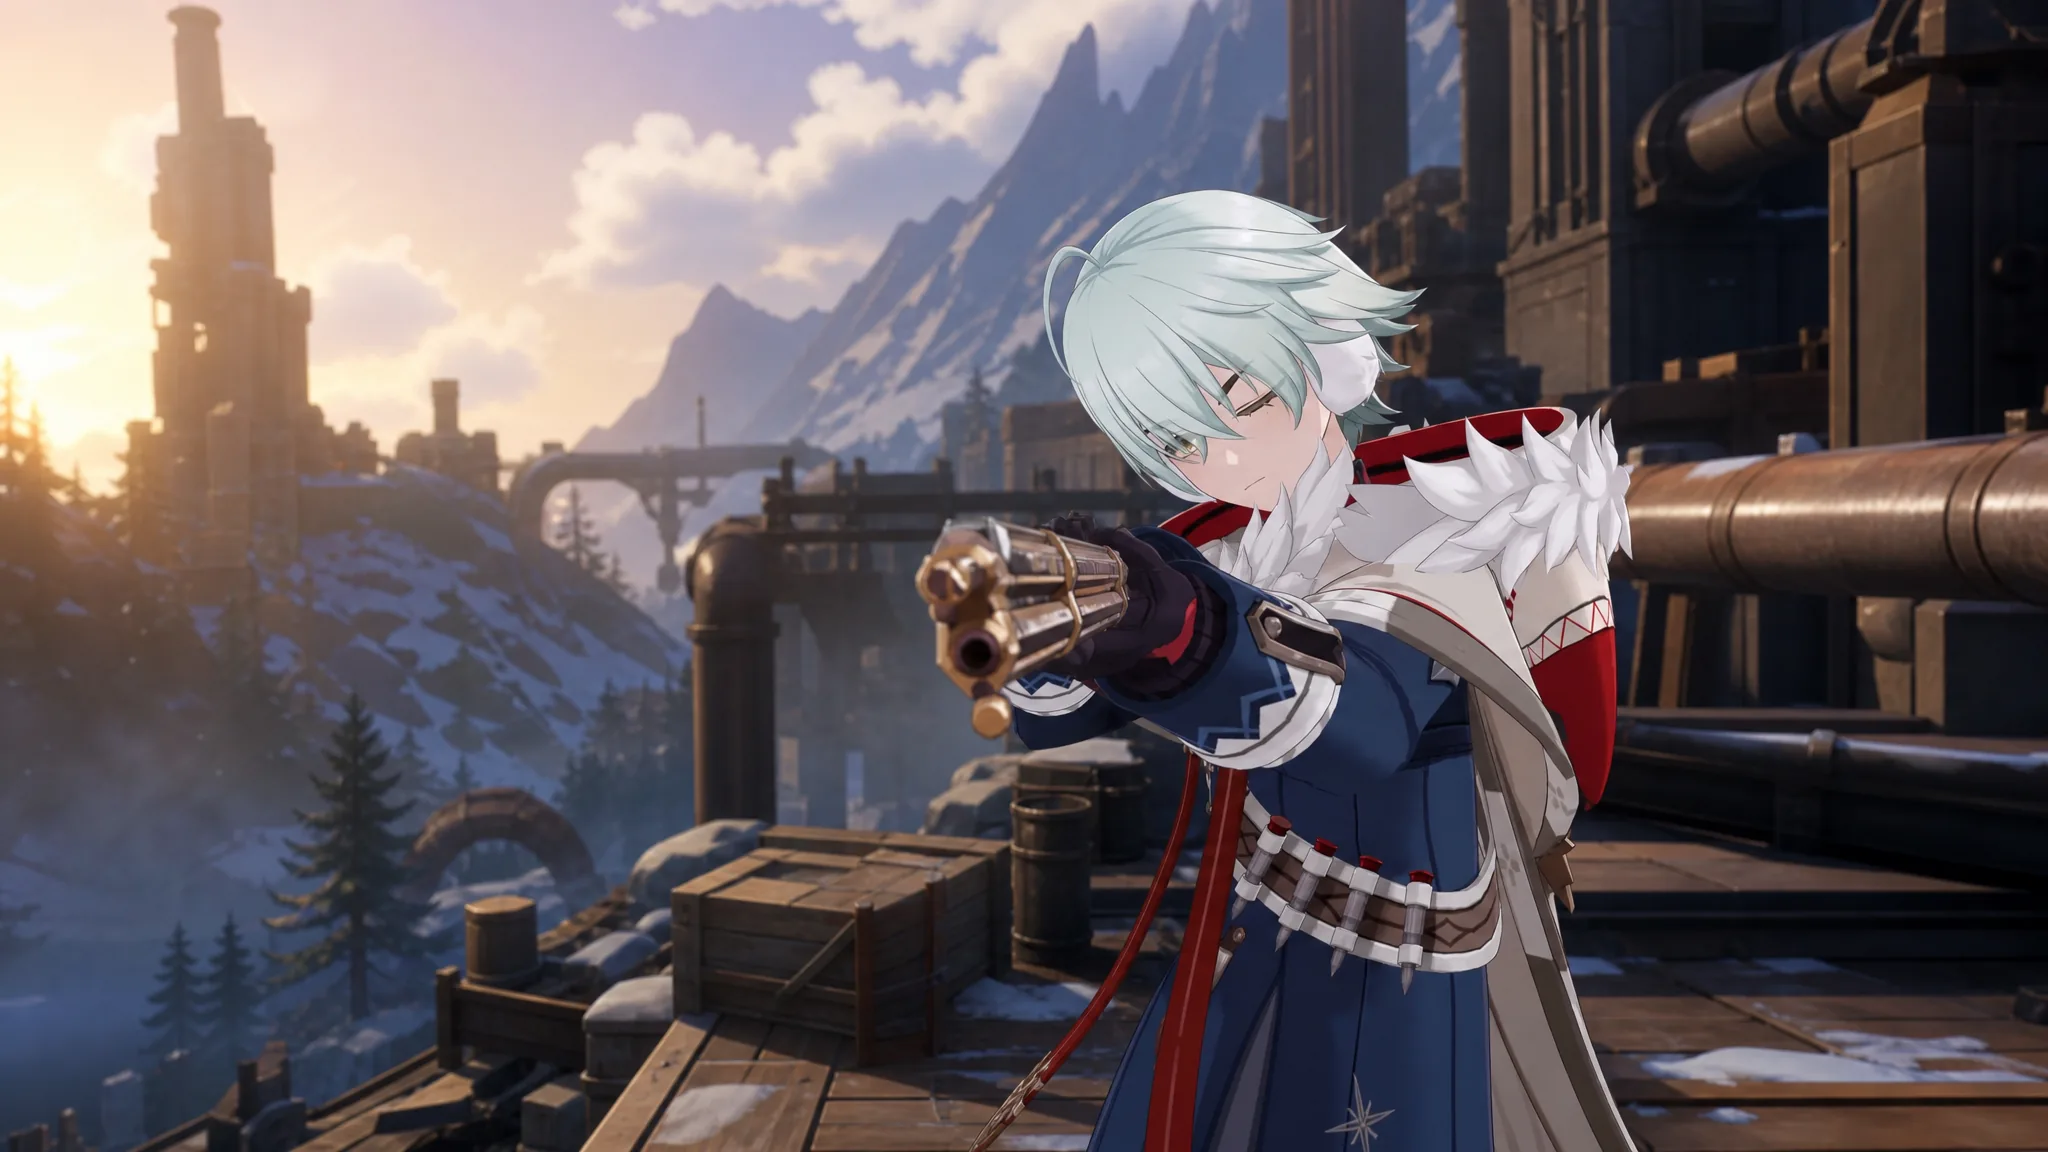
Alyosha is a 4-star Electro Polearm character from Snezhnaya who works as an off-field support. He applies Electro, heals the active character, taunts enemies with his Elemental Burst, and buffs both ATK and Stellar-Conduct damage for his team. Because his important buffs are fixed values rather than stat-scaled, building him comes down to two numbers: Energy Recharge and ATK.
Quick answer: Put Energy Recharge on the Sands and ATK% on the Goblet, aim for roughly 180%+ Energy Recharge and high ATK, run Engulfing Lightning (or Favonius Lance as a free option), pair a 4-piece Noblesse Oblige or Heart of the Furnace set, and level his Elemental Burst first.
What Alyosha does on a team
Alyosha’s kit is built around off-field support. His Elemental Skill, Thunderbolt Strike, fires a ranged shot that applies Hunter’s Mark to enemies. When that Mark is activated, the active character gains an ATK buff and a Stellar-Conduct damage buff.
His Elemental Burst, Hunter’s Advance, summons his companion Tugarin and creates a field that taunts nearby enemies, deals Electro damage every couple of seconds, and heals the active character. This Burst is the core of his value, since it handles his off-field Electro application, his healing, and most of his personal damage. A passive also boosts his Skill and Burst damage based on his Energy Recharge, which is why the stat matters twice over.
One limitation is worth knowing before you invest. His buffs and healing only affect the currently active character, so he supports a single on-field carry rather than the whole party. That makes him strongest in Stellar-Conduct comps where one damage dealer holds the field.
Stat priority and artifact main stats
Energy Recharge comes first because Alyosha wants his Burst up every rotation. ATK follows, since his healing scales from it and it adds to his modest personal damage. If you run Favonius Lance, add enough Crit Rate to trigger its passive reliably.
| Slot | Main stat |
|---|---|
| Sands | Energy Recharge (or ATK% once ER is met) |
| Goblet | ATK% (Electro DMG is usable) |
| Circlet | ATK% / Healing Bonus / Crit Rate (with Favonius Lance) |
| Substats | Energy Recharge → ATK% → ATK → Crit Rate/DMG |
Energy Recharge needs shift with the team. Around 150 to 180% is comfortable for most content, but expect to push toward 200%+ if you want the Burst online on the first rotation in the hardest modes or when no second Electro unit is present. ATK targets sit roughly between 2,000 and 2,800, with more ATK translating directly into stronger heals.
Best artifact sets for Alyosha
Two sets stand out, and which one you use depends on the rest of your team.
| Set | Why it works |
|---|---|
| Noblesse Oblige (4-piece) | Burst gives all party members 20% ATK for 12s, and the 2-piece adds 20% Burst DMG. Since Alyosha bursts every rotation, the team-wide ATK buff stays up for ATK-scaling carries. |
| Heart of the Furnace (4-piece) | Adds ATK and a large nearby-party Stellar-Conduct damage bonus. Ideal when no other teammate is already wearing it. |
| Two 2-piece ATK% (e.g. Gladiator’s Finale + Shimenawa’s Reminiscence) | A simple fallback that gives +18% ATK twice while you farm a full set. |
Note: in a typical Stellar-Conduct team, Odette usually claims Heart of the Furnace. When that happens, Alyosha runs Noblesse Oblige instead. If nobody else needs the furnace set, Alyosha can wear it himself.
Best weapons for Alyosha
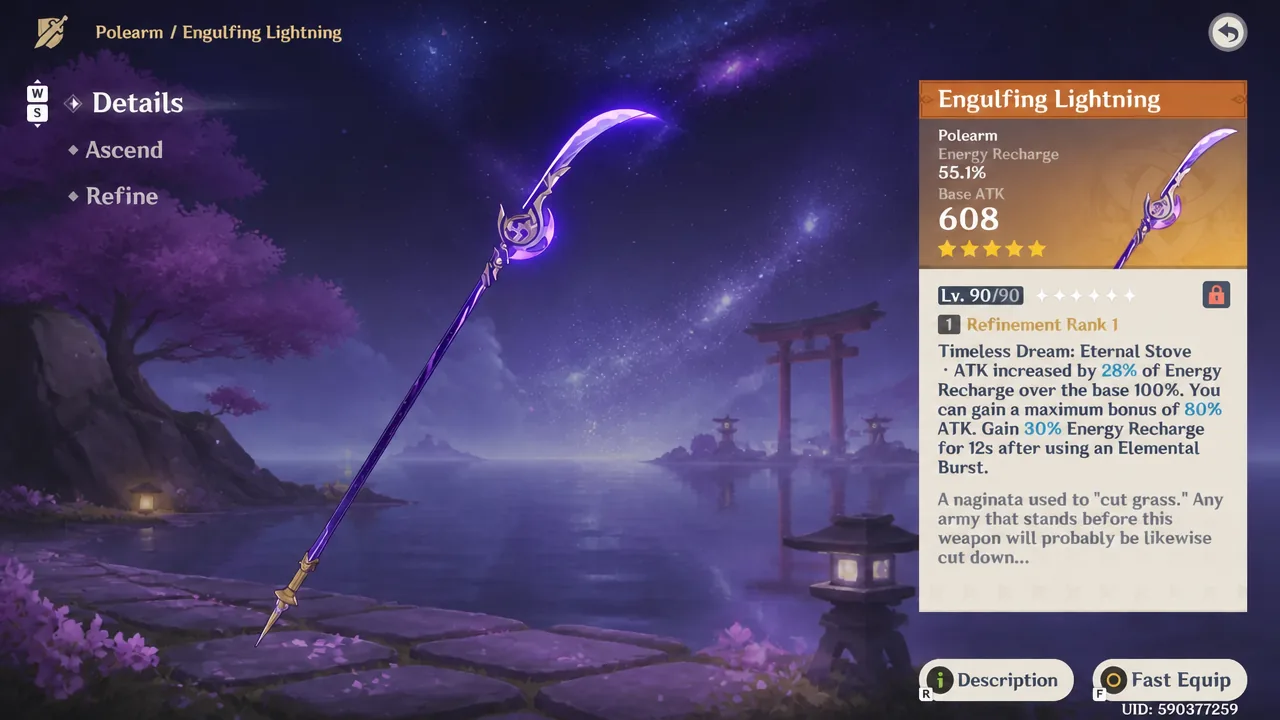
Alyosha wants weapons that solve his Energy Recharge and feed ATK. Engulfing Lightning does both better than anything else, which makes it his best-in-slot polearm. It hands out a large chunk of Energy Recharge and converts part of that back into ATK through its passive.
| Weapon | Notes |
|---|---|
| Engulfing Lightning (5★) | Best-in-slot. Massive Energy Recharge plus ATK conversion covers both of his needs. |
| Symphonist of Scents (5★) | Crit DMG stat and a strong ATK passive that triggers on healing, buffing him and the character he heals. |
| Favonius Lance (4★) | Top free option. Its Energy Recharge and particle generation smooth out rotations, which helps other energy-hungry teammates. |
| Tamayuratei no Ohanashi (4★) | Gives Energy Recharge and an ATK boost on Skill use, mirroring Engulfing Lightning’s strengths on a budget. |
| Sacrificer’s Staff (4★) | A newer polearm with high base ATK plus ATK and Energy Recharge from its passive, good for healing output. |
| The Catch (4★) | Best pick if you lean into off-field Burst damage, thanks to Energy Recharge and Burst DMG. |
Talent priority
Level his Elemental Burst first, since it carries his healing, Electro application, and most of his damage. The Elemental Skill comes next because it adds damage and applies Hunter’s Mark. His Normal Attack can stay low unless you play him on-field.
The short version: Hunter’s Advance (Burst) > Thunderbolt Strike (Skill) > Skirmishing Spear (Normal Attack).
Best teams for Alyosha
Alyosha is at his best in Stellar-Conduct teams, where his reaction buff and ATK buff directly feed the carry. His most natural pairing is Sandrone as the on-field DPS, with Odette and Yae Miko covering off-field damage and Cryo support while Alyosha buffs and heals.

| Team | Role of Alyosha |
|---|---|
| Sandrone + Odette + Yae Miko + Alyosha | Premium Stellar-Conduct comp. Buffs Sandrone’s ATK and reaction damage while healing. |
| Wriothesley + Odette + Yae Miko + Alyosha | Gives Wriothesley a full Stellar-Conduct setup with Electro application and heals. |
| Cyno / Cryo Traveler variants | Swaps in when you need another Stellar-Conduct on-field carry. |
| Overload or Electro-Charged teams | Used as an off-field Electro applier and ATK buffer for Pyro or Electro carries that scale on ATK. |
A simple rotation is to open with Alyosha’s Skill and then Burst to set up his Mark and field, then swap to your Cryo and Electro units before returning to the main DPS. Repeat once his Burst is off cooldown.
Constellations worth chasing
As a 4-star, Alyosha’s constellations are far more reachable than a 5-star’s, and a few of them meaningfully change his output.
| Constellation | Effect |
|---|---|
| C1 – Frostvale Thunderclap | Restores energy when nearby allies trigger Electro reactions, easing his Burst uptime. |
| C2 – Howl From Afar | Extends his Burst field by 6 seconds and lets Tugarin apply Hunter’s Mark, a large uptime upgrade. |
| C6 – Standard Reclaimed | Lets Hunter’s Precision stack twice, adding 100 Elemental Mastery at two stacks and cementing his role as a Stellar-Conduct support. |
Investment order runs C2 first for uptime, then C6 for the payoff, with C1 as a convenient energy patch. Alyosha leans heavily on C6 to reach his ceiling, so players chasing his strongest support form usually target it once they have the copies.
Alyosha debuts as a rate-up 4-star during Version 7.0, running alongside Odette in the first phase of the update. Build him around Energy Recharge and ATK, slot him into a Stellar-Conduct core, and he becomes a healer and buffer who lets an ATK-scaling carry hold the field while he applies Electro and keeps them topped up.