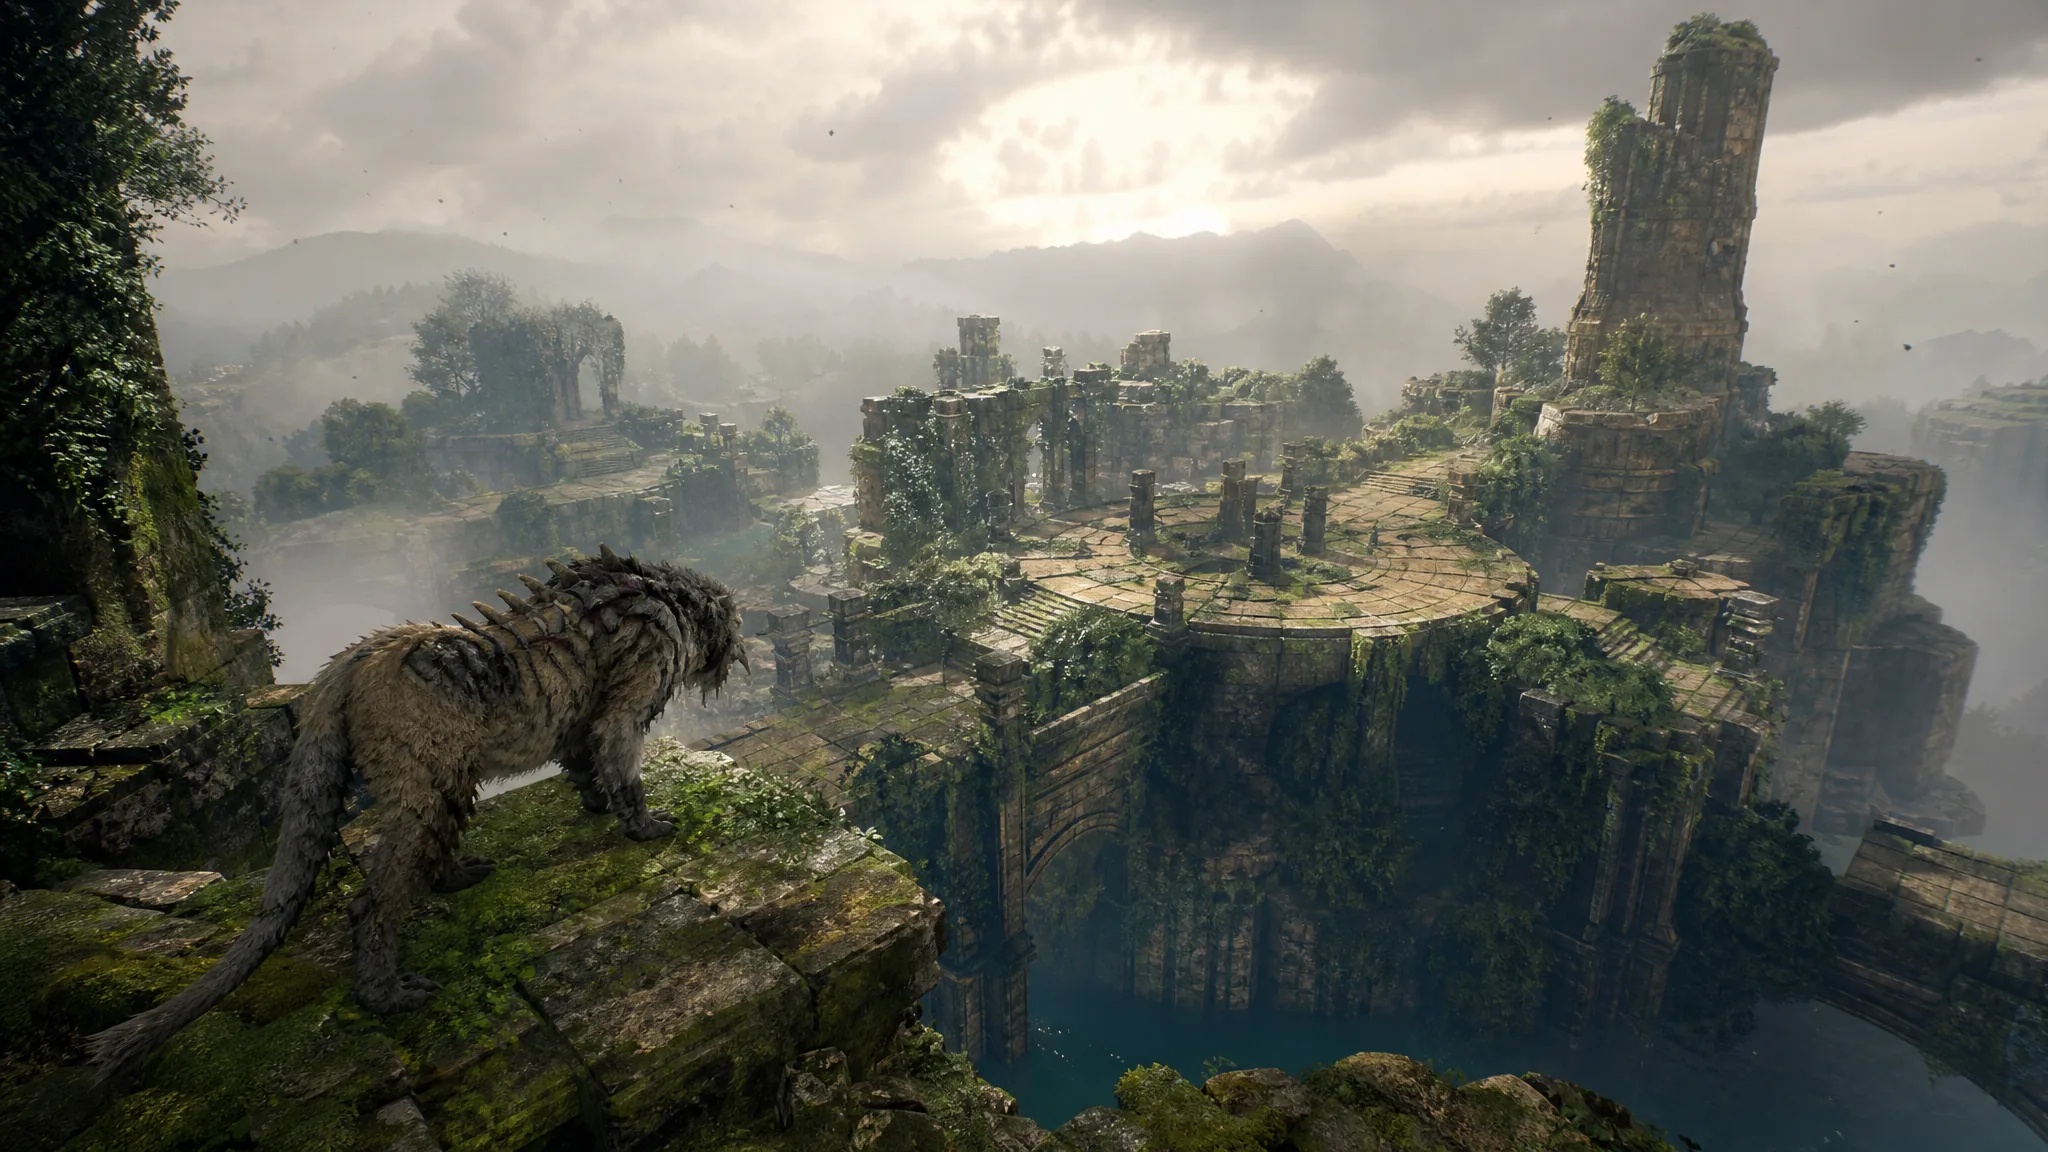
The Ancient Civilization Zone is the second area Emma and Koo reach in the Kanto Region, opening up after the Rangifer falls in the Ogouchi Buffer Zone. It splits into an above-ground ruins field and a confusing underground section, and it caps off with the Lacerta boss inside Nushi’s Lair. Clearing it to 100% means ticking off a fixed set of collectibles spread across both halves of the map.
Quick answer: Collect all 9 campsites, 3 Dragon Vein Shrines, 2 Keeper Golems, 3 weapons, 2 armor pieces, the lore painting, both documents, every seedling and recipe/manual, all 13 strongboxes, and the full set of valuables. Nothing here is missable — you can return after the story and during free roam to mop up anything you skipped.
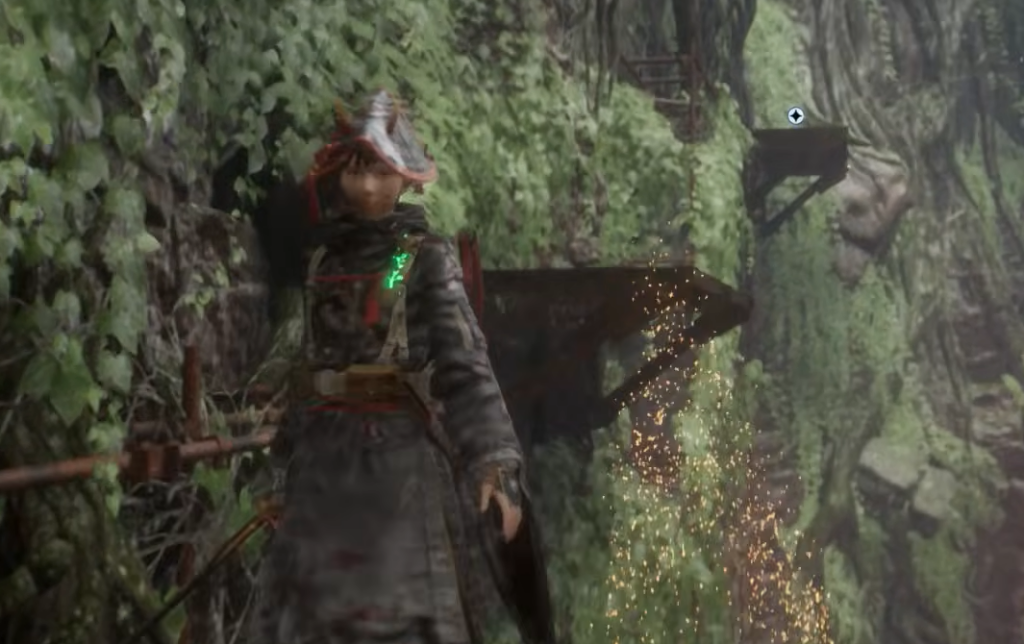
Ancient Civilization Zone collectible checklist
Every category below feeds into a completion or trophy tracker. Use this as your master count before you leave the zone.
| Collectible type | Count |
|---|---|
| Dragon Vein Shrines | 3 |
| Keeper Golems | 2 |
| Campsites | 9 |
| Weapons / Blades | 3 |
| Armor pieces | 2 |
| Strongboxes | 13 |
| Lore Paintings | 1 |
| Documents / Logs | 2 |
| Recipes & Manuals | 11 |
| Valuable items (Facility Modules, Electronic Brains, Generator Devices, Memory Chips, Fertilized Eggs, decorations) | ~20 |
Dragon Vein Shrines and what they give you
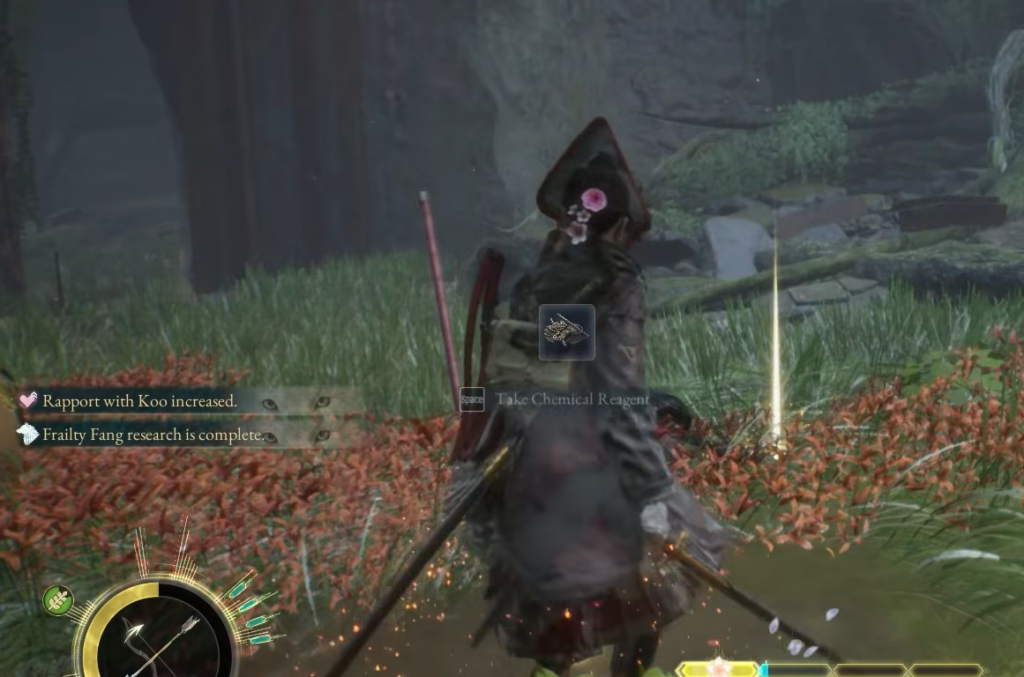
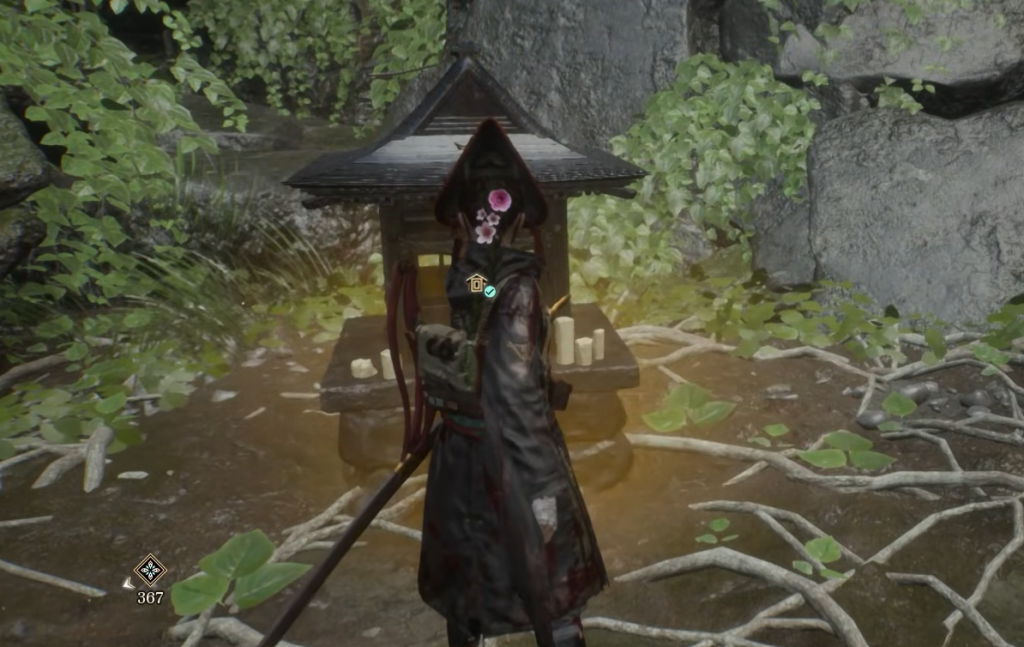
There are 3 Dragon Vein Shrines in the zone. Activating one grants Dragon’s Favor, which permanently raises your Stimpack limit, so these are worth prioritizing early. Shrines also hand over Life Fruit — the second shrine, tucked on the east wall of the large Reservoir room, drops three Life Fruit on activation.
The first shrine sits directly on the upward path near the Ruins Path campsite, right where you climb toward the top of the opening area. The third shrine appears deeper in as you push toward Nushi’s Lair. Touch each one to log it and claim the reward.
Keeper Golems: ask one question only
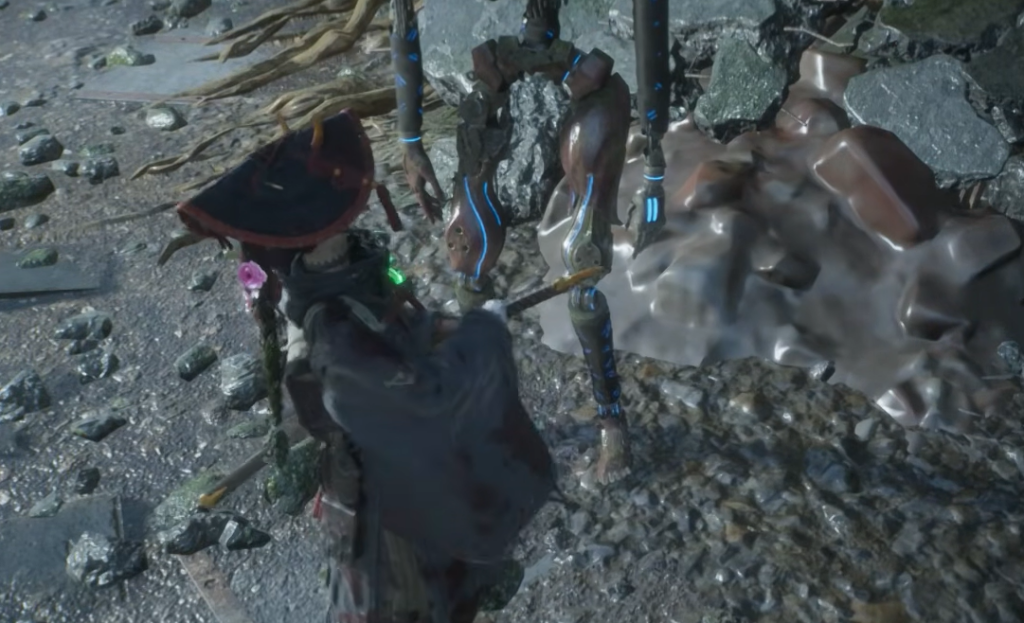
Two Keeper Golems live in this zone. One stands near the Ruins Path camp, the other near the Raging River camp. Interacting with either counts toward completion and gives exploration data, but there’s a catch — each Keeper Golem answers exactly one question before it powers down for good. Asking the Ruins Path golem about the “dangerous foe” marks that elite enemy on your map, which is the most useful choice if you want the fight flagged.
To reach the first golem, look west from the first shrine across the gap toward the butterflies, extend Emma’s hair to the far platform, and jump across. If you fall, grapple back up the east wall.
All 9 campsites and where they sit
| Campsite | Location |
|---|---|
| Ruins Path | North across the butterflies from the first Keeper Golem |
| Raging River | Down the elevator to the lower area, on the floor edge by the river |
| Abandoned Cliff Village: Entrance | West along the river, following the grapple path to the map’s western edge |
| Tunnel Ruins: Interior | North across the river, inside at the top of the stairs |
| Shopping Mall | Past the gate that opens after the Elite Golem fight |
| Platform Entrance | Along the main path from the Shopping Mall, right before a drop hole |
| Reservoir: Interior | South end of the large Reservoir room |
| Ruins: Slope Approach | East of the Reservoir camp after opening the bulkheads |
| Nushi’s Lair Entrance | At the approach to the final boss arena |
Weapons, armor, and skills
Three blades and two armor pieces round out the gear here. Purity is a purchase, while the two later weapons drop from story fights, so you can’t permanently miss them.
| Gear | How to get it |
|---|---|
| Purity (weapon) | Buy from the Ancient Golem merchant in the Underground Ruins for 4,390 Amber |
| Mechblade (Heavy) | South of the Reservoir Interior camp, in front of the Lore Painting past the first Lacerta fight |
| Thunderwave Sword | Awarded after beating the Elite Golem while obtaining the Lightning Stone |
| Thick Cuirass (armor) | Looted from a strongbox at the Tunnel Ruins: Interior camp |
| Garb of Tranquility (armor) | Found in the zone during exploration |
Skills come in on top of the gear. You earn Skill Amber: Binding Fang automatically for beating the first Elite Malefact, buy Skill Amber: Destructive Fang from the merchant, receive Nushi Skill: Biting Tempest from the Mysterious Woman after the Giant Golem, and pick up the Dokuzeri blade art on the way out of the zone.
Ancient Golem merchant stock in the Underground Ruins
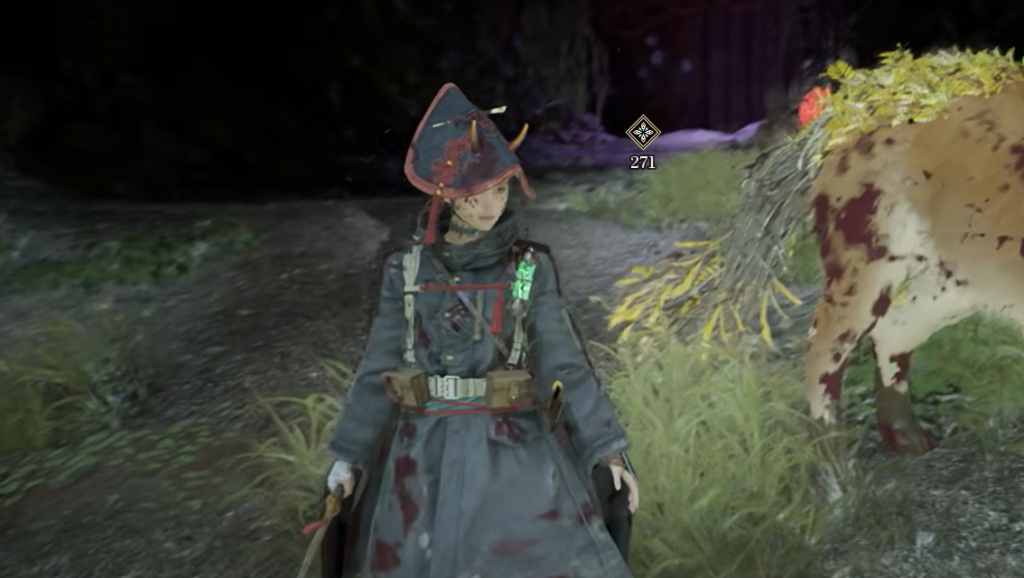
South of the Raging River camp, the Ancient Golem vendor sells several recipes, manuals, seedlings, and spirit stones for Amber. Buying the recipes and manuals here is required for the cooking and munitions collectible trophies, so clear the whole stock before you move on.
| Item | Amber cost |
|---|---|
| Purity (weapon) | 4,390 |
| Skill Amber: Destructive Fang | 1,950 |
| Fortification (Spirit Stone) | 1,300 |
| Onslaught (Spirit Stone) | 1,300 |
| Crop Seedling: Wheat | 2,040 |
| Crop Seedling: Lettuce | 2,160 |
| Manual: Antidote | 980 |
| Manual: Neutralizer | 1,010 |
| Manual: Golem Censer | 1,200 |
| Manual: Bolt Shard | 1,470 |
| Manual: Lightning Arrows | 1,530 |
| Normal Recipe: Grilled Onigiri | 1,950 |
| Normal Recipe: Mince Onigiri | 2,070 |
| Normal Recipe: Bread | 2,340 |
Two more recipes come free from the world. White Rice sits inside the shack near the zone’s starting point, and Omelette is on a shelf in the room opposite the main locked gate underground, reachable after you power both generators to open the shutter.
Strongboxes and the directional puzzles
Thirteen strongboxes are scattered across the zone, holding Amber, Spirit Stone Ore, Ancient Books, armor, and valuables. Several are locked behind a panel that needs a directional arrow sequence — feed the panel the correct Up, Down, Left, and Right inputs to pop it open.
The first is on the same level as the control panel north of the Ruins Path camp, the one that opens the two Bulkhead Doors. From there they trail through the Bulkhead top level, the Underground Ruins station platform, the Abandoned Cliff Village cave, both ends of the Raging River, the generator rooms, and a high cave southeast of Nushi’s Lair. Grabbing all 13 is part of the 100% count, and the Cliff Village box in particular holds a Facility Module alongside Ancient Books and Spirit Stone Ore.
Valuables, seedlings, and the lore painting
Roughly 20 valuables sit around the zone. Expect Facility Modules, Electronic Brains, Generator Devices, Memory Chips, a Fertilized Egg, and rare decorations like the Gaming Device and the Salamandrine Malefact Statue. The very first one is on top of the opening metal tower and contains two Homing Shots; a second, on the metal platform above the first building, holds two Generator Devices.
The Fertilized Egg is inside a ruined house in the Abandoned Cliff Village cave — carry it back to the Cleanse Walker to hatch a chicken. Seedlings include a Potato in the starting shack and a Tomato you reach by grappling west and up from the Raging River camp to a tree above. The single Lore Painting is south of the Reservoir Interior camp, past the room where you first fight Lacerta, on the far side of the hole the characters comment on; the Mechblade (Heavy) is directly in front of it.
Both documents are easy to log while you pass through. Yearning for the Surface lies on the ground next to the gate control panel northwest of the Reservoir Interior camp, and the shrine log records the moment you find your first Dragon Vein Shrine.
Confirming 100% completion
Nothing in the Ancient Civilization Zone locks out after the story. Once you finish the game you can save with the star icon, then reload to free-roam back through and clean up anything you missed. Check the in-game map markers for each category — shrines, Keeper Golems, campsites, strongboxes, and elite enemies all show once discovered — and confirm every campsite is lit and both Keeper Golems have been spoken to. If a Keeper Golem no longer appears, you’ve already interacted with it, since each one shuts down after answering. When every collectible type on the checklist above reads full, the zone is done.