

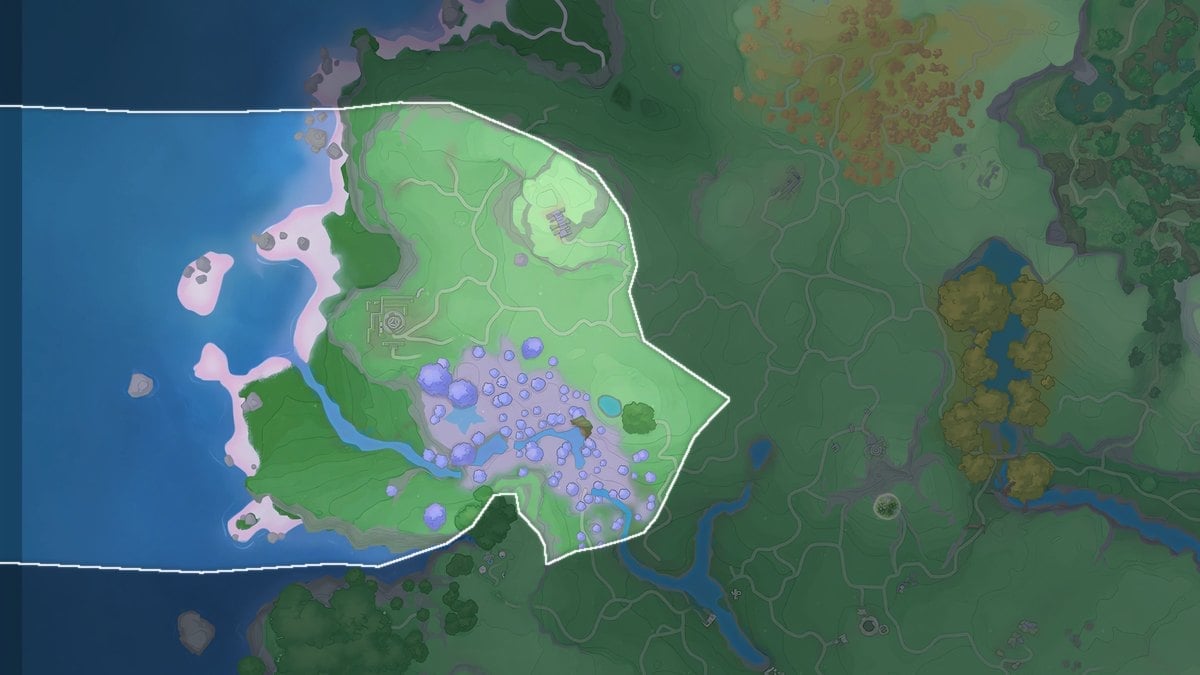
In Breezy Plains, the purple-canopied Forest of Falling Stars forms a small Lv 20–25 area. A stream climbs toward Starine Trees while Celestises move among the branches. The forest contains 15 Aniimo forms, but five stay unavailable until you satisfy specific requirements.
Quick answer: You can find ten forms without special conditions, while one is the Alpha encounter, two require rain or a thunderstorm, one follows completion of the Soaring Glide Sanctum, and one requires a Prismana Flow. Collecting all 15 gives 100% collection.
All 15 locations and spawn conditions
Wild Aniimo here sit between level 20 and 25, so a team in the low twenties clears the zone comfortably. Water and Wind dominate the local roster, Grass sits close behind, and a single Ice typing only shows up on the Prismana form. Every coordinate below is a confirmed spawn point, not the only one. Common creatures like Celestis, Hummin, and Chirpi have dozens of markers, while Cornet, Irisal, Eklue, and both gated Stellarys forms have exactly one.
| Aniimo | Coordinates | Spawn condition |
|---|---|---|
 Celestis Celestis | -1602, 1043 | None, spawns zone-wide |
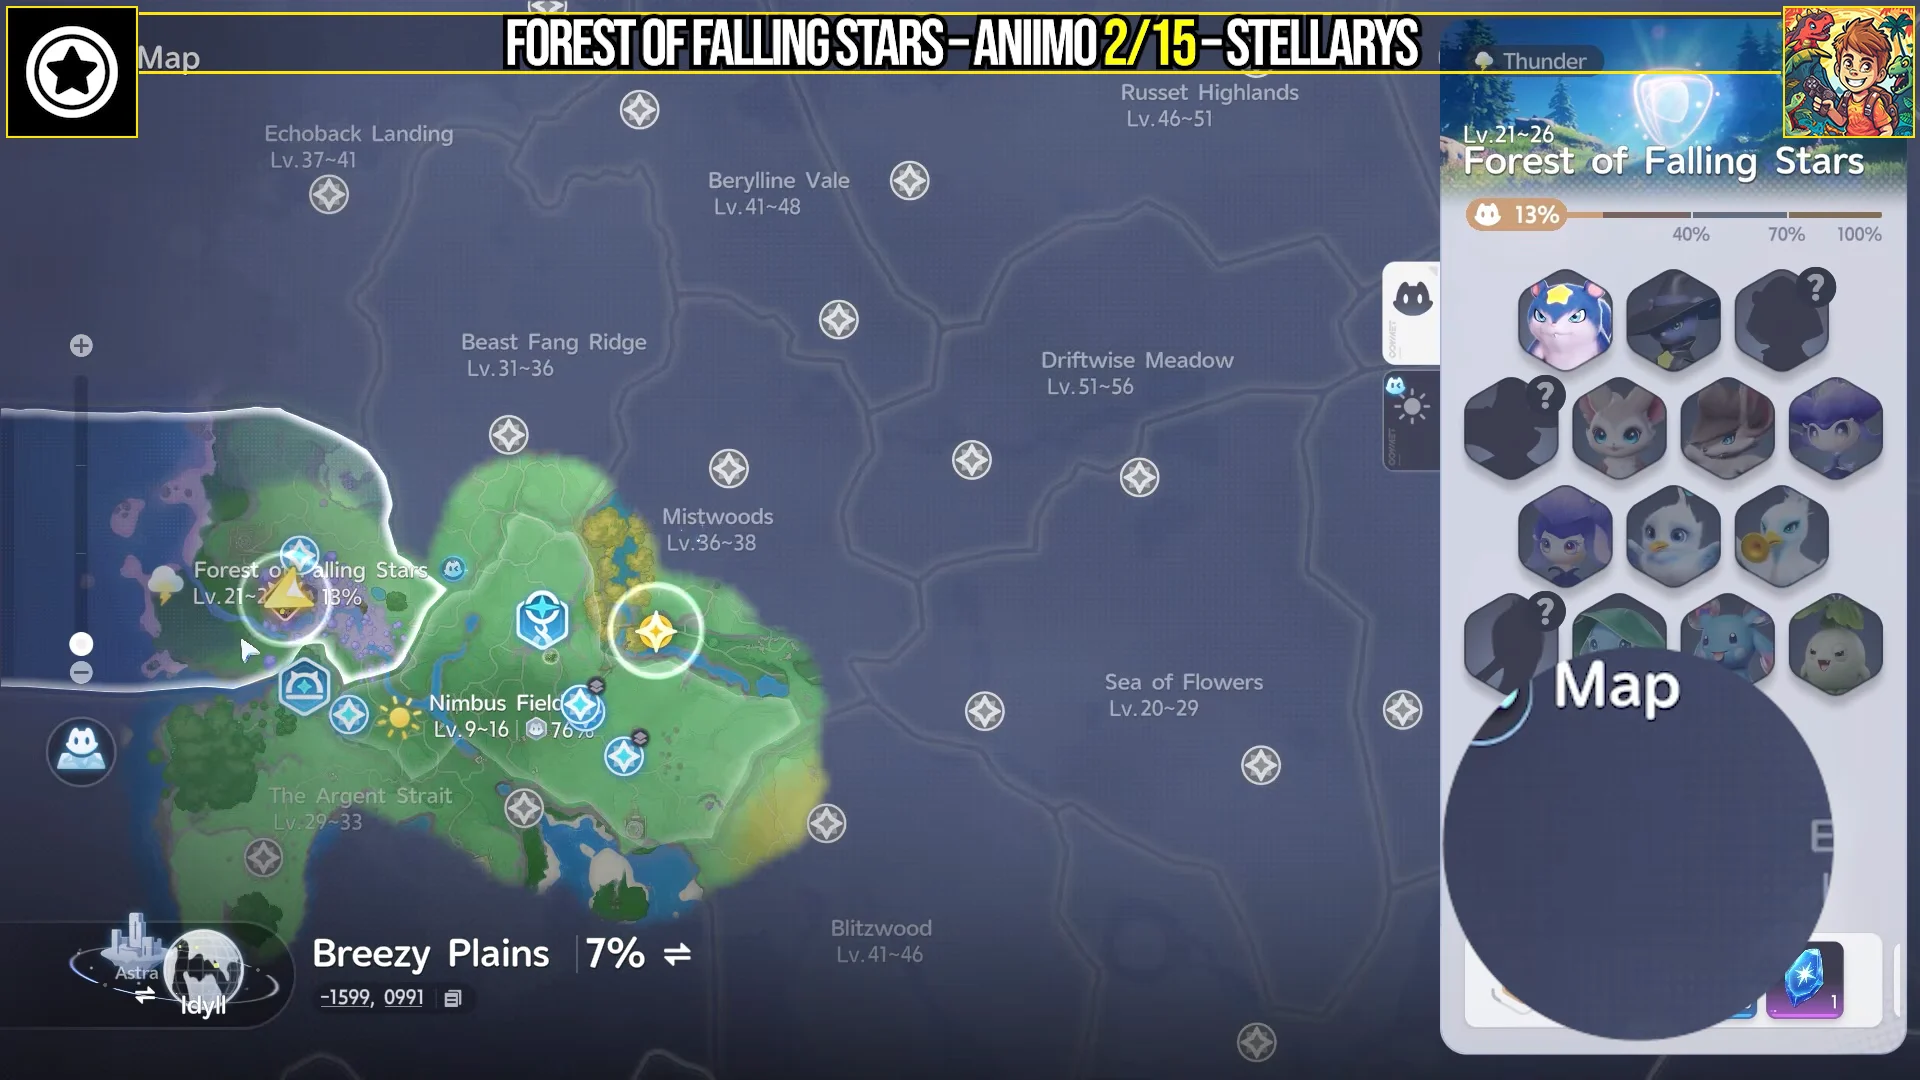
 Stellarys (Basic) Stellarys (Basic) | -1620, 0979 | Alpha fight only |
 Stellarys (Rainstorm Form) Stellarys (Rainstorm Form) | -1756, 1052 | Rain or thunderstorm |
| Stellarys (Prismana Form) | -1669, 0886 | Prismana Flow |
 Eko Eko | -1602, 1205 | None |
 Eklue Eklue | -1537, 1178 | Clear Sanctum: Soaring Glide |
 Iris (Forest Form) Iris (Forest Form) | -1599, 1229 | None |
 Irisal (Forest Form) Irisal (Forest Form) | -1629, 1228 | None |
 Chirpi (Beach Form) Chirpi (Beach Form) | -1738, 1219 | None |
 Cornet (Beach Form) Cornet (Beach Form) | -1791, 0875 | None |
 Tromber (Beach Form) Tromber (Beach Form) | -1755, 1163 | Rain or thunderstorm |
 Skippy Skippy | -1728, 0956 | None |
 Pranky Pranky | -1641, 0937 | None |
 Hummin Hummin | -1652, 0941 | None |
 Pomegg (Sea of Flowers Form) Pomegg (Sea of Flowers Form) | -1617, 1027 | None |
Confirm any spawn with Habitat markers
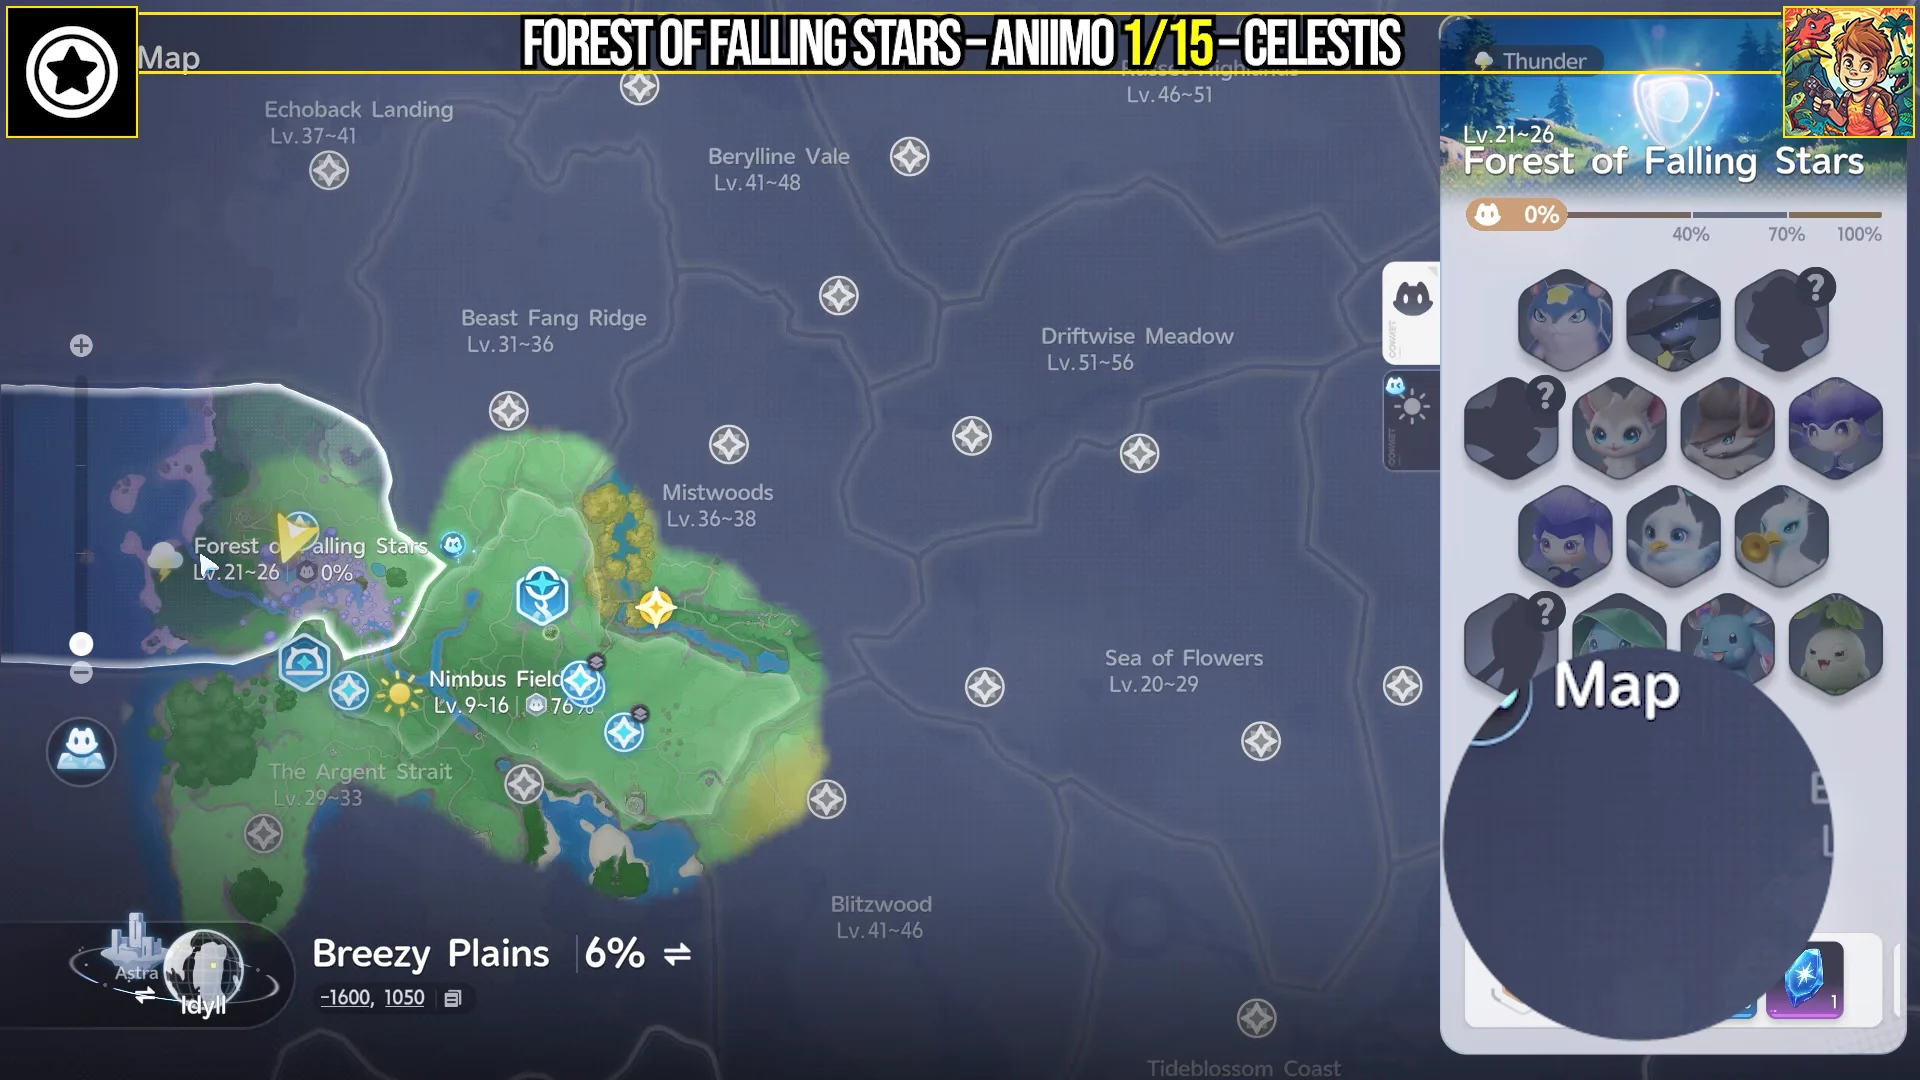
The 10 Aniimo you can catch on sight
Central forest: Celestis
Celestis, the forest’s namesake, is its most common Aniimo and serves as a Dark-element DPS. This large, blue, squirrel-like creature has a yellow forehead star, with markers spread across almost the entire forest. A dependable group is near the trees at -1602, 1043, and a standard Aniipod will catch one.

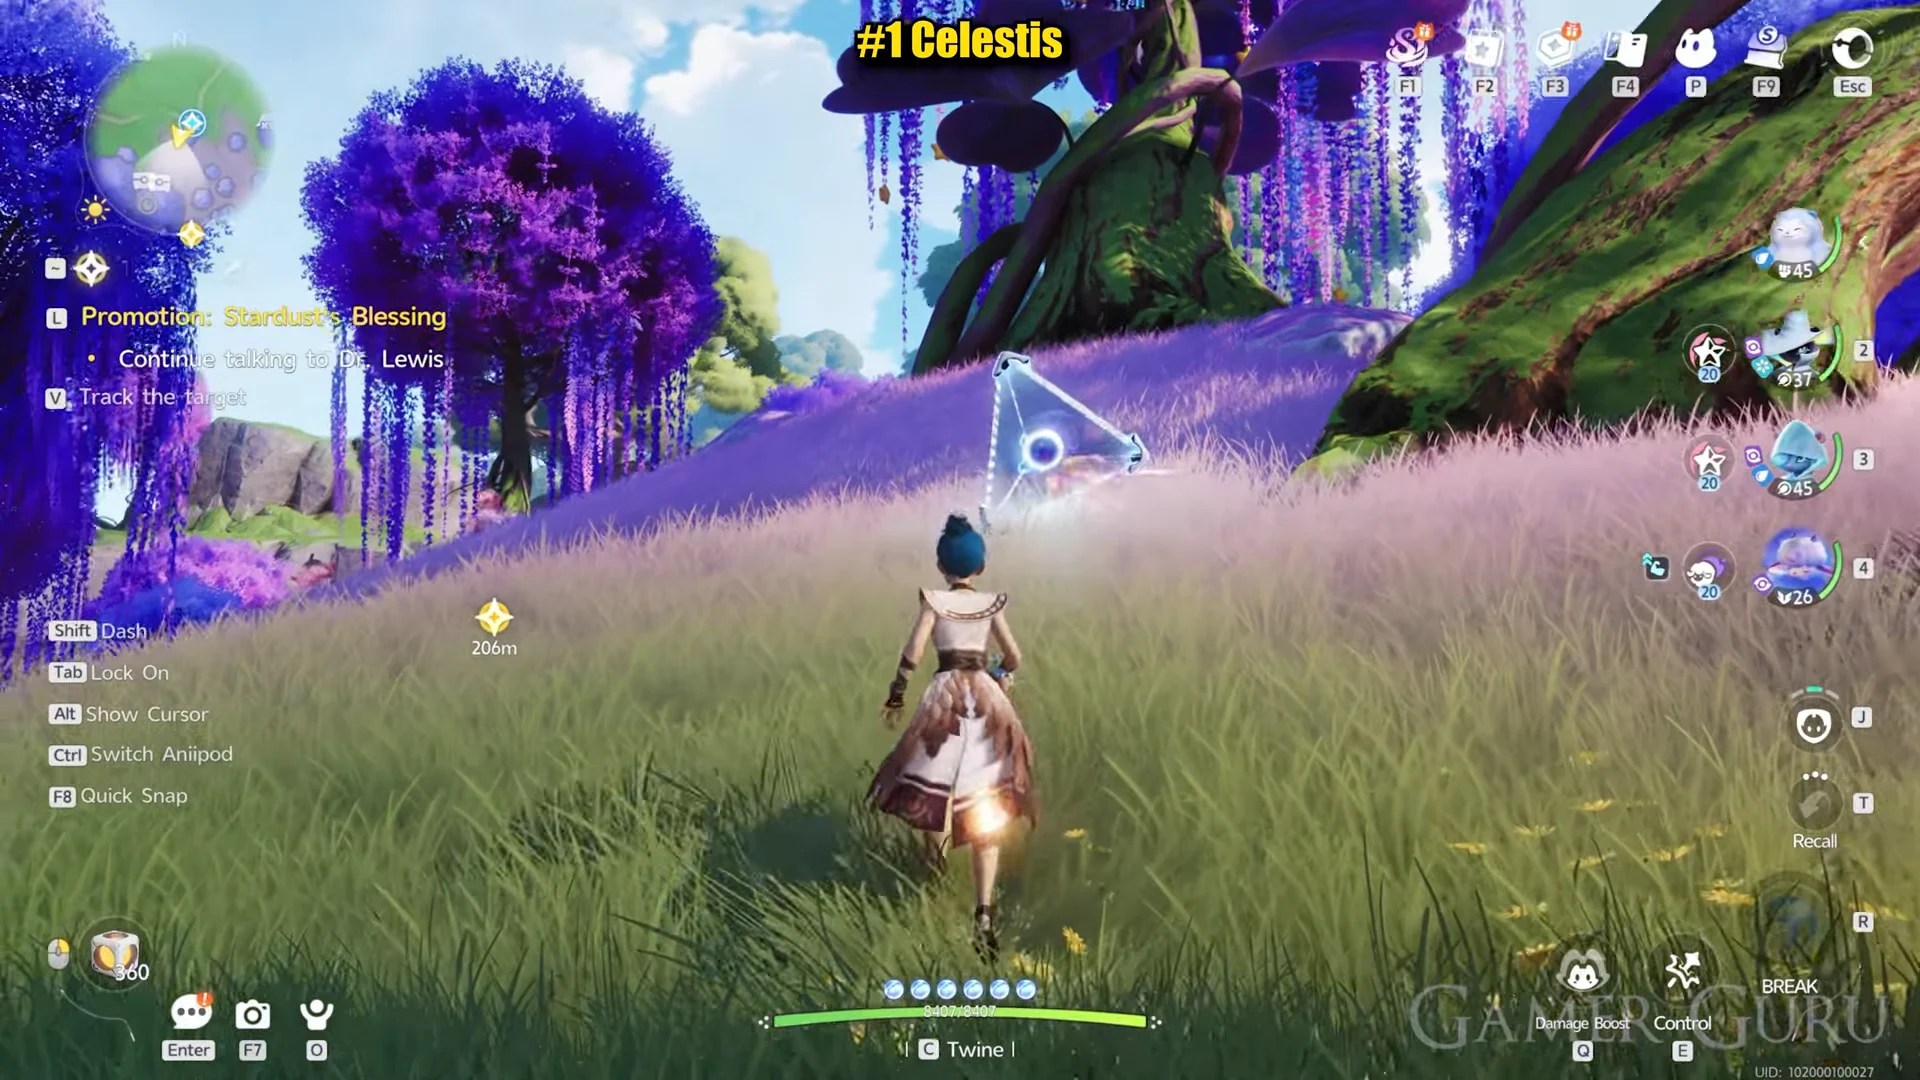
Northern overhangs: Eko
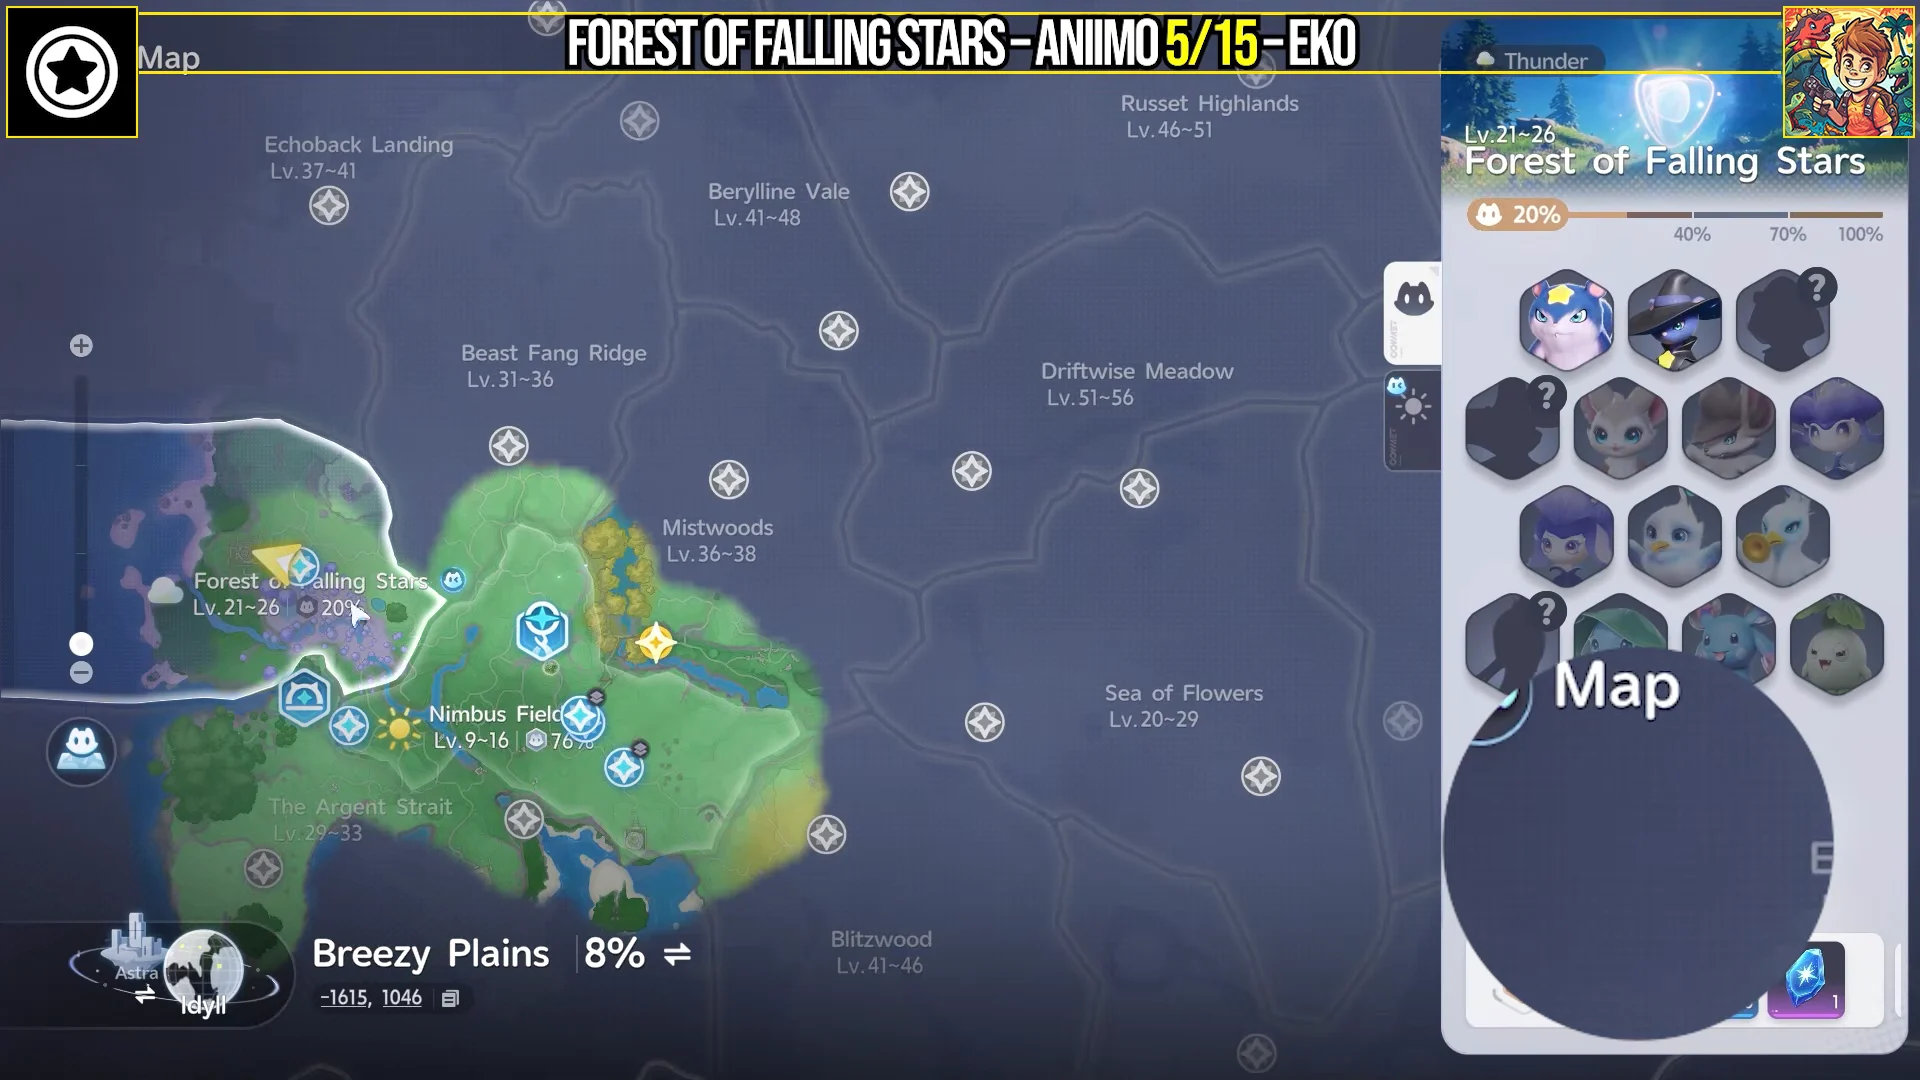
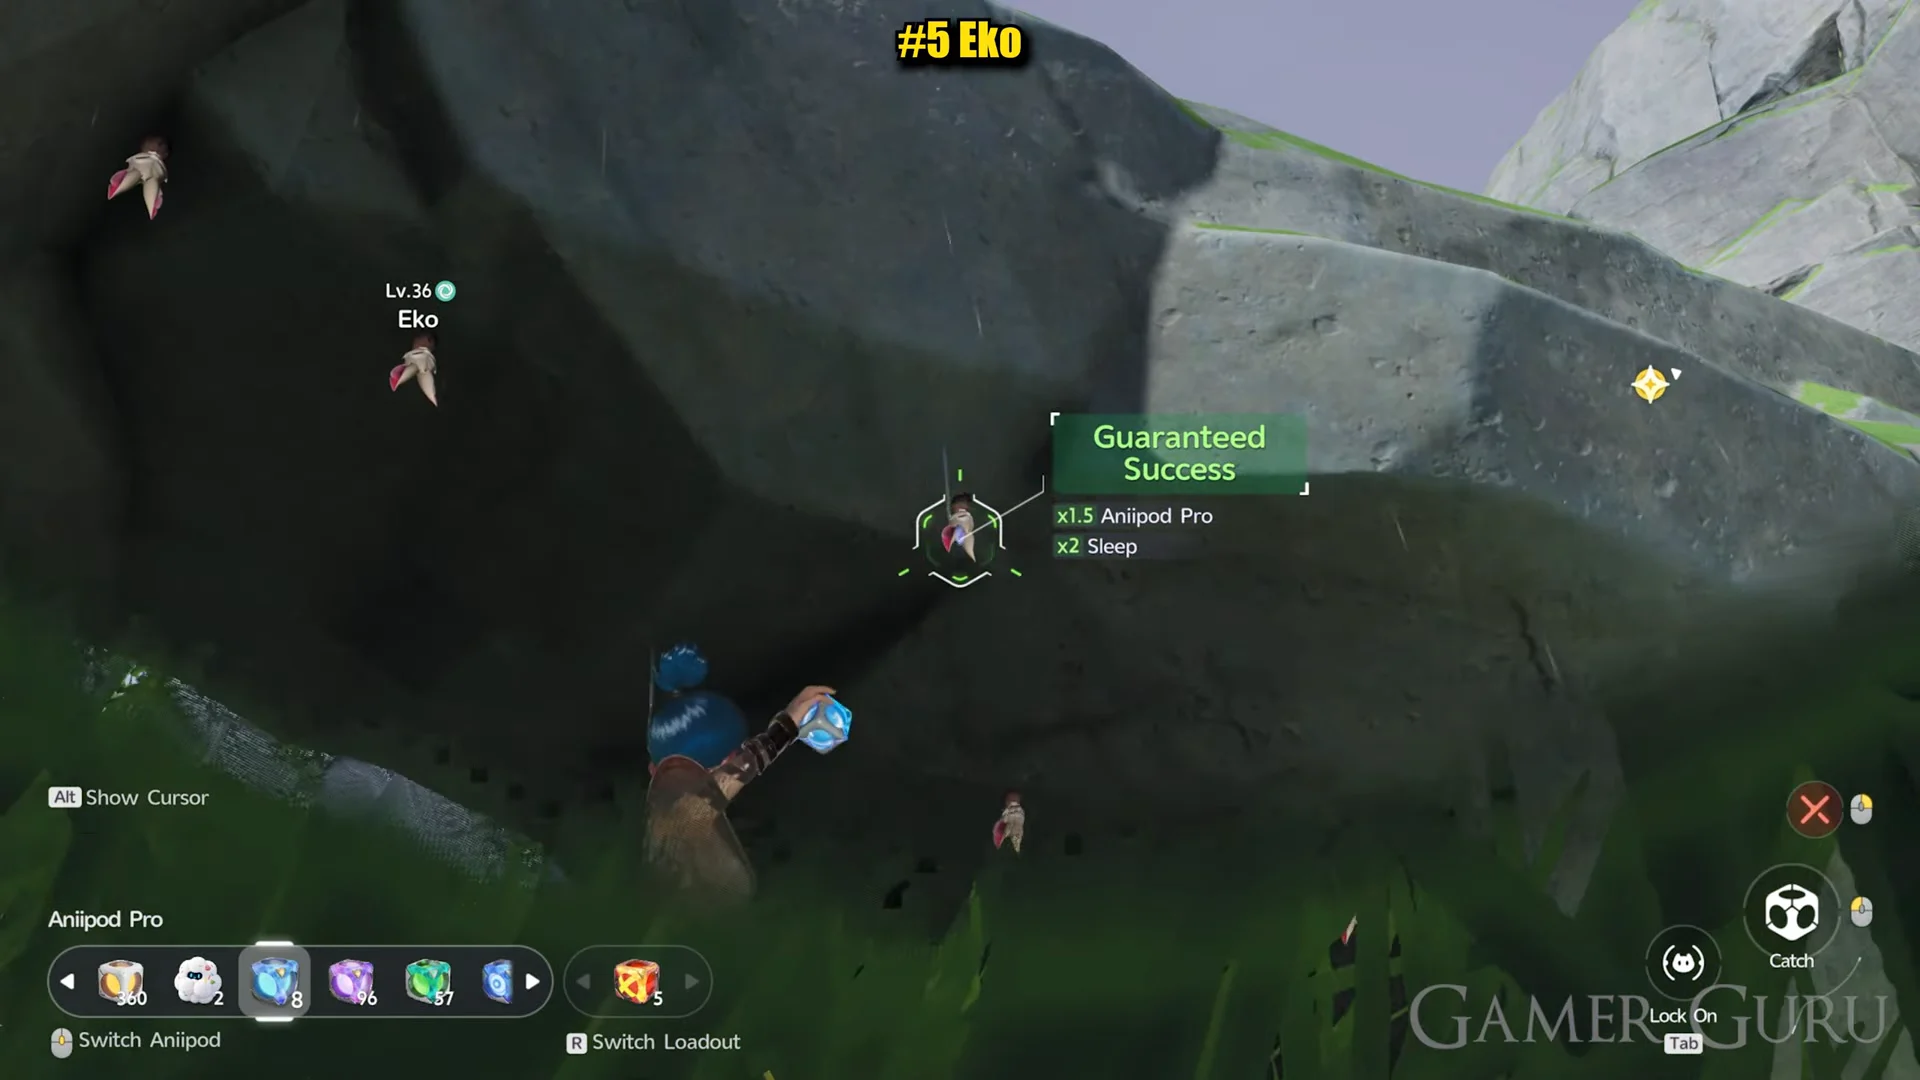
Eko provides Wind support and hangs below stone overhangs, making the ceilings more important than the floor. The northern forest contains most of its markers, with a few in the central area; the cave entrance at -1602, 1205 offers the simplest access. Follow the path near the Soaring Glide sanctum stairs and approach from behind to catch it unaware, using an Aniipod Pro.
Northwest grassland: Iris and Irisal
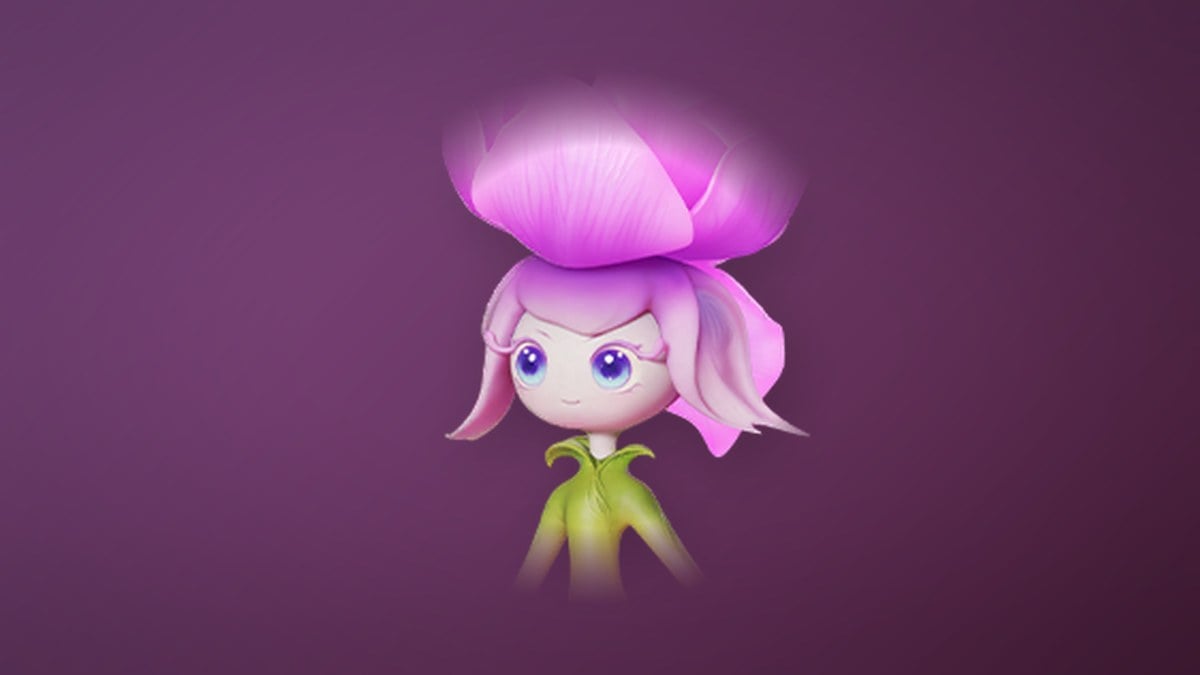
Iris (Forest Form) is a deep-purple Grass DPS concentrated in the northwest grassland around -1599, 1229, though some markers extend toward the center. Since it is shy, approach quietly before using an Aniipod Pro. The lone Irisal (Forest Form) marker lies at -1629, 1228, immediately beside the Iris group. It generally stands by a tree among its unevolved relatives, letting you find both on one visit.
West beaches: Chirpi and Cornet
Chirpi (Beach Form) fills the west shoreline as a Wind and Water support, with many spawns and a confirmed group at -1738, 1219. At 0.6 m tall and 12 kg, it is the smallest member of the beach trio.

Cornet (Beach Form) appears at one location: the small southwest beach at -1791, 0875. As a Wind and Water DPS, it has 121 attack and 121 magic attack, and a chest sits on the same strip of sand. If that marker will not produce one, evolve a captured Chirpi at Aniimo level 18 using one Gust Stone.
The river: Skippy, Pranky, and Hummin
Skippy fills the Water healer role around the river that runs through the forest’s center. Search below the surface before checking the banks; -1728, 0956 is a reliable location. Pranky, its evolution, also uses this river, though its few confirmed markers all sit beside the water. One is at -1641, 0937. It remains a Water healer and gains a trait that increases healing output.
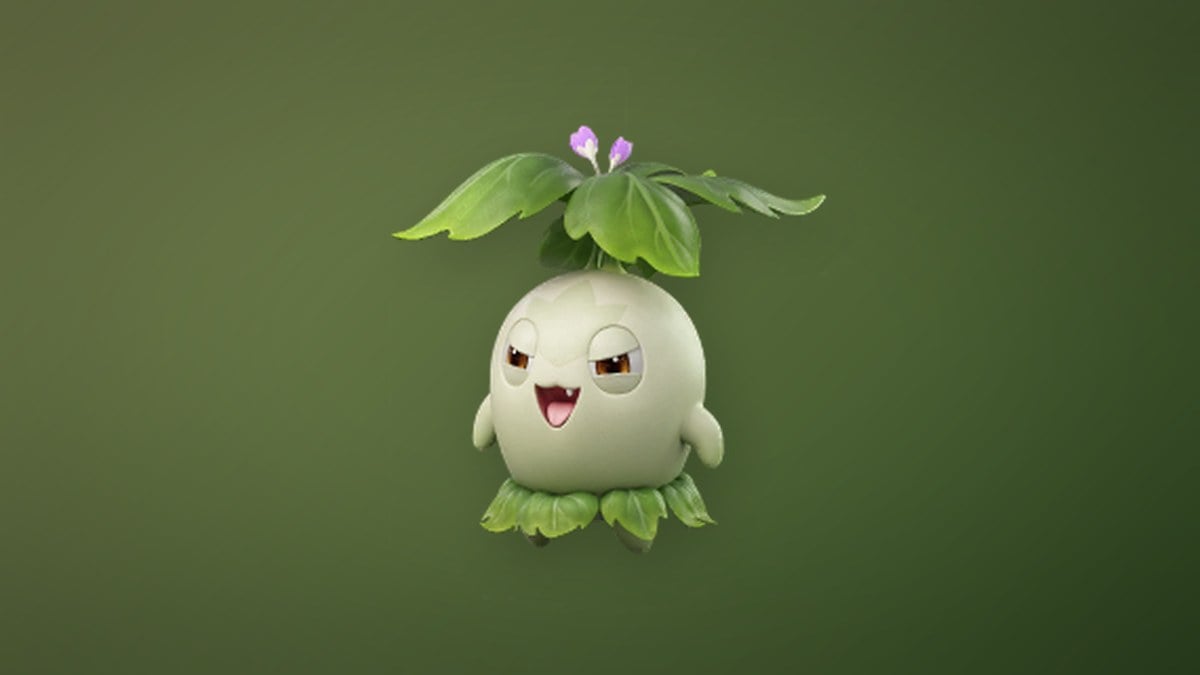
Hummin serves as a Grass breaker and is most common in the grass strip by the west beach, with a smaller cluster farther north. Search around -1652, 0941. Its concealed appearance resembles a plant; walk directly to it, wait for it to reveal itself, and then use a standard Aniipod.
Amethyst grove: Pomegg
Pomegg (Sea of Flowers Form) can be found in the purple Amethyst area beside the river. The purple trees make this section easy to identify on the map. At -1617, 1027, several are usually gathered across the grass. It rolls away inside its eggshell when startled, so approach while it is asleep and use a standard Aniipod.

Alpha Stellarys is the only source of the basic form
The forest has no roaming plain-form Stellarys. Instead, its only marker is the Alpha encounter at -1620, 0979, north of the central Outpost within a star-shaped clearing. This boss is higher level than every other encounter in the zone, so bring your best team, defeat it, and use an Aniipod Ultra to capture it.
Clearing this matters beyond the catch. Defeating Alpha Stellarys is half of the tier 2 Stargazer badge, and that badge is what unlocks manual weather changes in the area.
Rain-only spawns: Rainstorm Stellarys and Tromber
Rain or a thunderstorm is required for two forms, both of which appear on the west beach. Only one can occupy the area at once, and neither respawns, but each remains in place for the entire weather event, so reaching them removes any timer concern.
- Wait for the forecast to change on its own and watch for the blue weather icon over the area.
- Visit a friend’s world, since weather rolls independently for each player.
- Switch it manually at the region Branch for 60 energy, which requires pushing the region past 70% completion.
Stellarys (Rainstorm Form) patrols the beach at -1756, 1052. This Dark and Water DPS has 125 attack and 125 magic attack, measures 1.4 m, and weighs 7 kg. Its skin must stay moist, limiting its appearances to wet days.
Tromber (Beach Form) uses the same weather window and sits further up the same coast at -1755, 1163. It flies, so aim upward instead of scanning the sand. This Wind and Water support stands 1.3 m and weighs 12 kg, and it guards the smaller members of its family fiercely, so be ready for a fight. A Chirpi can evolve into Tromber at level 18 with a Gust Stone if it has high HP potential and the Magic Horn passive.
Tromber sits close to the Rainstorm Stellarys spawn, so sweep both while the weather holds.
Eklue requires the Soaring Glide Sanctum
Eklue becomes available only after you complete Sanctum: Soaring Glide at -1537, 1178 in the forest’s north. Repair the vein inside, and the Aniimo appears immediately beside it; the habitat marker nearly overlaps the Sanctum icon. It stays airborne like Tromber, so look upward and throw an Aniipod Pro during its flight.

Prismana Stellarys needs a Prismana Flow

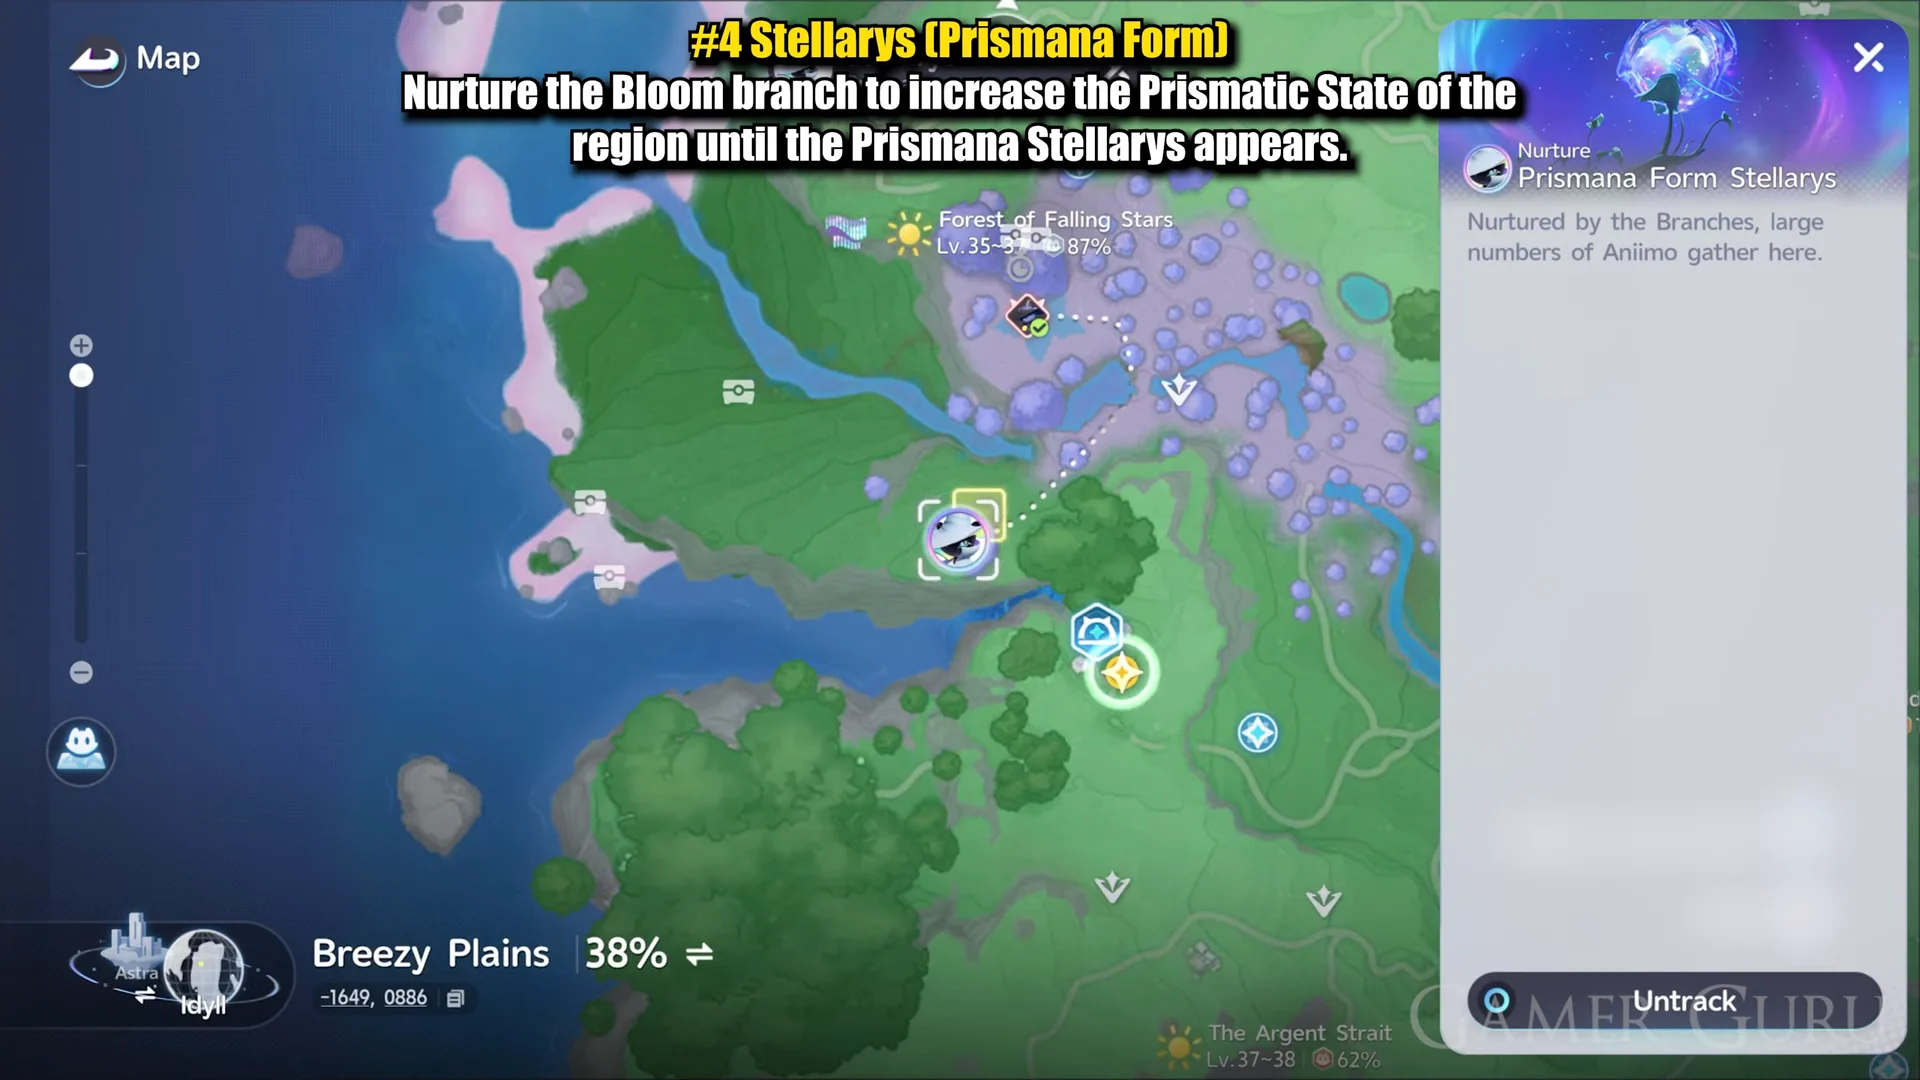
Reaching the Prismatic Energy spawn threshold may require hours or days in the area. Treat it as a background objective spread across play sessions rather than a goal for one grind.
Collection rewards and how to confirm progress
At the Outpost, use a research console to record your catches, then view the area’s collection percentage. Three thresholds provide rewards, and those same milestones also progress the zone’s Stargazer badge.
| Progress | Rewards |
|---|---|
| 40% | Safaris ×500, Vein Essence ×1 |
| 70% | Safaris ×500, Irisalis Petal ×1 |
| 100% | Mark of the Strong requires Breezy Plains ×1 and Sparkling Crystal ×100. |
Tier 1 of the Stargazer badge arrives at 40% and raises catch chance in the area by 10% while enabling Nurture there. Tier 2 needs 70% plus the Alpha Stellarys kill, improving high-potential catches and unlocking weather changes. Tier 3 wants 100% collection and all 5 Lumin Amber, and speeds up Prismatic Energy buildup. Past that sits the Meteor Catcher badge, which requires the Legendary Stargazer badge, a Sparkling Prismana Stellarys, and the Prismatic research tier on both Celestis and Eko. Earn it and the Celestis and Eko in this forest turn friendly toward you, a quiet reward for finishing every step above.





