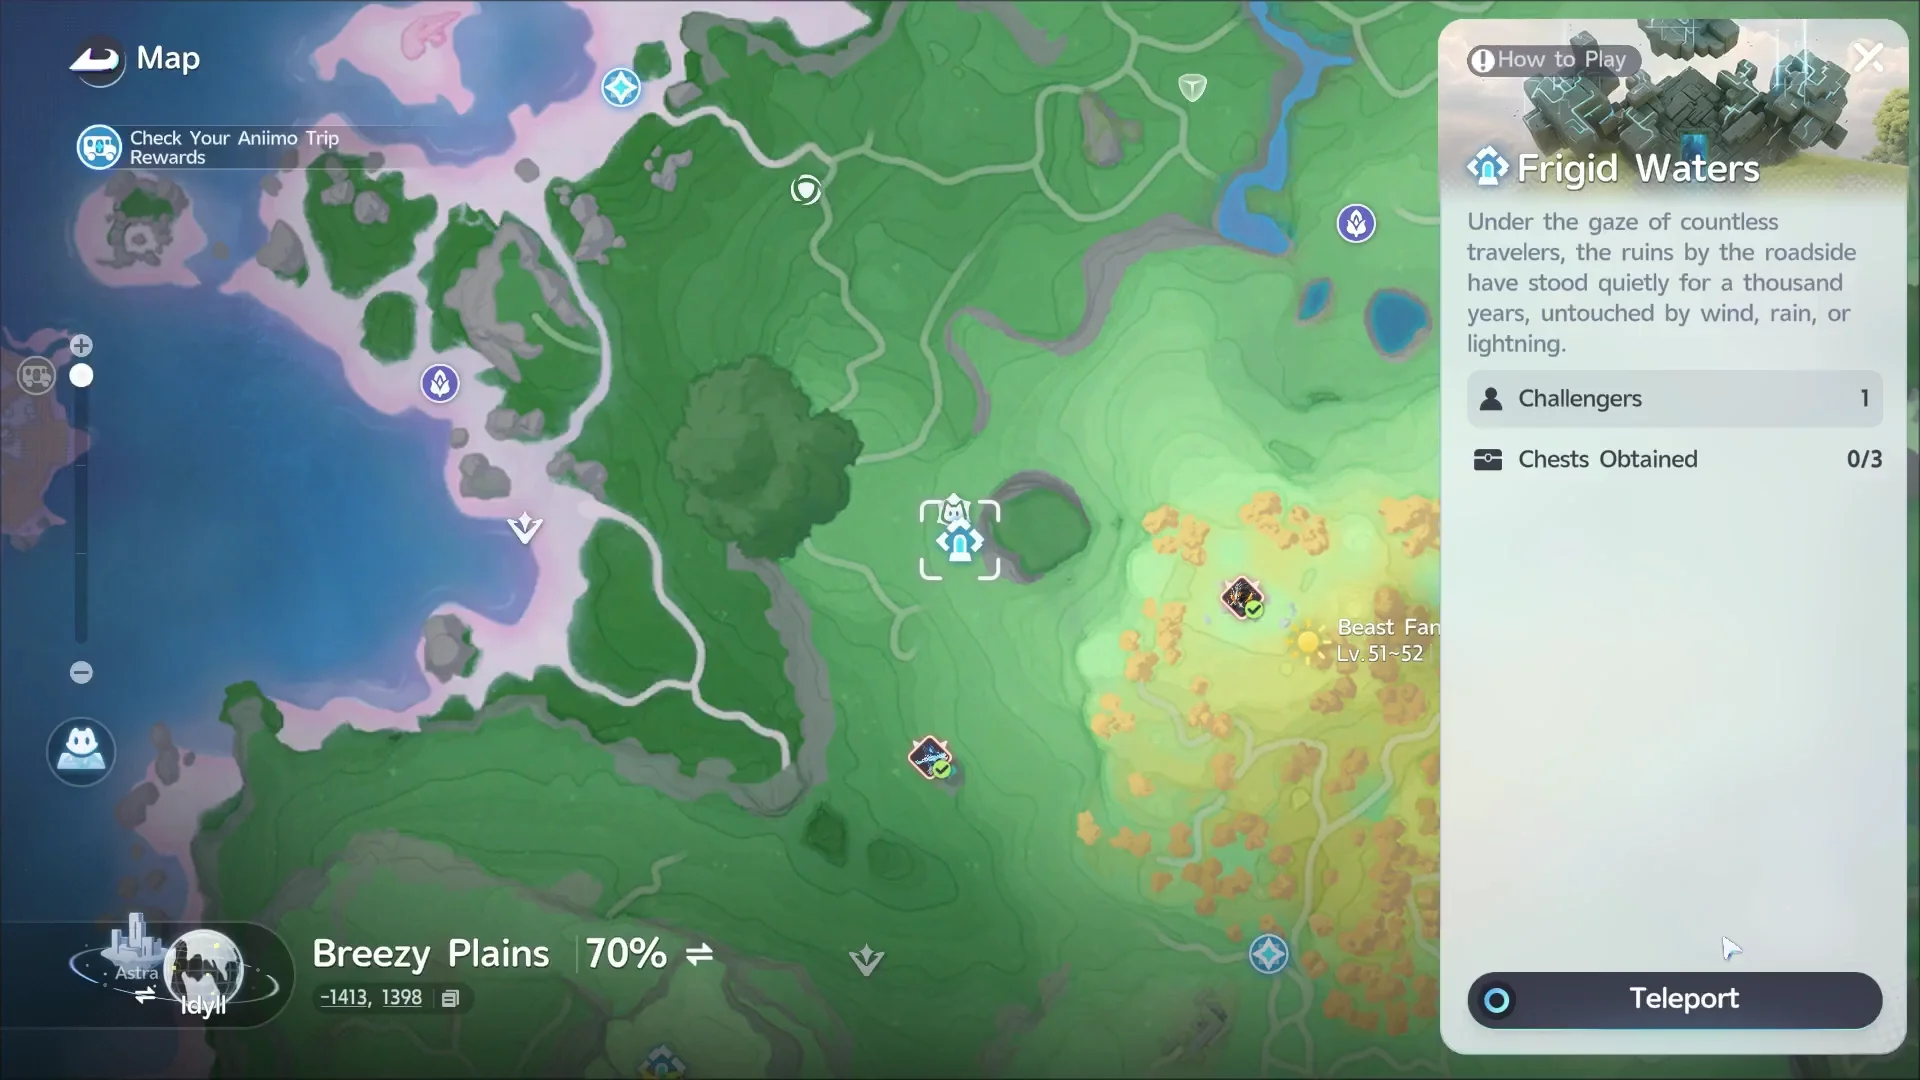
Frigid Waters is a solo Sanctum in a cave on Beast Fang Ridge’s western side. Its puzzles all use the same mechanic: Trial Fenrier freezes marked water, and you move the resulting blocks onto pressure switches to unlock the gates. Three optional chests lie beyond the main route; reach each with an ice block or frozen steps.
Quick answer: Twine with trial Fenrier and freeze marked water. Untwine, then use Grab to place blocks on switches. Collect all 3 chests before interacting with the Vein.
Frigid Waters location and entry requirements
At -1413, 1398, the cave entrance lies on the western side of Beast Fang Ridge. Enter through a gap in the rock face, or melt the ice blocking a second cave mouth to get inside. Beast Fang Ridge is in the Breezy Plains region, which covers levels 30 to 35. Since the room is below ground, track its marker on the map to find your way there.
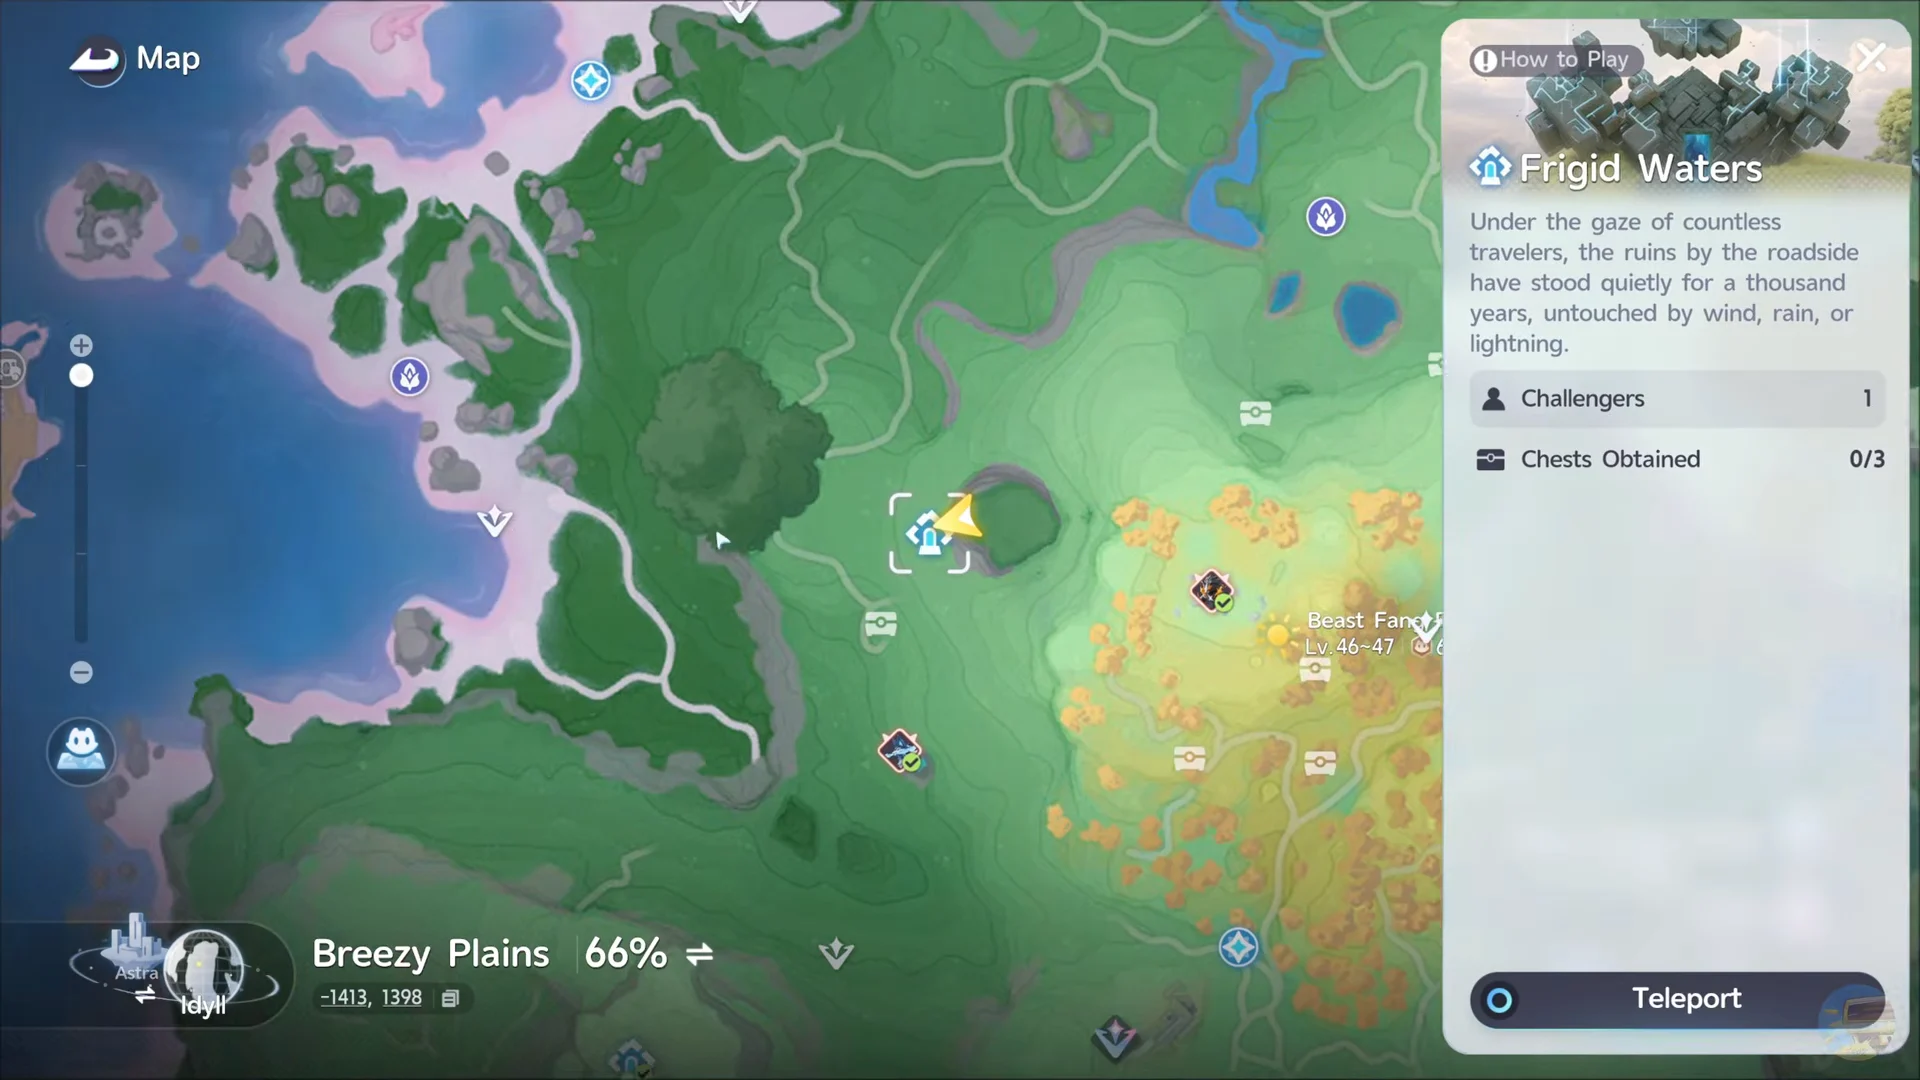
You can enter without owning an Ice Aniimo. A statue a short distance inside gives you Fenrier, and you can freeze water only while twined with it. Interact with the purple cube outside to add the Sanctum as a transport point; interact with it again to bring up the challenge screen and begin.
| Check | Value |
|---|---|
| Area |  Beast Fang Ridge (Breezy Plains) Beast Fang Ridge (Breezy Plains) |
| Players | 1, solo |
| Optional chests | 3 |
| Trial Aniimo |  Fenrier (supplied inside) Fenrier (supplied inside) |
Gravity Pull, the player skill, becomes available at II Student rank. Unlock it before entering if you plan to collect every chest; Grab is useful throughout the room.
How the ice blocks and Grab work
The puzzles rely on two distinct abilities, and using the wrong one at the wrong moment will stop your progress. Fenrier freezes water; the Pathfinder carries objects.
- While twined with Fenrier, activate its ice skill on marked water to create ice that you can walk across or pick up.
- Change out of fox form before using Grab to lift and move a floating block; carrying one is not possible as a fox.
- A block is one whole object. It never splits into smaller pieces.
- Ice blocks floating in the water melt over time, so cross with them or set them in place quickly.
- Should a block disappear, get back onto dry ground and wait for the skill to recharge. Then freeze that same water again.
The flame jets in the Sanctum’s center make ice melt much faster. Decide where you’re taking the block before freezing the water, and keep moving once you start carrying it.
Frigid Waters walkthrough
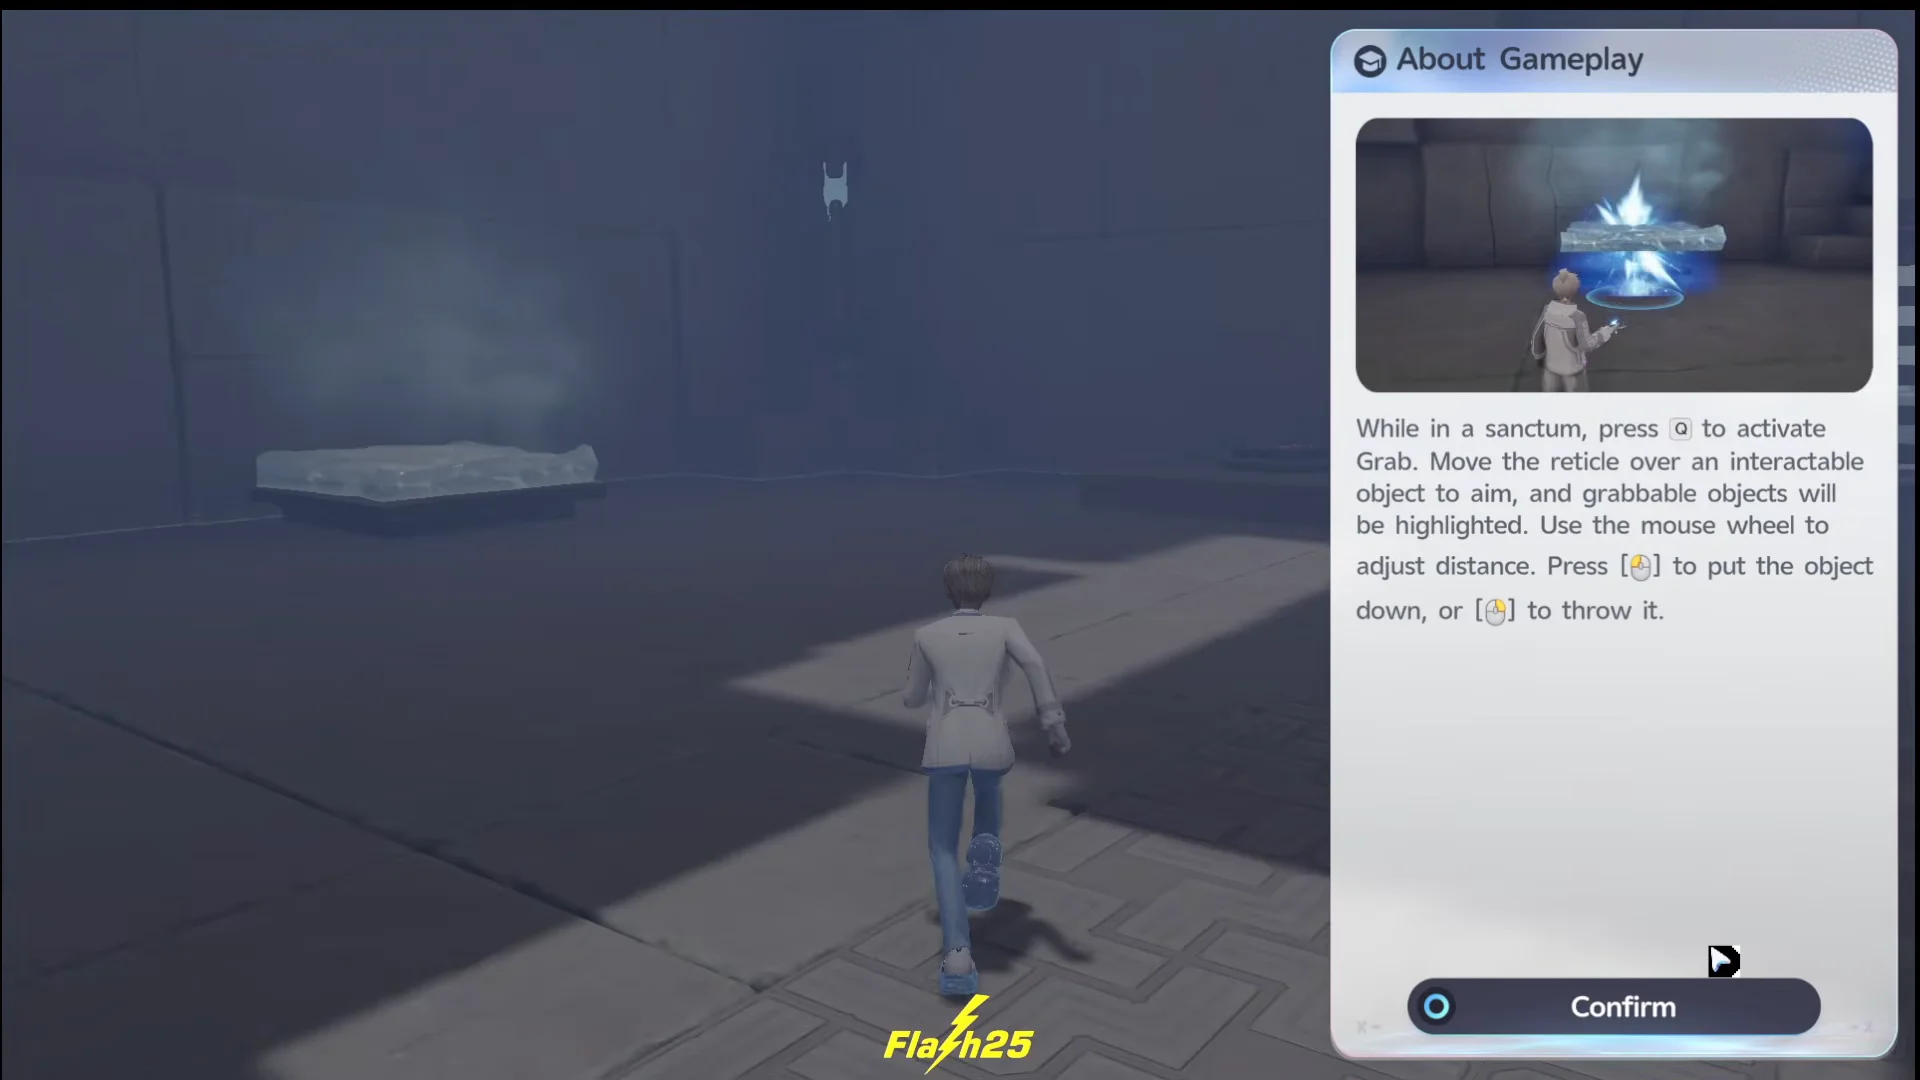
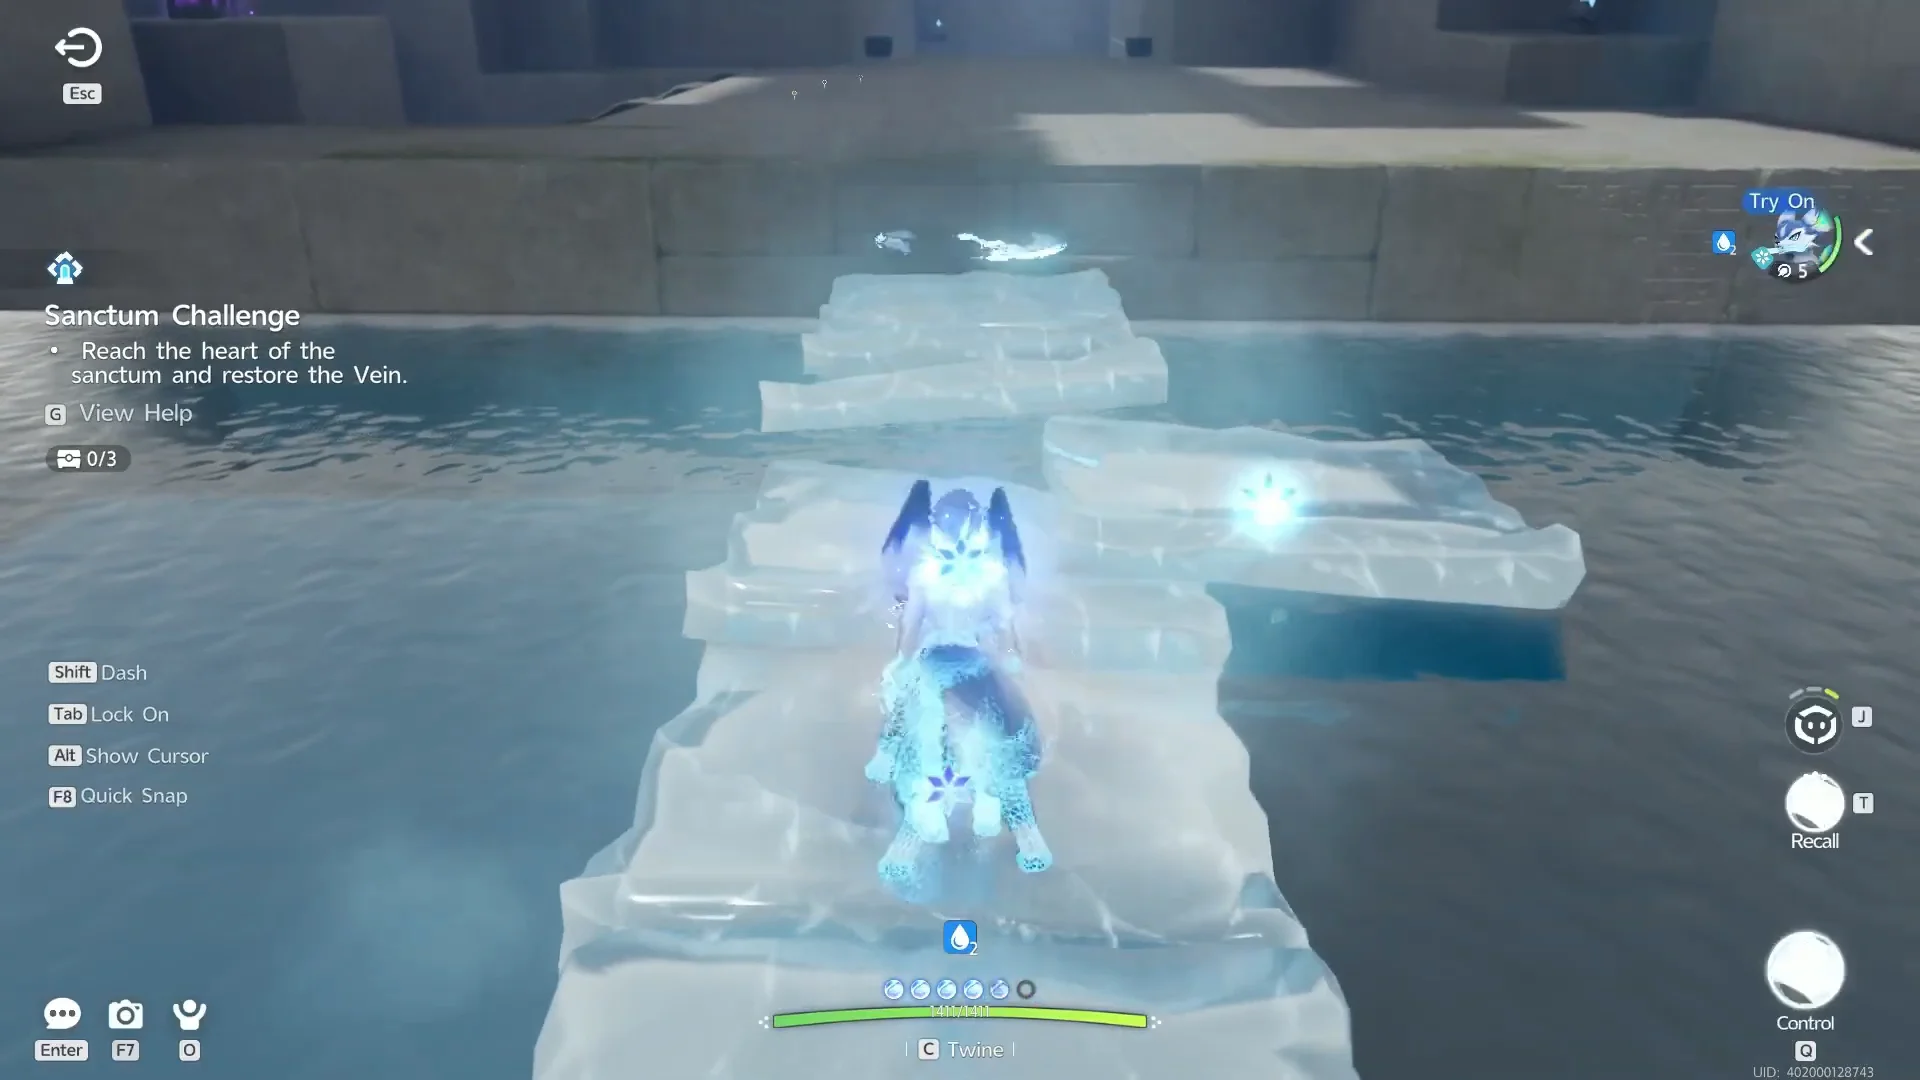
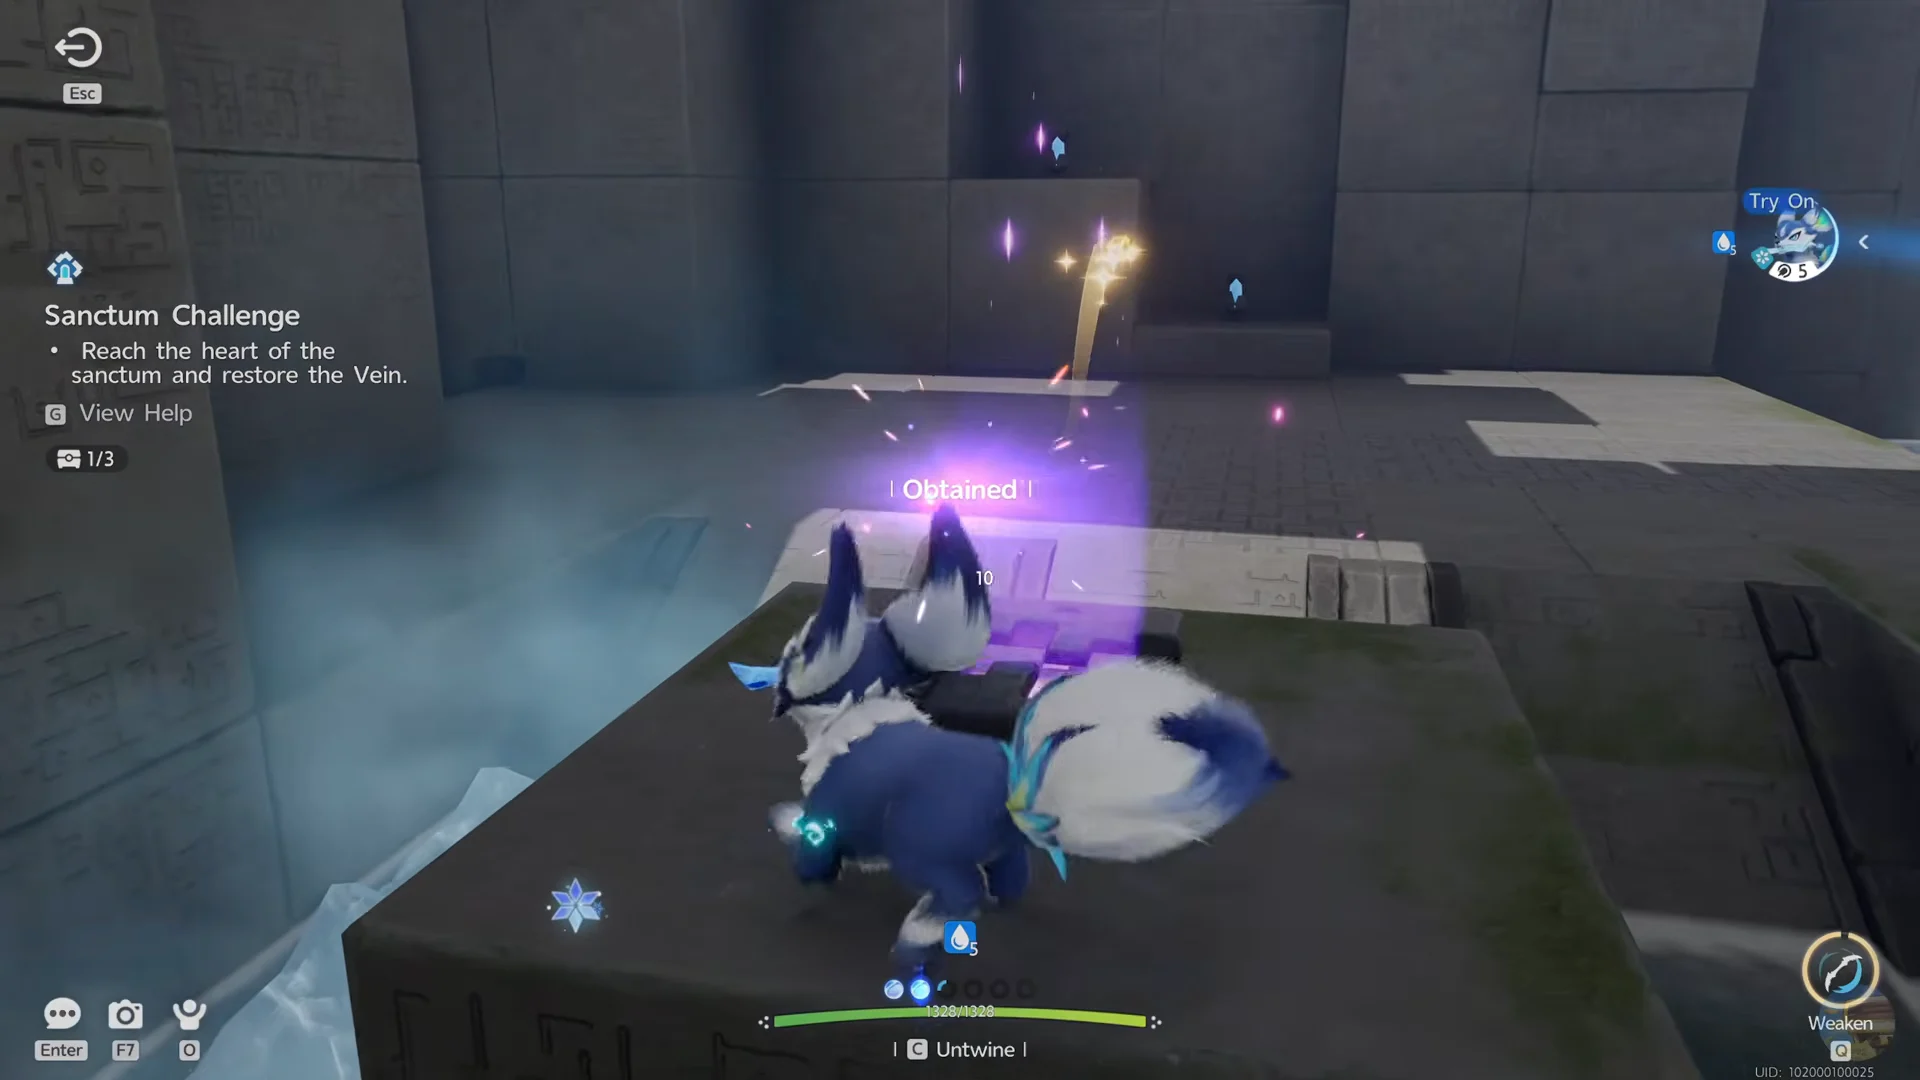
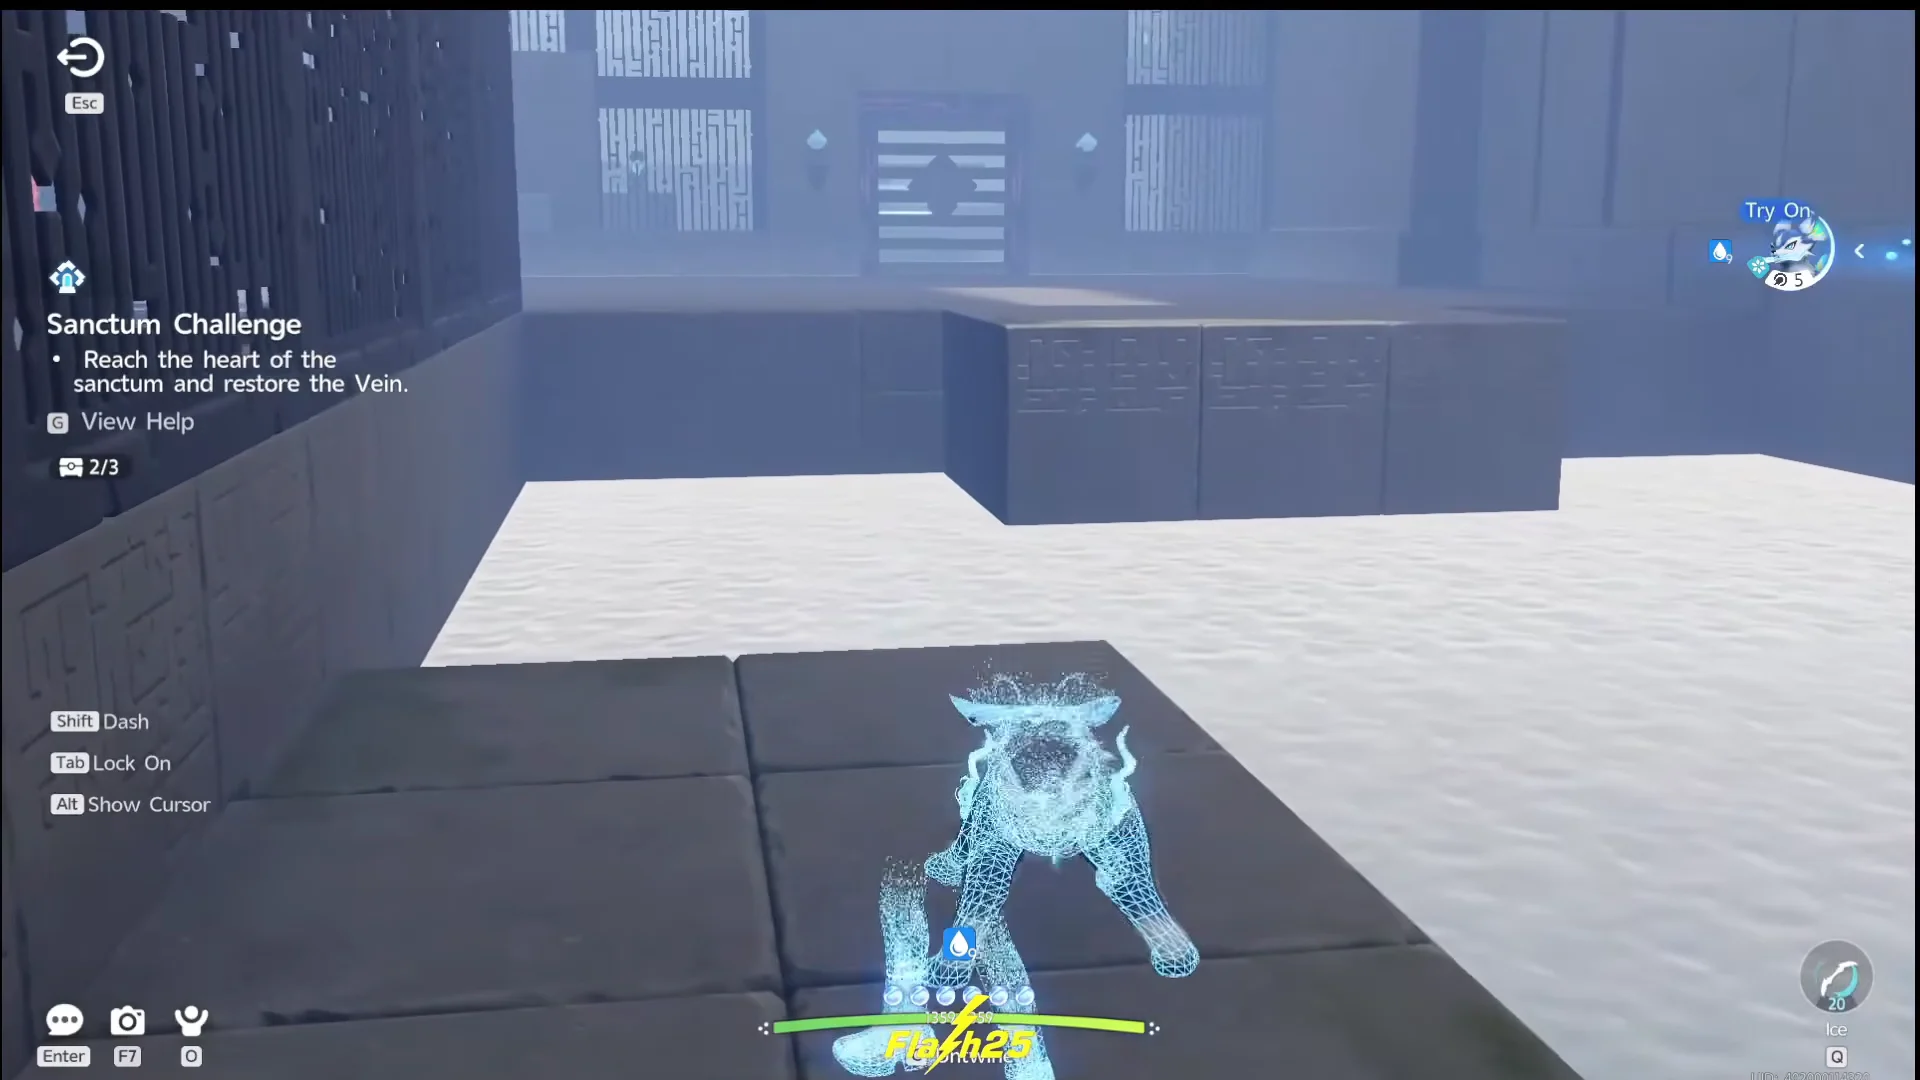
All 3 chest locations and rewards
Every chest is the same grade, so the only difference between them is the held item inside. Each one also pays Glimmers x10, Sparkling Crystal x10 and Credits x10000 on top of the listed item.
| Chest | Where it sits | Held item |
|---|---|---|
| 1 | Raised pillar left of the first crossing | Heartseeker Pendant x1 |
| 2 | Far ledge past the two raised gates | Lightning Needle x1 |
| 3 | Shelf above the balance platforms | Echoing Grimoire x1 |
Check that the objective counter shows 3/3 before interacting with the Vein. Repairing it ends the challenge, so you cannot count on going back for a missed chest.
Clear rewards and how to confirm completion
Your first completion grants Lumin Amber x1 and 500 EXP, the same reward given by every other Sanctum in the game. Later visits leave the transport point on your map but provide no more rewards, so farming a completed room has no benefit. Completions contribute to the Sanctum Delver milestones at 3, 5, 10 and 15 rooms.
There are no contact-kill hazards in Frigid Waters, and its seals have no time limit; melting ice is the only source of pressure. You begin on the entry pad at the flooded hall’s west end. As you follow the route, three additional checkpoints activate simply by walking through them. Watch for the paired flame jets beside the barred slot: they fire in brief bursts without a break between them.
The completion loading screen confirms success, and the entrance should remain marked as an activated transport point. Older checklists may use the closed-beta name Water to Ice for Frigid Waters; some earlier community notes instead call it Frozen Crossing.