Gaming Guide

Aniimo: How to Unlock the Underground Teleport in Nimbus Fields

Both underground waypoints under Nimbus Fields, the cave entrances that lead to them, and how to confirm each one is active.

Both underground waypoints under Nimbus Fields, the cave entrances that lead to them, and how to confirm each one is active.

Image: Pawprint Studio

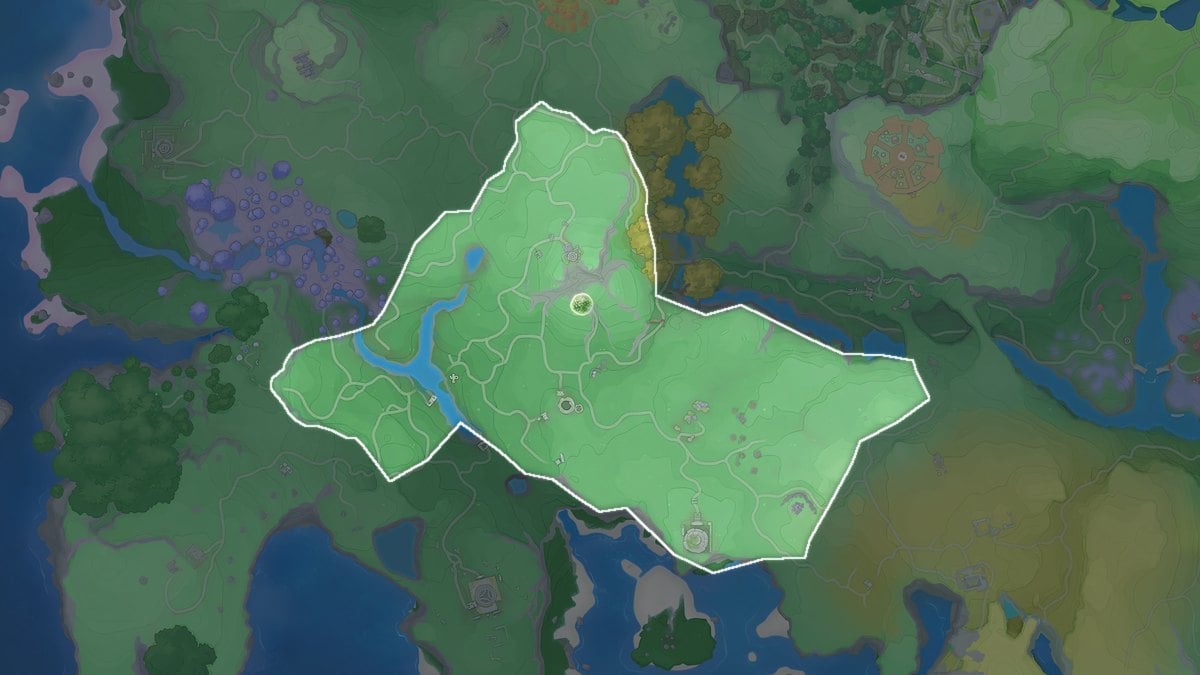
Nimbus Fields is the early Breezy Plains grassland most Pathfinders learn first, built for levels 5 through 15. What a lot of players miss is that the region has a second map layer running underneath it, with its own teleport points that never show up while you are looking at the surface map.

Quick answer: There are two underground waypoints below Nimbus Fields. Enter the southern shoreline cave for Sub-Idyllian Ruins, and the northern cave by the Cave Explorer NPC for Crystal Cave. Touch each monument to activate it.


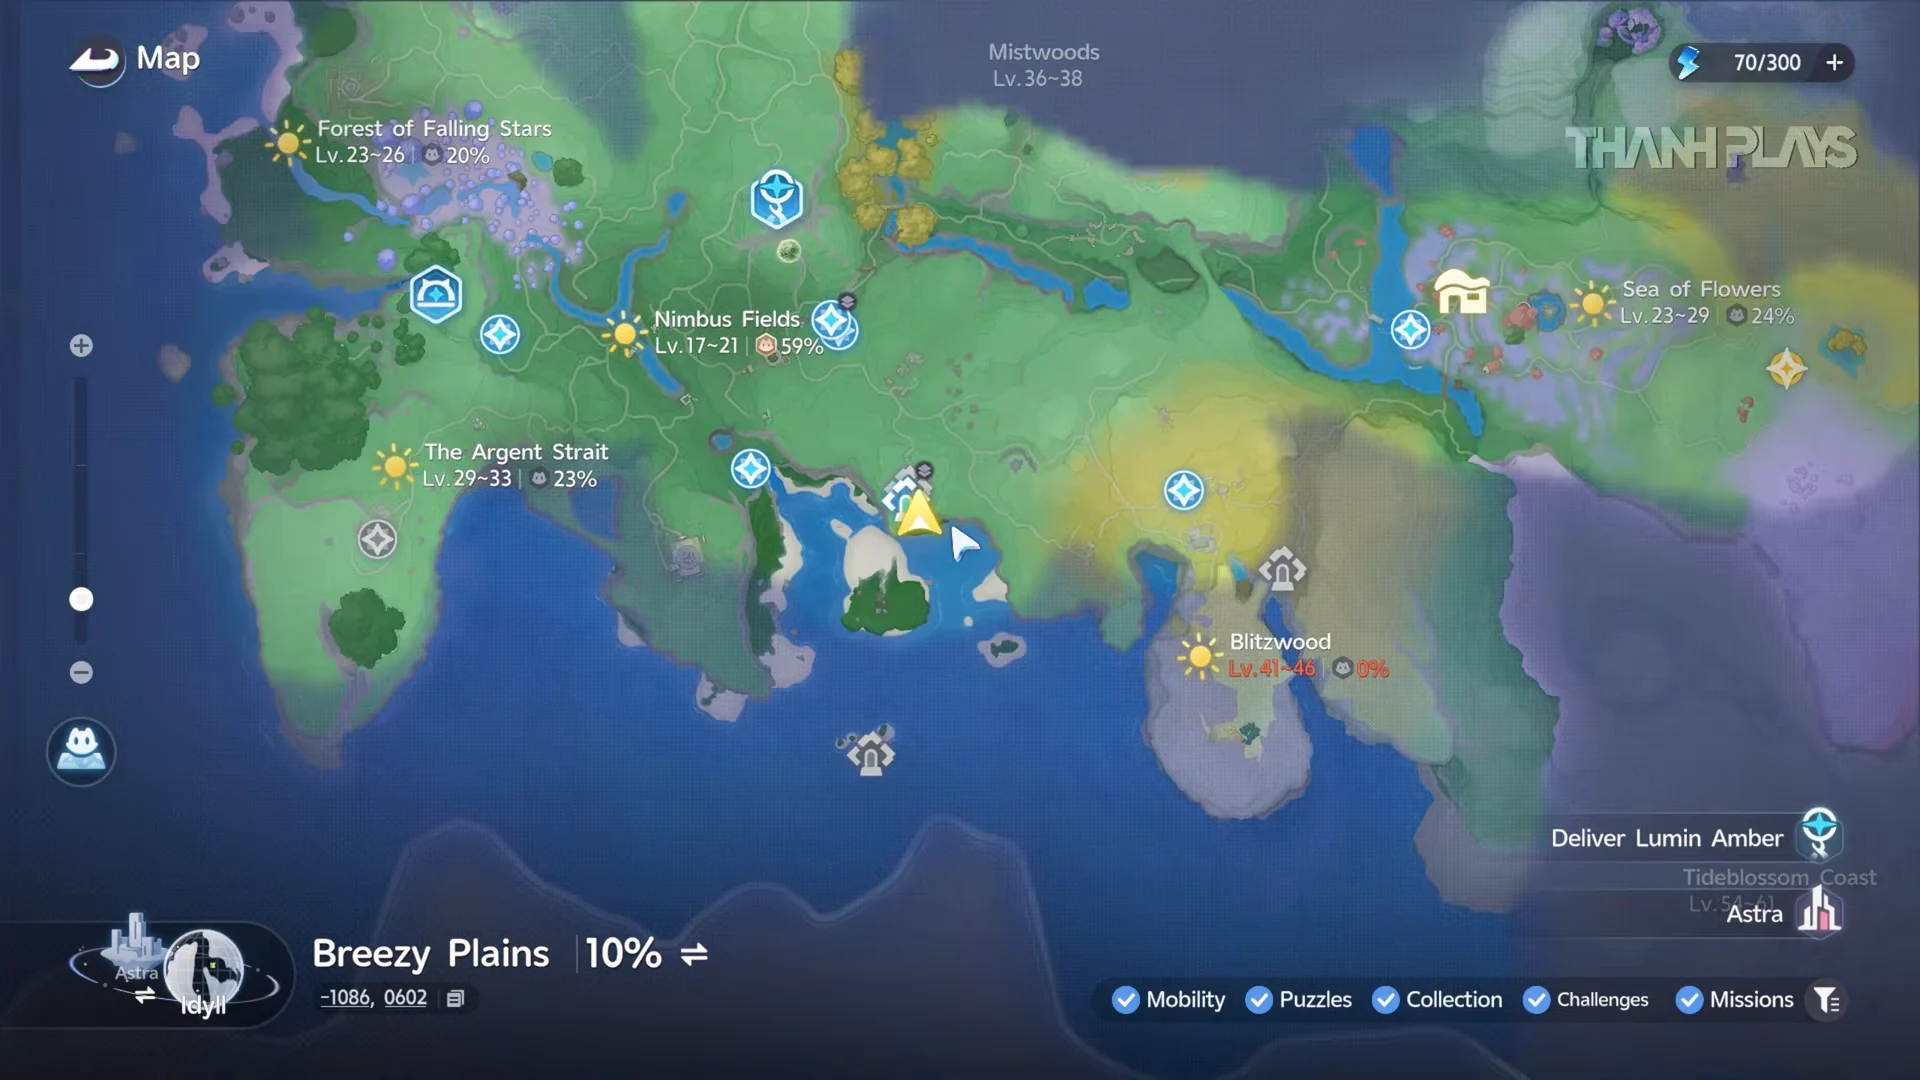
Where the underground waypoints appear on the map

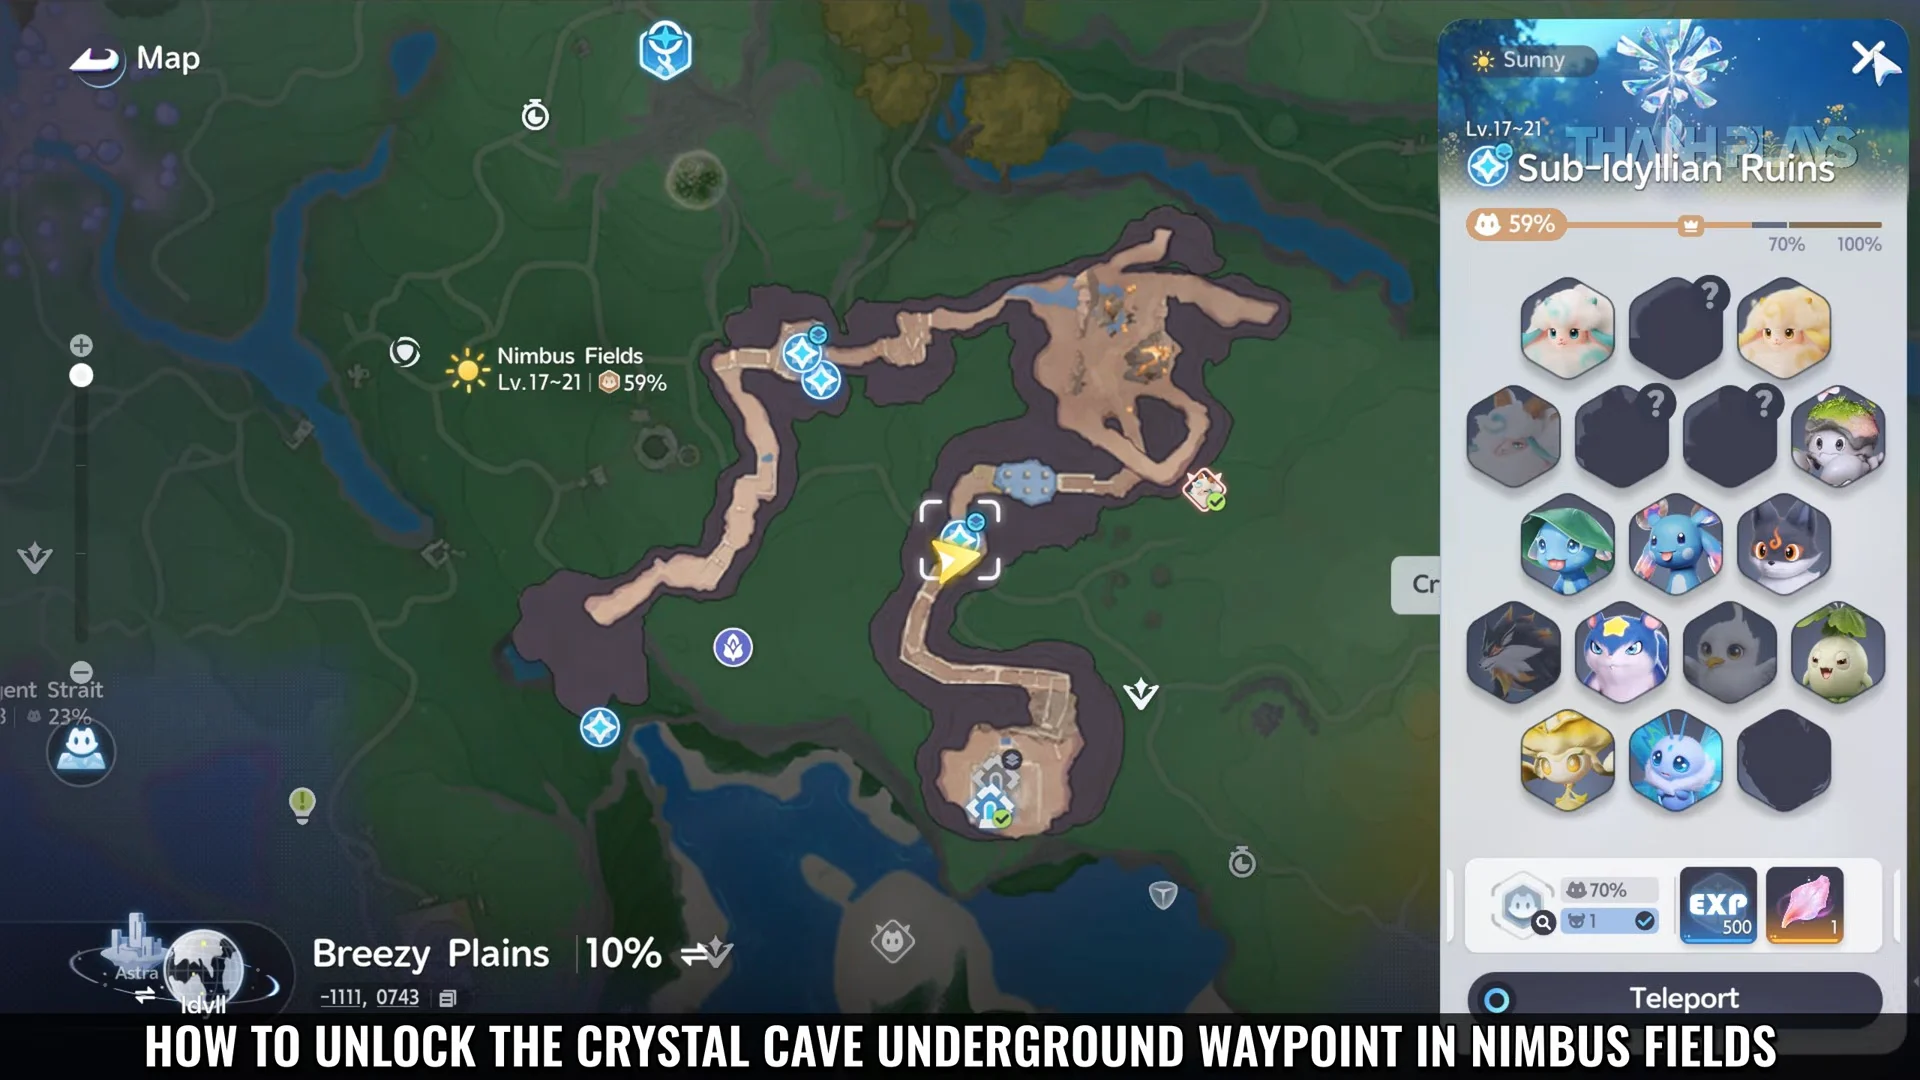
Open the world map while you are in Nimbus Fields and switch the map layer to Crystal Cave – Underground. That toggle is the only way to see the underground teleport icons, the cave corridors, and your own position once you are below ground. Until you activate them, the waypoints sit there as unlit markers, which is a useful way to confirm you are heading to the right chamber before you commit to a long cave run.
Overview of Waypoints on Map00:07Overview of Waypoints on Map
The Nimbus Fields world map with its waypoint icons and cave areas. Shown at 00:07 in ThànhPlays’s video. Image: Pawprint Studio

The two underground waypoints and their entrances

WaypointEntranceLandmark to look for
Sub-Idyllian RuinsSouthern cave, by the shorelineGlowing blue roots around the opening
Crystal CaveNorthern cave, above Breezy PlainsStone stairs, campfire, Cave Explorer NPC

The two caves are not connected by a route you would want to walk. Treat them as separate trips, and unlock the southern one first since it is a short glide from an existing surface teleport.


Unlock the Sub-Idyllian Ruins waypoint from the southern cave
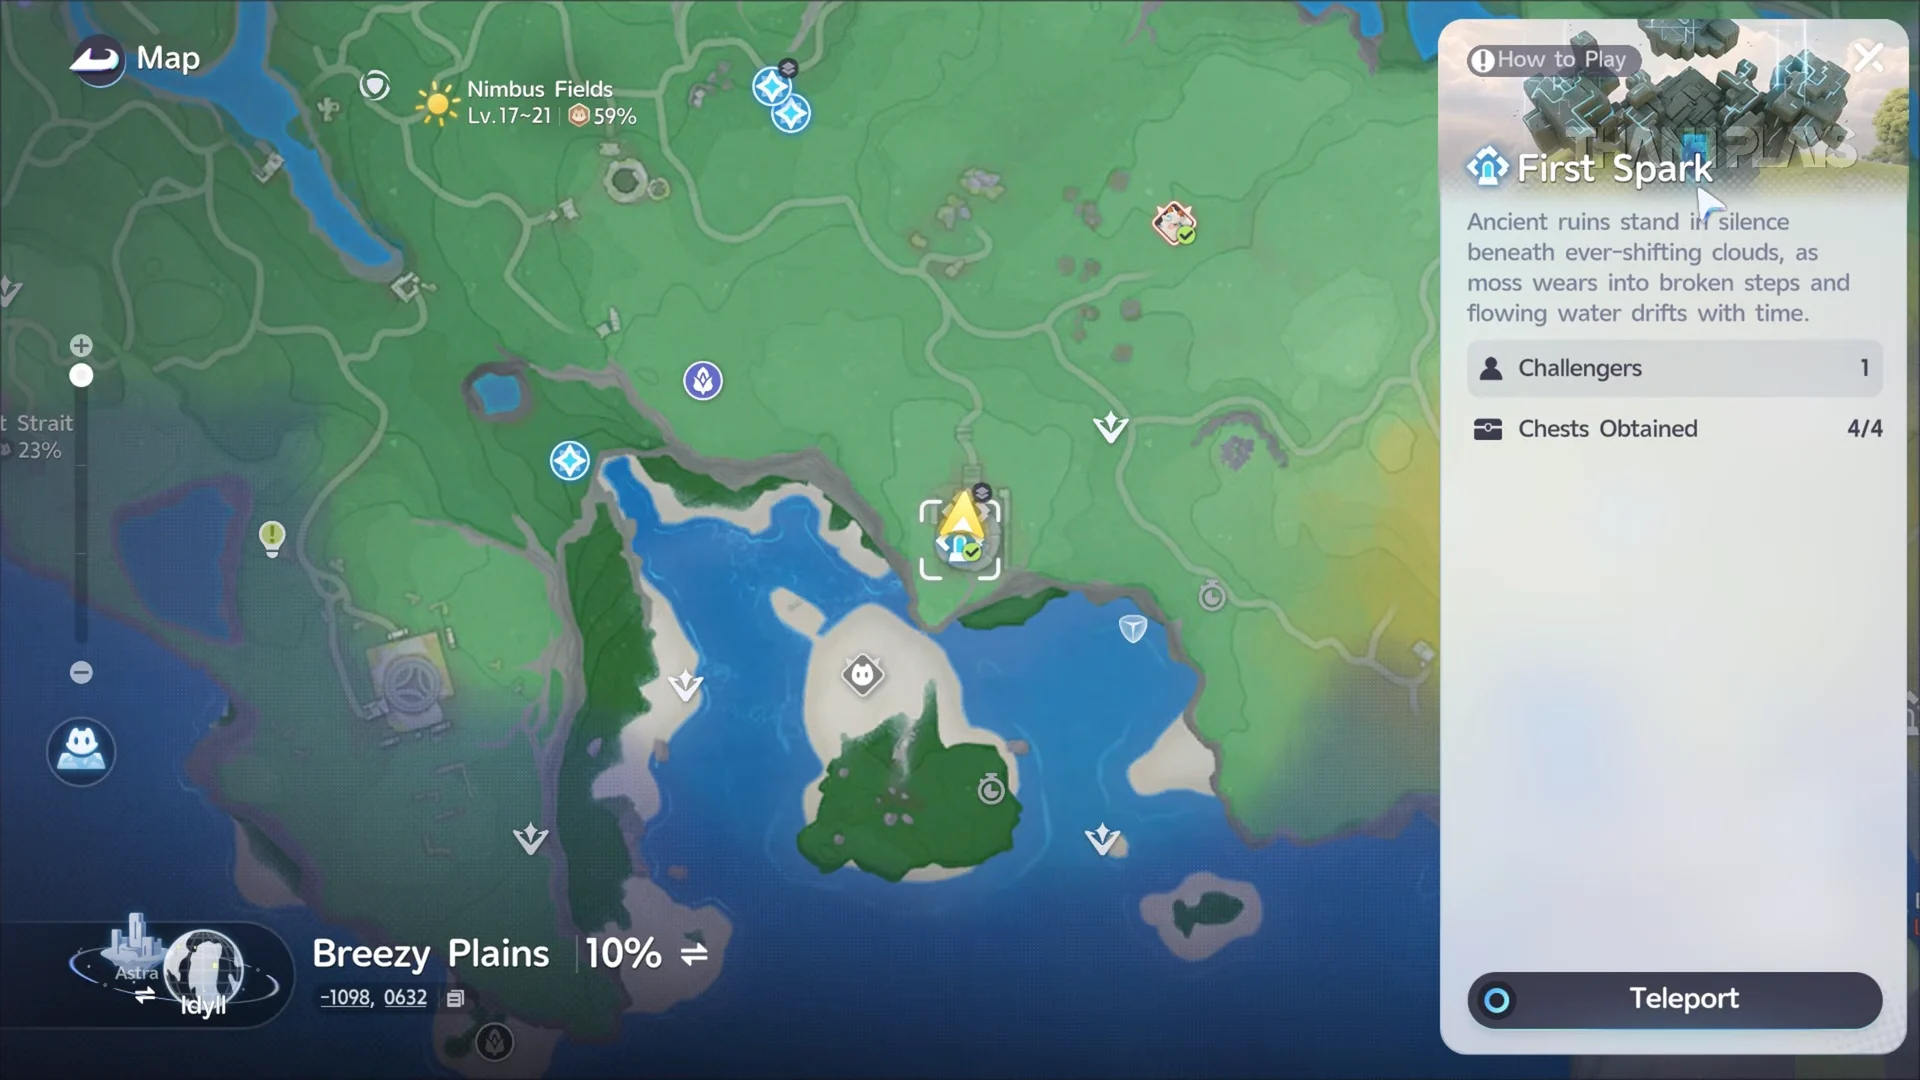
Open the map on the Breezy Plains surface layer and teleport to the First Spark Sanctum. You arrive at the sanctum archway, which puts the cliff edge you need within gliding distance.
Teleporting to First Spark Sanctum00:18Teleporting to First Spark Sanctum
First Spark selected on the Breezy Plains map, with the Teleport button showing. Shown at 00:18 in ThànhPlays’s video. Image: Pawprint Studio
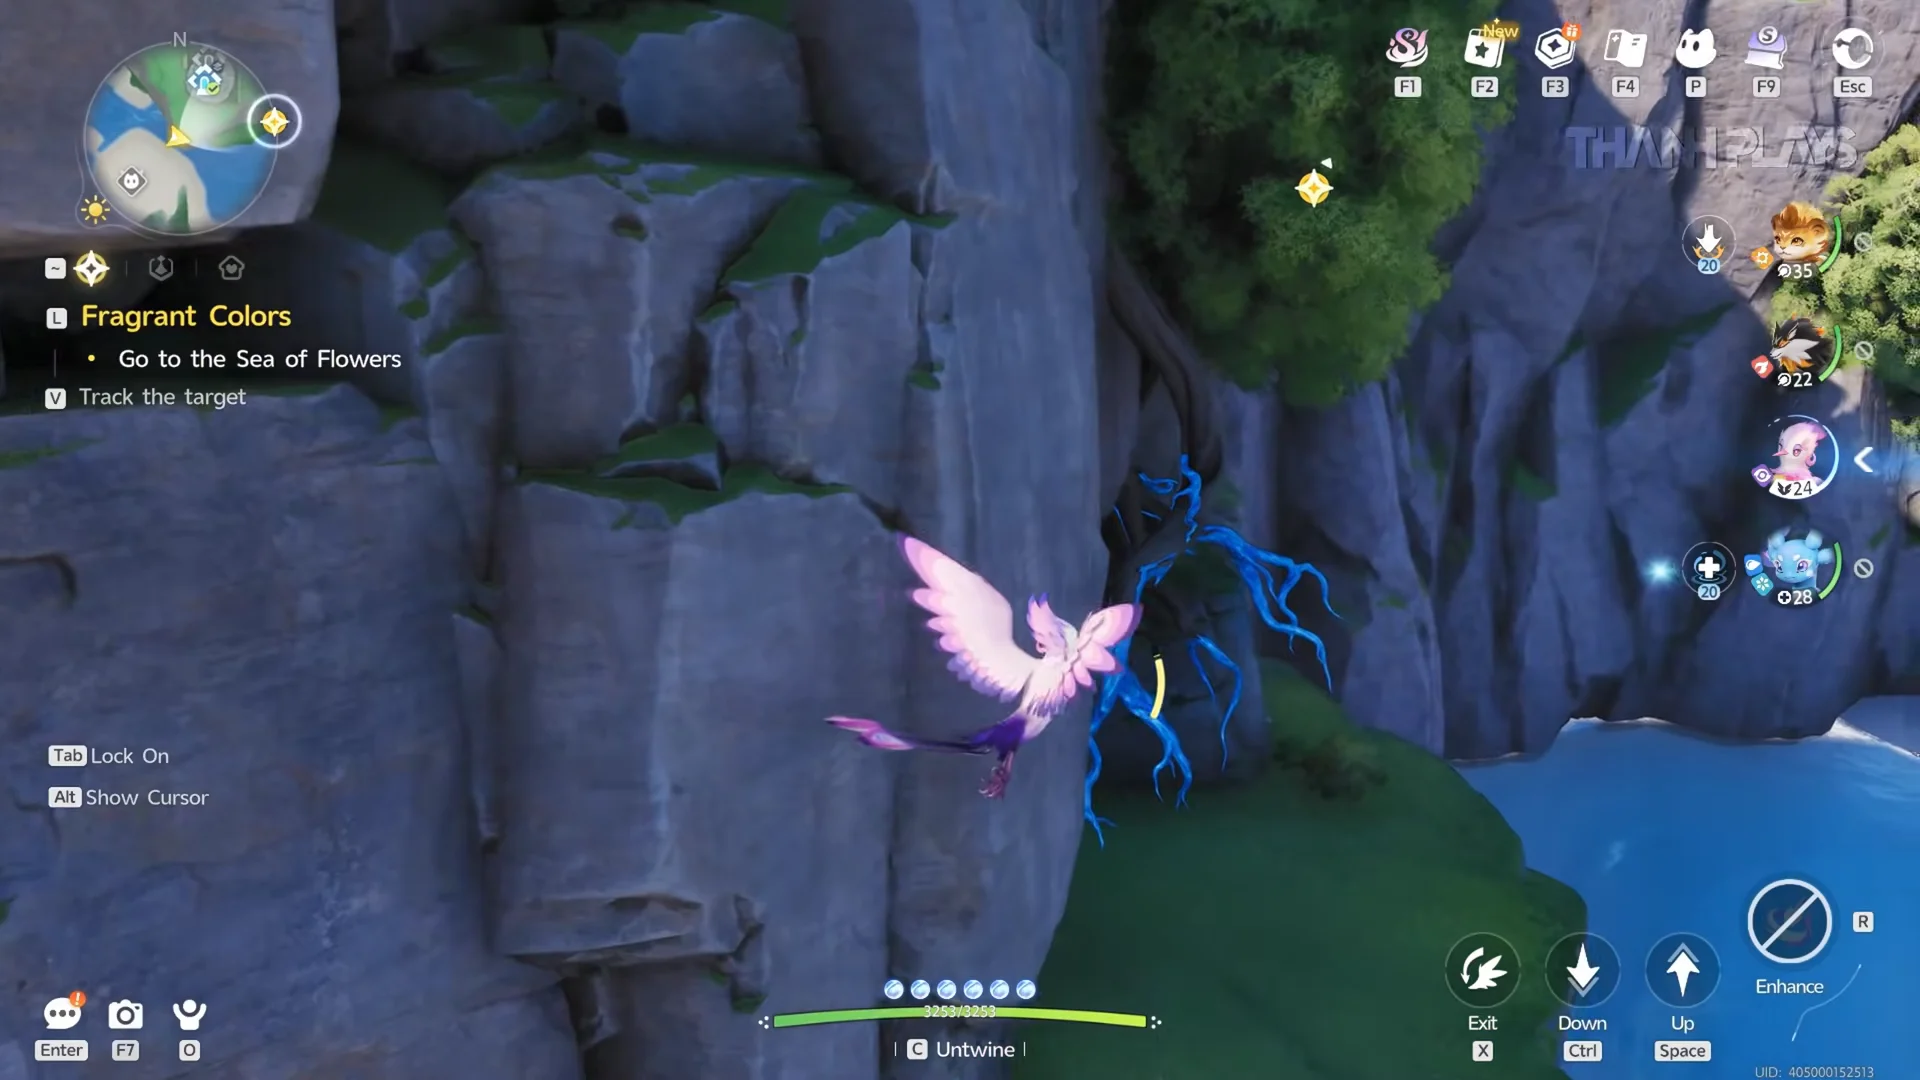
Head south and drop off the cliffside, gliding toward the coast. The cave mouth sits above the shoreline and is ringed by glowing blue roots, which are visible from the air well before you reach them.
Flying to the South Cave Entrance00:34Flying to the South Cave Entrance
Gliding down past the glowing blue roots toward the southern cave opening. Shown at 00:34 in ThànhPlays’s video. Image: Pawprint Studio
If you overshoot, open the Breezy Plains map and line yourself up against the coastline marker before trying again. The entrance position reads clearly against the shore, so it is quicker to check the map than to circle the cliff.
Map View of South Entrance00:42Map View of South Entrance
The Breezy Plains map showing the coastline and the southern entrance position. Shown at 00:42 in ThànhPlays’s video. Image: Pawprint Studio
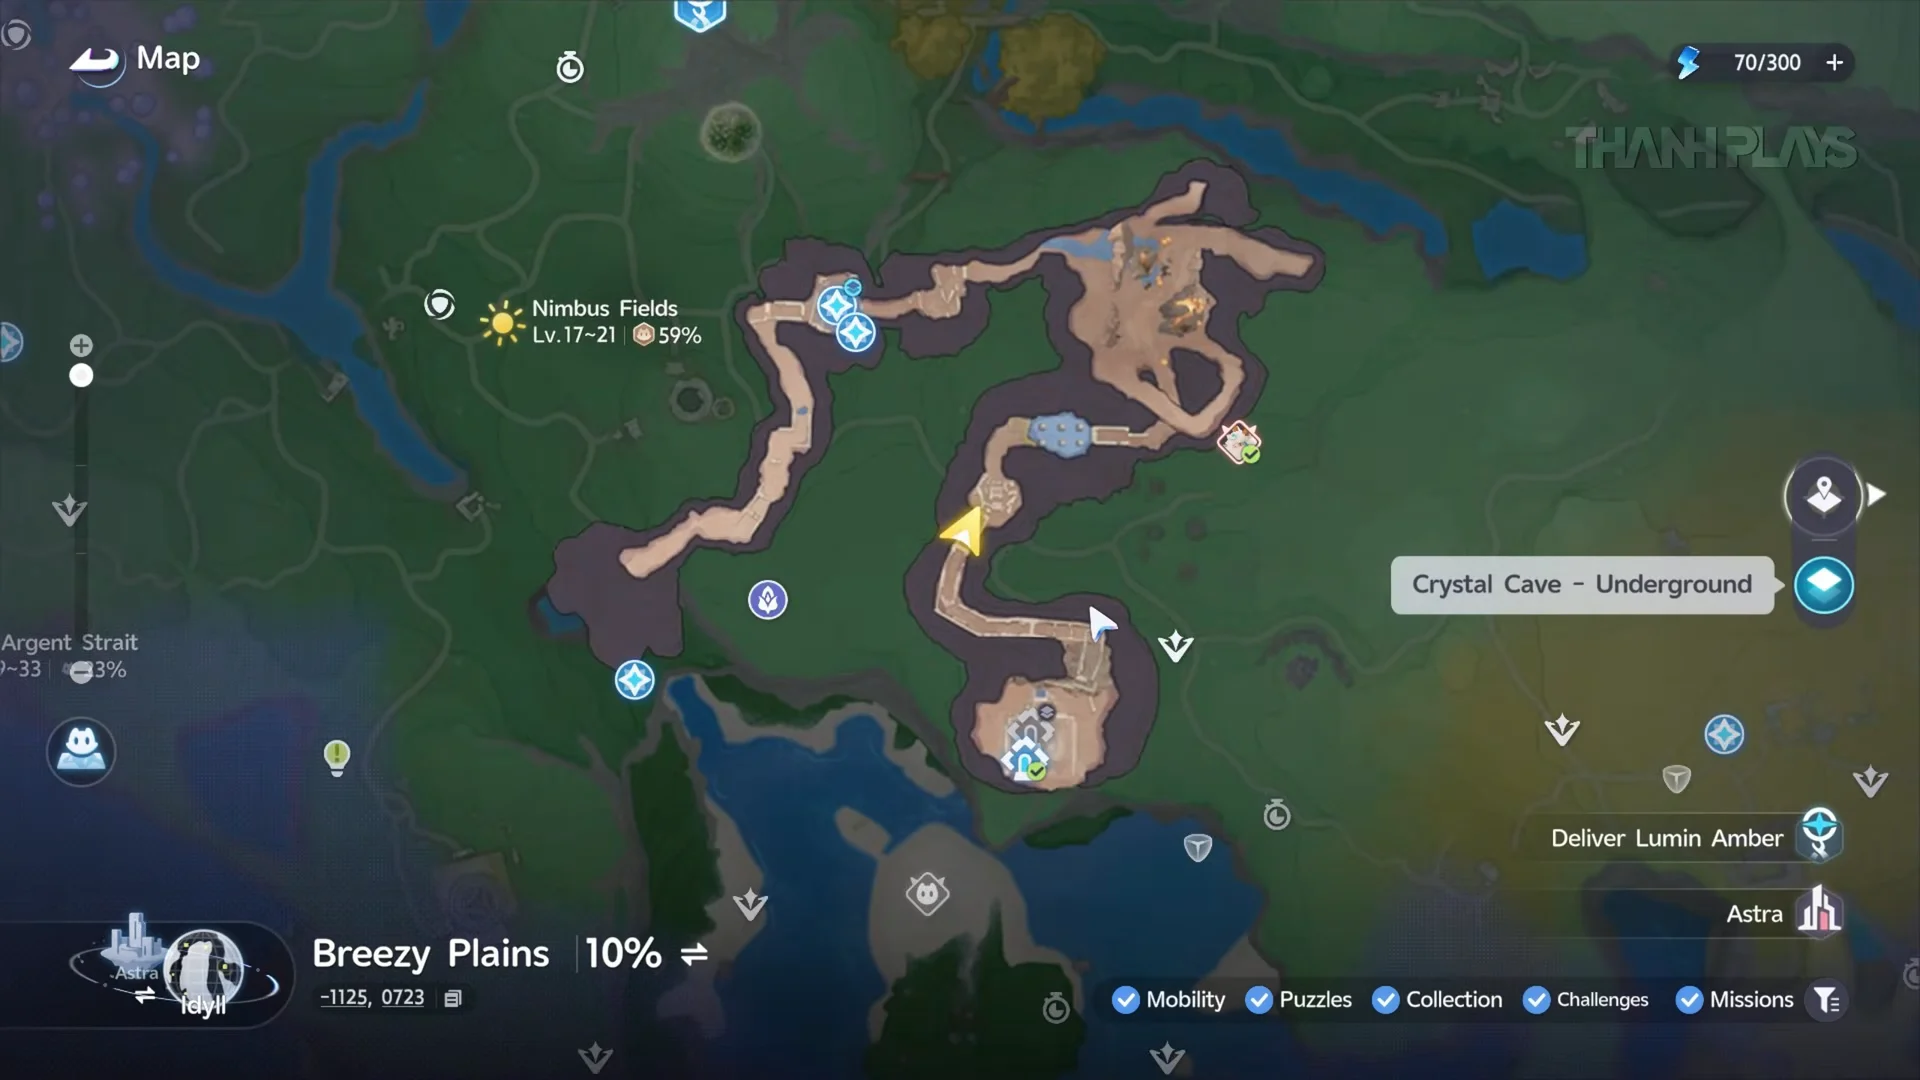
Glide through the cavern, past the purple barrier pillars, and into the stone corridor marked Chasing Clouds. From here you are on the underground layer, so swap the map over and follow the southern corridor.
Underground Map Progress Check01:20Underground Map Progress Check
Checking progress along the southern corridor on the Crystal Cave – Underground layer. Shown at 01:20 in ThànhPlays’s video. Image: Pawprint Studio
Keep going until the corridor opens into a chamber filled with glowing blue flora. Interact with the monument there to activate the Sub-Idyllian Ruins waypoint.

The Lumin Collection challenge in the same chamber

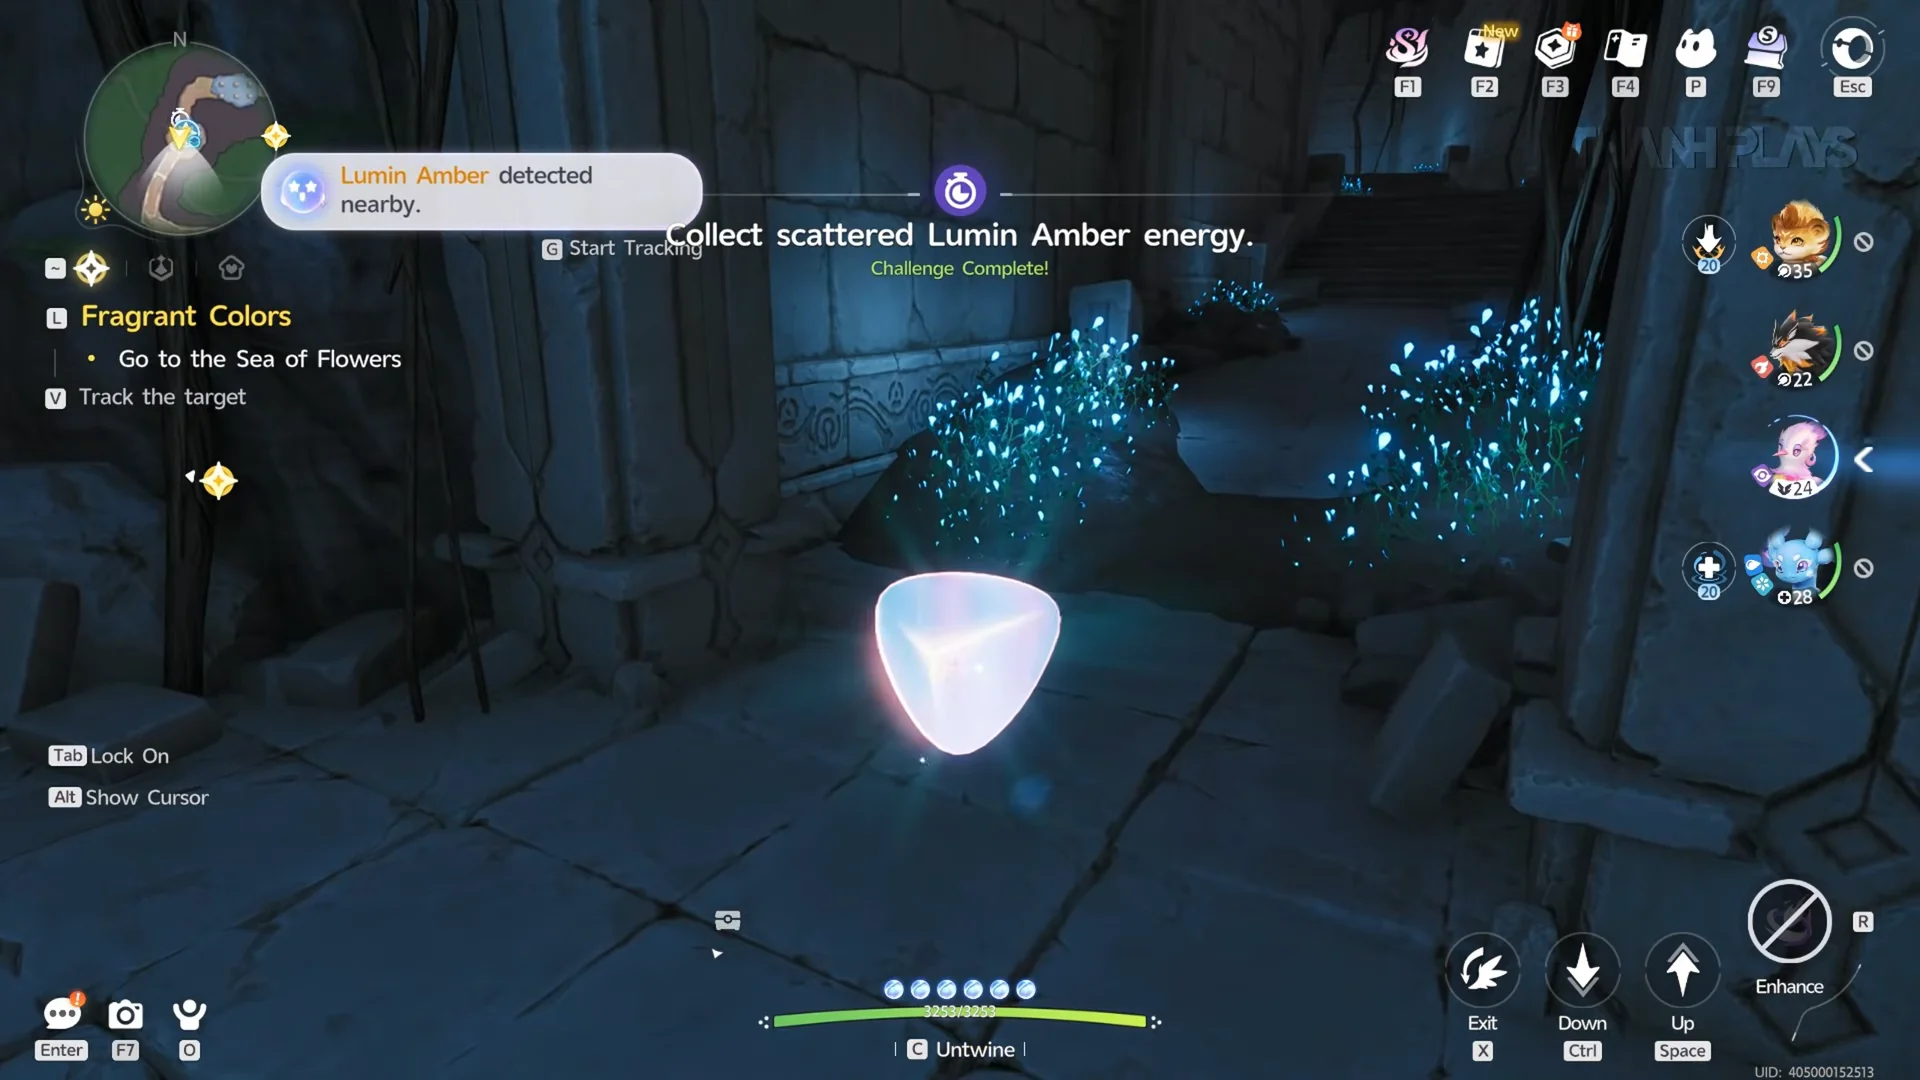
The Sub-Idyllian Ruins chamber also holds a Lumin Collection time trial. Start it and gather all ten Lumin energy particles scattered across the ruins platforms before the timer runs out. It is worth clearing while you are standing there, since the waypoint you just lit up makes coming back cheap anyway.
Completing Lumin Collection Challenge02:04Completing Lumin Collection Challenge
The Lumin collection challenge registering as complete inside the ruins. Shown at 02:04 in ThànhPlays’s video. Image: Pawprint Studio

Unlock the Crystal Cave waypoint from the northern cave

Open the underground map, switch back to ground level, and place a track marker on the northern cave entrance above Breezy Plains. The marker carries over to the surface, so you have a heading to ride toward.
Ride your mount across the flower fields until you reach a set of stone stairs leading up to a cave opening. A Cave Explorer NPC and a campfire sit beside it, which confirms you have the right entrance.
Follow the corridor deeper in. The route asks for a bit of everything, gliding across chasms and climbing wall ledges, with chests along the way that are easy to grab without detouring.
Keep following the objective marker until you reach the Crystal Cave waypoint monument, then interact with it to unlock the second underground teleport.

Leave the track marker active for the whole run. Once you are inside the cave the corridors branch, and the marker is the fastest way to tell which chasm is worth gliding over.


How to confirm both teleports are active

Open the map, switch to the Crystal Cave – Underground layer, and check both markers. An activated waypoint can be selected the same way a surface sanctum can, with a Teleport button appearing once you pick it. If a marker will not let you select it, that monument has not been touched yet and you still need to reach it on foot.

With both monuments lit, the cave network stops being a one-way trip. You can drop straight into the ruins or the crystal chamber from anywhere, which matters for the chests, Lumin Ambers, and Pathfinder challenges scattered under Nimbus Fields that would otherwise mean repeating the entire approach every time.