
The quickest way to farm Prismana Aniimo right now leans on one worker: a fully built Tubster that drags whole packs of Bonesky together, breaks them in a single cast, and lets you capture the cluster in seconds. Every catch feeds the region’s Prismatic Energy, and once that meter fills, a Prismana form spawns on the map for you to grab.
Quick answer: Group Bonesky with Tubster’s Leaf Tornado, break them with Resting Whirlwind, then throw Anipods rapidly to catch the whole cluster. Each capture raises Prismatic Energy until the Prismana form appears.
Current Prismana rotation and where to farm
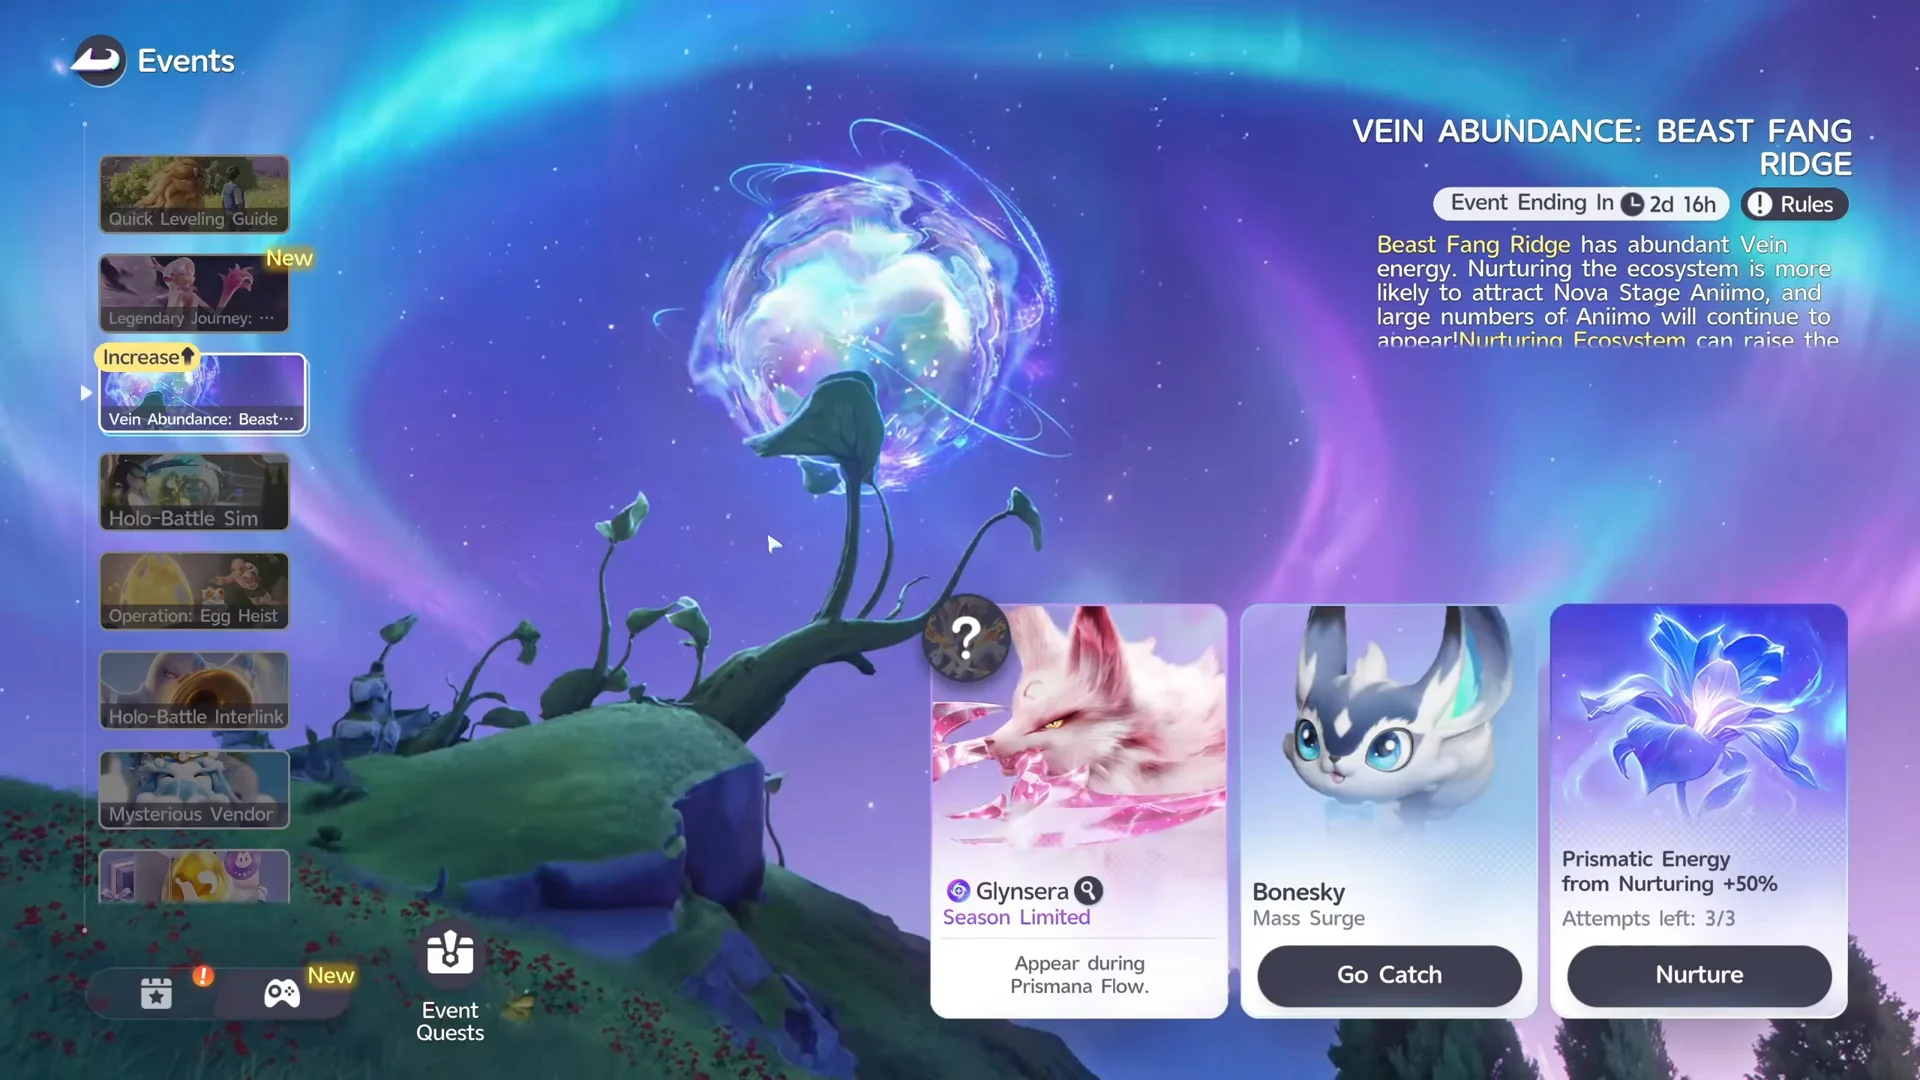
Which Prismana you can farm depends on the active spawn window, and each one is tied to a specific region. Right now, Prismana Glynersa is spawning in Beast Fang Ridge, which is where the Bonesky Mass Surge feeds this loop. The Melloblum window begins next, on Sept 28 at 04:00 UTC.
| Window (UTC+0) | Prismana | Region |
|---|---|---|
| Sept 21 04:00 – Sept 28 03:59 | Glynersa | 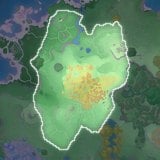 Beast Fang Ridge Beast Fang Ridge |
| Sept 28 04:00 – Oct 5 03:59 | Melloblum | 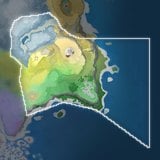 Rosetower Woods Rosetower Woods |
| Oct 5 04:00 – Oct 12 03:59 | Waleette | 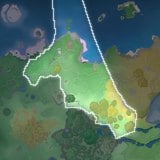 Berylline Vale Berylline Vale |
| Oct 12 04:00 – Oct 19 03:59 | Inferlupa | 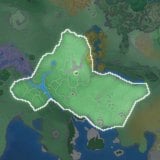 Nimbus Fields Nimbus Fields |
| Oct 19 04:00 – Oct 26 03:59 | Glynersa, Melloblum, Waleette, Inferlupa | All four regions at once |
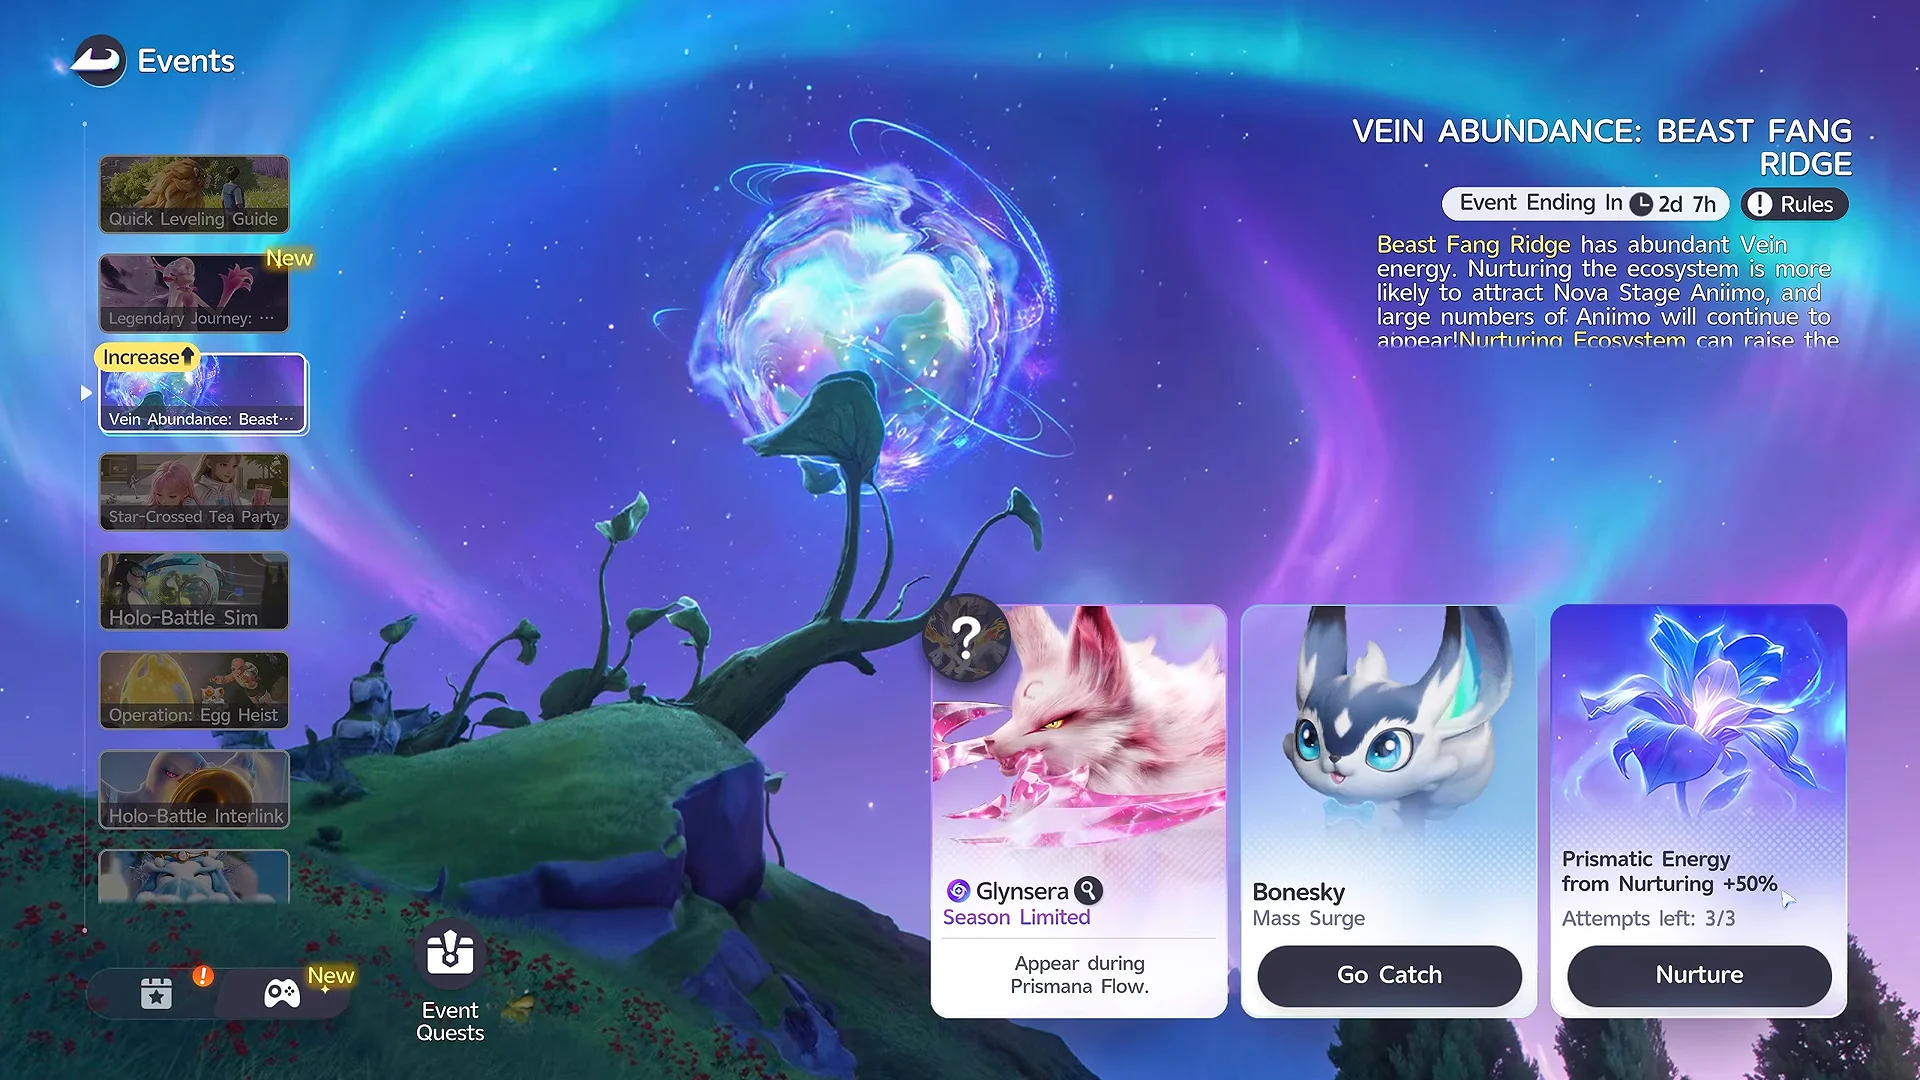
The Vein Abundance event drives the whole thing. It gives +50% Prismatic Energy from Nurturing and points you to the Bonesky Mass Surge, where dense packs respawn across the grassy hills fast enough to loop without downtime.
Why Tubster carries this farm
Older setups paired a puller like Hexxin with a separate breaker such as Helion or Rookey, forcing you to swap Aniimo mid-fight. Tubster collapses both jobs into one. It carries a Draw In skill to clump enemies and a fast BREAK skill to shave their defenses, so a single Aniimo groups and breaks the pack before you throw a pod.
Breaking matters because a broken target is far easier to catch. Landing BREAK before capture pushes catch rates above 90%, and it secures Fatal Shot bonuses that refund credits toward your next batch of Anipods.
How to get Tubster
There are three ways to add Tubster to your roster, all inside Breezy Plains.
- Highland Form Tubster appears in Zephyrus Landbridge / Russet Highlands after you collect every incredible egg in the area.
- Alpha Tubster is a Lv 55 spawn in The Argent Strait at coordinates (-1139, 0575), with a 20-second respawn interval. Catch it with an Ultra Anipod.
- Evolve a Chirpi once you have unlocked the evolution node.
The Chirpi route unlocks after you defeat Alpha Tubster. To evolve, the Chirpi must reach Aniimo level 18 with an acquired BREAK Potential of 6 or higher, and the evolution costs 6 Water Dewdrop.
Build Tubster for maximum BREAK
Level Tubster to 60 and slot two skills that matter: one Draw In skill to gather enemies and Resting Whirlwind to break them. Gale Guard rounds out the kit as the core shield.

| Skill | Role | EP Cost | Cooldown |
|---|---|---|---|
| Resting Whirlwind | BREAK, AoE (Might 48, BREAK 150%) | 15 | 1s |
 Leaf Tornado Leaf Tornado | Draw In (Might 45, BREAK 100%) | 20 | 15s |
 Water Tornado Water Tornado | Draw In (Might 45, BREAK 100%) | 20 | 15s |
| Tornado | Draw In (Might 59, BREAK 100%) | 20 | 15s |
| Gale Guard | Core, Shield | 5 | — |
Resting Whirlwind fires two arcing whirlwinds that pull targets along their paths, then explodes for AoE damage where they meet. Its 1-second cooldown means you can keep breaking packs almost continuously. Any of the three Draw In tornadoes works; Leaf Tornado also absorbs nearby puddles for 100% extra damage.
For Awakening, make BREAK your main point investment, then spend a few points on ATK to reduce enemy health and improve catch rates. Equip the Gargantuan Horn at +10; it provides 7.5% BREAK, an extra 0.7 BREAK per level, and a Tier 1 BREAK +2 effect, allowing break casts to strip defenses faster.
Trigger a Prismana spawn through Nurture
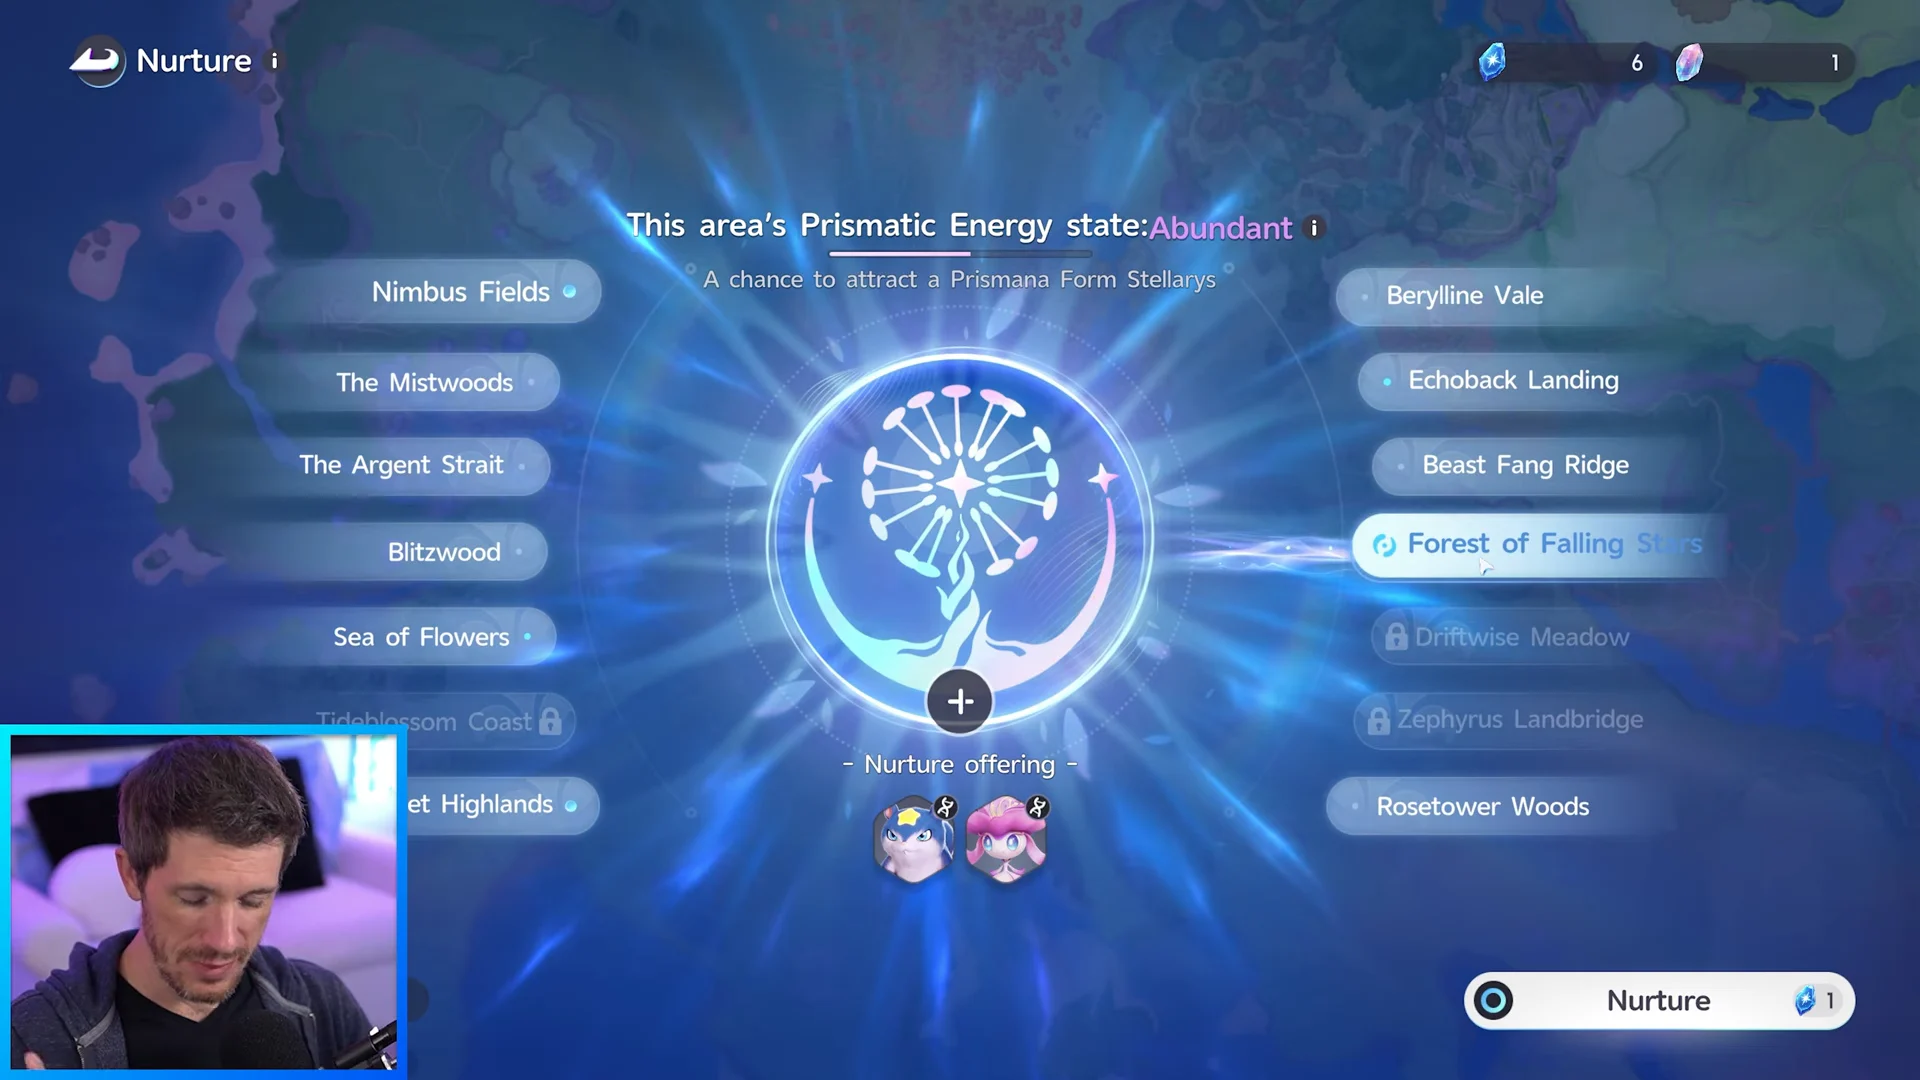
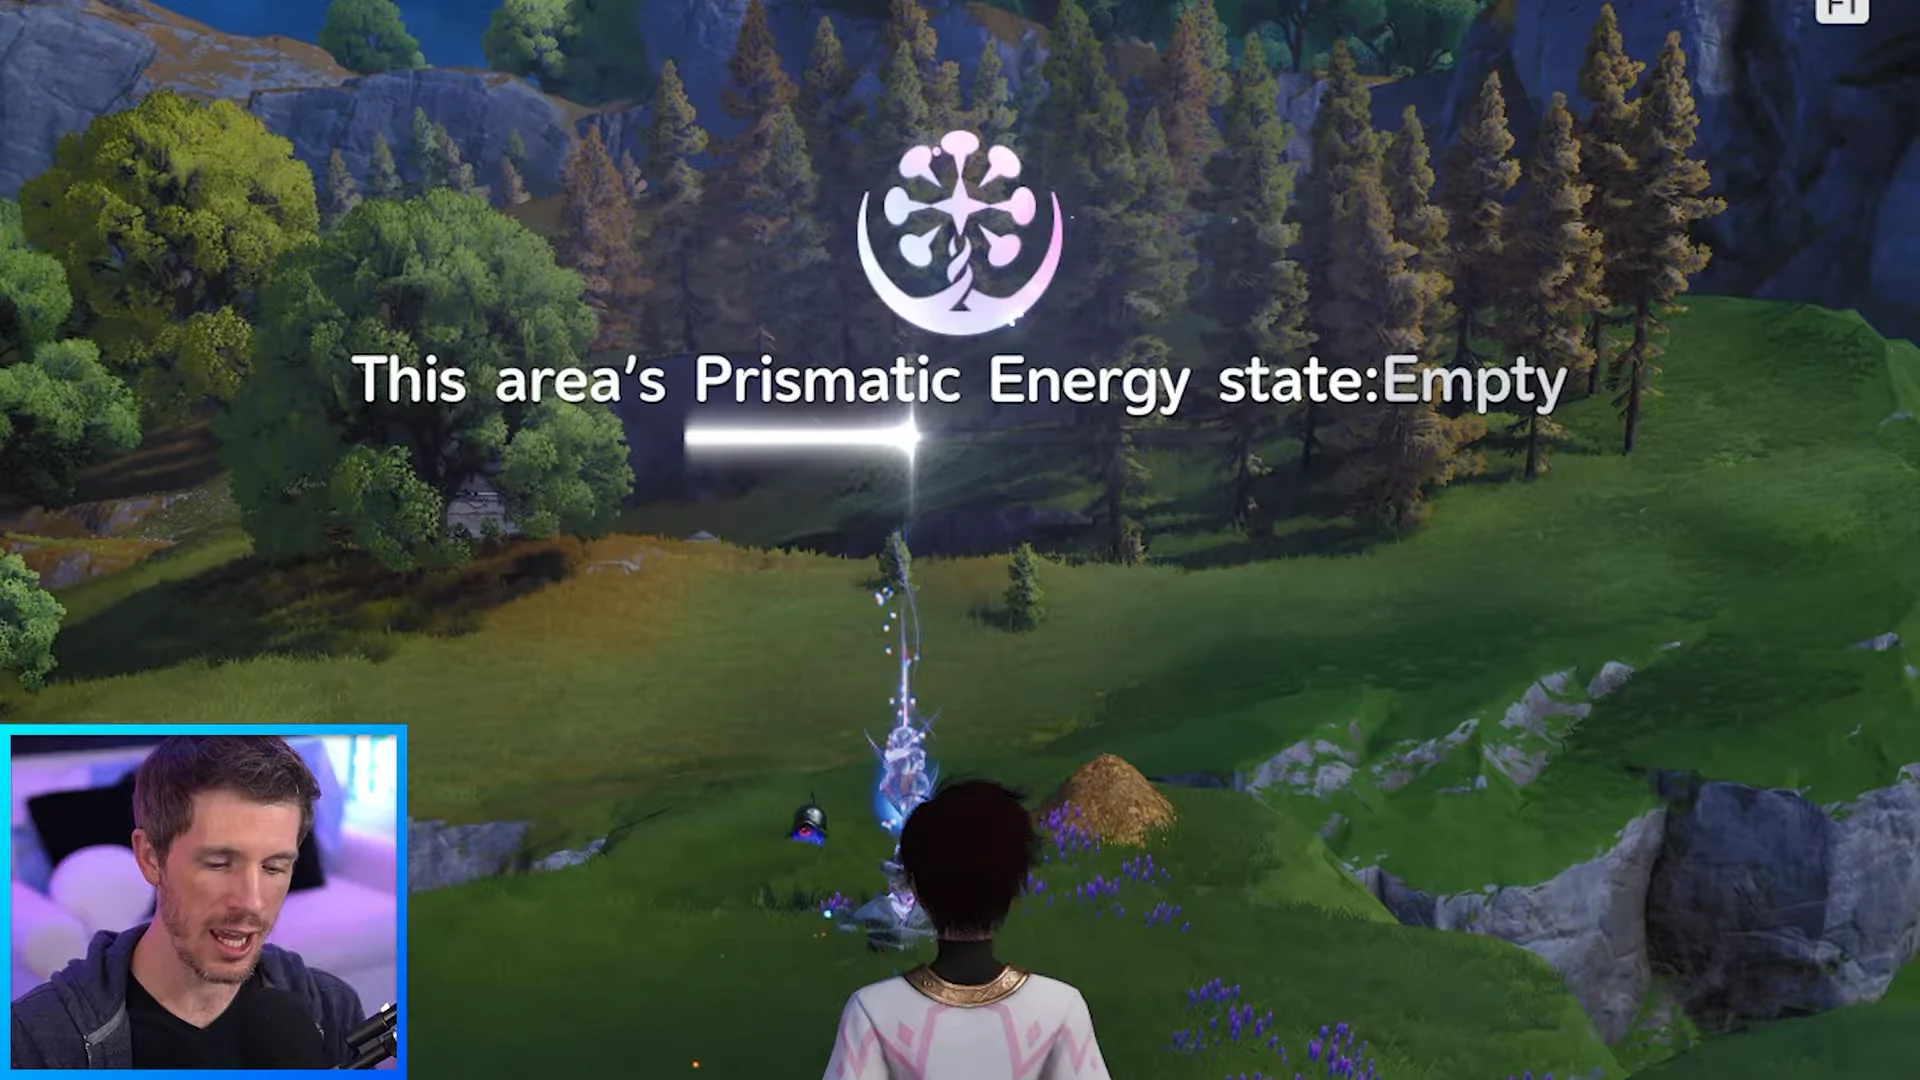
Prismatic Energy has five levels: Empty, Slight, Abundant, Very High, and Full. At Full, a Prismana is guaranteed to appear. Nurturing and catching each build energy, while a Lucky Strike during a catch can set off Prismana Flow immediately.

Run the group, break, catch loop
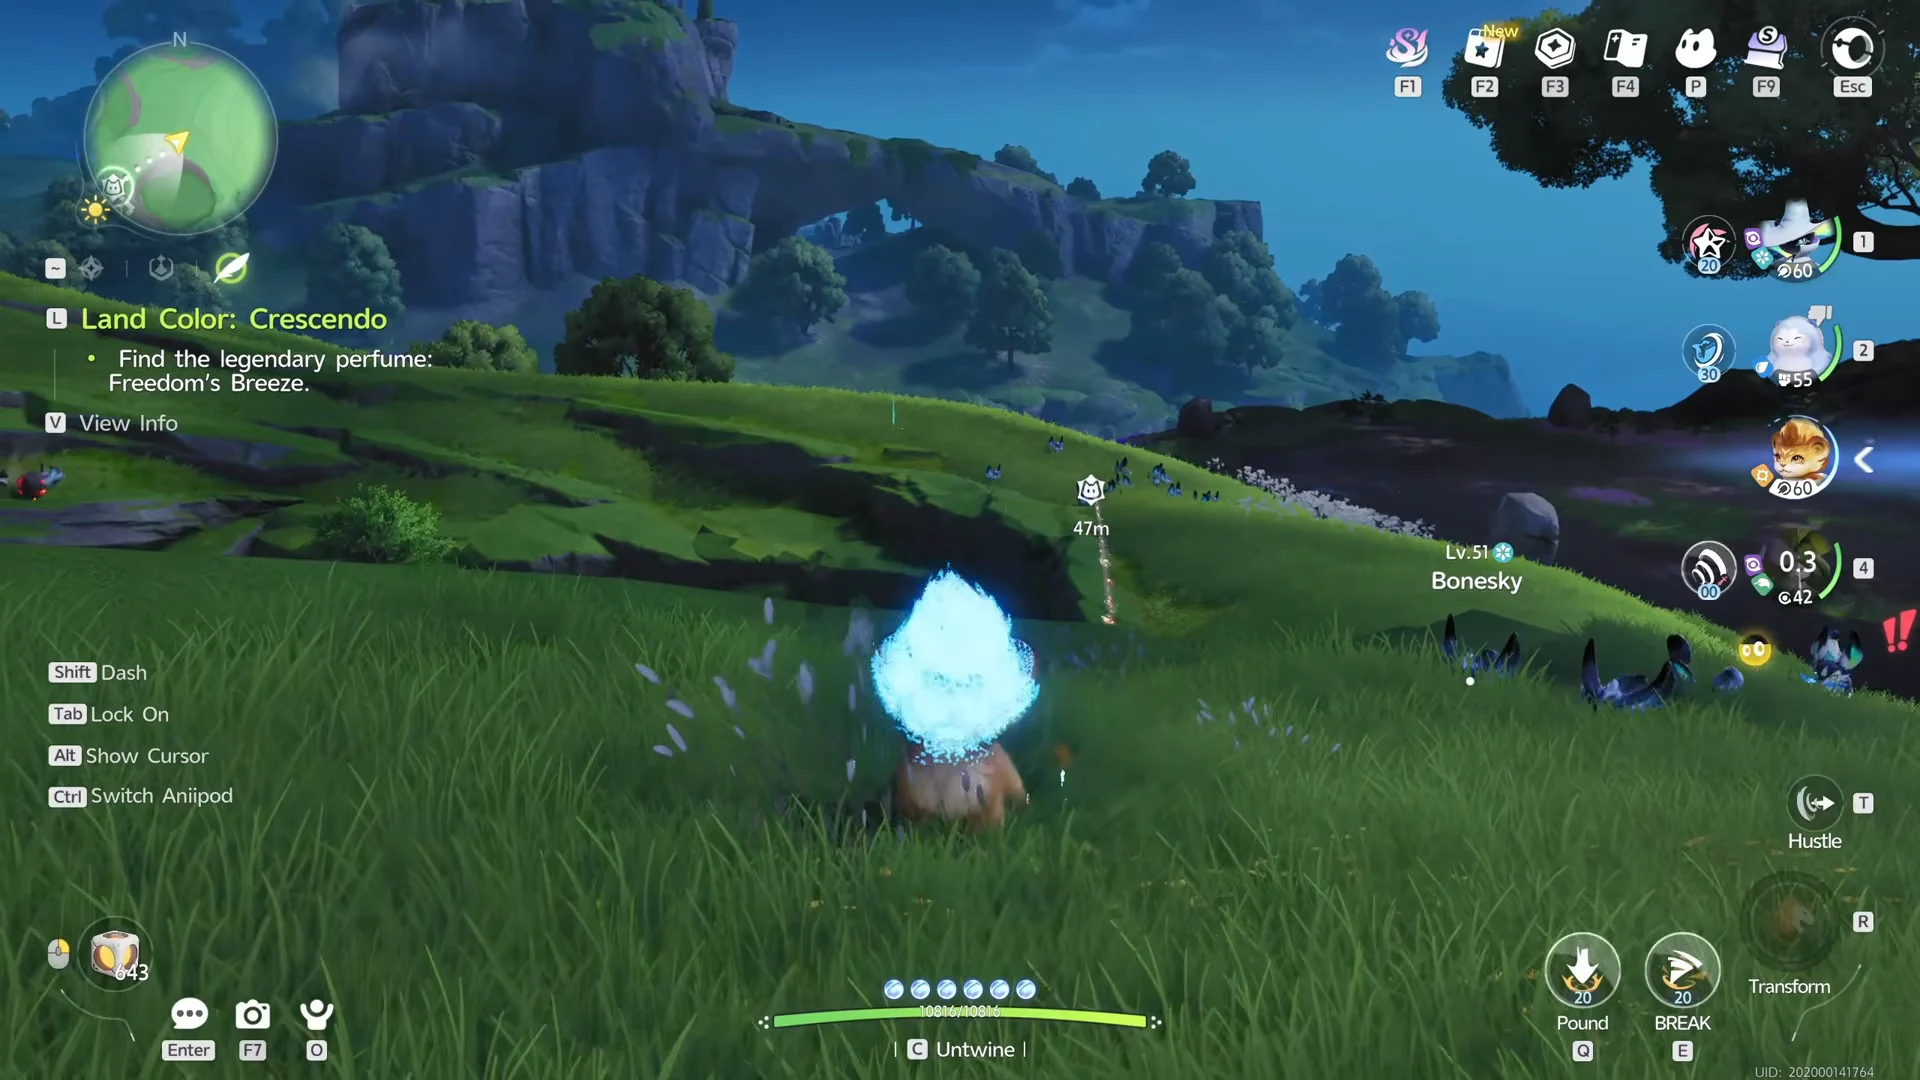
Once the energy is building, teleport to the Mass Surge area through the Go Catch button and start the core rotation on the Bonesky packs.
Slot low-level Aniimo into party slots 3 and 4 to gain catch EXP passively while you farm, and max the Research Expert talent for 30% more credits when you upload catches at the Research Console.
Repeat the loop to keep filling the Prismatic Energy gauge. When it reaches Full, a floating notification confirms the Prismana form has appeared, and a glowing beacon marks its location. Ride to it and catch it with a Sparkling Cube for a guaranteed success.
Somniwing sleep variant
If you want near-guaranteed captures, add Somniwing to the rotation. Group and break with Tubster as normal, then switch to Somniwing and cast Hypnotic Spores. On hit, it puts targets into Sleeping and prevents their action for 5 seconds, and the sleep breaks only when a target takes damage.

Sleeping targets are extremely reliable to capture, but the ability is ineffective against Grass-type Aniimo, and ongoing respawns during the Mass Surge can disrupt your rhythm. Hypnotic Spores costs 20 EP with an 18-second cooldown, so it fits between break casts rather than replacing them.
With Tubster built and the Vein Abundance bonus active, the fastest cycle stays the same for every rotation: clump, break, capture, and let the meter climb to Full. As the schedule rolls into new regions, retune only your target and the loop keeps producing Prismana forms.