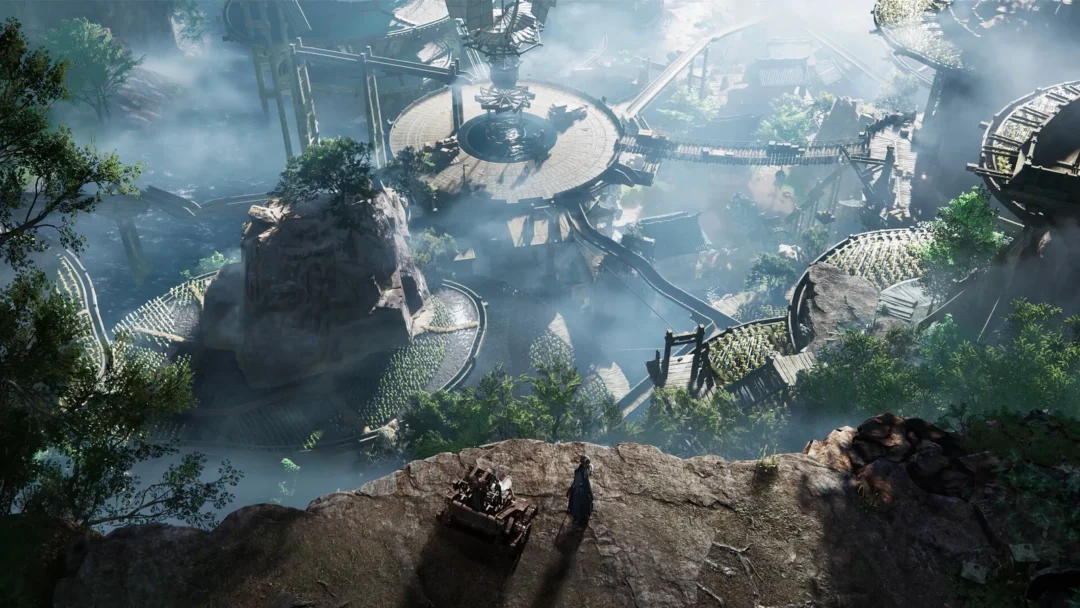
In Aniimo, Prismana Form Aniimo only show up when an area’s Prismatic Energy gauge fills and a Prismana Flow begins. You can buy your way there with Vein Essence Nurtures. You can also get there for a few thousand Credits by mass-catching common Aniimo with a Tubster that pulls packs together and breaks them. The method below targets Prismana Form Inferlupa in Nimbus Fields, and the odds tables apply to every Vein Abundance area.
Quick answer: Spend your three boosted Nurtures in Nimbus Fields. Then group Emberpups with Tubster’s Leaf Tornado, break them with Resting Whirlwind, and throw basic Aniipods until the gauge hits 10,500.
How Prismana Flow and Prismatic Energy work
Each area has its own Prismatic Energy gauge. When a gauge reaches 10,500, pity kicks in. A Prismana Flow starts, and that area’s Prismana Form Aniimo spawns. During the Inferlupa rotation, a full Nimbus Fields gauge guarantees a Prismana Form Inferlupa encounter.
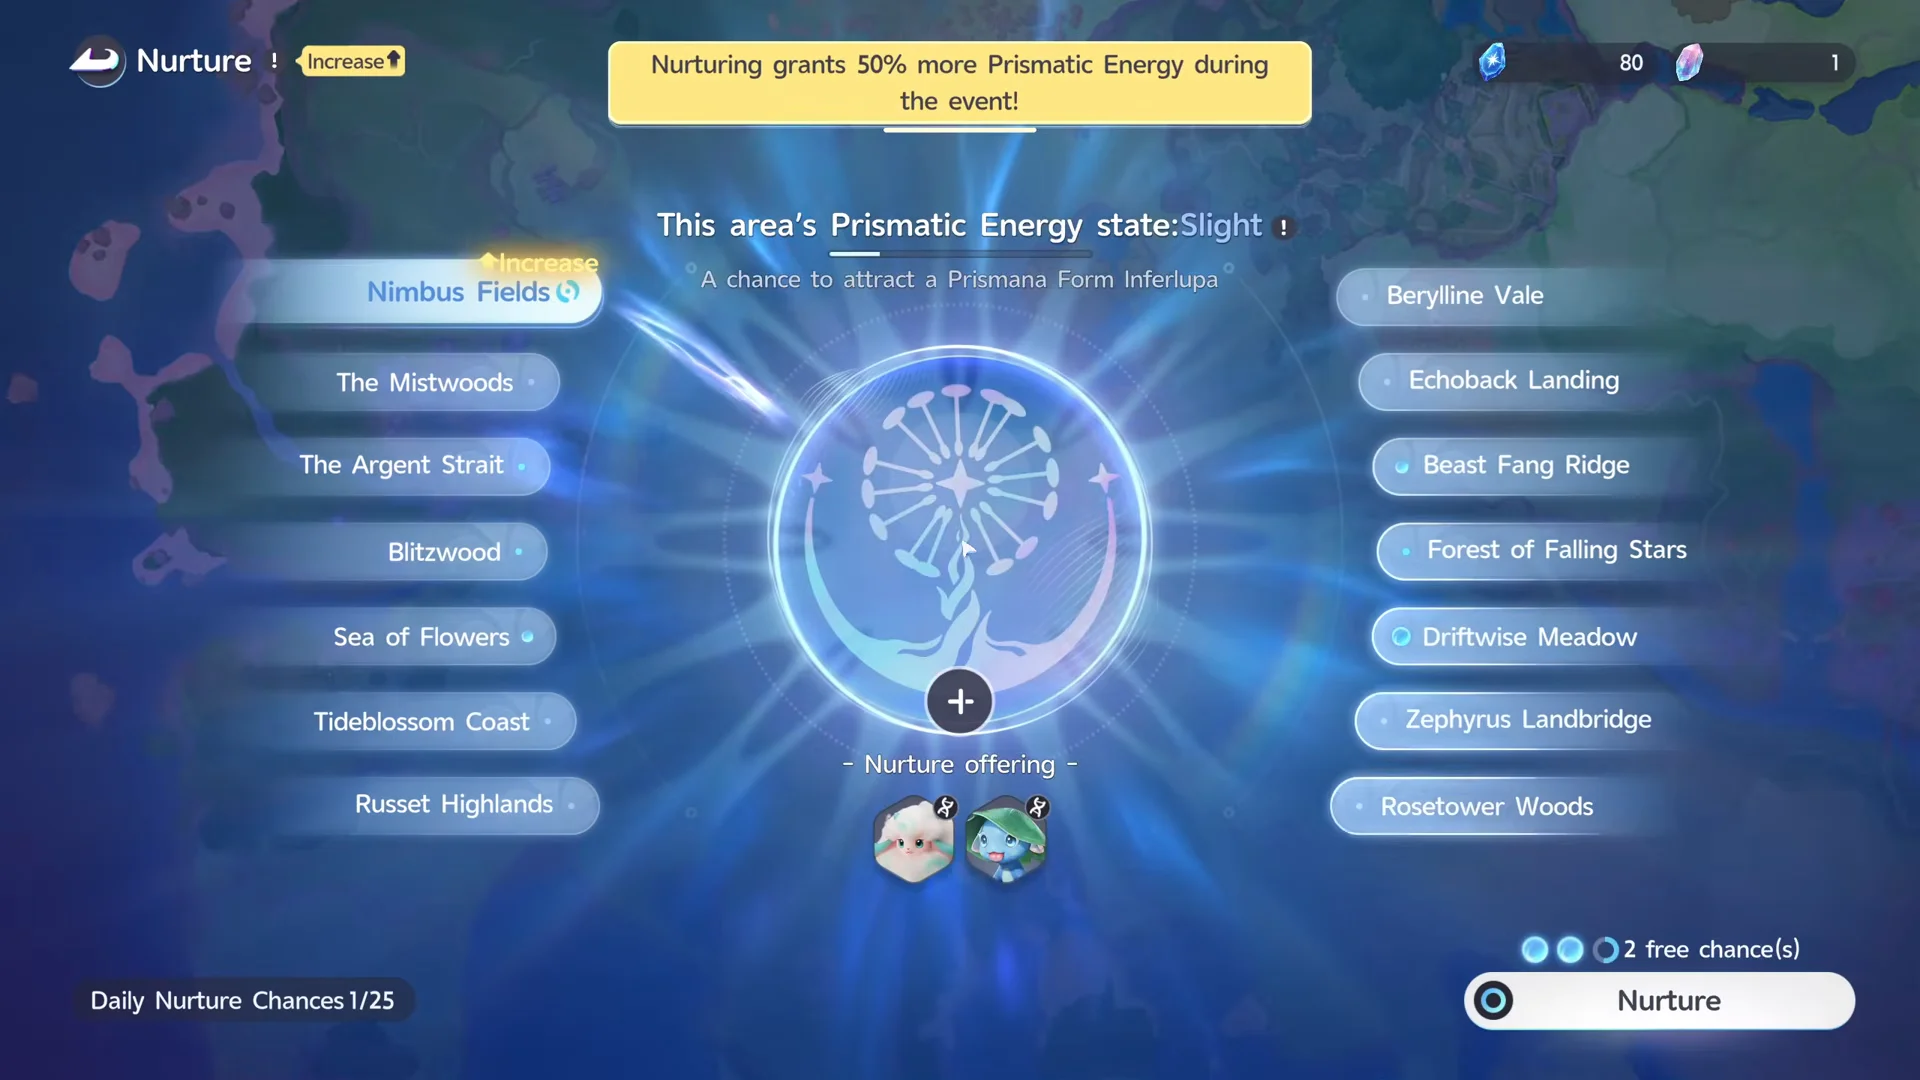
Energy reaches the gauge in two ways. A Nurture at the area’s Bloom adds a fixed amount and has a small chance to start a Flow on the spot. Successful wild catches in the area can roll Lucky or Superlucky, and each of those adds a chunk of energy. A missed throw earns nothing.
| Energy source | Prismatic Energy | Extra effect |
|---|---|---|
| Nurture (standard) | 480 | 3% chance to trigger a Flow directly |
| Nurture (Vein Abundance boost, +50%) | 720 | 3 boosted attempts per day |
| Lucky catch | 275 to 500 | Rolled on a successful catch |
| Superlucky catch | 1,500 | Rolled on a successful catch |
| Pity threshold | 10,500 | Guaranteed Prismana Flow |
Three boosted Nurtures add 2,160 energy. That leaves 8,340 to fill from catches, which comes out to about 27 Lucky rolls at the average Lucky payout, or fewer if a Superlucky lands.
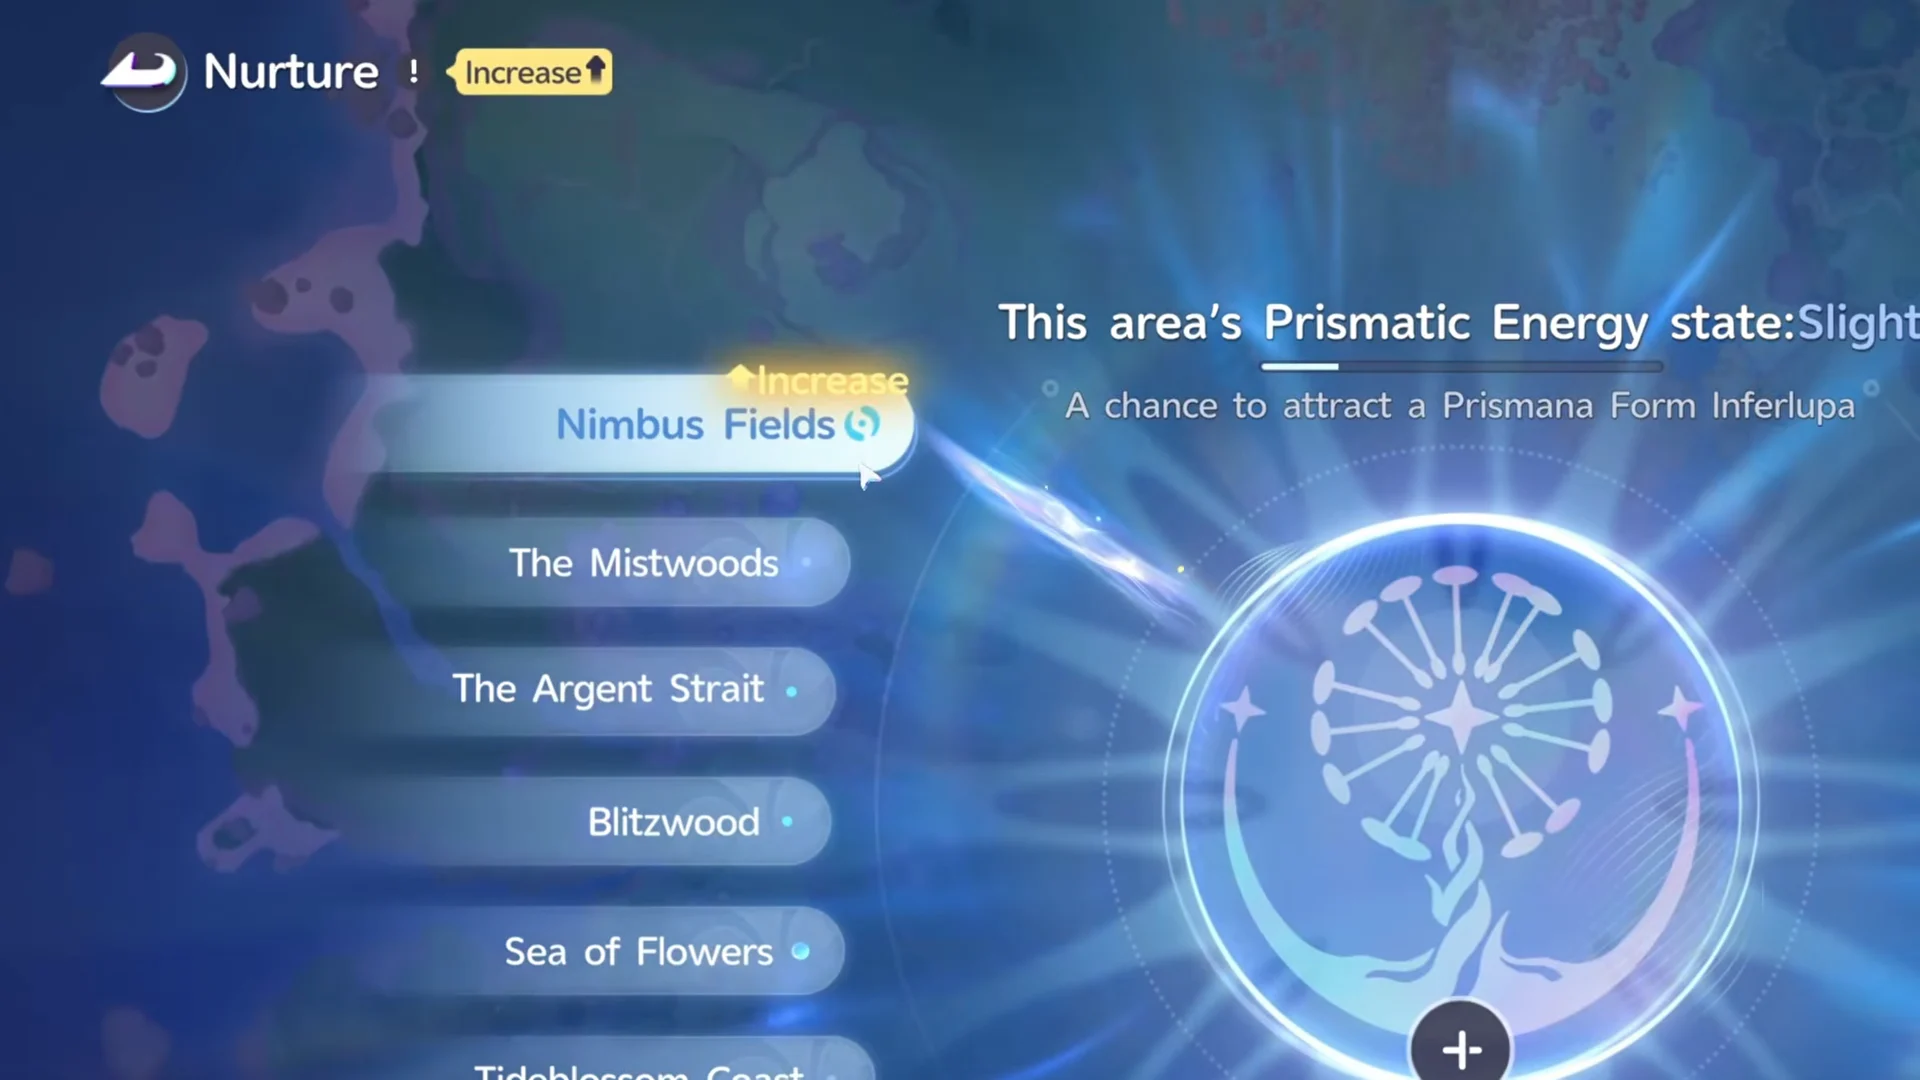
Lucky and Superlucky energy only goes to the area where you caught the Aniimo. If you catch outside Nimbus Fields, you fill a different area’s gauge and do nothing for Inferlupa.
Lucky and Superlucky odds per catch
Every successful catch counts as one check. The odds of rolling Lucky or Superlucky get worse as you trigger them during a week. Each tier also has a hard pity, which is the most checks you can make before the trigger is guaranteed.
| Trigger | Chance per catch | Guaranteed by |
|---|---|---|
| Lucky, first 10 each week | 1.00% | 200 catches |
| Lucky, after 10 each week | 0.5% | 400 catches |
| Superlucky, 1st | 0.2% | 500 catches |
| Superlucky, 2nd | 0.1% | 1,000 catches |
| Superlucky, 3rd onward | 0.05% | 3,000 catches |
Superlucky always pays 1,500 energy. The size of a Lucky payout is rolled from four tiers.
| Lucky tier | Prismatic Energy | Chance |
|---|---|---|
| Tier 1 | 275 | 40% |
| Tier 2 | 300 | 50% |
| Tier 3 | 350 | 5% |
| Tier 4 | 500 | 5% |
The Lucky and Superlucky counters reset every Monday at 04:00 server time. Your first 10 Lucky triggers of a week are the cheap ones, so it pays to front-load catching right after the reset.
How to get and build Tubster for Prismana farming
Tubster gives you a pull and a break on short cooldowns, and that pairing does all the work in this loop. You can catch a wild Highland Form Tubster or fight the level 55 Alpha Tubster in The Argent Strait. The cheapest route is to evolve Chirpi. Chirpi (Beach Form) lives in Echoback Landing (levels 36 to 40) and the Forest of Falling Stars (levels 20 to 25).

Chirpi can evolve into Cornet, Tromber or Tubster. Cornet only needs the level, but the Tubster branch has stricter requirements.
- Chirpi at Aniimo level 18 or higher
- Incredible BREAK Potential, with acquired BREAK Potential of 6 or higher
- Alpha Tubster defeated
- One Gust Stone

Once you have Tubster, build it to break targets, not to kill them. A Tubster with too much attack one-shots its targets, and a defeated Aniimo can’t be caught. Use this setup.
- Level Tubster to 60.
- Star Up once.
- Put Capability Awakening into BREAK, to around level 12 or 13, using Star Dust.
- Put a Gargantuan Horn in your held-item slot. At +10, it adds BREAK.
- Equip Leaf Tornado and Resting Whirlwind as the two active skills.
| Skill | Element / tag | Power · EP | Cooldown |
|---|---|---|---|
 Leaf Tornado Leaf Tornado | Grass · Draw In | 45 · 20 | 15 s |
| Resting Whirlwind | Wind · BREAK | 48 · 15 | 1 s |
Leaf Tornado spins up leaves at your chosen point, drawing enemies toward the vortex’s core. Taking in nearby puddles doubles its damage. Resting Whirlwind sends out two arcing whirlwinds that carry targets along and burst when they collide. Its 1-second cooldown lets you disrupt a group again before it has time to recover.
Running the Nimbus Fields Prismana Inferlupa loop

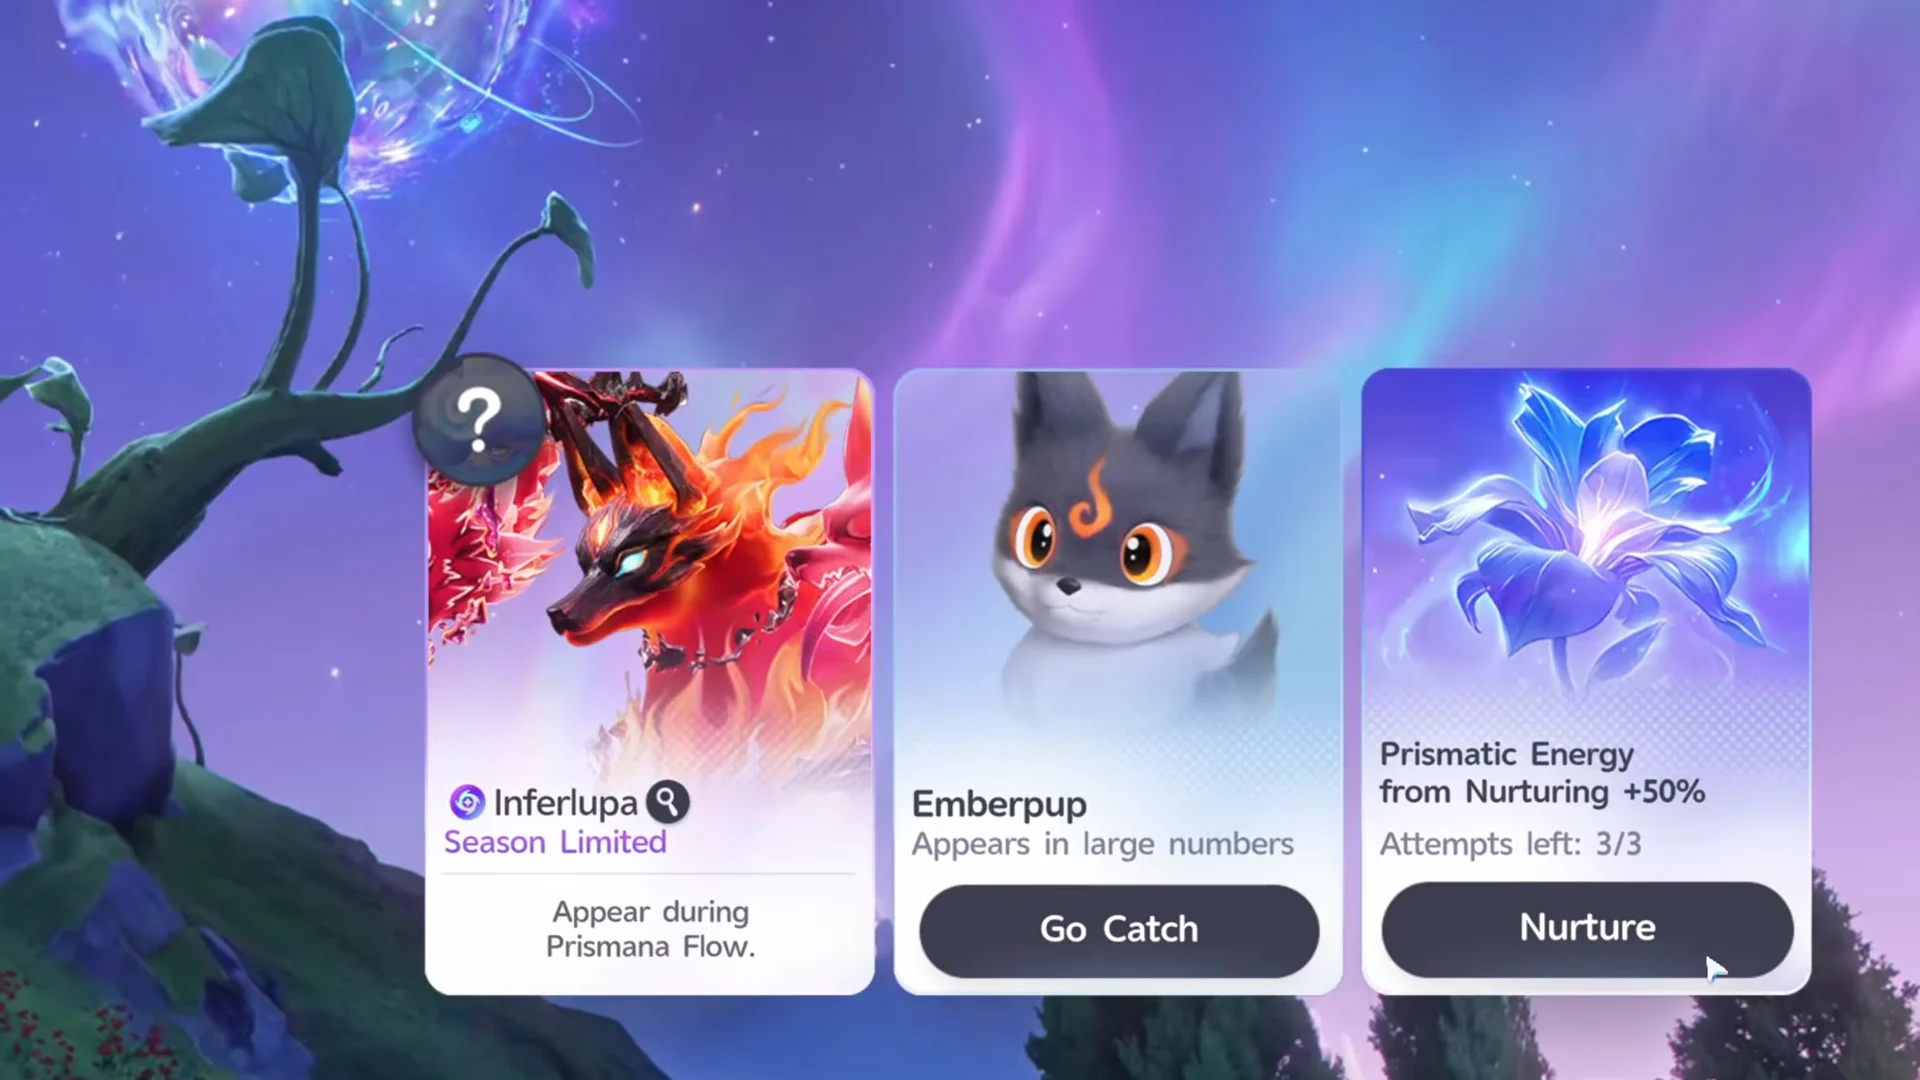
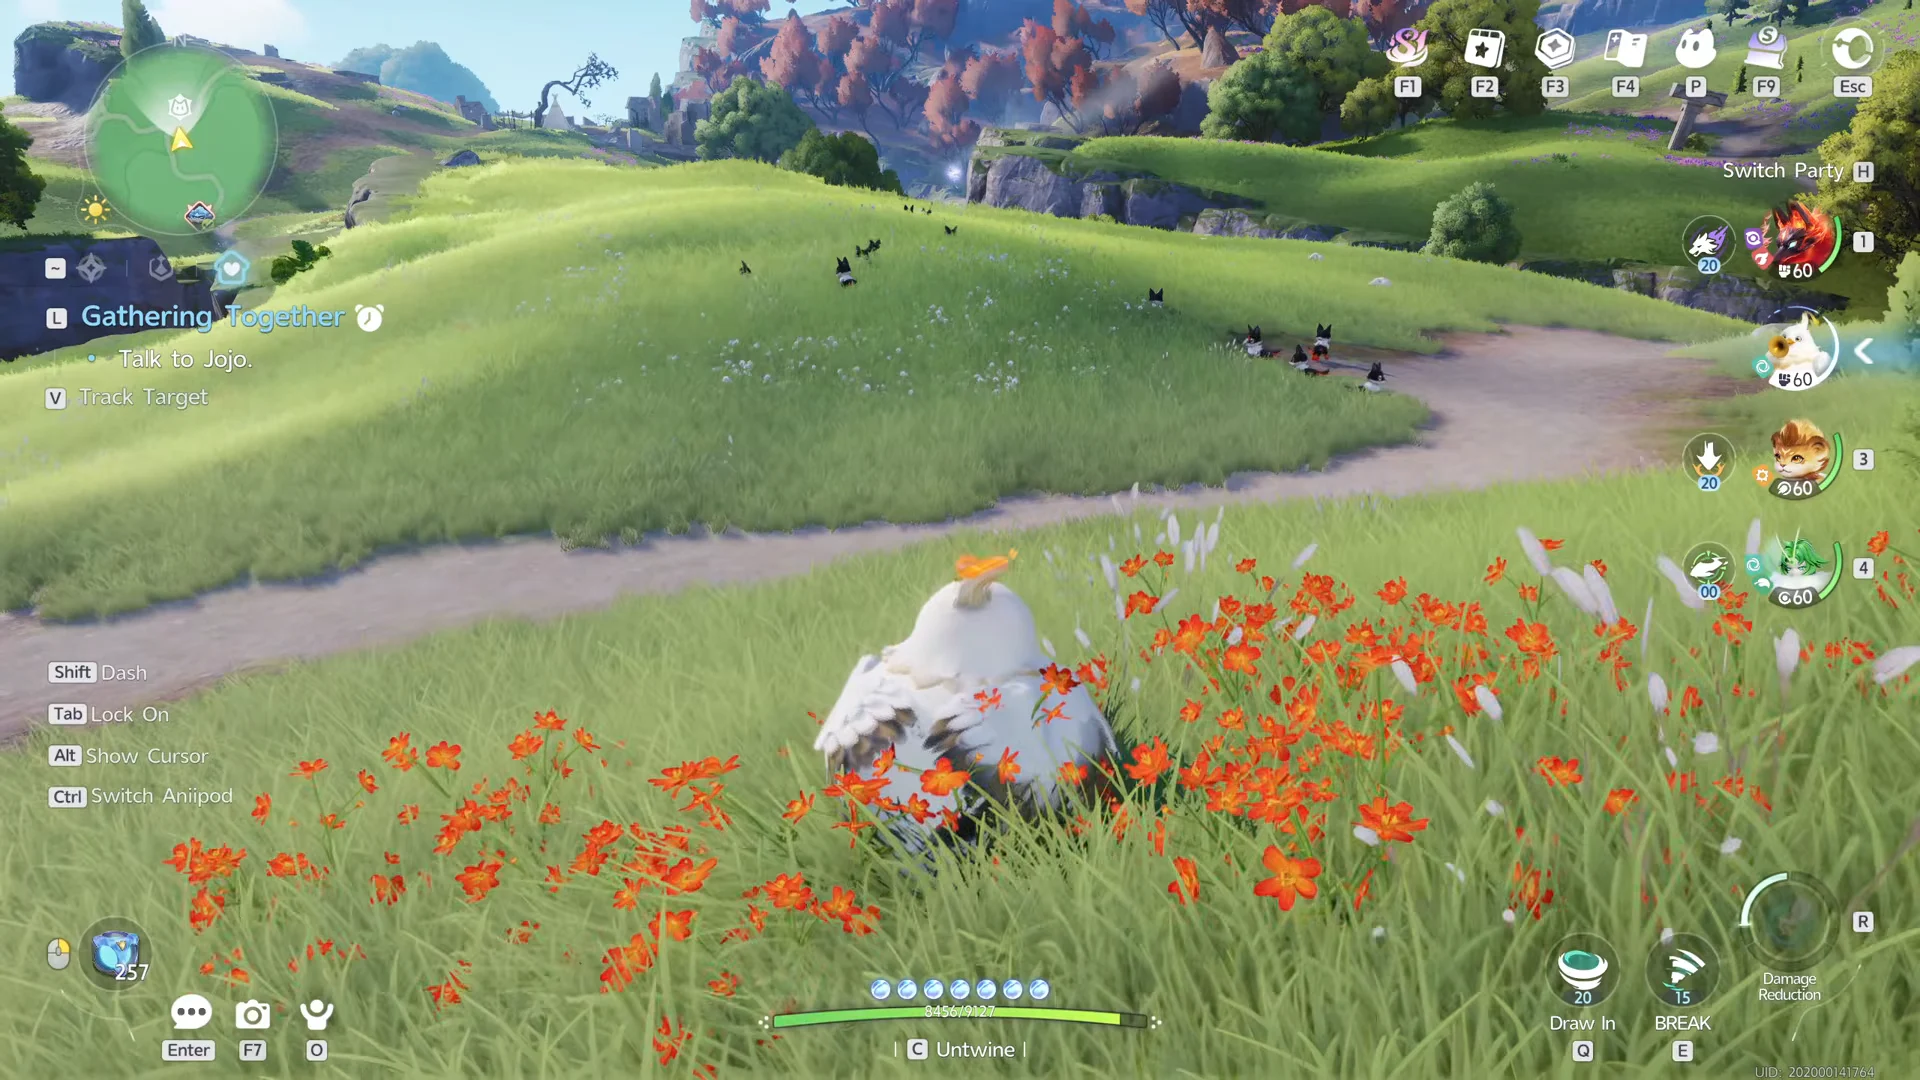

You know the loop worked when the purple beam appears and the Inferlupa catch lands in your storage tagged with its Prismana Form. If you run out of Aniipods mid-session, go to Shop, then Corner Shop, Exchange and Outpost Vendor to restock without leaving the field.
Credit and Vein Essence costs
Buying Nurtures with Vein Essence goes through your supply quickly, and each one adds only 480 energy. Wild catches cost nothing but Aniipods. Higher-tier Aniipods don’t raise your Lucky or Superlucky odds, and broken targets are already guaranteed catches, so the basic pod is the only one you need.

| Aniipod | Price |
|---|---|
| Aniipod | 3,500 Credits |
 Aniipod Pro Aniipod Pro | 7,000 Credits |
 Aniipod Mega Aniipod Mega | 10.5K Credits |
The Research Expert talent at Lv.4 adds 30% more Credits to every report. Reporting is also where you claim the Fatal Shot capture bonus, which helps pay for the next batch of pods.
Emberpup family catch rates and catch multipliers
Emberpups are the fodder for this loop, and Prismana Form Inferlupa is the reward at the end of it. Here are the records for the family, including the second Prismana Form it can take.

| Aniimo | Base catch | Elements · role | Habitats |
|---|---|---|---|
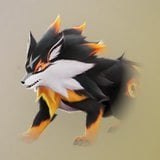 Flameruff Flameruff | 42% | Fire · DPS | Nimbus Fields, The Argent Strait, Echoback Landing, Beast Fang Ridge |
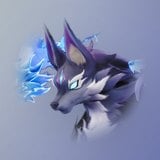 Inferlupa Inferlupa | 28% | Dark, Fire · BREAK | None listed |
 Inferlupa (Prismana) Inferlupa (Prismana) | 25% | Dark, Fire · BREAK | Season 1 Keepsakes |
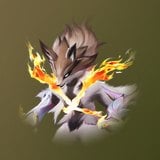 Scorchhowl (Prismana) Scorchhowl (Prismana) | 28% | Fire · DPS | Beast Fang Ridge (30–35) |
Prismana Form Inferlupa has element level 4, one higher than regular Inferlupa, with the same base stats. Releasing either one returns six Unbroken Flameruff Spirit and two Growth Flowers. Every member of the family has a Sparkling rate of 1 in 20,000.
Base catch chance depends on catch tier and evolution stage. A first-stage Aniimo in tier 1 starts at 56%, and a third-stage Aniimo in tier 5 starts at 16%. Several modifiers stack on top of that base.
- Target in break: x1.5
- Thrown from behind: x1.5
- Sleeping, Stunned, Eating or Fascinated: x2
- On edge or Stare: x0.9; Flee: x0.8
- Enraged, Rampaging, Disguised or Not alone: cannot be caught
Vein Abundance Prismana rotation dates
Each Vein Abundance week features a single Prismana Form in a single area. The loop works the same everywhere. You catch whatever spawns in the featured area and keep every catch inside that area’s borders. All times are UTC+0.

| Window (UTC+0) | Prismana Form | Area |
|---|---|---|
| Sept. 21 04:00 – Sept. 28 03:59 | Prismana Glynsera | 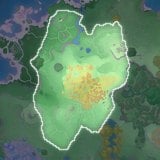 Beast Fang Ridge Beast Fang Ridge |
| Sept. 28 04:00 – Oct. 5 03:59 | Prismana Melloblum | 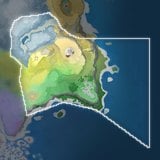 Rosetower Woods Rosetower Woods |
| Oct. 5 04:00 – Oct. 12 03:59 | Prismana Waleetle | 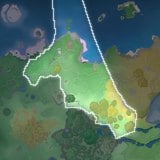 Berylline Vale Berylline Vale |
| Oct. 12 04:00 – Oct. 19 03:59 | Prismana Inferlupa | 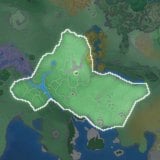 Nimbus Fields Nimbus Fields |
| Oct. 19 04:00 – Oct. 26 03:59 | All four at once | All four areas |
The Nimbus Fields window for Inferlupa ends on October 19 at 03:59 UTC. The upcoming week, which starts at 04:00 the same day, brings back all four Prismana Forms at once, each in its own area. Glynsera, Melloblum and Waleetle return to Beast Fang Ridge, Rosetower Woods and Berylline Vale, and Inferlupa stays in Nimbus Fields. Each area keeps its own gauge, so choose one target and keep your catches inside that area until the beam appears.