

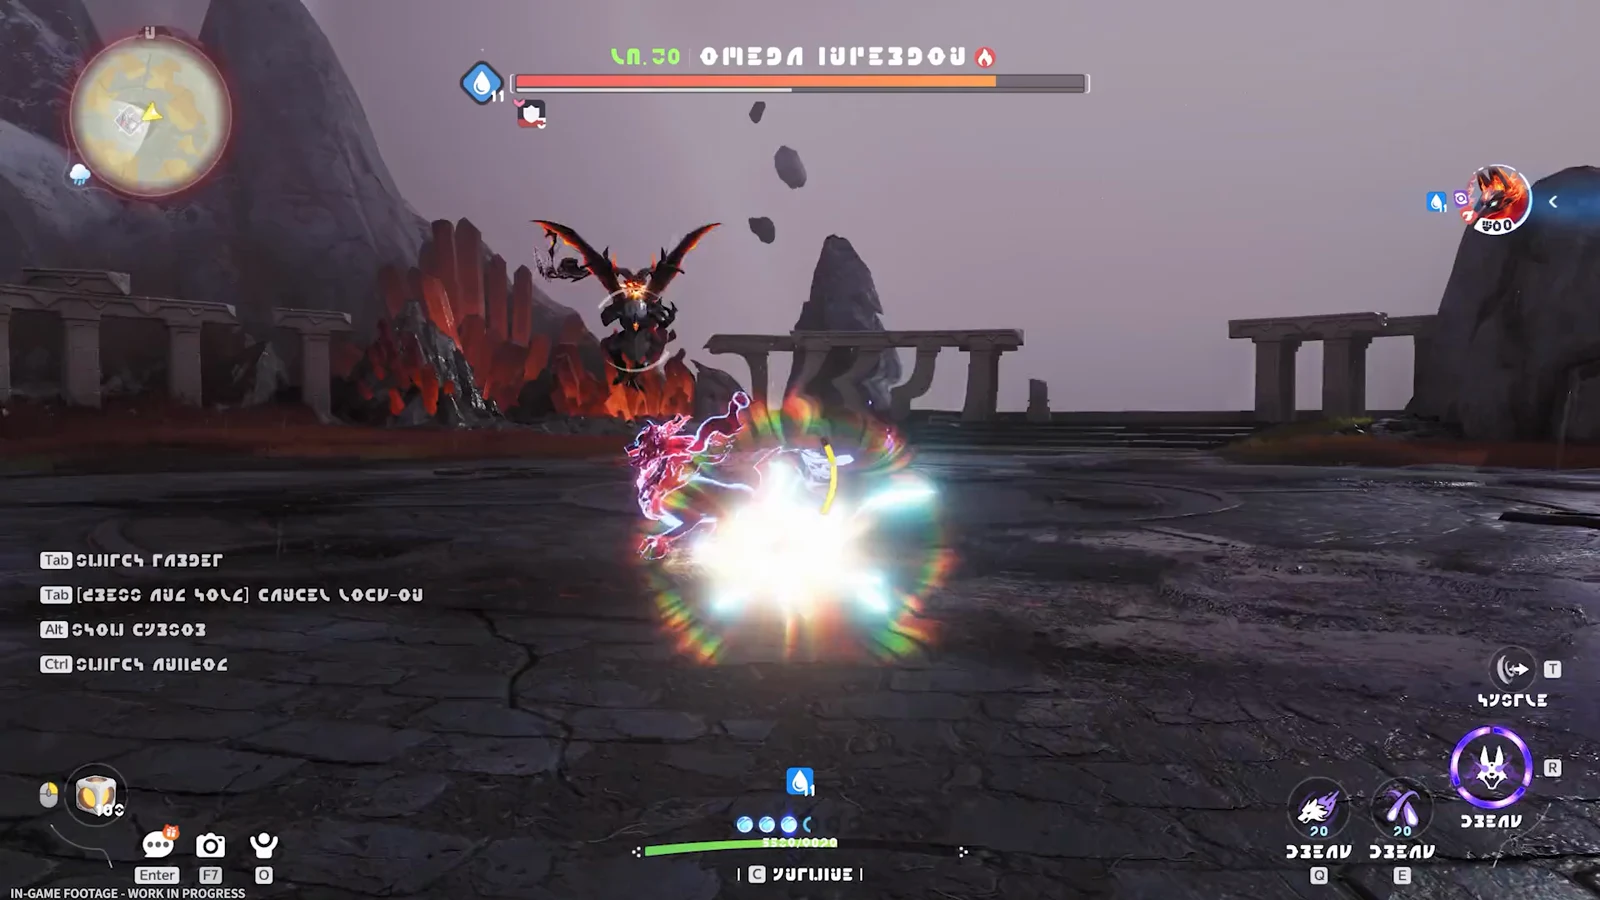
The Irelia encounter closes out Aniimo’s launch story. It is less a traditional boss gauntlet than a three-round tug of war over Irelia’s colors, fought on a flooded arena while three ancient machines siphon her power. Win it and the game rolls straight into its longest run of cutscenes, ending with a quiet goodbye in Bloomville.
Quick answer: Break the three colored mechanisms at Tideblossom Coast to interrupt the drain, then defeat Lv. 50 Irelia. The chapter finishes after Sunia’s farewell, and the tracker then asks you to reach level 51.
What triggers the Irelia boss fight
The fight sits inside the main story quest Rainbow of the Ground, immediately after the objective “Investigate Irelia’s condition.” You cross the darkened water toward a purple portal, and the moment you reach it, control drops into a cutscene.
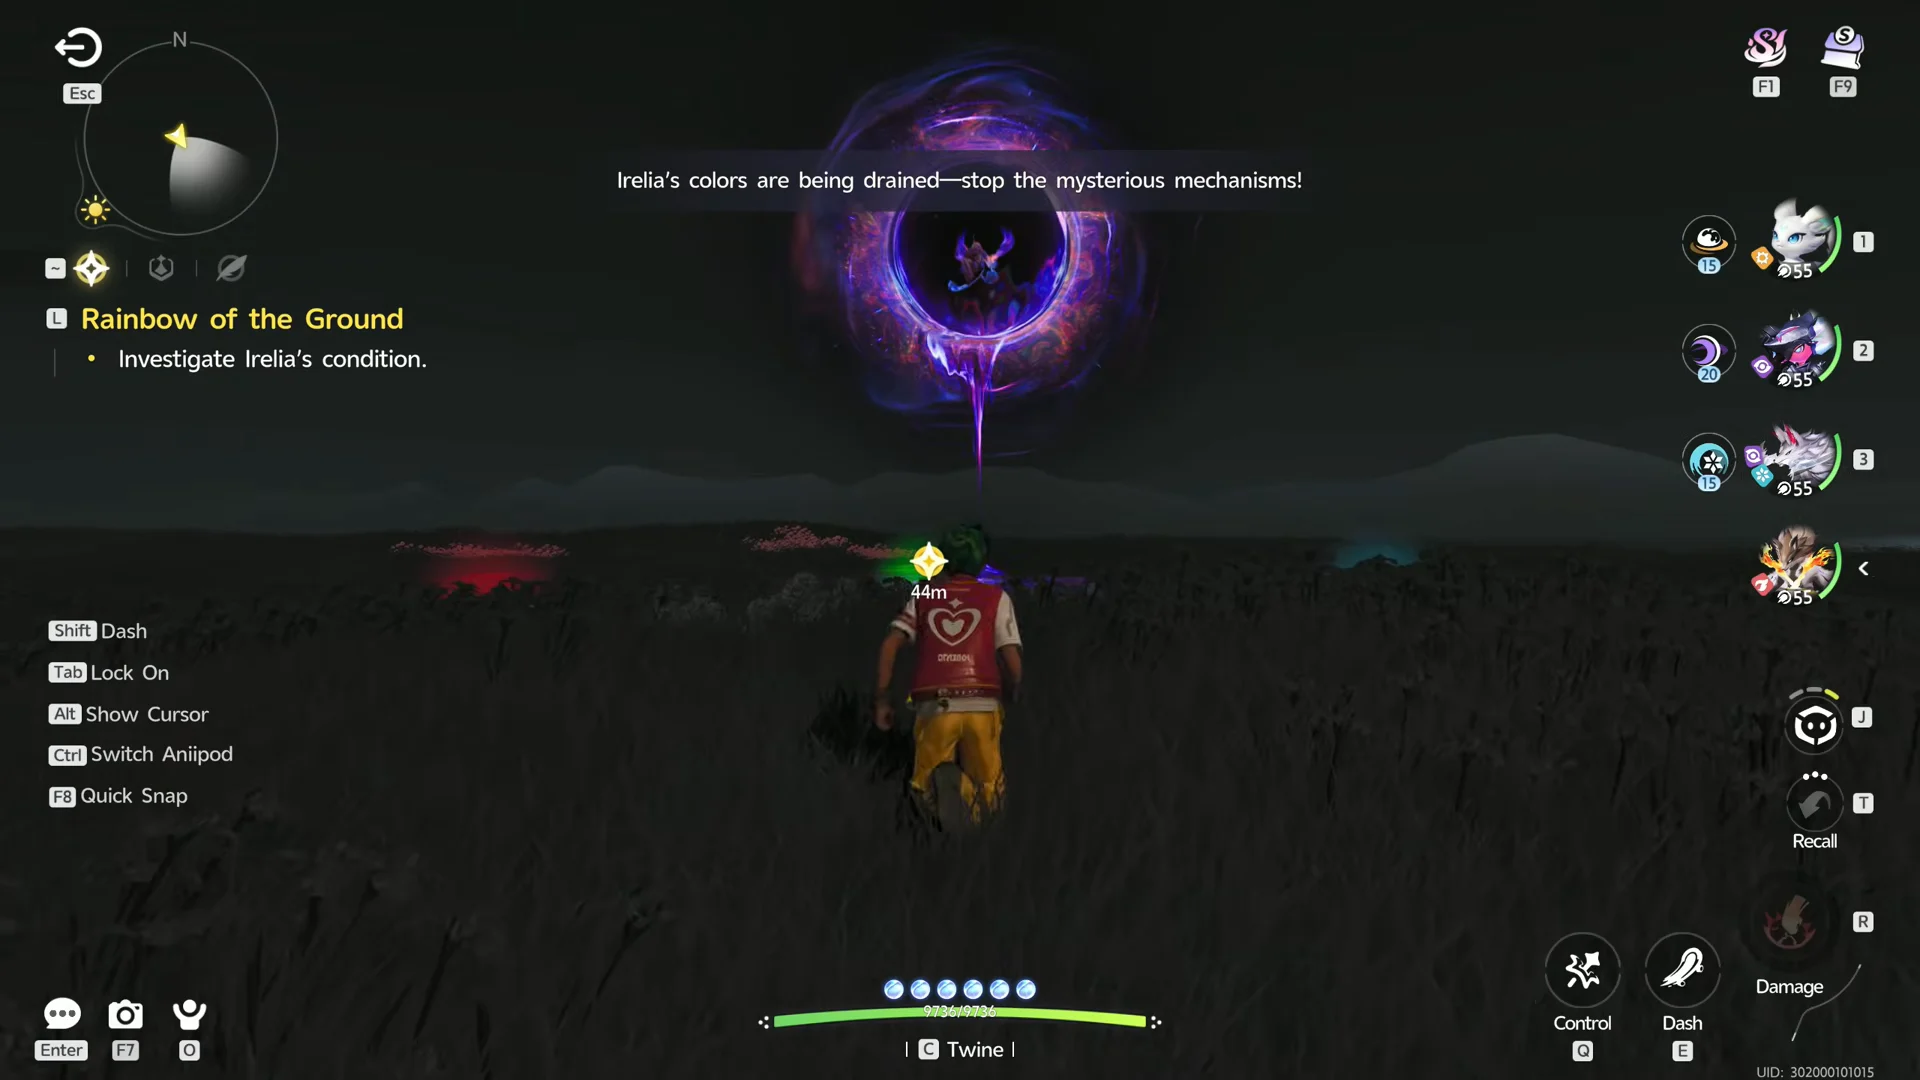
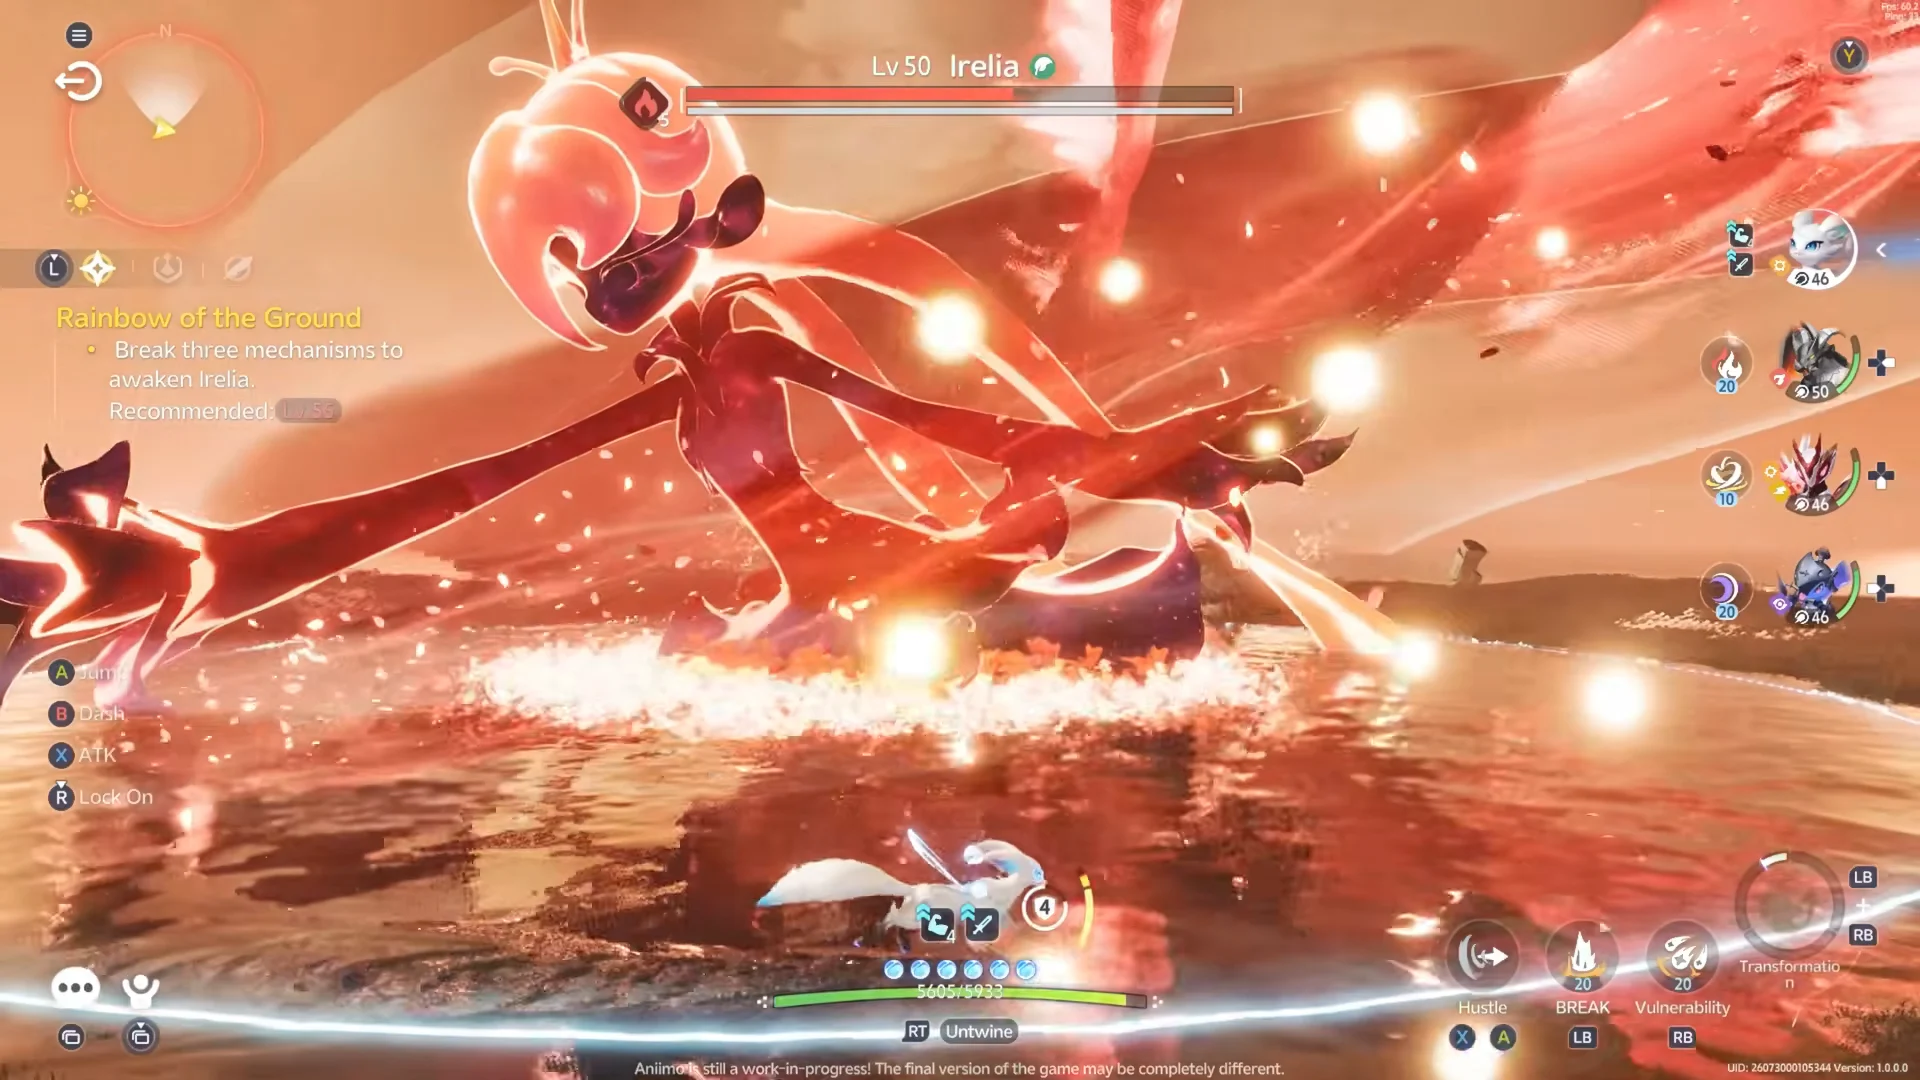
When BINI #9 signals an energy loss, Velouria identifies the cause: the machines are draining Irelia’s colors. Suspended over the water inside a dark purple sphere, Irelia whispers about Prismana while three colored Prisma devices draw away her red, green, and blue energy. The battle opens with the objective “Break three mechanisms to awaken Irelia.”
Tideblossom Coast and how to prepare
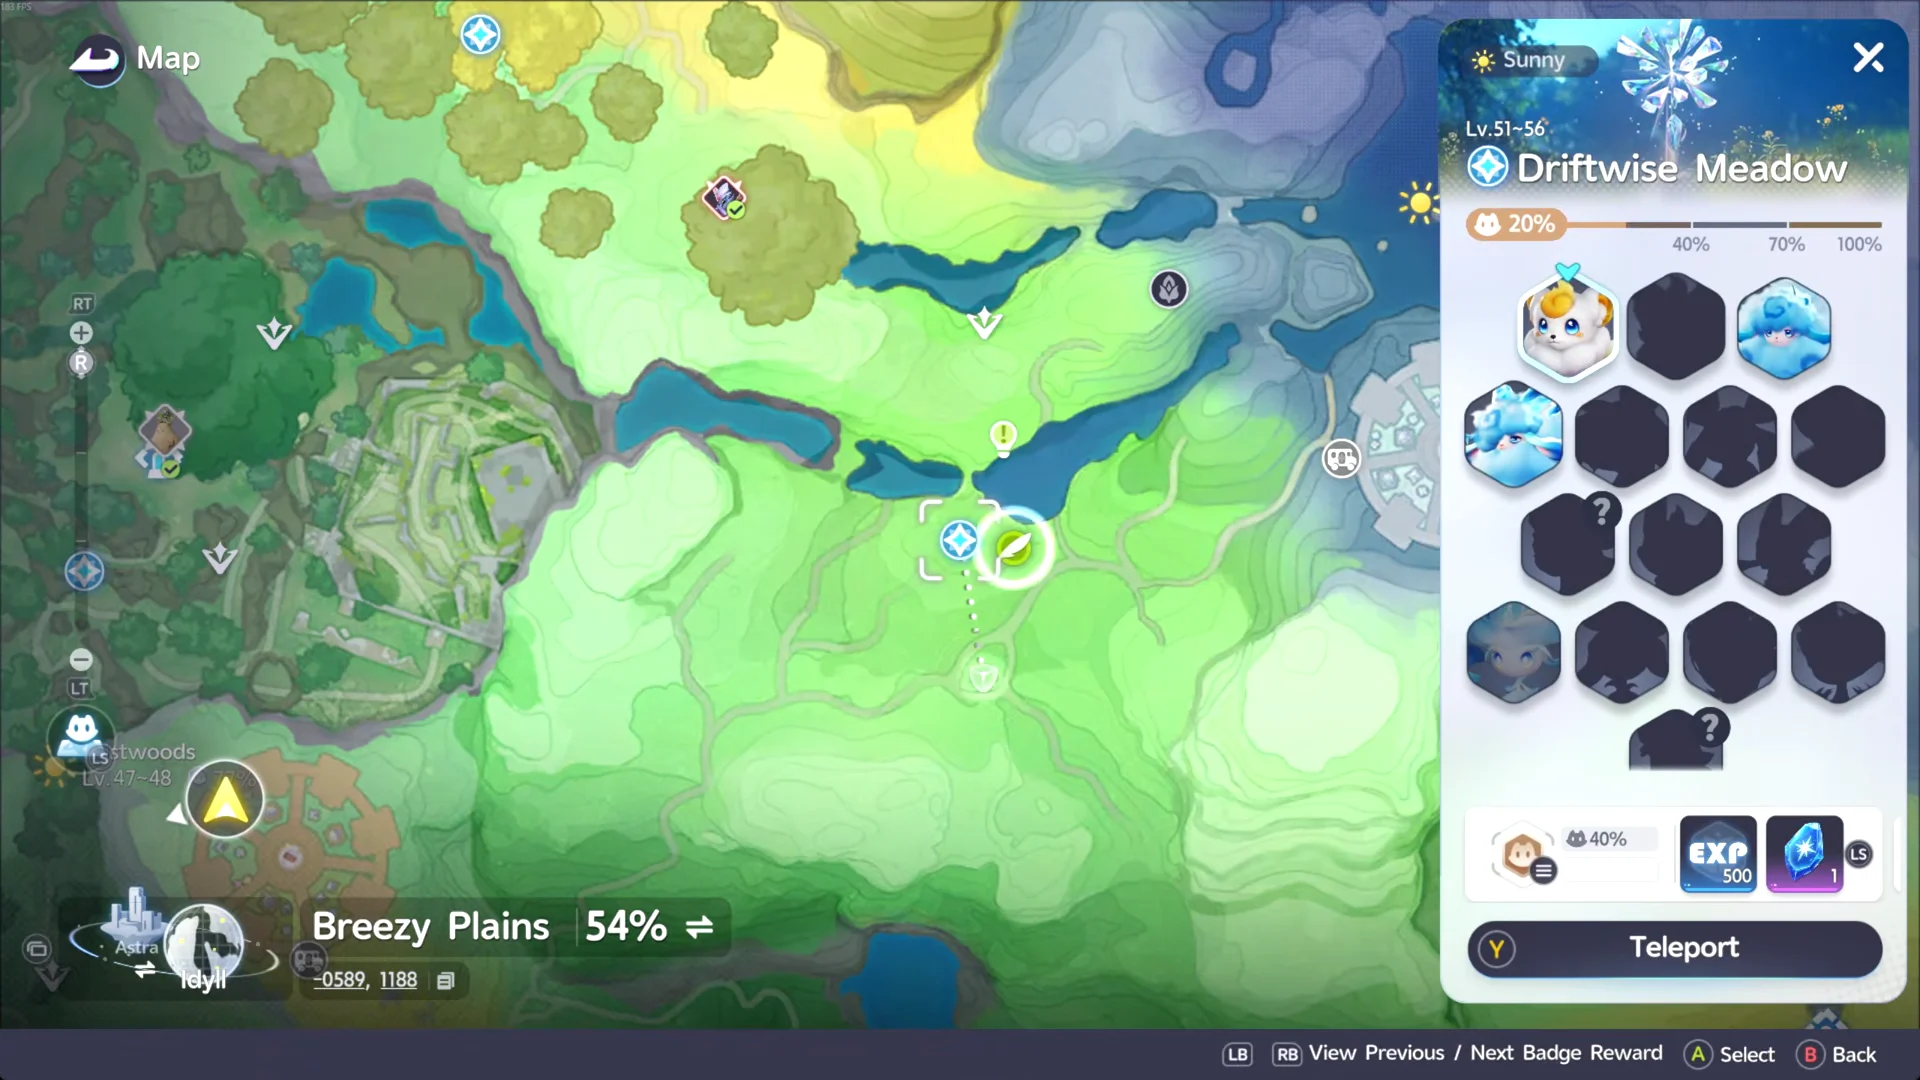
Everything here plays out at Tideblossom Coast, in the Breezy Plains region. The zone runs a level range of 53 to 60, so the surrounding field content is tuned above the boss itself, which is fixed at Lv. 50. The area also holds 2 blooms, 23 chests, 3 Lumin Amber, 1 ecological point, and 2 pathfinder challenges if you want to clear it out before or after the story beat.
If you want to grind a few levels or restock before committing, the world map’s teleport option moves you back to any unlocked point and then returns you here in seconds.
How the three mechanisms work
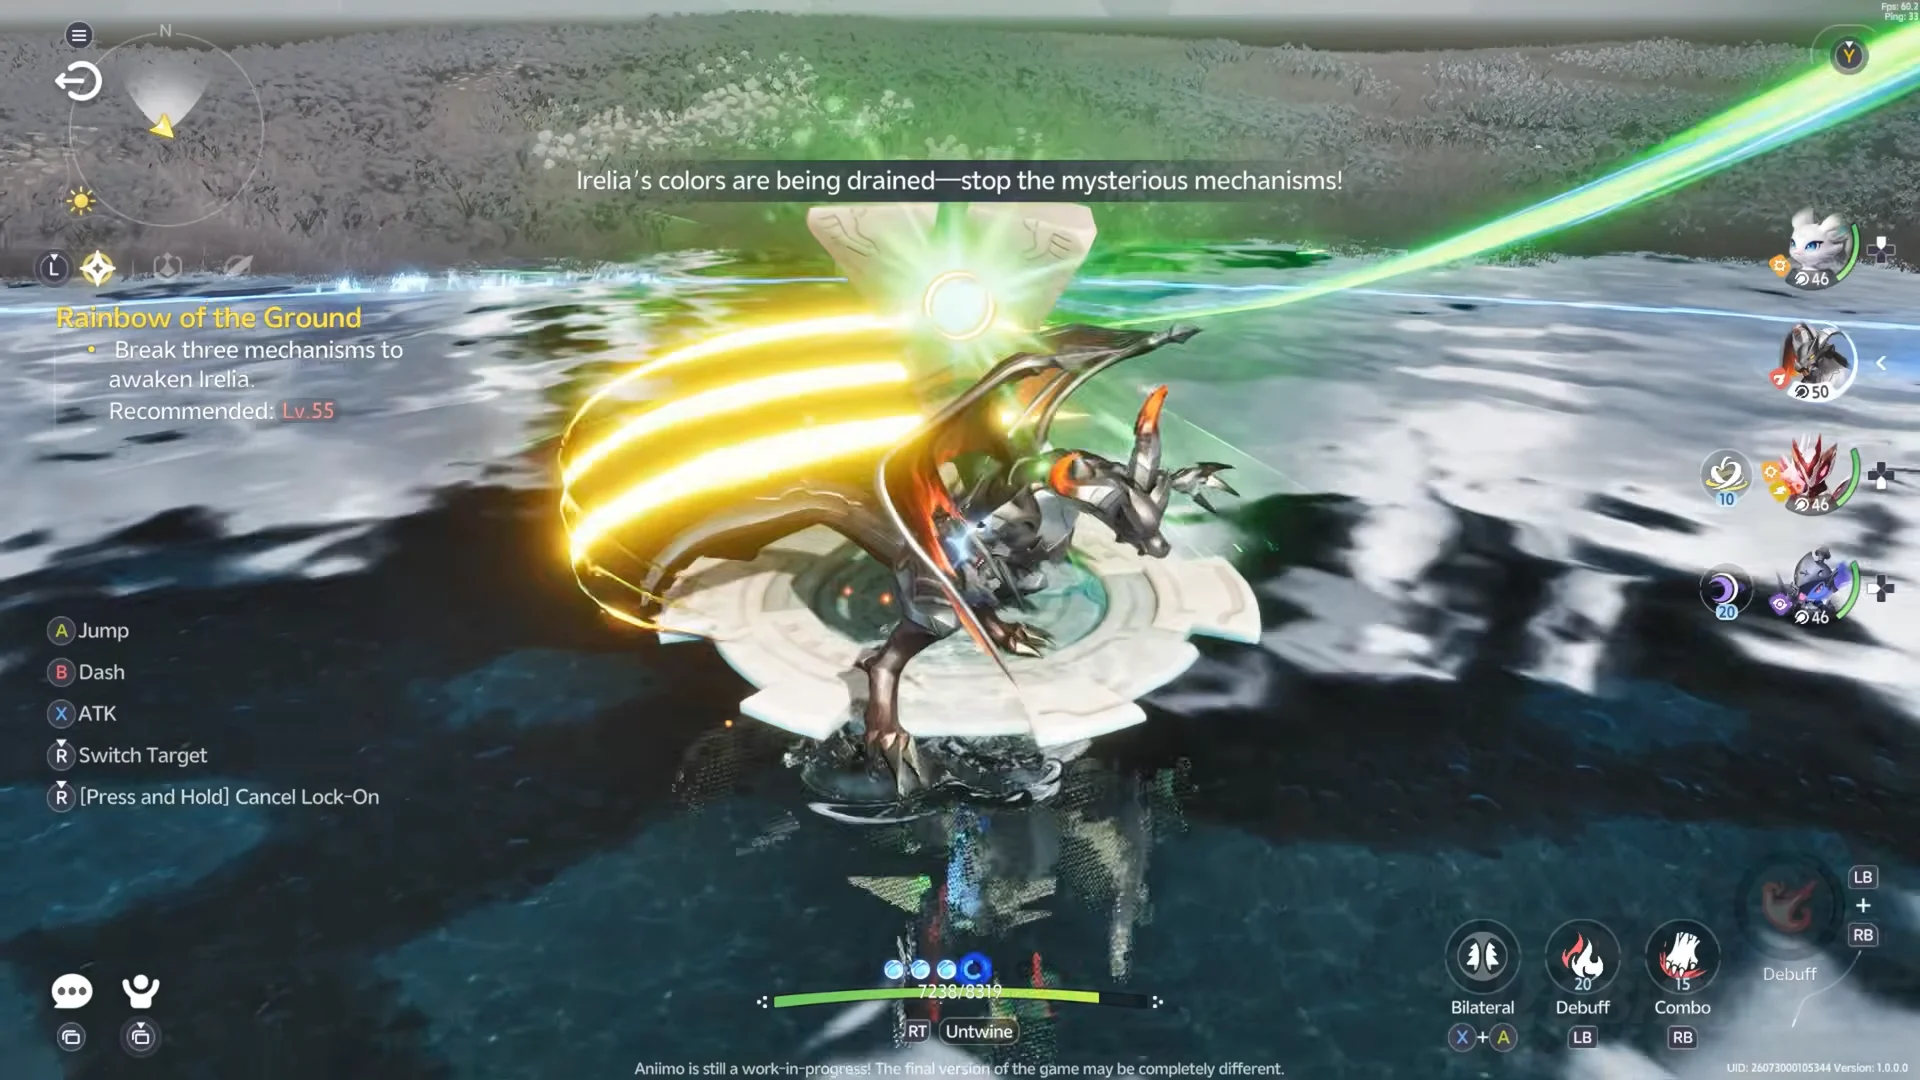
Each mechanism holds one of Irelia’s colors. Smashing one triggers a Break effect, floods the arena in that color, and pushes Irelia into a matching attack set. Her health bar only empties once all three are gone and you finish her off in the final phase.
| Mechanism | Energy drained | Phase cue |
|---|---|---|
| Crimson | Irelia’s red color | “Bloom, crimson courage!” |
| Green | Energy of life | “Revive, fresh green grasslands!” |
| Blue | Sky and sea | “Embrace, the sky and sea’s protection!” |
The order is not fixed. Whichever device you hit first sets the color of the water and the phase you fight through, so you can start red, green, or blue and the sequence still resolves the same way.
When Velouria calls out that the mechanisms are draining Irelia again, stop attacking her and go break the next device. That warning is your cue to rotate phases.
Fighting Irelia through all three phases
The ending cutscenes after Irelia is defeated
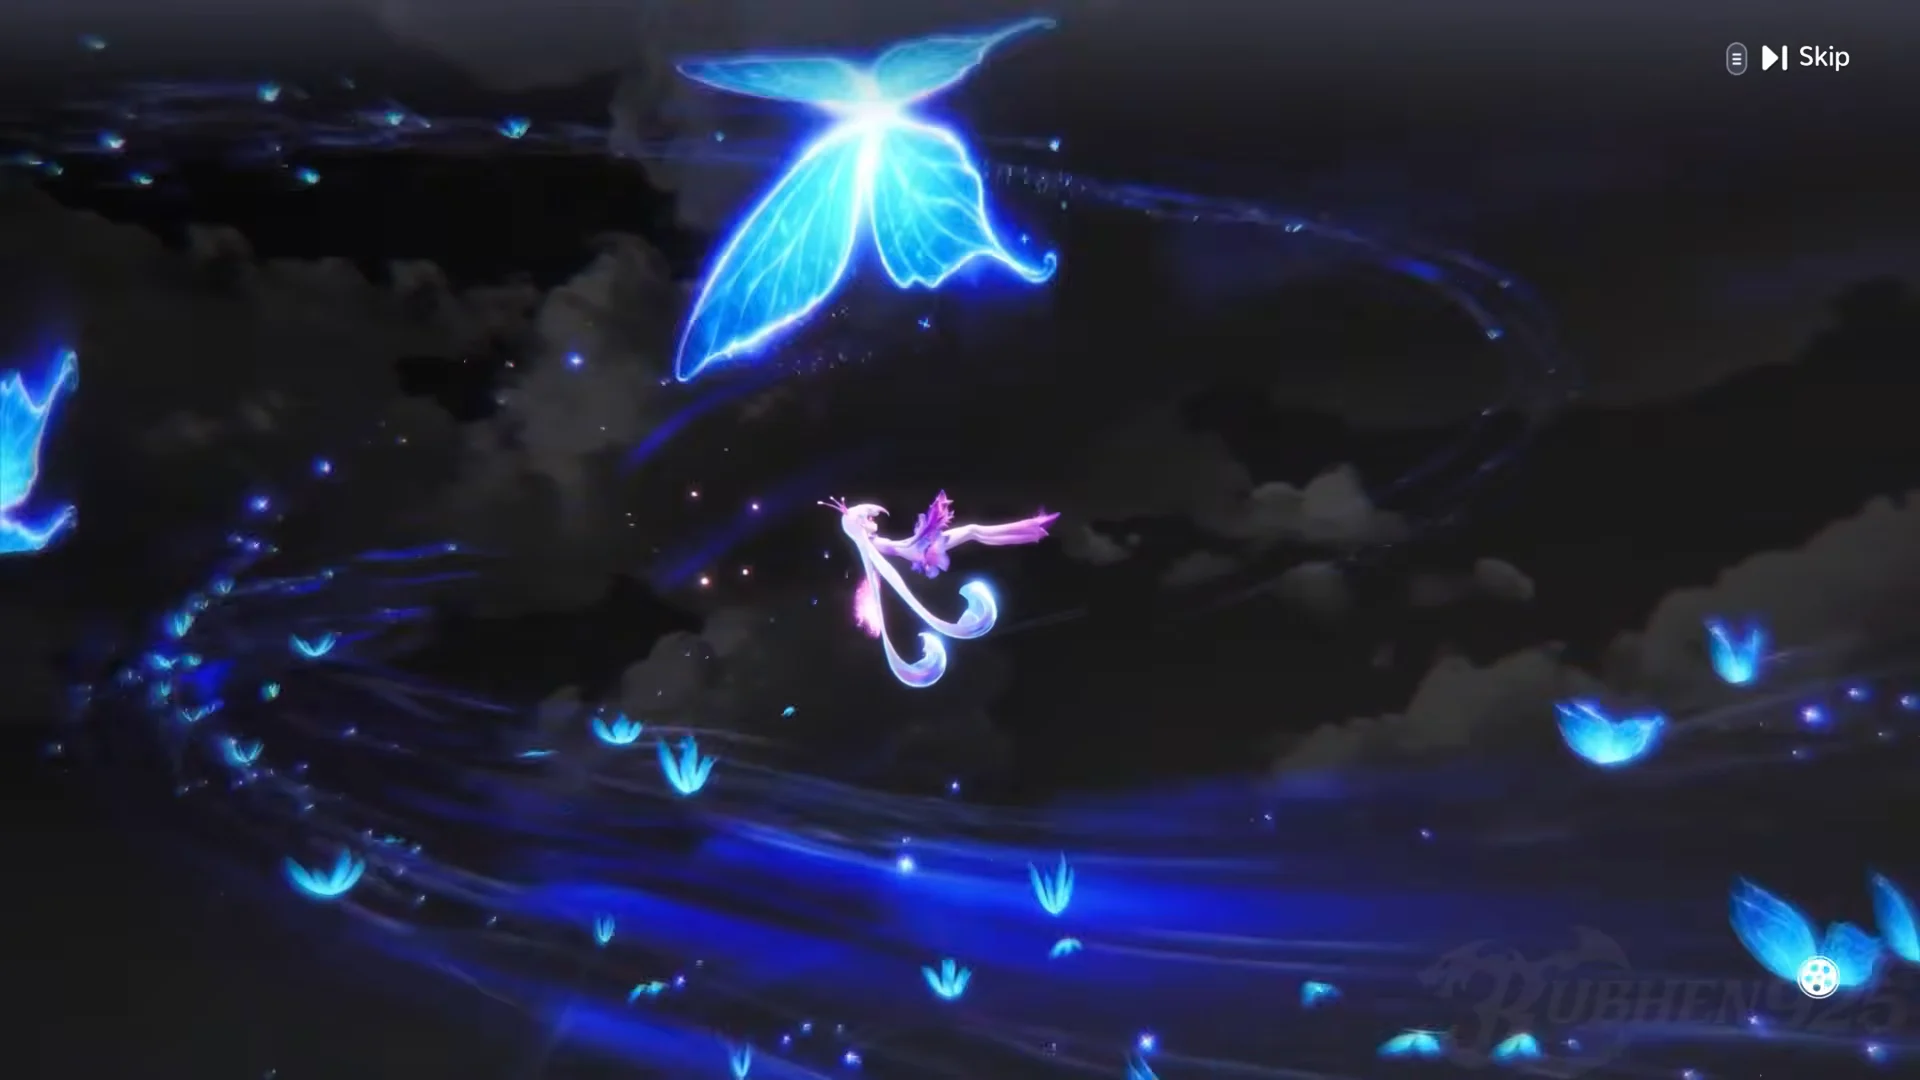
Emptying the health bar does not kill Irelia. It frees her. She bursts out of the dark sphere with glowing purple and pink wings, flies up through the storm clouds, and scatters light and blue butterflies across the drained lakebed.
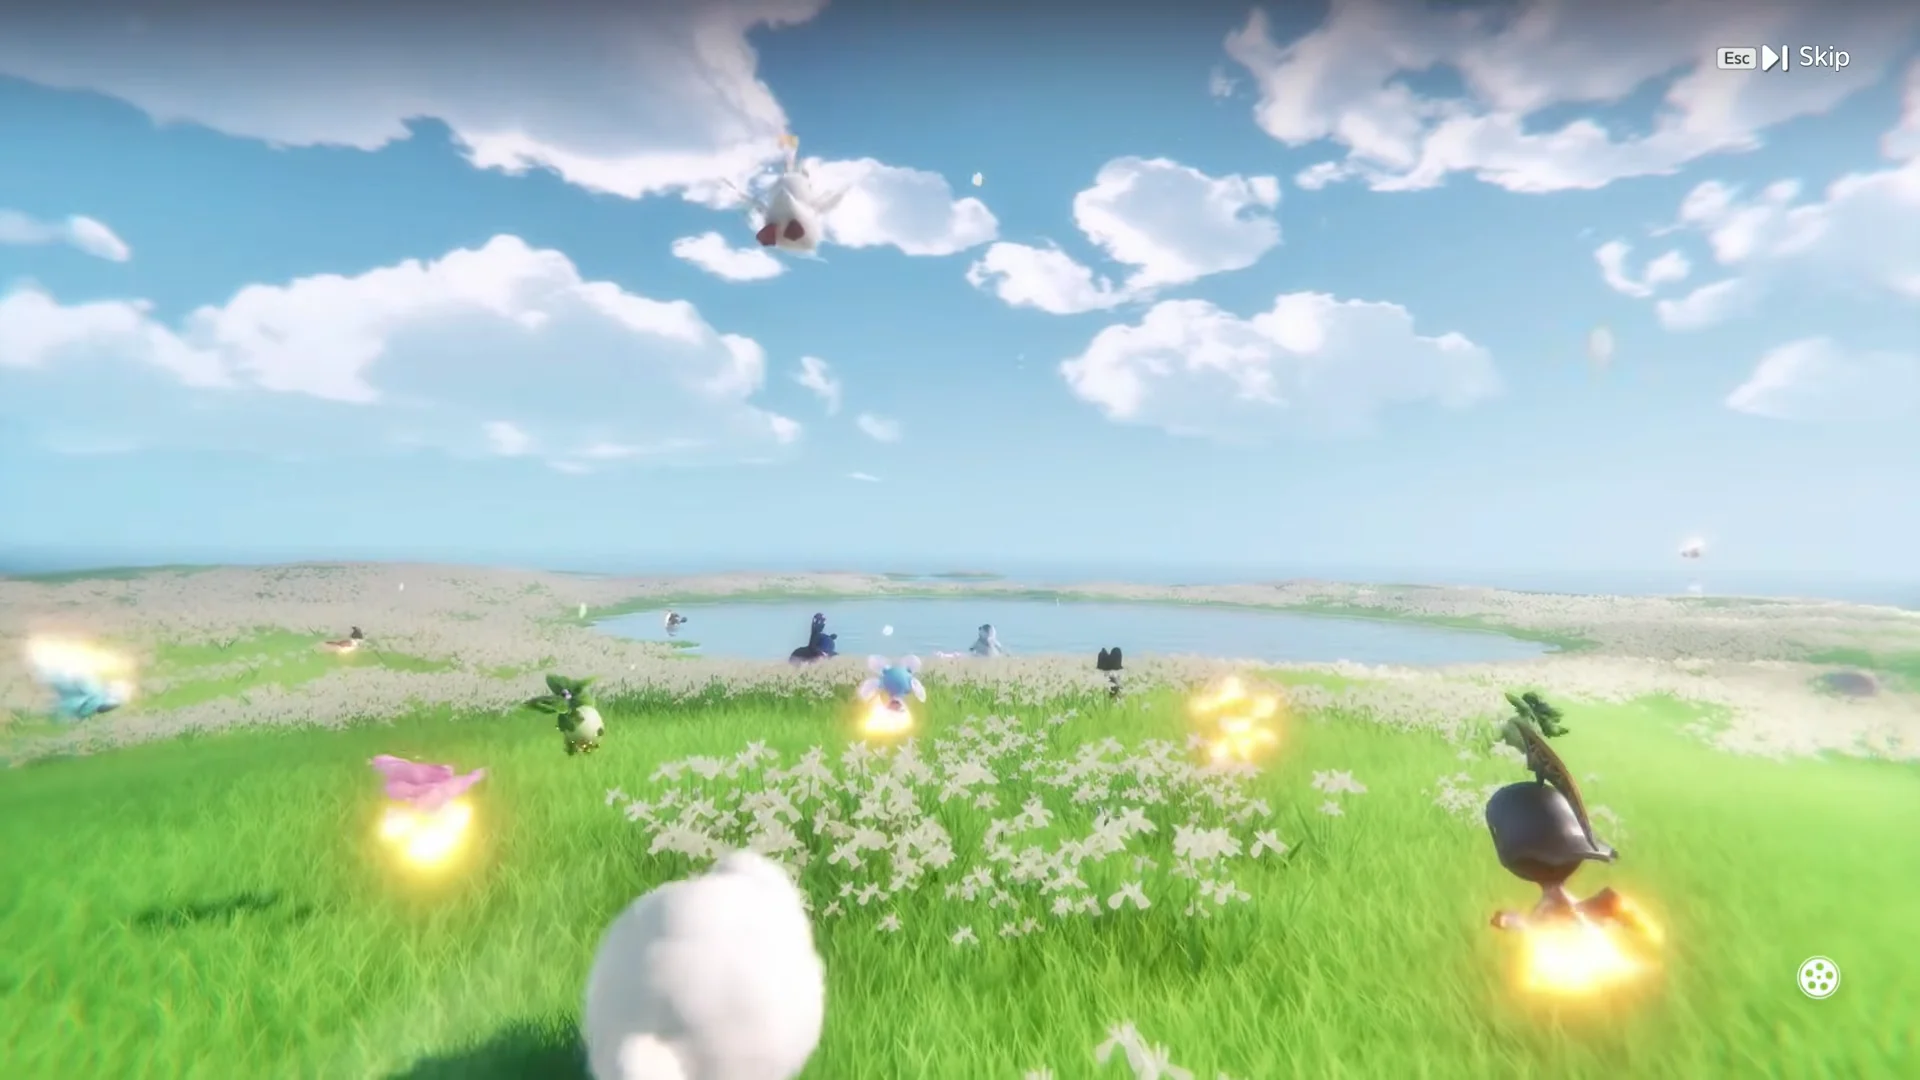
Color floods back into the region. Grass turns green, flowers open, the sky clears, and wild Aniimo drift back into the meadow around her.
What follows is a long dialogue sequence in the shallow water with Velouria, Nicole, and Lunara. Irelia describes the figures in black robes who captured her, projects a glowing spiral emblem that Nicole recognizes, and compares it against the strange dodecahedron stone cube you have been carrying. She then explains her decision to give her colors back and merge with the damaged Vein, and exchanges a promise with Velouria that they will travel together once she wakes.
Her final dance plays out on the surface of the lake. Irelia dissolves into glowing pink petals that rise, swirl, and close into a single enormous bud over the water. Afterward you can walk over with Velouria and inspect the seedling growing directly out of the repaired Vein. Velouria confirms the Vein is stable for decades before departing, and a narrated montage shows Bloomville’s villagers carrying flowers across the lavender fields to pay tribute.
Sunia’s farewell in Bloomville
The epilogue hands control back in Bloomville the next morning, and it is a short chain of conversations rather than anything you can fail.
- After waking in the cottage bedroom, speak with Nicole. She recommends gathering your belongings and bidding Sunia farewell.
- Head down the lavender path to the perfumery and speak with Estee, who says Sunia just left for the town square.
- Run into the festival-decorated plaza, where Sunia waves you and Nicole over.
- Hear her confession to the end: she plans to leave perfumery behind, travel with Snowy, and study painting.
She closes with a reflection on the difference between illusions and dreams while looking out at the distant cocoon, then says goodbye with the blessing “May Flowers and Butterfly Shadows bless us all.”
How to confirm the chapter is finished
There are three clear confirmations. A quest completion card for Lore: Rainbow of the Ground appears after the dance cutscene. Elite Training then makes rewards claimable for completing Chapter 6, To Distant Horizons – Echo of the Mysterious Keep. Finally, once Sunia leaves, the main story quest A New Journey wraps and the tracker switches to “A Tale of Tide and Song: Wait for the next adventure. Reach level 51.”
That level requirement is the wall between you and whatever comes next, so the natural move after the credits roll on this arc is to keep clearing Tideblossom Coast and the surrounding Breezy Plains content until you hit level 51.





