Idyll is packed with creatures to catch, but only a handful actually carry fights once the wildlife stops being cute and the bosses start hitting back. Roles matter here — every Aniimo leans toward damage (DPS), Break, support, or healing — so the goal is a team that hits hard without falling apart. The ranking below sorts every base creature and its regional and Prismana forms by how much they contribute to combat.
Quick answer: Fourteen Aniimo sit in the top S tier. Build around one of those first, then fill your Break and support slots from A tier. The full ranking is in the table below.
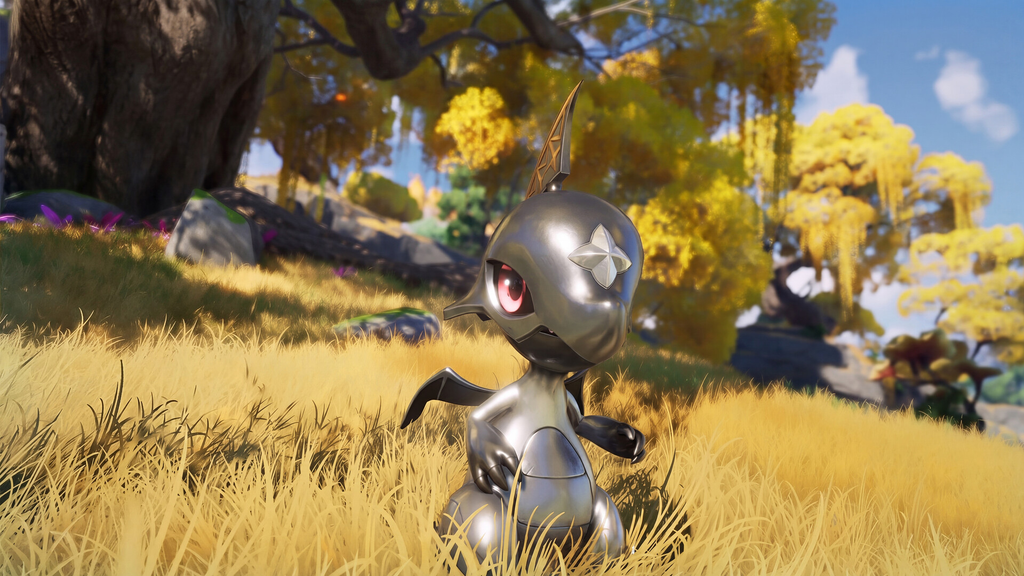
Full Aniimo tier list (S to D)
| Tier | Aniimo |
|---|---|
| S | Besauce, Forest Ignitis, Fulmintis, Ignitis, Inferlupa, Lunara, Pawney, Prismana Glacy, Prismana Turbo, Rookey, Somniwing, Sparkelf, Stellarys, Turbo |
| A | Beach Cornet, Beach Tromber, Beach Tubster, Blazen, Cornet, Eklue, Eko, Fenmane, Fragrancier, Geoclaw, Gracewing, Helgon, Helion, Hexxin, Highland Ignitis, Luminelle, Mountain Helgon, Mountain Hexxin, Mountain Woods Rookey, Mountain Woods Gracewing, Mountain Woods Pawney, Nighttime Gracewing, Plateau Turbo, Prismana Blazen, Prismana Cornet, Prismana Fenmane, Prismana Fulmintis, Prismana Grizbo, Prismana Hexxin, Prismana Ignitis, Prismana Pawney, Prismana Sherro, Prismana Stellarys, Rainstorm Luminelle, Rainstorm Stellarys, Rainstorm Turbo, Sea of Flowers Gracewing, Sherro, Snowfield Pawney, Snowfield Rookey, Thunderstorm Sherro, Tromber, Tubster |
| B | Beach Chirpi, Chirpi, Dreaple, Erlath, Flamerion, Flutternym, Forest Flamerion, Glacy, Glynsera, Grizbo, Helmut, Highland Cornet, Highland Flamerion, Highland Scorchhowl, Highland Tromber, Highland Tubster, Infergon, Irisal, Leafy, Melloblum, Minespine, Mountain Tuckin, Mountain Woods Blazen, Mountain Woods Flutternym, Mountain Woods Scorchhowl, Nighttime Flutternym, Nighttime Glynsera, Nighttime Panpanta, Panpanta, Prismana Infergon, Prismana Luminelle, Prismana Panpanta, Prismana Scorchhowl, Prismana Thornblade, Prismana Waleetle, Scorchhowl, Sea of Flowers Flamerion, Sea of Flowers Flutternym, Thornblade, Thunderstorm Scorchhowl, Thunderstorm Thornblade, Towerwood Thornblade, Tuckin, Waleetle, Wisptis |
| C | Baleetle, Bouldus, Budsquire, Celestis, Cubbo, Dewy, Fahloo, Fentuft, Forest Iris, Geodeback, Grassland Iris, Helmwhelp, Highland Chirpi, Highland Iris, Highland Pomawk, Hummin, Iris, Magmarex, Mountain Helmwhelp, Mountain Hummin, Mountain Woods Iris, Nimbi, Piopiota, Plateau Iris, Pomawk, Prismana Iris, Prismana Magmarex, Rainstorm Nimbi, Sea of Flowers Glacy, Sea of Flowers Pomawk, Sea of Flowers Pranky, Shrubclaw, Snowfield Baleetle, Snowfield Bouldus, Snowfield Glacy, Snowfield Pomawk, Snowfield Pranky, Snowfield Waleetle, Sparki |
| D | Bailite, Bay Budclaw, Beach Budclaw, Bolty, Bonesky, Budclaw, Bulbly, Cozite, Emberpup, Fenrier, Flameruff, Highland Emberpup, Highland Flameruff, Jawling, Lavazar, Mountain Jawling, Mountain Woods Bolty, Mountain Woods Emberpup, Mountain Woods Flameruff, Mudflat Budclaw, Nighttime Bonesky, Nighttime Fenrier, Nighttime Popota, Nighttime Susuta, Pebbling, Plateau Nimbi, Pomegg, Popota, Sea of Flowers Skippy, Sheldon, Shelly, Skippy, Snowfield Skippy, Susuta, Towerwood Budsquire, Veilfloat |
Placements weigh overall combat value: raw damage or utility for the creature’s role, how well it survives real encounters, how easily it slots into different team comps, and whether its kit still matters deep into progression. Situational or single-partner kits land a tier lower than flexible ones. This reflects the global launch build in late September 2026 and will move as balance patches land.
Why these Aniimo sit at the top
Fulmintis holds the highest Attack stat in the game and can raise its own CRIT Rate without spending EP, which makes it the cleanest pure damage engine at the top. Stellarys is the agile Dark counterpart, with multiple ranged skills that let it keep attacking while repositioning. Pawney rounds out the DPS core by nuking targets without needing a full combo to land first.
Break and support are where the S tier really earns its spot. Inferlupa is the standout breaker, synergizing with Dark supports and opening damage windows rather than just padding its own numbers. Rookey is extremely tanky and increases the Break damage enemies take, fitting almost any lineup. Turbo boosts team damage, improves Break efficiency, and hands out shields, while Somniwing raises team EP recovery and can destroy incoming enemy projectiles with its reactive skill.
Besauce leads the roster for both active and passive EP recovery. For Fire teams, Sparkelf stands out by providing buffs, healing, and extra Break damage through its ultimate. Prismana Glacy raises damage for everyone and restores HP without needing much time on the field, while Prismana Turbo ranks among the strongest Dark supports by increasing the entire party’s Dark damage. As one of the two starters, Lunara combines a huge Attack stat with healing on basic attacks and extra damage to Light-weak enemies, keeping her useful well beyond the tutorial.
Best A-tier fillers for your fourth slot
A-tier picks need slightly more setup or rotation, but they are the reliable backbone around a carry. For Wind teams, Eklue and Eko both buff Wind damage and CRIT Rate, while Tromber raises the team’s CRIT DMG and lowers enemy Wind resistance. Cornet is the strongest straight Wind DPS in this bracket.
Elsewhere, Sherro is a potent Water DPS that absorbs puddles for extra damage, Fenmane hits multiple targets from range as a Lightning attacker, and Geoclaw stacks Ice debuffs to increase Break damage taken. Gracewing is the safest general-purpose healer, restoring HP while helping the team recover EP, and Fragrancier heals, applies Dark buffs, and debuffs enemies at once. Helion, the other starter, brings a huge Attack stat backed by its Solar Grace trait.
How regional and Prismana forms change the ranking
Alternate forms can shift typing, stats, and available skills enough to move a creature up or down, so it is worth checking which form you actually own before assuming a placement applies. Many forms are cosmetic recolors that inherit the base kit, but several matter.
- Upgrades: Prismana Glacy and Prismana Turbo both jump into S tier over their base forms thanks to stronger team utility.
- PvP swaps: Prismana Fenmane gains the ability to reduce enemy healing, and Prismana Hexxin picks up Malicious Outburst to shave enemy shields.
- Downgrades: Rainstorm Stellarys trades Shadow Magic for the weaker Chill Glide, dropping it out of S tier.
- Sidegrades: Highland Tromber sacrifices Break damage to gain Leaf Tornado, landing it in B tier.
The Emberpup family and why its base forms rank low
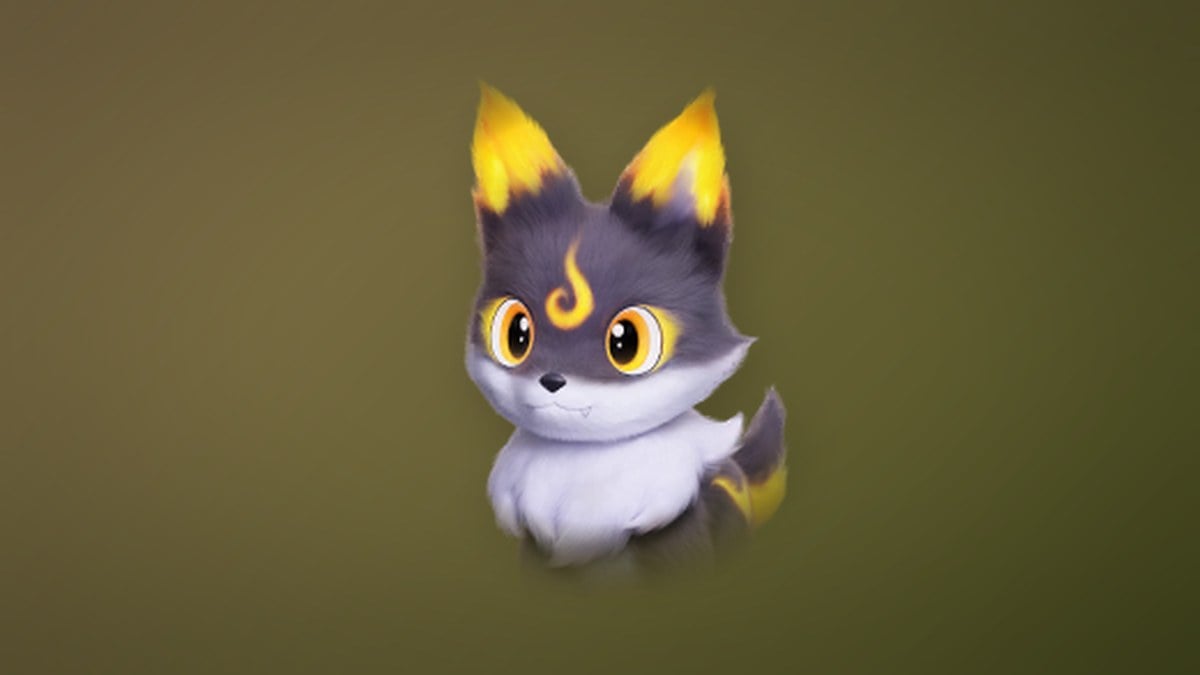
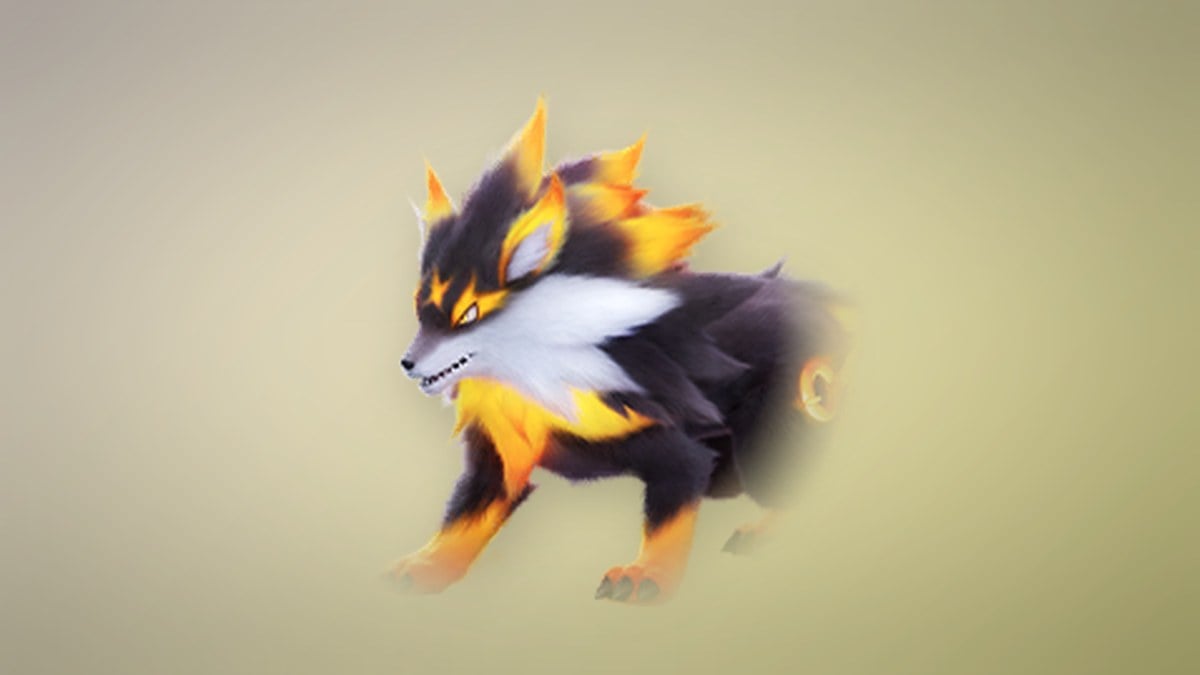
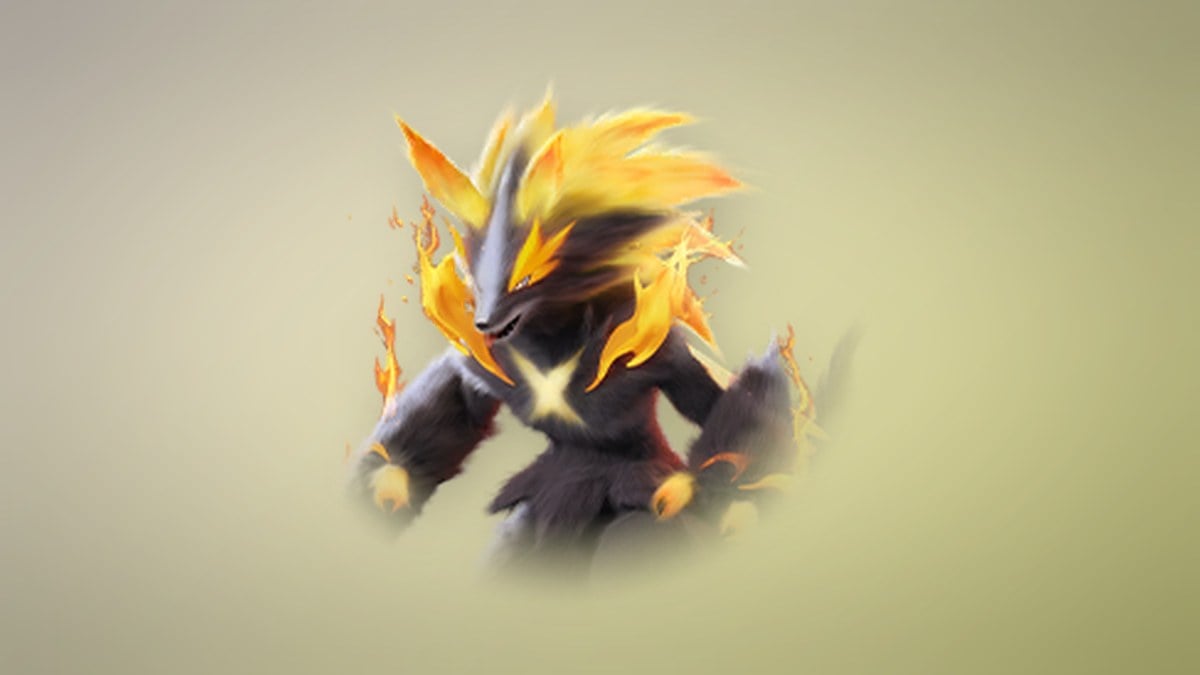
The Emberpup line is a good example of how much a final evolution changes an Aniimo’s value. The early stages sit at the bottom of the list, but the payoff is worth chasing. Emberpup evolves into Flameruff at Aniimo level 12, and Flameruff can become the fiery DPS Scorchhowl at level 20 with a Blaze Stone after defeating the Alpha Scorchhowl. The stronger route ends at Inferlupa, an S-tier Break specialist.
| Aniimo (Mountain Woods Form) | HP | ATK | Role |
|---|---|---|---|
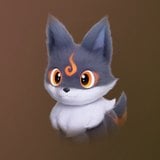 Emberpup Emberpup | 67 | 90 | DPS |
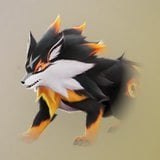 Flameruff Flameruff | 85 | 111 | DPS |
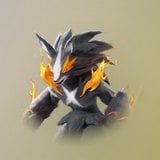 Scorchhowl Scorchhowl | 95 | 119 | DPS |
Emberpup and Flameruff sit in D tier because their stats and kits are underwhelming until they evolve. Base Scorchhowl climbs to B tier as a decent Fire DPS, though it leans heavily on supports to shine. Regional forms mostly add flavor rather than power: Mountain Woods Scorchhowl and Highland Scorchhowl gain the PvP-focused Pebble Kick, while Thunderstorm Scorchhowl swaps its Fire Kick for a Lightning Kick.
Creatures to shelve after the early game
C-tier Aniimo work fine for the opening hours and general exploration, but they fall behind once real boss fights start. The Iris line is a clear case: base Iris and its many regional variants stay in C tier as early Grass options, and even Irisal only reaches B tier because it relies so heavily on the support creature Leafy to activate its Disco Aniimo trait.
D-tier creatures are mostly worth catching for the collection rather than your active team. Beyond the early Fire line, that group includes Skippy, Susuta, Popota, Bonesky, Sheldon, and Shelly, along with their nighttime and regional variants. You will know your team is in good shape when your active four cover damage, a breaker, and either healing or EP support, letting you clear encounters that these lower-tier picks would stall on.