Anime Zero sends Roblox players into anime-themed dungeon runs, where weapons come from a gacha and you can carry two at once. Battle through enemy waves in each act to reach its boss. Your first hours shape your pace, so prioritize free supplies, a weapon you can use, and learning fights on the easiest setting over chasing the rarest result. LY* released the game on October 1, 2026; start playing through the official Roblox experience page.
Quick answer: Redeem every code, claim the group reward from Bob, roll until you own at least one Legendary weapon, fill both weapon slots, spend your first skill token on damage, then clear Story mode on Easy before pushing harder difficulties.
Claim free resources before your first roll
Your opening currency shapes your first build’s strength. Gather all the resources available before using even one spin.
RELEASE gives you 3 Lucky Spins, 10 Rolls, and 2,500 coins—a substantial boost when you are starting from scratch.At launch, the weapon pool contains 11 options divided among five rarities, with odds dropping sharply at the higher end. Most rolls produce an Epic, while the top rarity is a long shot.
| Rarity | Roll chance |
|---|---|
| Epic | 90.00% |
| Legendary | 8.89% |
| Mythic | 1.05% |
| Arcane | 0.11% |
| Zenless | 0.0001% |
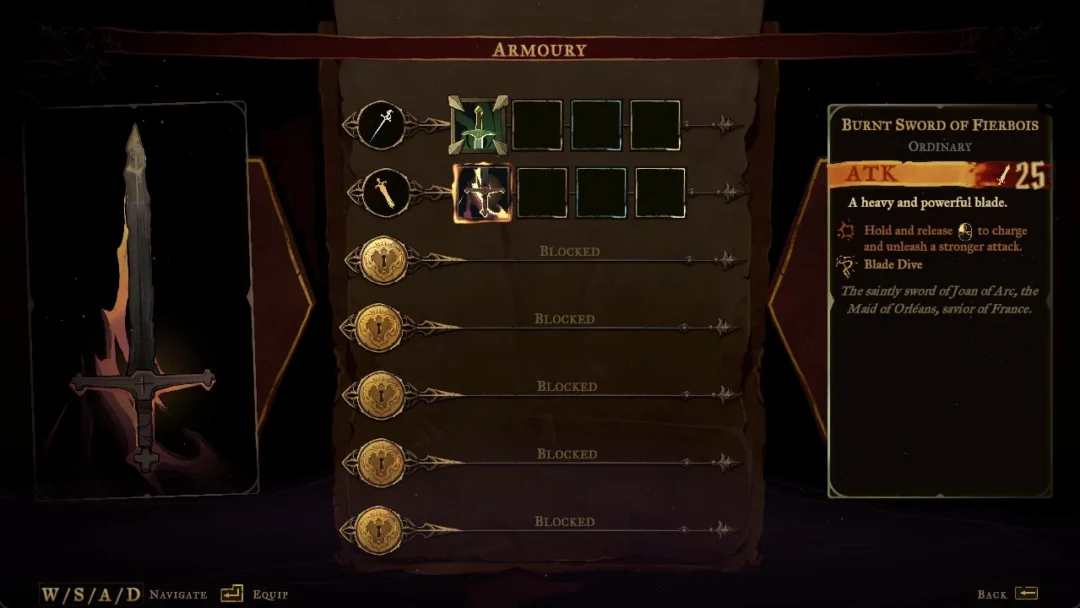
Before starting a dungeon, put a weapon in both slots. Press the swap button during combat to change between them; you can control a crowd with one, then switch to the other to deal damage.
Rarity does not equal comfort. A slow, high-damage weapon can feel worse to play than a faster one with better movement, so test attack speed, ability range, and the ultimate before you pour resources into it.
Raise damage with traits and the skill tree
With both weapon slots occupied, make two fast upgrades to increase your damage before your first fight.
Traits at the Enchanter
Use Enchant Crystals with Matilda the Enchanter to roll for traits. These traits give your avatar passive stat bonuses, and the more powerful options appear less often. For an early boost, look for Power, which provides flat damage. Save yourself from spending every crystal on a perfect result right away; any helpful damage trait will do to get started.
As resources build up, you can hunt stronger traits such as Hunter, Bloodlust, and SuperNova, which stack damage with crit chance, attack speed, and cooldown reduction. Those top traits have very low odds and their own pity counters, so they come eventually with enough rolls.
Weapon skill tree
Weapons each have a skill tree with Attack, Critical, Defense, and Speed branches. You start with a single token, so put it into a damage node for an immediate increase before your first run. The opening node on every branch takes one token; later upgrades cost more as you progress.
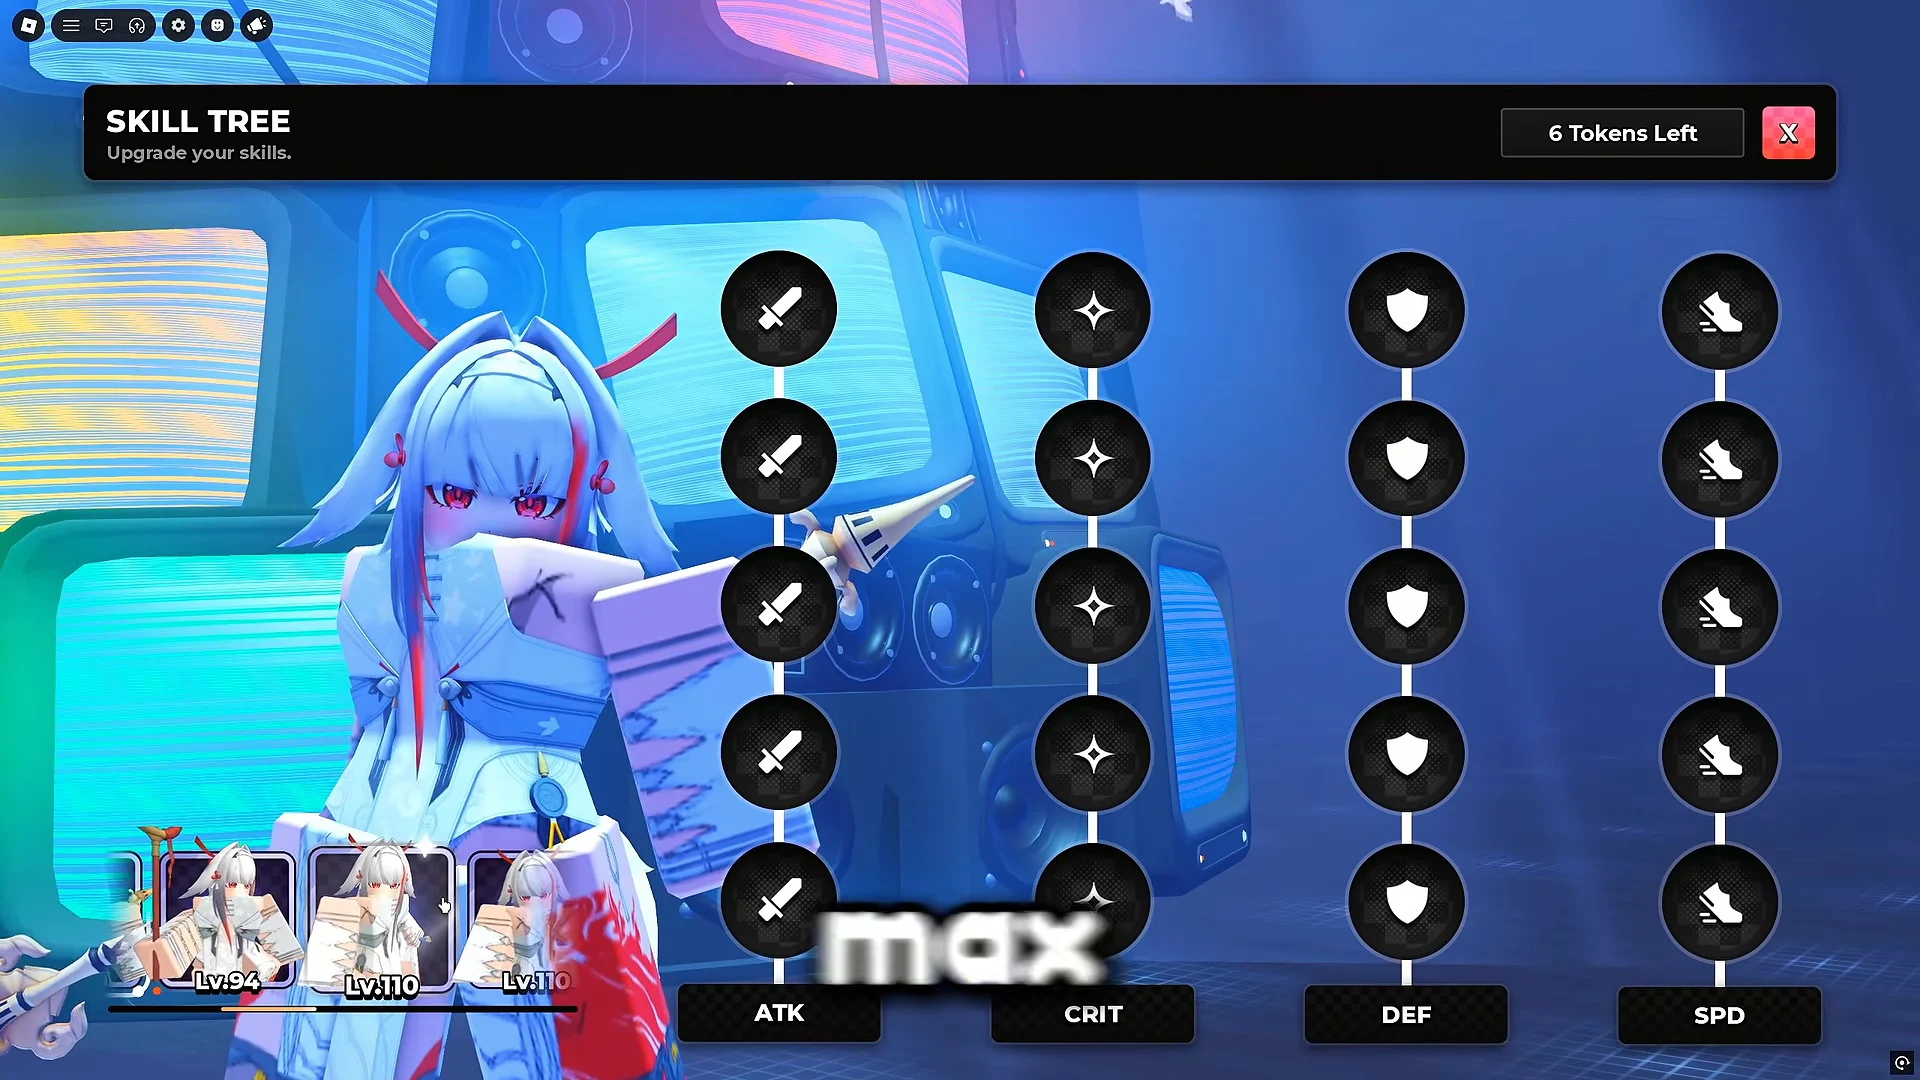
You gain XP and additional tokens by beating enemies and completing stages. Put early points into Attack and Critical to clear faster, then invest in Defense if deaths become a problem. While learning, surviving long enough to deal damage is more valuable than maximizing damage alone.
Combat controls
Learn the inputs before your first fight so you can dash and swap weapons without hunting for keys mid-run.
| Action | Key |
|---|---|
| Movement | W, A, S, D |
| Jump | Spacebar |
| Dash | Q |
| Interact | E |
| Abilities | 1, 2, 3 |
| Swap weapon | T |
| Ultimate | G |
Clear your first dungeon in Story mode
Story, Defend, and Infinite are the three modes available. Begin in Story, where acts become tougher as you advance and each provides its own crafting materials. It also gives you a structured place to learn enemy types and combat timing.
A run is divided into zones: defeat each zone’s waves, advance to the next, and take on a boss in the last wave. Use Easy while getting familiar with the map, then raise the difficulty when your damage and survivability are dependable.
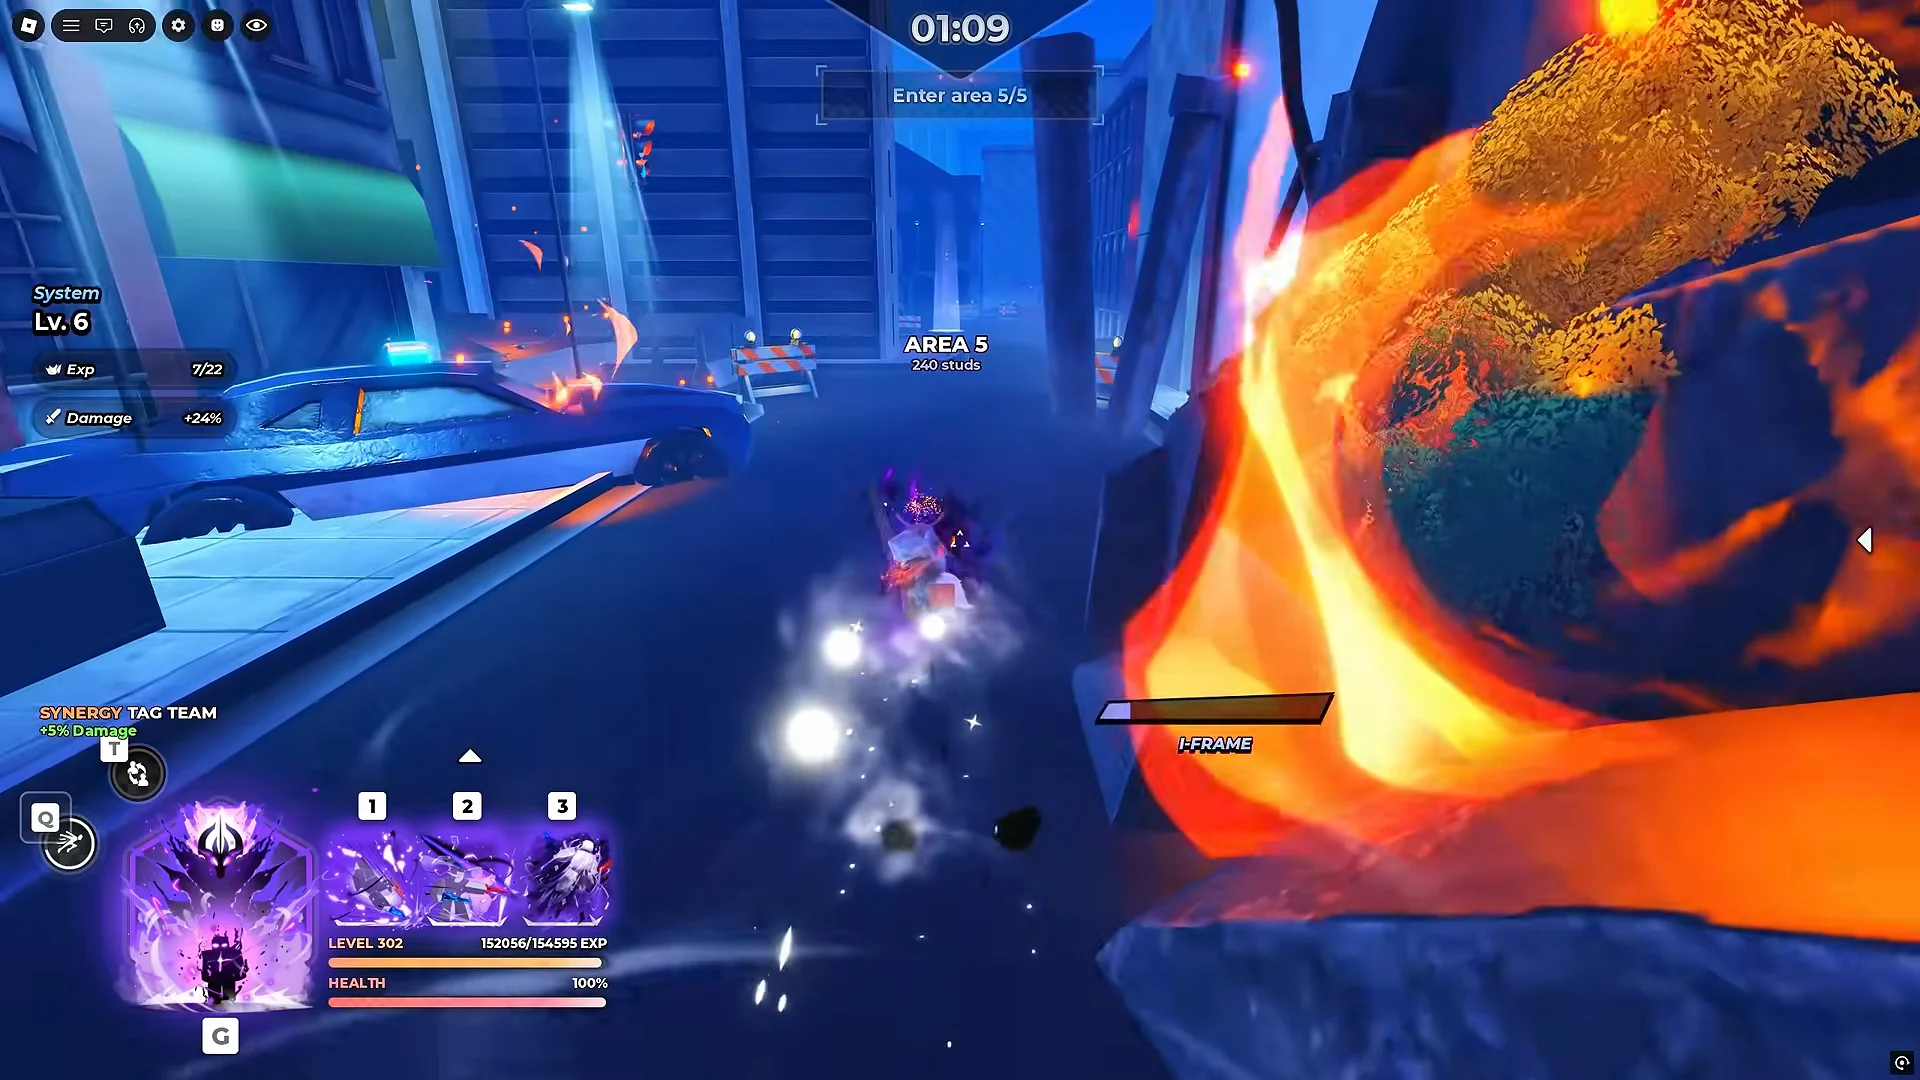
Good positioning matters more than mashing buttons. Gather enemies into a pack and hit them all with area abilities rather than using a cooldown on a lone target. Use your ability rotation instead of relying only on basic attacks, and dodge with a dash rather than trying to walk clear.
Gunner enemies attack from range and can stun you, disrupting slower weapons and leaving you vulnerable. Take them out rather than letting them fire freely, and stay in motion as you attack.
Compared with ordinary enemies, bosses have far more health, and they telegraph their special attacks before they connect. If your skills are on cooldown, keep your distance and study the pattern instead of trading hits. Learn to spot the moment a boss commits to an attack, then punish the opening afterward.

Difficulty and rewards
Each dungeon offers four difficulties. Higher tiers raise enemy health and damage but pay out more. Nightmare rewards 15,000 money and 350 gems per run after the October 2 rework, which makes it a strong farming target once your build can survive it. Bringing other players along helps spread enemy aggro on the harder tiers.
| Difficulty | Enemy health multiplier |
|---|---|
| Easy | 0.85x |
| Medium | Scaled up from Easy |
| Hard | Scaled up from Medium |
| Nightmare | 2x |
You know a run is complete when the boss wave ends, the results screen appears, and your coins, gems, spins, and materials land in your totals.
Spend what your runs earn
Dungeon clears grant Coins, Gems, Spins, materials, and XP. Other systems also provide bonus resources that are easy to overlook, so check them each time you return to the lobby. Once the claim prompt vanishes and your totals show the currency increase, the reward has been collected.
Accessories
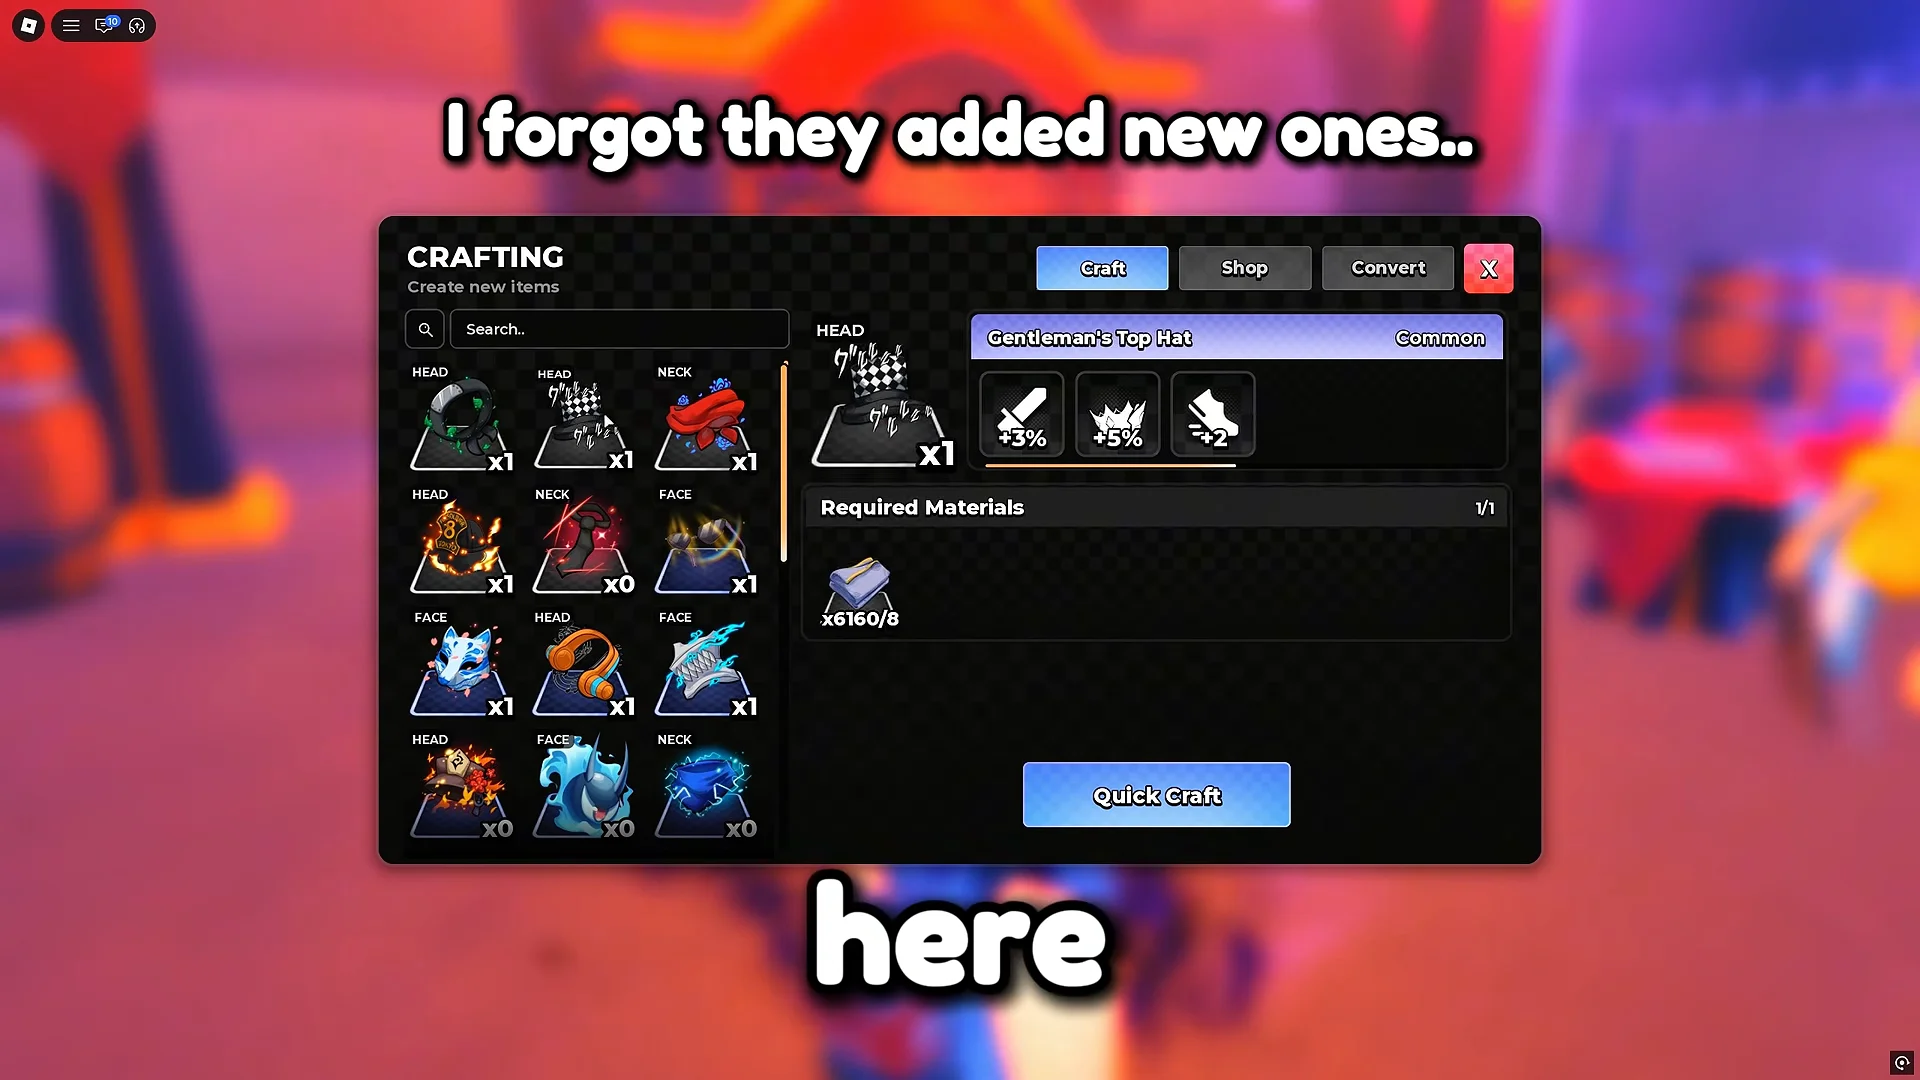
Yugi the Forger crafts accessories from materials collected in stages. They provide passive effects to cooldown reduction, coins, walk speed, crit, health, and damage, with material drops as the only random factor. A crafting pity mechanic means scarce materials will eventually drop. Choose accessories to address your weak spots: prioritize damage if clears take too long, or health if you keep dying.
Quests, achievements, and titles
Quests refresh on a daily or weekly schedule, with limited-time tasks appearing now and then, and ordinary play completes them. Review your active objectives before entering a dungeon so a single run can advance several. Collection, Mastery, Progress, and Combat achievements award coins, gems, and spins, and some finish on their own. Titles come from straightforward targets, including clearing a specified number of dungeons, and give flat stat increases; equip one as soon as you unlock it.
Level Road and evolution
Gaining XP increases your account level and opens Level Road milestones, which award coins, gems, rolls, and lucky spins up through Level 500. Separately, Evolution unlocks a weapon’s ultimate. Collect the required stage items, then use the Areas button to find the Evolution NPC. An ultimate can remove a substantial portion of a boss’s health in one burst, so evolve your weapon whenever possible.
Farm passively with the AFK chamber
When you step away, join the AFK chamber to keep earning. After the October 2 rework it pays 10 coins per second, 50 gems every two minutes, and one lucky spin every 15 minutes, with timed milestones on top. VIP and VIP+ owners receive these rewards at a faster rate.
What to work toward for endgame
After Story becomes manageable, take on Infinite to compete on the waves leaderboard and collect boss materials, while holding your spins for better weapon tiers. Certain weapon pairs activate synergies: Cursed King with Immortal Sovereign increases damage, while Rubber Man with Divine Emperor increases health.
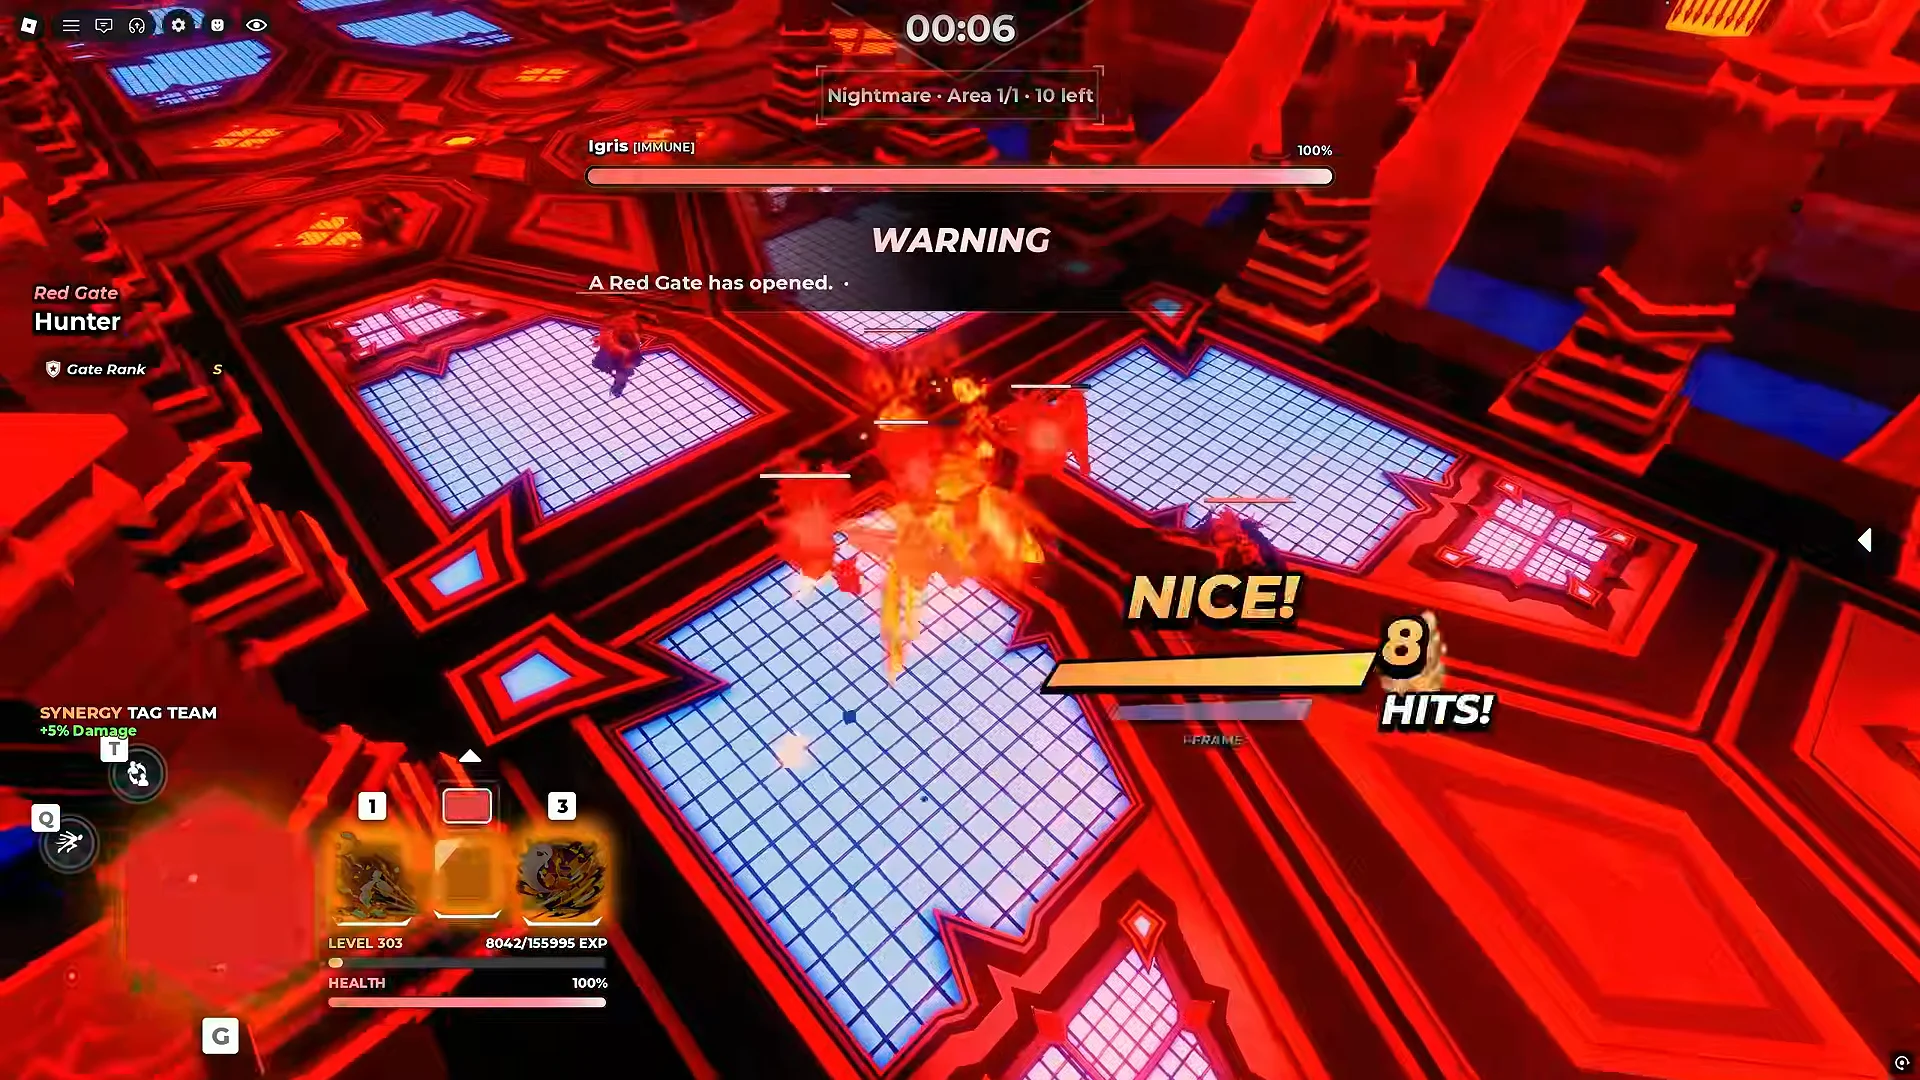
Raid rewards are the source of the strongest endgame kits. Each clear of the Nightmare Shadow Gate raid has a 3% chance to drop Shadow Monarch, with the item guaranteed by 32 clears. You receive five runs for free; after using all five, a 30-minute cooldown begins. Keep an eye out for the Red Gate warning during a raid, since it signals an additional threat that can appear mid-fight.
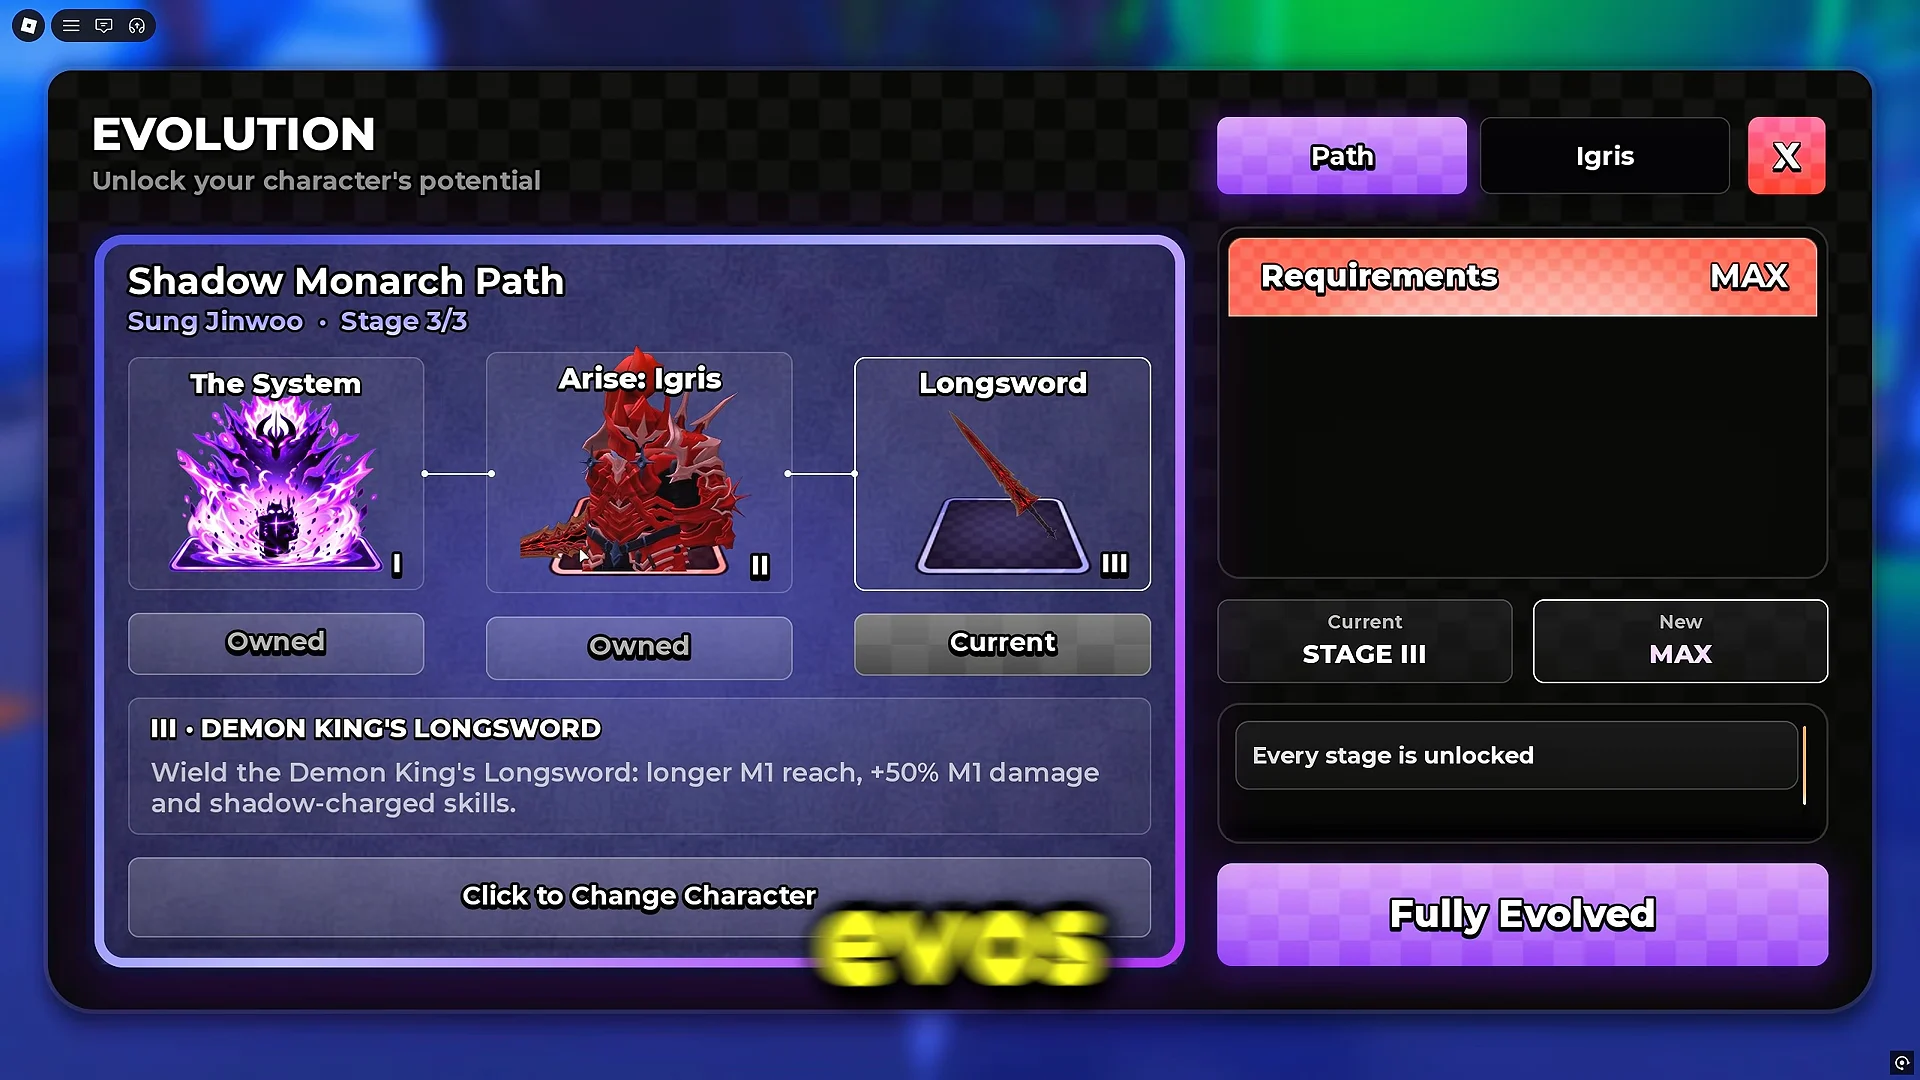
Shadow Monarch evolves along the Monarch Path across three stages. Stage I unlocks the ultimate and in-run level-up scaling, Stage II adds the Igris companion in every mode, and Stage III lengthens your M1 reach and adds damage. Reaching the fully evolved stage is the clearest long-term goal for a top-tier build.
As the game remains in Early Access, updates may change its rewards and balance. Hold back some gems and rolls, use your first hours to practice, and focus on improving one system at a time. Master one weapon, increase its damage through traits and the skill tree, fill your accessory slots, and raise the difficulty once your clears become faster.