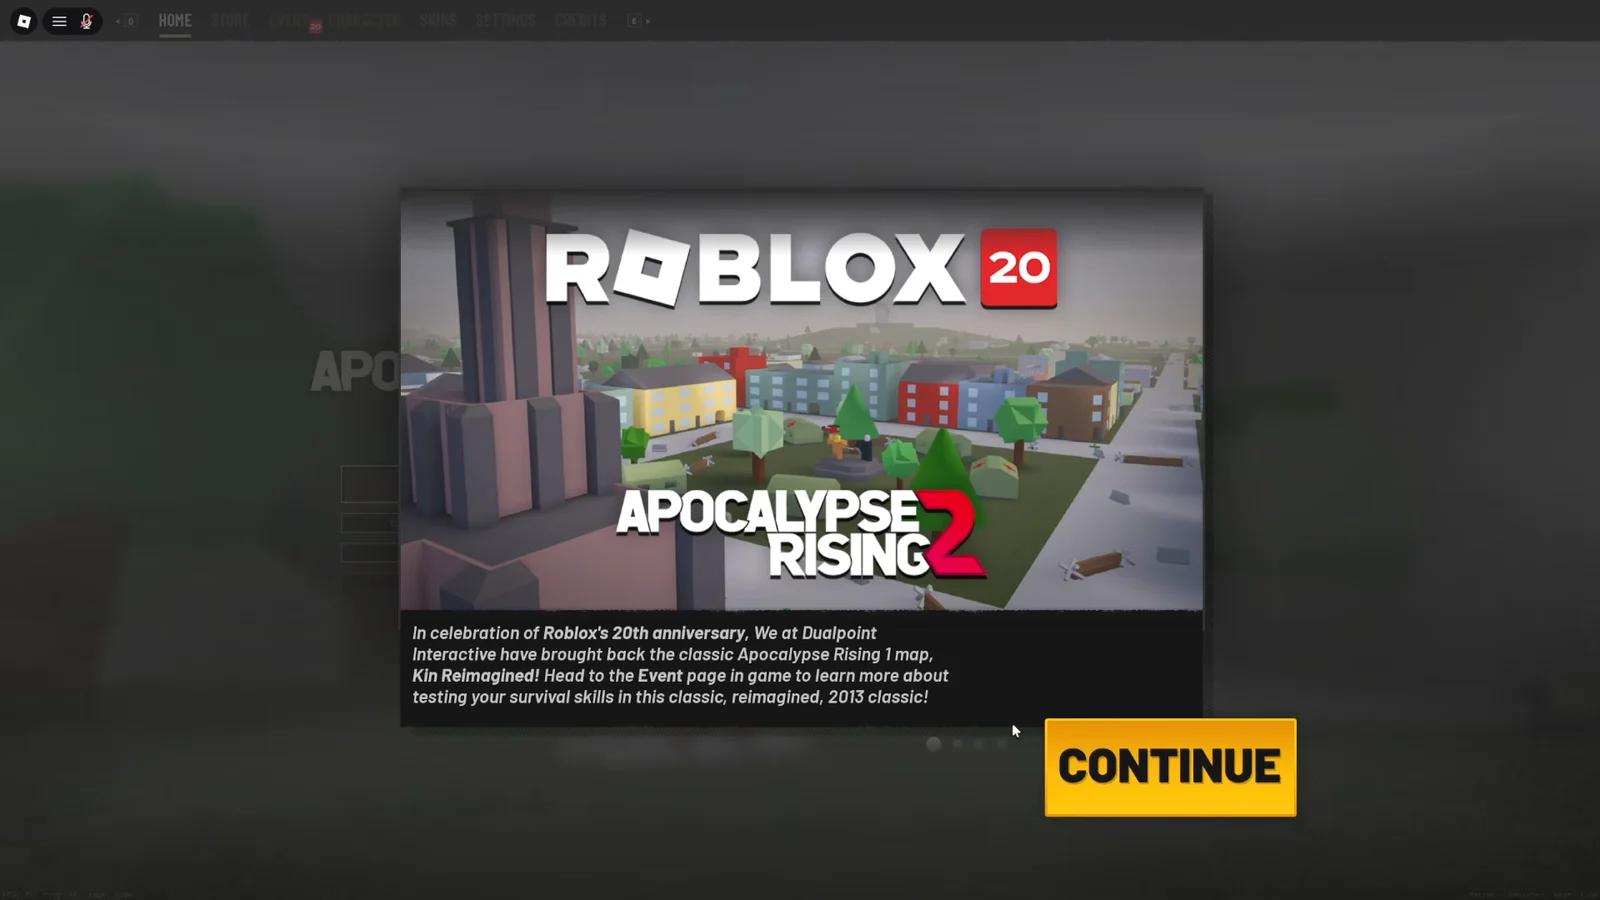
The Roblox 20th Anniversary event in Apocalypse Rising 2 went live on September 17th, 2026, and it hands out its badge through a three-step quest chain rather than a long survival grind. Every requirement is tracked in the EVENT tab on the main menu, and the whole chain can be finished in one decent run if you avoid dying at the wrong moment.
Quick answer: Finish all three event quest steps — collect a primary weapon, melee weapon and backpack in a single life, kill 5 zombies, then cover distance on foot and witness a sunrise or sunset.
Roblox 20th Anniversary event quest requirements
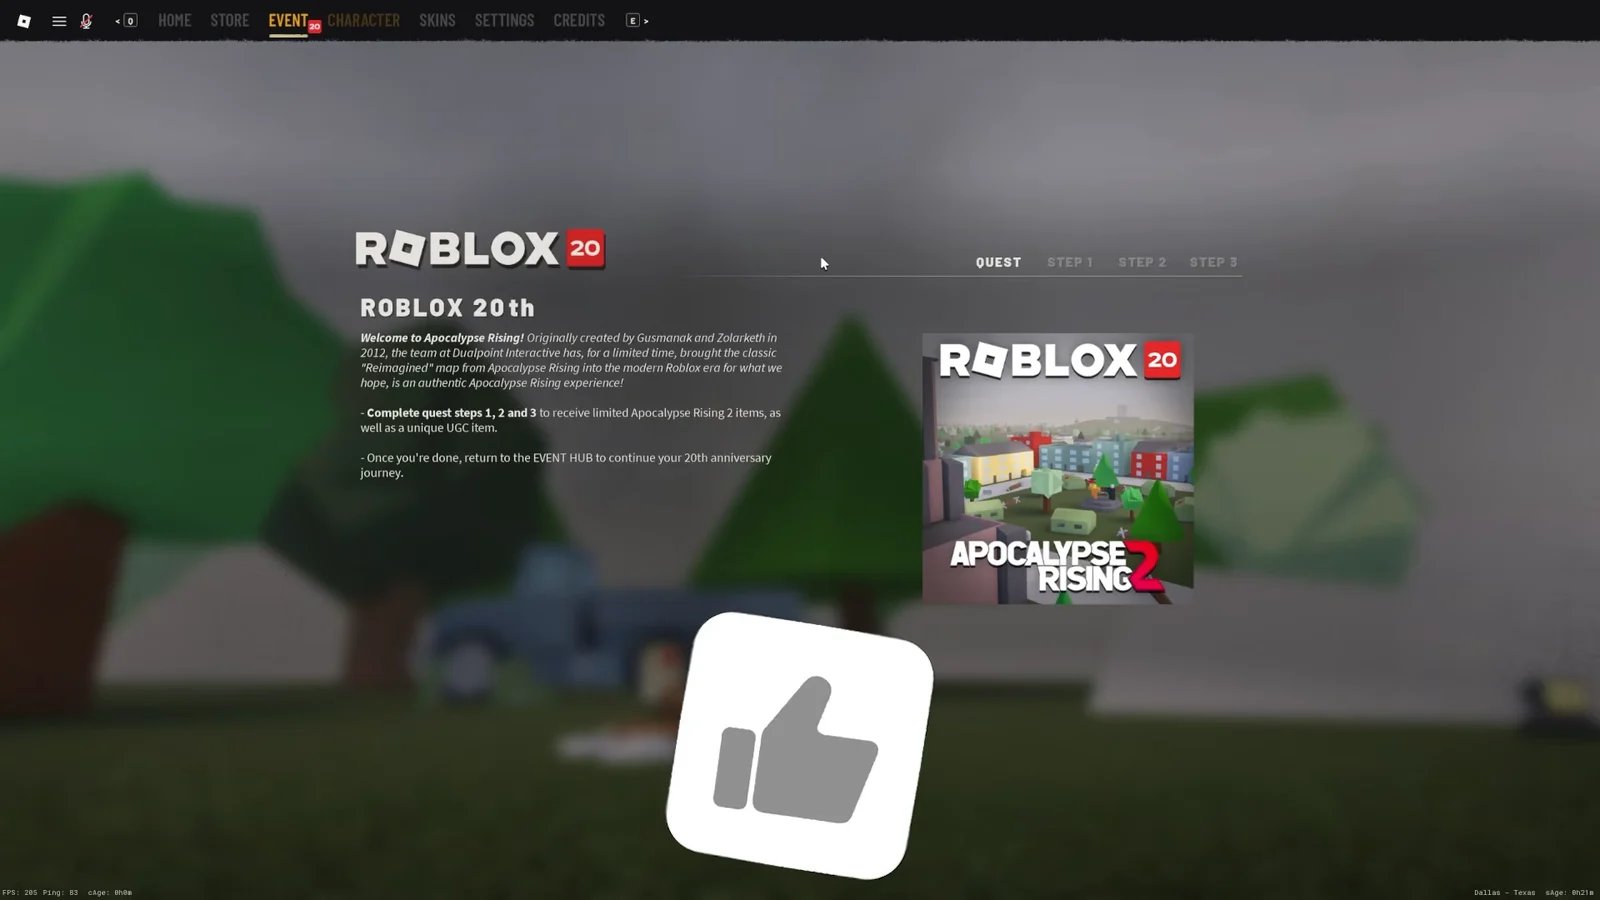
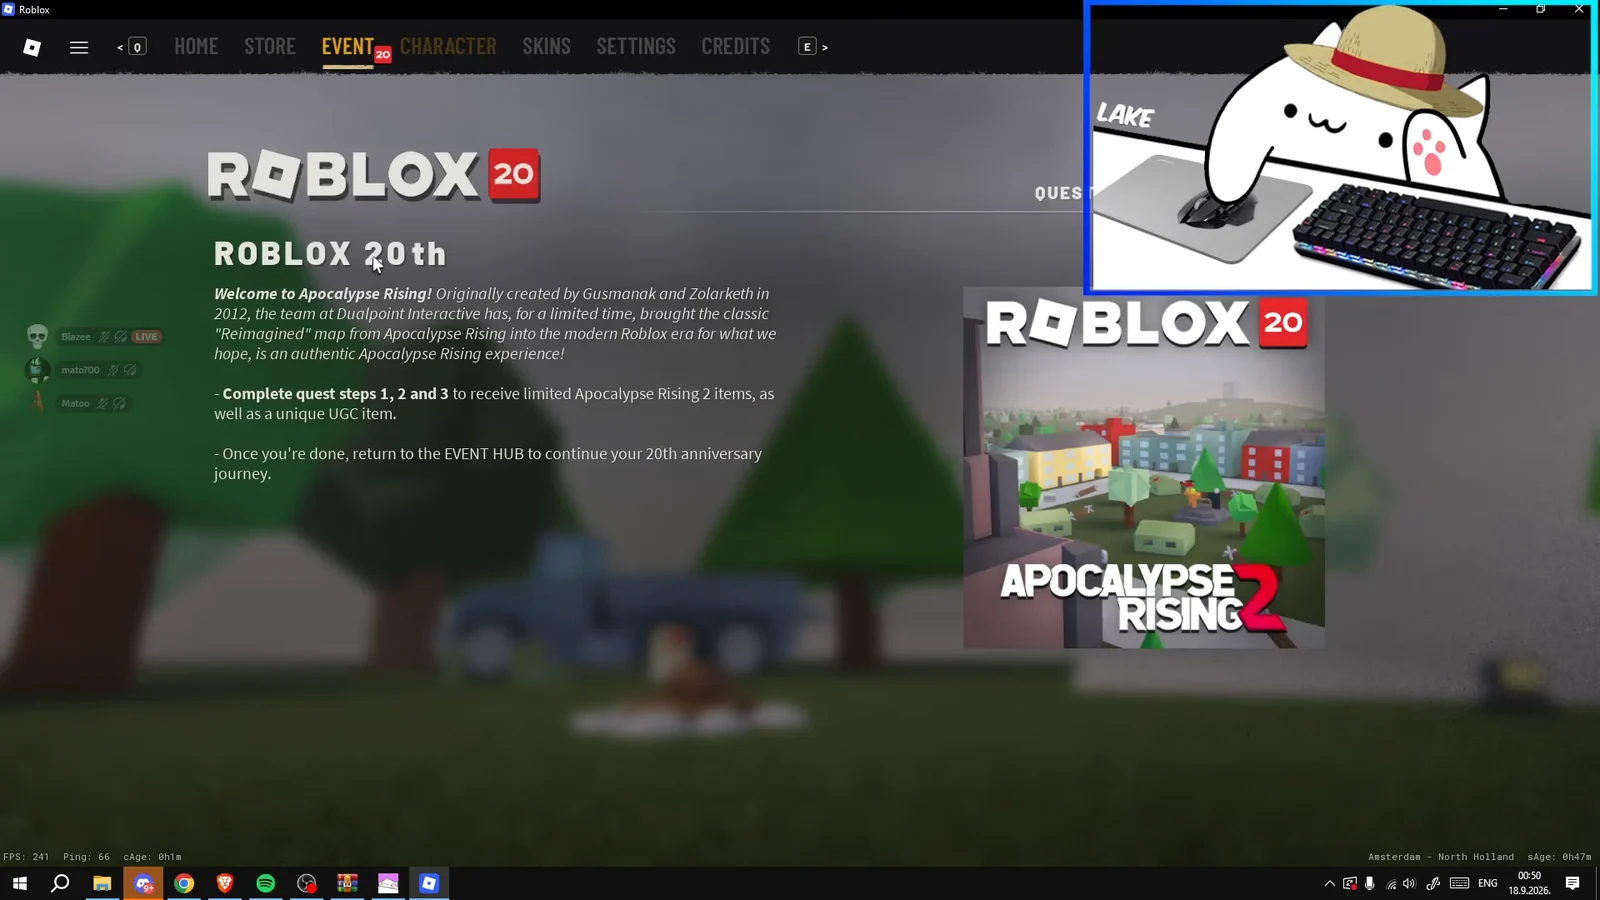
Open the EVENT tab from the main menu before you spawn in. It lists the three steps, your live progress on each one, and the rewards attached to the chain.
| Step | Objective | Key condition |
|---|---|---|
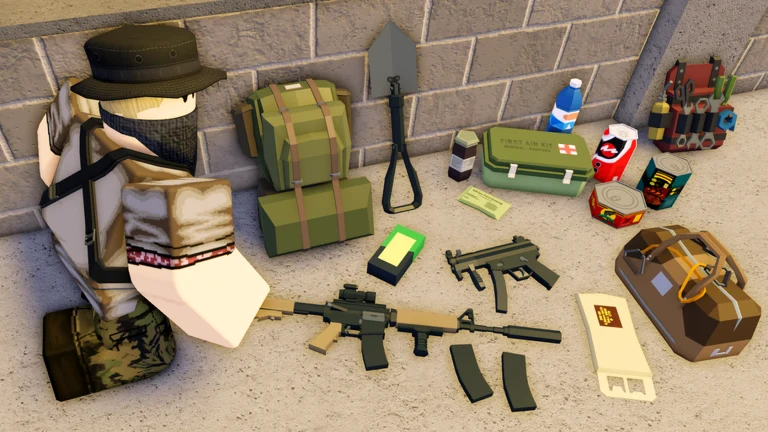
| Step 1: Find the Loot | Primary weapon, melee weapon, backpack | All three in one life |
| Step 2: Zombie Hunter | Kill 5 zombies | Any weapon, progress carries over |
| Step 3: Explore & Survive | Travel on foot, see a sunrise or sunset | Distance must be walked, not driven |
Completing all three unlocks the anniversary badge along with limited Apocalypse Rising 2 items and a UGC item, which you collect by returning to the EVENT HUB.
How the anniversary map changes looting and combat
The event drops the Classic “Reimagined” map from Apocalypse Rising 1 into the sequel, and a few rule changes there directly affect how fast you clear the quests.
- All containers are removed, so loot sits loose on floors and in the open.
- The Perk system is active, and you can pick a spawn region before dropping in.
- Infected cannot be stunned and die to a single headshot — unless a helmet blocks it.
- Legacy gear is in the loot pool: Legacy Combat Knife, Legacy MRE, Legacy Water Bottle.
- Trinity HQ adds a locked door that needs a Keycard.
Because nothing is hidden inside containers, a single farmhouse or town block usually covers the gear you need for Step 1. Sweep floors quickly, take the first usable item in each category, and keep moving.
Step 1: Find the Loot in a single life
All three pickups must happen in one life. Dying between them wipes the progress on this step, so treat open farmland crossings carefully — other players do snipe across those fields.
Step 2: Zombie Hunter — kill 5 zombies
This one is the least fussy of the three. Five infected kills, by any means, and the count sticks across lives. Knives and crowbars are enough for isolated zombies, and they save ammo plus the noise that pulls players toward you.
Town streets and the area around the medical building reliably produce targets. If a horde piles on, back into a hallway or doorway so only one or two can reach you at a time, then finish them with melee. A scoped rifle handles anything you want dead before it closes the gap, and headshots drop the infected instantly unless the target is wearing a helmet.
Hospitals and medical buildings stock Small MedKits and Trauma Kits. Top up there after a swarm instead of trying to push through the next two steps on low health.
Step 3: Explore & Survive — distance on foot and a sunrise or sunset
Step 3 stacks two separate conditions. The first is a travel target measured in studs, and it only counts distance you cover on foot — check the EVENT tab for the exact figure your quest is tracking, since the number shown in the objective text and the number on the completion notification have not always matched.
The practical approach is to fold it into everything else. Run between towns, farms and landmarks like the Factory while you are hunting loot and zombies, and the distance fills in on its own. An on-screen notification confirms the moment you hit the target.
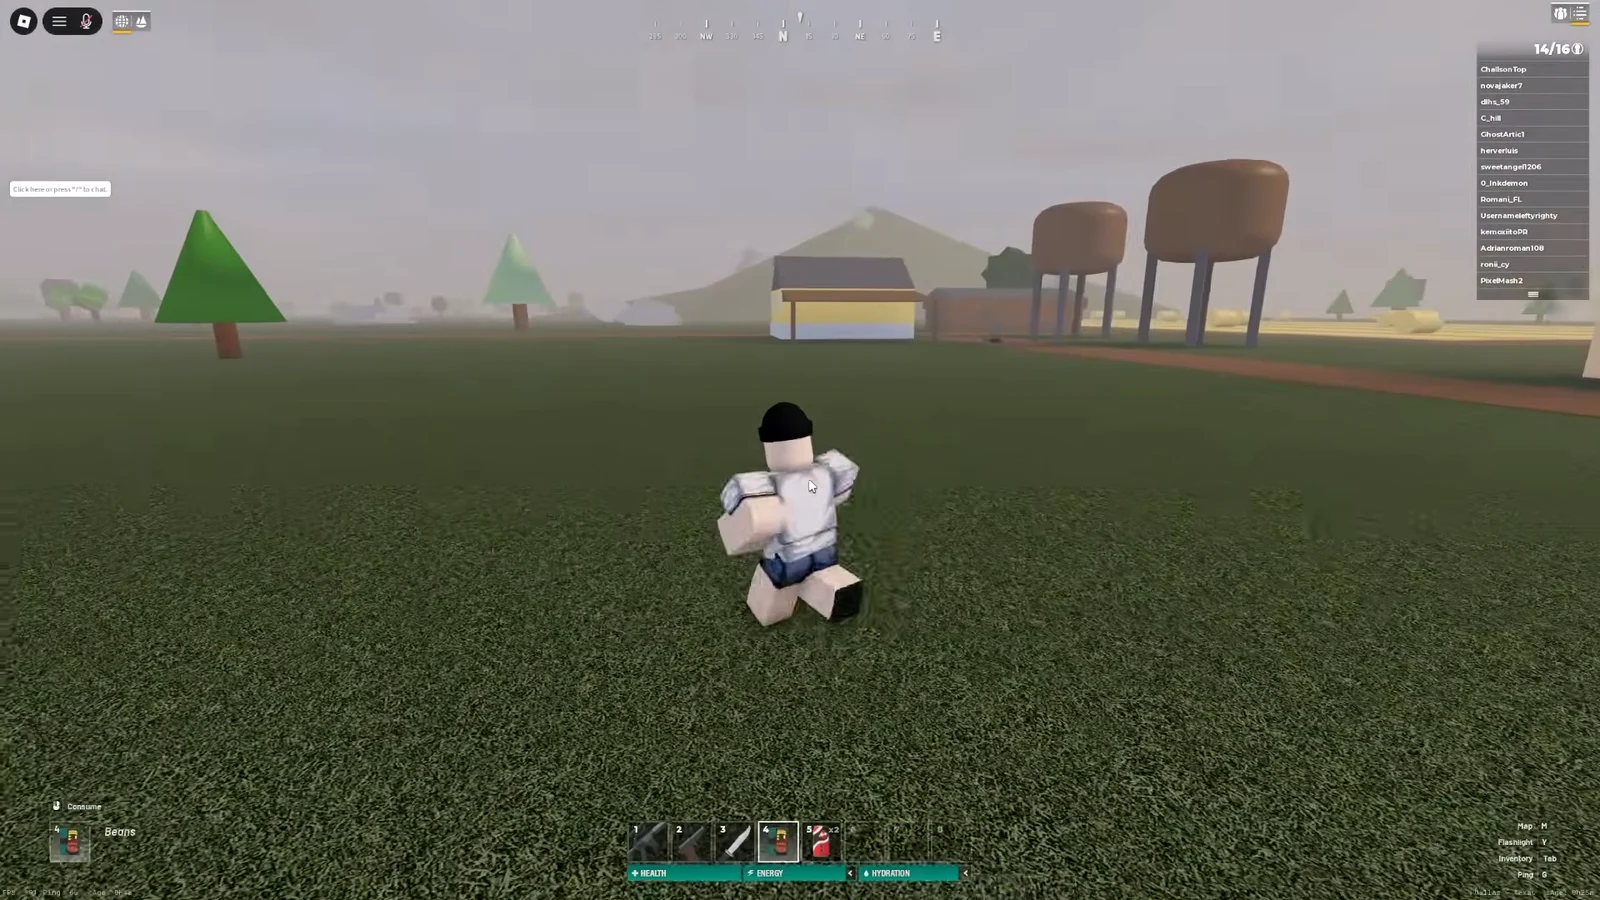
The second condition is the one that gates most players. You need to witness a sunrise or sunset, which means being alive and outdoors while the sun crosses the horizon. Once the distance is done, find a quiet stretch of open field away from town, keep the sky in view, and watch the sun drop. The step completes as the sun finishes setting.
How to confirm the badge unlocked
Each objective fires an on-screen notification the instant it is satisfied, and the EVENT tab marks finished steps as completed. Reopen that tab if you are unsure whether a pickup or a kill registered — it is also where you will see that Step 1 still needs items, which is your cue that a death reset it.
Finishing Step 3 awards the anniversary badge immediately. After that, head back to the EVENT HUB to pick up the limited Apocalypse Rising 2 items and the UGC item tied to the quest chain.
Not the same as the original Survivor Badge
Worth separating the two, because the names get mixed up. The original Survivor Badge belongs to the first Apocalypse Rising and its survivor badge series, and it asks for 3 days survived plus 50 zombie kills — a completely different, much longer requirement from the anniversary quest chain.
The event badge, by contrast, is a short checklist you can knock out in a single evening on the Classic “Reimagined” map. Loot one house properly, stay alive through five zombies, then spend the back half of your run walking somewhere scenic and waiting for the sun.