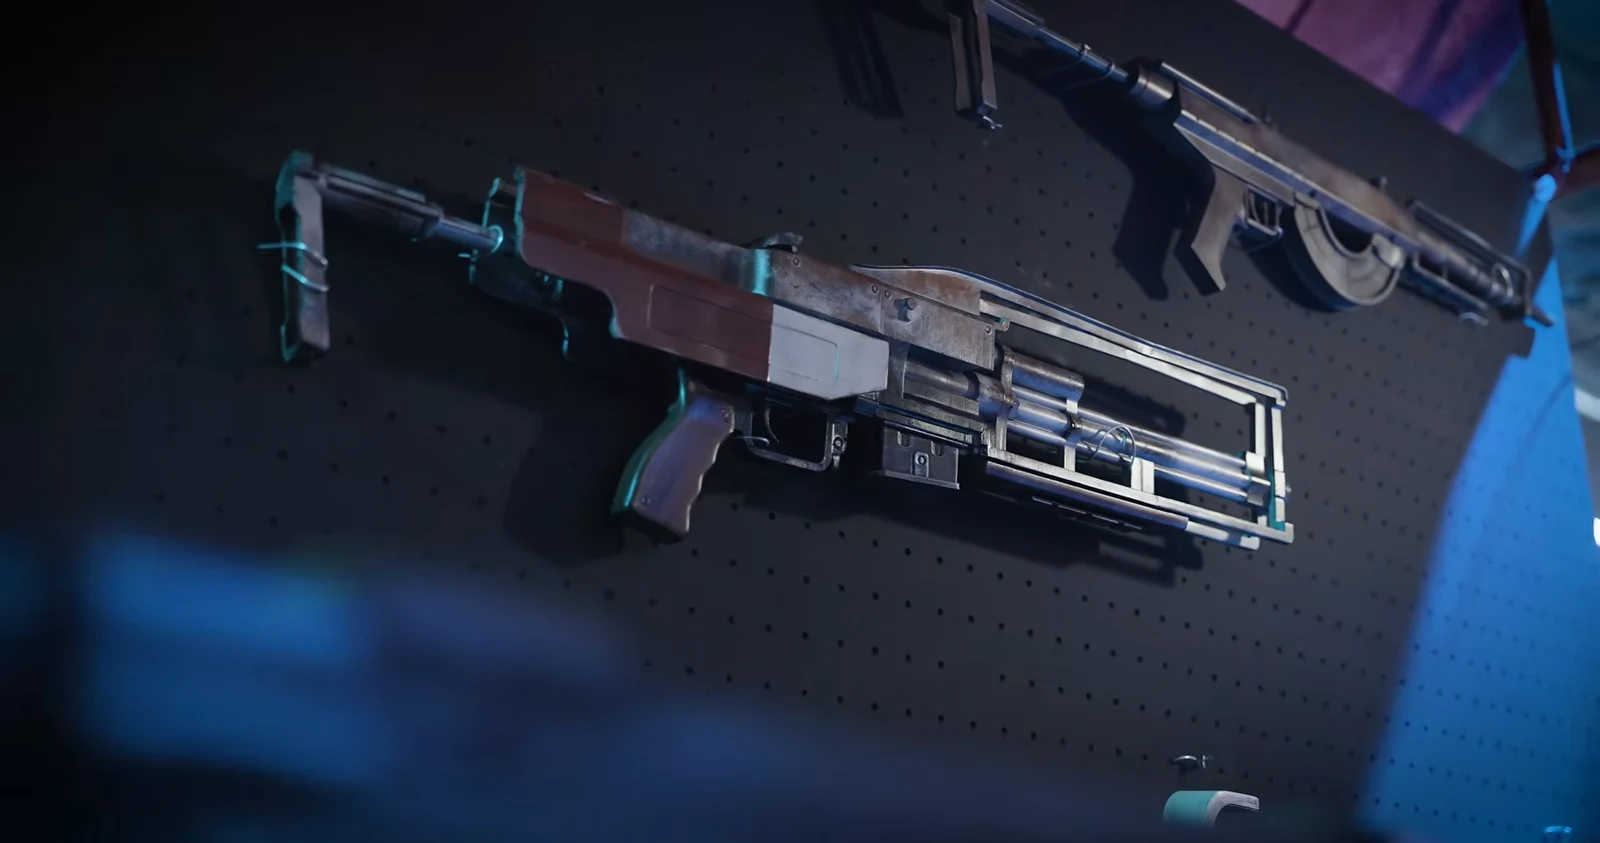
Frozen Trail introduced a fifth quality level for 15 ARC Raiders weapons. Amplification is more than a fixed damage increase: it refits a gun with ARC components and unlocks a branching node grid that can alter firing, reloading, or aiming. For example, the Burletta can fire full-auto, the Renegade can take a scope, and the Rattler can use a drum magazine. The process requires a lengthy base-building effort, and its choices cannot be undone.
Quick answer: First bring the weapon to tier IV. Then use a matching-rarity Amplification Module to select Amplify at a Level 4 Gunsmith, while your Research Station is Level 4.
What amplification does to an ARC Raiders weapon
Tiers I to IV improve a gun’s underlying stats; amplification adds another layer rather than replacing those tiers. During amplification, an Amplification Module is permanently fused into the weapon. This gives it a new model, increases maximum durability by +70, and unlocks a node tree. Most weapons also receive modest baseline gains, such as faster firing, quicker reloads, or higher bullet velocity.
The nodes do the real work. Each one has to be researched and then crafted onto the gun. Some nodes depend on another node being installed first, and some lock out a rival branch. An installed node can’t be removed or swapped, and an amplified weapon can’t be turned back into its base version.
Fifteen weapons are eligible: Anvil, Aphelion, Bettina, Burletta, Canto, Equalizer, Hairpin, Hullcracker, Il Toro, Jupiter, Kettle, Osprey, Rascal, Rattler, and Renegade. The new Stiletto and Bantam can’t be amplified, and neither can the Bobcat, Tempest, Vulcano, Torrente, or Ferro.
Unlock the Outpost with Sheltered Retreat
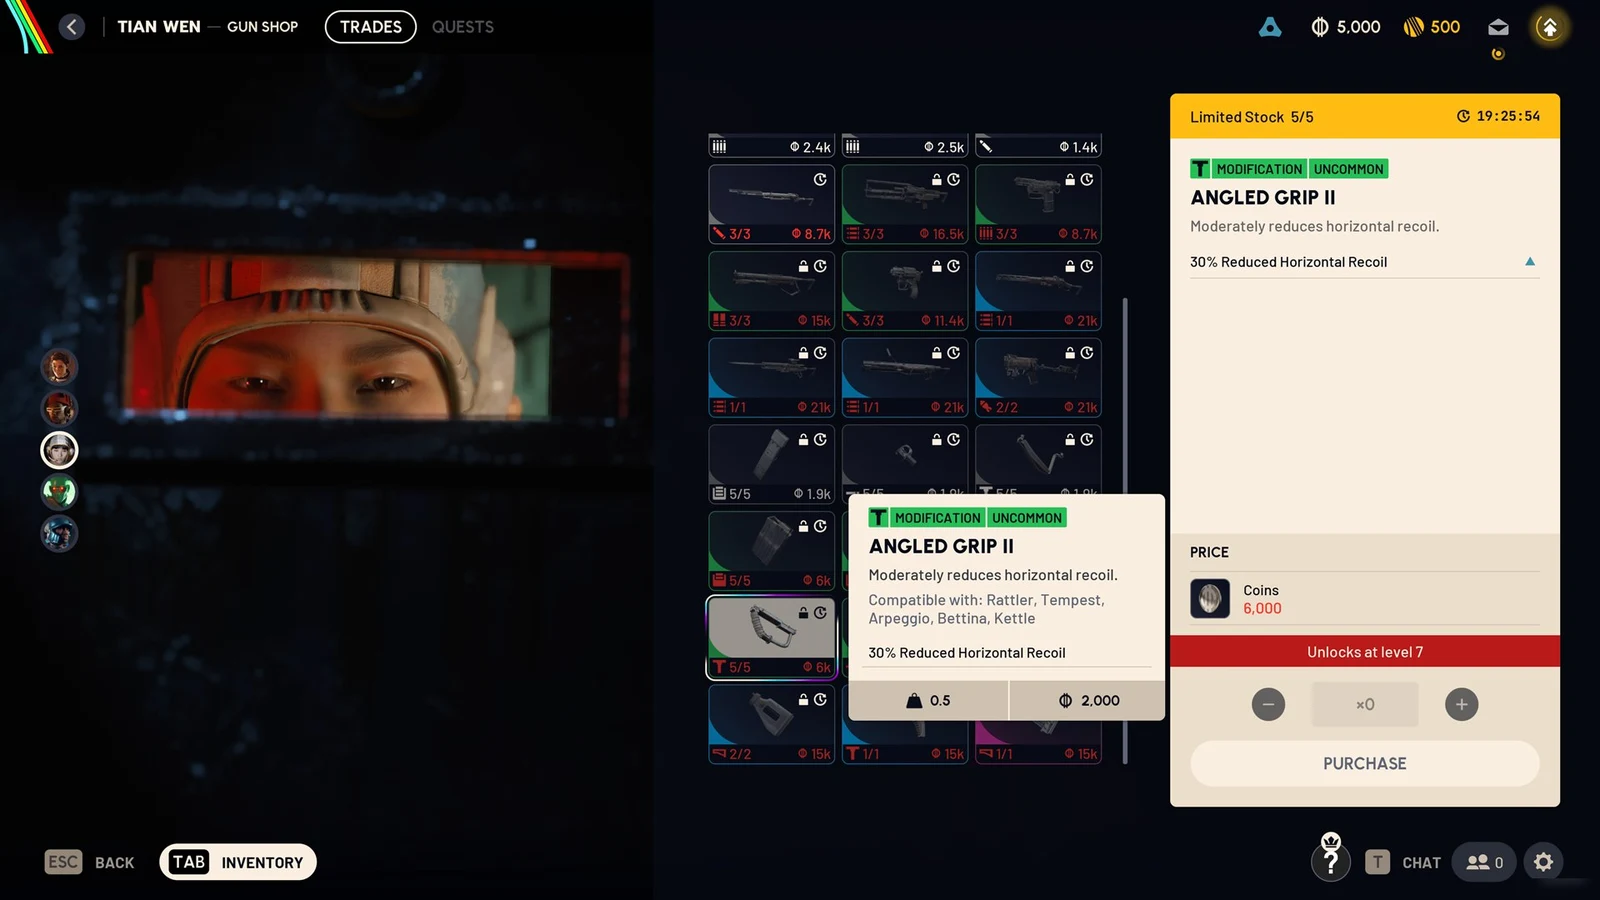
A standard Speranza bench can’t amplify anything. The whole system runs through the Outpost, a new extension of your Raider Den that Celeste offers once you start exploring Pendola Pass. The Outpost Project unlocks at level 18. After that, your progress depends on base building, not Raider level. Accept Sheltered Retreat from the Outpost tab on the main menu and take a Basic Camera into your next raid. You can buy one from Shani, craft one at the Workbench, or loot one topside.
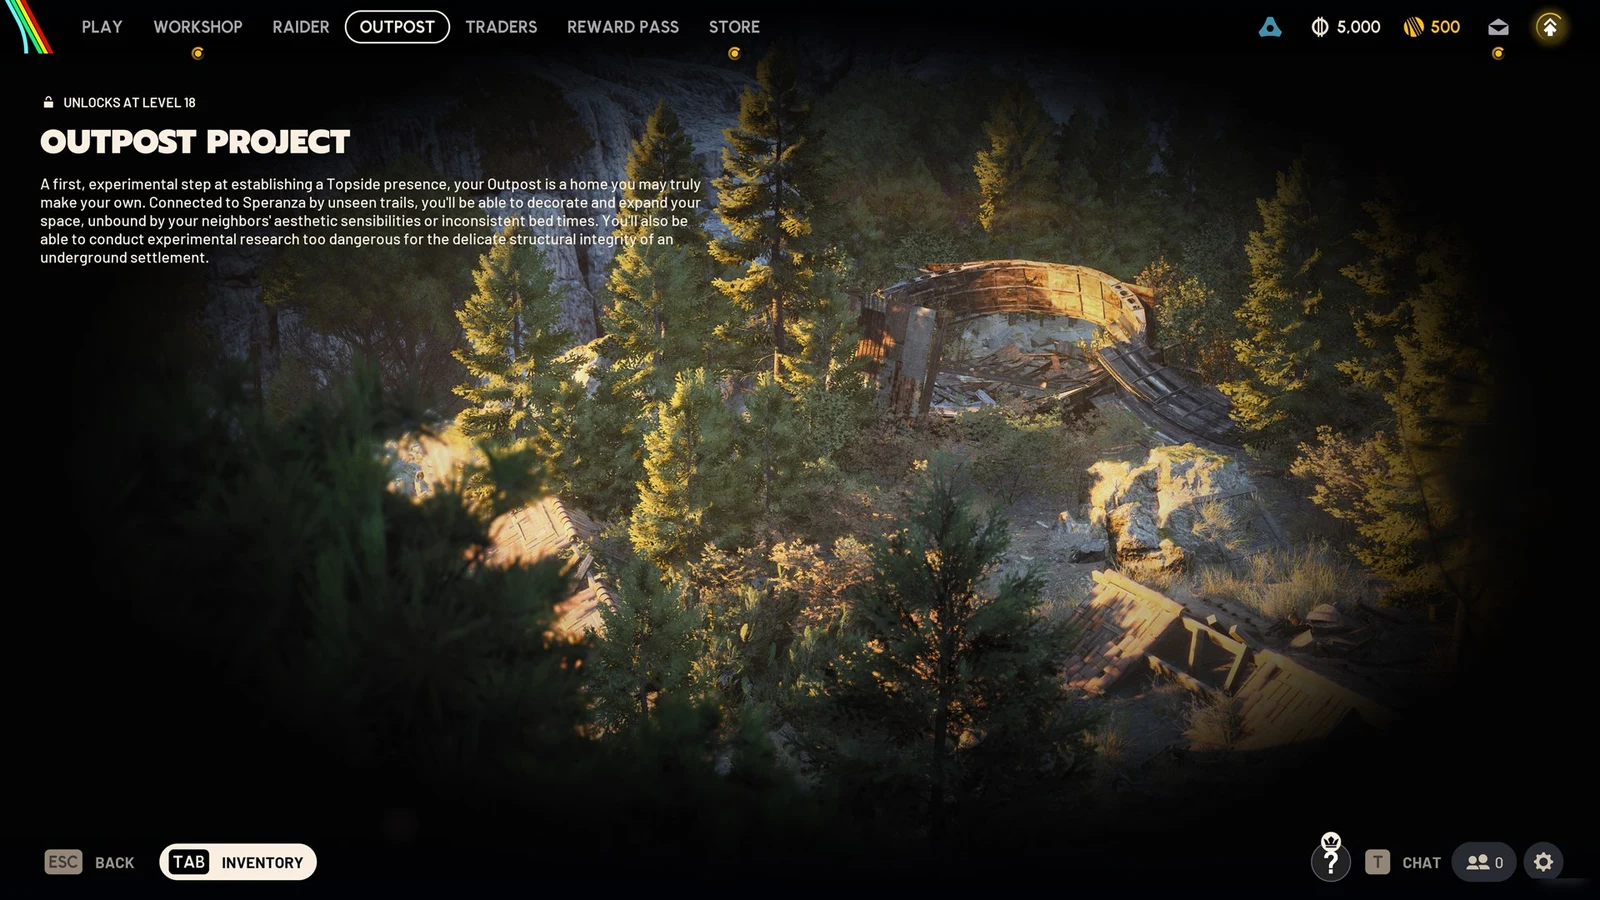
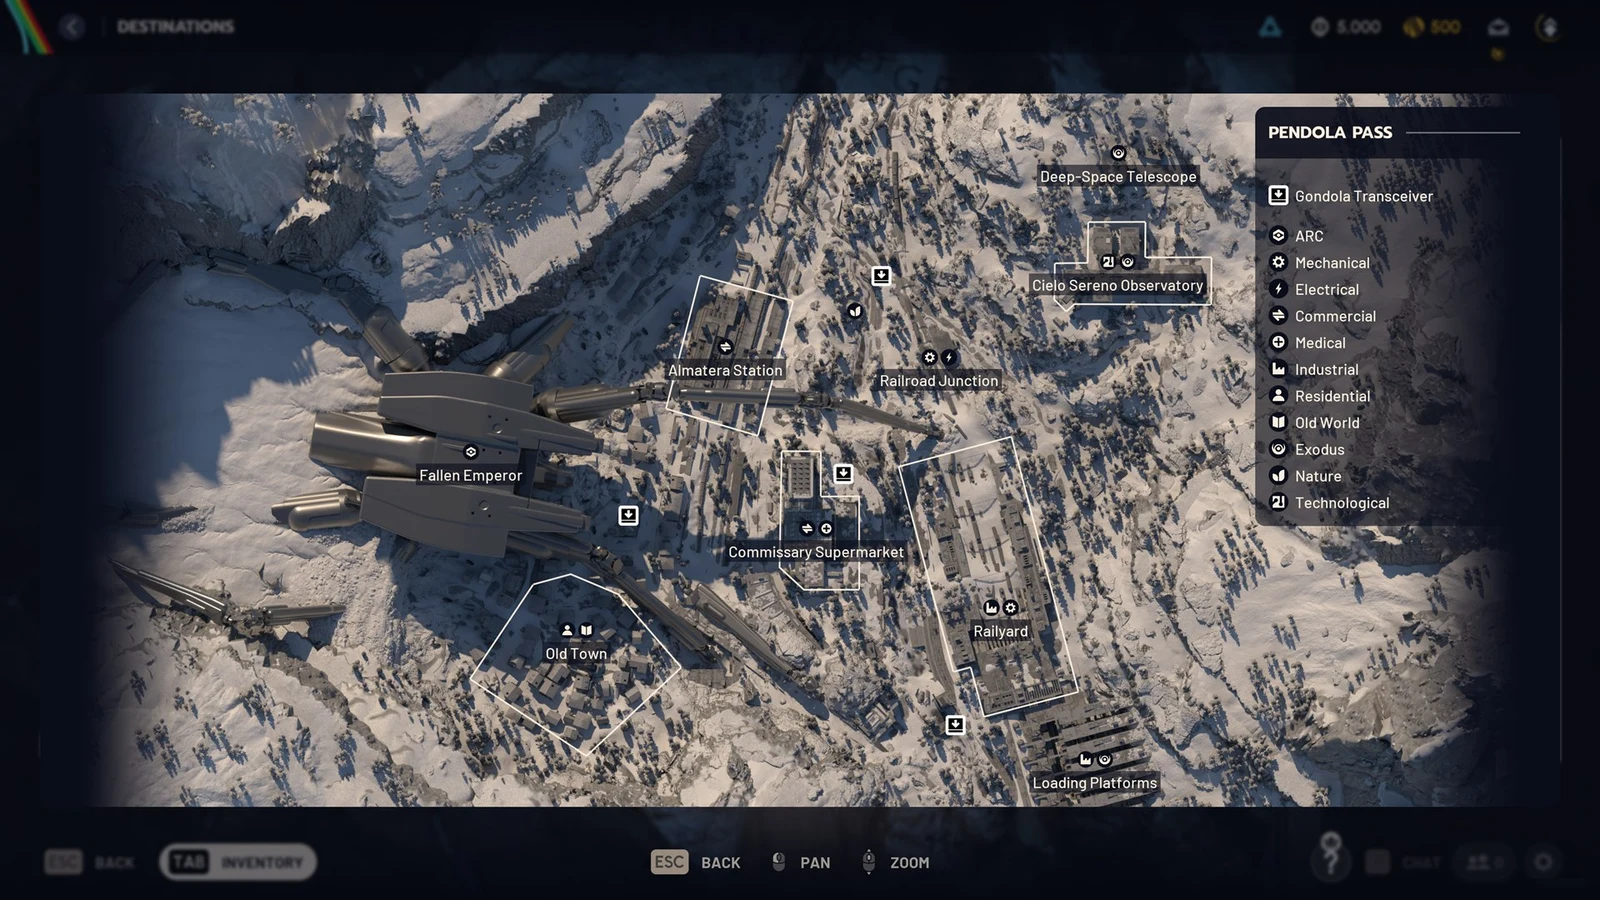
A short cutscene marks completion, showing the Outpost as a tower in the mountains with an interior room you can furnish. The Workshop stations are moved there too.
Expand the Outpost and level the Research Station
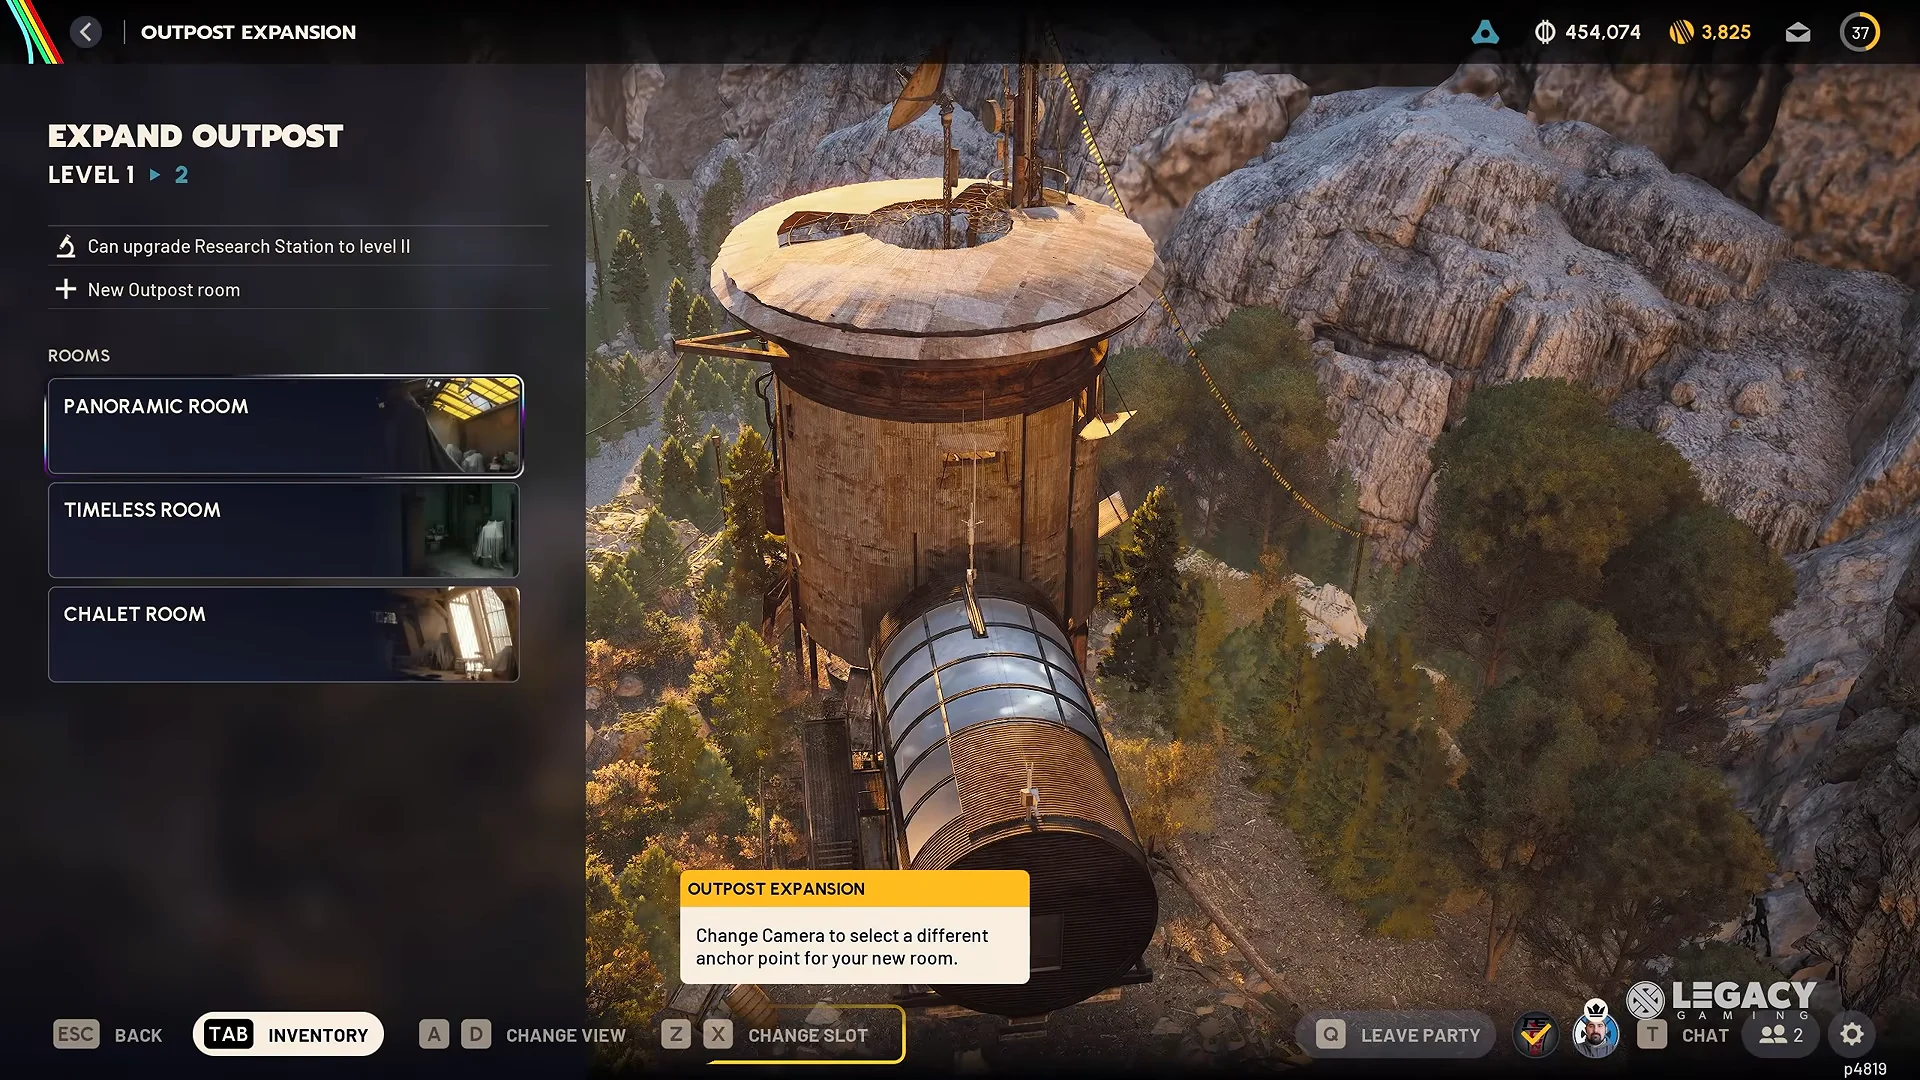
The new Research Station is located in the Outpost. Its first upgrade takes 35 Planks, 5 Battered Paperbacks, and 3 Mini Pumps. The Outpost sets the station’s level cap, so expanding the Outpost makes the next station level accessible. Each expansion also offers a room choice: Panoramic, Timeless, Chalet, or Studious. Once installed, your chosen room can’t be moved or replaced.
| Upgrade | Materials | Opens |
|---|---|---|
| Outpost 1 to 2 | 3 Steel Cable, 20 Sheet Metal, 3 Cable Strippers | Research Station II |
| Research Station 1 to 2 | 3 Calculators, 1 Raider Logbook, 5 Skulker Targeters | — |
| Outpost 2 to 3 | For the upgrade, gather 3 Epoxy Buckets, 35 Planks, and 3 Hand Drills. | Research Station III |
| Research Station 2 to 3 | The materials needed are 3 Differential Microphones, 3 Exodus Technical Handbooks, and 6 Bully Fragmenters. | — |
| Outpost 3 to 4 | 40 Sheet Metal, 3 Laser Levels, 3 Insulation Rolls | Gunsmith IV and Research Station IV |
Hardware is usually the slowest loot to gather. On Pendola Pass, look for Steel Cable, Epoxy Buckets, Hand Drills, Laser Levels, and Insulation Rolls lying on seats or tables inside Freight Terminal train cars, as well as on the Commissary Supermarket shelves. Steel Cable spawns only on Pendola Pass. Flash Freeze shelters can contain Raider Logbooks, while Skulkers drop Skulker Targeters. Raider-style containers at the Observatory, Railyard, and Commissary Supermarket can hold Mini Pumps. At the beginning of each raid, check the map’s outlined high-value loot areas.
Gunsmith IV and Research Station IV: the two endgame parts
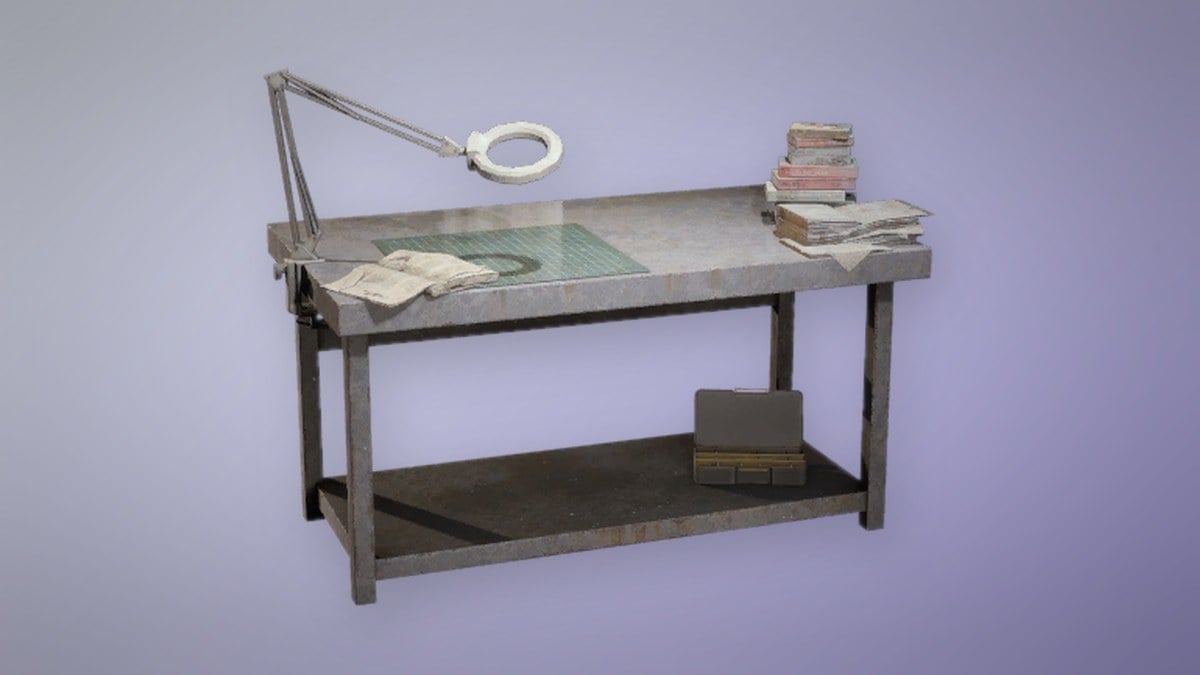
With the Outpost at Level 4, both benches can take their final upgrade. Each upgrade needs one rare item from a Frozen Trail endgame activity, so you’ll need access to both the Frigate and the fallen Emperor.
| Upgrade | Materials | Rare item source |
|---|---|---|
| Gunsmith III to IV | 3 Radial Press, 3 Magnetic Accelerators, 1 Emperor Modulator | Inside the fallen Emperor, Pendola Pass |
| Research Station III to IV | 3 Thermal Shakers, 3 ARC Data Modules, 1 Frigate Inductor | ARC Frigate, including its breachable loot ports |
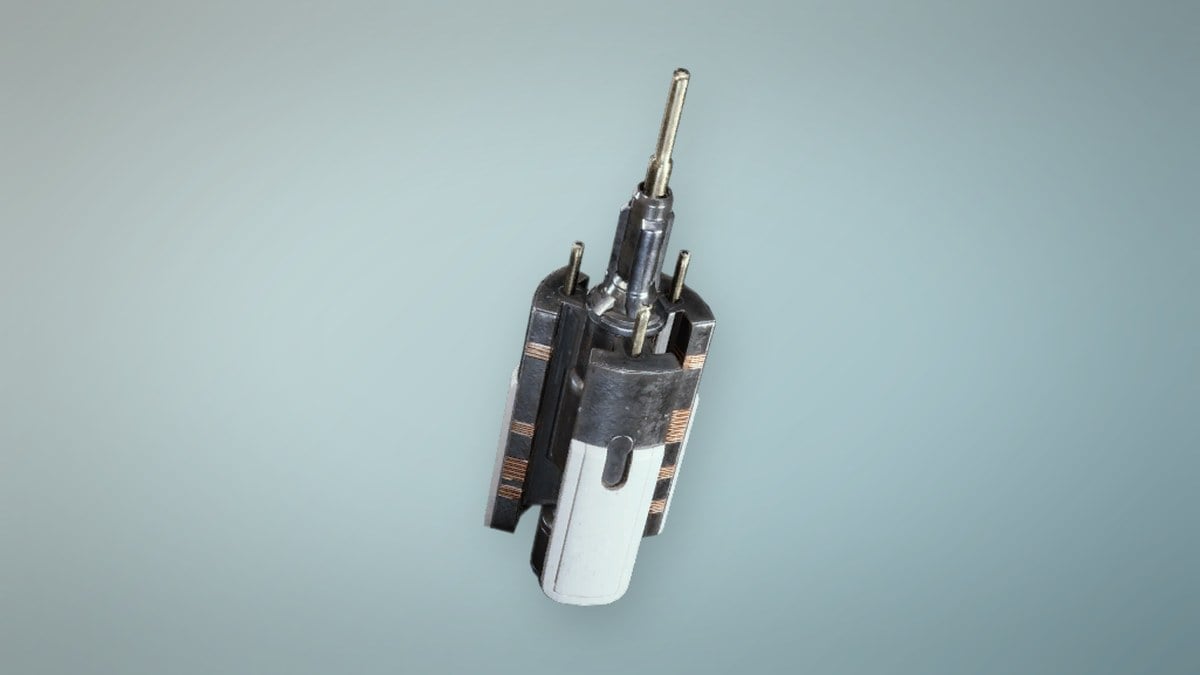
Thermal Shakers are found at the Observatory. The Emperor Modulator is sealed inside the fallen Emperor, and you need an Emperor Gateway Conduit to open the entrance.
Craft the Emperor Gateway Conduit
The interior has enemies, laser hazards, puzzle corridors, and long vertical climbs. Bring traversal tools like a Grappling Hook or Snap Hook, plus a real combat loadout.
Where Amplification Modules drop
Modules come from only two places: the ARC Frigate and the inside of the fallen Emperor on Pendola Pass. They aren’t in any regular loot table. On the Frigate, finish the sabotage sequence and search the high-value cargo containers and the Breach & Search ports on the hull. In the Emperor, search the interior containers and wall panels.
The lineup contains five Marks, from Mk. I through Mk. V, with one assigned to each weapon rarity. Their drop chances are identical, so Mk. V is no harder to find than Mk. I. Mk. I and Mk. V each weigh 0.5 and sell for 7,000 Coins. A Mark works only with a weapon of matching rarity; a higher-tier one can’t replace a lower-tier Mark. Recycling a duplicate module gives 7 Amplified Fragments.
Put a module in your safe pocket right after finding it. If you’re knocked out, it remains protected there, even when everything else on the Frigate’s deck is lost.
Amplify the weapon at the Gunsmith
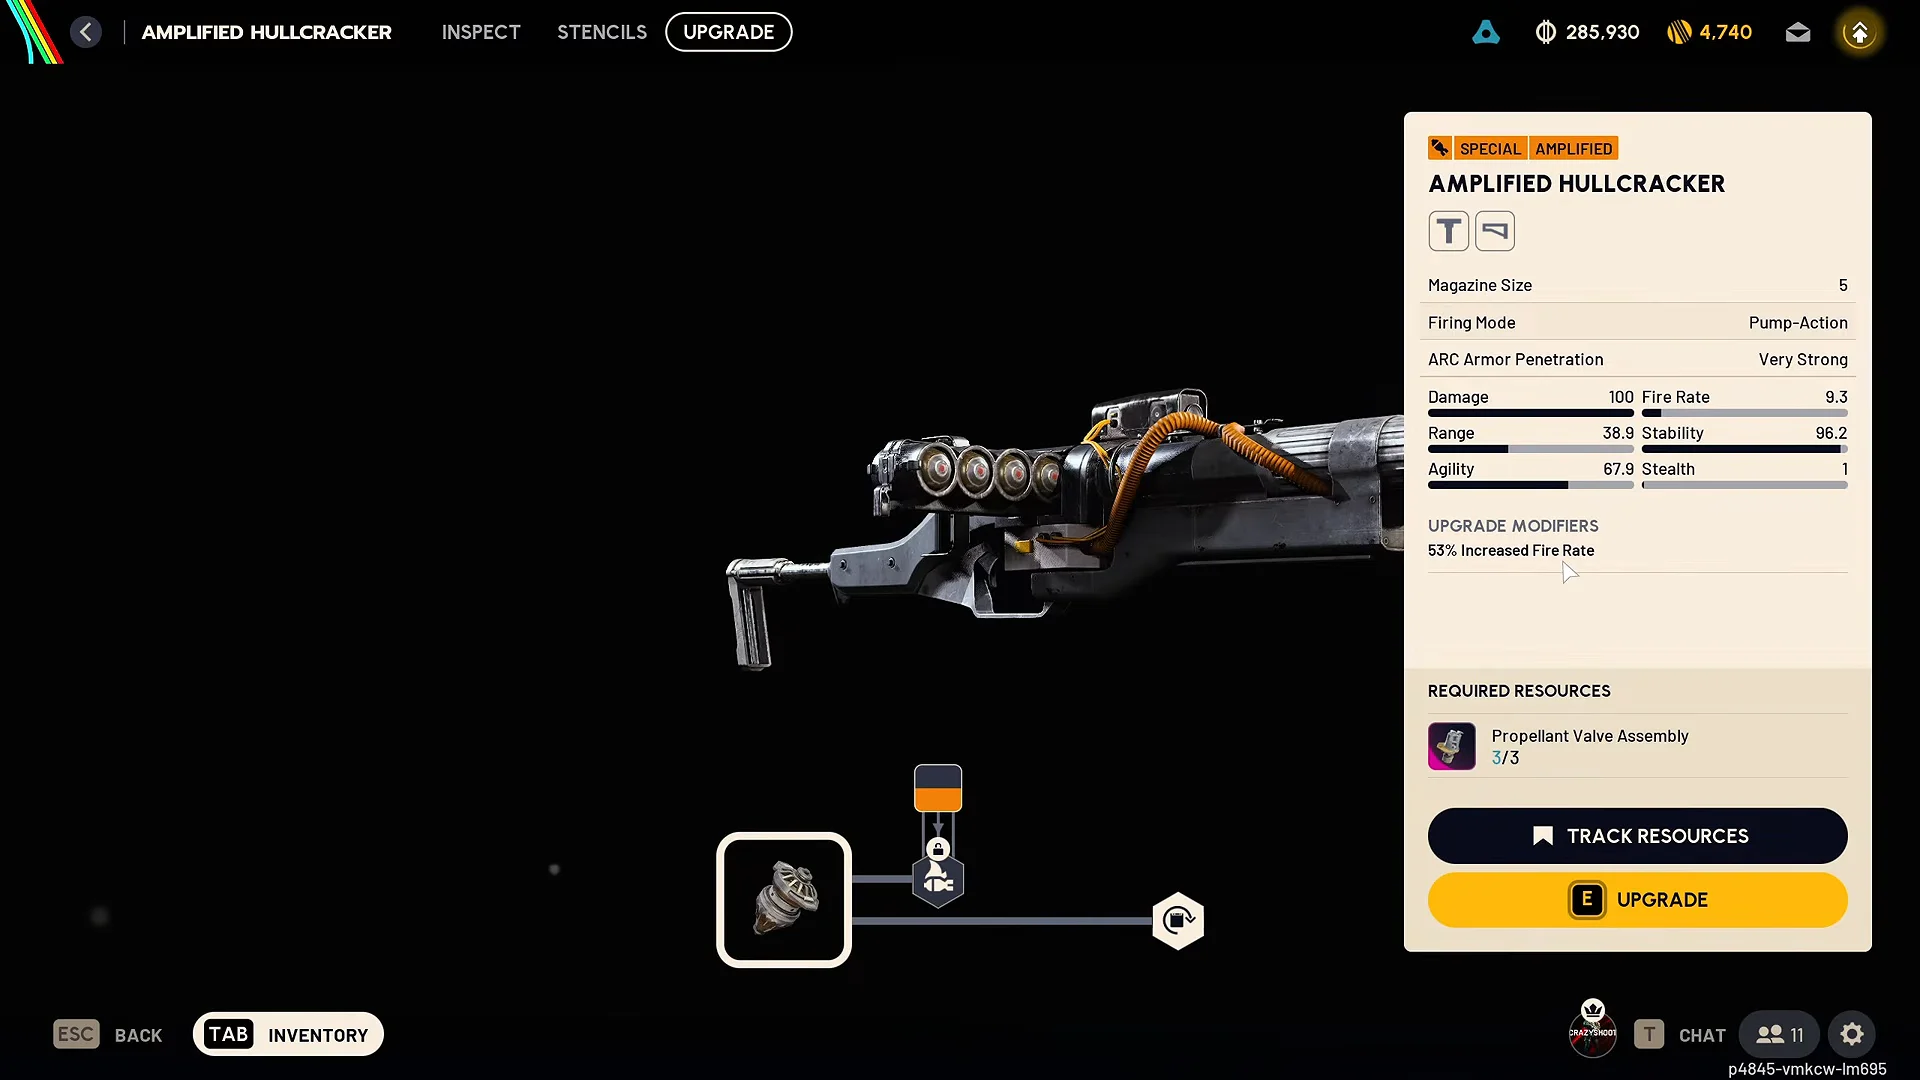
The new model, a 70-point increase in maximum durability (a tier IV Anvil rises from 130 to 200), and an available node tree confirm successful amplification. Since Patch 2.1.0, hovering over a node illuminates its route, except when an already-installed node blocks the way.
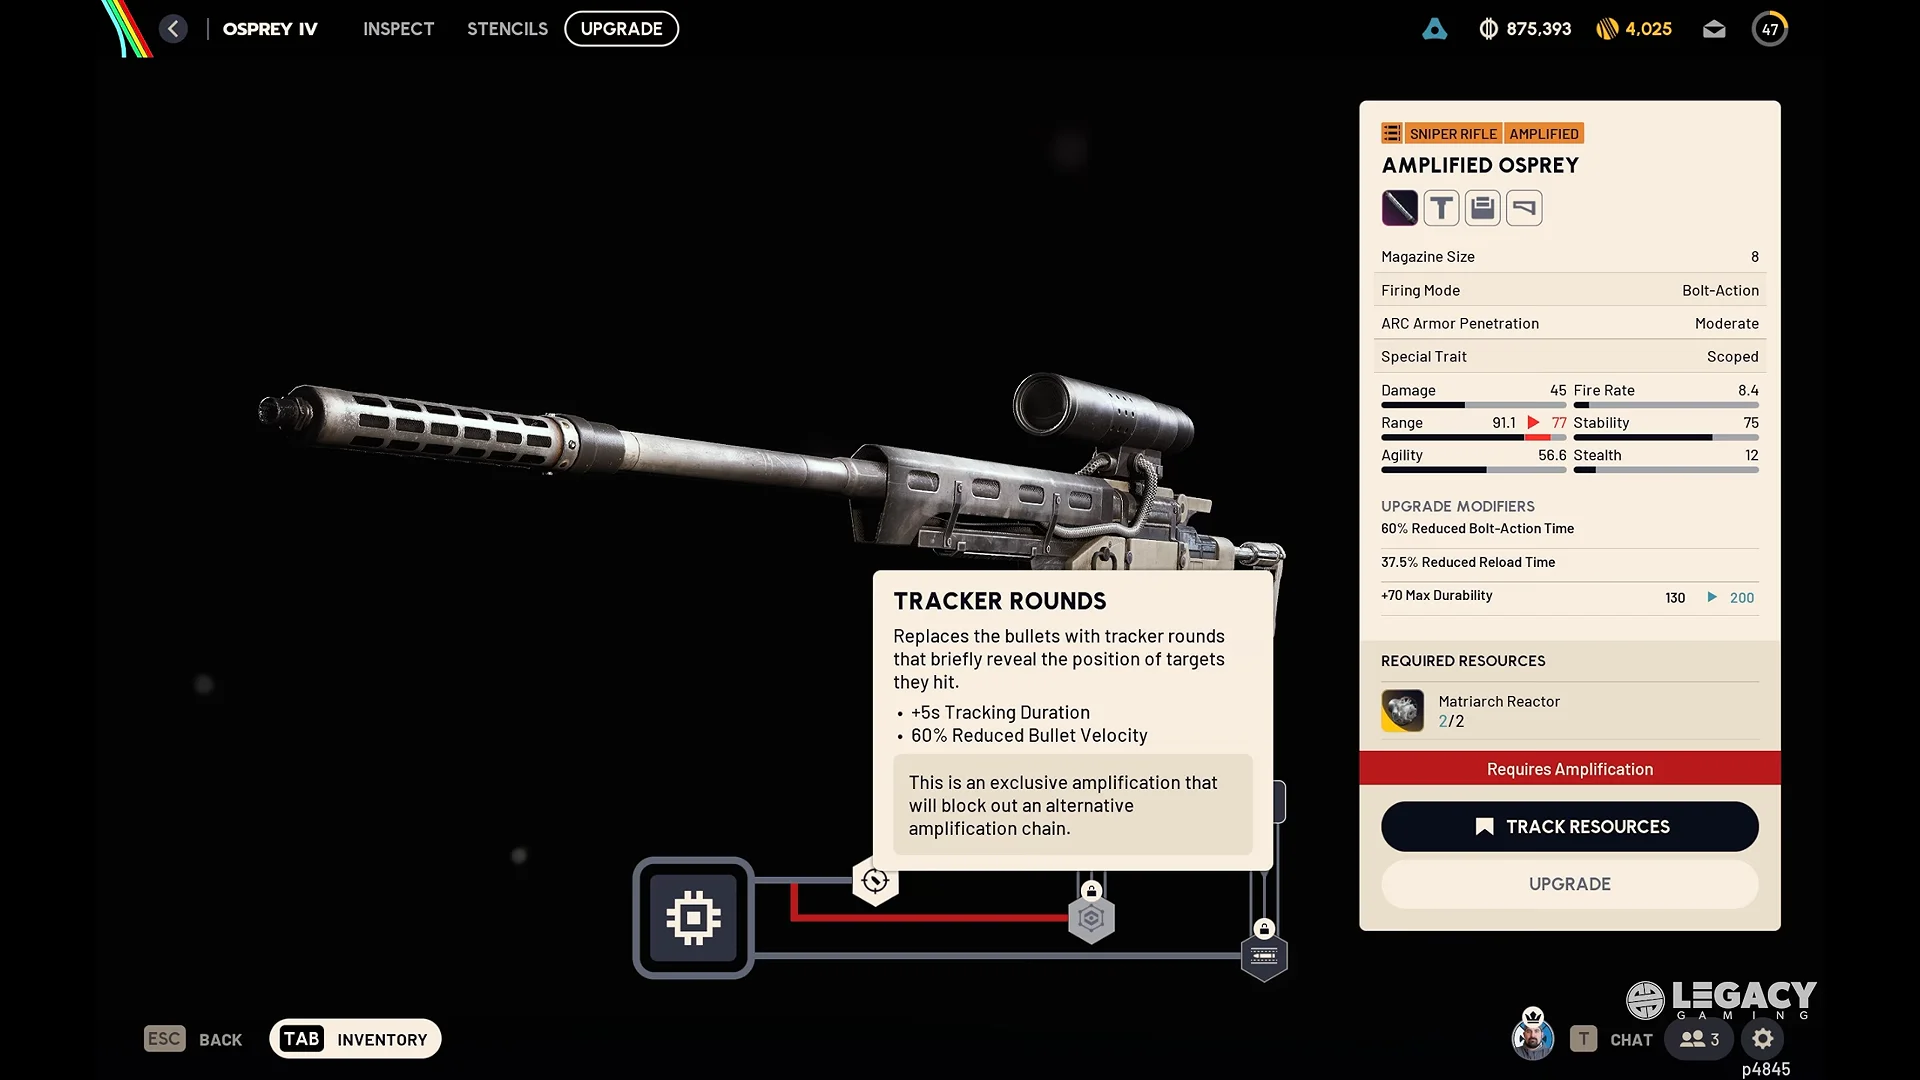
The module’s ARC parts are fused to the frame permanently, and the original weapon is gone. Pick both the gun and its first node before you confirm.
All 15 amplified weapons by module
The node list is fixed for each gun, so you can’t move an effect from one weapon to another. The weights below are for the amplified versions. Some guns have conflicting branches. On others, every node can be installed together.
Mk. I (Common): Hairpin, Kettle, Rattler
| Weapon | Category | Weight | Upgrades |
|---|---|---|---|
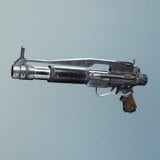 Amplified Hairpin | Pistol | 3 | Incendiary Rounds, Semi-Auto, Sprint Shooting, Tracker Rounds |
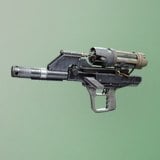 Amplified Kettle | Assault Rifle | 7 | Anti-Shield, Full-Auto, X-Rounds |
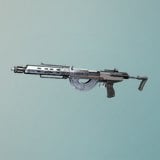 Amplified Rattler | Assault Rifle | 6 | Drum Mag, Incendiary Rounds, More Reload |
For the Hairpin, choose among Semi-Auto, Tracker Rounds, and Incendiary Rounds. Incendiary occupies a separate branch and prevents access to the other options. Sprint Shooting is available only after choosing Semi-Auto. Patch 2.1.0 corrected the Hairpin’s Semi-Auto behavior, making its headshot damage penalty apply properly. The Kettle’s X-Rounds choice shuts off both Anti-Shield and Full-Auto. For the Rattler, More Reload is a prerequisite for Drum Mag. The drum adds 40 rounds, though reloading still happens a few rounds at a time.
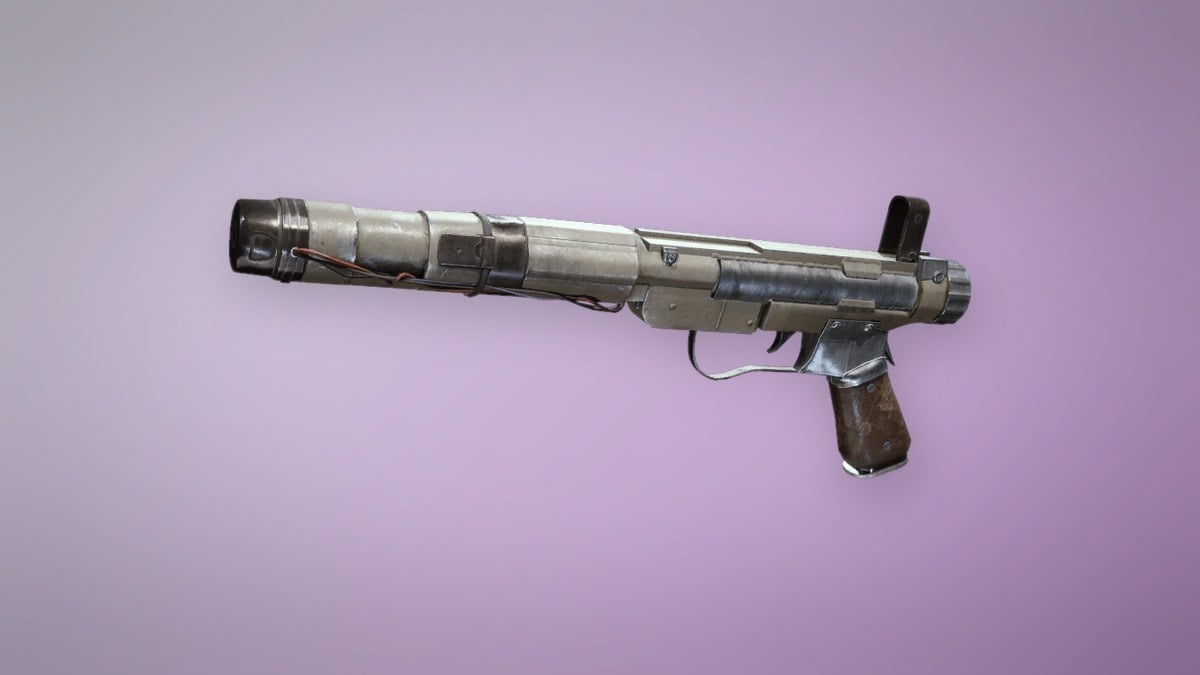
Mk. II (Uncommon): Burletta, Il Toro
| Weapon | Category | Weight | Upgrades |
|---|---|---|---|
 Amplified Burletta | Pistol | 4 | Choose from Burst Fire, Full-Auto, Increased Burst, and Sprint Shooting. |
 Amplified Il Toro | Shotgun | 8 | More Reload, Slug Rounds |
The Burletta splits early. Burst Fire locks out both Full-Auto and Sprint Shooting, and Increased Burst requires Burst Fire. Full-Auto raises the fire rate, but you give up damage, a large part of the headshot multiplier, and recoil control. The Il Toro’s two nodes don’t conflict. Slug Rounds swaps buckshot for a single heavy projectile.
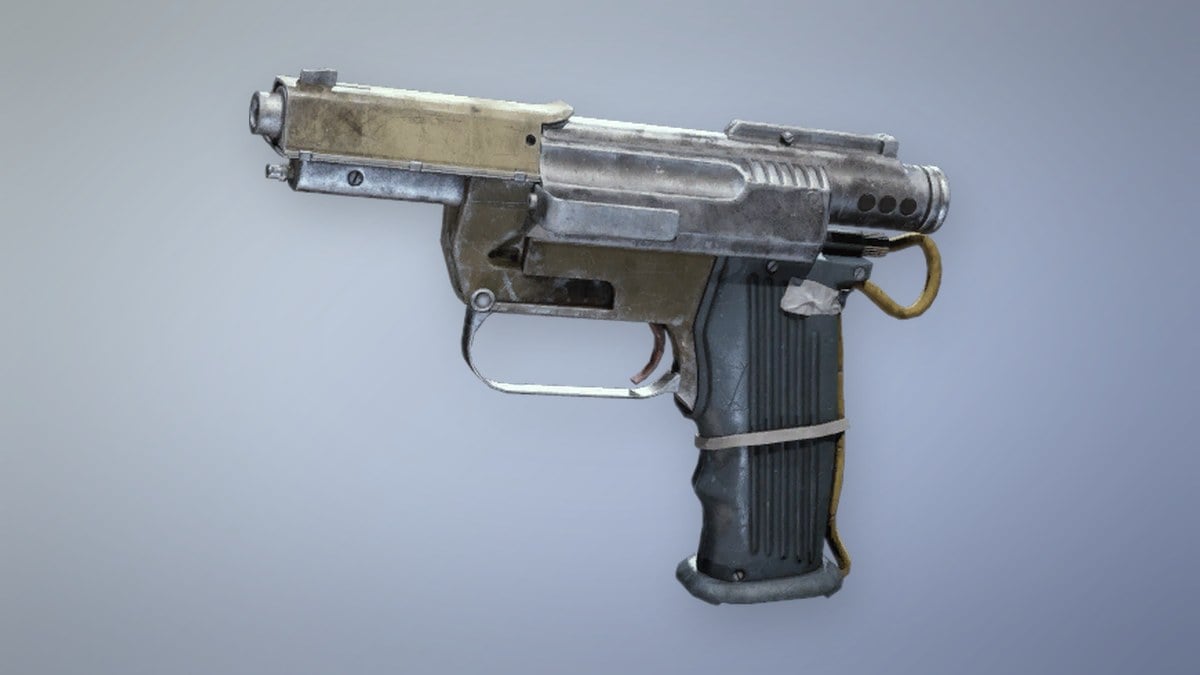
Mk. III (Rare): Anvil, Canto, Osprey, Rascal, Renegade
| Weapon | Category | Weight | Upgrades |
|---|---|---|---|
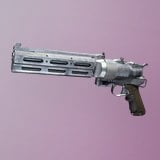 Amplified Anvil | Hand Cannon | 5 | Anvil Splitter, X-Rounds |
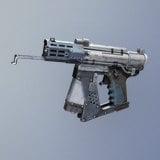 Amplified Canto | SMG | 4 | Select Carbine Conversion first, followed by Incendiary Rounds and Sprint Shooting. |
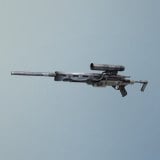 Amplified Osprey | Sniper Rifle | 7 | The available choices are Anti-Weak Point, then Ergonomic Bolt, then Tracker Rounds. |
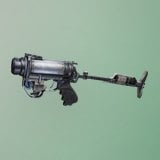 Amplified Rascal | Special | 4 | High Velocity, Incendiary Grenades, Sprint Shooting |
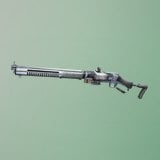 Amplified Renegade | Battle Rifle | 10 | More Reload, Scoped |
The Anvil used to be Uncommon. Frozen Trail moved it to Rare, so it now needs a Mk. III. You can install either X-Rounds or Anvil Splitter on it, not both. Anvil Splitter fires a round that breaks into four weaker projectiles. On the Canto, you choose Carbine Conversion or Sprint Shooting, and Incendiary Rounds works with either one. The Osprey makes you choose between Anti-Weak Point and Tracker Rounds. The Rascal and Renegade have no conflicting nodes.
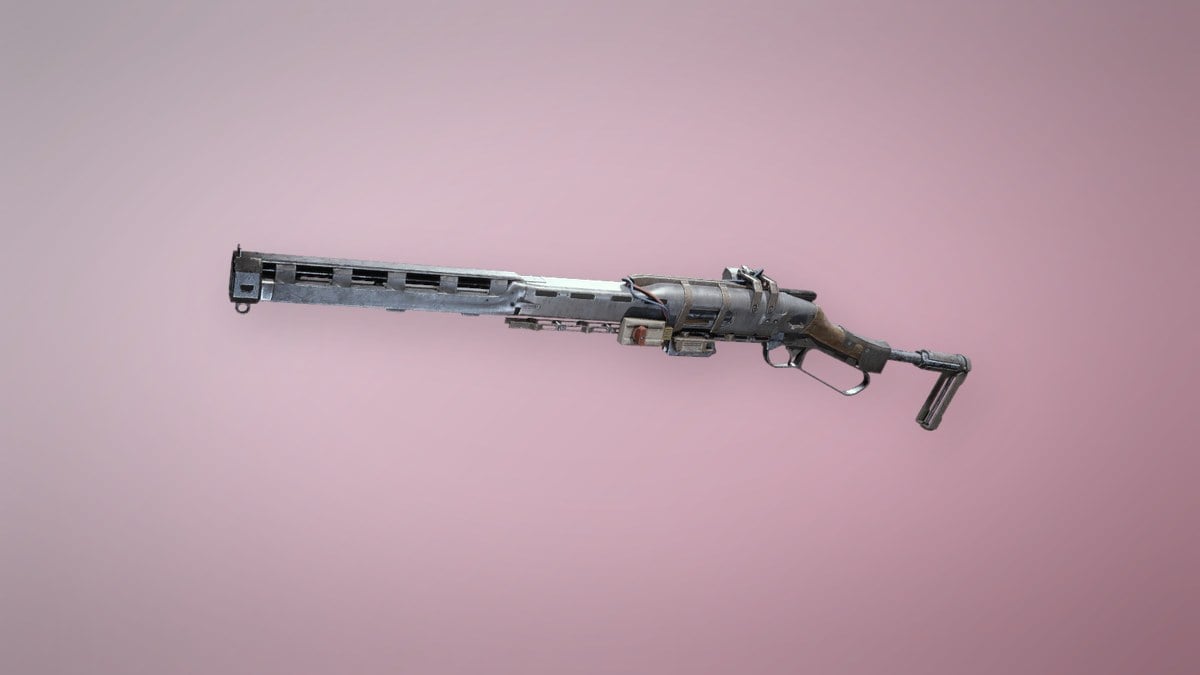
Mk. IV (Epic): Bettina, Hullcracker
| Weapon | Category | Weight | Upgrades |
|---|---|---|---|
 Amplified Bettina | Assault Rifle | 11 | Bigger Mag, Semi-Auto, X-Rounds |
 Amplified Hullcracker | Special | 7 | Incendiary Grenades, Mag Reload |
The Bettina makes you choose between Bigger Mag and Semi-Auto, and X-Rounds requires Semi-Auto. The Hullcracker’s two nodes don’t conflict. Mag Reload removes its one-shell-at-a-time reload, and Incendiary Grenades makes its projectiles spread fire when they detonate on ARC.
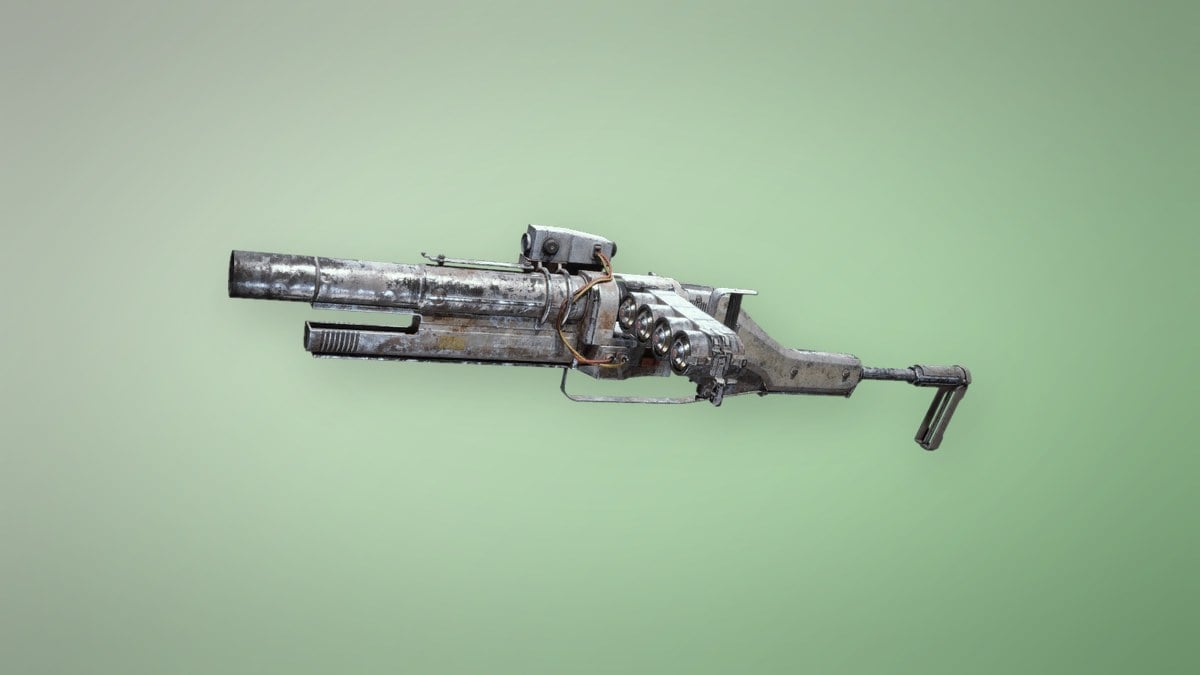
Mk. V (Legendary): Aphelion, Equalizer, Jupiter
| Weapon | Category | Weight | Upgrades |
|---|---|---|---|
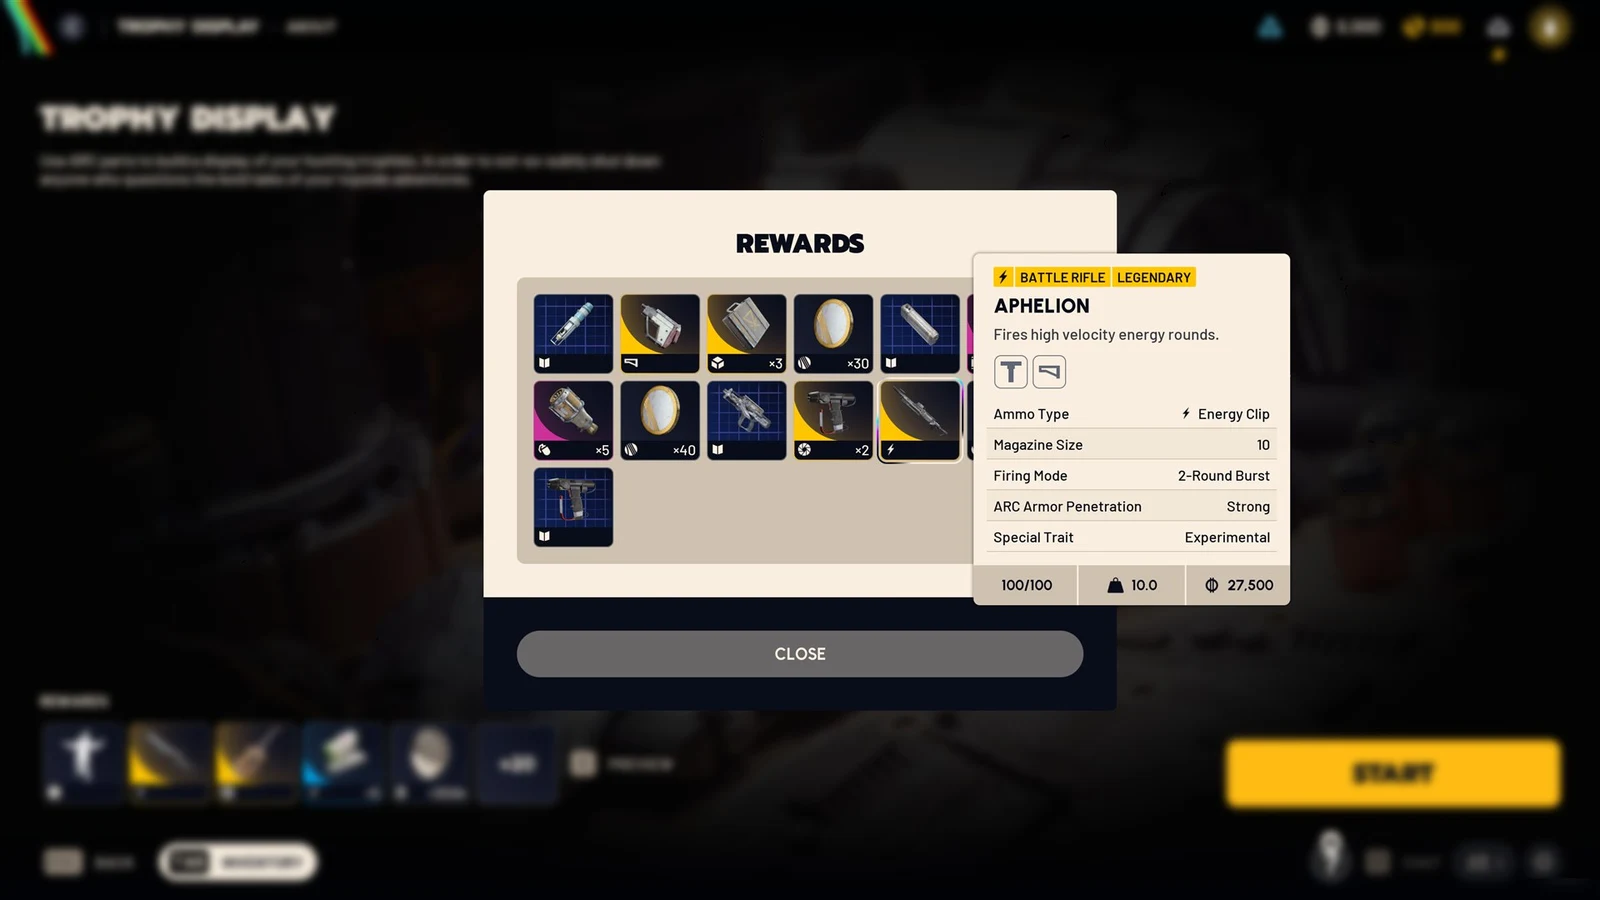
 Amplified Aphelion | Battle Rifle | 10 | Bigger Mag, Charged Burst, Incendiary Rounds, Increased Burst |
 Amplified Equalizer | Special | 14 | Anti-Weak Point, Bigger Mag, Ramping Damage |
 Amplified Jupiter | Sniper Rifle | 9 | Bigger Mag, Scoped, Ergonomic Bolt |
The Jupiter can take all three of its nodes. Ergonomic Bolt lets you work the bolt without leaving the scope.
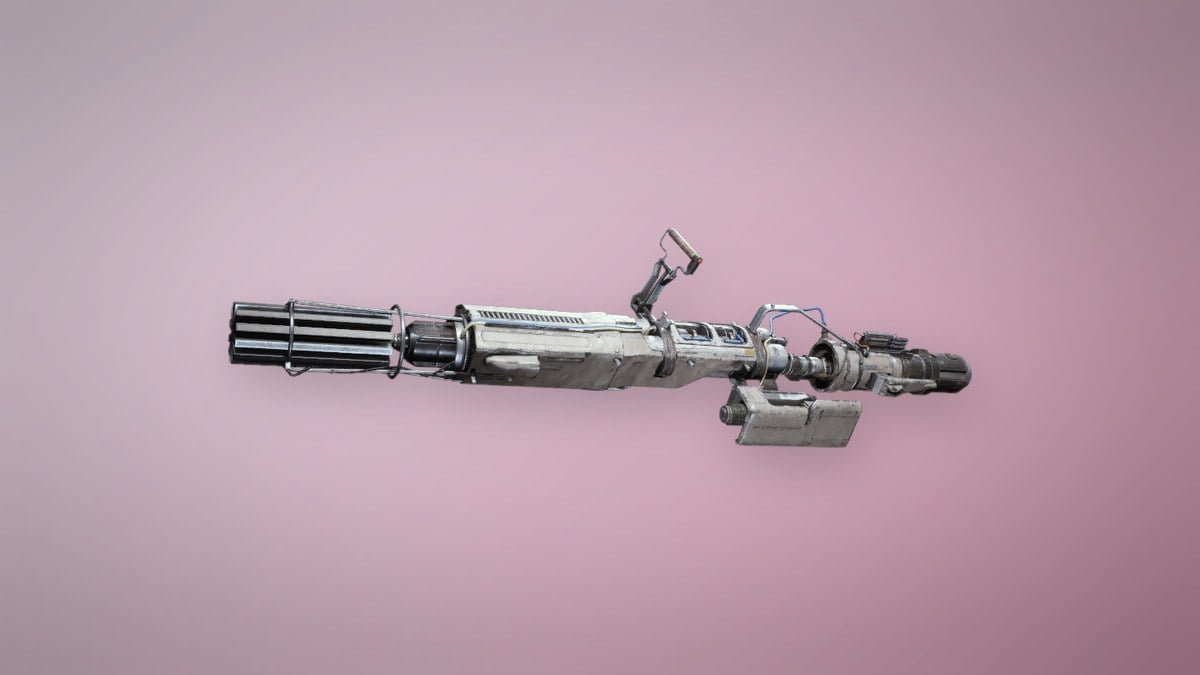
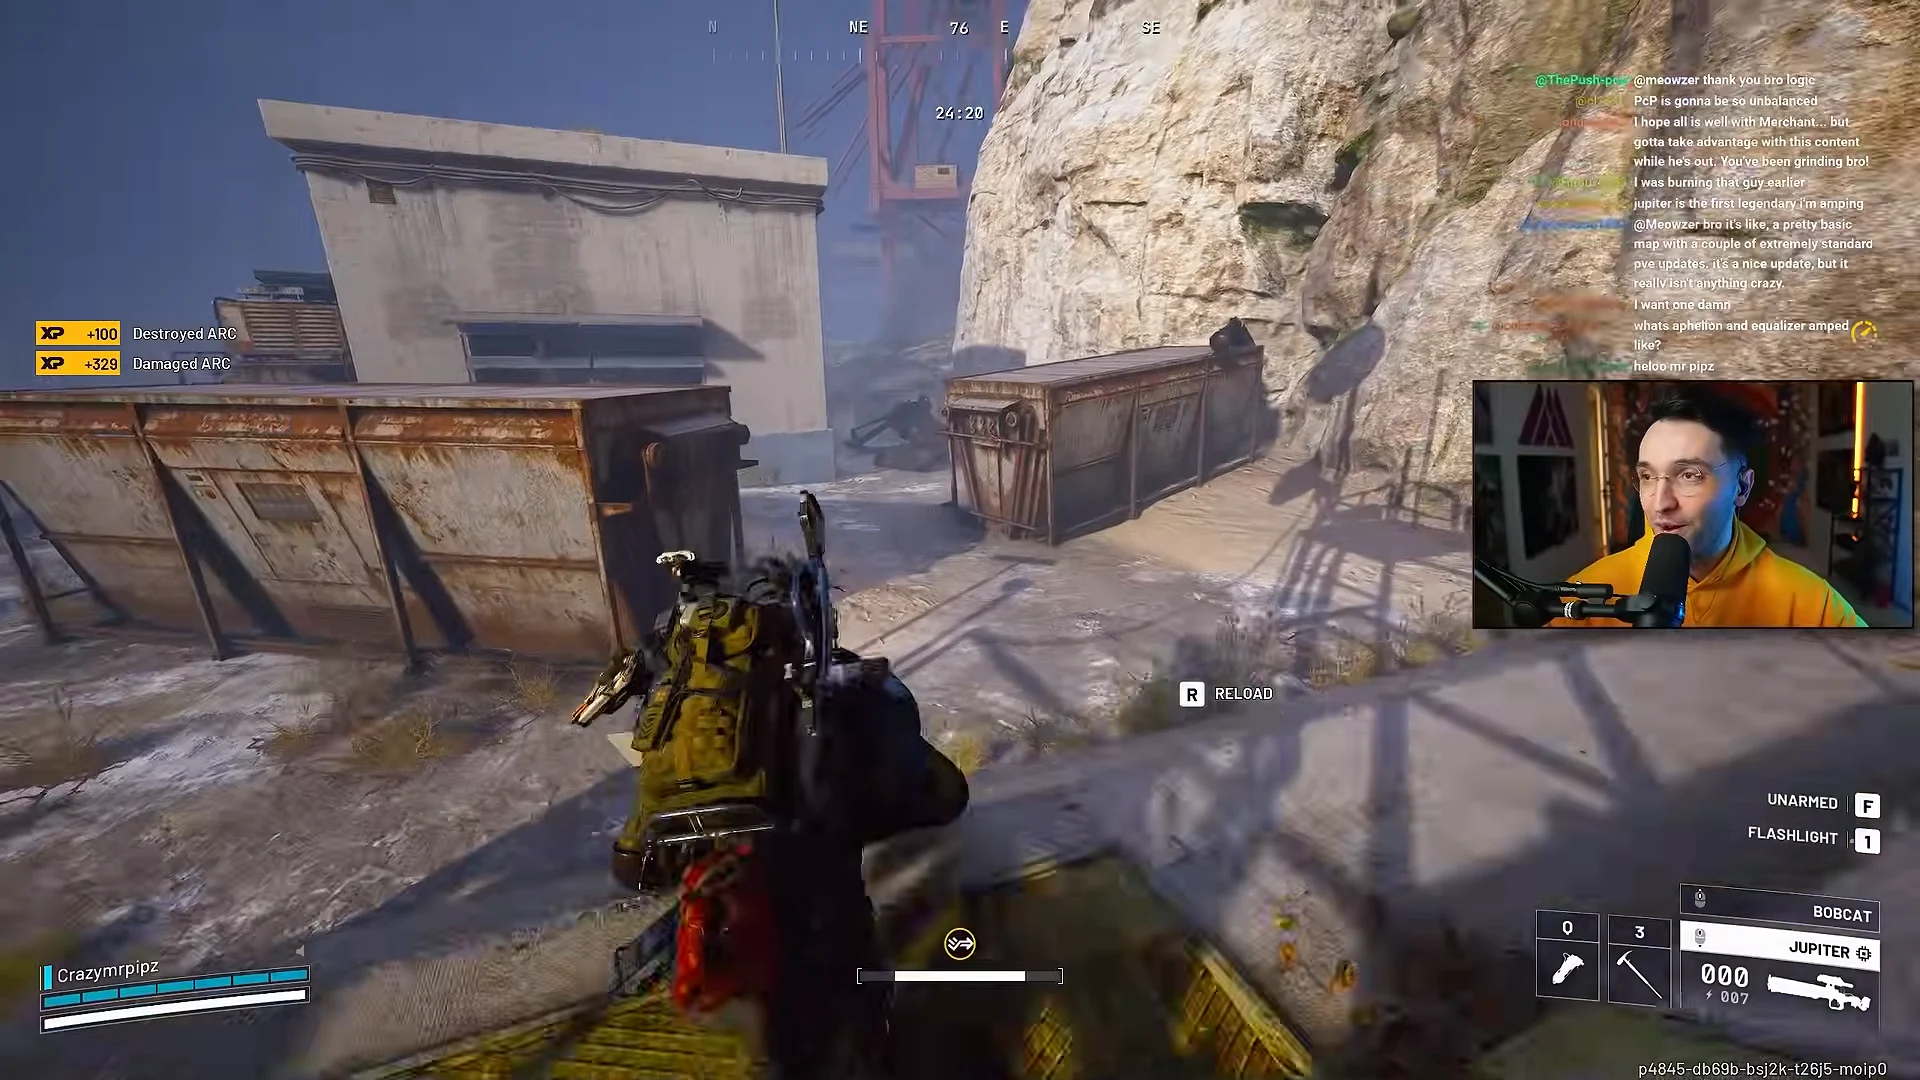
The Equalizer can’t run Anti-Weak Point and Ramping Damage together. Ramping Damage builds up the longer the laser stays on a valid target. Anti-Weak Point does more damage to ARC weak points and less to armor plating.
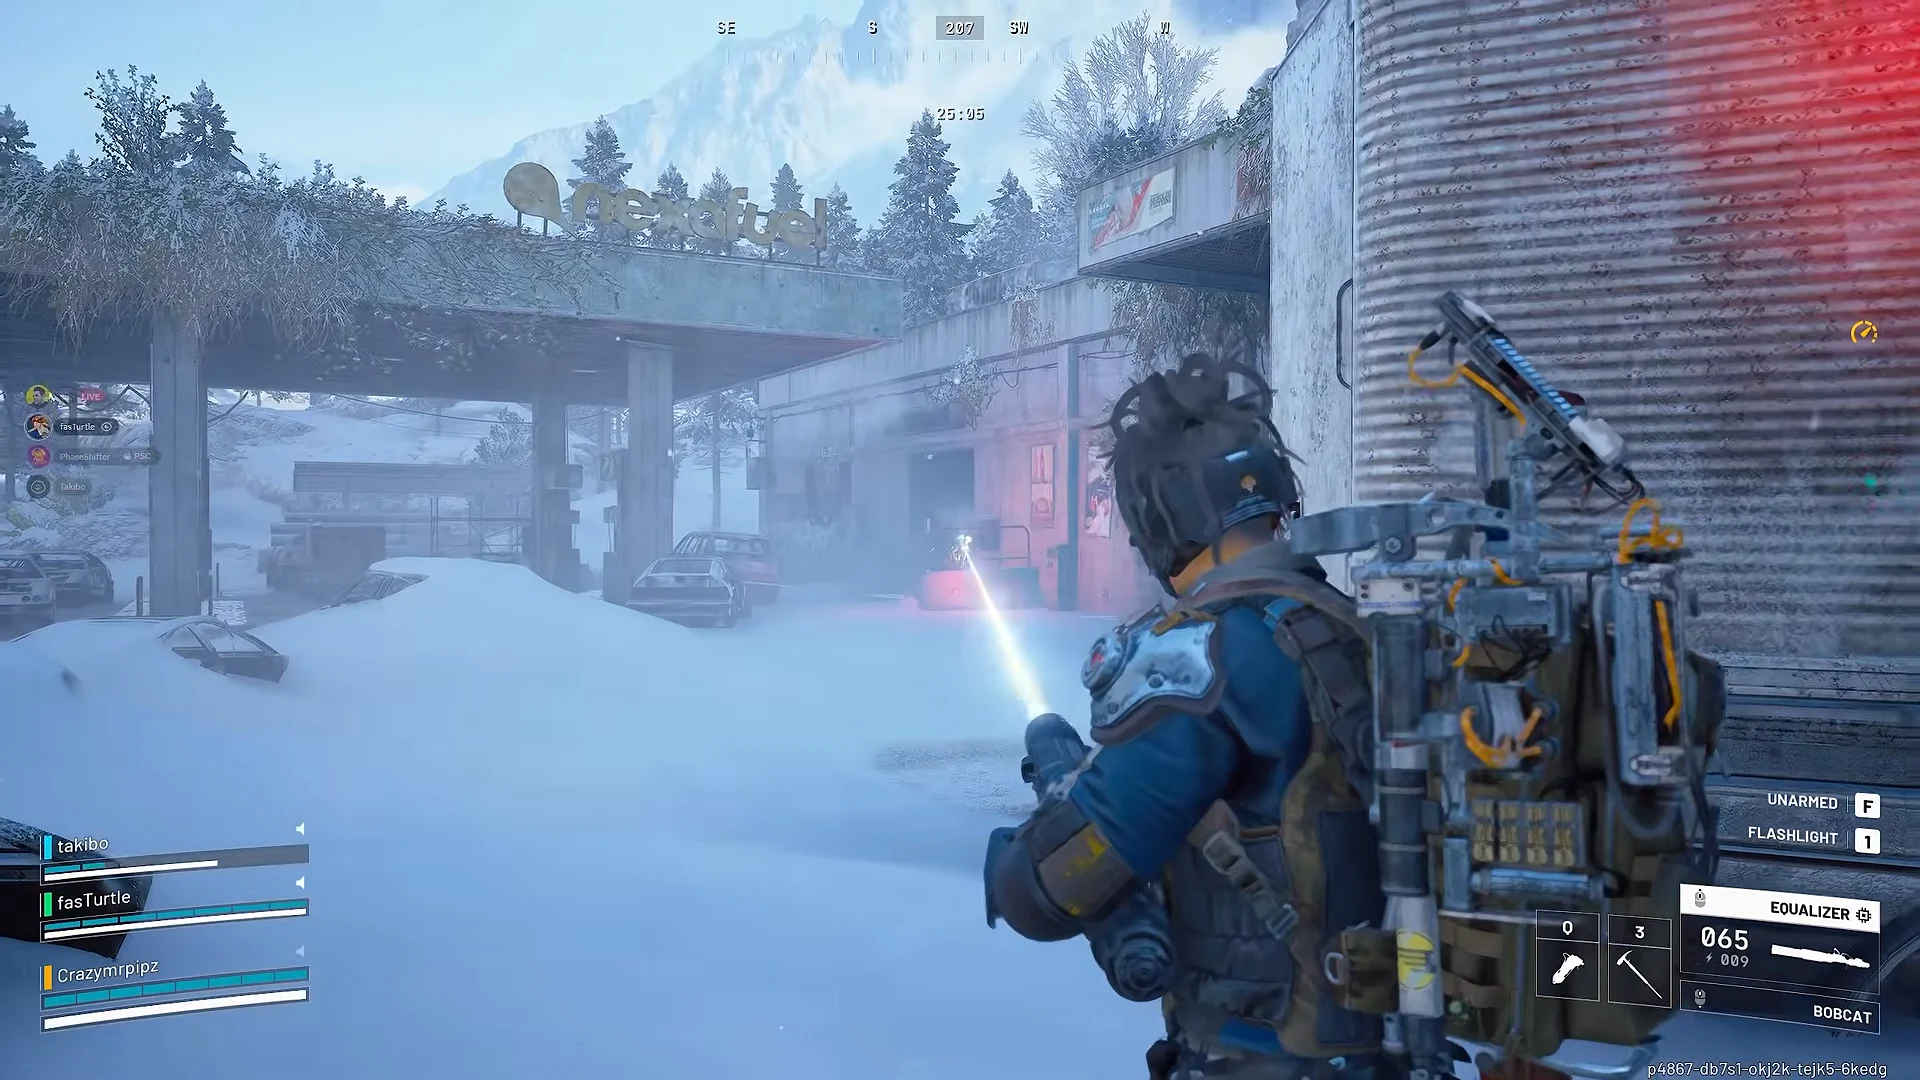
On the Aphelion, Increased Burst requires Charged Burst. Charged Burst turns the trigger into charge-and-release, and holding the charge longer fires more projectiles.
Amplified Research projects that unlock nodes
Amplifying a gun only opens its tree. Most nodes are locked behind a project in the Research Station’s Amplified Research tab, which needs the station at Level 4. Every project costs 5,000 Research Points and a named ARC component, and it has an in-raid objective. The node stays locked until that objective’s meter is full, even if you already have the materials. You can run five projects at once. A finished project unlocks its node on every weapon that can use it, so you only research each one once.
| Project | Unlocks | Component and objective | Weapons |
|---|---|---|---|
 Action Economy | Ergonomic Bolt | 8 Sentinel Firing Cores; 1,000 damage with a Hairpin | Jupiter, Osprey |
 Beam Resonance Tech | Ramping Damage | 2 Queen Reactors; 1,500 damage to Vaporizers with an Equalizer in one round | Equalizer |
 Burst Assembly Recovery | Burst Fire | 20 Pop Triggers; destroy 3 Shredders with a Raider Tool | Burletta |
 Compact Combustion Charges | Incendiary Grenades | 5 Bombardier Cells; 3,000 damage with Blaze Grenades | Hullcracker, Rascal |
 Embedded Blast Engineering | X-Rounds | 5 Rocketeer Drivers; 1,000 Light Impact Grenade damage each to Fireflies, Hornets, Fireballs, Surveyors | Anvil, Bettina, Kettle |
 Extended Burst Cycles | Increased Burst | 10 Comet Igniters; 10,000 damage with Burst Burletta or Charged Burst Aphelion | Aphelion, Burletta |
 High-Voltage Exposure | Charged Burst | 5 Leaper Pulse Units; destroy 5 ARC Turbines | Aphelion |
 Magazine Geometry 101 | Drum Mag | 5 Bastion Cells; 15,000 damage to a Bastion with a Rattler | Rattler |
 Mobile-Fire Grip Fittings | Sprint Shooting | Skulker Targeters; visit the Electrical Substation | Burletta, Canto, Hairpin, Rascal |
 Shield Stress Testing | Anti-Shield | 2 Matriarch Reactors; 700 damage to encountered Raiders | Kettle |
 Solid-Core Casting Tech | Slug Rounds | 20 Tick Pods; destroy 50 flying ARC with shotguns | Il Toro |
 Targeted Component Trial | Anti-Weak Point | 20 Fireball Burners; destroy 40 thrusters on flying ARC | Equalizer, Osprey |
 Thermite-Tipped Rounds | Incendiary Rounds | 5 Firefly Burners; destroy 30 Fireballs with Explosive Mines | Aphelion, Canto, Hairpin, Rattler |
 Top Mounted Optics Retrofittings | Scoped | 14 Snitch Scanners; visit Pilgrim’s Peak on Blue Gate | Jupiter, Renegade |
 Trigger Reset Systems | Semi-Auto | 4 Vaporizer Regulators; destroy 5 Skulkers with a Raider Tool | Bettina, Hairpin |
Patch 2.1.0 changed Mobile-Fire Grip Fittings so it now takes Skulker Targeters instead of Skulker Drivers. Eight nodes need no research at all: Bigger Mag, More Reload, Mag Reload, High Velocity, Tracker Rounds, Carbine Conversion, Full-Auto, and Anvil Splitter. You only need their crafting materials.
Research Points come from studying lore items and modules. A Raider Logbook gives 100, an Exodus Technical Handbook gives 150, an ARC Data Module gives 200, and a Frigate Diagnostic Node gives 1,000.
Node crafting materials
A researched node also requires materials when you install it. During Redirection on Pendola Pass, Emperor Payloads are the source of both Epic topside components: Pneumatic Actuator and Pressure Regulator. Common combinations include:
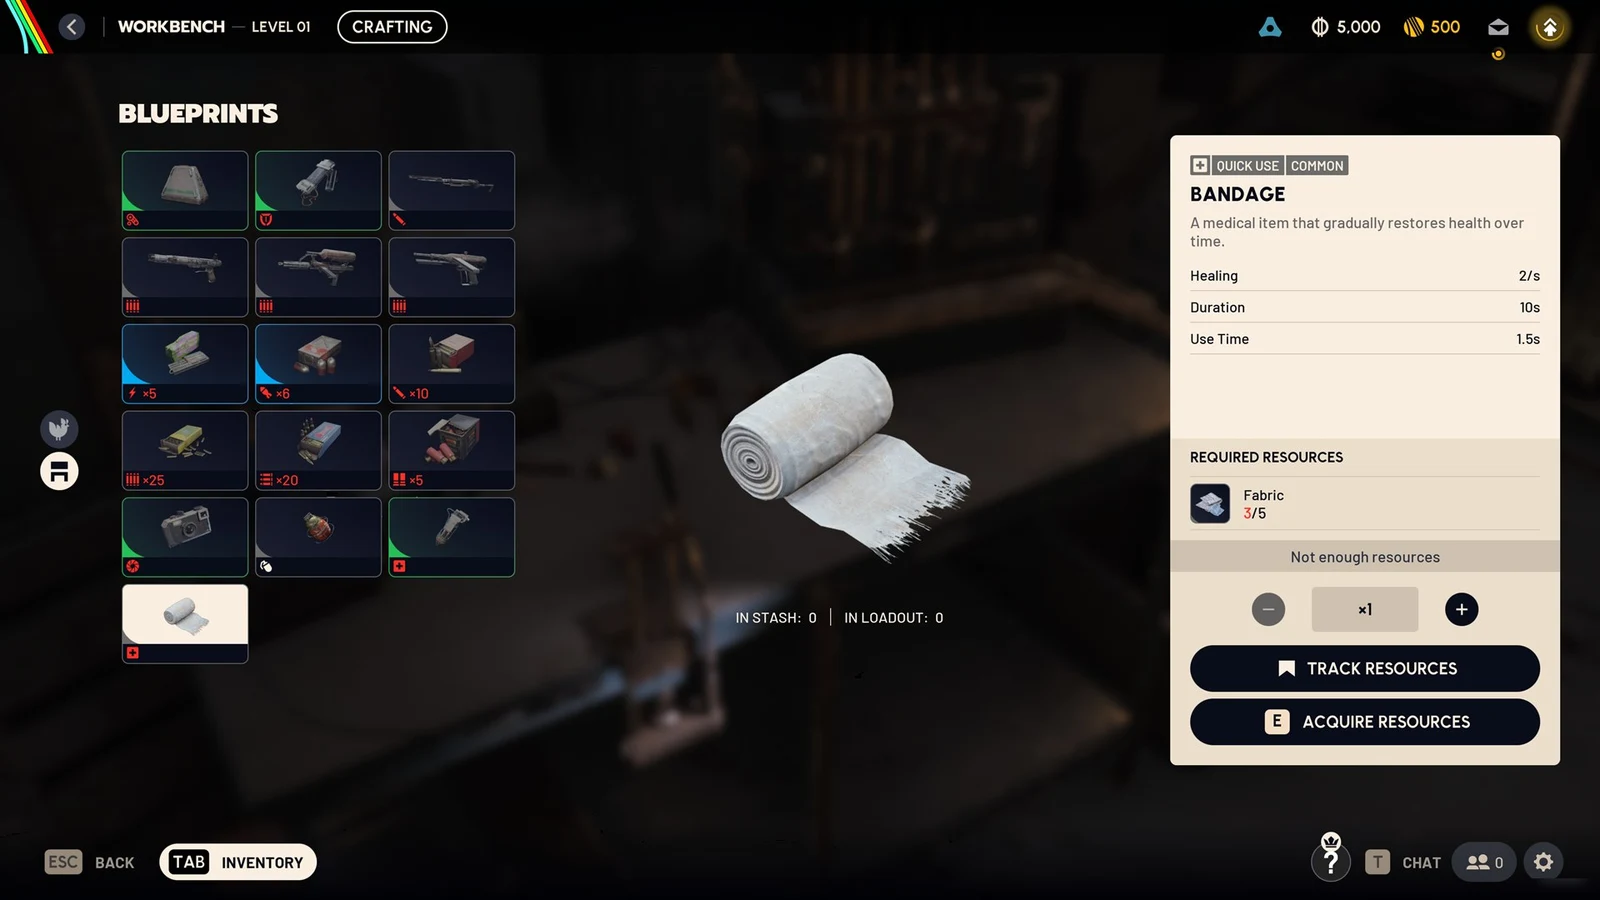
- Fossilized Lightning: X-Rounds, Incendiary Rounds, Incendiary Grenades
- Pressure Regulator: Bigger Mag, Drum Mag, Increased Burst
- Pneumatic Actuator: Full-Auto, Semi-Auto
- Propellant Valve Assembly: More Reload, Mag Reload
- Fluted Rotor Core: Scoped; Assessor Matrix: Anti-Shield; Queen Reactor: Charged Burst
Durability, death, and Amplified Fragments
The durability increase still has limits in practice. A raid involving both PvP and ARC combat may consume at least 30 durability, and one raid can leave an amplified Anvil needing 21 fragments. Amplified weapons can also be looted after you go down. A gun recovered from a knocked-out Raider has just 10% durability, enough for roughly one fight before repairs are needed.
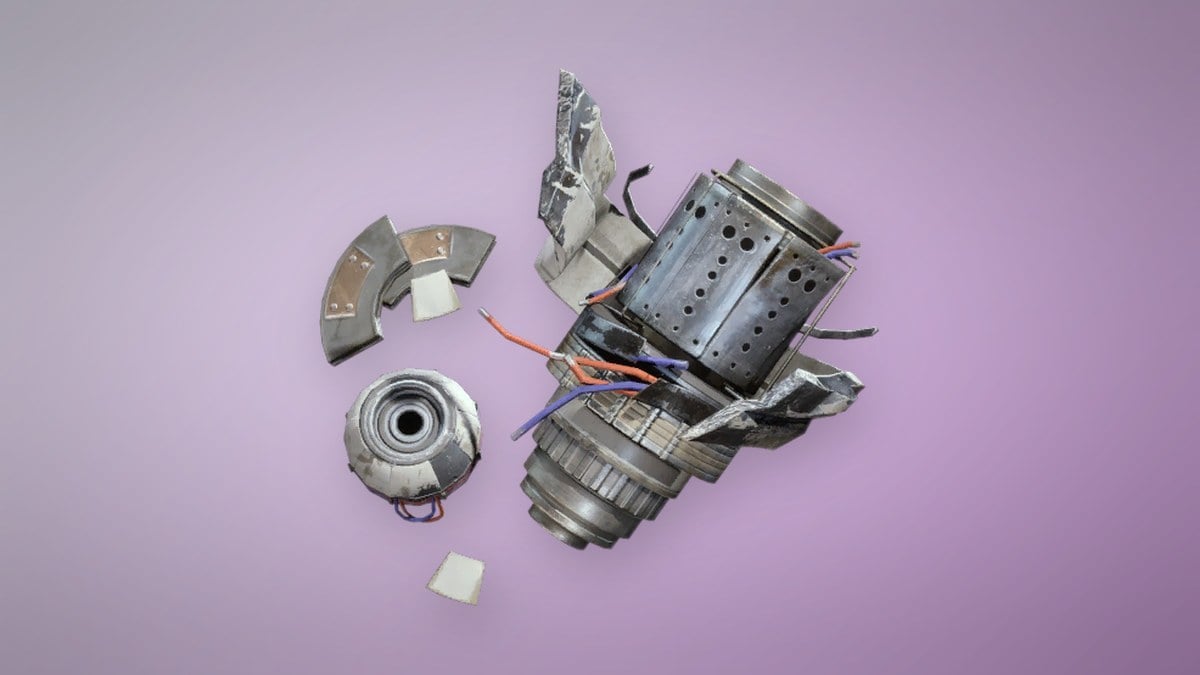
Standard repair materials cannot fix amplified weapons; these require Amplified Fragments. Get fragments by recycling surplus modules, amplified weapons, or old Anvil Splitter mods that no longer drop. Field Repair is the least expensive maintenance option, restoring no more than 30% of durability in a raid. Percentage-based repair bonuses from expeditions work especially well with the larger durability pool.
X-Rounds on the Anvil: what a single node changes
X-Rounds shows how a node changes what a gun is good at instead of just making it stronger. On the Anvil, shots detonate on impact and ARC Armor Penetration goes from Strong to Very Strong. The gun gets worse in other areas to pay for it.
| Stat | Change |
|---|---|
| Base damage | +5 |
| Damage vs ARC armor | +35% |
| Headshot multiplier | -30% |
| Vertical recoil | +30% |
| Horizontal recoil | +20% |
| Bullet velocity | -50% |
Against armored machines, the difference is easy to see. The amplified Anvil knocks out Hornet and Firefly thrusters in one shot. It takes six or seven clean hits to remove a Rocketeer’s thrusters, where the standard Anvil needs ten or more, and five or six to clear a Vaporizer’s full thruster assembly. The halved bullet velocity and extra recoil make it harder to hit moving players or targets at range, so the node is best for PvE. If you spend more time fighting ARC than other Raiders, this node is worth researching.