Bait, Fetch, Blast is an Apollo quest in ARC Raiders that comes down to one fight: bring down a Bully, the armored four-legged ARC walker added in the Frozen Trail update, and carry a piece of it home. The objective list is short, but the Bully hits hard and moves fast, so the run rewards the right weapons and a good piece of cover.
Quick answer: Head to Pendola Pass, destroy a Bully (or just its head, or four of its legs), loot the Bully Fragmenter from the wreck, extract, and hand it to Apollo in Speranza.
Unlock Bait, Fetch, Blast and claim the free supply kit
Apollo makes this quest available only after you complete Tracks of the Beast, which Shani gives you. Afterward, Bait, Fetch, Blast shows up in Apollo’s list as the chain’s final task, with no quest following it.
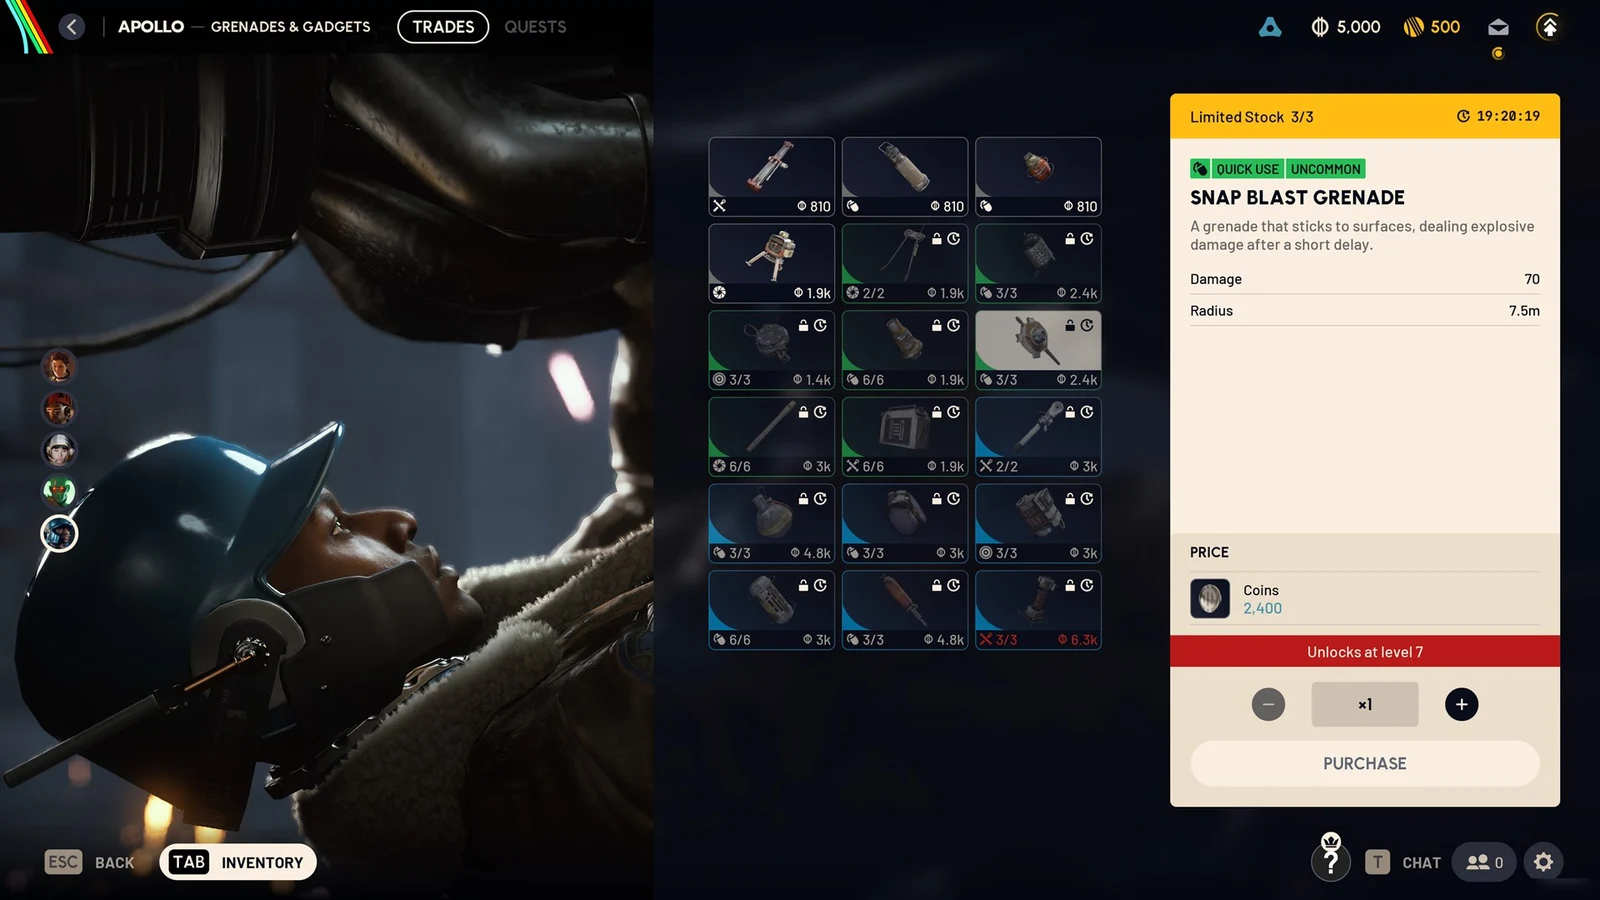
Accepting it drops a supply package straight into your inventory. Equip everything in it before you deploy so you are not spending your own gear on the run.
- 3x Showstopper
- 2x Barricade Kit
- 1x Medium Shield
- 1x Looting Mk. 3 (Survivor) augment, with 20 backpack slots and an 80 carry-weight limit
Bully weak points and part health
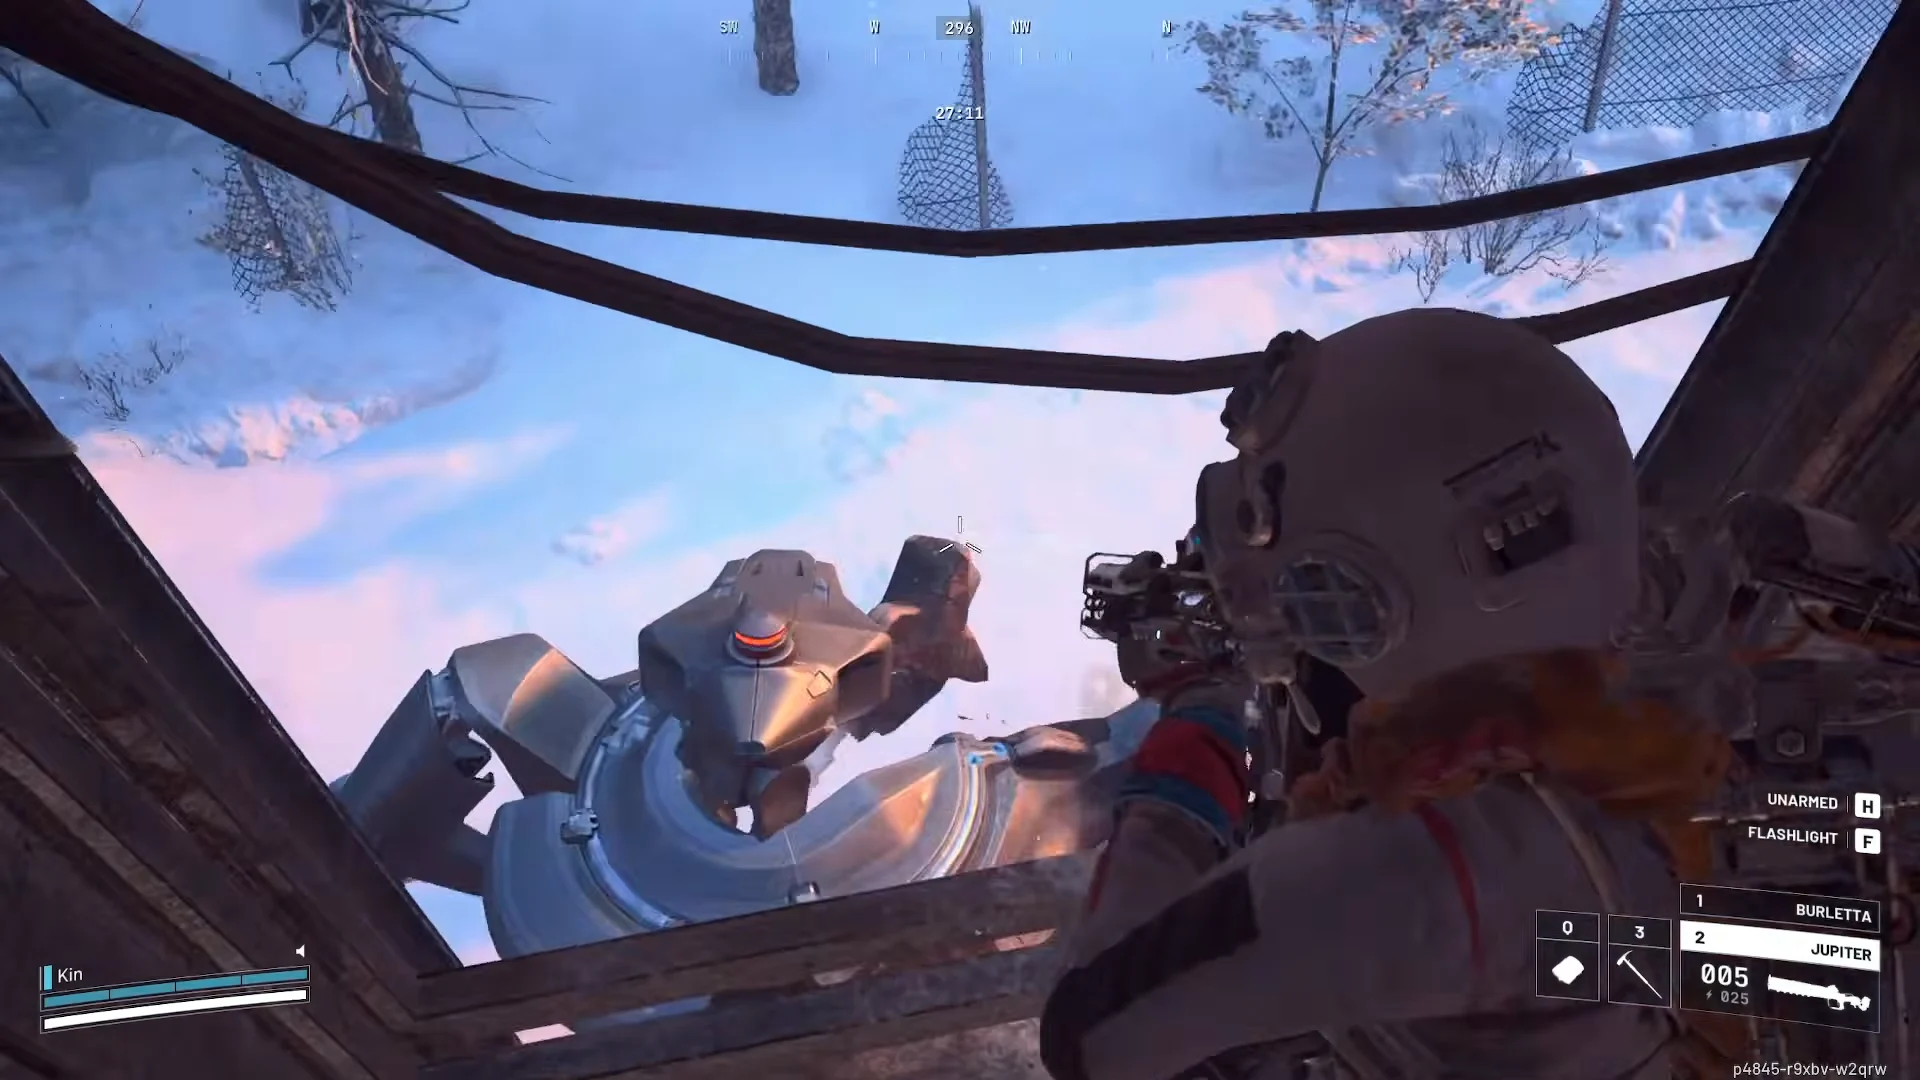
The Bully’s torso has 3,000 health and thick armor, making shots into its chassis a waste of ammunition. Its head and legs are much more vulnerable, so removing four legs or destroying the head is the quickest way to complete the combat step. A Bully slam inflicts 85 damage; getting caught without cover can cost you dearly.
| Part | Health |
|---|---|
| Body | 3,000 |
| Head | 1,600 |
| Upper leg | 500 |
| Lower leg | 400 |
Best weapons and loadout for the Bully
Bring guns that punish the legs and head, plus shielding and healing so you can trade shots from cover. Three weapons stand out for this fight.
| Weapon | Category | Rarity | Ammo |
|---|---|---|---|
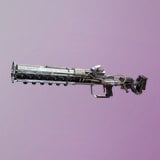 Jupiter | Sniper Rifle | Legendary | Heavy Ammo |
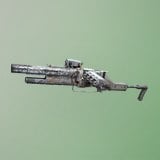 Hullcracker | Special | Epic | Launcher Ammo |
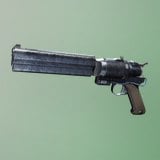 Anvil | Hand Cannon | Rare | Heavy Ammo |
Jupiter is the pick if you own it. This bolt-action sniper has Very Strong ARC armor penetration, and a single projectile can damage several machine parts at once, which shortens the fight considerably.
Hullcracker is the budget choice. It fires explosive rounds that only detonate on ARC targets, and well-placed shots break leg joints quickly.
Anvil works well as a secondary weapon. Its damage and headshot payoff are strong, but its sluggish handling makes it useful for maintaining pressure as the Hullcracker reloads.
Equip the Medium Shield from the supply kit. It provides 70 charge and reduces damage taken by 42.5%, while lowering movement speed by 5%. Bring lots of ammo, a few healing items, and explosives like Snap Blasts or Deadline mines to place under the machine.
With a team, assign one Raider to draw the Bully’s focus while everyone else targets its exposed head and legs.
Find the Bully in Pendola Pass
Head to Pendola Pass and search the snow for a roaming Bully. Its location varies from raid to raid; the Railyard is a dependable place to begin, and Bullies are also frequently found around the Dispatch Tower and close to the Commissary Supermarket. Cross open ground while listening for the machine’s loud noise, then mark it as soon as it comes into view.
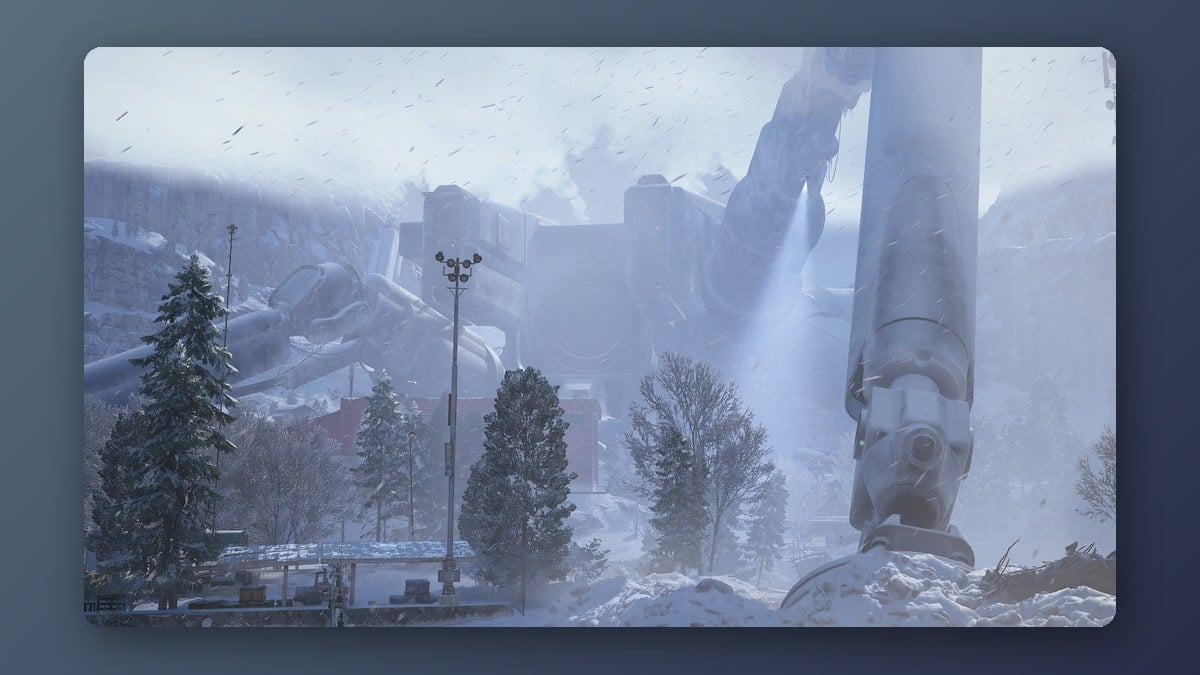
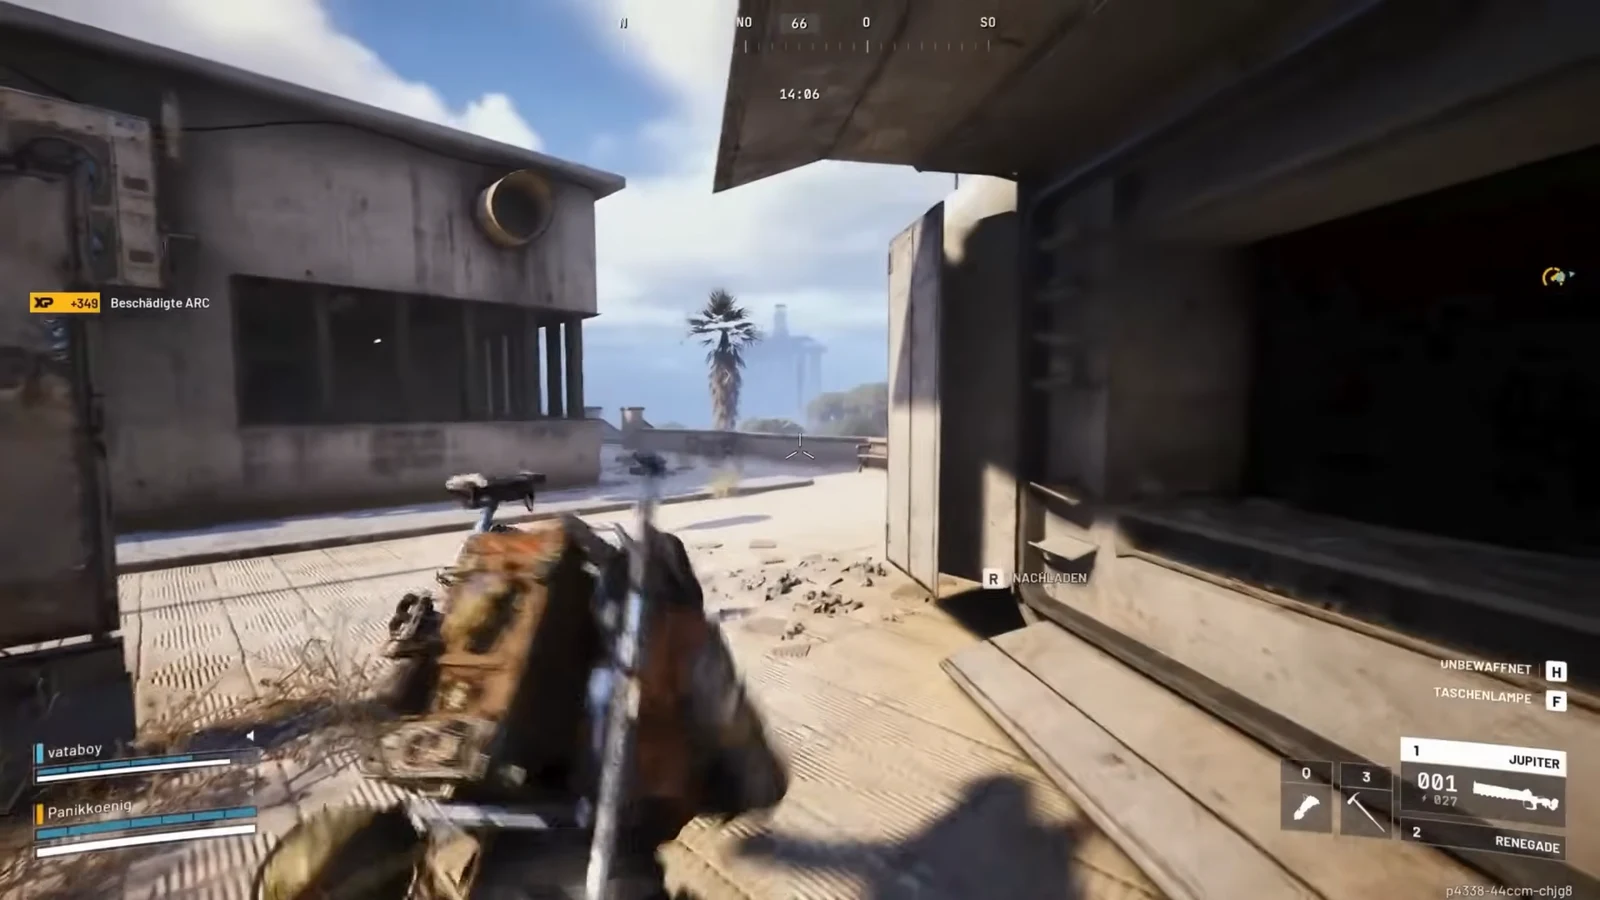
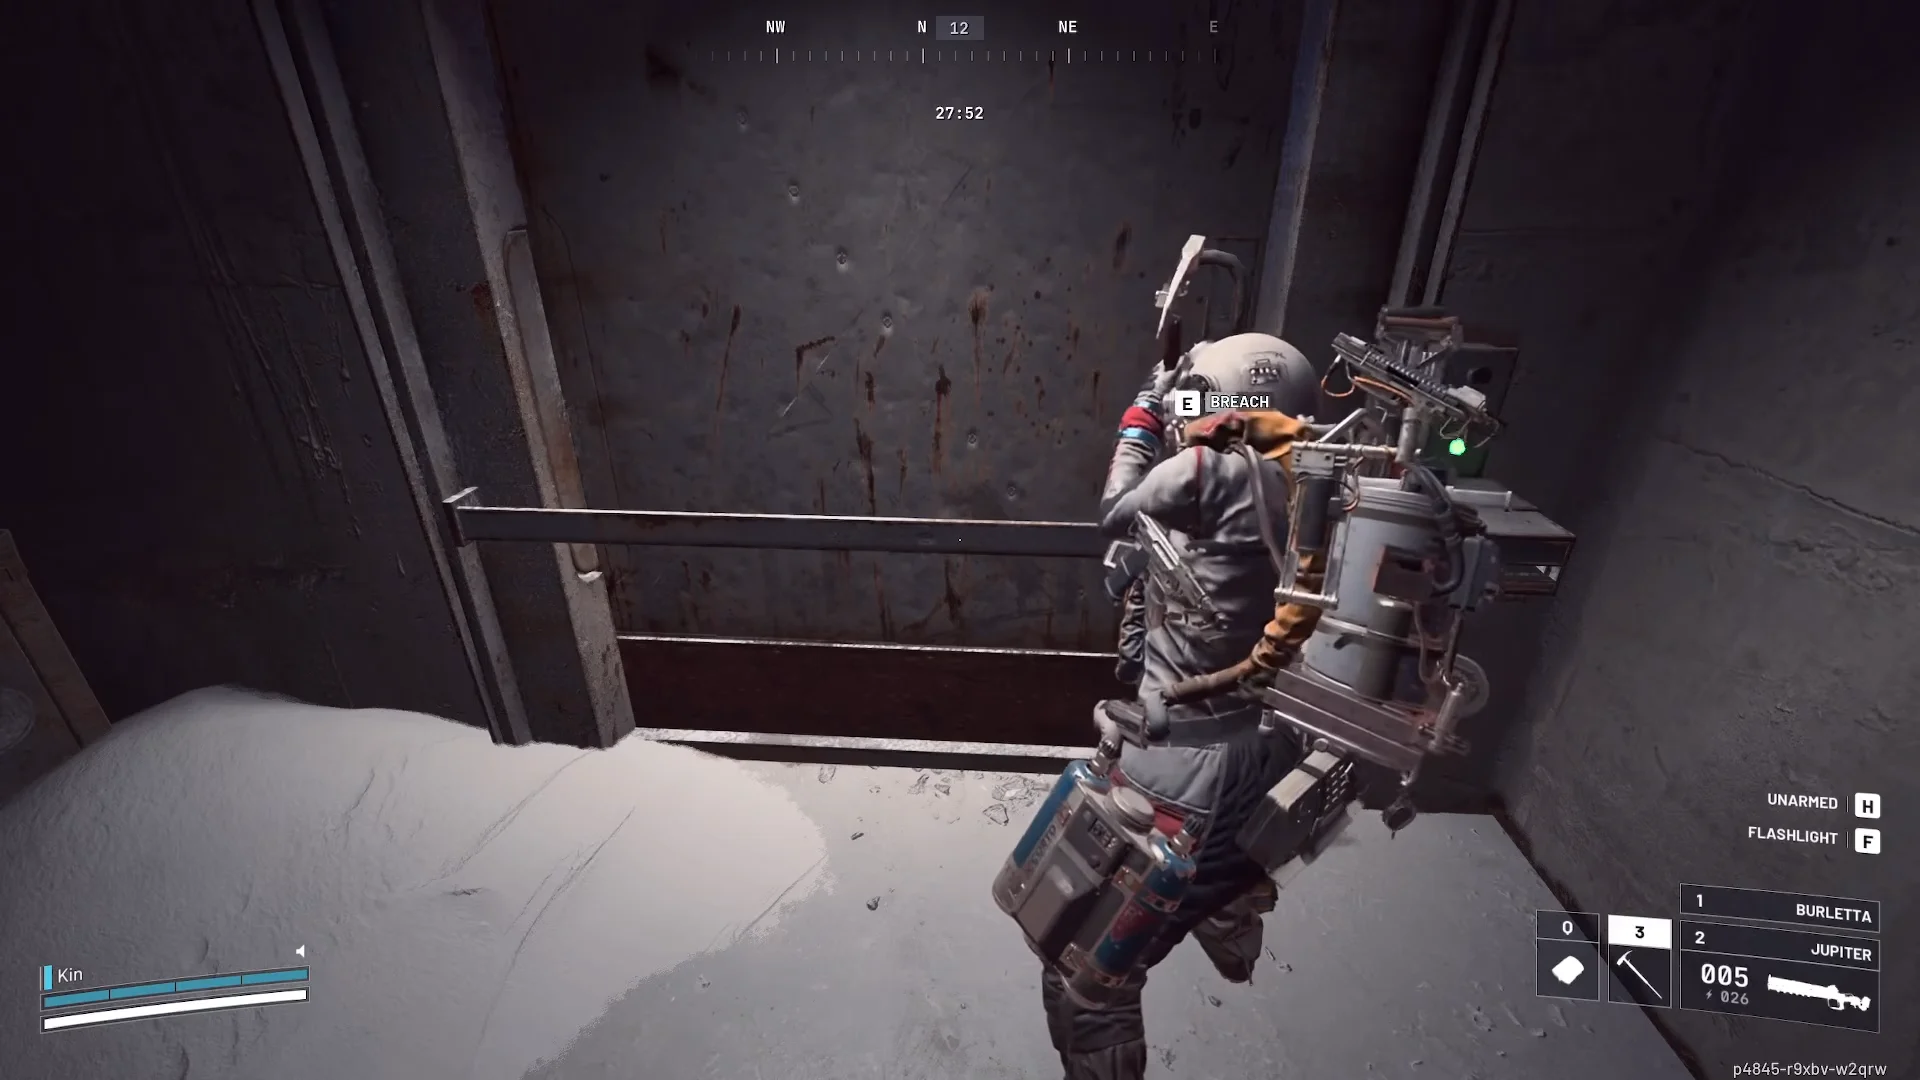
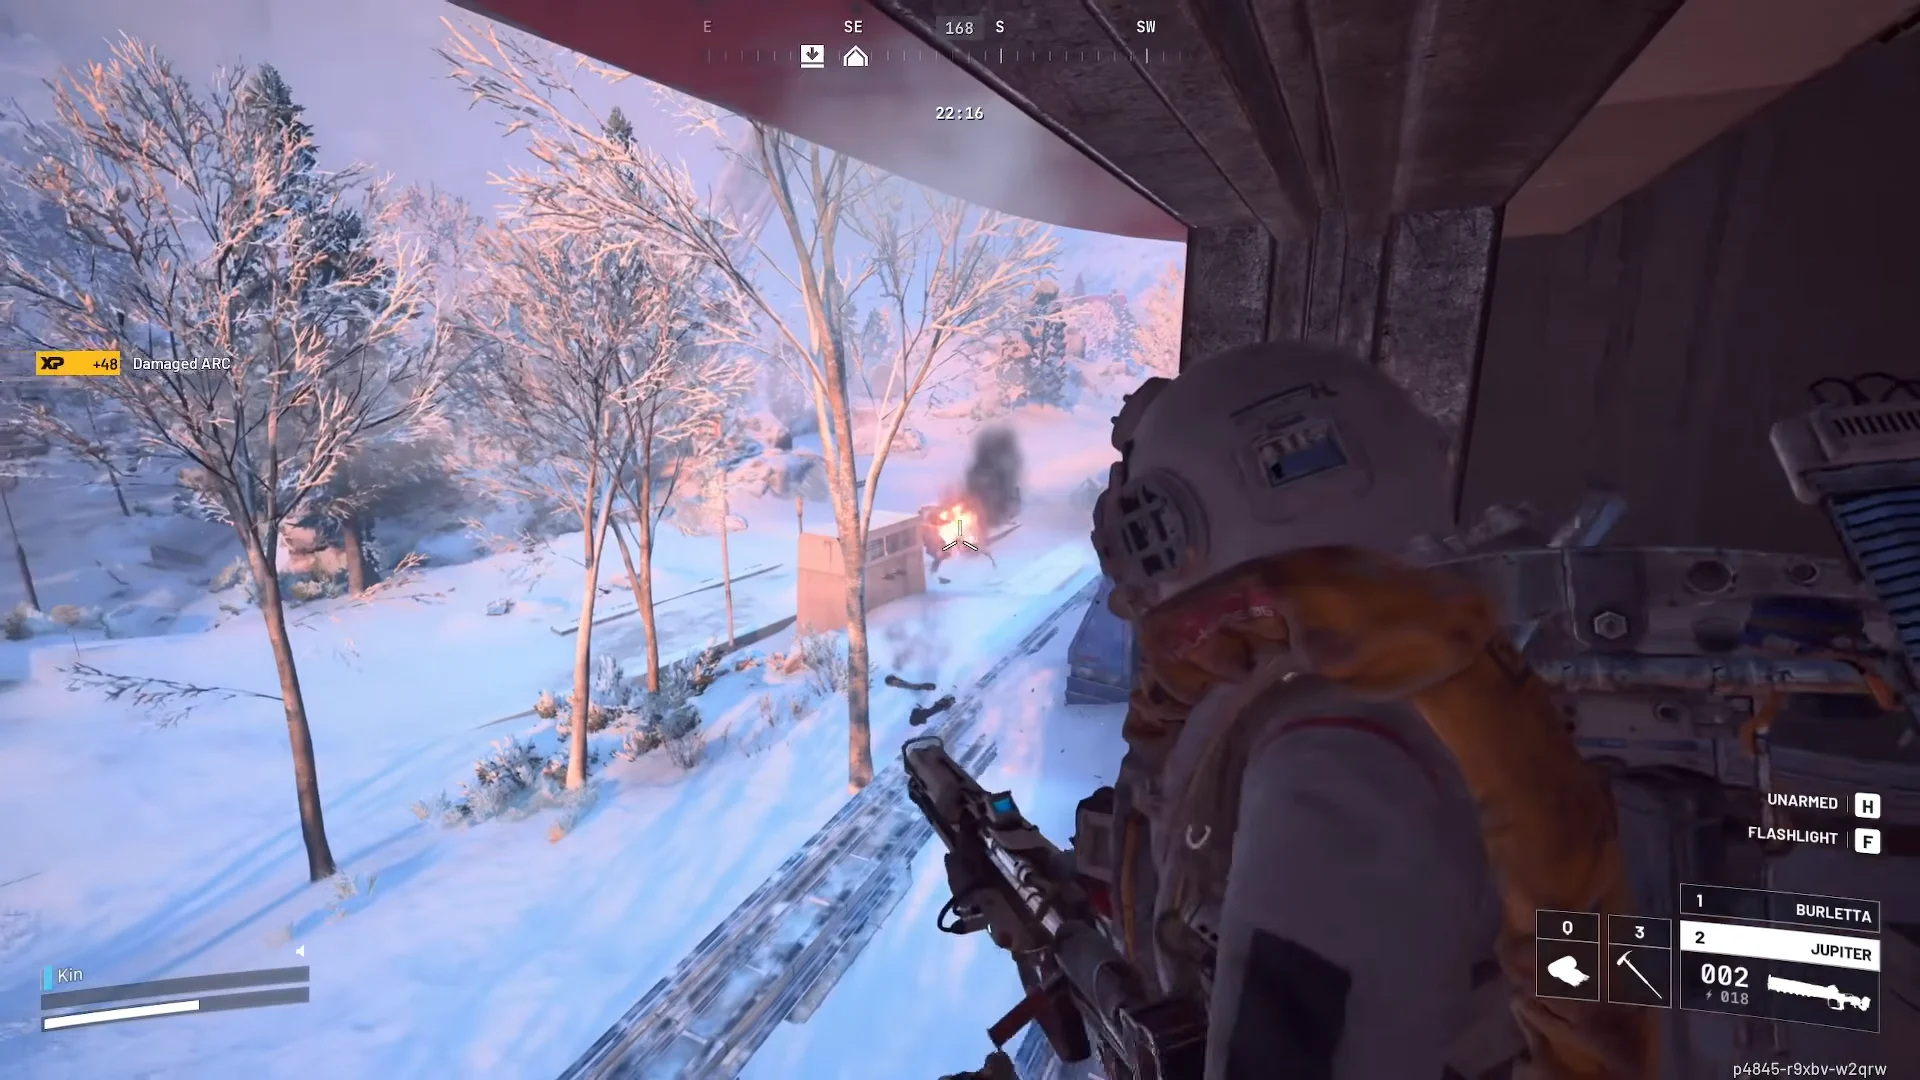
Avoid shooting from open terrain. Move next to sturdy protection first, such as a large rock, a wrecked train car, or a small metal outpost beside the tracks. A position with a doorway or window lets you shoot through it, reload, and heal while the Bully has difficulty reaching you. The Dispatch Tower’s upper control room is particularly effective: its raised position is difficult for the Bully to hit except with launched grenades.
How to destroy the Bully
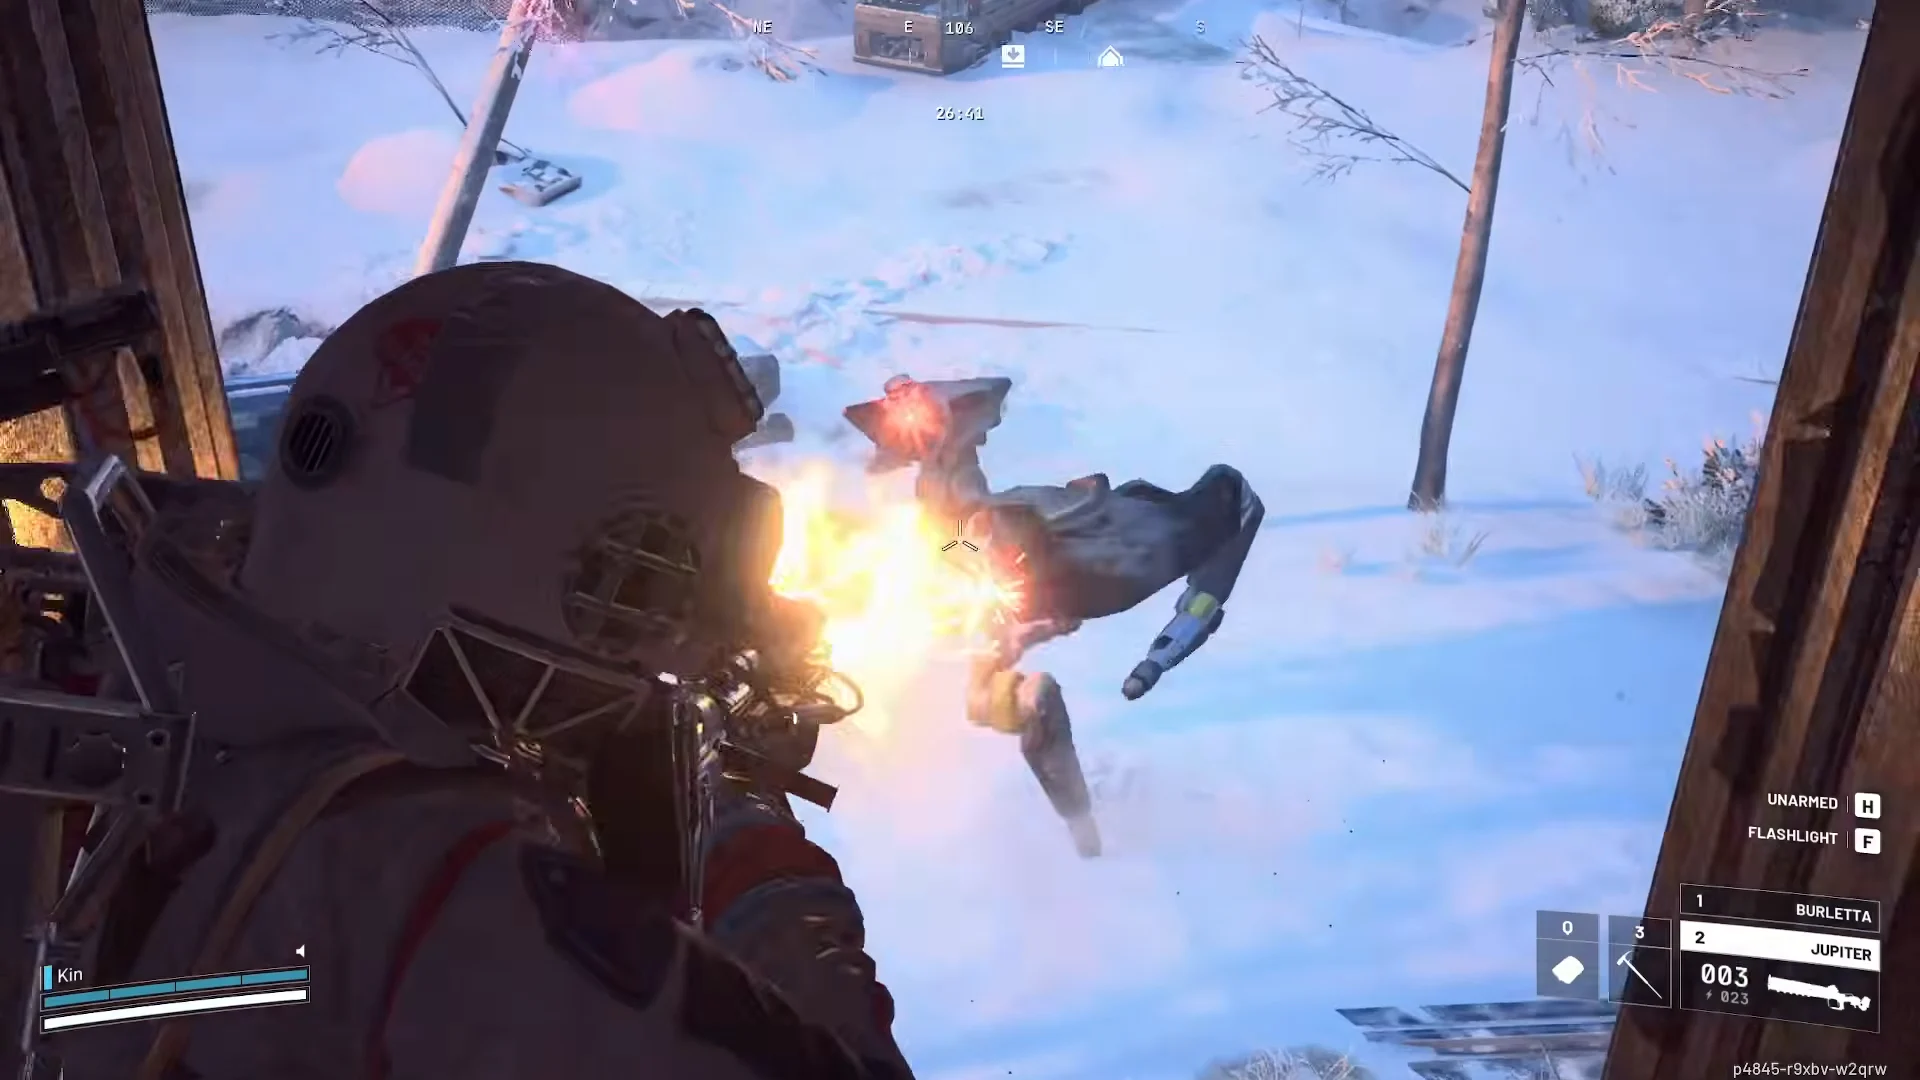
There are three ways to fulfill the combat objective: destroy the machine entirely, destroy its head, or disable four legs. Any of these completes the step, though breaking the legs is the easiest option for most players.
Loot the Bully Fragmenter and extract
Walk up to the wreck and search it. The Bully drops a mix of loot, and only the Bully Fragmenter matters for the quest. Alongside it you will usually find Mechanical Components, ARC Alloy and other ARC materials, Shotgun Ammo, and Grenade Launcher Ammo.
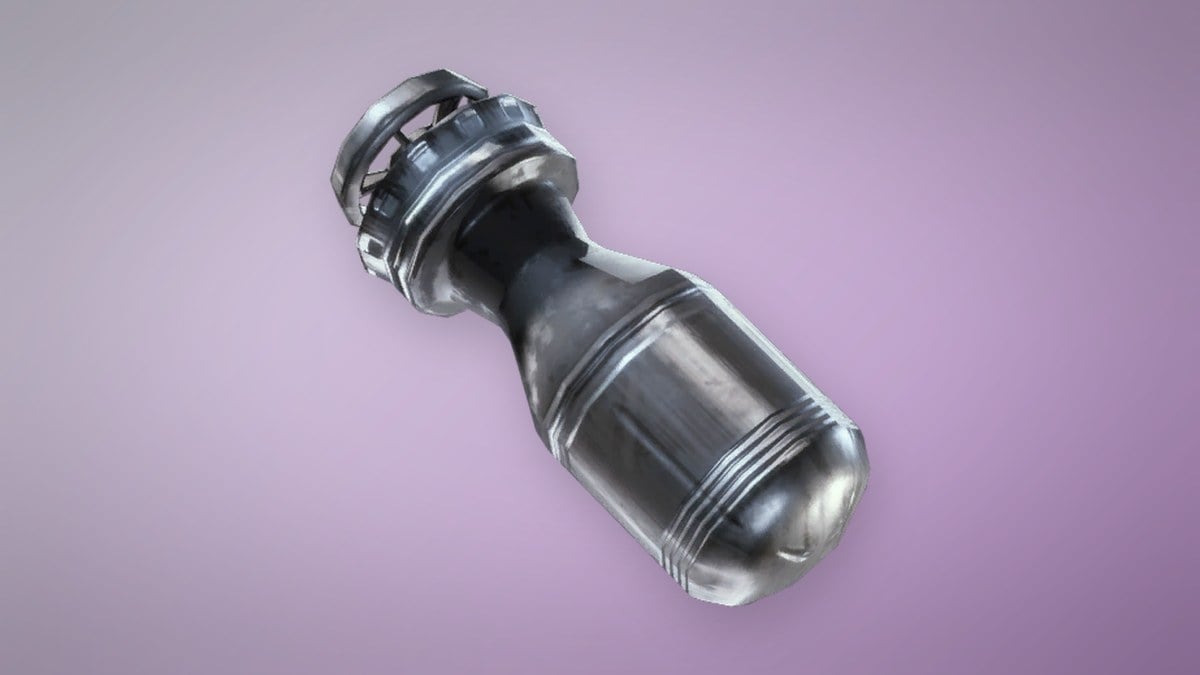
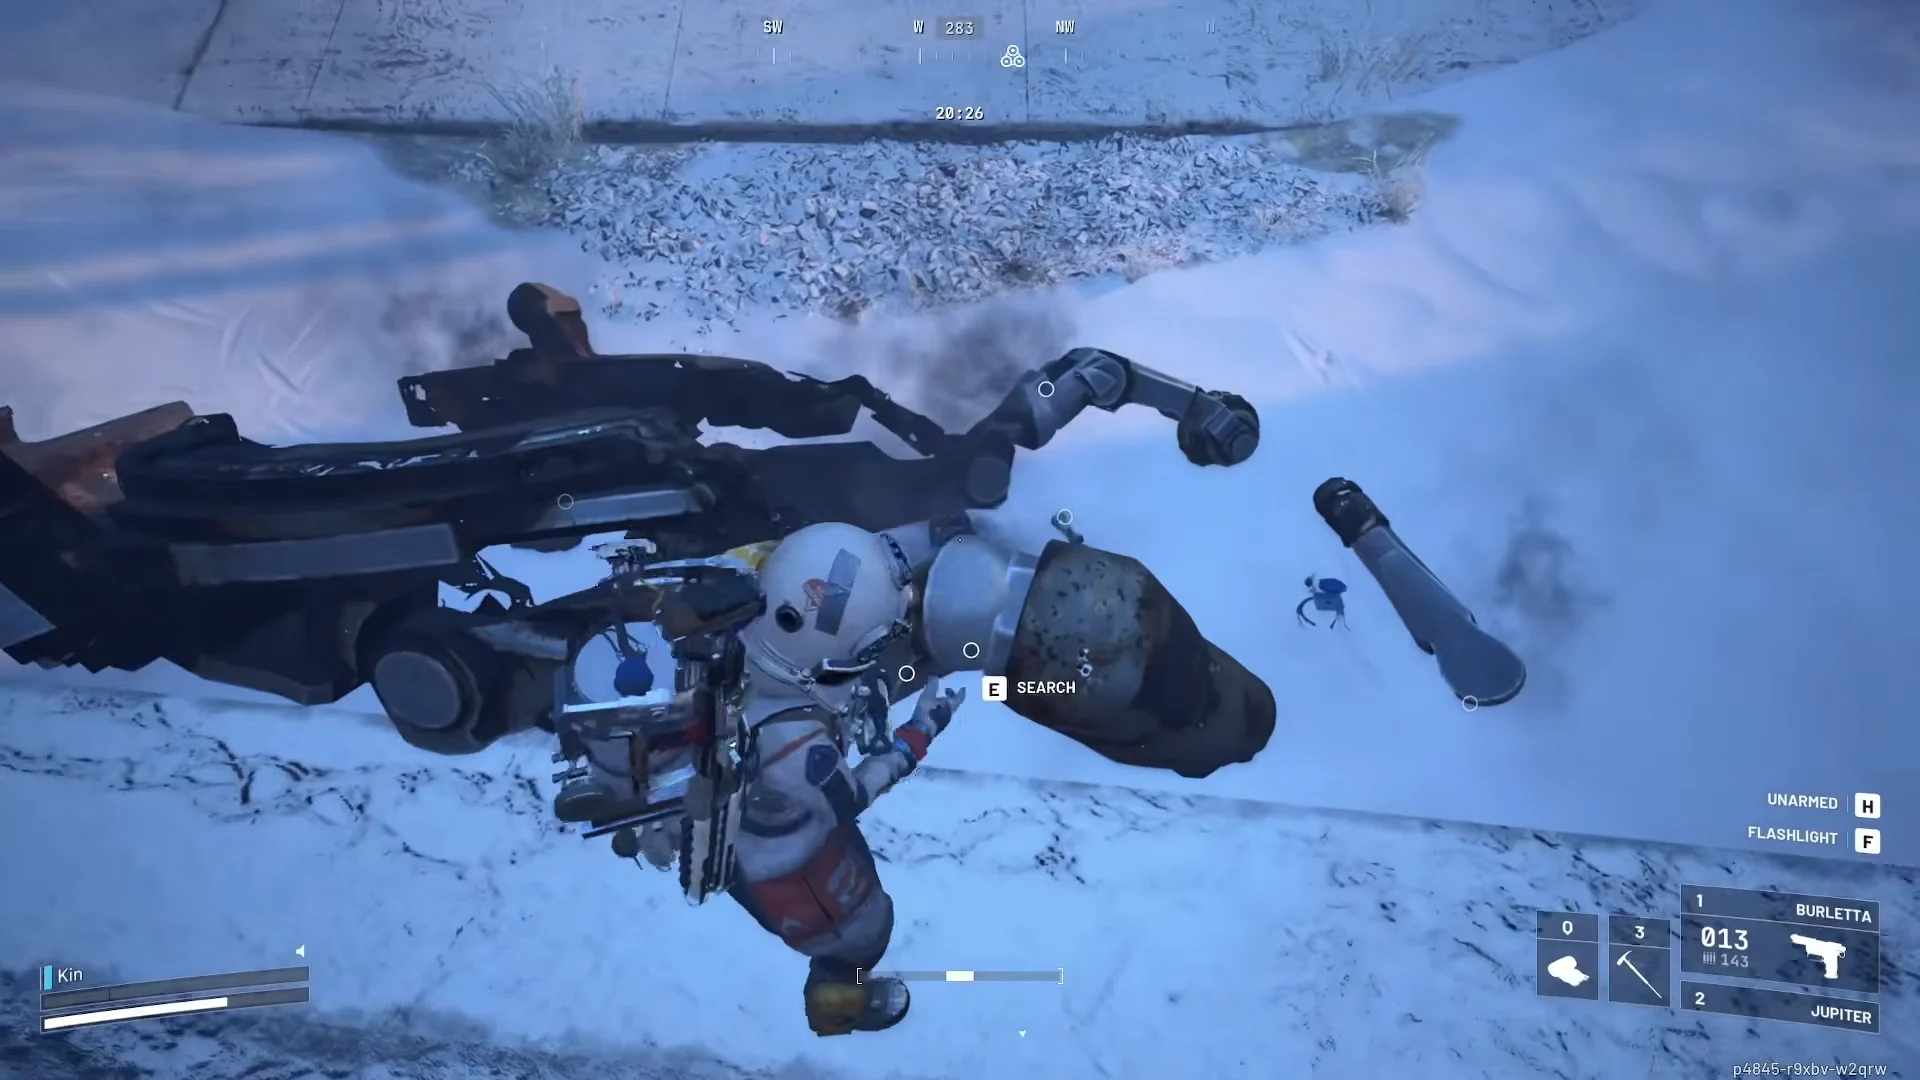
Move the Fragmenter into your Safe Pocket immediately after picking it up. This protects the quest item if another Raider downs you before you can leave. The Fragmenter can also be used as an explosive, so keep the one required for turn-in.
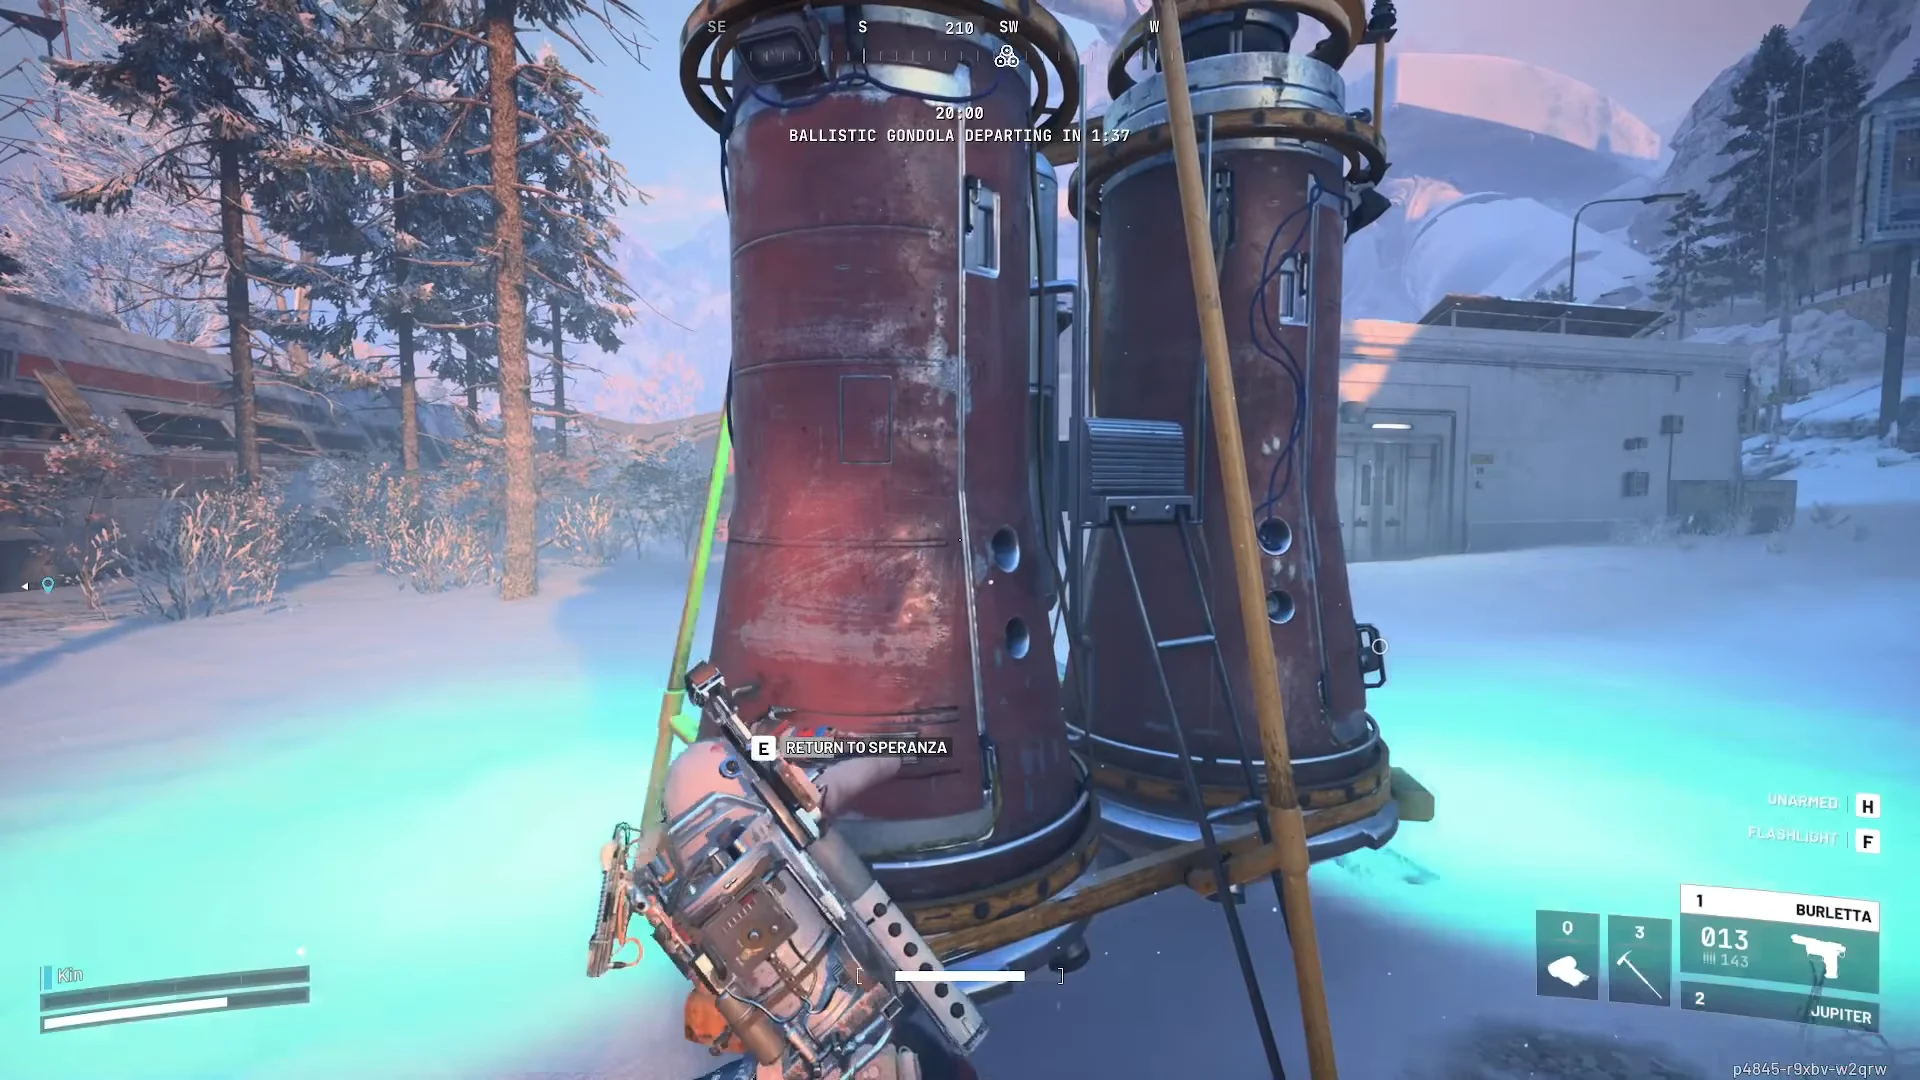
Once the item is safe, head directly for an extraction point—such as a Ballistic Gondola—and return to Speranza. There is no other raid objective to complete, so make a safe exit instead of taking a chance on another fight.
Deliver to Apollo and claim the rewards
In Speranza, go to Apollo’s Quests tab and turn in the Bully Fragmenter. Press Claim to complete the quest and receive the rewards immediately. The Claim screen verifies that the turn-in registered.
| Reward | Quantity |
|---|---|
| XP | 10,000 |
 Wolfpack | 1 |
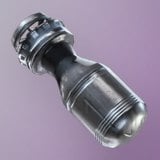 Bully Fragmenter | 1 |
These rewards come in addition to the supply kit granted when you accepted the quest, so you will have a Wolfpack grenade ready for your next Pendola Pass run. Apollo’s chain ends here; no more quests are connected to it.