The Laser Level is an Epic Topside Material from the Frozen Trail update, and you can’t buy, craft, or recycle anything into one. You have to pick it up yourself on Pendola Pass, and you need three to expand your Outpost from Level 3 to Level 4. It drops as Mechanical and Industrial loot, so industrial buildings, train cars, and storage shelving are the places that matter.
Quick answer: Deploy to Pendola Pass. Loot Snow Shelters during a Flash Freeze, or search Cielo Sereno Observatory, Almatera Station’s second-floor shelf room, and the Railyard train cars.
Laser Level stats in Arc Raiders
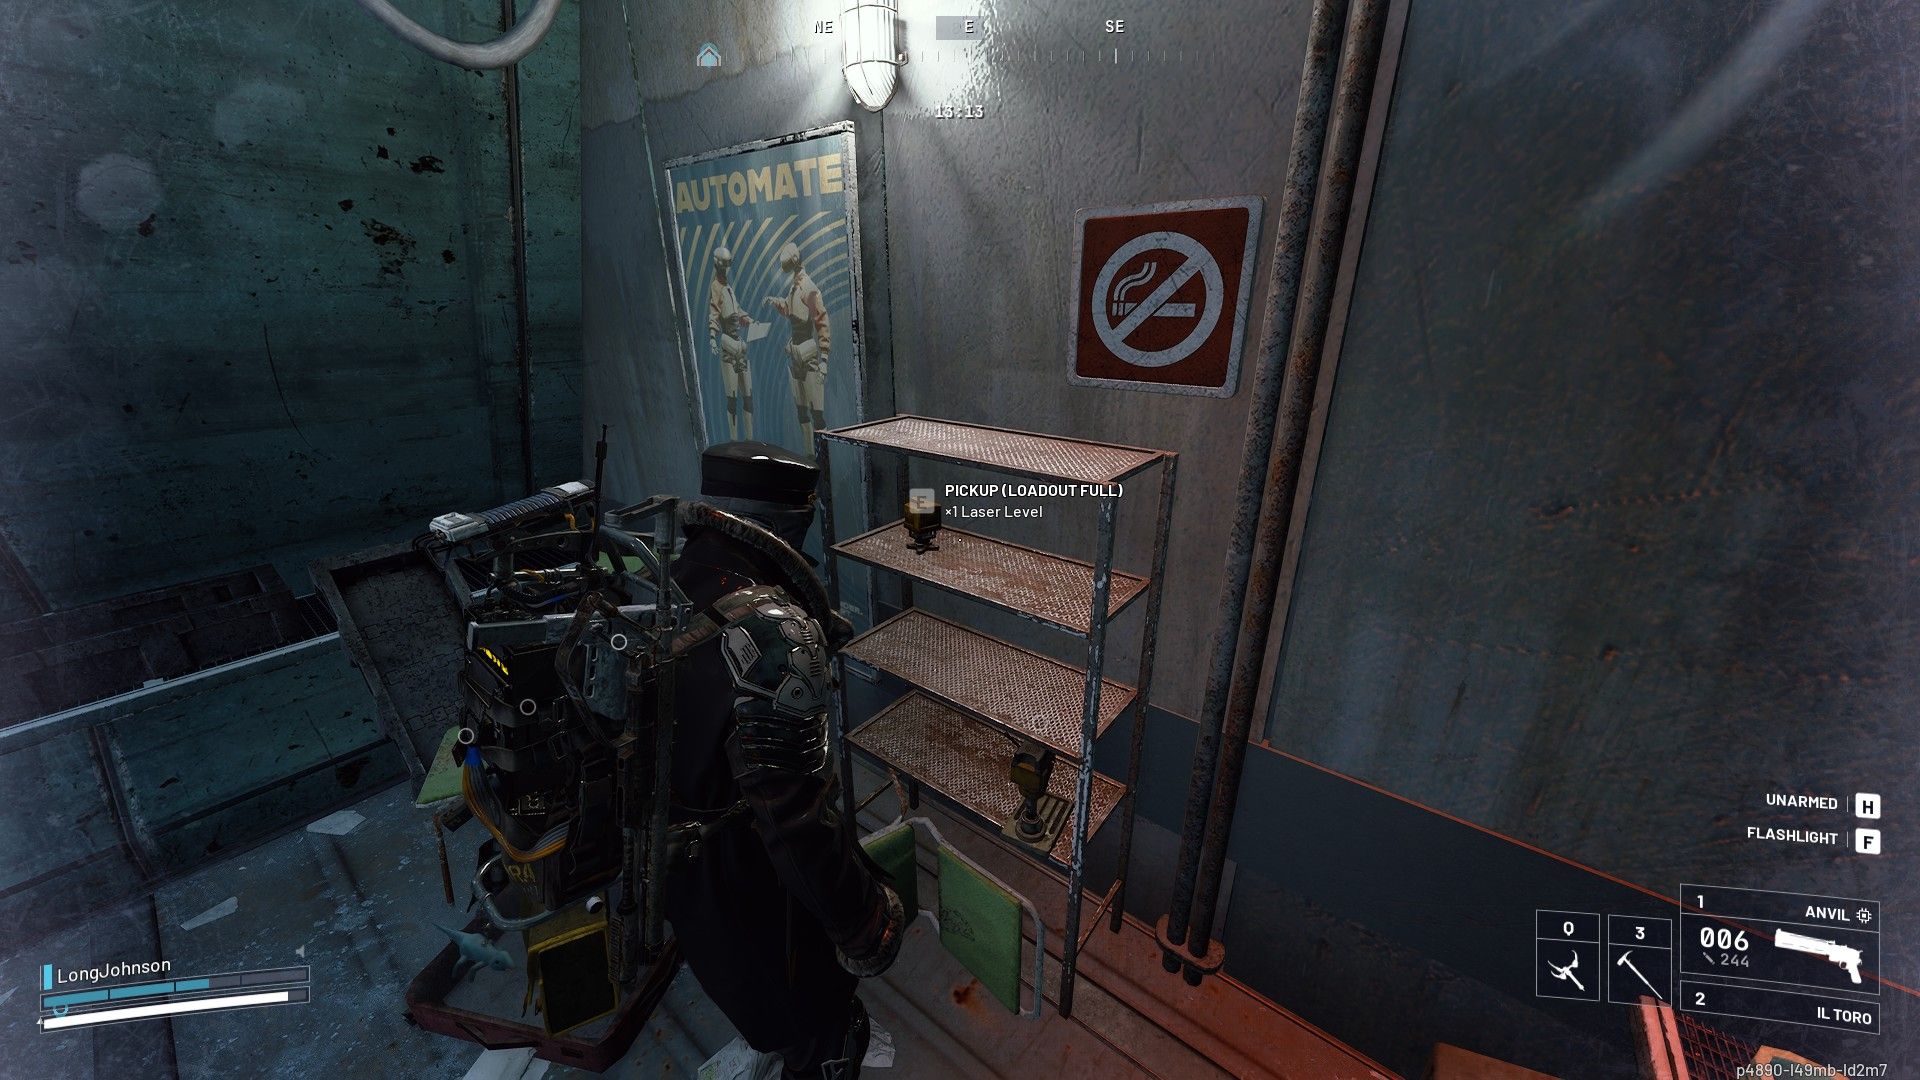
The Laser Level is light and stacks, so carrying a full set costs you almost no backpack space. Look for a yellow and black block about the size of a large paperweight. It usually sits out in the open rather than inside a box.
| Attribute | Value |
|---|---|
| Rarity | Epic |
| Category | Topside Material |
| Loot categories | Industrial, Mechanical |
| Weight | 0.5 |
| Max stack | 3 |
| Added in | Frozen Trail update |
Where Laser Levels spawn on Pendola Pass
Laser Levels only spawn on Pendola Pass, so searching other maps won’t turn one up. Most of the item’s spawn points are loose loot on surfaces, mainly shelves and storage racks, followed by the tables and seats in train cars. The Hand Drill shares the same spawn points, so one route covers both.
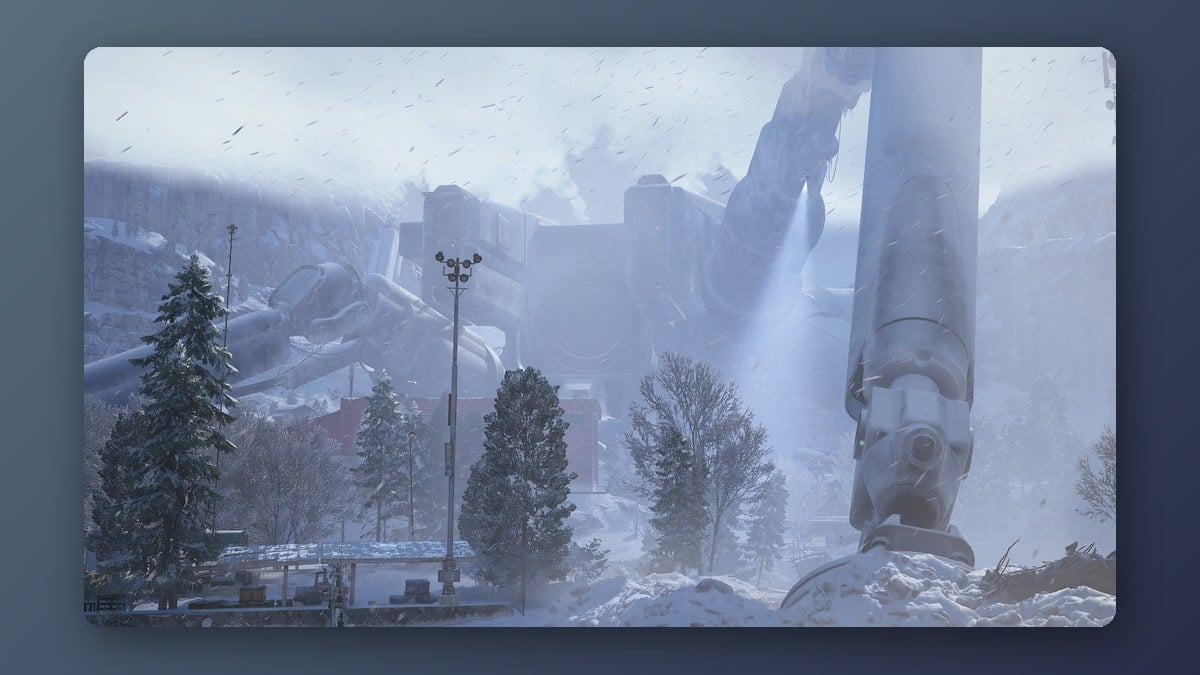
| Area | Where to look | Loot amount |
|---|---|---|
| Snow Shelters | Shelves at the back, containers | Flash Freeze only |
| Cielo Sereno Observatory | Control rooms, locked key room | Heavy |
| Almatera Station | Upstairs shelf room, parked trains | Average |
| Railyard / Freight Terminal | Train car seats, tables, racks | Above average |
| Controlled Receiving Facility | Shelves and industrial surfaces | Not rated |
| Commissary Supermarket | Shelving | Occasional |
The Commissary Supermarket isn’t a regular Laser Level spot. Finds there tend to happen on raids where the supermarket rolled as a high-value loot zone.
Bring up the map right when the raid begins. Yellow zones (Loot value: Medium) offer improved loot, while red zones (Loot value: High) contain a larger amount of higher-quality loot. These colors are reassigned each raid, so head toward whichever marked zone is shown above.
How to loot a Snow Shelter during a Flash Freeze
Snow Shelters, which the HUD labels as Storm Huts, are the most dependable source. An open shelter almost always has a Laser Level on a shelf near the back. The catch is that shelters only open during a Flash Freeze, and only some of them unlock in any given storm.
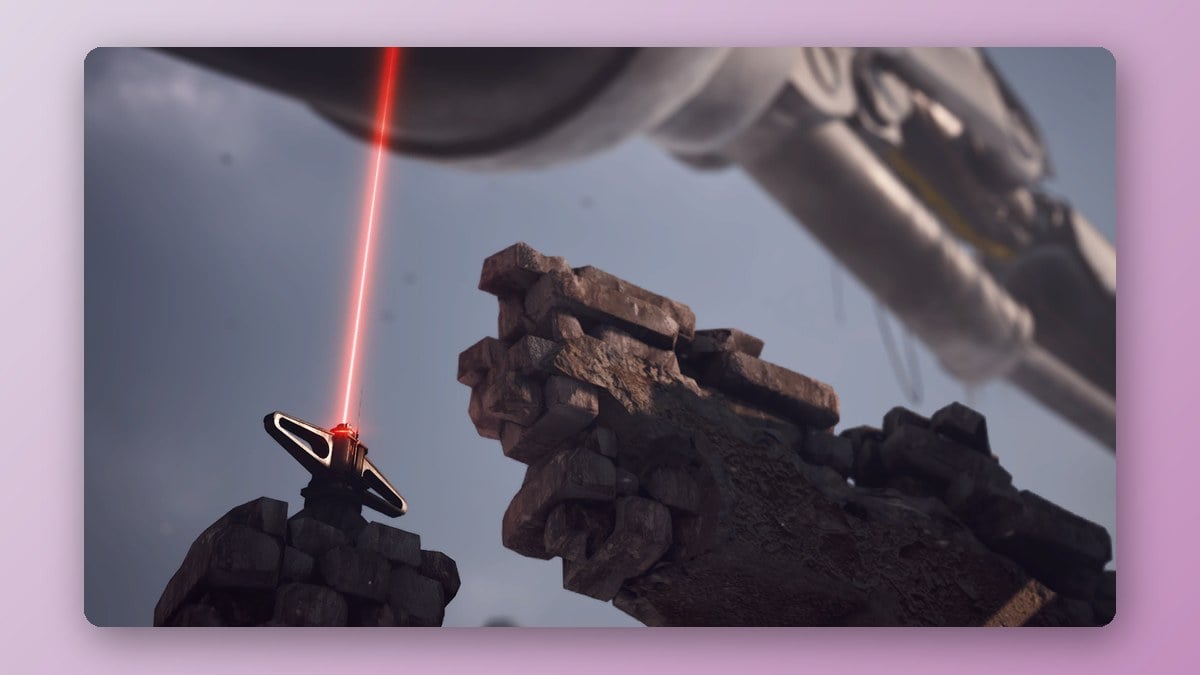
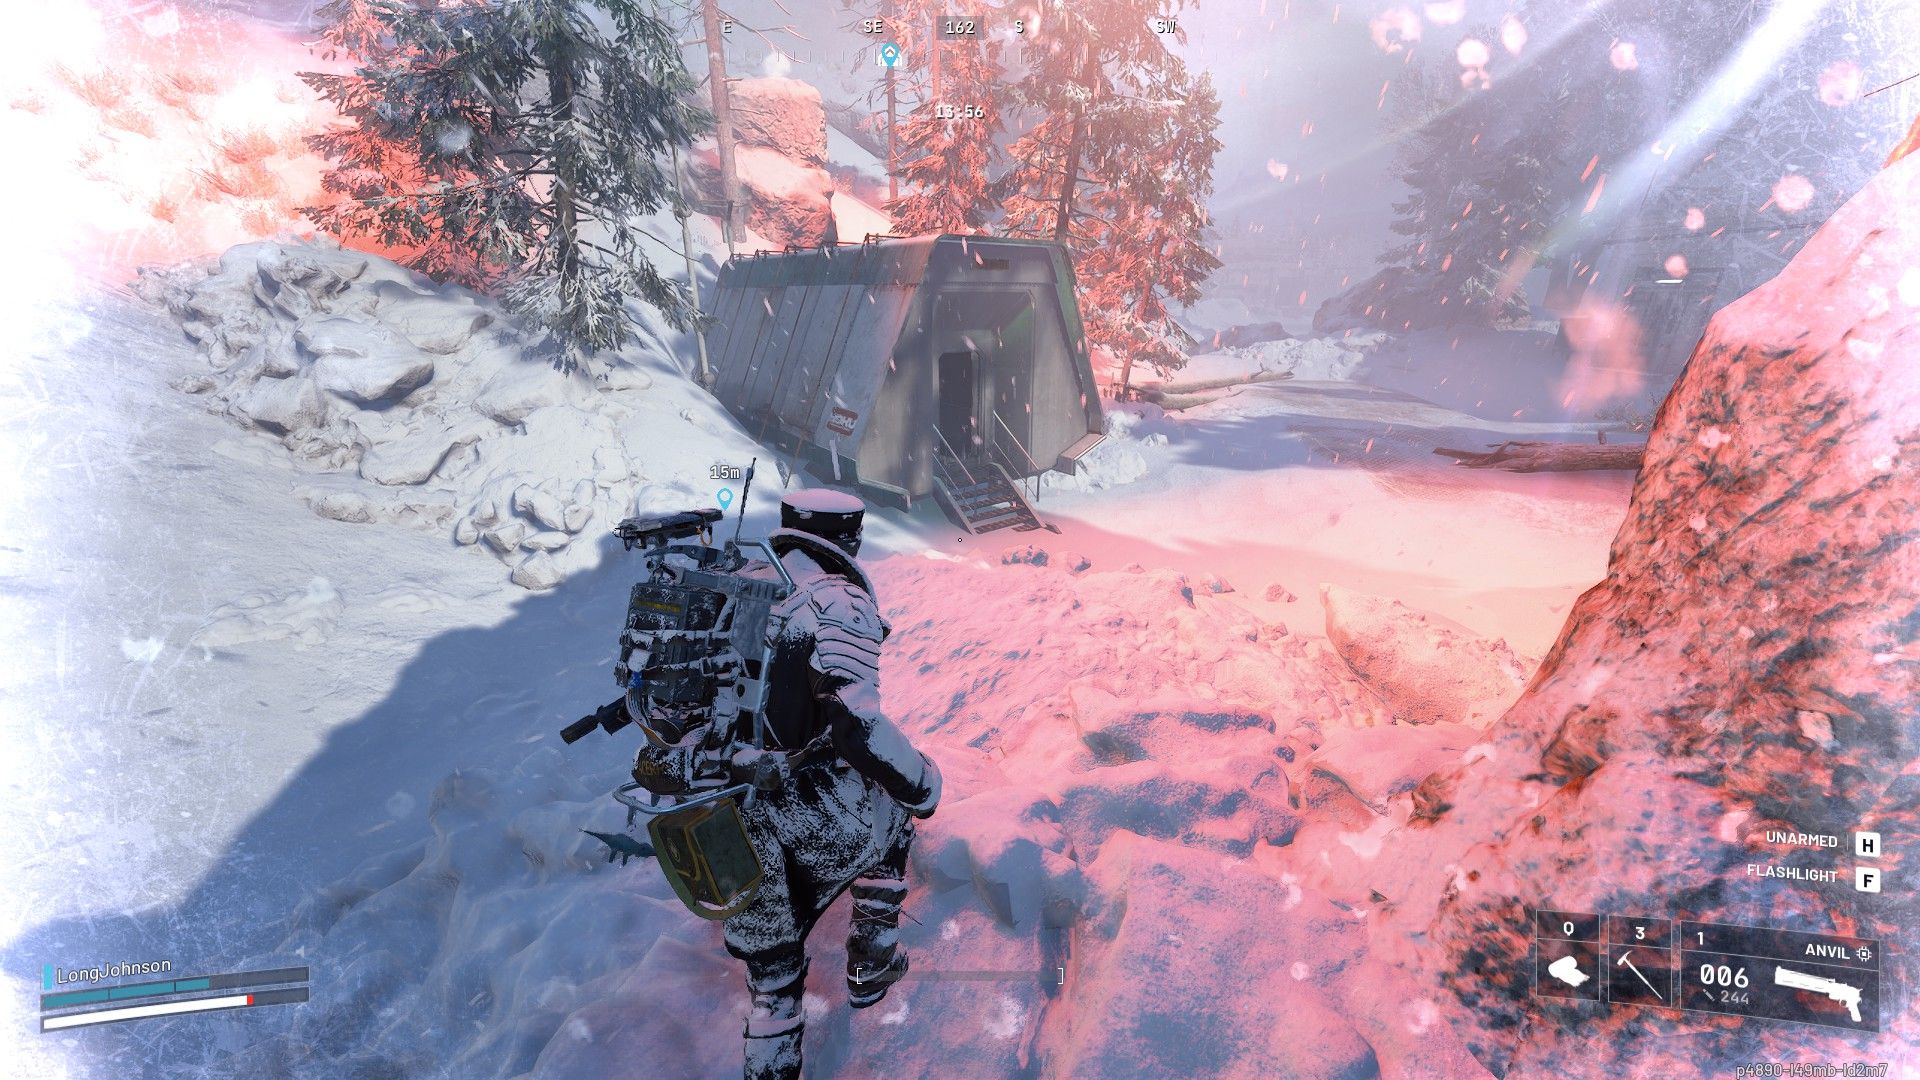
Other raiders know what shelters hold. In PvPvE you should expect a fight at the door, and a shelter you reach late will probably already be empty.
Laser Level spots that don’t need a storm
If no Flash Freeze arrives or the shelters are being fought over, these points of interest are always open. Night raids are commonly recommended here for better high-tier spawns.
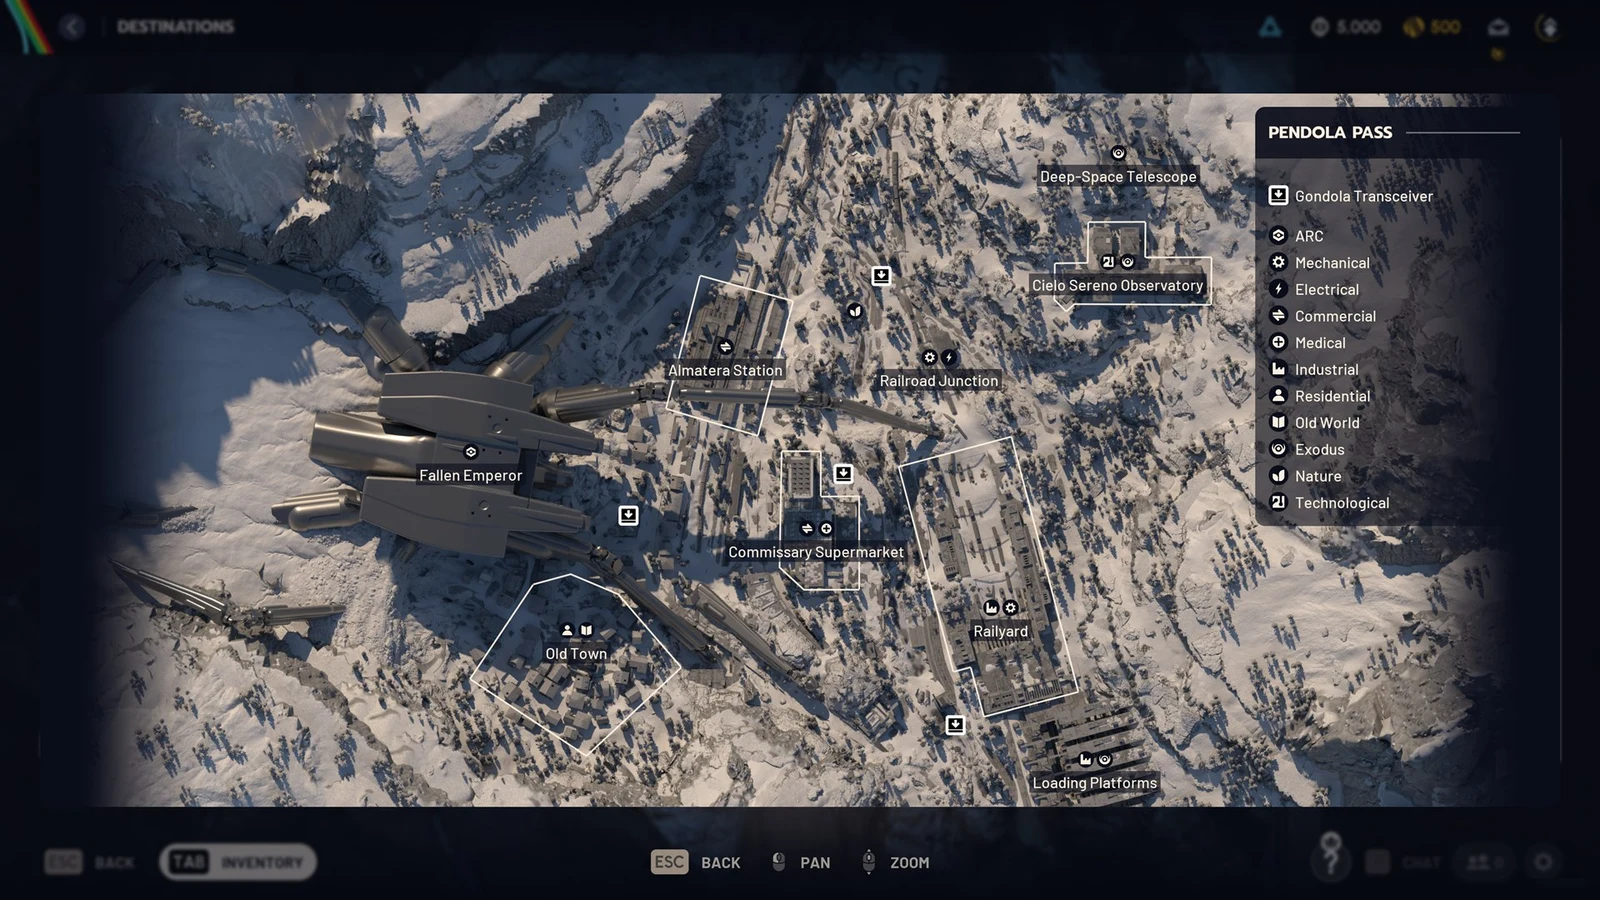
Cielo Sereno Observatory
The observatory sits in the northeast corner of the map. It’s an elevated building with large rooms, maintenance tunnels, and plenty of breachable metal boxes, and its containers get heavy loot compared with the rest of Pendola Pass. Start with the control rooms. An Observatory Key opens a locked room that can hold several Laser Levels at once, though some raiders have opened it and found none.
Almatera Station
Go in through the main entrance of the station building and ride the escalators to the second floor. A room full of metal shelves sits at the top, so walk every row and check each shelf. On a raid where the station was a red zone, that room produced a Laser Level along with Insulation Rolls, Sheet Metal, a Thermal Shaker, a Hand Drill, and a Radial Press.
Don’t leave without checking the parked train cars below and outside the station, where a Laser Level can rest on a seat. It can also turn up on the ticket counter in the station’s key room and in the filing cabinets of the station offices.
Railyard trains behind the Freight Terminal
Behind the Freight Terminal sits the Railyard. In the orange carriage labeled A158, search the tables and seats across the first three seating bays before checking the overhead luggage racks. One can also appear in either adjacent orange or blue passenger car, though the chances are lower. Search the yellow utility cart on the loading platform outside as well. Since the Railyard yields less loot than the observatory, visit it as a follow-up rather than choosing it for your initial drop.
Walking through any train car you pass takes a few seconds. Train cars hold the second-largest share of Laser Level spawn points on the map, so they’re always worth the detour.
Containers and surfaces that can hold a Laser Level
Laser Levels usually appear as loose loot, so scan surfaces while traversing industrial buildings. Check the following surfaces:
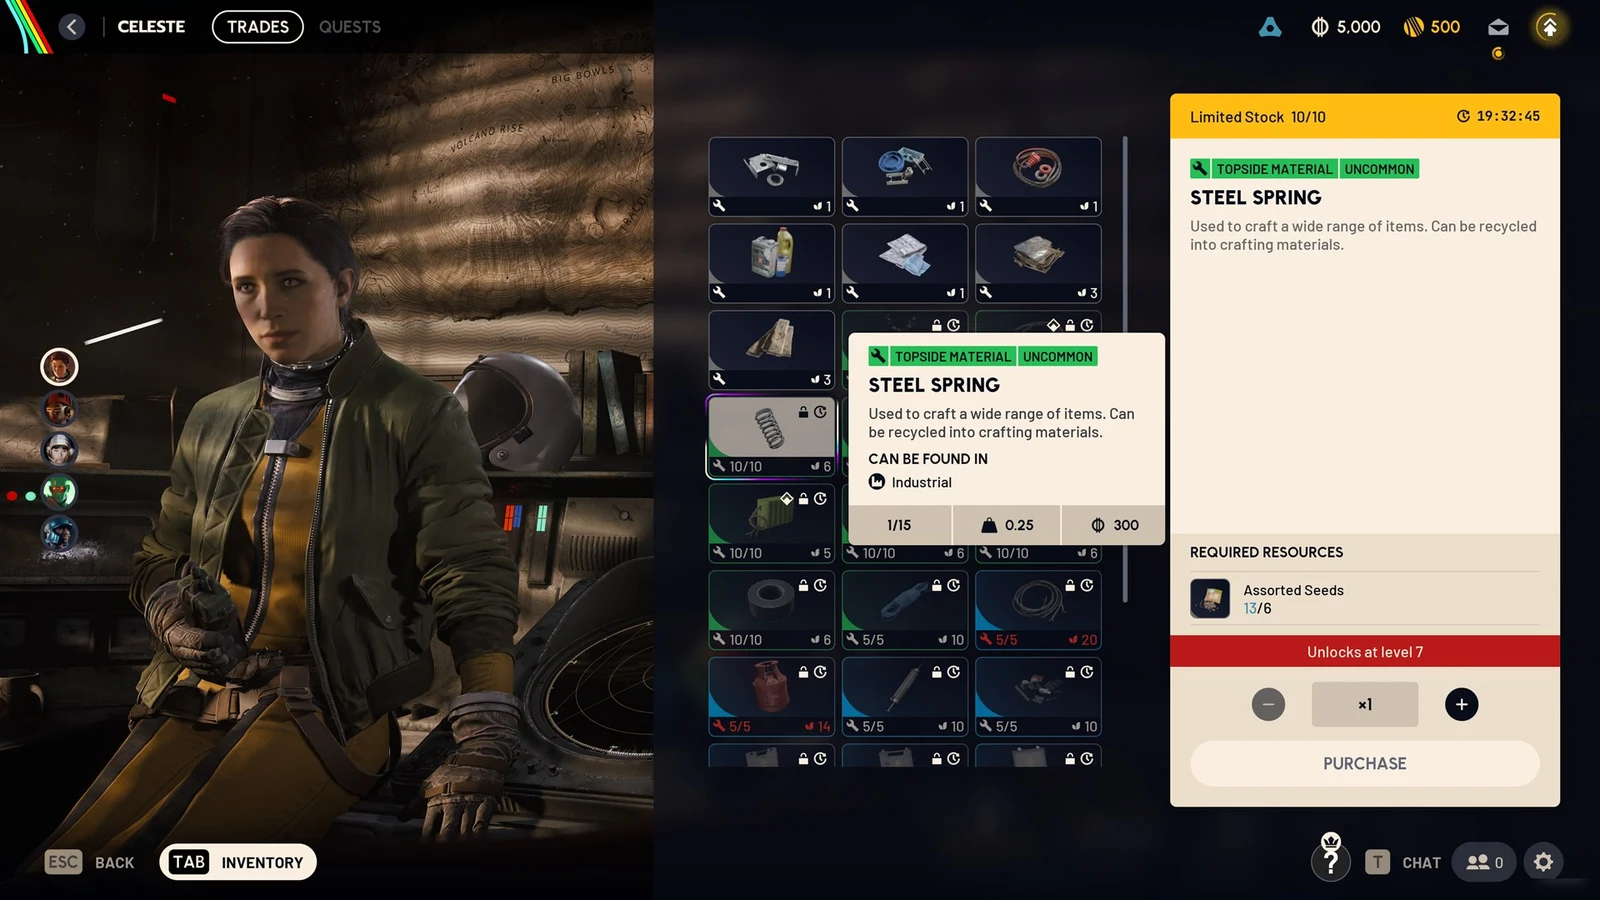
- Shelves and storage racks
- Train car tables and seats
- Consoles, desks, and control panels
- Tables, chairs, and counters
- Trolleys, carts, and parked vehicles
Four container types can also roll one:
- Industrial Crate (needs an Industrial breach)
- Lockers
- Shipping Container Drawer
- Tool Trolley
What Laser Levels are used for
The Outpost expansion from Level 3 to Level 4 requires three Laser Levels. That upgrade lets you raise the Gunsmith and Research Station to level IV, which unlocks amplified weapons, and it adds a new Outpost room (the Studious Room). The full cost is:
- 3 Laser Levels
- 40 Sheet Metal
- 3 Insulation Rolls
Laser Levels also go into several furniture designs, including the Polished Faculty Table Design, Restaurant Table Design, Battered Aviary Table, and Diner Shelf Design. Once you’ve covered those needs, you can sell extras or break them down. Recycling one returns Mechanical Components and Steel Springs, while salvaging returns Mechanical Components only, and the two options end up close in value.
Confirm the Laser Level made it to your stash
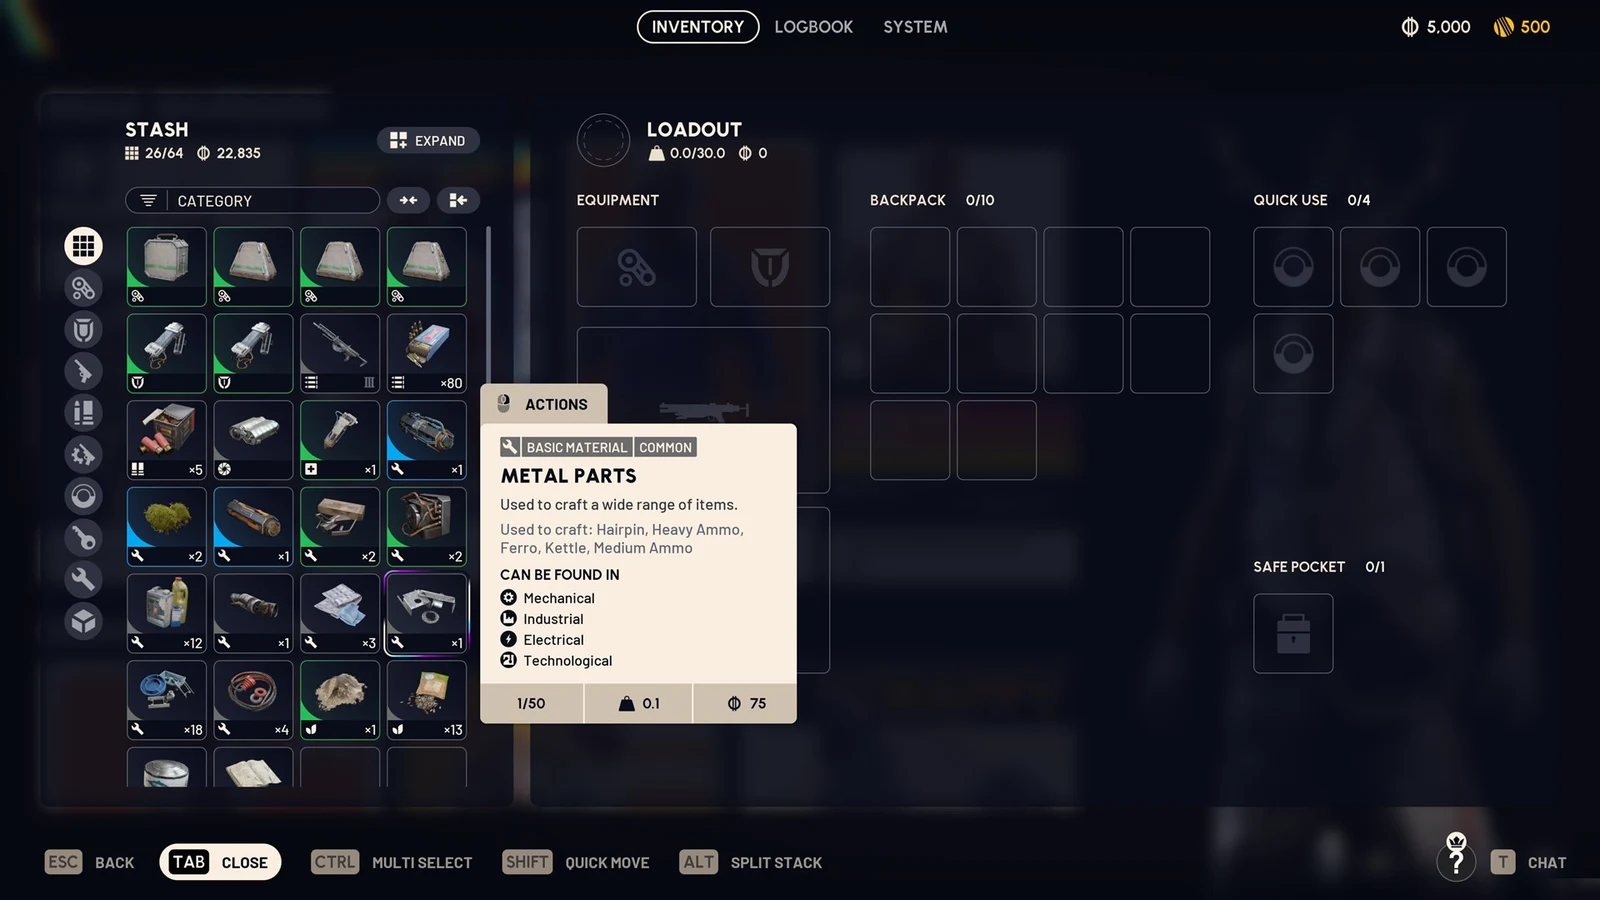
Clear space before trying to collect one. With a full bag, the prompt says “PICKUP (LOADOUT FULL)” and the item remains on the ground. Once you have picked it up, go to the Topside Material section in your inventory. A genuine Laser Level is listed as Epic, has a weight of 0.5, stacks up to three, and its tooltip says “CAN BE FOUND IN: Mechanical, Industrial”.
If extraction looks risky, put three Laser Levels in a safe pocket. They survive even if you lose the rest of your loadout.
Laser Levels only move to your stash once you extract. Back at the Outpost, open Expand Outpost (Level 3 → 4). The Required Resources panel counts up to “Laser Level 3/3”, and once Sheet Metal and Insulation Rolls also read full, the Install button completes the upgrade.