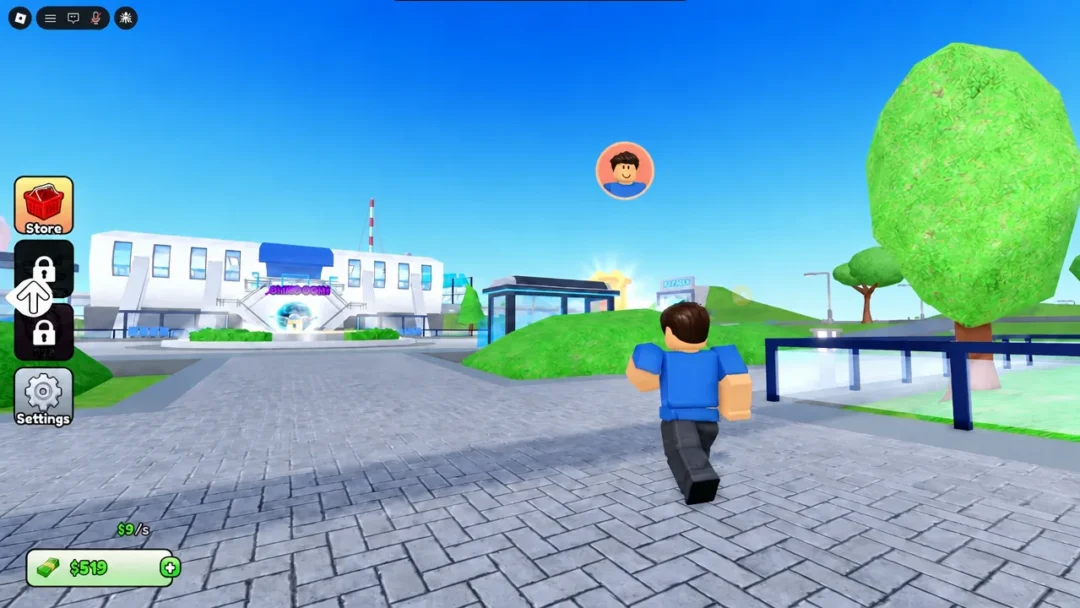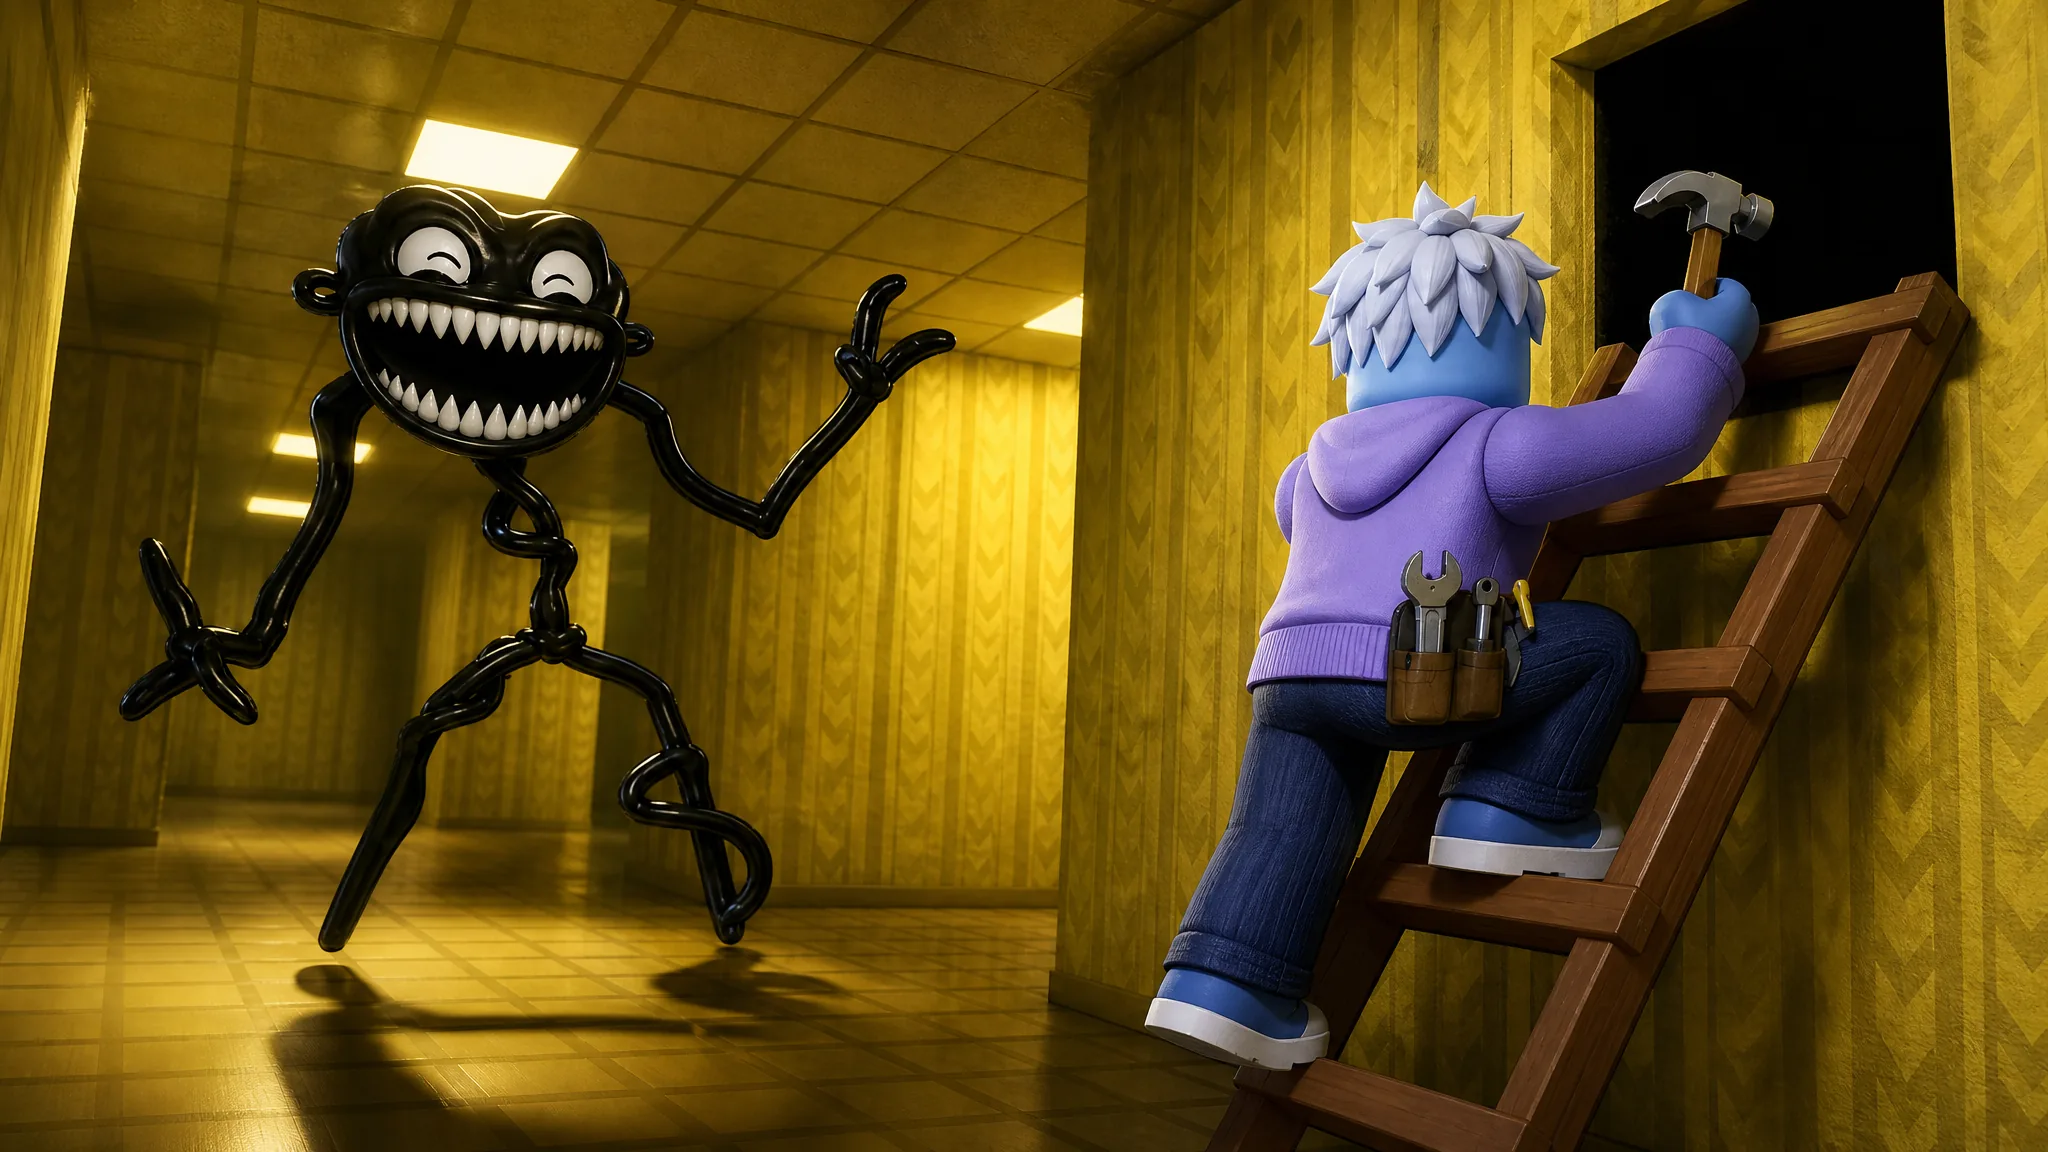
Backrooms Lab is a maze-building tycoon on Roblox where you lay down corridor pieces, funnel wandering visitors into a twisting path, and place monsters that catch them for a steady stream of cash. The longer a visitor stays trapped, the more chances your monsters get to grab them, so the whole game rewards building a slow, confusing route rather than a short straight line.
Quick answer: Buy the free Yellow Corridor from the Buildings Shop, place it at the entrance, add a free Wanderer from the Monsters Shop, then keep buying plots and corridor pieces to lengthen the maze until your monster slots and cash climb high enough to Rebirth.
The core loop in Backrooms Lab
Everything in the game runs on one cycle. Visitors spawn and enter the maze, your monsters catch them, and each catch pays out cash. You spend that cash on more building space, longer paths, and stronger monsters, which in turn lets you catch visitors faster and hold more of them at once.
Your building space starts small. To expand it you clear debris by buying base plots, which begin at a few hundred dollars and rise as you buy more. Each new plot gives you room to place additional corridor pieces, and placing enough pieces raises your active monster limit. The first tutorial catch pays $83 in the early game, and finishing the tutorial by placing a Yellow T-Junction hands you a $500 bonus.
Building the maze: pieces and prices
Corridor pieces come from the Buildings Shop and range from free starter parts to rare intersections that also boost your monster capacity. Use turns, T-junctions, and crossroads to force visitors into loops and dead ends so they spend as long as possible inside. The pieces below unlock as you progress and Rebirth.
| Building piece | Cost | Notes |
|---|---|---|
| Yellow Corridor | Free | Starter straight piece |
| Yellow Turn | Free | Bends the path |
| Yellow T-Junction | Free | Splits the path |
| Yellow Crossroad | $300 | Four-way intersection |
| Empty Office Room | $500 | Dead-end room |
| Flickering Corridor | $750 | Standard corridor upgrade |
| Wet Carpet | $1.1k | Uncommon dead-end room |
| Old Storage Room | $1.6k | Unlocks after Rebirth 1 |
| Pipe Corridor | $2.5k | Increases monster slots |
| Electrical Room | $3.8k | Unlocks after Rebirth 1 |
| Service Turn | $5.5k | Rare turn piece |
| Ventilation Room | $8k | Dead-end room |
| Alarm Corridor | $11.5k | Rare corridor |
| Circuit Junction | $13.5k | High-tier intersection |
Tip: The Pipe Corridor is worth prioritizing after your first Rebirth because it raises your monster slot cap when placed, letting you deploy more catchers at once. Use the hammer tool to pick up and reposition monsters whenever you swap a corridor for a stronger piece.
Monsters and upgrades
Monsters are what actually turn trapped visitors into cash. You start limited to a single active monster, and that cap rises as you place more rooms or Rebirth. Higher tiers catch faster and pay more, so the standard progression is to sell your Wanderers once you can afford Smilers and Hounds.
| Monster | Cost | Role |
|---|---|---|
| Wanderer | Free | Basic catcher; sells back for $250 |
| Smiler | $1.8k | +20% cash bonus on catches |
| Hound | $9k | High damage; destroys expedition barricades |
| Crawler | $25k | High-tier catcher unlocked after Rebirth 1 |
Each monster can be leveled with cash for stat gains. Upgrading a Wanderer to Level 2 costs $500 and adds +10% movement speed. Smiler levels stack useful bonuses, with Level 2 at $500 and Level 3 at $1,000 each cutting capture cooldown by 10%, and Level 4 at $2,500 adding +10% to cash rewards. Spread your monsters deeper into the maze rather than clustering them at the entrance, otherwise visitors get caught too early and you lose the longer payout windows.
Expeditions: how to clear a research team
Every so often a “Research Team Detected!” alert appears and hazmat-suited scientists set up a barricaded outpost somewhere inside your maze. Clearing it pays a large lump sum, and in one run the reward came to $32,604, enough to jump straight into rare corridor pieces.
Rebirth requirements and rewards
Rebirthing resets your cash to $0 but permanently unlocks higher-tier monsters, new rooms, and income multipliers. Each Rebirth has three thresholds you must meet at the same time, tracked in the Rebirth menu.
| Rebirth | Buildings | Plots | Cash |
|---|---|---|---|
| Rebirth 1 | 24 | 12 | $10k |
| Rebirth 2 | 60 | 28 | $75k |
Rebirth 1 opens the Hound and Crawler monsters plus the Old Storage Room, Pipe Corridor, Electrical Room, and Service Turn. To reach it, keep buying plots to hit 12/12, keep placing corridor pieces to hit 24 buildings, then let your cash climb to the $10k mark before pressing Rebirth. The building and plot counts are usually easy to overshoot, so the cash threshold is normally the last box to tick.
How to confirm your maze is working
Check the maze stats panel to confirm your setup is active. It shows your monster count, such as 1/1 active monsters, and your visitor count, such as 0/8 spawned NPCs. When a visitor is caught, cash lands immediately and the payout appears on screen. A slot unlock is confirmed by a “Monster Slots 1->2” style notification, and you know a Rebirth succeeded when your cash drops to $0 and the newly unlocked monsters and rooms appear in the shops.
If visitors keep escaping, the usual cause is a maze that is too short or too open, letting them reach the exit before a monster catches them. Add turns, loops, and dead-end rooms to slow them down, and move your monsters apart so they cover the full length of the path instead of bunching at the start.