Gaming How-To

Backrooms Morphs 2: How to Get All 4 New Morphs (Roblox)

The exact route through Spawn, the lava bridge, Destroyed Backrooms, and the flooded vault to unlock every new skin.

The exact route through Spawn, the lava bridge, Destroyed Backrooms, and the flooded vault to unlock every new skin.

The four newest morphs in Backrooms Morphs 2 are all locked behind trophies scattered across separate wings of the map, and none of them can be reached with an empty inventory. Three tools gate the whole run — the Sledge Hammer, the BlueKey, and the RedKey — and each one opens exactly one barrier. Grab them in order and the entire set takes a single uninterrupted trip.

Quick answer: Pick up the Sledge Hammer past the lava bridge for the first two trophies, take the BlueKey from Destroyed Backrooms to open the blue door in the green hallway, then use the RedKey from the blue portal on the red room chest and finish at the yellow trophy beyond the flooded vault.


Tools and keys required for the new morphs

Every barrier in the run matches one item. Collecting them out of order wastes travel time, because two of the three doors sit on opposite sides of the map from where their key spawns.

ItemWhere it isWhat it opens
Sledge_HammerToy room, past the lava bridgeThe wall grate and the blocked barrier near the first trophy
BlueKeyInside Destroyed BackroomsThe blue door in the green hallway at Spawn
RedKeyThrough the blue portal off the green hallwayThe red door back in the toy room area

Movement matters as much as the tools. Several stretches need a crouch to fit through a gap, and the game flags a few ledges with a DONT JUMP! warning where a jump drops you back to the start of the section.


Morphs 1 and 2: The lava bridge and the green door

Both of the first two skins sit within a few seconds of each other, so treat this as one trip rather than two.
From the Spawn lobby, climb the vent set into the wall. This is the only exit that leads toward the bridge section, and you will use it again later for the red door.
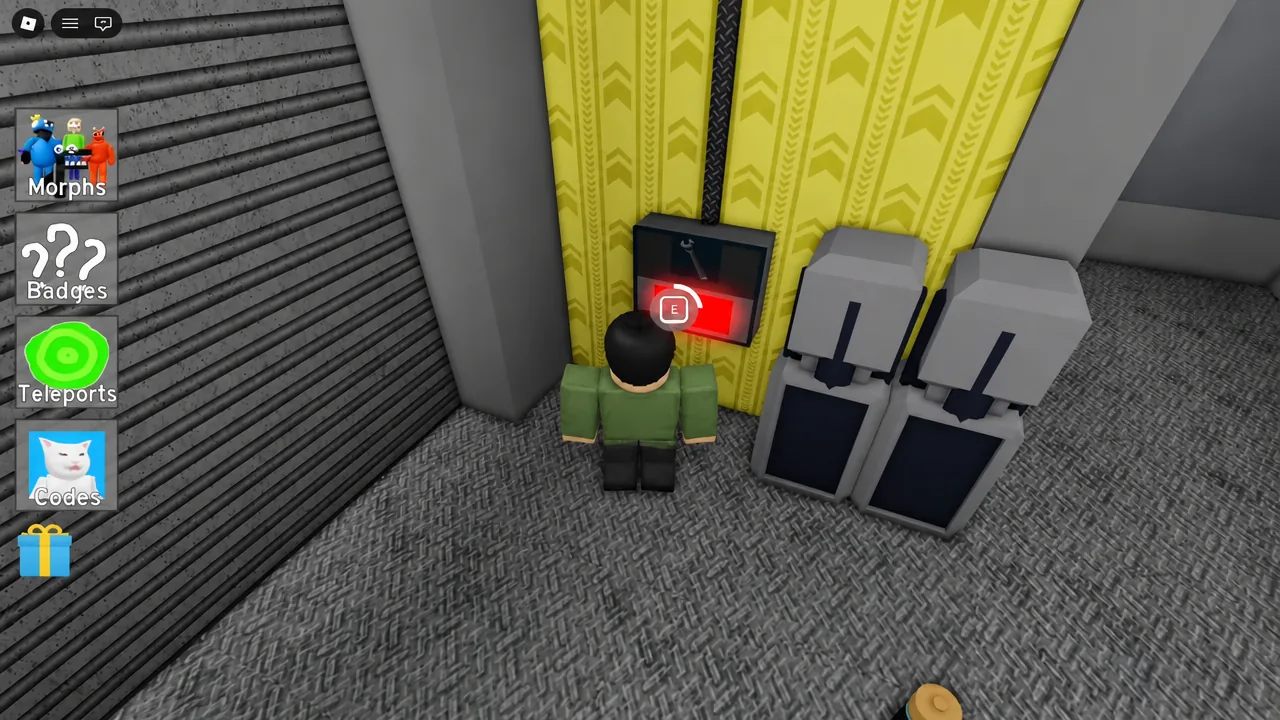
Press the red button on the wall panel. The shutter door in front of you rolls up and exposes the narrow bridge running over lava.
Red wall control panel highlighted with an E interact prompt before the shutter door opens
The red wall panel with its E prompt active — pressing it raises the shutter door to the lava bridge.
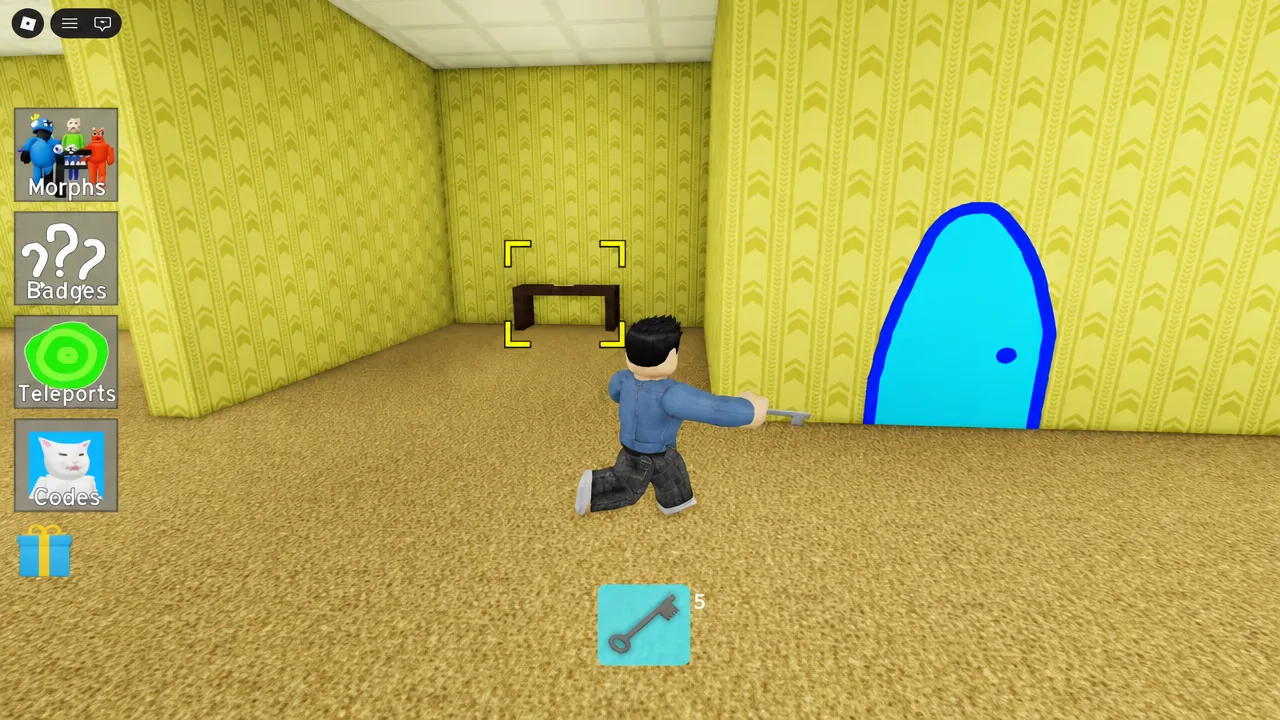
Cross the bridge and enter the toy room on the far side. Pick up the Sledge Hammer here; the on-screen banner reads New Tool Sledge_Hammer once it is in your hands.
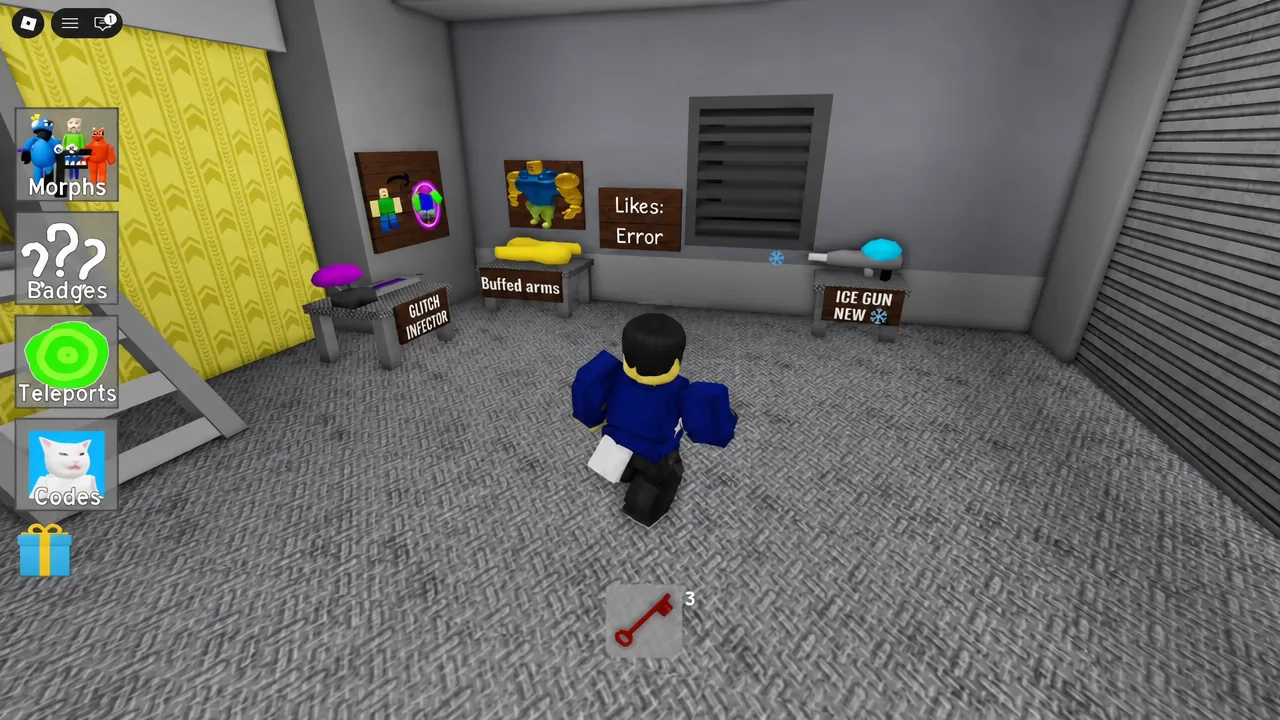
Swing the hammer at the grate covering the vent in the wall. Climb the stack of blocks behind it and collect the trophy at the top to unlock the first morph, a character in green with orange goggles.
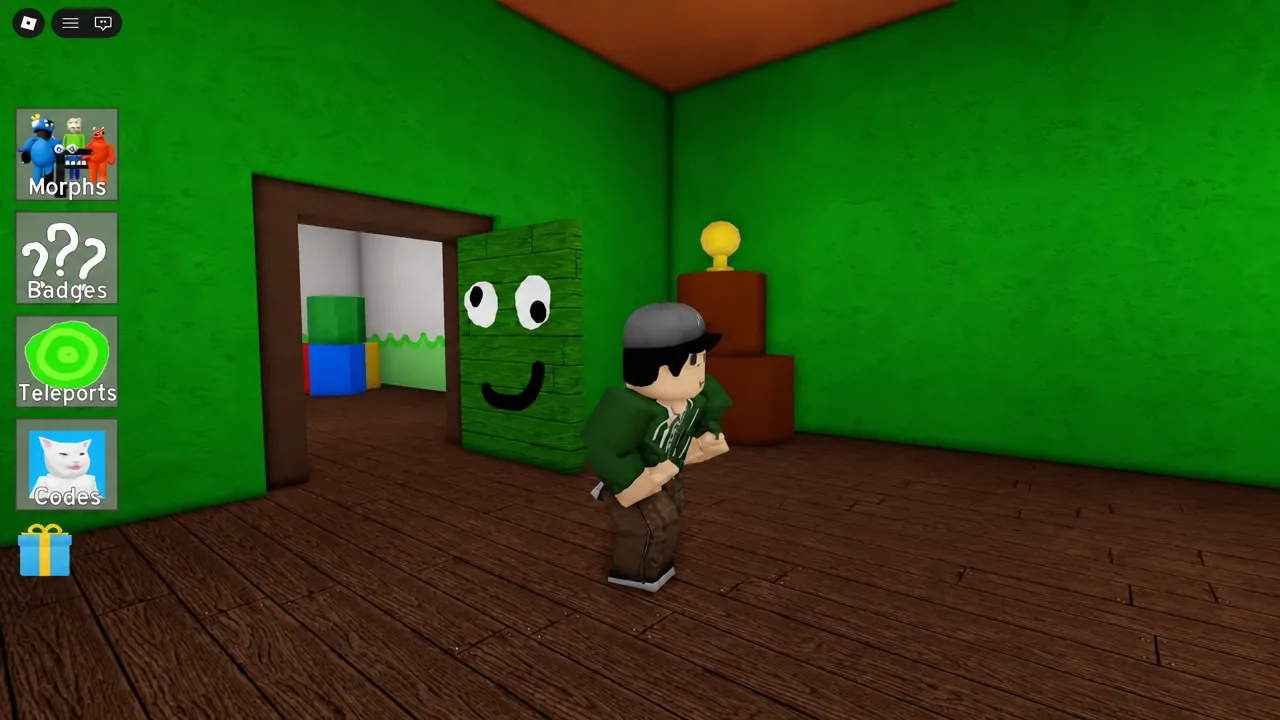
Return to the same room and go through the green door marked with eyes. The yellow trophy just inside unlocks the second morph, the blonde character in the blue shirt.

Morph 3: BlueKey from Destroyed Backrooms

The third skin needs a round trip. The key sits in a completely different level, and the door it opens is back at the starting area.

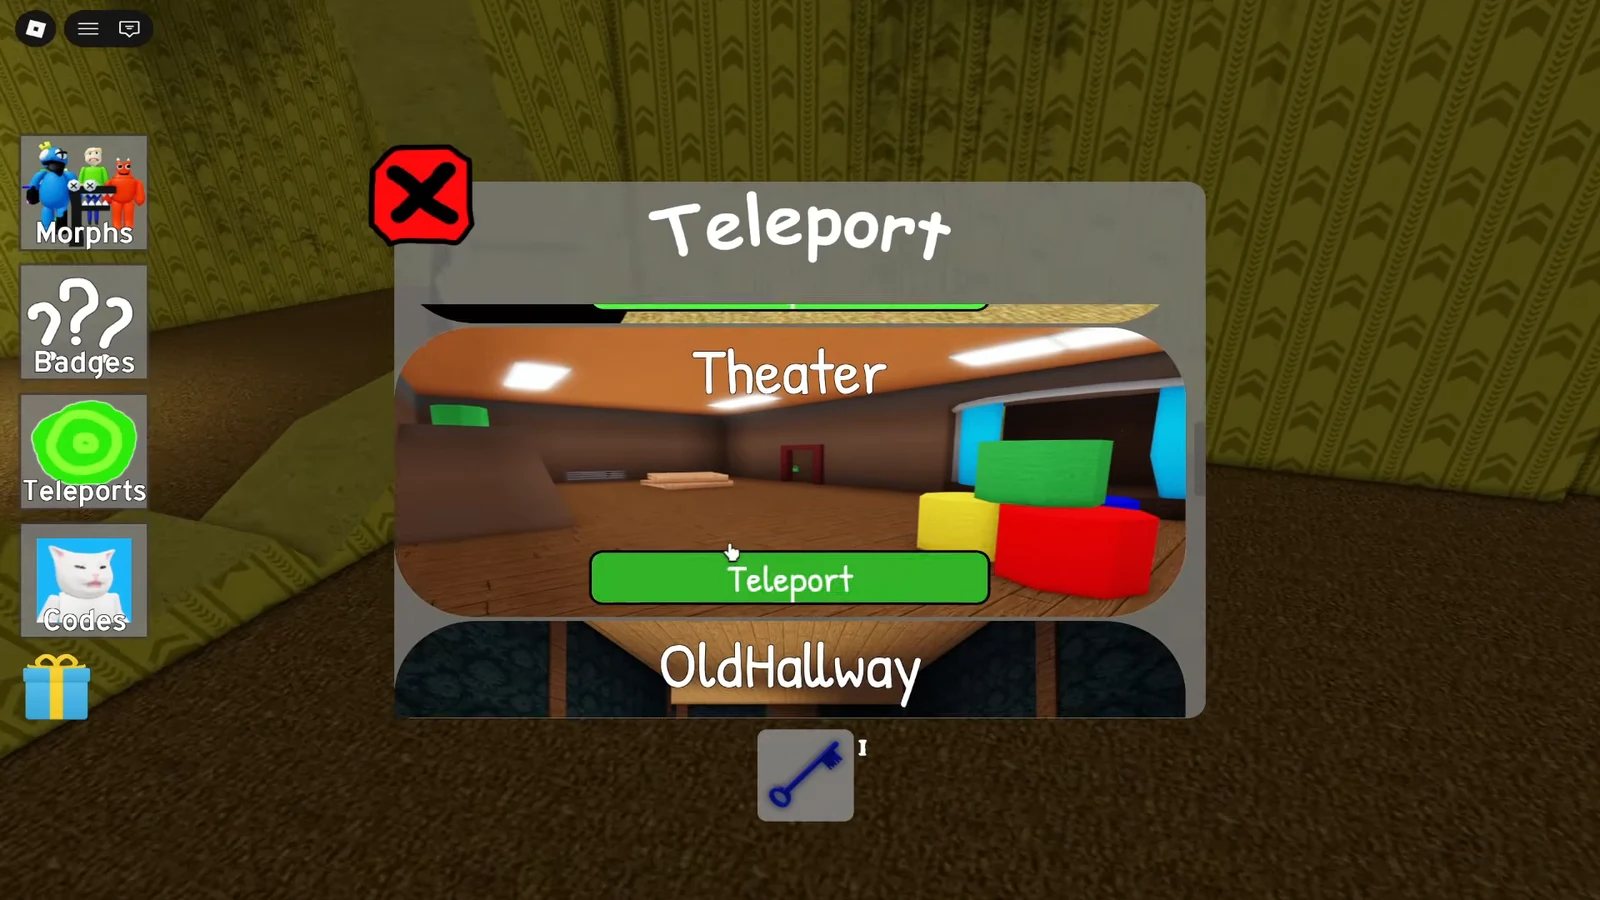
Open the side menu and select Teleport. The destination list includes Spawn, Game Madness, Theater, F Letter’s Cave, Destroyed Backrooms, and OldHallway.
Left-side game menu with the Codes button highlighted next to the other menu options
The left-hand menu column, where the Codes button sits alongside the Teleport option you need.
Choose Destroyed Backrooms and confirm with the green Teleport button. You land in the broken-up section of the map where the key is hidden.
Teleport menu open with the Theater destination selected and the green Teleport button ready
The Teleport menu with a destination picked; the green button at the bottom sends you there.
Work through the rubble until you find the BlueKey. The pickup message confirms it as New Tool BlueKey.
Teleport back to Spawn and run down the green hallway. A giant rat patrols part of this corridor, so keep moving rather than stopping to look at it.
Use the BlueKey on the blue door, head up the stairs behind it, and take the trophy at the top. That unlocks the third morph, the character in the purple suit.
Upstairs room behind the blue door where the third morph trophy is collected
The upper floor past the blue door, where the third trophy sits waiting to be collected.

Morph 4: RedKey, the chest, and the flooded vault

The last skin runs through three separate areas and hands out an extra morph along the way. Do not skip the chest — it is the halfway checkpoint of this chain.
Teleport to Spawn and take the green hallway again, this time to the blue portal set into it. Step through and collect the RedKey on the other side.
Go back to Spawn, climb the wall vent, and cross the lava bridge to the toy room. Open the red door with the RedKey.
Inside the red room, unlock the chest. Opening it grants a skin immediately, which confirms you are on the correct branch.
Teleport to Spawn one more time, sprint down the hallway, and open the gray vault door. Swim across the flooded room behind it.
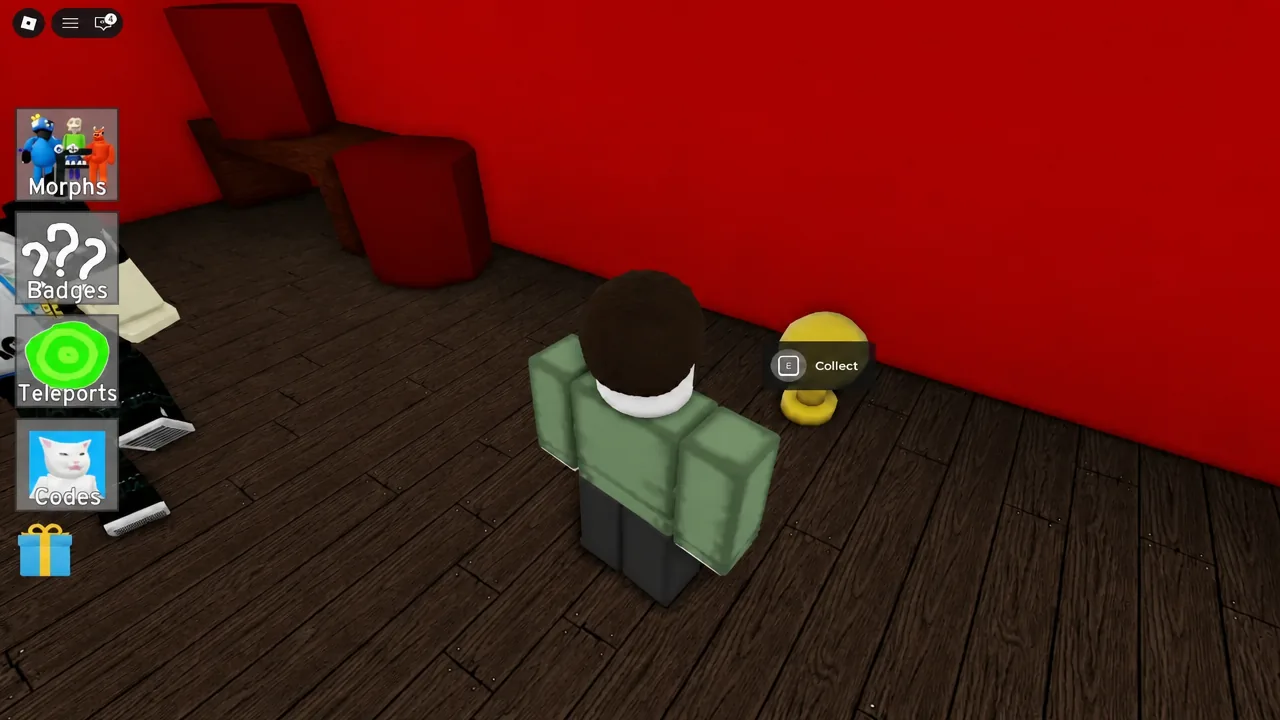
Climb the ladder out of the water and enter the corridor guarded by a red monster. Keep moving past it and collect the yellow trophy at the end for the final morph, the green suit with sunglasses.
E Collect prompt showing beside a yellow trophy pickup during the final morph run
The E Collect prompt on the yellow trophy — the pickup that finishes the fourth morph chain.

How to confirm a morph unlocked

Each successful pickup prints SKIN UNLOCKED on screen the moment the trophy or chest registers. If that banner does not appear, the collectible was not actually picked up.

Two things account for most failed attempts. Walking near a trophy is not enough — you have to trigger the collect prompt on it directly. And a locked door will not respond at all if the matching key is missing from your inventory, so check that the tool notification appeared before you make the trip back across the map.

Tip: Use Teleport instead of walking between wings. Every leg of this route starts from Spawn, and returning there manually through the flooded room or the lava bridge only risks a reset.


Done in one pass, the full set takes only a few minutes of travel, and the tools stay with you as you go. Once the Sledge Hammer, BlueKey, and RedKey are all collected, nothing on the route blocks you a second time, so any skin you missed is a short teleport away.