

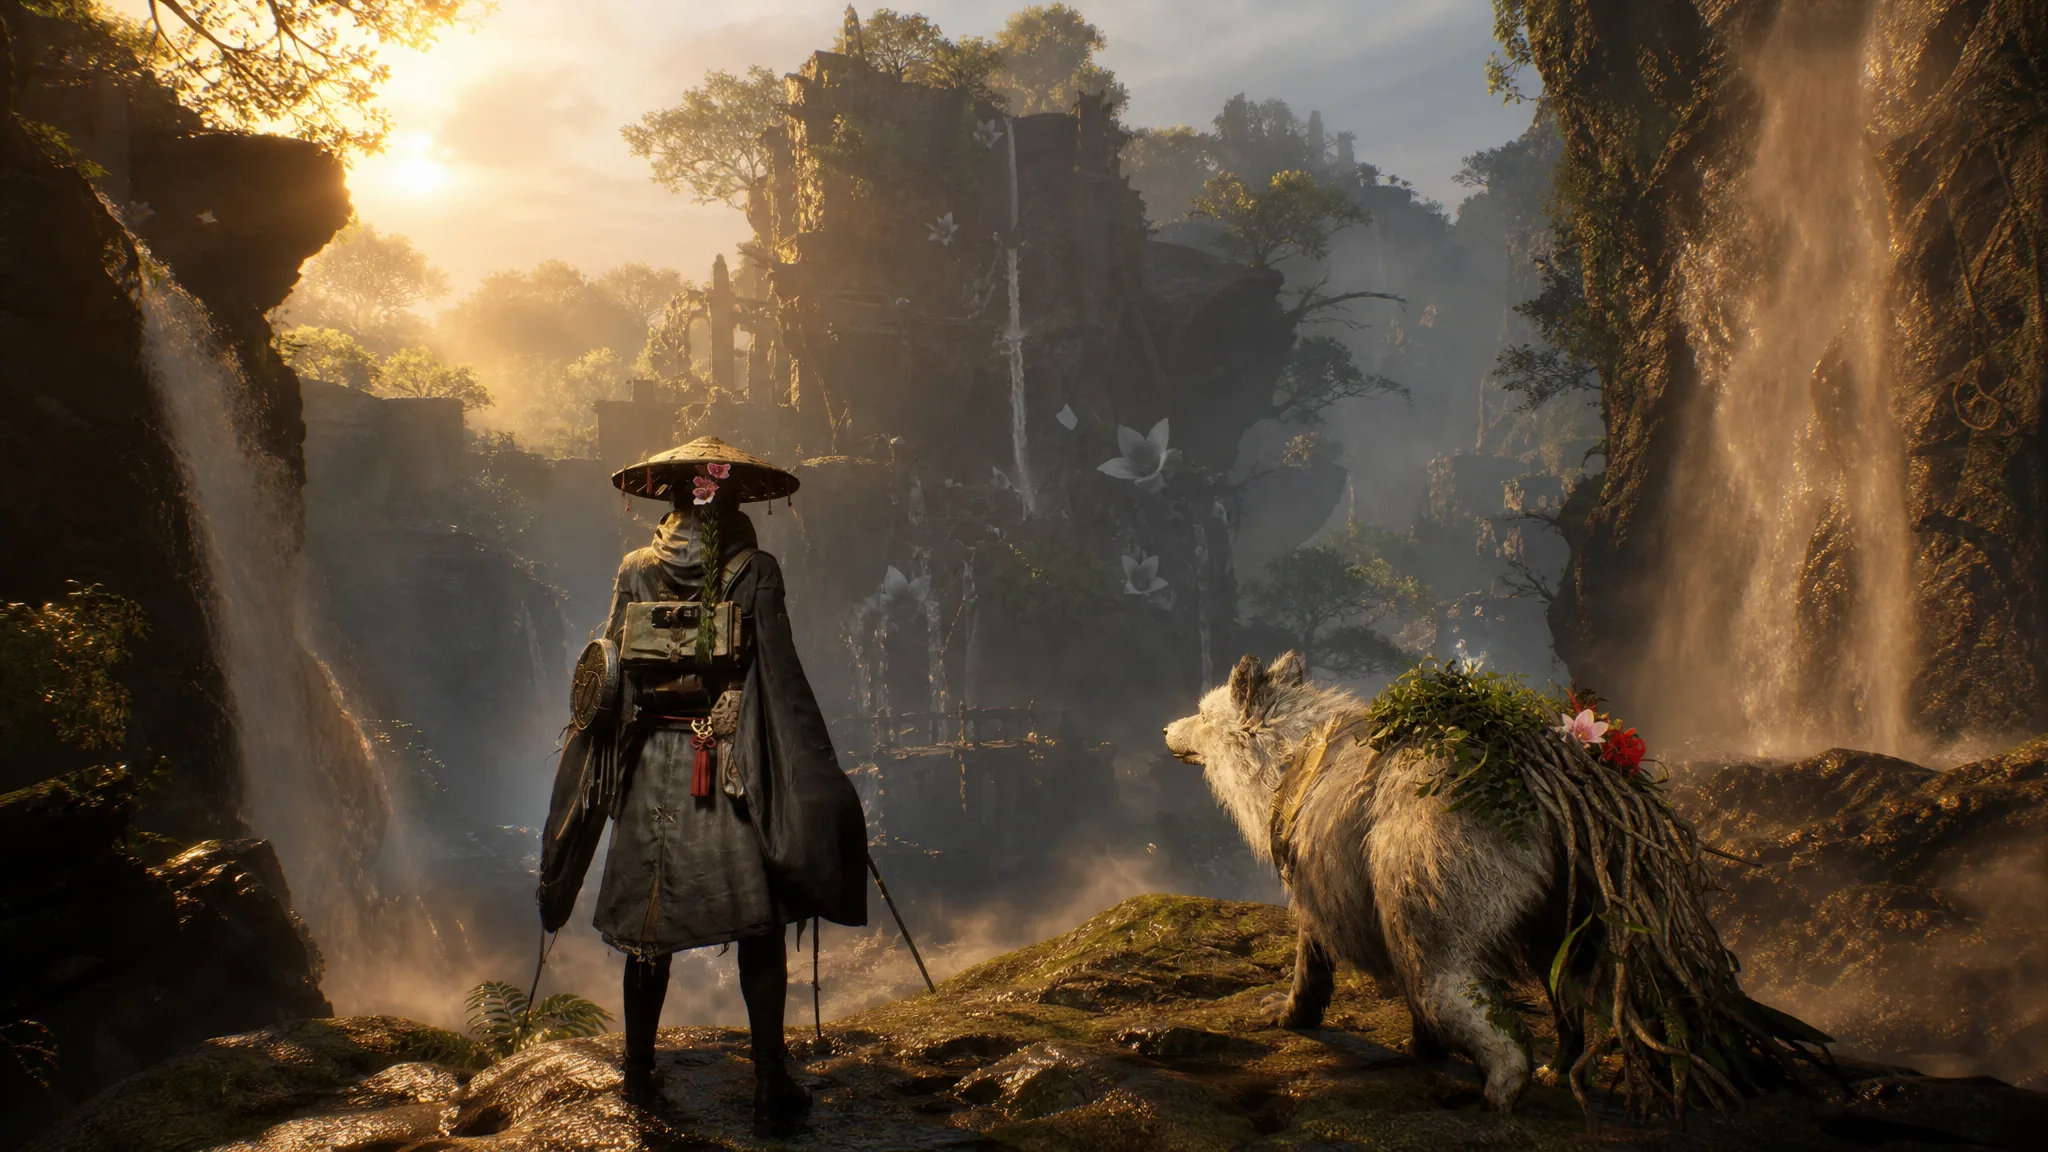
Dragon Vein Shrines are the most valuable collectible in Beast of Reincarnation. Reaching one grants the dragon’s favor, which raises your maximum number of Stimpacks and hands over Life Fruit, a rare crafting resource Emma uses at the workbench or campsite. There are 40 shrines in total, spread across nine zones, and they only begin appearing from Chapter 2 onward.
Quick answer: Find all 40 shrines to go from 4 Stimpacks up to 9. You earn +1 Stimpack at your 1st, 10th, 20th, 30th, and 40th shrine, and every single shrine gives 3x Life Fruit for a total of 120.
Koo will call out a shrine whenever you get close to one, so most are hard to miss on the main path. A handful sit off the beaten track or behind terrain, and those are the ones the locations below focus on.
Stimpack and Life Fruit rewards
You start the game with four Stimpacks. Each favor milestone permanently adds one more, so tracking down every shrine is the only way to reach the full nine. The Life Fruit stacks up separately and feeds into powerful crafted items such as the Life Censer and Resurrection Censer, which Koo can trigger in battle.
| Shrines found | Reward |
|---|---|
| 1 | +1 Stimpack |
| 10 | +1 Stimpack |
| 20 | +1 Stimpack |
| 30 | +1 Stimpack |
| 40 | +1 Stimpack |
| Every shrine | 3x Life Fruit (120 total) |
Chapter 2: Ancient Civilization Zone (3 shrines)
The first three shrines appear here as you work through the zone’s main quest.
Shrine 1: At the first locked bulkhead gate, climb the ledges on the right up to the top. The shrine sits in front of you on the main path, just to the right of some wooden stairs.
Shrine 2: Progress the quest until you have activated both generators in the underground ruins to unlock the Reservoir gate. After the Nushi cutscene, head left to find the shrine in the large first room, near the Reservoir Interior Campsite.
Shrine 3: Back on the surface after opening the third bulkhead, from the Ruins Slope: Approach Campsite head east but keep to your right. Climb as high as you can up the sloped walkway past the Archer Golems. The shrine sits in the south-east corner, guarded by more Golems.
Chapter 3: The Great Wall Terraces (8 shrines)
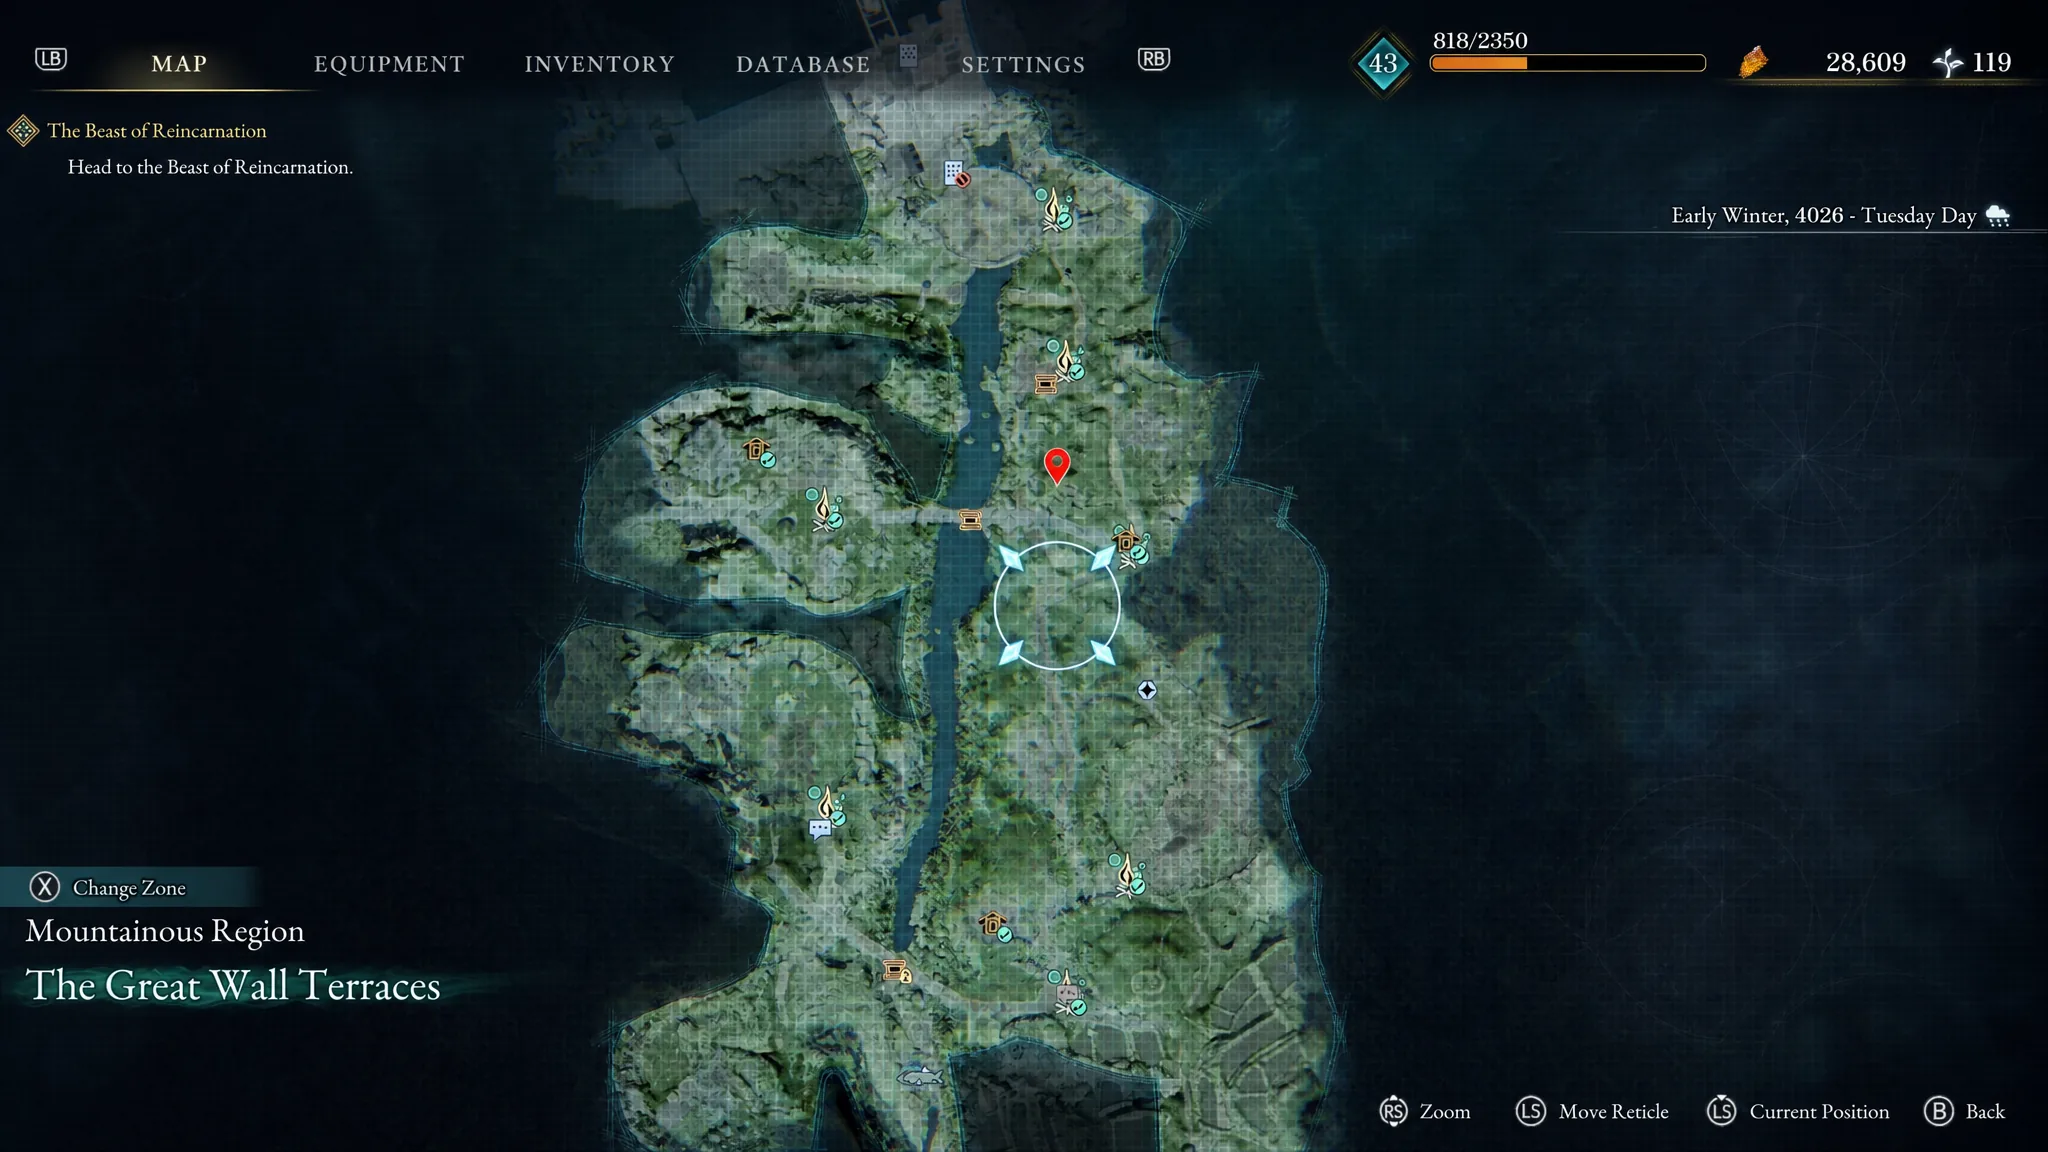
Shrine 4: Near the start of the map, the path splits into a rising slope on the left and a river on the right. Follow the river to the end, jump the rocks at the back, and clear a couple more enemies to reach the shrine.
Shrine 5: From the Mountain Village: Entrance Campsite, head west deeper into the village. Loot as you go and continue past the shacks to the westmost, deepest point by the cliff wall in a grassy area.
Shrine 6: After the Nue Malefact boss fight, climb the ruins on your left inside the arena. The shrine rests on top of the highest platform.
Shrine 7: Cross the bridge to the Great Forest: Entrance Campsite, then head a short way northwest. A graveyard guarded by many Golems holds the shrine.
Shrine 8: After the second Nue Malefact fight, keep following the main path north to the Flower Square: Forefront Campsite. The shrine is right beside the campsite, so it is unmissable.
Shrine 9: From the Flower Square: Forefront Campsite, head west across the collapsed bridge to the Ruined Road Square Campsite. Grapple up to the north, turn left from the roof, and grapple again to the taller stone platform to the west. The shrine sits on top.
Shrine 10: Head north from the Flower Square: Forefront Campsite to the Flower Field Tower Campsite. Clear the enemies on the metal platform to the west and look over the edge to the river. The shrine rests on a rock in the water, so use the grapple points and Emma’s Hair to reach it safely.
Shrine 11: After your third Nue Malefact encounter, cross to the west side and head down the other side of the bridge. Keep west to the Ruined Temple Entrance Campsite, then climb the steps inside on your right to the final shrine of the chapter.
Chapter 4: Pilgrim’s Zone (7 shrines)
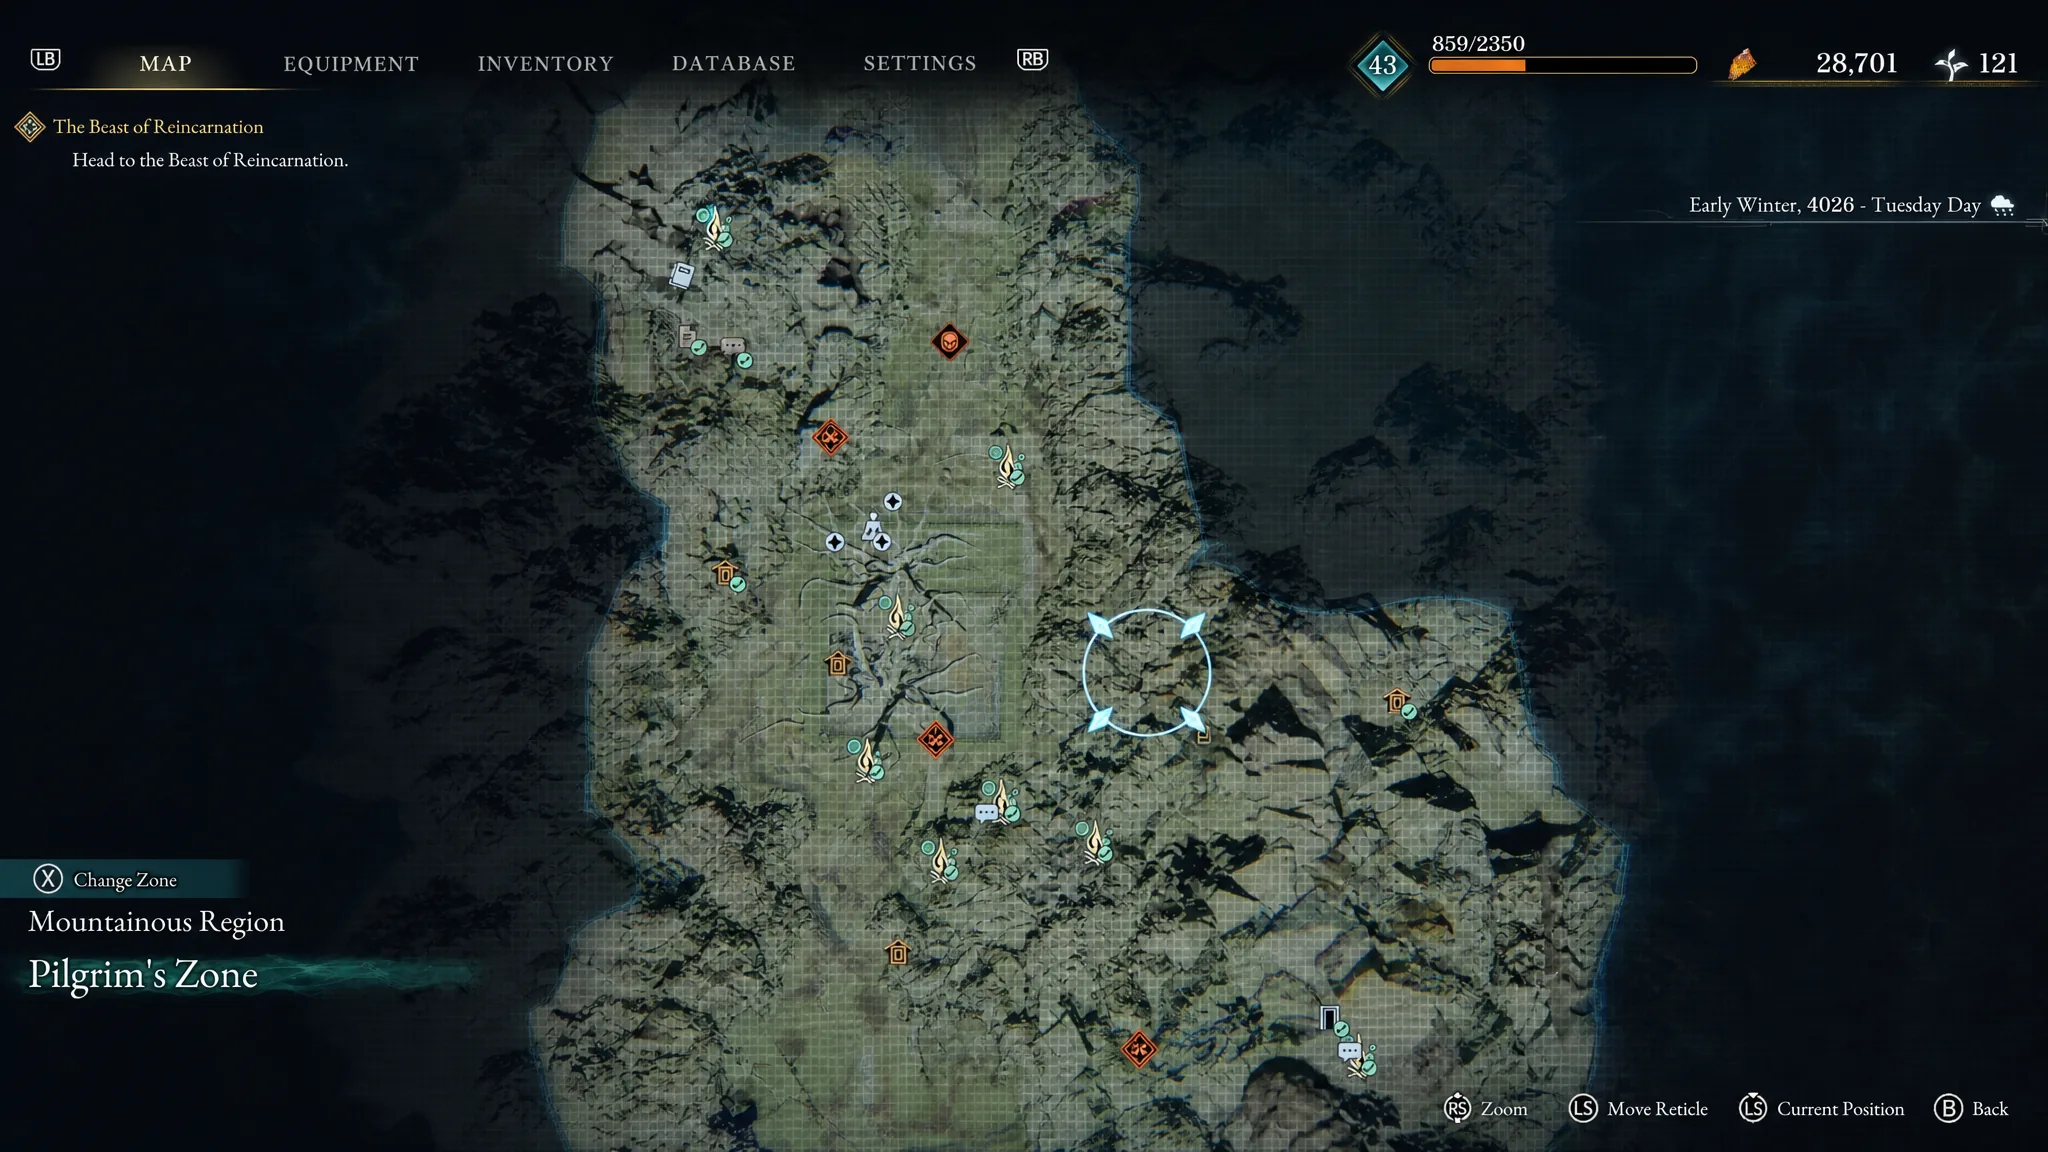
Shrine 12: After the opening Taurus boss fight, grapple up to the right-hand side of the broken bridge to the east. Follow the path to the shrine, which is guarded by Rodent Malefacts.
Shrine 13: Continue to the Cave Entrance Campsite, then follow the cave all the way to the end of the path where the shrine waits.
Shrine 14: From the previous shrine, turn around and take the right-hand path. Shoot the explosive barrel behind the door to open the way, then hug the right wall to a small tunnel you can crouch through. Once through, turn around and jump to the upper ledge for the shrine.
Shrine 15: From the Stone Chamber Interior Campsite, follow the edge you are on clockwise all the way around. The shrine sits around the corner at the end.
Shrine 16: At the Trail Area Campsite, follow the path a short distance south and look for a white tent built against the rock on your left. The shrine is under the tent.
Shrine 17: From the Belfry Entrance Campsite, cross the wooden bridge and interact with the control panel to open a nearby door. Climb the ledges to the platform above, clear the two Fanatics, and jump the gap to reach the shrine.
Shrine 18: At the Nushi’s Lair Entrance Campsite, look to the east/southeast and grapple up to the broken bridge section. Follow the cliff edge to the final shrine of the chapter, defended by two bear enemies.
Chapter 5: Matsukawa Zone (9 shrines)
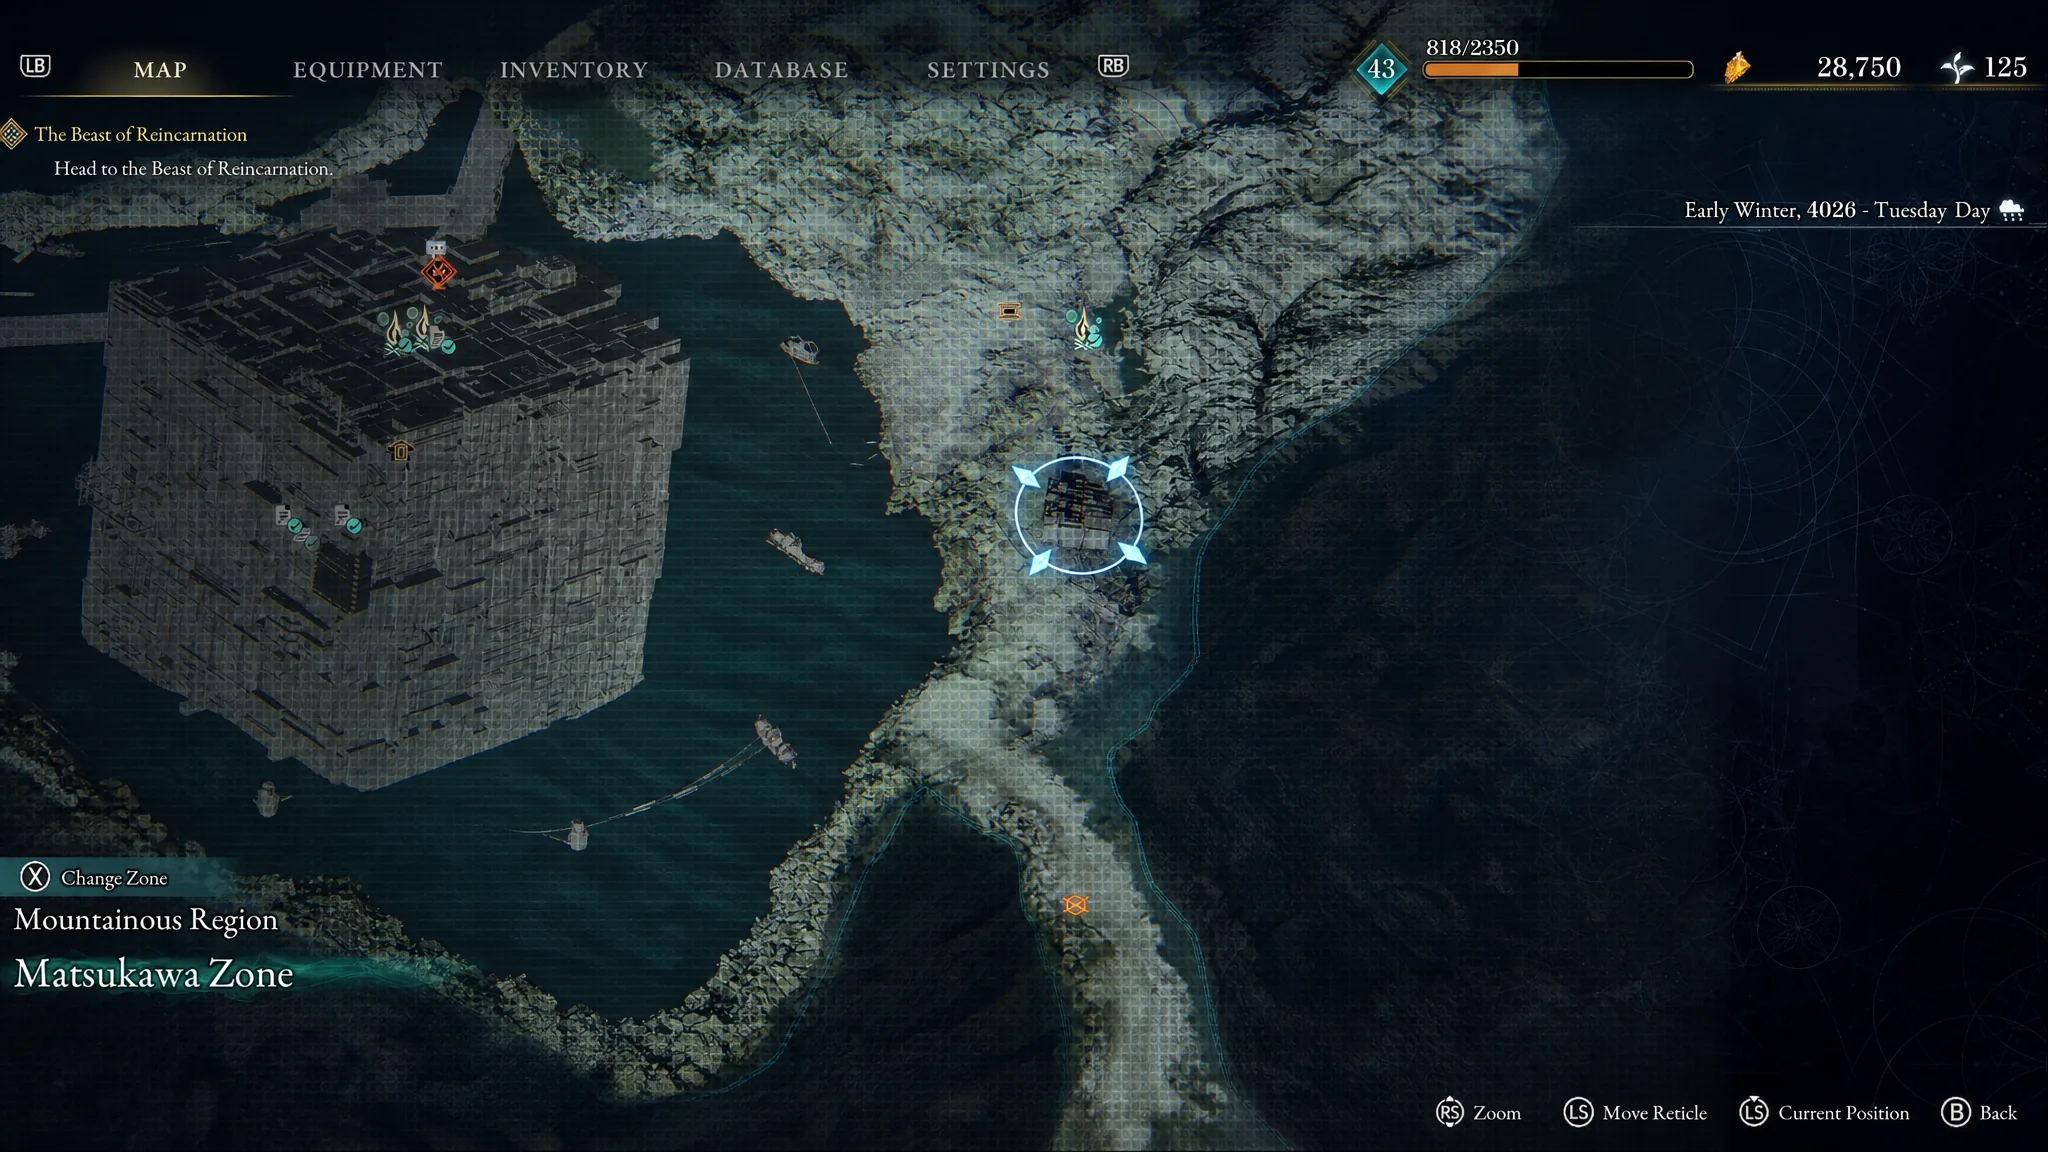
Shrines 22 through 27 all sit inside the Matsukawa Colony, so once you reach it you can clear the rest without combing the wider map.
Shrine 19: When you exit the cave, look down to find the shrine surrounded by enemies. Clear them out before you interact with it.
Shrine 20: Not far from Shrine 19, grapple upward and find the shrine on a ledge at the top.
Shrine 21: From Shrine 20, drop down toward the rundown buildings nearby. The shrine is inside.
Shrine 22: Start at the Upper Matsukawa Colony (Front) Campsite and head west to a grapple point. Create a makeshift bridge to the platform with pipes, then find the shrine near the rotating device.
Shrine 23: From Shrine 22, head west past the rotating device to the iron bridges. Continue to the Tranquil Hall Campsite inside the hall ahead.
Shrine 24: From the Tranquil Hall Campsite, turn around to a grapple point. Clear the enemies and hook up to the platform where the shrine sits.
Shrine 25: Back in the Matsukawa Colony, head to the middle of the rotating device and take the bridge to the Hall of Silence Campsite. Defeat the enemies in the room with the locked door to reach the shrine.
Shrine 26: Head to the Matsukawa Colony (Top Level) Campsite, where the shrine is guarded by foes.
Shrine 27: Go west from Shrine 26 to the Mausoleum Campsite. Clear the enemies just past it to find the last shrine in the zone.
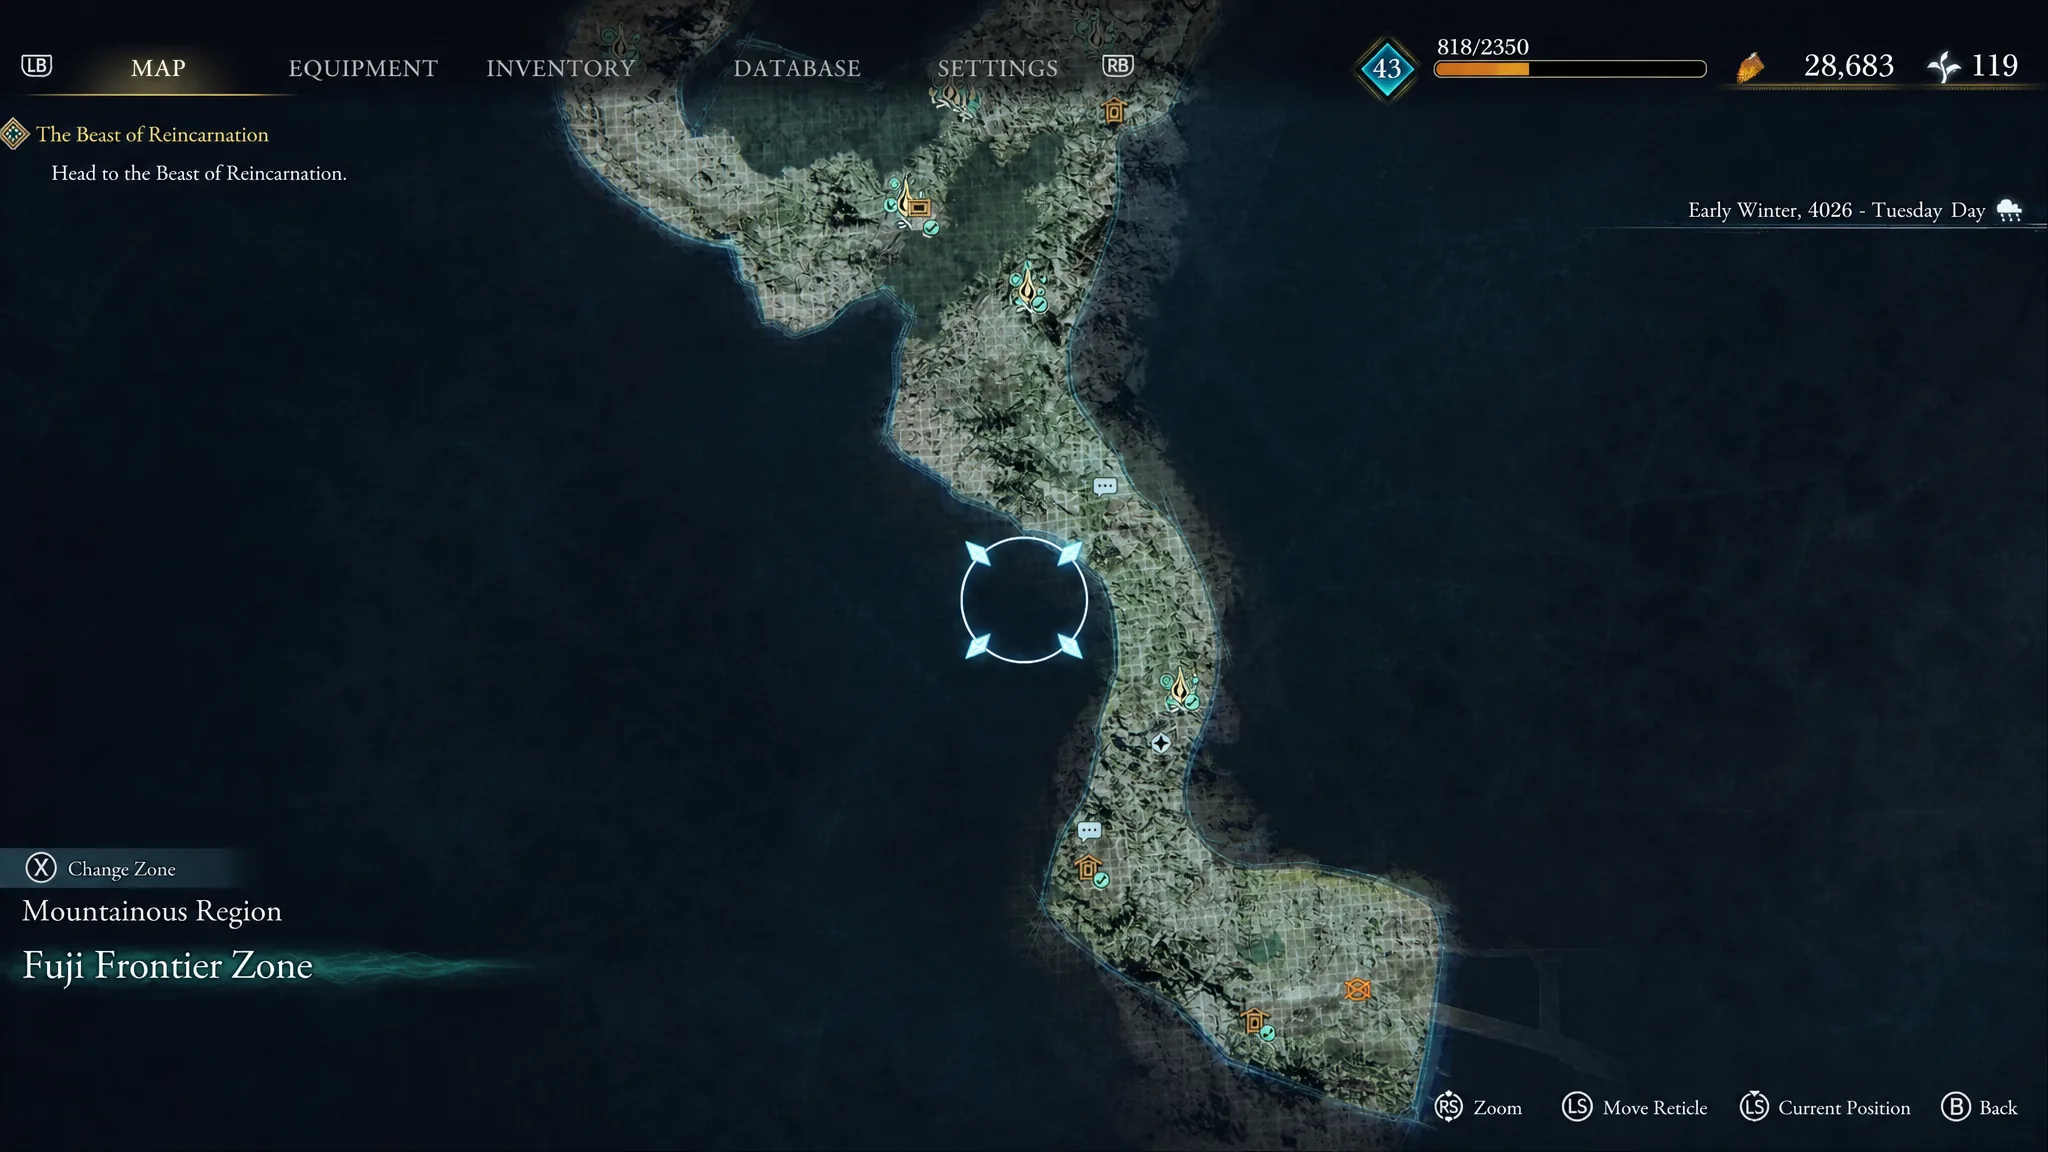
Chapter 6: Fuji Frontier Zone (5 shrines)
Shrine 28: This one appears right as the chapter begins, just ahead of the Cleanse Walker.
Shrine 29: Past the pipes and platforms, clear the enemies on a grassy terrain where the shrine also sits.
Shrine 30: Past the Branching Nushi Campsite you will meet an archer enemy. Hop onto its platform and climb the rocks on the right to the shrine.
Shrine 31: At the Defense Outpost: Interior Campsite, take a detour west. The shrine is up ahead, guarded by a single enemy.
Shrine 32: Back at the Defense Outpost: Interior Campsite, head north toward the enemies firing ballistas at range. From where the second foe stands, jump down to find two caves, one of which holds the shrine.
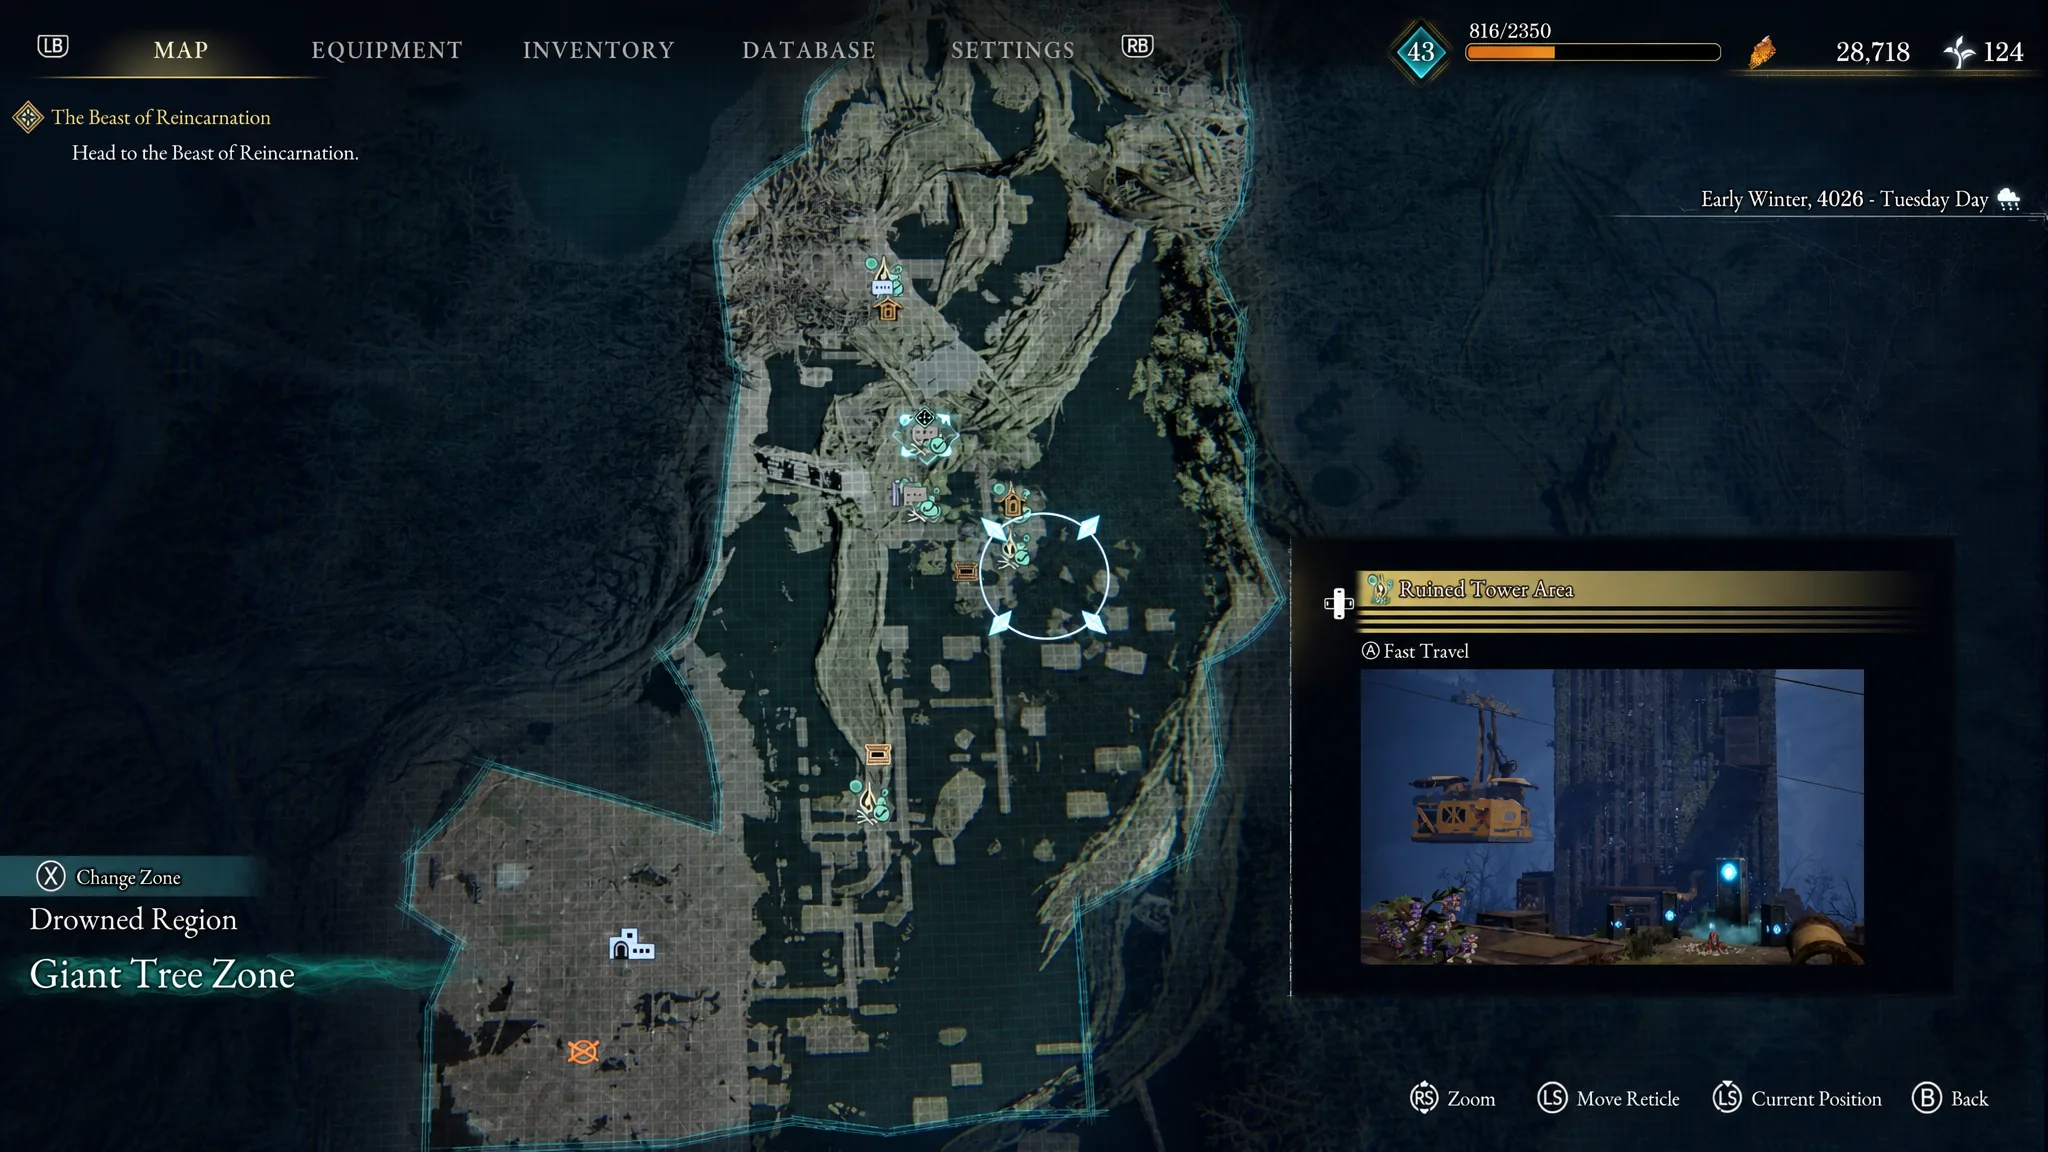
Chapter 7: Giant Tree Zone (5 shrines)
Two shrines here depend on the cableway system, so make sure you have the relevant Card Keys before hunting them.
Shrine 33: From the Ruined Tower Area Campsite, hop past the cables onto the platform on the same level. Keep going to reach the first shrine of the zone.
Shrine 34: This shrine is directly south of the Giant Tree: Feeding Grounds Campsite.
Shrine 35: With Card Key (Line One), fast travel to the Cableway Line 1: Base Station Campsite. Head north to Cableway Line 0: Base Station, where a golem NPC stands atop a tower. Use the card key to ride the cablecar, then stick to the metallic structure until you reach Cableway Line 2: Peak A Campsite. Find a metal grating to the east; the shrine is ahead and below it.
Shrine 36: Back at Cableway Line 2: Peak A Campsite, take the cablecar and follow the highway to a bridge on the left leading to Cableway Line 2: Checkpoint Campsite. Use this cableway to reach the Cableway Line 2: Terminal Stop Campsite, then head south to the Giant Tree Roots (Middle Level) Campsite, where the shrine sits.
Later chapters: Crater Zone, Starfall Tower, and The Capital
The final stretch of the game holds only a handful of shrines, but they still count toward your favor totals. Do not skip them if you are chasing the full nine Stimpacks.
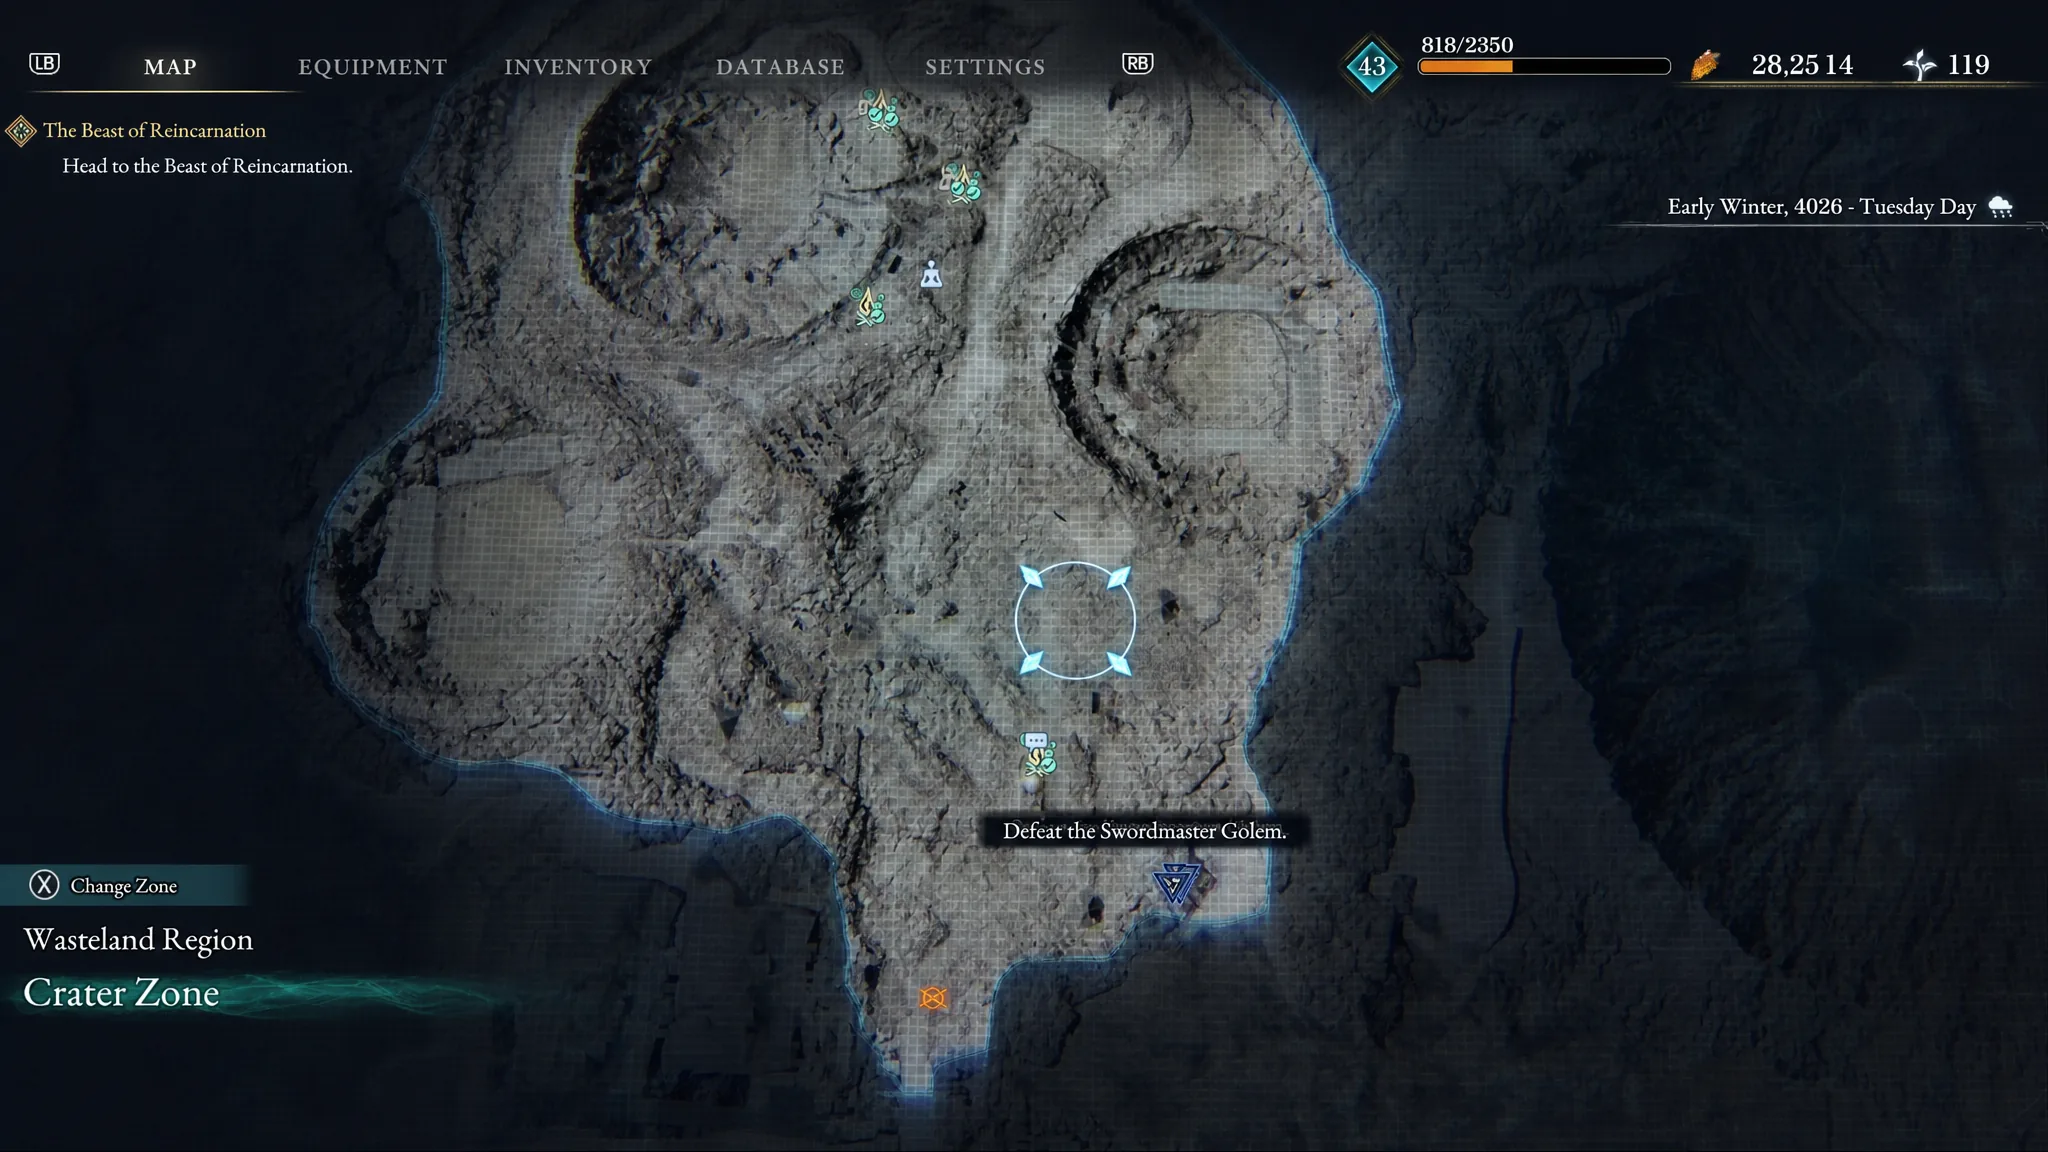
Shrine 37 (Crater Zone): In the fortress, interact with the device to raise a building from underwater. Scale the building and pass the grapple point to find the shrine in a room inside.
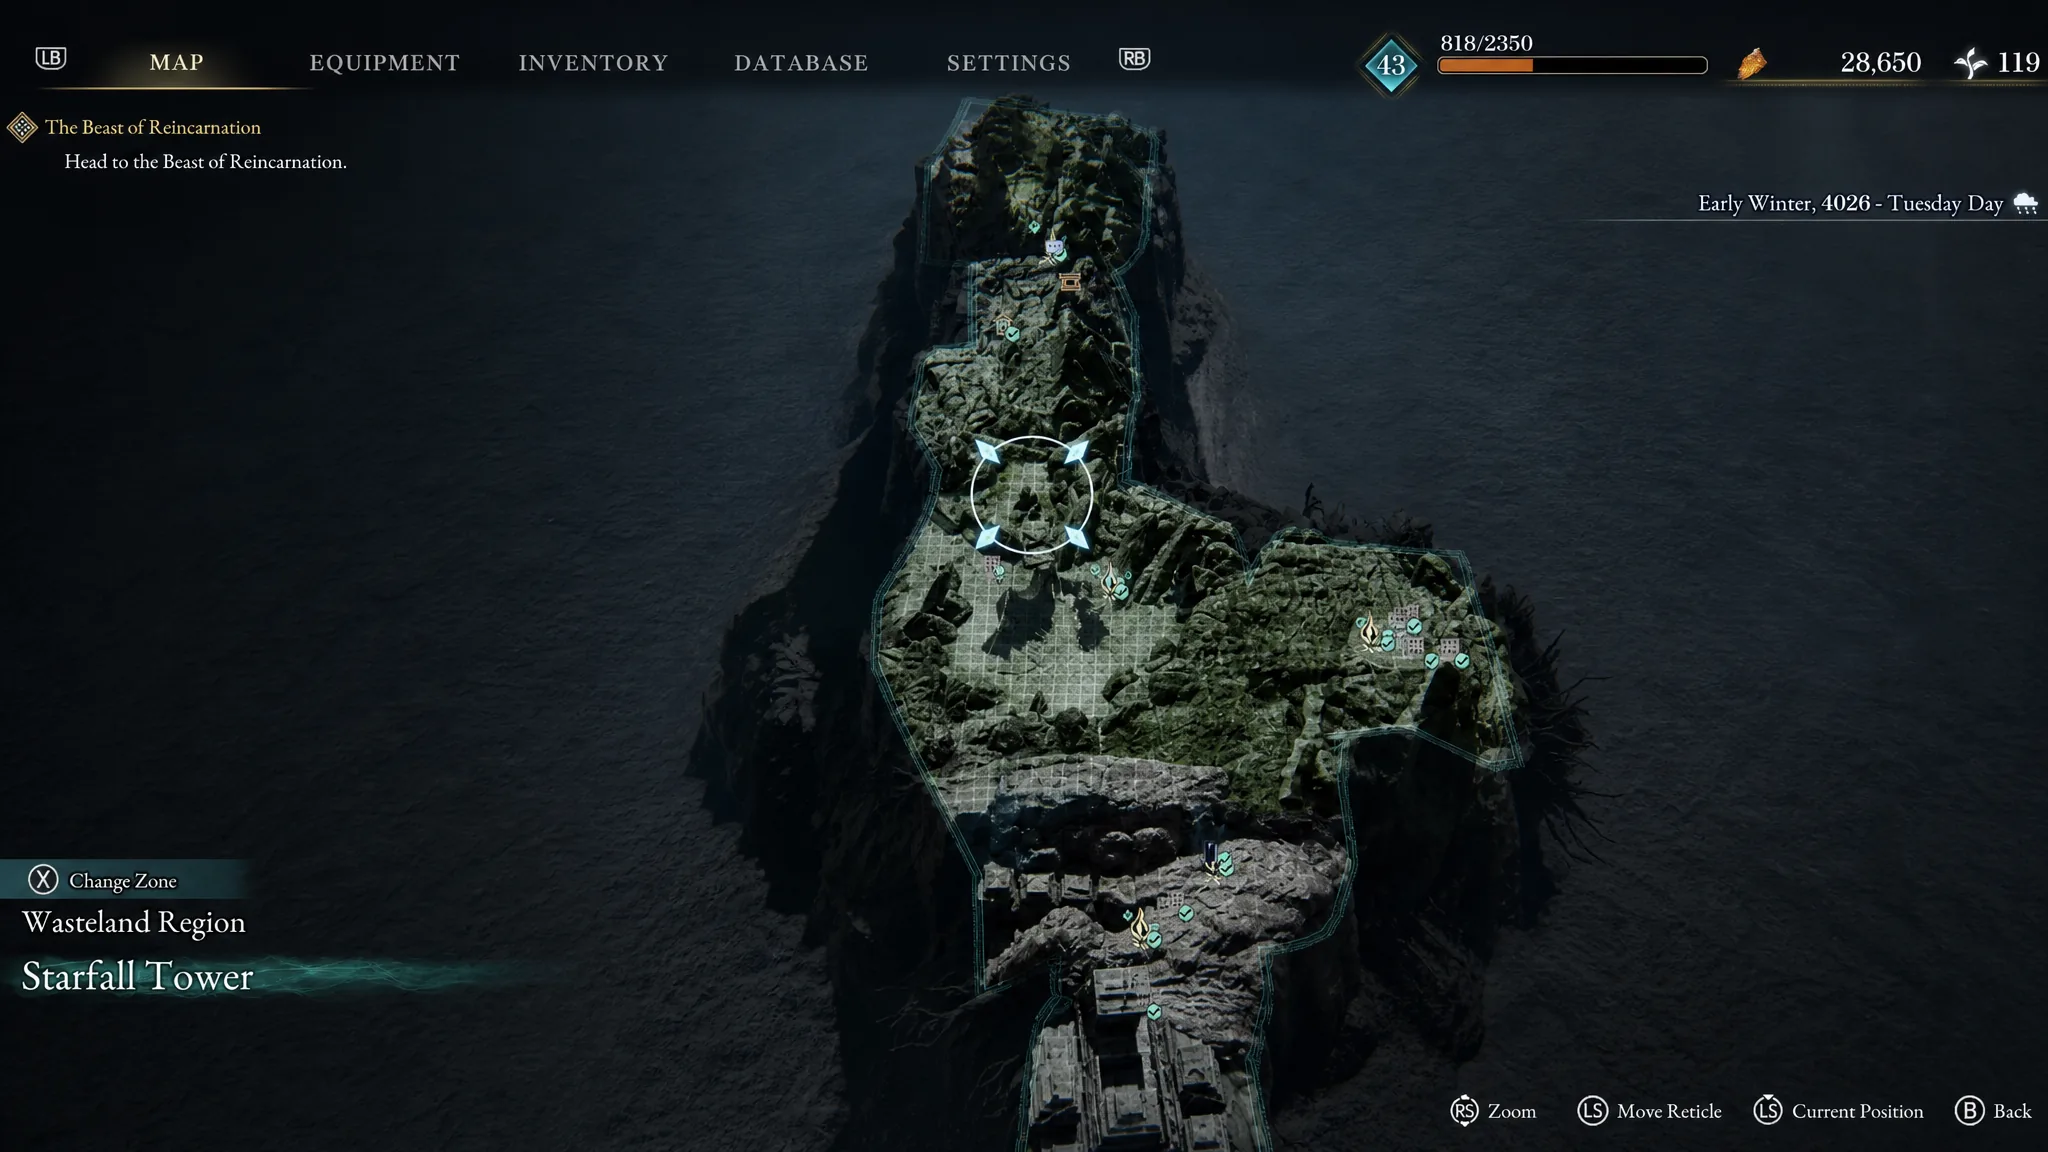
Shrine 38 (Starfall Tower): Found south of the Nushi’s Lair Entrance Campsite at the end of the chapter.
Shrine 39 (The Capital): Located opposite the Sewage Works: Ingress Campsite.
Shrine 40 (The Capital): Take a right past the Urban Area: Ingress Camp main corridor to find the last shrine in the game.
You will know a shrine has registered when the dragon’s favor triggers and your Life Fruit count ticks up by three, with a Stimpack added at each milestone. Note that Chapter 1’s Ogouchi Buffer Zone has no shrines at all, so there is nothing to search for until you enter the Ancient Civilization Zone. Beast of Reincarnation is available on PC, PS5, and Xbox Series X|S.





