Behemoth is the fourth playable monster in Evolve, and the one built entirely around bulk and terrain control. He cannot jump, he moves by rolling, and his weak spot sits low to the ground where it is hard to shoot. At full growth he becomes the largest and heaviest thing on the map, with a health pool no other monster comes close to.
Quick answer: At Stage 3, Behemoth carries 25,000 health and 6,000 armor, but only nine ability points exist across the whole match — enough to max three abilities, never all four.
Behemoth Stage 3 stats in Evolve
Every evolution raises health, armor, and melee output. The jump from Stage 2 to Stage 3 is smaller than the first one on paper, but it lands on top of an already enormous body.
| Stat | Stage 1 | Stage 2 | Stage 3 |
|---|---|---|---|
| Health | 11,000 | 18,000 | 25,000 |
| Armour | 4,000 | 5,000 | 6,000 |
| Melee damage | 100 | 115 | 130 |
| Heavy damage | 250 | 265 | 280 |
That works out to a 31,000 effective pool once armor is counted, the highest in the game. Armor regenerates at 12.5 per second regardless of stage. Movement does not scale at all — 6.5 metres per second at every stage — so a Stage 3 Behemoth is not faster than a Stage 1 one, just far harder to kill.
Size does scale, and it matters in a fight. Stage 3 stands 20.9 metres tall and 30.7 metres wide, with a reach of 49.76 metres and a boulder form 26.8 metres across when rolling. Melee swings that whiff at Stage 1 connect comfortably later on.
Ability points at max evolution: why you cannot max everything
Monsters start a match at Stage 1 with four ability points already spent, one in each of the four skills. Evolving to Stage 2 grants three more points. Evolving to Stage 3 grants two. That is nine points total against twelve possible ranks, so a maxed Behemoth is always missing three levels somewhere.
- Three abilities at rank 3, one left at rank 0 — the highest-damage layout.
- Two at rank 3, one at rank 2, one at rank 1 — the common all-round spread.
- Rock Wall is the usual point sink to cut when you want maximum damage.
- Rock Wall at rank 3 is worth it against teams that force you to break line of sight.
Decide the Stage 3 endpoint before you spend anything at Stage 2. Points cannot be refunded, and two points is not enough to correct a bad split.
Behemoth ability values at rank 3
All four abilities are chosen from the Ability Select menu, and each scales in a different direction. Lava Bomb and Fissure grow in damage and reach, Tongue Grab grows almost entirely in range, and Rock Wall gains damage while its duration stays fixed at 3.5 seconds.
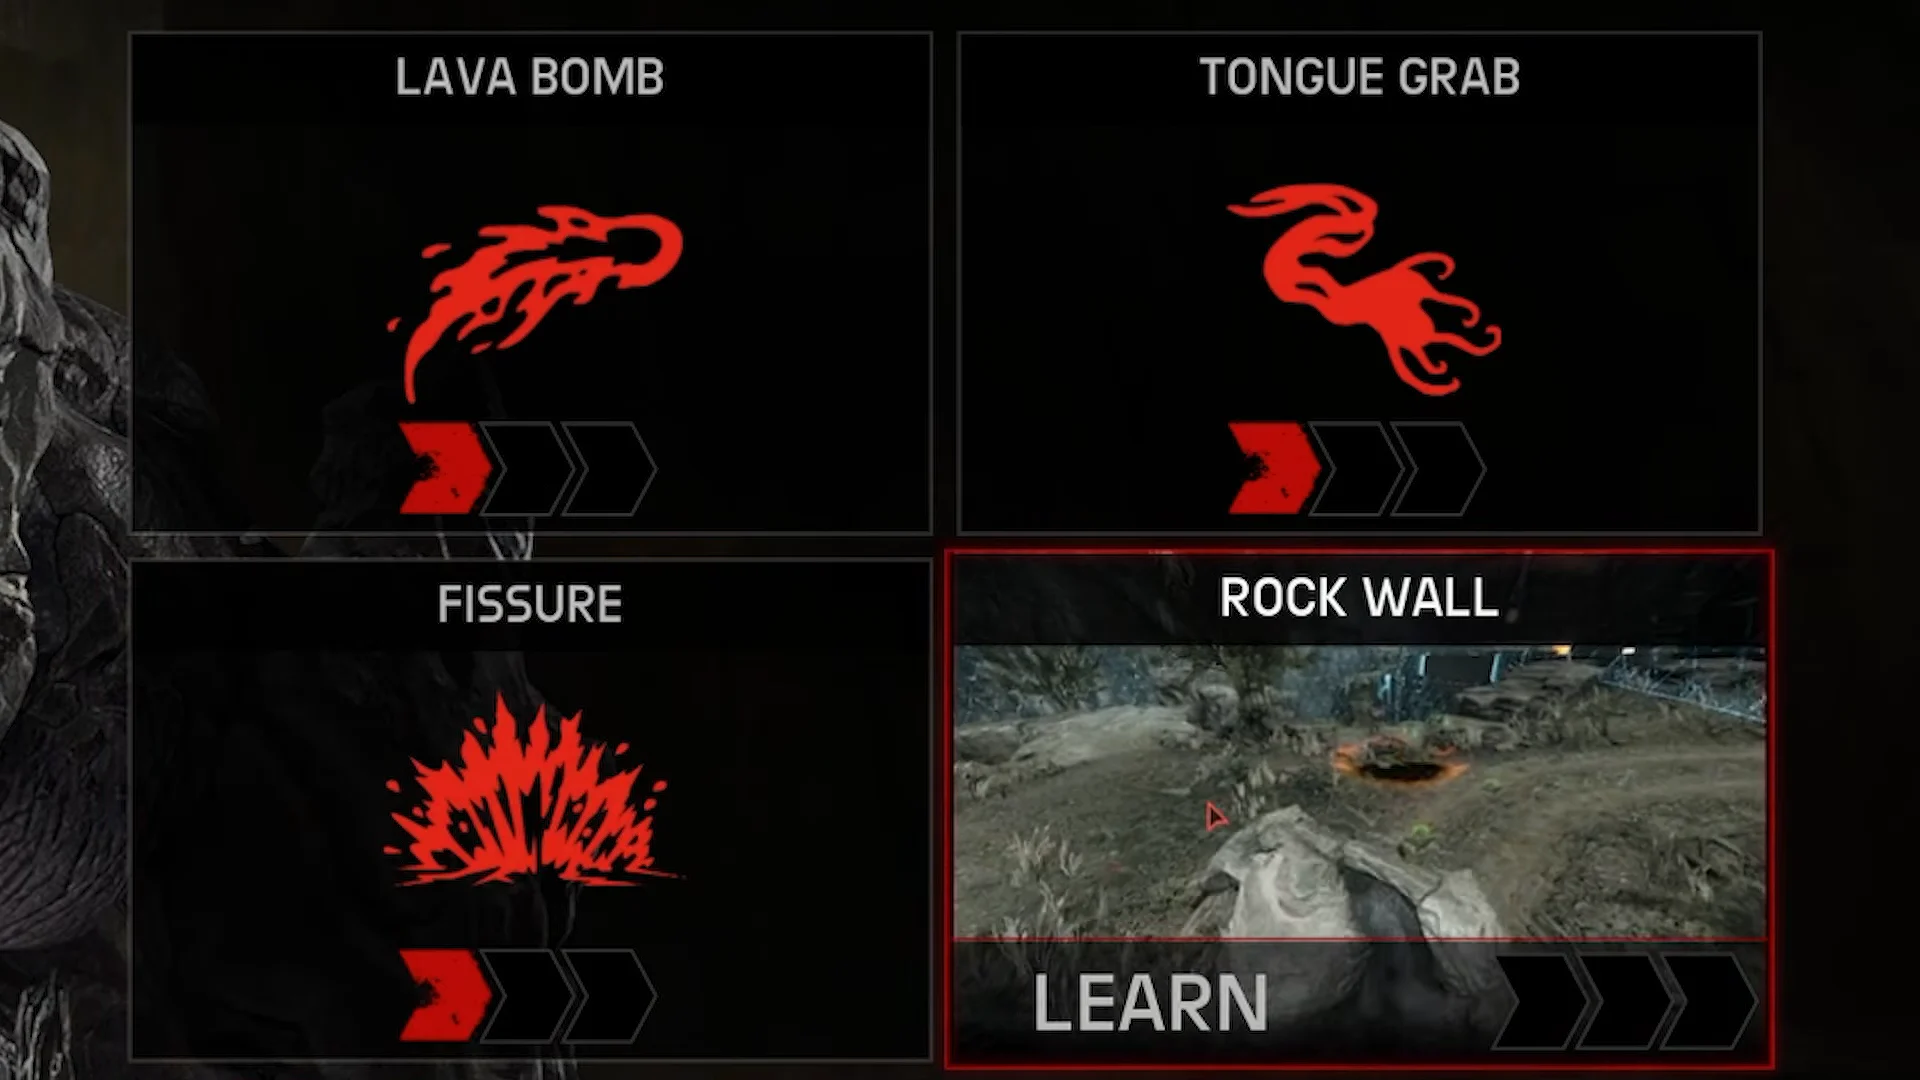
| Ability | Damage (rank 3) | Range | Cooldown |
|---|---|---|---|
| Lava Bomb | 475 HP | 9m radius | 9s |
| Tongue Grab | 350 HP | 43m | 9s |
| Fissure | 475 HP | 38.5m | 8s |
| Rock Wall | 385 HP | 60m | 4.5s |
Lava Bomb is a held-aim projectile that bursts into fragments on impact, and its travel speed climbs sharply with rank, from 36 to 56 metres per second. Cast time is 1.35 seconds.
Tongue Grab roots Behemoth in place before it fires, then drags whatever it catches back toward him. Its real value is oppression — a grabbed hunter only regains control once their feet touch the ground again.
Fissure is the fastest of the four to come out at 0.9 seconds and throws hunters into the air along a 5-metre-wide shockwave. Its hitbox is tall, which is what makes it the answer to hovering targets.
Rock Wall is placed at up to 60 metres and lasts 3.5 seconds, knocking back and damaging anyone standing where it erupts. It is notorious for leaving gaps as it forms, so treat it as a delay rather than a seal.
The Behemoth touch of death combo
Behemoth’s reputation rests on one chain that, with the damage perk, downs a hunter in a single sequence. It works from Stage 1 and only gets more forgiving as melee damage climbs.
Every Behemoth ability has a long cast time. Used point-blank, they frequently miss because hunters simply step behind you. Close-to-medium range is where the chain lands reliably.
Where a Stage 3 Behemoth wins and loses
Enclosed spaces are the deciding factor. Behemoth’s abilities all have large areas of effect, so a cave removes the dodging room that makes them miss in the open. Pulling a team into a tunnel and opening with Fissure regularly turns into a wipe.
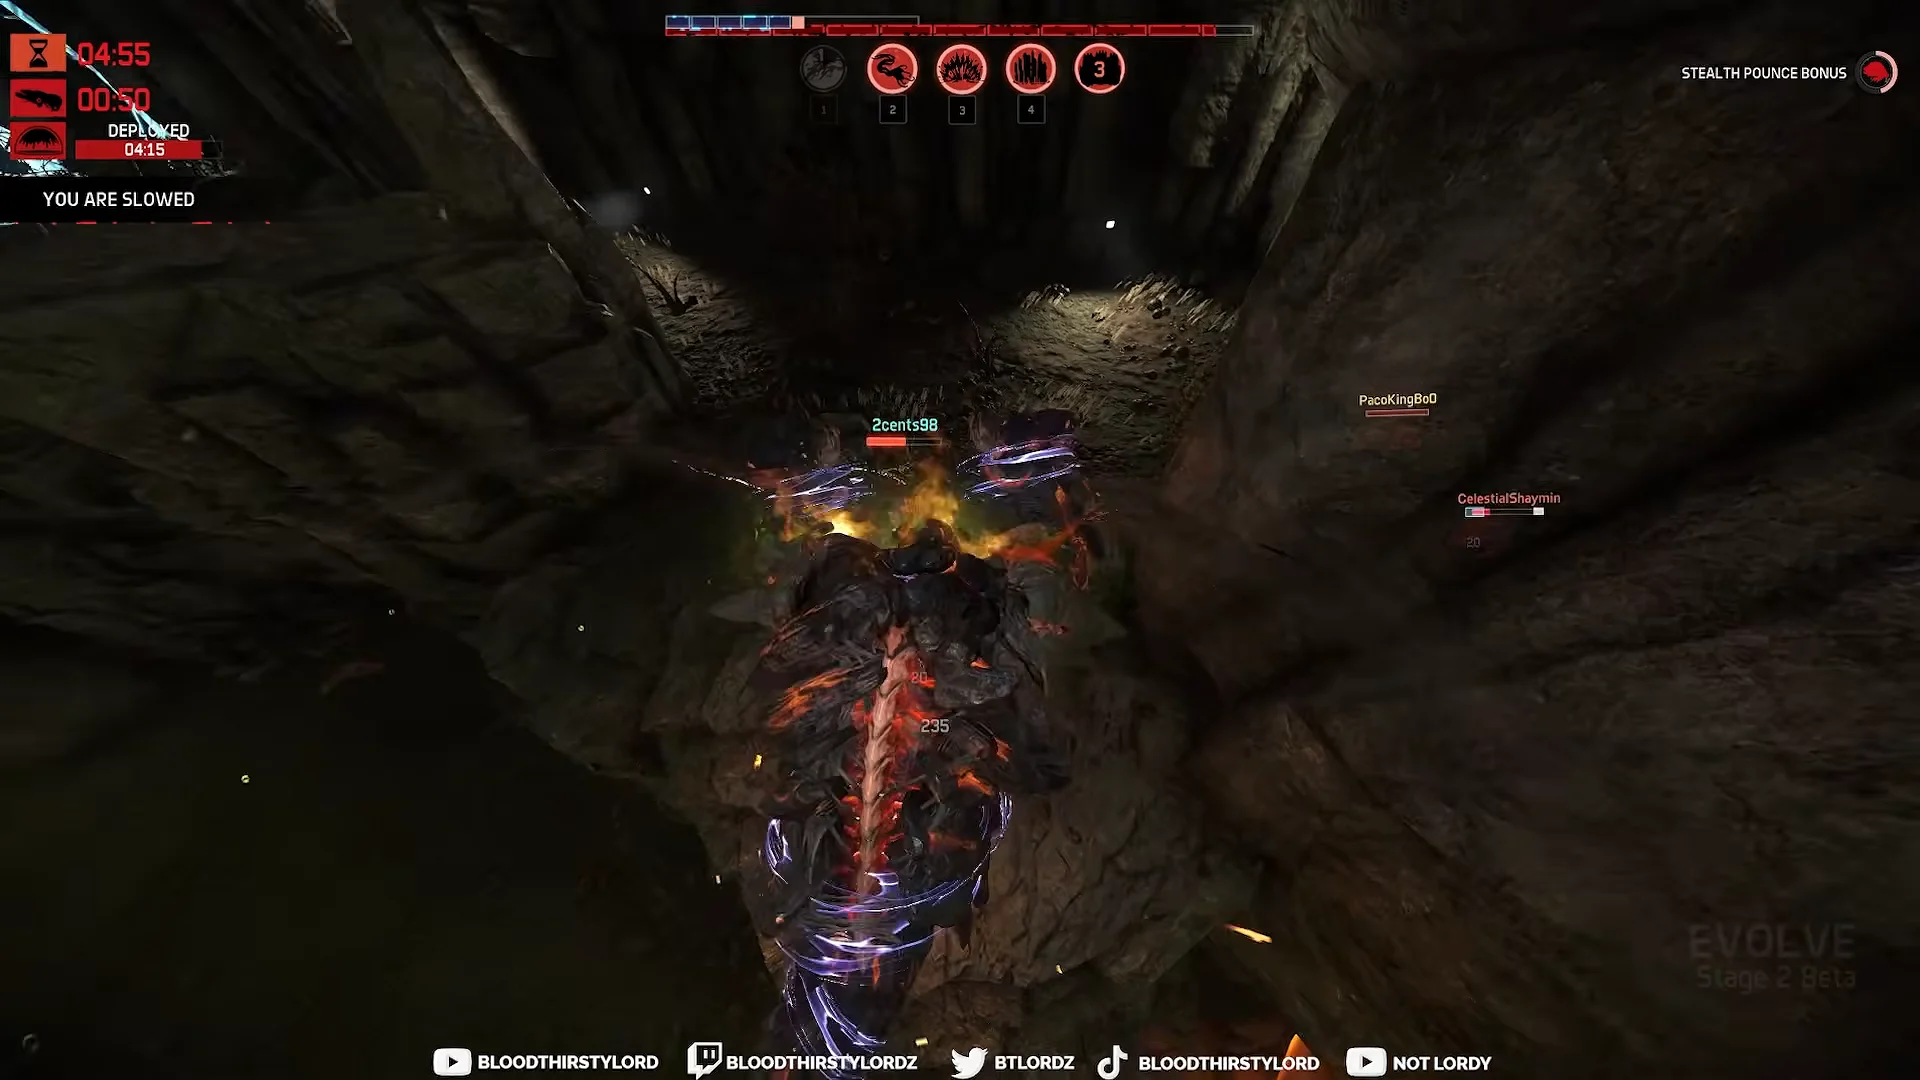
Two more quirks work in his favor. His head is armored and is not a weak spot, so hunters must aim at the exposed gut he keeps close to the ground, and his oversized arms soak a lot of incoming fire because of how limb damage is handled. Stasis also does comparatively little to a monster this heavy.
The weaknesses are just as specific. He cannot get airborne at all, harpoons and repulsors hurt him more than other monsters, and Slim in particular is a persistent problem. The roll is fast on a clean stretch but loses every bit of momentum the moment it clips terrain or wildlife.
Getting to Stage 3 and confirming the evolution
Reaching max evolution means feeding. Eating wildlife fills the evolution bar and tops up armor and energy along the way, so early kills on small creatures are never wasted time even when you are only passing through.
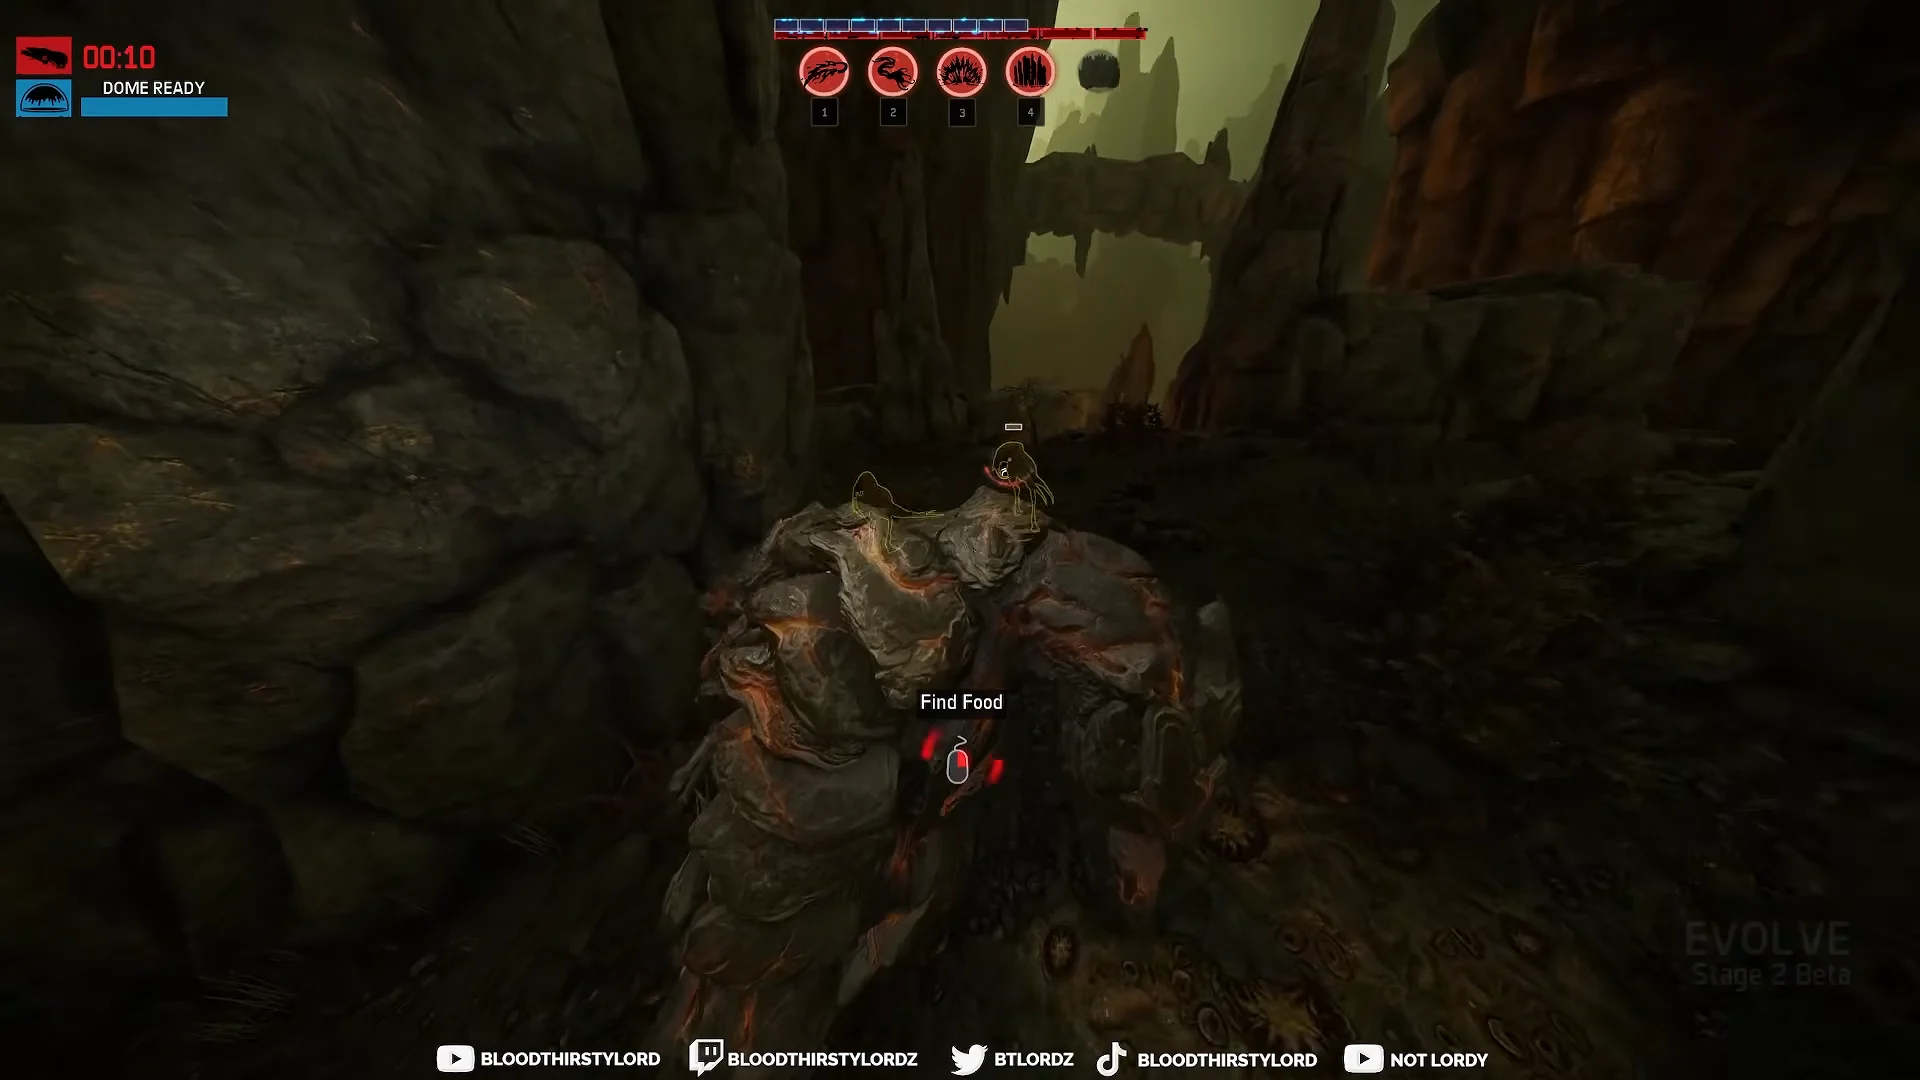
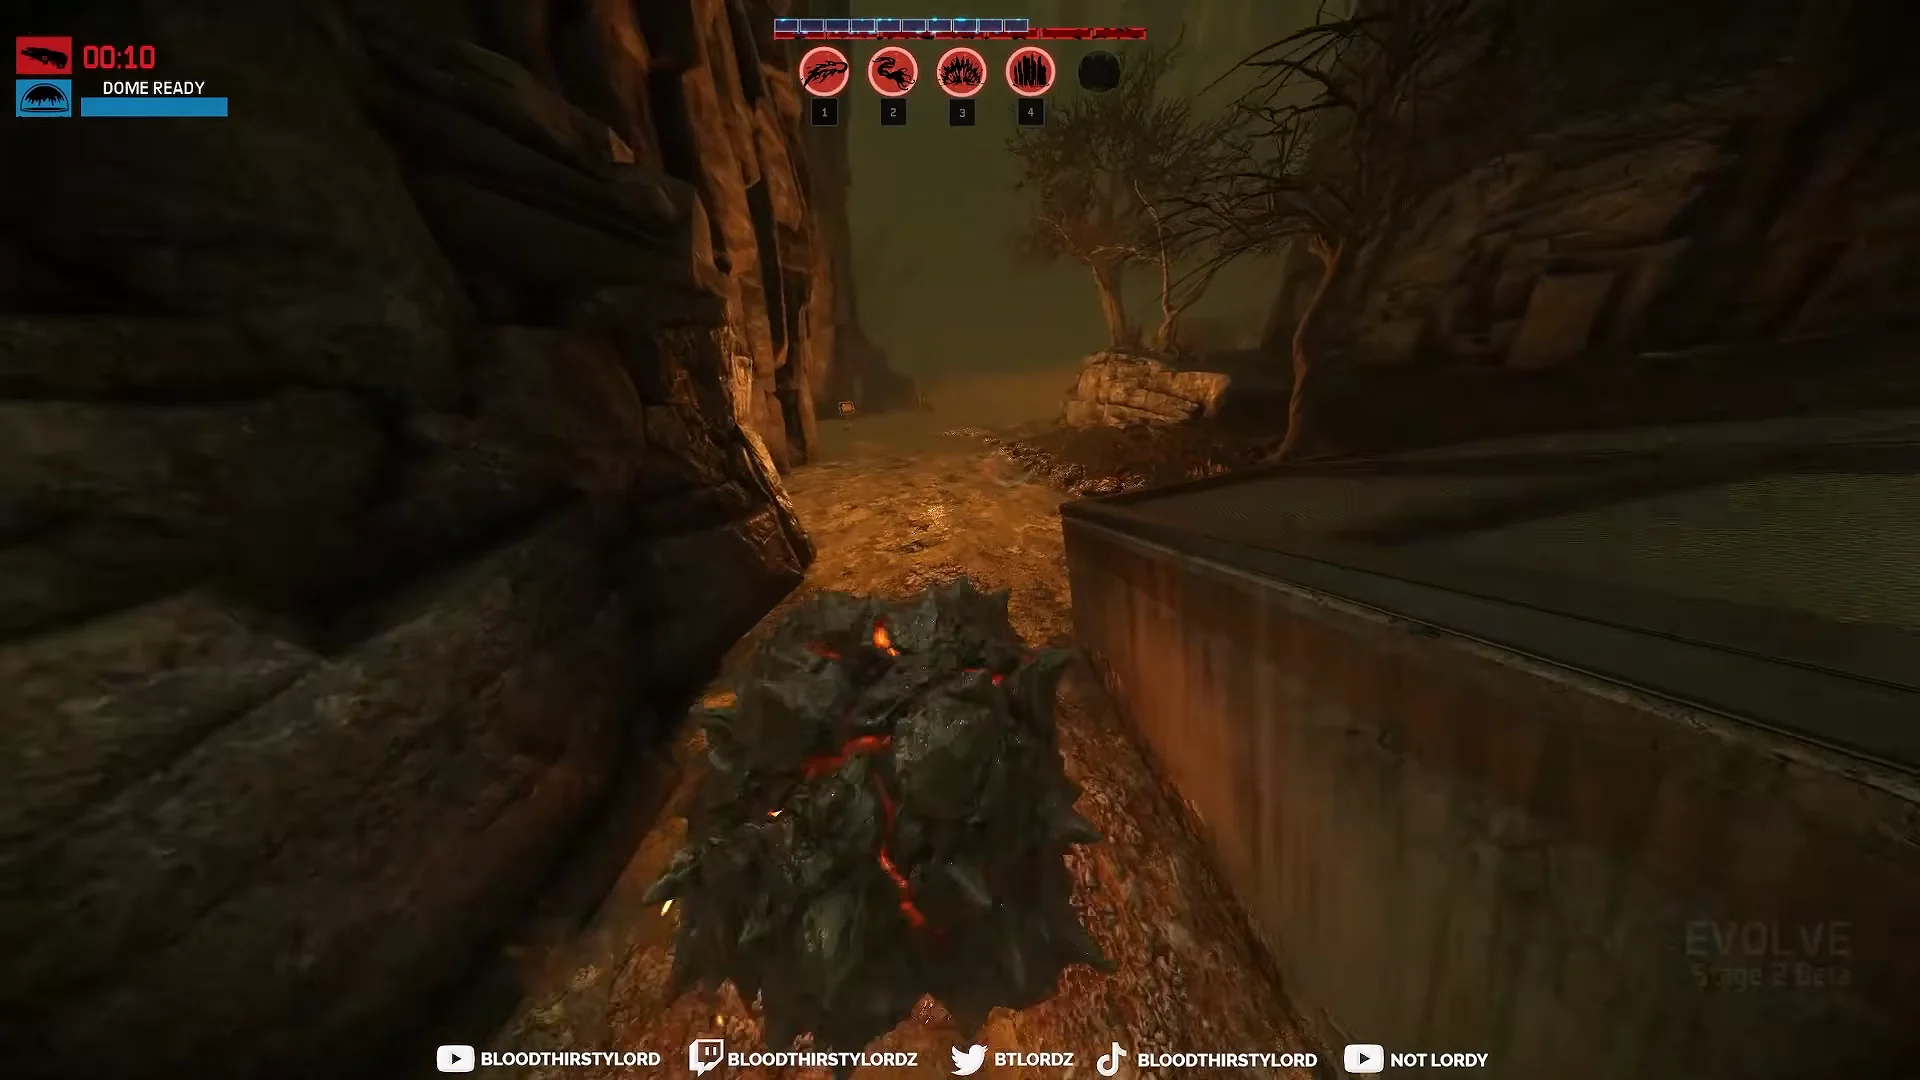
Rolling is the fastest way between feeding spots. Press space to start the roll and hold forward to build momentum, keeping to open ground where nothing will break the run.
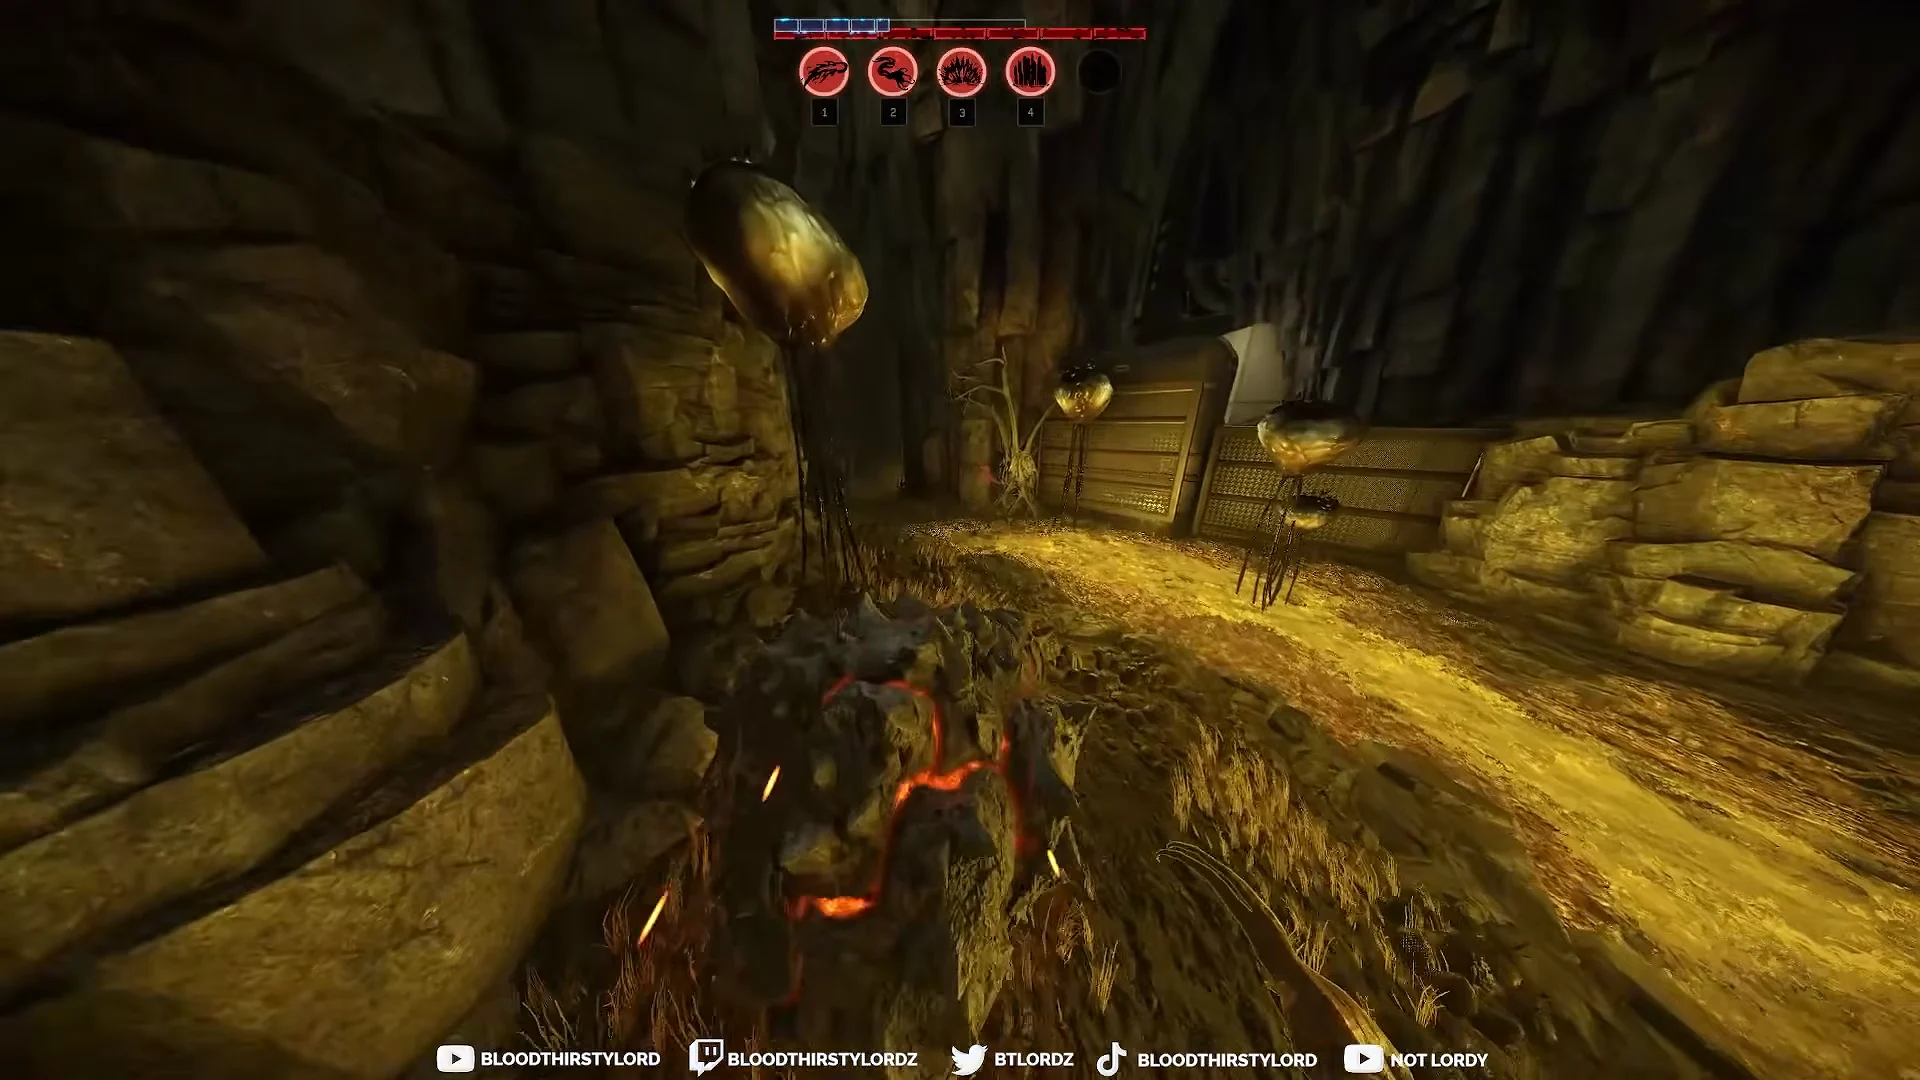
Planet scanner alerts are the cue to move. Climbing rock ledges and feeding away from the hunters’ likely path keeps the bar filling without giving away your position.
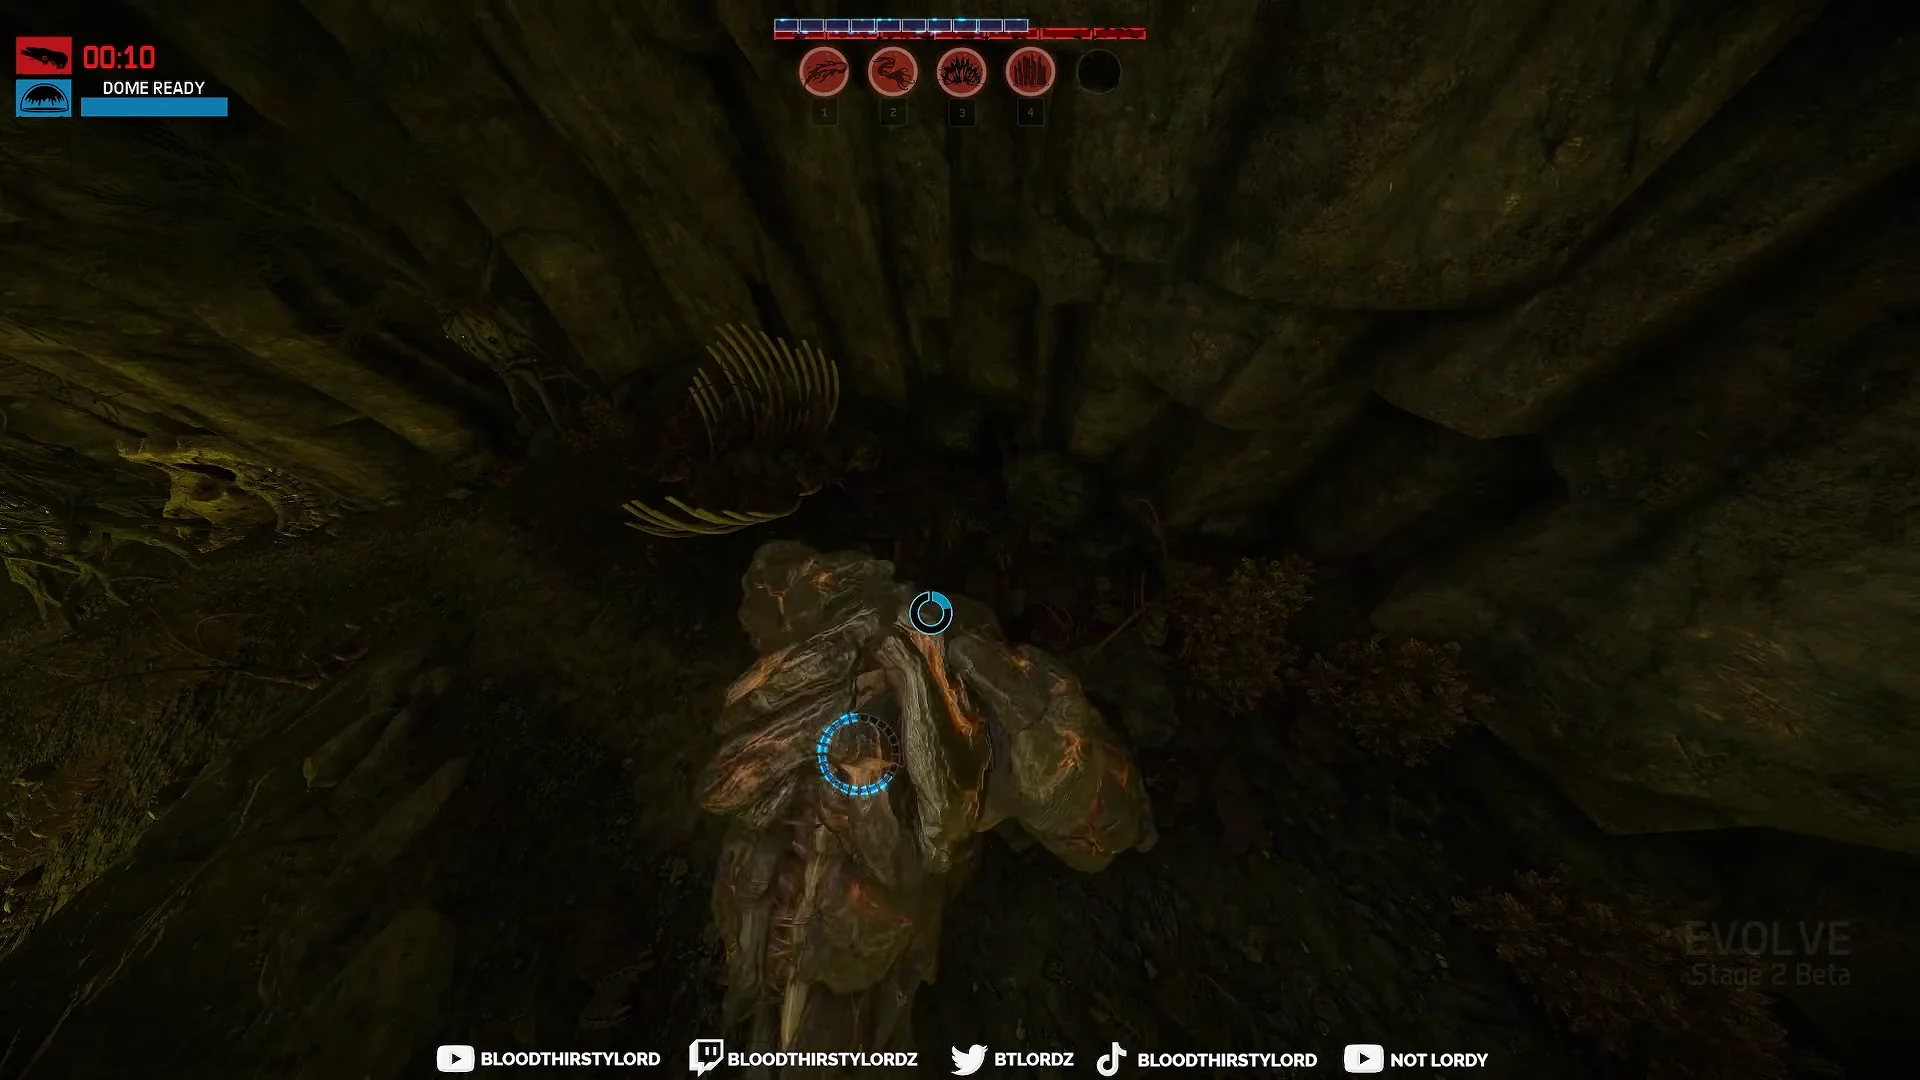
You know the evolution landed when the evolution menu opens and hands you points to assign — three the first time, two the second. Afterwards your armor bar shows 12 segments and your size is visibly larger. Evolving puts you in a chrysalis-like state that leaves you exposed, so trigger it on high ground or somewhere the hunters have already swept.
Behemoth mastery tiers and the elite skin
Mastery bonuses stack on top of the rank values in the table above and carry across matches. Each ability has three tiers, and the elite tier is where the meaningful numbers appear.
| Ability | Elite task | Elite bonus |
|---|---|---|
| Lava Bomb | Hit multiple hunters 50 times | +10% damage |
| Tongue Grab | Grab airborne hunters 175 times | +10% range |
| Fissure | Hit multiple hunters 100 times | +10% damage |
| Rock Wall | Trap hunters against the wall 60 times | +10% duration |
Clearing every mastery task on all four abilities unlocks the Behemoth elite skin. The airborne grab requirement is the slowest of the set, which is another reason the Fissure-into-Tongue Grab habit pays off twice — once in a fight, once on the progression track.
Max evolution does not change how Behemoth plays, it changes how much he can absorb while playing that way. The abilities are the same ones you started with, the roll is the same speed, and the combo is the same four inputs. What Stage 3 buys is 31,000 points of margin for the moments those long cast times go wrong.