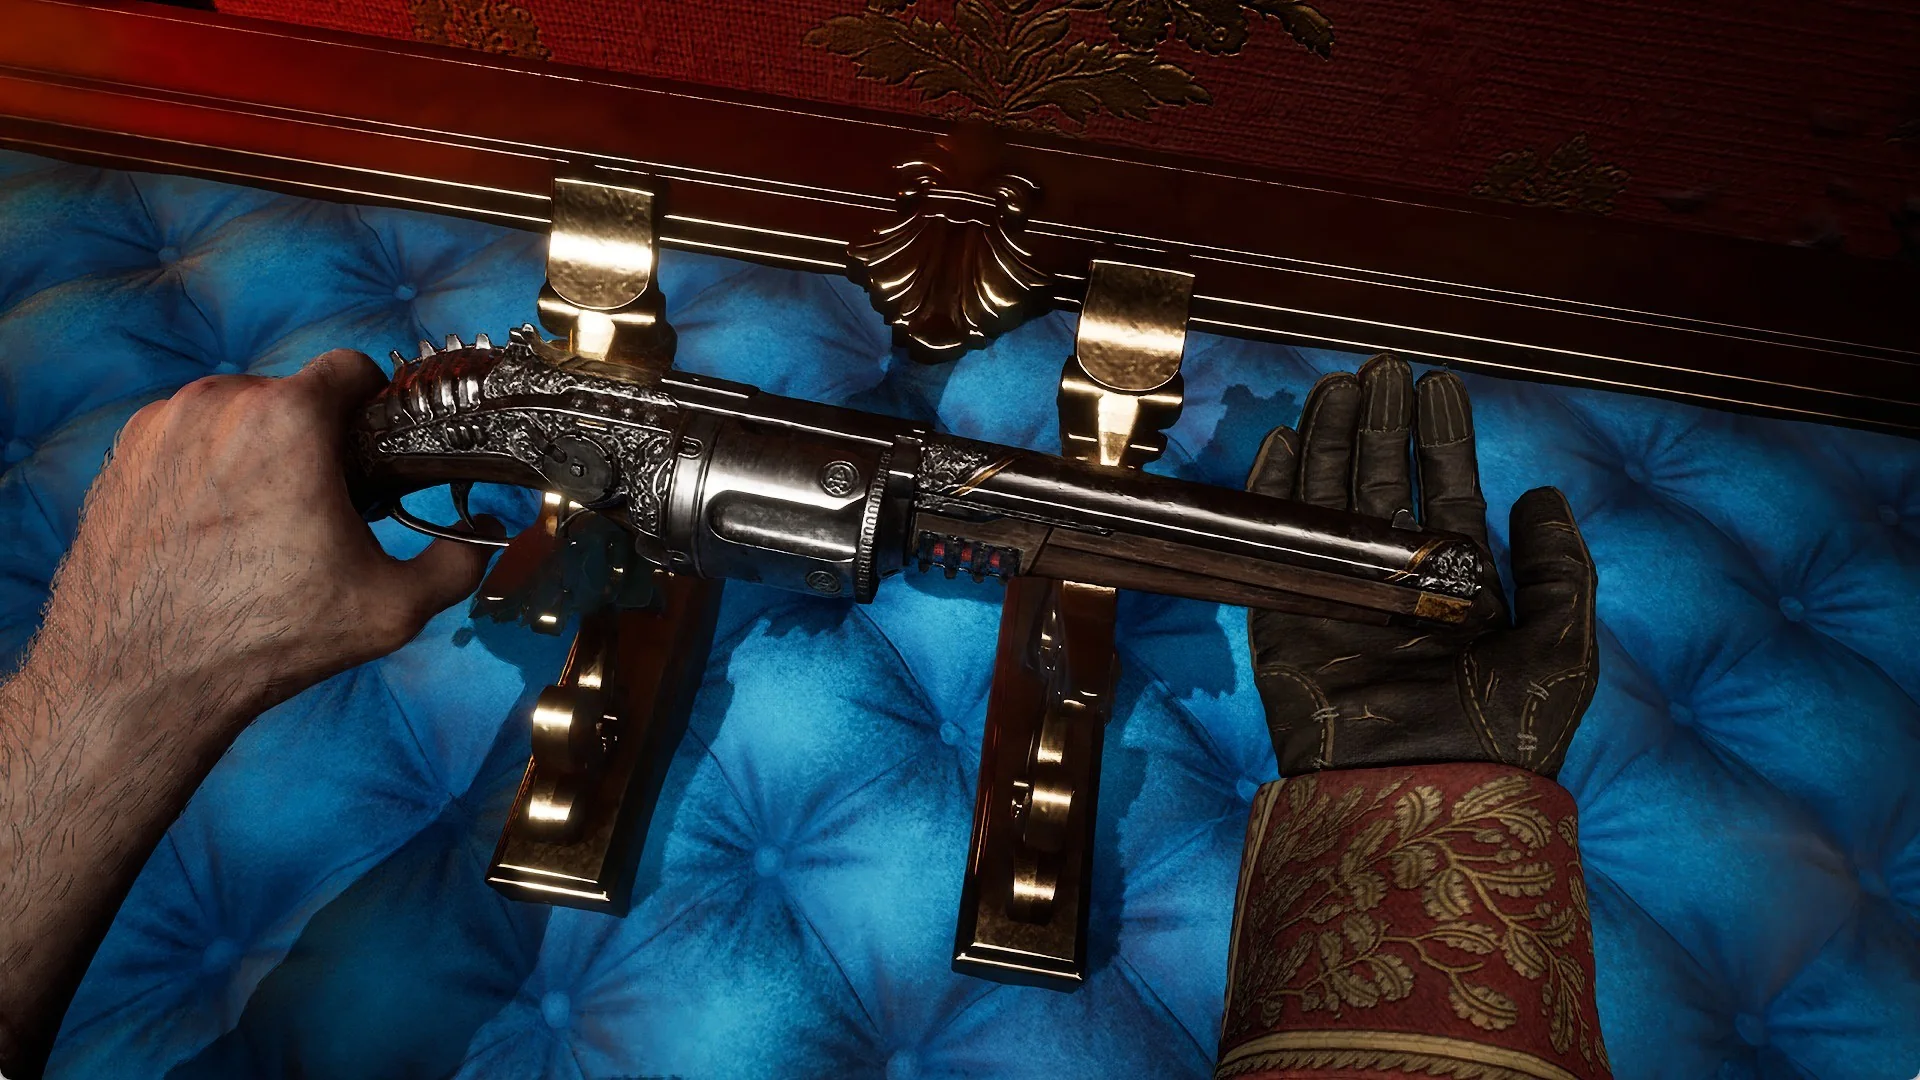
The Mystic Spearhand is the duospear vocation reserved for the Arisen alone, blending close-range melee with ranged magick and a short party-wide shield. An endgame loadout for it leans on sustained pressure rather than raw burst: keep a barrier up, siphon stamina back from enemies, lock foes in place, then open up with a heavy hitter. A level 435 version of this build clears a Fallen Dragon and Satanachia using exactly that loop, built around Mirour Shelde, Dragoun’s Pounce, charged bolts and Wild Furie.
Quick answer: Run Mirour Shelde for defence, Dragoun’s Foin or Dragoun’s Pounce for movement, Ravinour’s Hond for stamina, and Magike Speregonne or Wild Furie for damage, then stack stamina and offence augments over defensive ones.
How the vocation plays and how to unlock it
Equipping the Mystic Spearhand shifts your stats by +100 stamina, +50 health, +50 magick, +50 strength and -15 defence. The large stamina pool and dropped defence explain the whole design: you are meant to avoid damage with the barrier and stay mobile, not trade blows. Knockdown is also limited, so the kit controls crowds instead of flooring big enemies.
This vocation is exclusive to the Arisen. Complete Monster Culling for Captain Brant, then head back to Melve and help drive off the dragon during Readvent of Calamity. Afterward, speak with Sigurd and ask about his fighting style. You can then change vocations at any Vocation Guild for 200 discipline. Reaching rank 9 from rank 1 takes 27,200 discipline altogether.
| Rank | Discipline | Rank | Discipline |
|---|---|---|---|
| 1 → 2 | 400 | 5 → 6 | 4,000 |
| 2 → 3 | 800 | 6 → 7 | 5,000 |
| 3 → 4 | 1,600 | 7 → 8 | 6,000 |
| 4 → 5 | 2,400 | 8 → 9 | 7,000 |
Weapon skill discipline costs and ranks
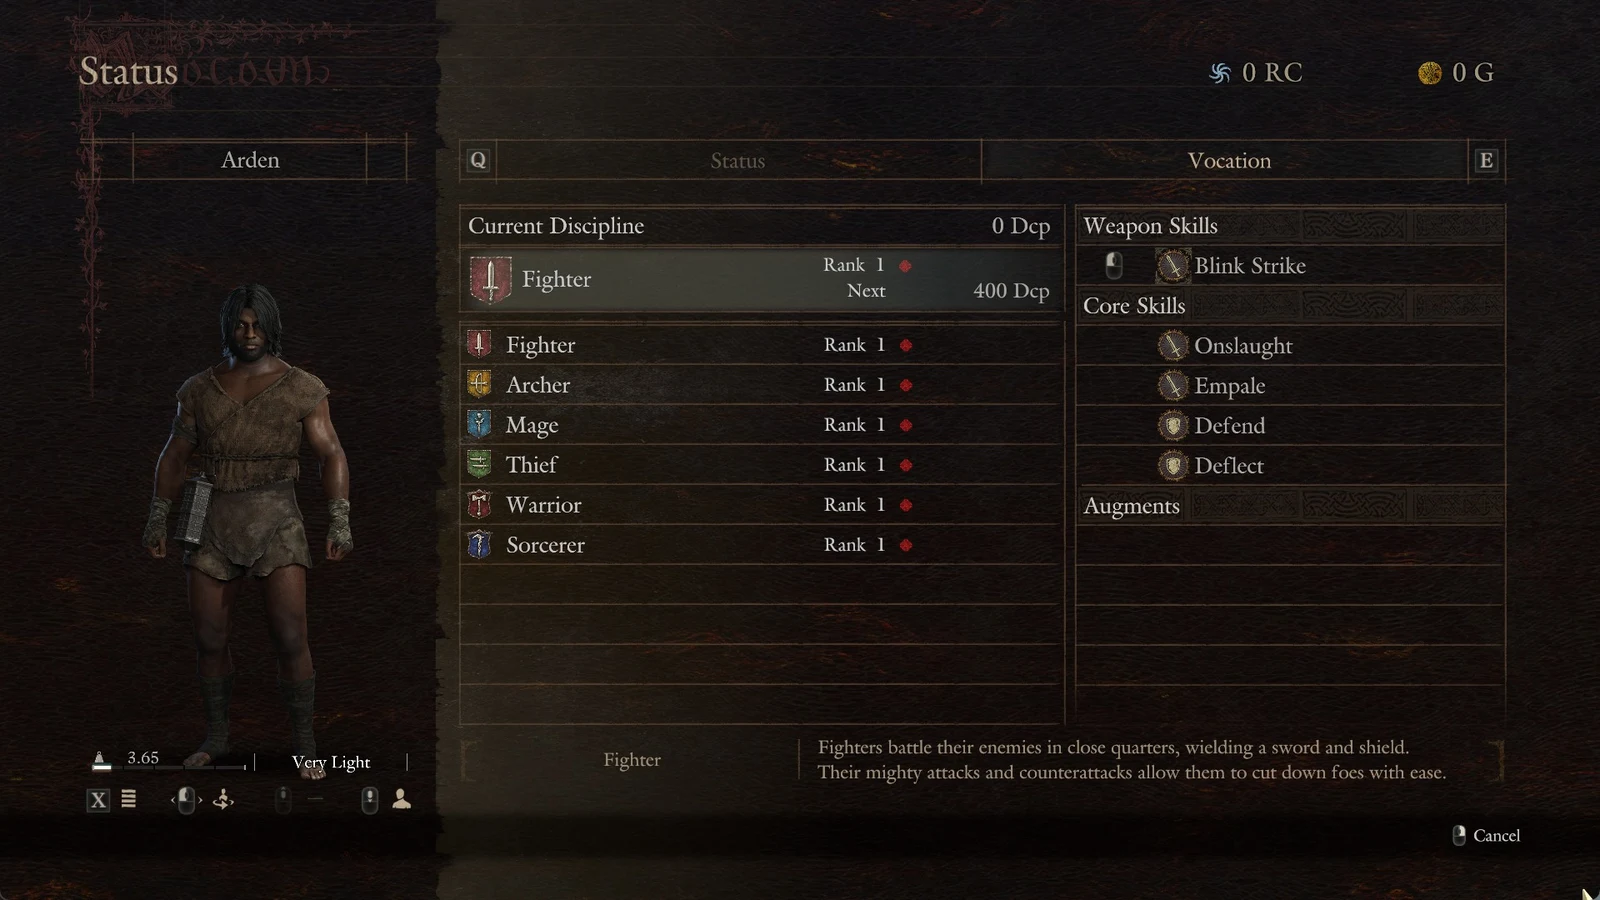
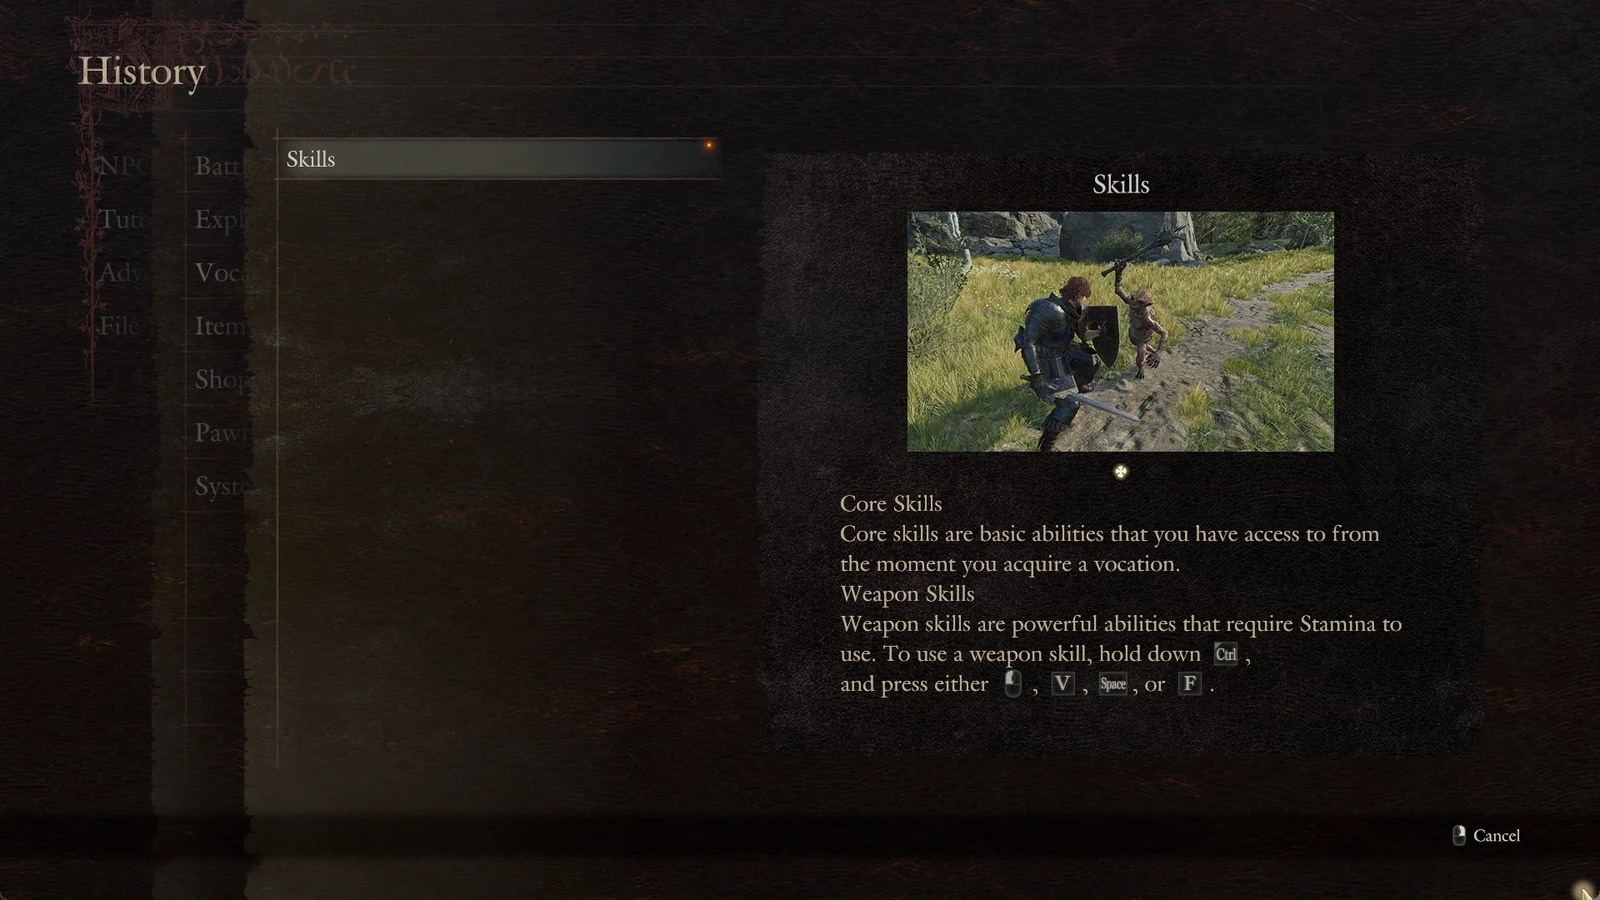
There are four slots for weapon skills, in addition to the Maister skill. Every ability comes with its own rank prerequisite and discipline cost, letting you decide what to purchase first. The duospear skills for this vocation have the following confirmed prices.
| Skill | Form | Rank | Discipline |
|---|---|---|---|
| Dragoun’s Stabbe | Basic | Start | — |
| Dragoun’s Foin | Advanced | 4 | 1,000 |
| Thef’s Hond | Basic | 3 | 450 |
| Ravinour’s Hond | Advanced | 5 | 1,300 |
| Skiedragoun’s Fangtooth | Basic | 4 | 700 |
| Skiedragoun’s Feste | Advanced | 6 | 1,600 |
| Magike Sperepelote | Basic | 6 | 1,800 |
| Magike Speregonne | Advanced | 8 | 2,500 |
| Unto Skie | Basic | 5 | 1,100 |
| Unto Heven | Advanced | 7 | 2,000 |
| Swift Charge | Basic | 7 | 2,500 |
| Devout Offringe | Advanced | 5 | 1,300 |
| Winding Cut (core) | Core | 4 | 600 |
Dark Arisen adds a further tier. Hindringe Mirke and its upgrade Hindringe Whirlpit, plus Bataille Twinne (2,500 discipline) and Bataille Idole (5,000 discipline), are new skills; the two Bataille forms come from an Obelisk of Benediction in Norgan by bringing an offering flame and paying the cost. The “most advanced” versions of several skills (Dragoun’s Pounce, Magike Sperebaliste, Skiedragoun’s Edacite, Bataille Lich) are not bought at all. They are equipment special skills that unlock when the second-level version of that skill is equipped to the right weapon.
Mirour Shelde keeps the build alive
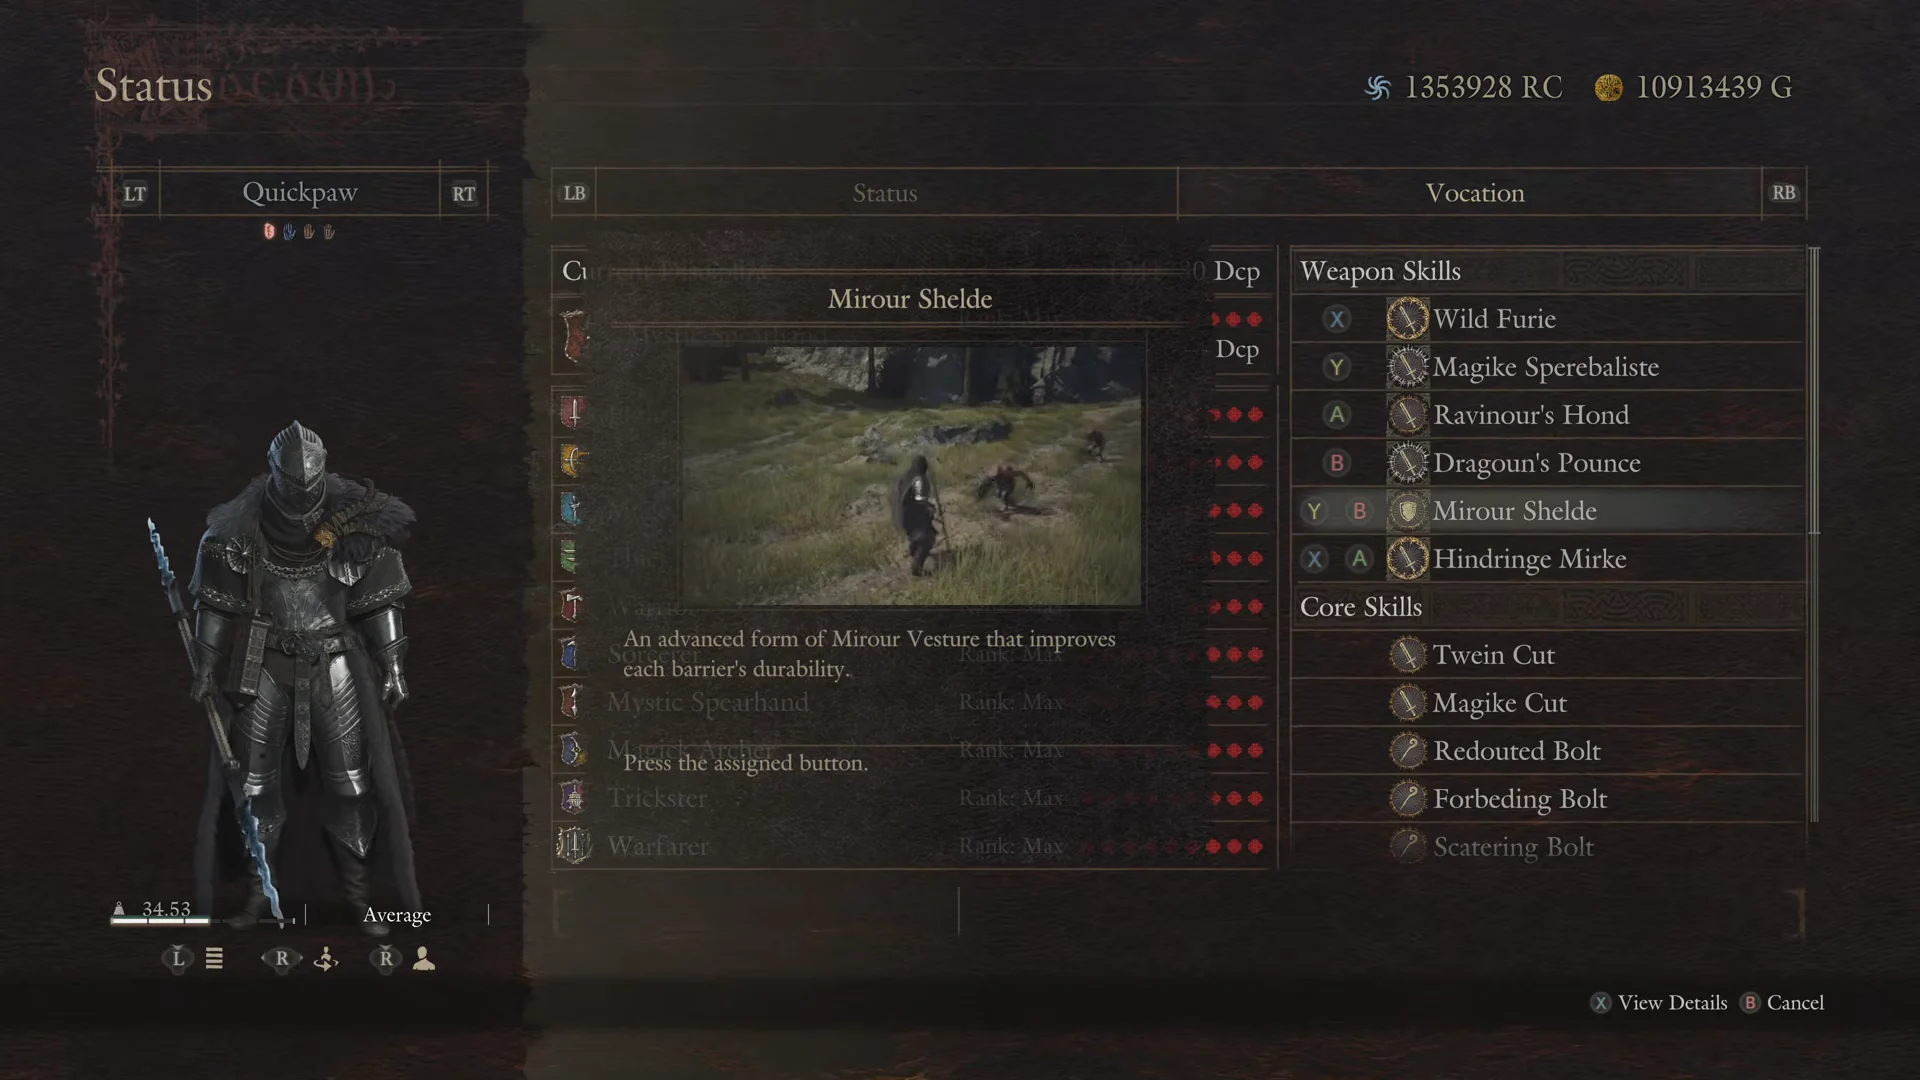
Mirour Shelde creates a brief barrier around you and nearby allies that cancels incoming attacks and stops flinching or staggering for about ten seconds. Since this vocation has reduced defence, the shield is key to surviving tougher difficulty settings. It’s an upgrade to Mirour Vesture (rank 3, 450 discipline) and uses very little stamina, allowing you to guard fragile pawns without easing off your attacks.
Its limits are range and scope. Pawns who wander off lose the shield, so call “To Me!” before a fight to pull them inside the radius, and remember it blocks direct damage only, not side effects like tremors.
Mobility and stamina: Dragoun’s Pounce and Ravinour’s Hond
Use Dragoun’s Foin to close distance and get into a fight. It rapidly carries you forward, launches you into the air and lets you reach flying enemies or awkward weak spots without climbing by hand. The Dark Arisen version, Dragoun’s Pounce, becomes available to cast again whenever it hits. Against a big foe, that lets you string aerial attacks across a dragon’s back and wings while avoiding ground-based dangers.
Ravinour’s Hond sustains the cycle: it drains a foe’s vitality and converts it into your stamina while also speeding recovery. It is most effective when used on an enemy that has already been restrained. Equip the Ring of Enervation as well; when the opening strike of a weapon skill connects, it returns some of the stamina you spent, and this applies to every Pounce in a chain. Ravinour’s Hond has no effect on beings without corporeal forms.
Crowd control into charged burst
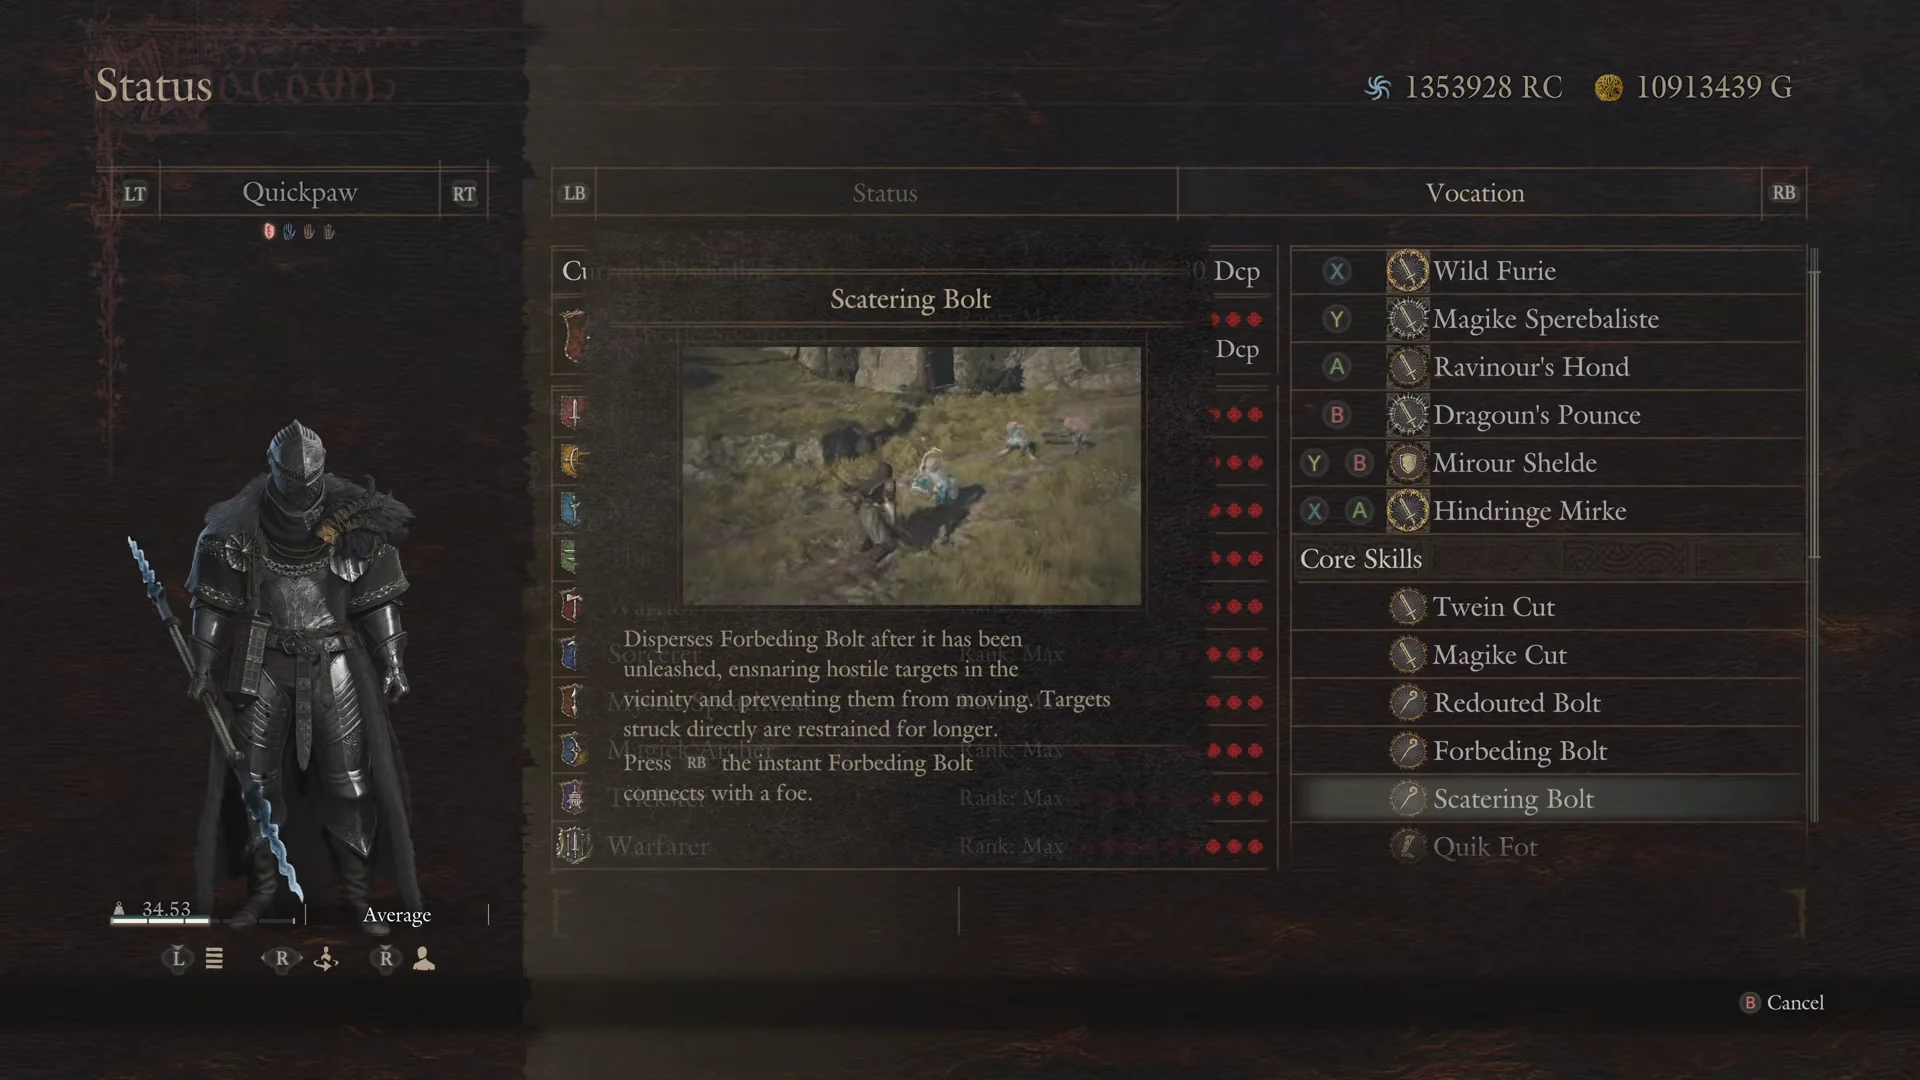
Forbeding Bolt is the vocation’s defining move: holding the charge longer extends how long an enemy stays restrained, while a successful hit lets you finish small foes with Magike Cut. Scattering Bolt spreads the restraint across several enemies nearby. Quik Fot, meanwhile, teleports you straight to any target struck by a bolt, giving you a way to catch quick or airborne foes.
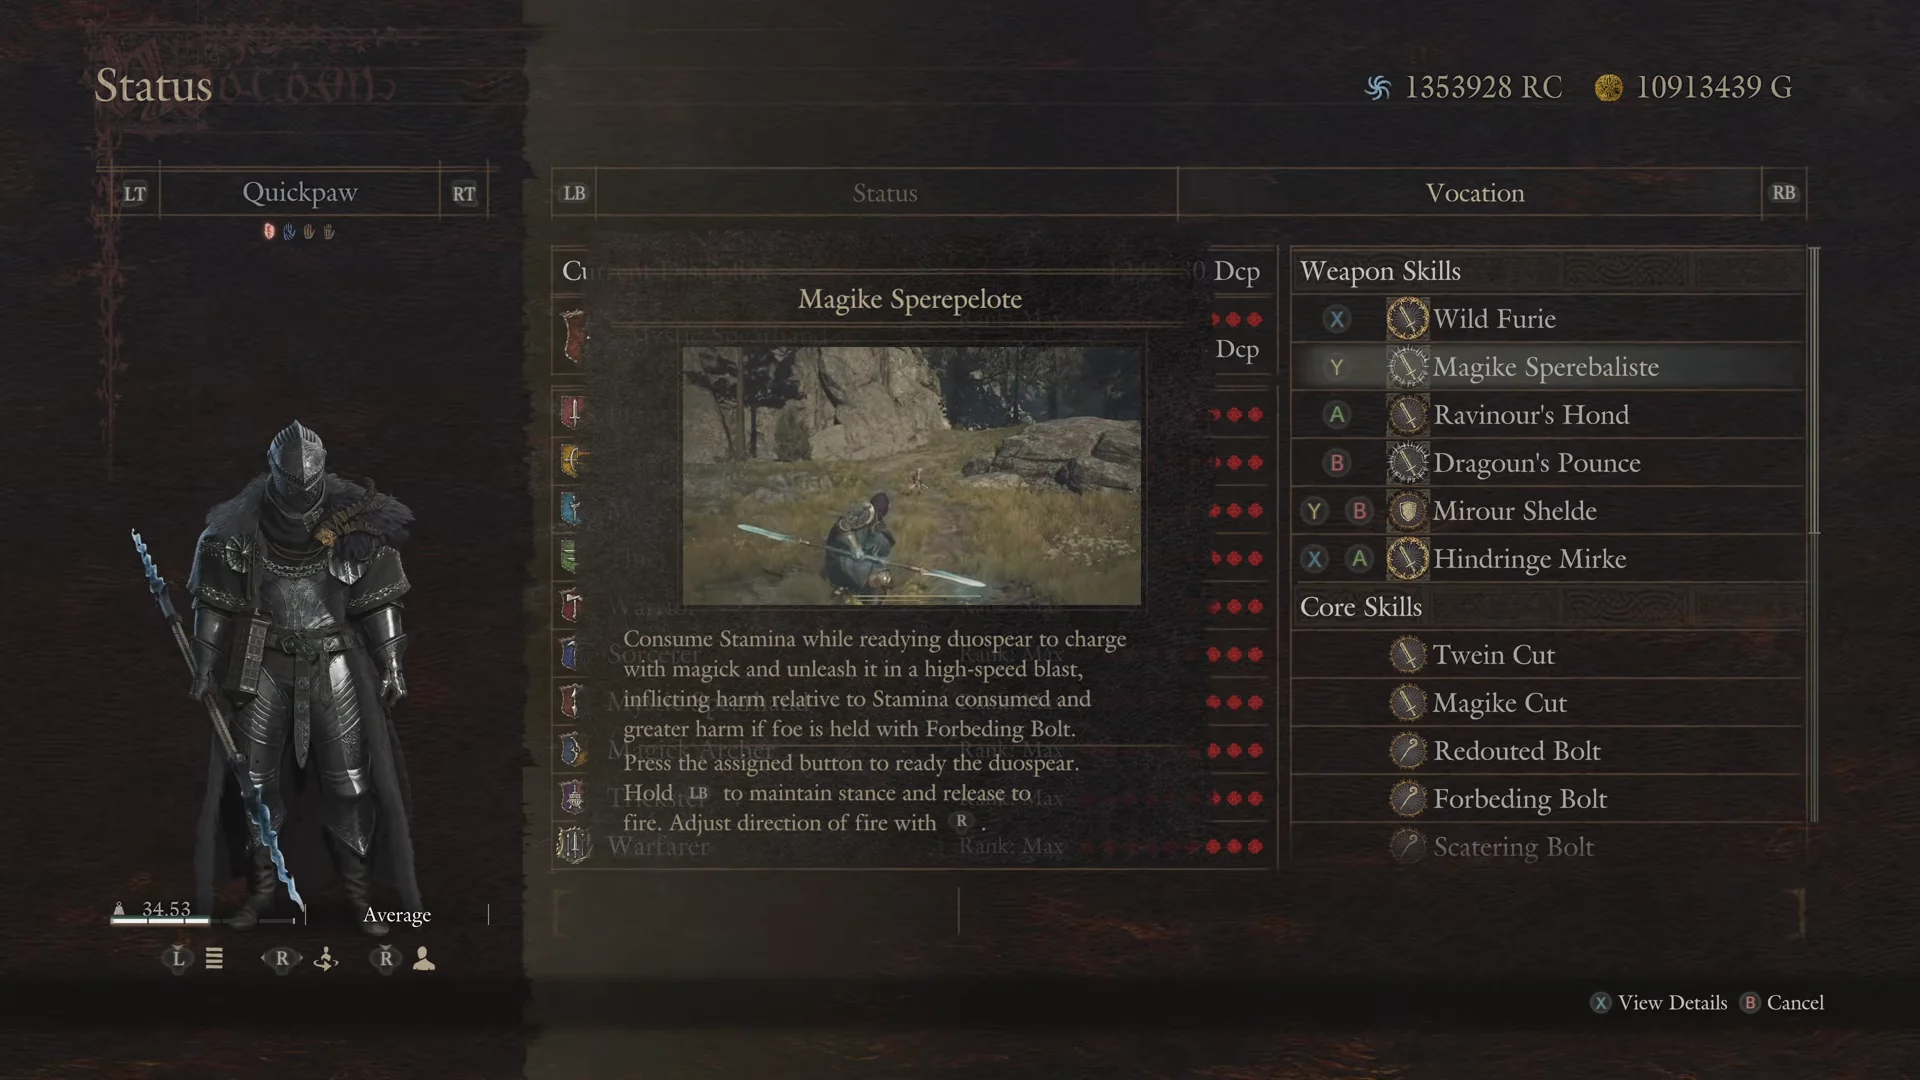
After restraining an enemy, follow up with a charged magick blast. Magike Sperepelote uses stamina as it charges, and its damage rises with the amount consumed; it also hits harder against foes caught by Forbeding Bolt. The upgraded Magike Speregonne has greater range and a quicker shot, while the Dark Arisen version, Magike Sperebaliste, creates an explosive shockwave on impact that launches smaller foes.
Wild Furie for single-target damage
Wild Furie, the Maister skill, is this build’s main burst-damage option. It strikes in a rapid sequence of blade blows and magick; pressing the button again spends additional stamina to keep the sequence going, making Ravinour’s Hond a natural partner. Use it against staggered bosses, vulnerable spots like dragon hearts or horns, and smaller foes or enemies already knocked down. To obtain it, help Sigurd defeat the dragon at Dragonsbreath Tower, southwest of Bakbattahl; afterward, he gives you the Paladin’s Enigmata.
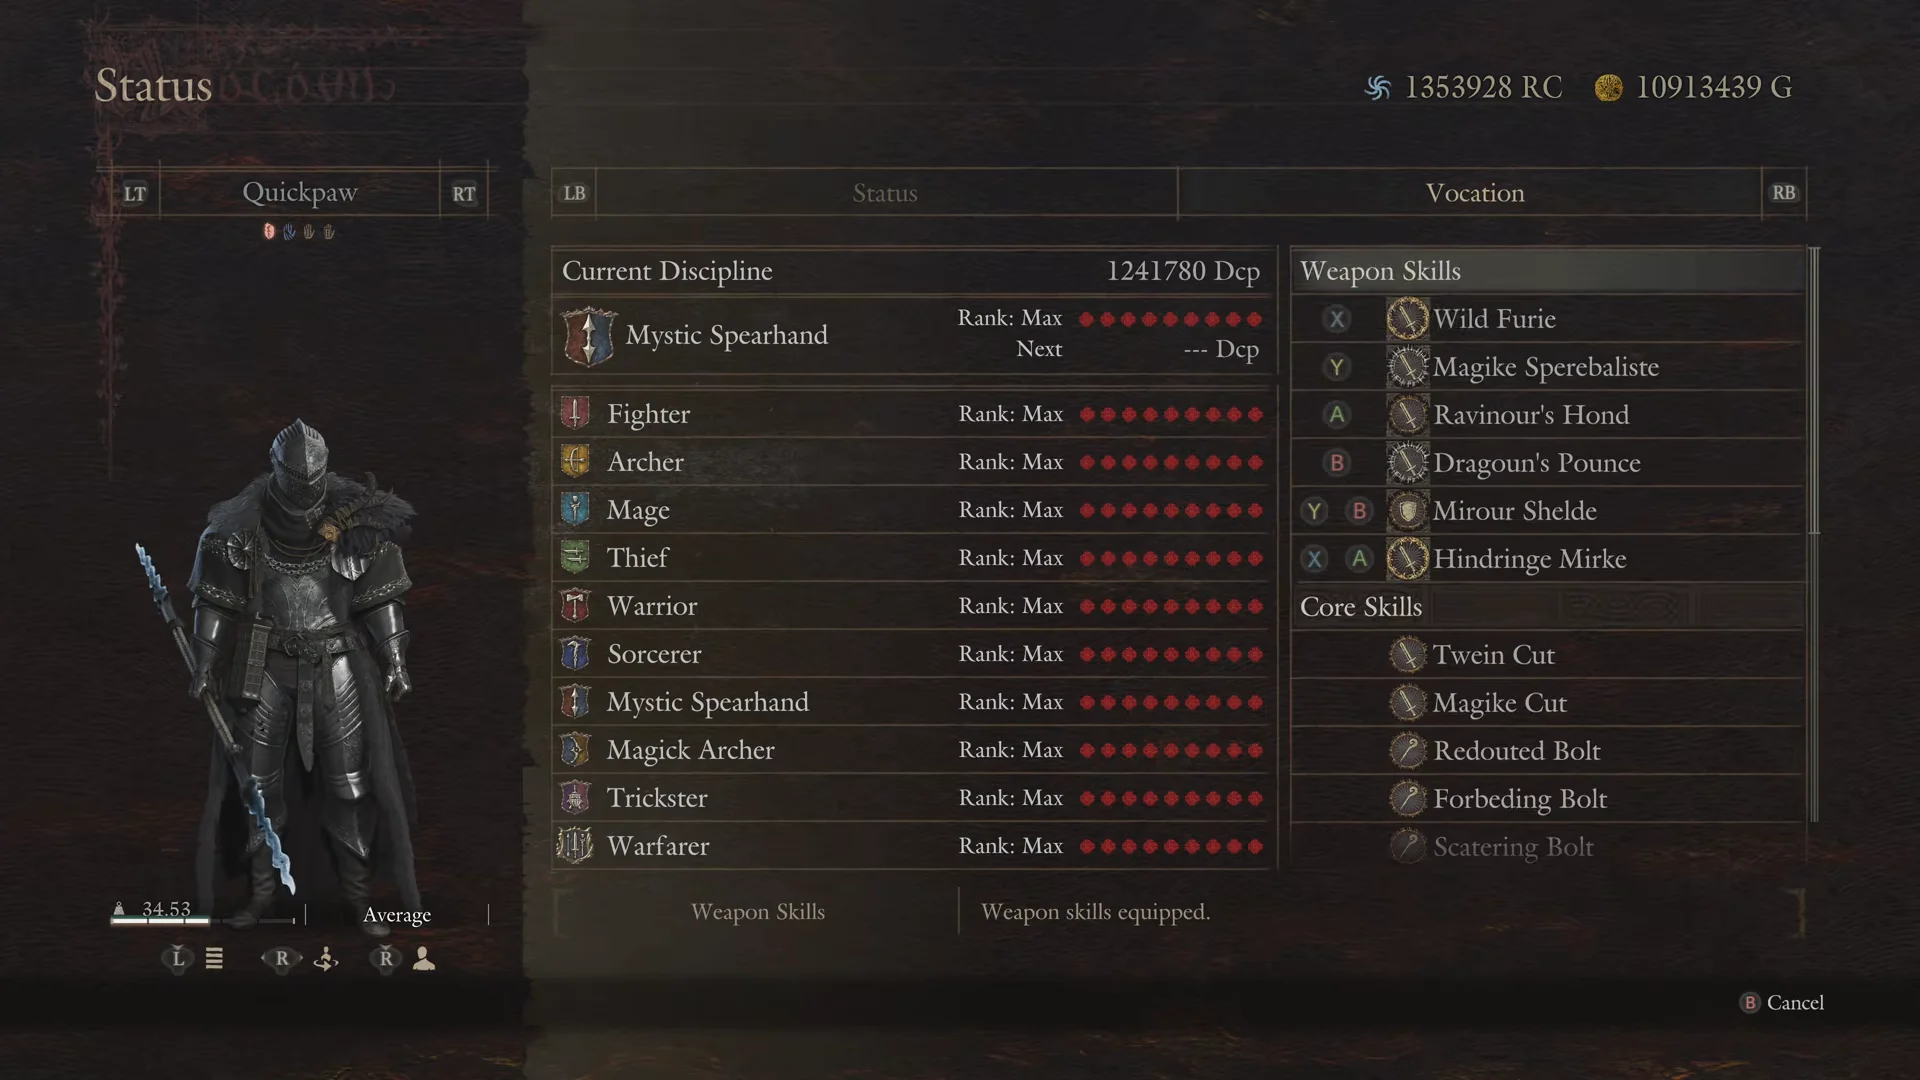
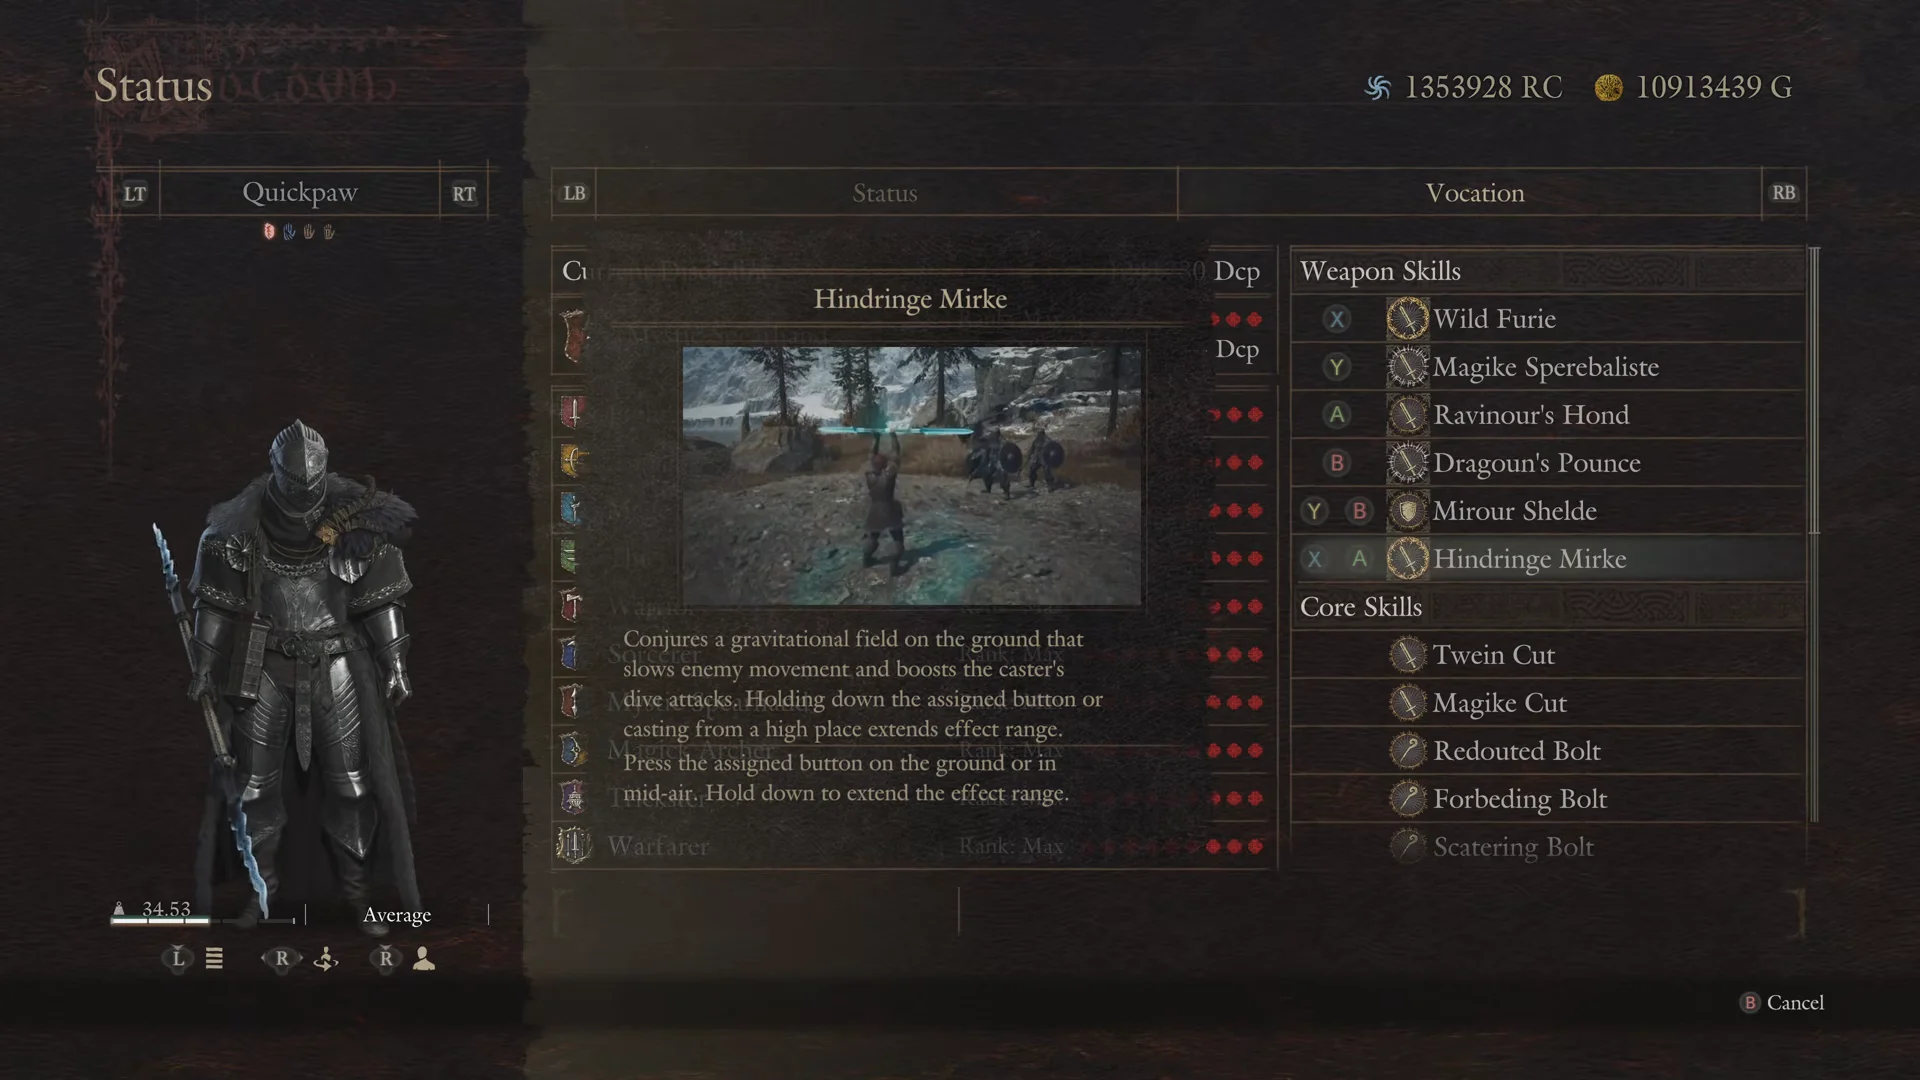
Hindringe Mirke, a Dark Arisen skill, completes the area-control kit. It creates a gravity zone that hampers enemy movement and strengthens your dive attacks; hold the button or cast from a height to enlarge the zone. Skiedragoun’s Feste complements it: the move doubles as a vertical jump-and-dive evade and lands you on a large monster, letting you bunch groups of foes into a controllable mass.
Core skills and the fight rhythm
Regular attacks account for much of this vocation’s damage, so learn its basic moves early. Use Twein Cut for measured light strikes, then follow with Magike Cut as a heavy finisher against flinching or fallen enemies. At rank 4, Winding Cut costs 600 discipline to unlock. This spinning series of hits uses no stamina and can be performed on the move, making it a strong choice for repeatedly striking a large boss’s weak point after you reach it.
With limited knockdown power, one common approach is to focus on freezing enemies. Equip the ice duospear Rhewynt and the Asperity augment to significantly improve the odds of freezing large foes. Winding Cut uses no stamina, so you can maintain the assault without running out.
Augments
Stamina drains quickly for this vocation, so favour stamina and damage boosts in most augment slots over defensive options; Mirour Shelde already helps you stay safe. Pick up these augments while levelling other vocations.
| Augment | Effect | Source |
|---|---|---|
| Endurance | Raises maximum stamina | Archer 4 |
| Exaltation | Speeds stamina recovery | Mage 9 |
| Verve | Increases strength | Thief 9 |
| Sagacity | Increases magick | Sorcerer 9 |
| Polarity | Strength by day, magick by night | Mystic Spearhand 6 |
| Athleticism | Cuts stamina used while dashing | Mystic Spearhand 9 |
Put Endurance first to extend the time you can use Wild Furie and charged attacks before tiring. At rank 6, Polarity is a good pickup for keeping either physical or magick power boosted continuously. The high-level showcase takes a defensive route with Mettle, Apotropaism, Dynamism, Dominance, Constancy, Thew and Subtlety; this spread suits a character with stamina to spare and emphasizes survival and carry weight. Subtlety makes enemies less likely to target you. Give a pawn a Ring of Disfavor to draw aggro away from you completely.
Best duospears by progression
Duospears generally deal equal amounts of strength and magick damage, though some weapons differ. Improve your weapon ahead of your armour unless staying alive is proving difficult.
| Duospear | Strength | Magick | Knockdown |
|---|---|---|---|
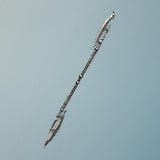 Wings Asunder | 288 | 288 | 235 |
 Dead Ringer | 355 | 355 | 275 |
 Rhewynt | 380 | 380 | 261 |
 Lindworm Fang | 430 | 405 | 283 |
Rhewynt carries a permanent 50% ice enchantment, which makes it the backbone of the freeze setup. Lindworm Fang grows stronger the longer you land hits without taking damage, and is bought from the Dragonforged at Bay Wayside Shrine for 110 Wyrmslife Crystals. Earlier on, the Infernal Edge from the Tolled to Rest quest at the Ancient Battleground carries the early game, and Soul of Antiquity from Bakbattahl covers the main story.
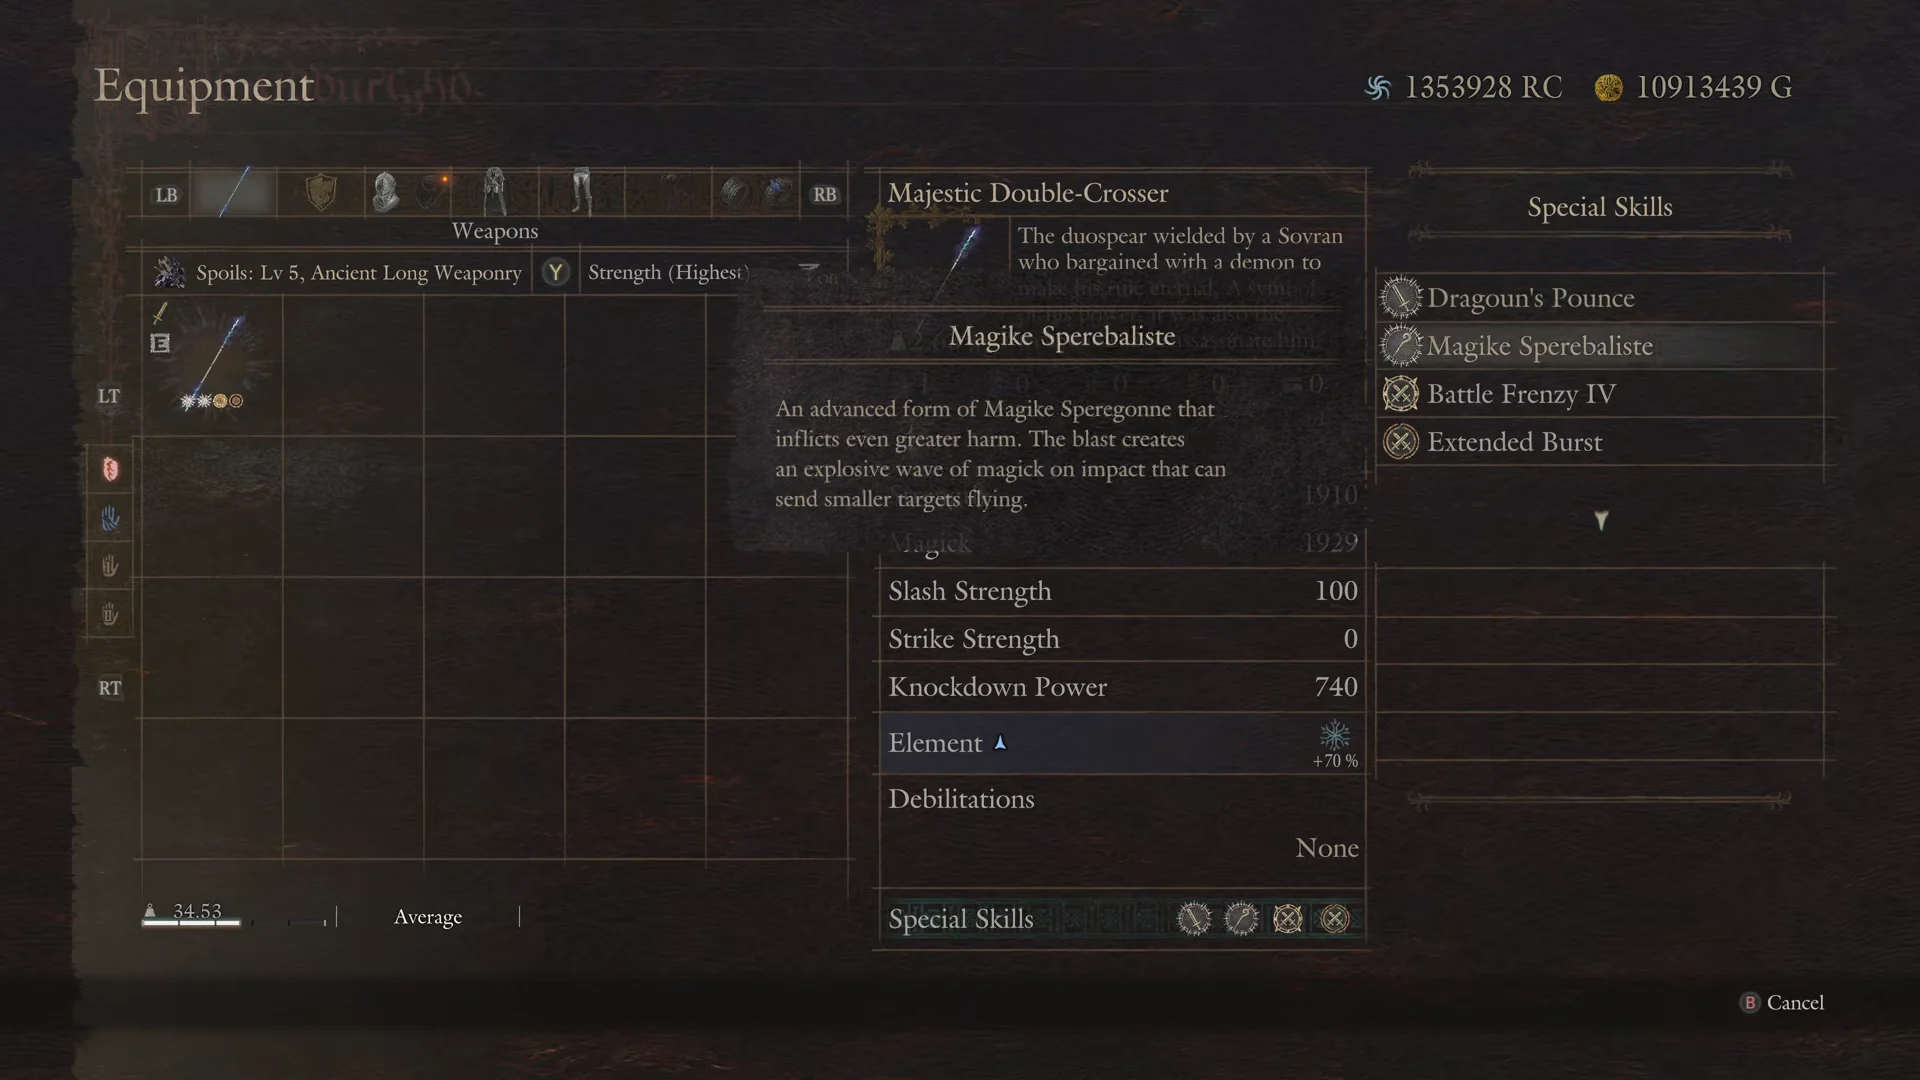
Dark Arisen also offers relic duospears to seek out. Appraising Long Weaponry or Ancient Long Weaponry spoils can yield the Anointed Edge, a Lv 2 relic with 710 strength and magick—or 790 for the Ancient variant—520 knockdown and a weight of just 2.1 kg. Blades of Rye costs 6,000 gold in its initial form and can be appraised from spoils up to Lv 3. Its top variants reach 860 to 900 strength and magick, with 530 knockdown; the rare appraisal result is Bloodeagle. For the endgame showcase, use the Majestic Double-Crosser: its special-skill slots provide Dragoun’s Pounce and Magike Sperebaliste.
Armour and rings
Mystic Spearhand armour is light to medium, so chase defence numbers and resistances rather than specific set bonuses. Confidant’s Hood covers the head well before endgame, with the Dragon Knight’s Helm available later from the Dragonforged. Elegant Petticoat from the Agamen Ruins and Arena Breeches from the Volcanic Island Armoury are strong body and leg options. On Hard Mode, armour skills like Survival Instinct that slow Loss Gauge buildup are worth prioritising, since Norgan hits hard. The endgame showcase runs the Majestic Spirit-Tree Helm, Majestic Hibernal Armor and Majestic Leacan-Eightre.
Pick rings to match the encounter. Wearing two Rings of Vehemence raises your chances of staggering and knocking down large monsters, offsetting the vocation’s weak knockdown. The Ring of Triumph is another choice: it adds 100 maximum health, 100 maximum stamina, and 5 carry weight, and you can obtain it by trading Seeker Tokens at the Vermund Vocation Guild. The Ring of Enervation restores stamina on a skill’s first hit, while the Ring of Demonsbane increases damage against wicked beings. Ring of Audacity removes stamina costs for weapon skills, but drains your health continuously when you stop attacking.
Party composition
Because Mirour Shelde can make the whole party briefly invulnerable, surround yourself with pawns that deal damage without worrying about defence. A Mage main pawn for healing and shielding pairs well with a Thief and a Sorcerer for melee and elemental damage; a Fighter works as a tank if you prefer one. Call “To Me!” before a fight so pawns stay inside your shield radius. If you are running the freeze setup with Rhewynt, hire a Thief with Frosted Edges and a Sorcerer with High Hagol to stack cold damage and lock down large enemies faster. Keep the barrier refreshed, siphon stamina while enemies are held, and the Mystic Spearhand holds up against the toughest encounters Norgan throws at it.