In Big Walk, the tools you pick up decide how you talk, where you go, and which puzzles you can actually finish. There are no floating quest markers or shared minimaps, so gear that helps you communicate and navigate does the heavy lifting. Each item has a specific job, and most of them only make sense once you know when to reach for them.
Quick answer: Carry one long-distance communication tool (a walkie-talkie or radio transmitter), a bag to free up a second slot, and a light source before dark. Bring binoculars or a laser pointer for scouting, and use the key cutter plus golden keys for the tower challenges.
Carry more than one item with bags
By default you hold a single item at a time, which becomes a problem the moment a puzzle needs a light in one hand and a map in the other. Two carry items fix that limit, and grabbing one early is the fastest way to stop juggling gear.
| Item | What it does |
|---|---|
| Waist bag (Hip Bag) | Lets you carry a small second item on your hip, such as a radio or walkie-talkie. It only holds smaller gear, so treat it as a temporary fix rather than a full solution. |
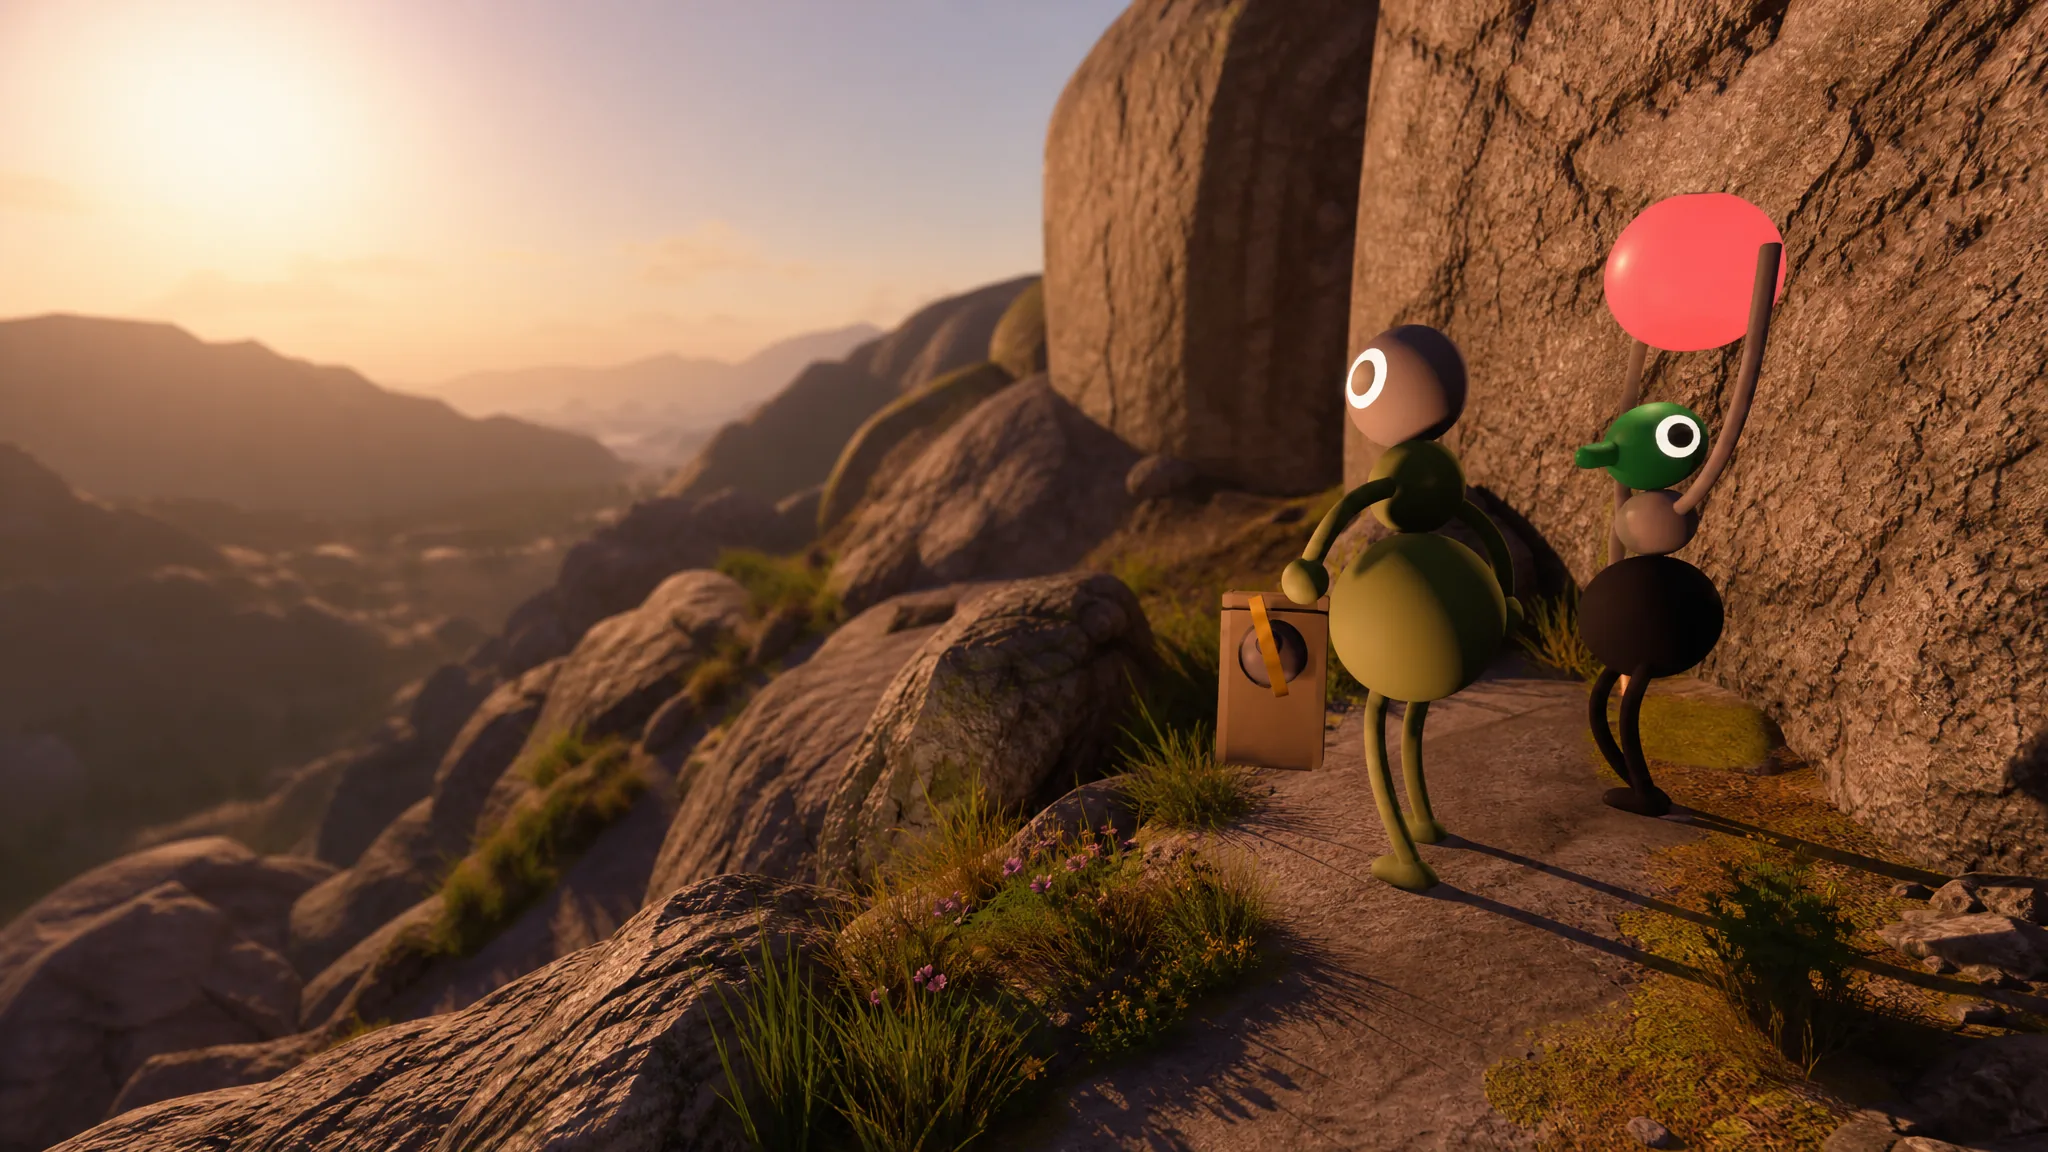
| Backpack | Adds a full extra slot on your back for an item of any size or shape, so you can carry two things at once. |
Tip: if someone is carrying the handheld radio, hand them a bag as soon as you can. The music takes up a slot otherwise and competes with puzzle tools for hand space.
Communication tools for keeping the group together
The voice chat fades with distance, so the second your group spreads out, plain talking stops working. These tools bridge that gap, whether you are calling out a location or leaving a clue behind for someone who wandered off.
| Item | How to use it |
|---|---|
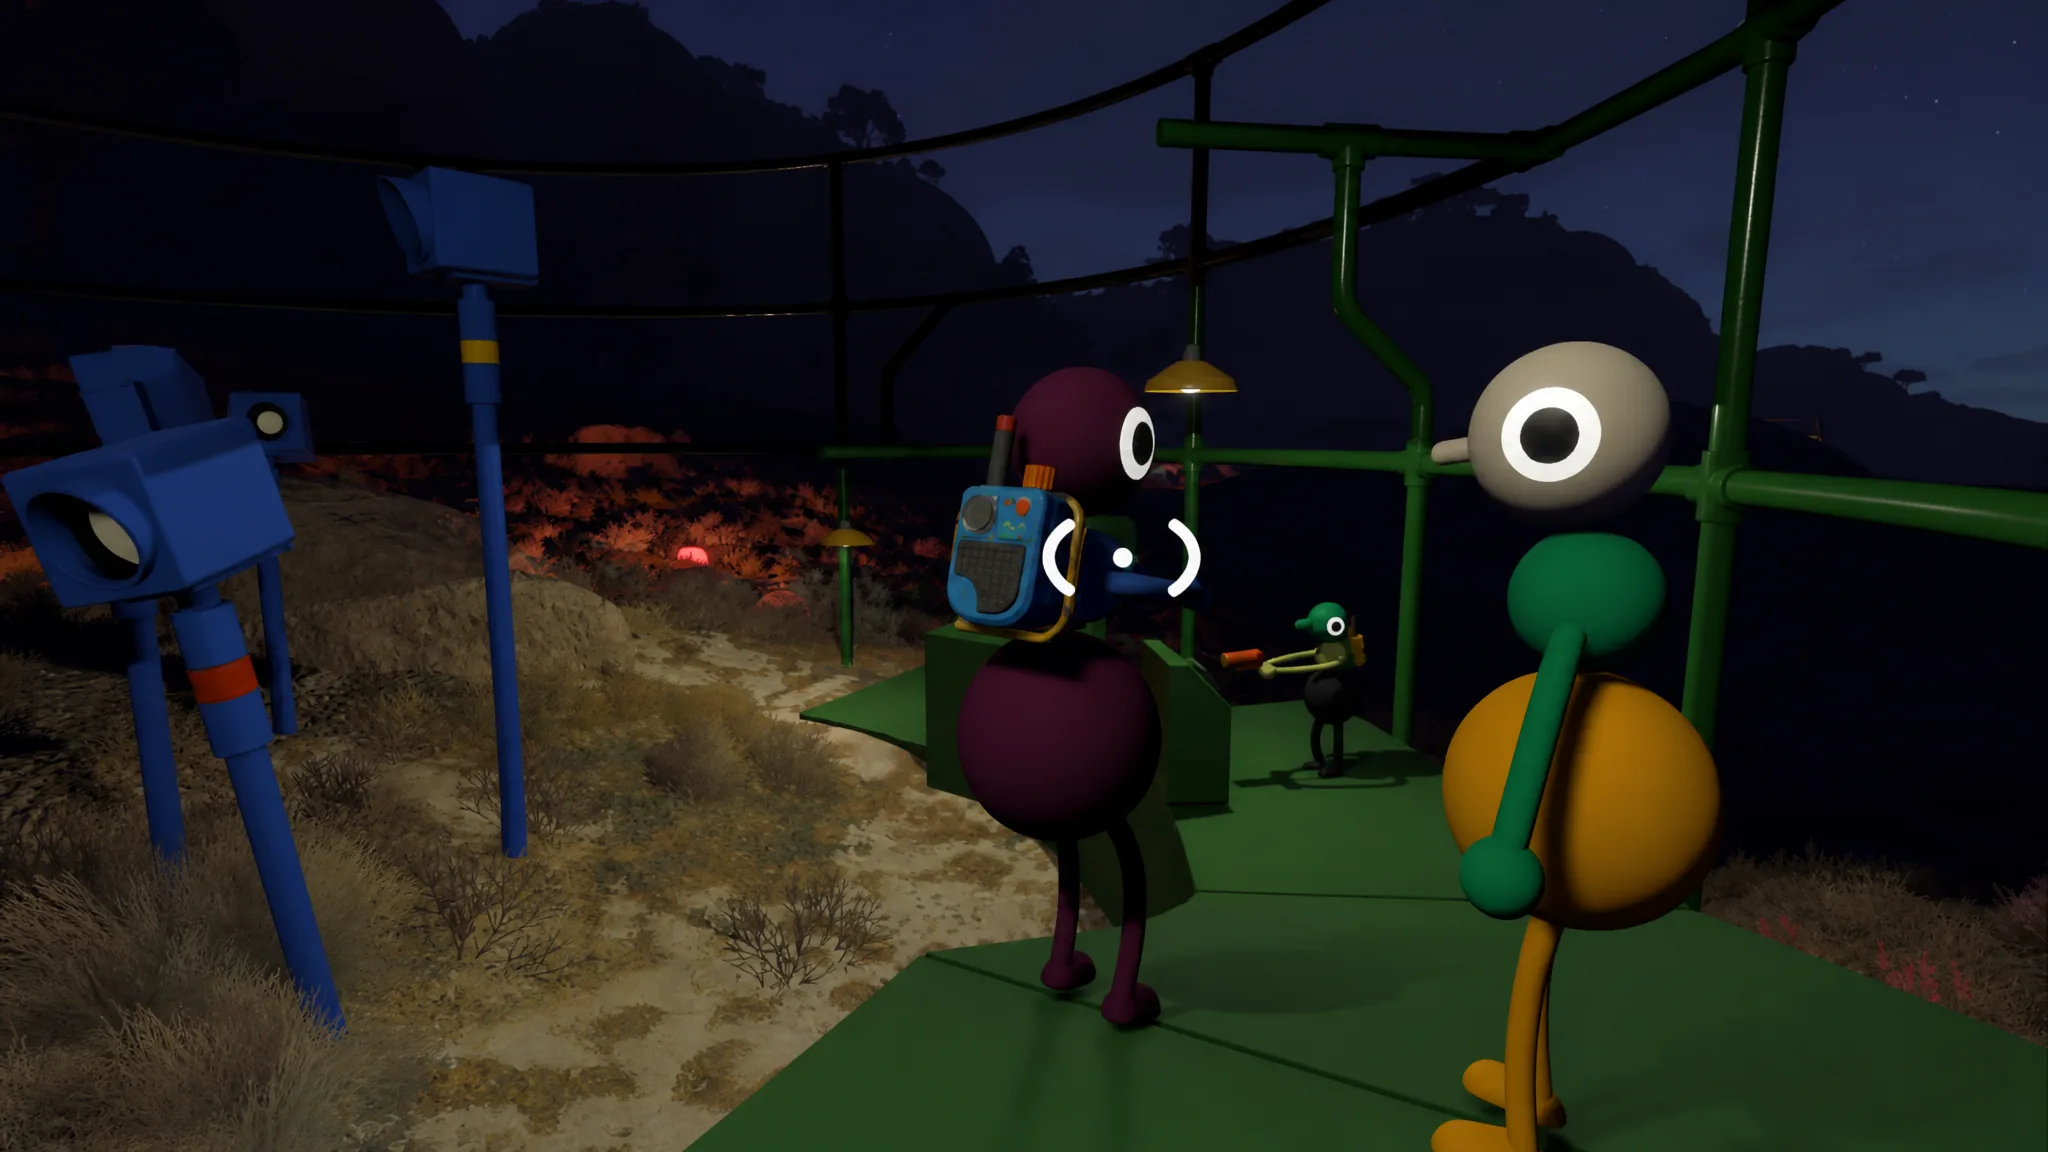
| Walkie-Talkie | The core communication item. It lets you talk to teammates no matter how far apart you are, though the signal crackles and breaks up. |
| Radio Transmitter / Receiver | Broadcast your speech to receivers placed around the map, useful for reaching a whole area from a fixed point. |
| Megaphone | Projects your natural voice much farther than normal, which helps when a teammate lost their radio or dropped it somewhere. |
| Flare Gun | Fires a flare that reveals your approximate position on the map. Use it when someone gets separated so the group can regroup. It has a recharge delay. |
| Laser Pointer | Point at a specific direction, route, or target so teammates can see exactly where you mean instead of guessing from a description. |
| Paintbrush | Draw markings on the ground and paint surfaces to leave clues, and paint another player’s avatar colors. |
| Handheld Radio | Plays unlocked music channels once each station has been activated. |
Navigation tools for finding your way
The island is large and vertical, and a lot of puzzles sit across cliffs and valleys you cannot read from ground level. Navigation gear lets one person scout while the rest hold position, which saves long walks across the map.
| Item | How to use it |
|---|---|
| Map | There are two. A large static map sits in the Map Room, and a foldable handheld map lets you check specific puzzle locations while you are out exploring. |
| Compass | Shows your heading as you move so you can call out directions and keep the group from drifting apart. |
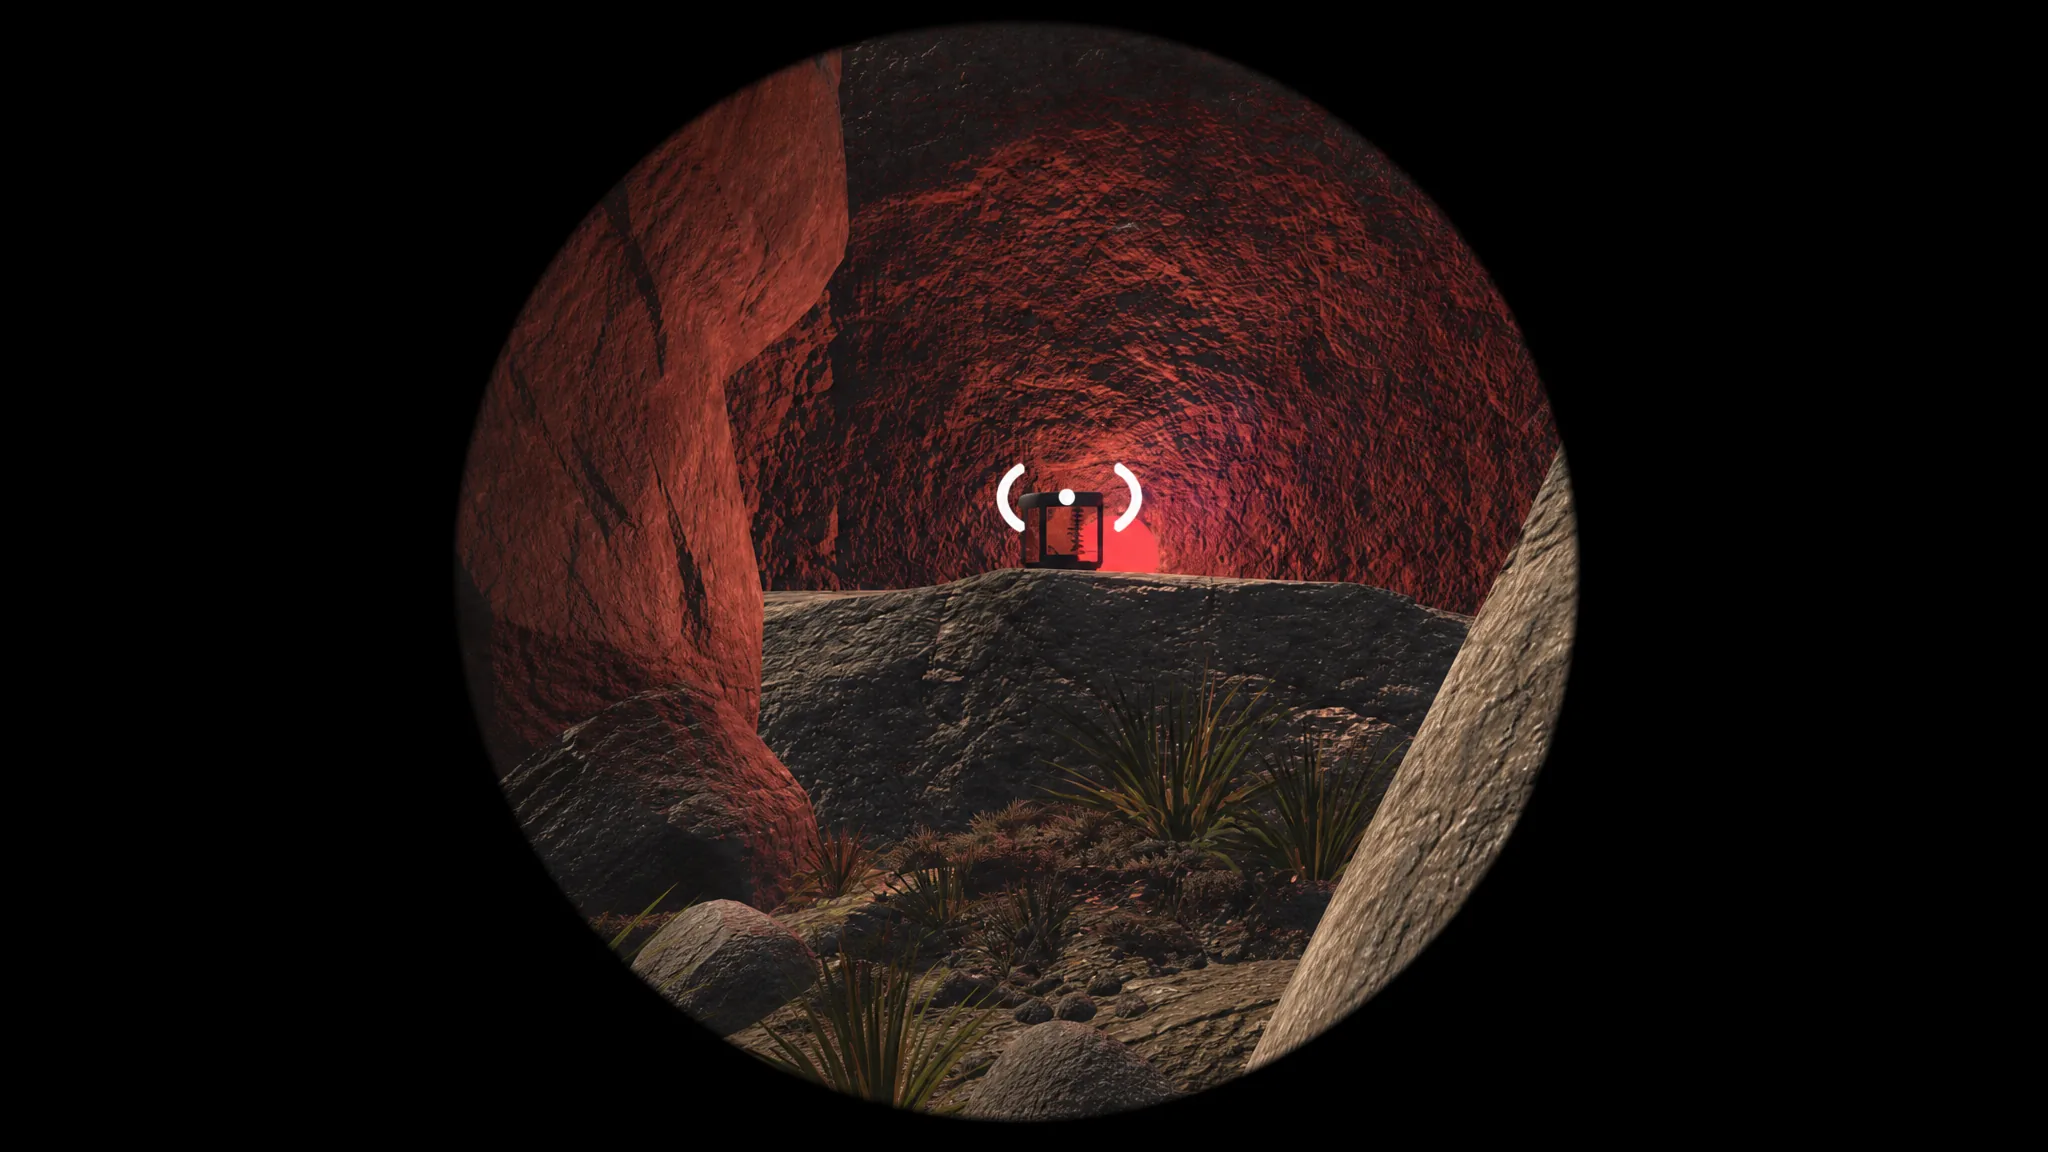
| Binoculars | Zoom in on distant areas to spot puzzle sites, landmarks, or teammates who have gone ahead. |
| Telescope | Look through it to find hidden targets and puzzle items at range. It also lights them up so they are easier to locate on the map. |
| GPS / Coordinates Tracker | Displays exact coordinates for navigation and for puzzles that rely on precise positions. |
| Item Scanner | Reveals interactable items nearby by marking them with a yellow X. |
Puzzle and progression tools
Some tools do not point you anywhere. Instead they light your path, shape the keys you need, or feed directly into a puzzle mechanic. These are the items that let you actually complete challenges rather than just reach them.
| Item | How to use it |
|---|---|
| Ball Lamp / Lantern | Casts light around you. It is not required to solve a puzzle directly, but solving anything at night is far harder without one. |
| Directional Torch | Lights up specific objects in the dark rather than a wide area, useful for pinpointing a single target. |
| Key Cutter | Shapes raw keys into a usable form that can be placed to complete the Tower Challenges (Red, Yellow, Blue, and Drawbridge). |
| Golden Key | Unlocks special buildings, rooms, and routes once it has been shaped by the cutters. |
| Sound Shrine | Walk in circles around it to change its pitch and solve audio puzzles. |
| Red Control Panel Pieces | Puzzle rewards that fill a tower or route control panel to release golden keys. |
| Timer | Activates or completes nearby timed puzzles. |
The Golden Head
The Golden Head is the game’s big oddity, found near the blindfolded obstacle course by the Blue Tower. You wear it to take on that course, and while it is on, your visibility is heavily reduced, so the rest of your group has to guide you through with voice and signals. It is one of those objects that rewards a team willing to experiment together. You can read more about the game’s toy list on the official Big Walk site.
What to grab first
For long exploration routes, the strongest kit is a bag, a map, a compass, a flare, and one long-distance communication tool. For tower puzzles, keep a lantern on you and have a laser pointer or binoculars ready for the moments a puzzle forces the group to split up.
The most reliable habit is simple. Never leave the starting area without a communication tool, and never head out at night without a light. Most other items only reveal their value in a specific situation, so it is worth picking up the strange ones too. The item you ignored on the first pass is often the exact thing a later puzzle asks for.