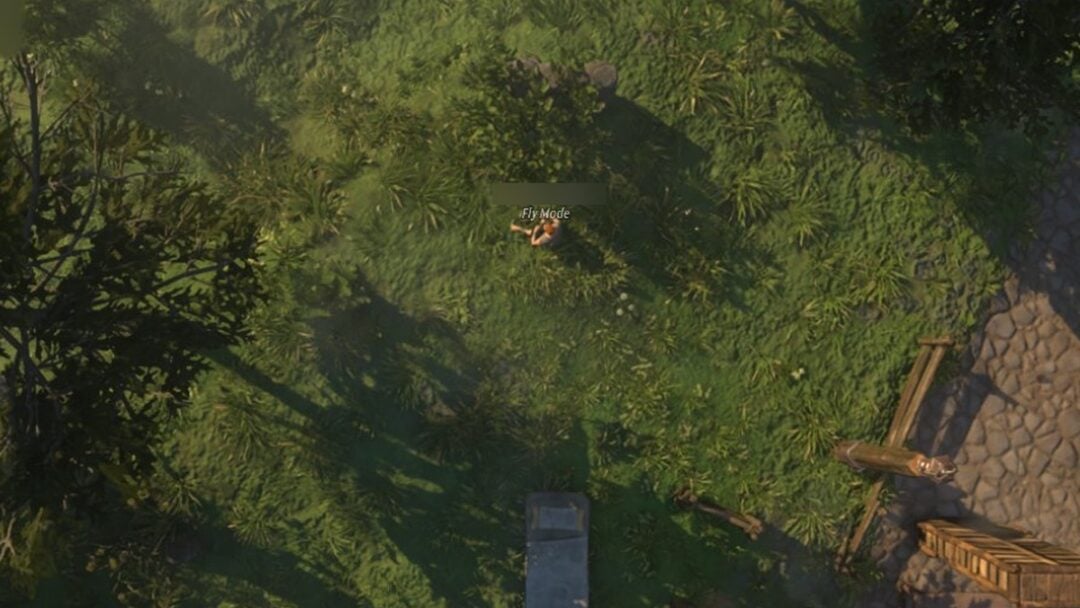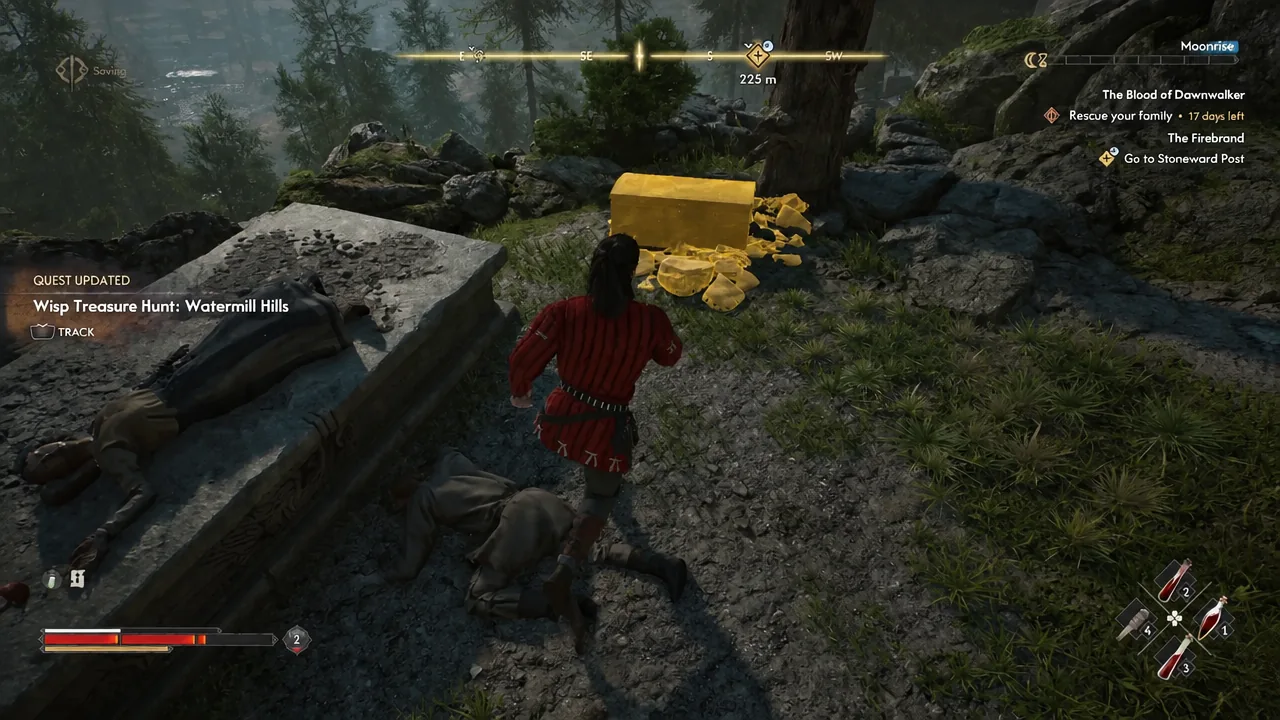
Wisp Treasure Hunt: Watermill Hills is one of the few things in The Blood of Dawnwalker that starts without an NPC, a note, or a map marker. You wander into the hills above Briar Sloughs, Coen spots a string of floating lights, and the quest just opens itself. Follow them long enough and you end up at a stone altar with a chest that hands over a skill manual, a greatsword, and a skill point.
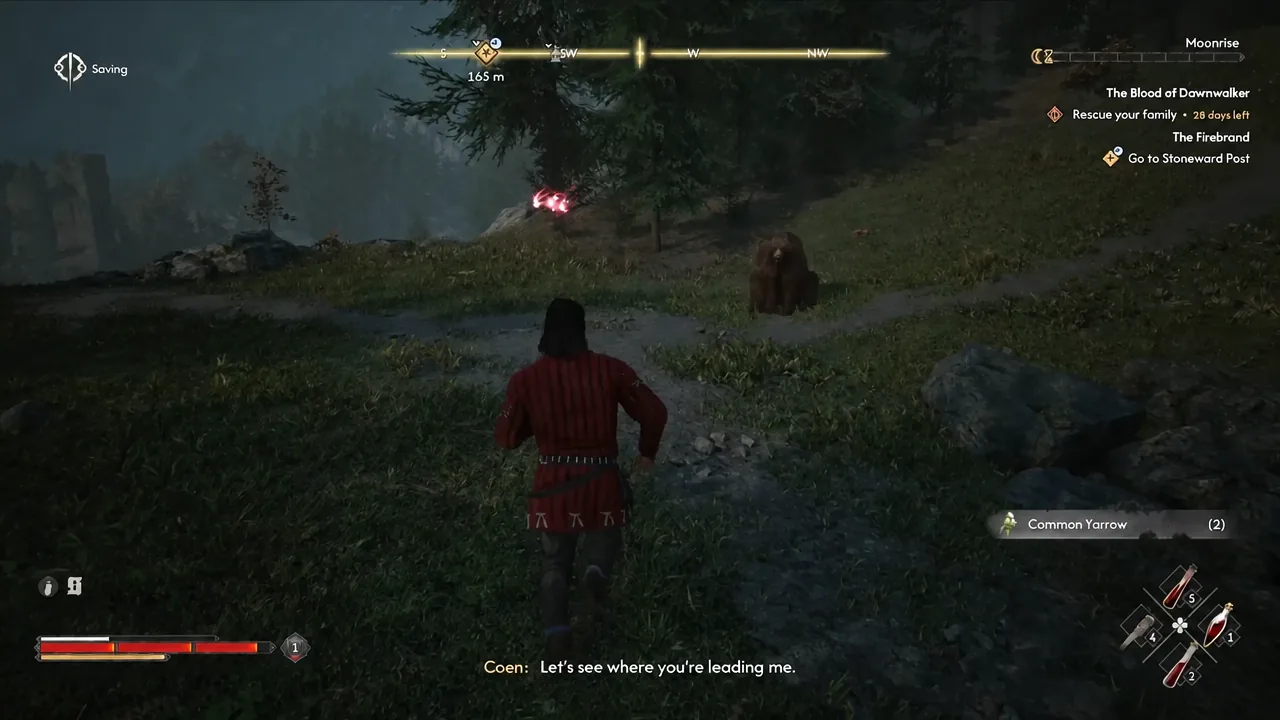
Quick answer: Fast travel to the Sloughside Mill Shrine in Briar Sloughs, head west up the slope until the wisps appear, follow them until a Level 8 Ravenous Bear blocks the path, kill it, keep following the trail to the stone altar, then spend 1 in-game hour opening the chest for the Medicus I Manual and the Sharp Battle Cleaver.
Where the Watermill Hills wisps spawn and how the quest triggers
The wisps sit in the hills just north of Briar Sloughs, west of Sloughside Mill. The closest fast travel point is the Sloughside Mill Shrine, which you will already have unlocked if you poked around the mill during the rebel-related objectives in that area.
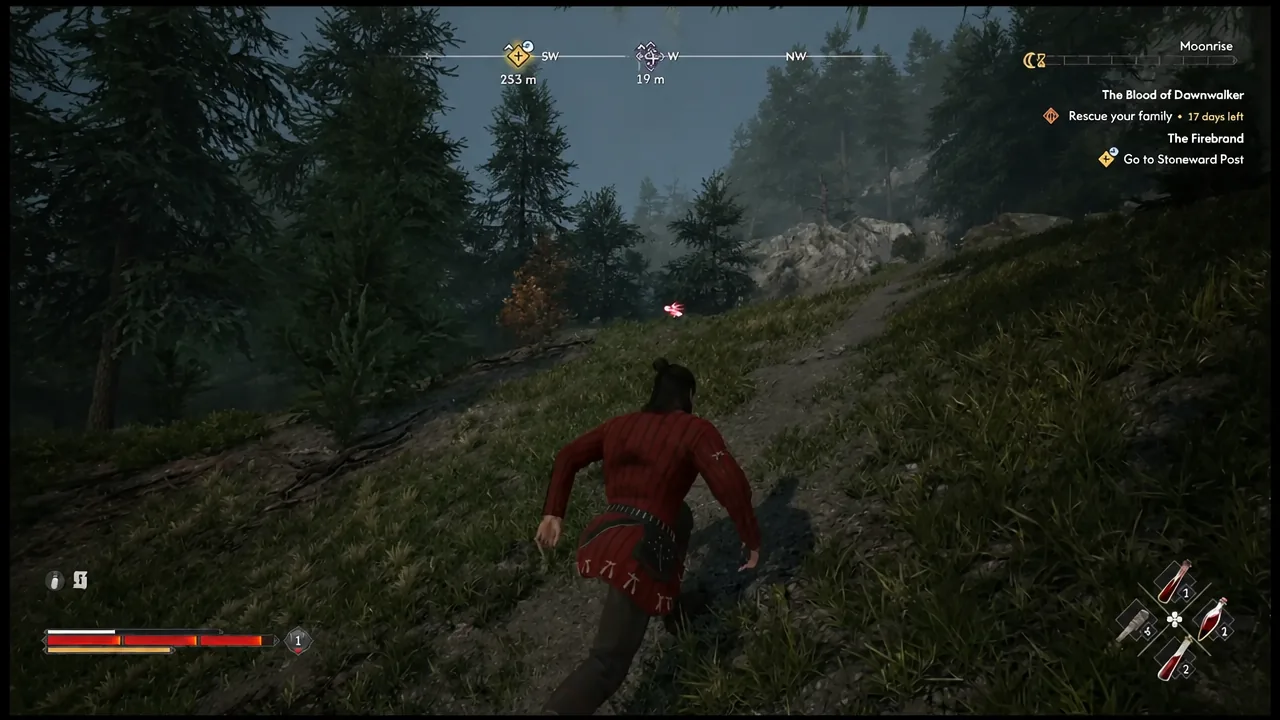
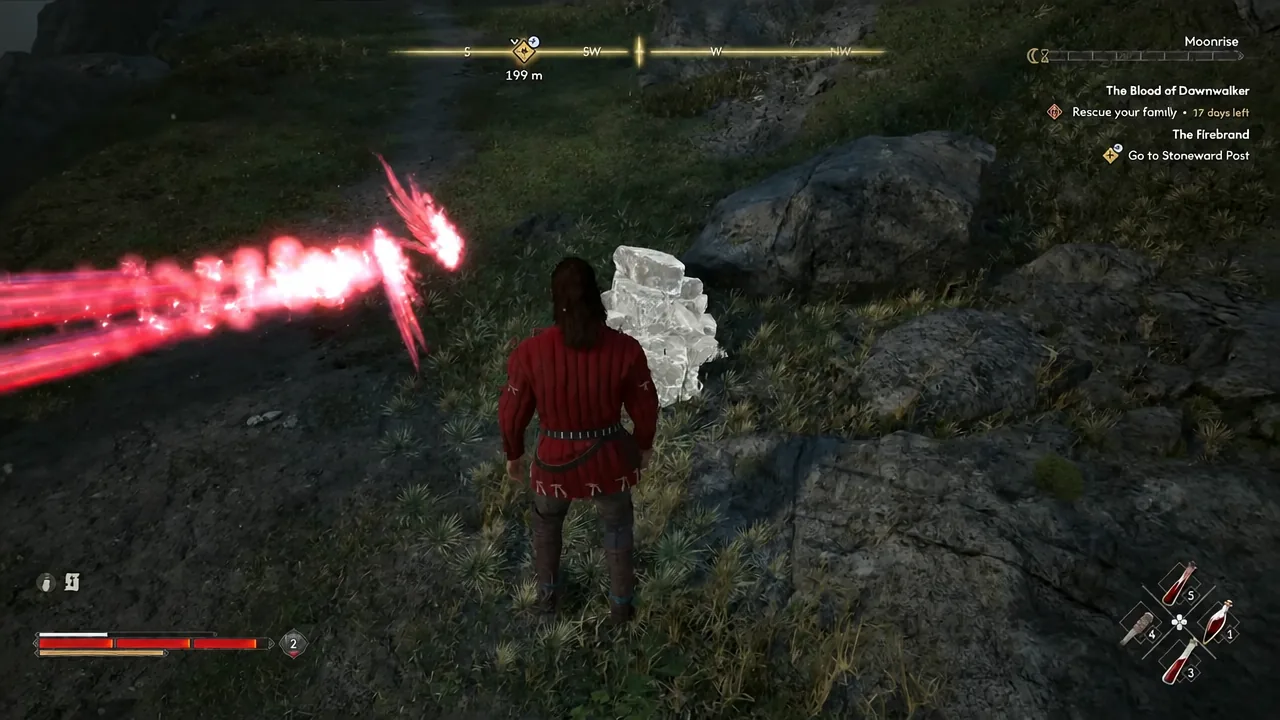
From the shrine, turn west and climb the slope. The lights are bright and float in a loose line, so they are hard to miss at night and still visible during the day. There is no prompt to accept and no dialogue tree. The quest fires the moment Coen walks close enough, and he comments on the lights himself, wondering whether they guide the lost or bait the foolish.
Following the wisps to the treasure
Beating the Ravenous Bear
The bear carries three full health bars, which makes it a longer scrap than anything else on this route. Block and parry rather than dodging everything, since parries drain far less stamina and the bear commits hard to its swings. Anything that glows red cannot be blocked, so roll those instead of trying to eat them.
Do not mash attacks between its combos. Let it finish a move, land a short punish, then reset your guard. Killing it pays out 36 XP and its body can be stripped for Bear Fur, Bear Meat, Bear Liver, and Animal Bones, all of which sell or feed into crafting.
Opening the chest costs 1 in-game hour
Interacting with the chest triggers a time skip of one hour. Time in The Blood of Dawnwalker works like a currency spent against your 30 days, so that hour is a real cost even though the walk up the hill is free.
Tip: save in a spare slot before you touch the chest. You can open it, look at what dropped, and reload to get the hour back if the roll is not worth it. The game does not penalize this.
Watermill Hills chest loot and the Medicus I Manual
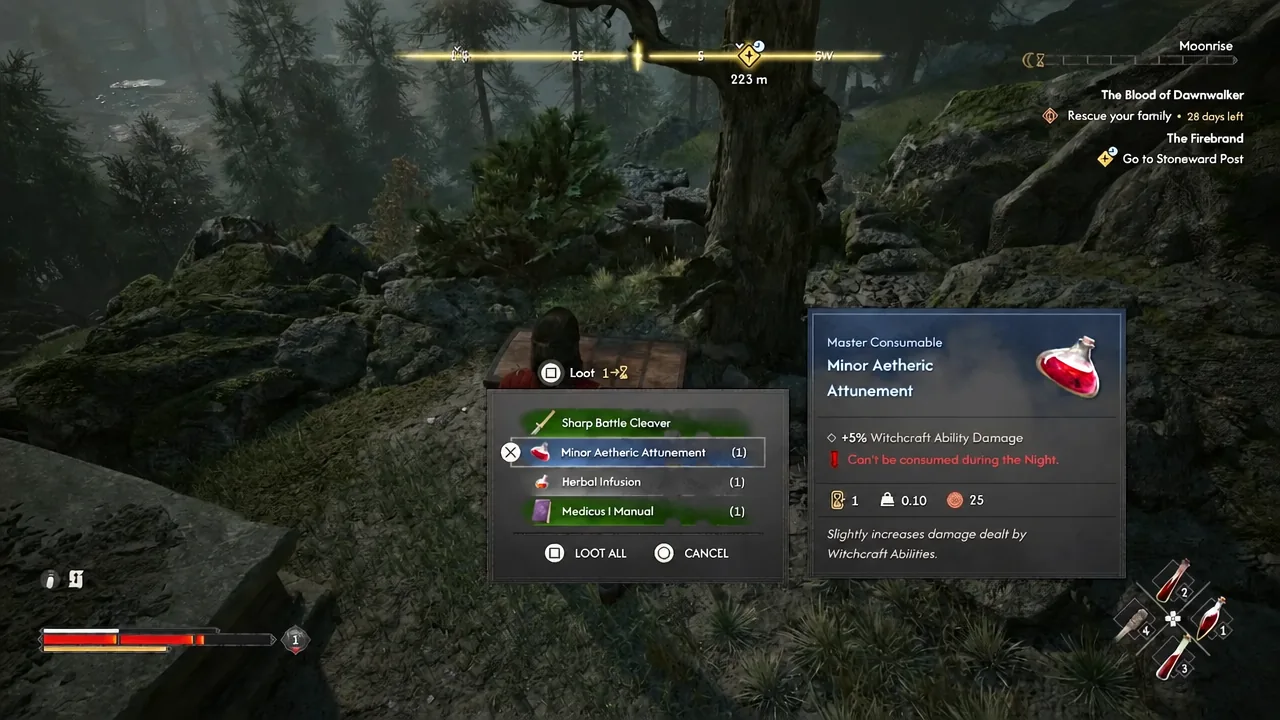
The headline drop is the Medicus I Manual, sitting alongside the Sharp Battle Cleaver, a Level 8 Superior greatsword. The rest of the chest is a mix of consumables and materials, and the exact contents shift between playthroughs, so a second run can turn up a Witchcraft manual and an amulet instead.
| Item | What it is |
|---|---|
| Medicus I Manual | Skill manual that unlocks the Medicus I perk upgrade in the Witchcraft tree |
| Sharp Battle Cleaver | Level 8 Superior greatsword |
| Minor Aetheric Attunement | Consumable |
| Herbal Infusion | Consumable |
| Frugal Witchcraft Manual | Alternate manual drop, unlocks the Frugal Witchcraft perk upgrade |
| Warrior’s Rush Amulet | Swordmastery ability cooldown and weapon damage |
| Barley Beer | Stamina regeneration rate |
| Linseed Oil | Common oil |
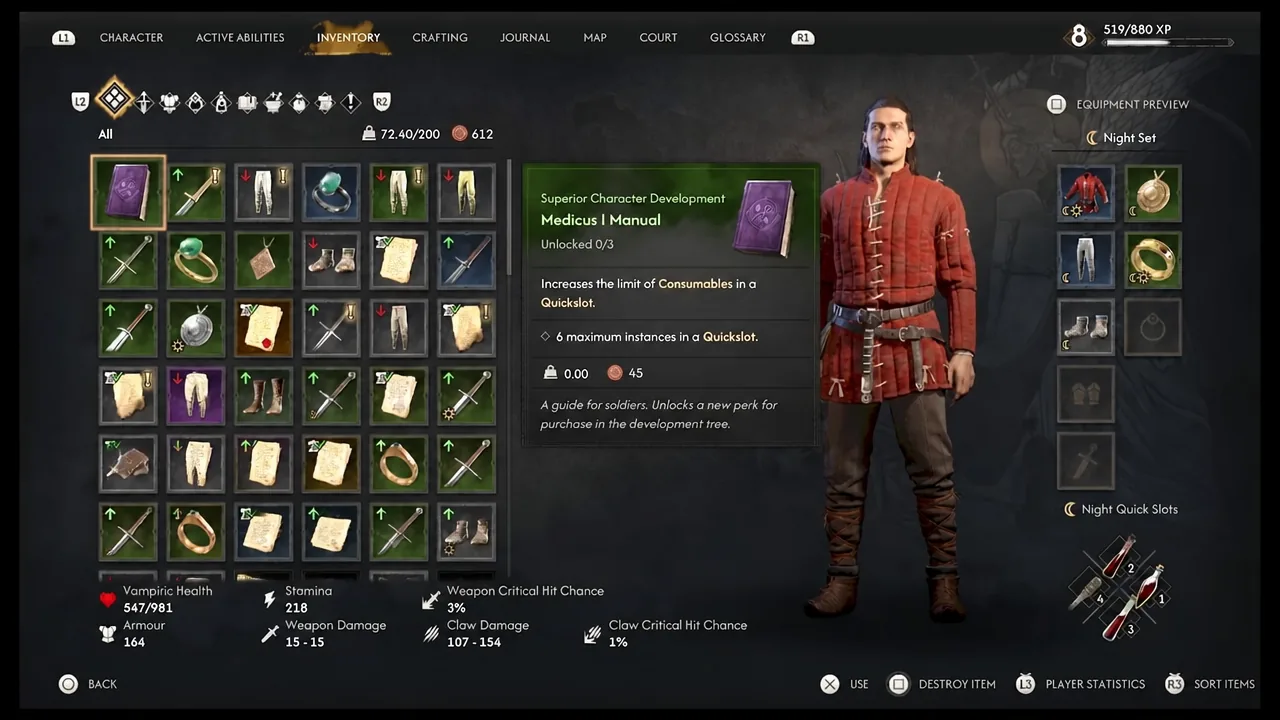
Read the manual from your inventory to apply it. Medicus I raises the cap on how many copies of a consumable you can stack in a quickslot, taking it up to 6 maximum instances. That is a straight quality of life win for anyone leaning on potions and food mid-fight, and it is worth doing before you commit skill points elsewhere.
Confirming the quest completed
Empty the chest completely. Once the last item is out, the journal shows “Quest Ended: Wisp Treasure Hunt: Watermill Hills” and awards 100 XP plus one skill point. If the entry has not closed, you almost certainly left something in the container.
Two things stop this from finishing. The Ravenous Bear cannot be skipped, so the trail dead-ends until it is dealt with, and straying too far off the marked path breaks line of sight with the wisps, since they only hold position in a small area. If the lights vanish, backtrack to where you last saw them rather than pushing forward on foot.
For an hour of in-game time and one bear fight, a skill point and a free perk upgrade make this one of the cheaper detours in Briar Sloughs, especially since exploring the hills to reach it does not move the clock at all.