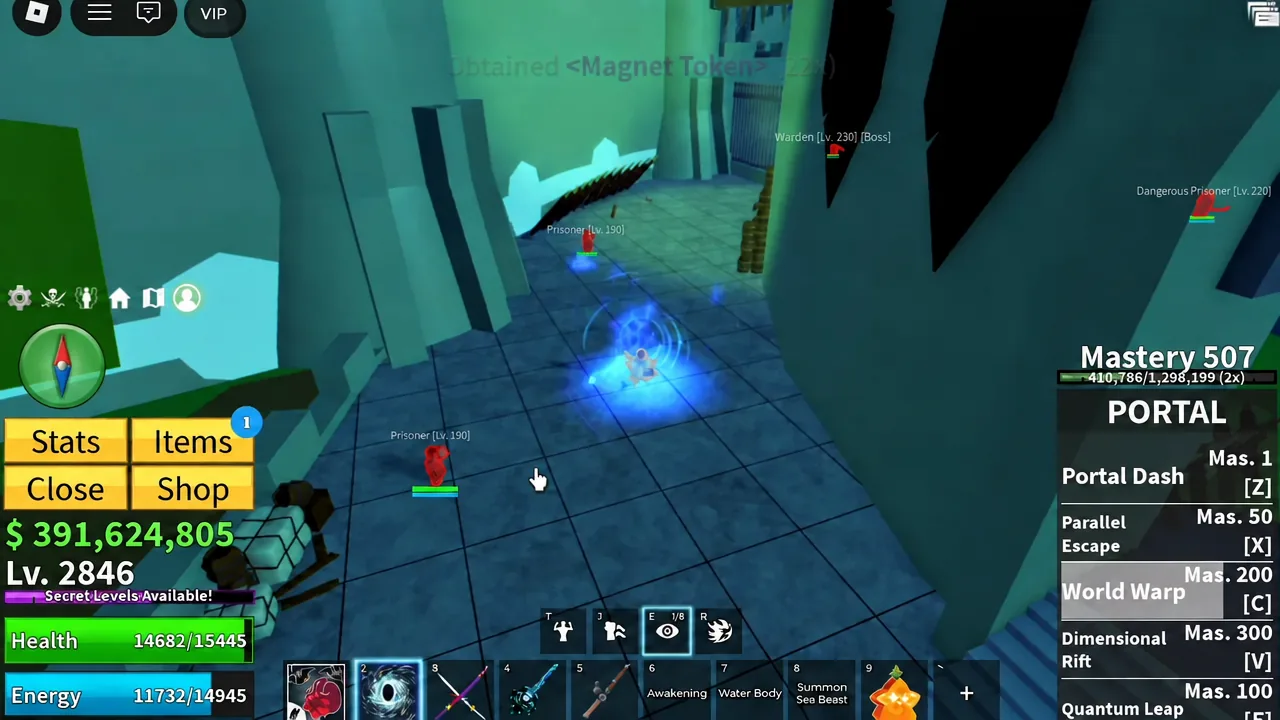
Magnet Tokens only drop during the Magnet Event, and the event only runs for 10 minutes at the top of every hour. That short window is the whole problem. Tagged enemies never respawn once you kill them, so the difference between 200 tokens and nearly 800 is entirely down to how many islands you can clear before the clock runs out. The First Sea is the best place to do it because the islands sit close together.
Quick answer: Equip the Shark Cape (+30% tokens) or the Coral Crown (+25%), sit in a First Sea private server with Portal, and at XX:00 run Colosseum → Pirate Village → Underwater City → Jungle → Desert → Magma Village → Skylands → Starter Island → Prison → Marine Fortress → Frozen Village. Kill only the two or three enemies carrying the [Magnetized] or [Overcharged Magnetized] tag on each island, then move immediately. That loop finishes at roughly 780 tokens in about five minutes of fighting.
Magnet Event rules that decide your token total
Every rule here pushes you toward the same behavior, which is constant movement. Only the lowest-level enemy type on each island can pick up a modifier, and only one to three of them get tagged. Kill them and the modifier is gone for that hour. Nothing refreshes mid-window.
| Rule | Detail |
|---|---|
| Event timing | Starts at XX:00 every hour, runs 10 minutes |
| Tagged enemies | Roughly 1–3 per island, lowest-level type only |
| Tokens per kill | 17–35, higher in later seas |
| Modifier removal | On kill, or when the event ends |
| Token cap | 5,000 Magnet Tokens |
| Gacha cost | 500 tokens per roll, one roll every two hours |
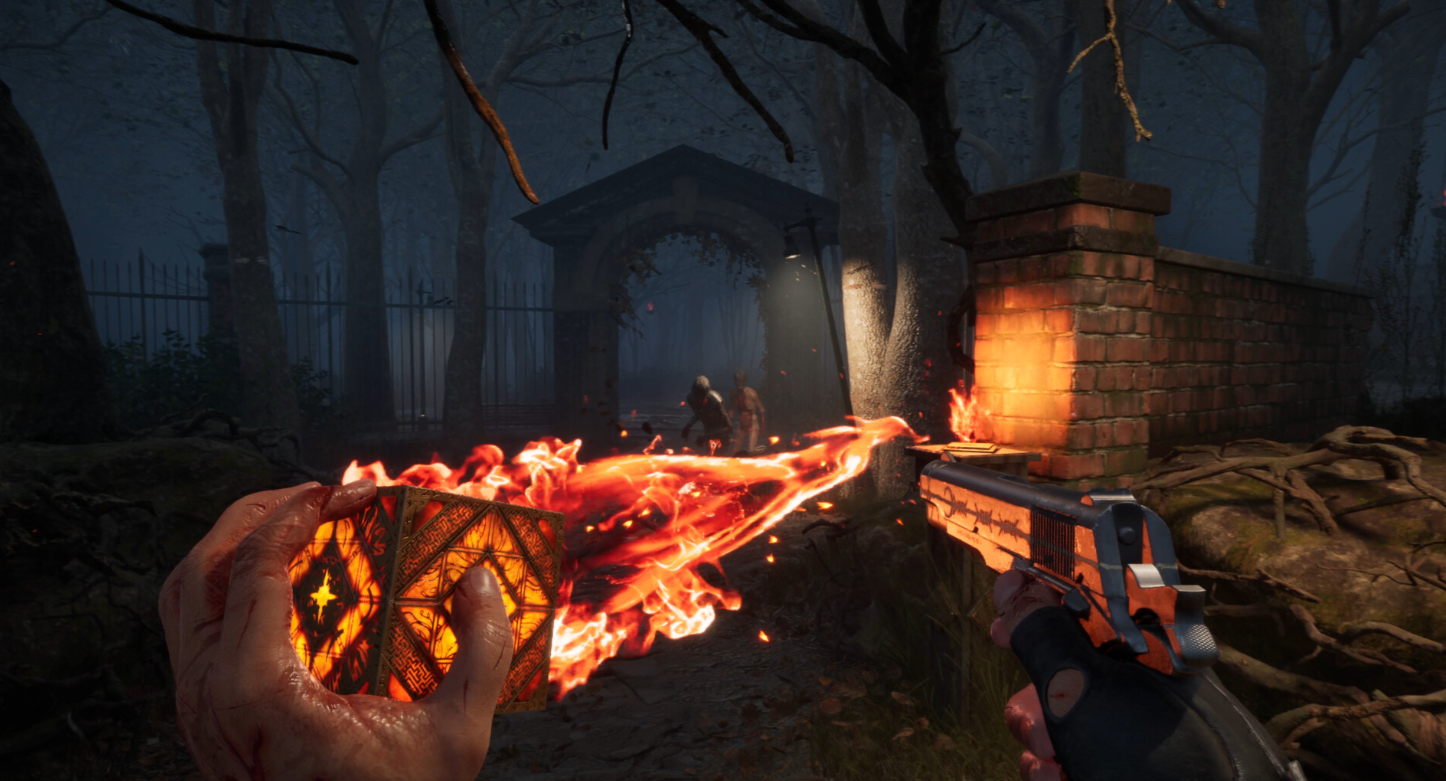
The two modifiers behave differently in a fight. A [Magnetized] enemy gets oversized metal hands and a melee swing lifted from Magnet’s untransformed M1, so the hitboxes are much wider than a normal punch. An [Overcharged Magnetized] enemy instead fires homing missiles that pull you toward the blast, similar to Magnet’s Z. The overcharged versions hit harder but do not knock you around, which makes them quicker to burst down.
Note: enemy damage scales to you, and enemies well below your level are harder to kill than you would expect. Do not plan on one-shotting anything.
Gear and fruit setup before the window opens
Set up during the dead 50 minutes, not after the event fires. Open the Menu and swap your accessory to the Shark Cape for a 30% token increase, or the Coral Crown for 25%. Across 30-plus kills that boost is worth well over a hundred tokens, which is a quarter of a gacha roll.
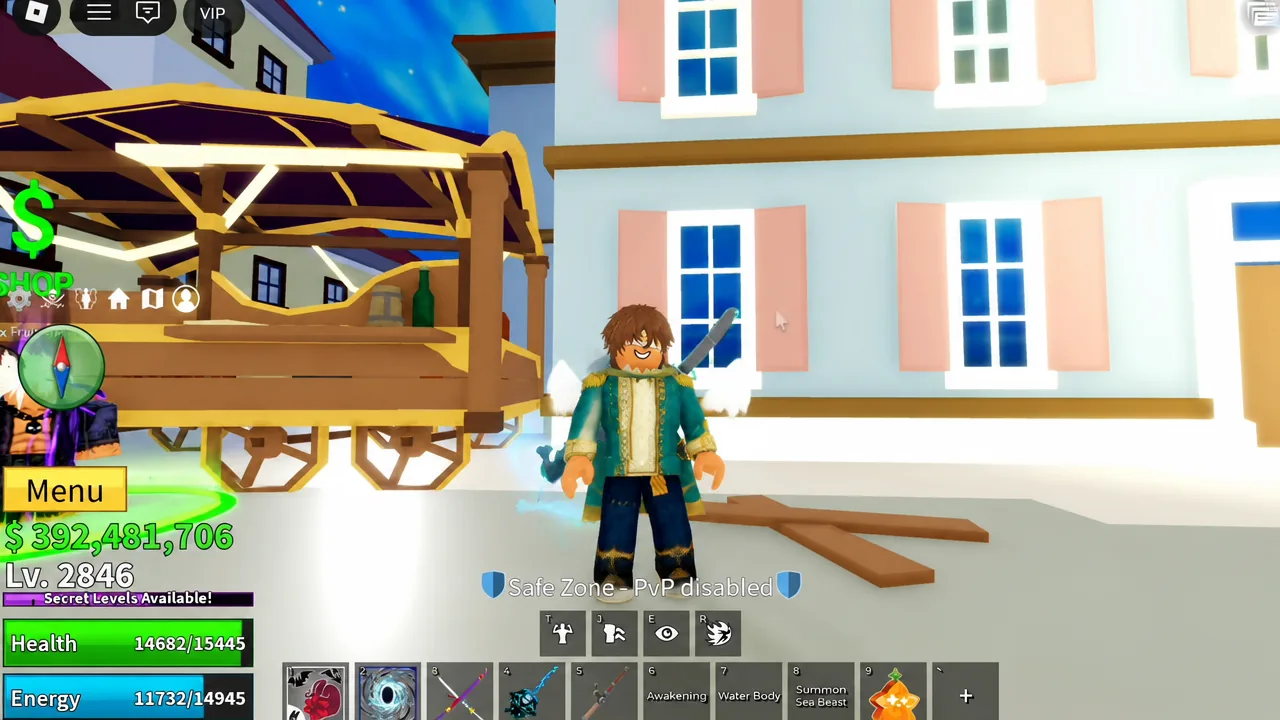
Portal is the fruit that makes this route possible, with Light as the fallback. Both let you cross the First Sea without touching a boat. Eagle and Kitsune also work if that is what you own. A private server is strongly recommended, because in a public lobby you are splitting a fixed pool of two or three tagged enemies per island with everyone else on the server.
It also helps to walk the islands once beforehand and note exactly where the weakest enemy groups stand. Tagged enemies always appear inside those groups, so knowing the spot saves you a lap around each island.
First Sea Magnet Token route, island by island
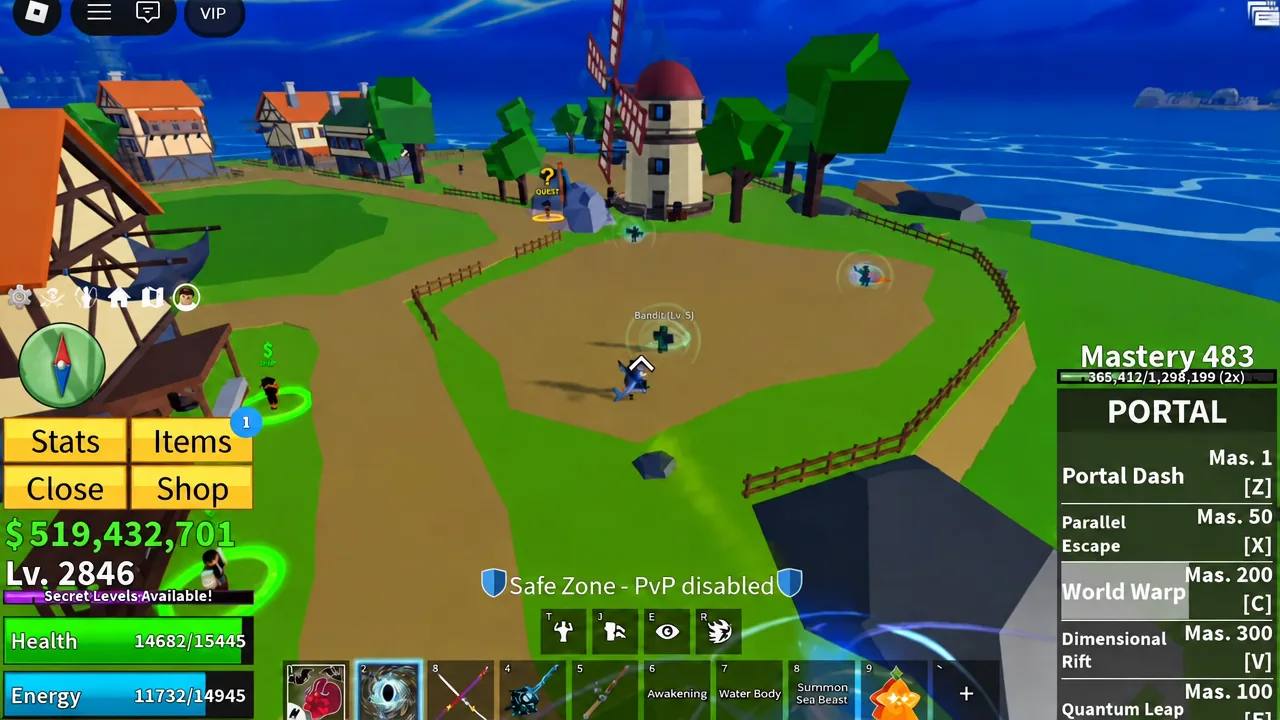
The running totals below come from a clean run with a token-boosting accessory equipped. Your numbers will drift by 20 or 30 either way, since each kill pays somewhere in the 17 to 35 band.
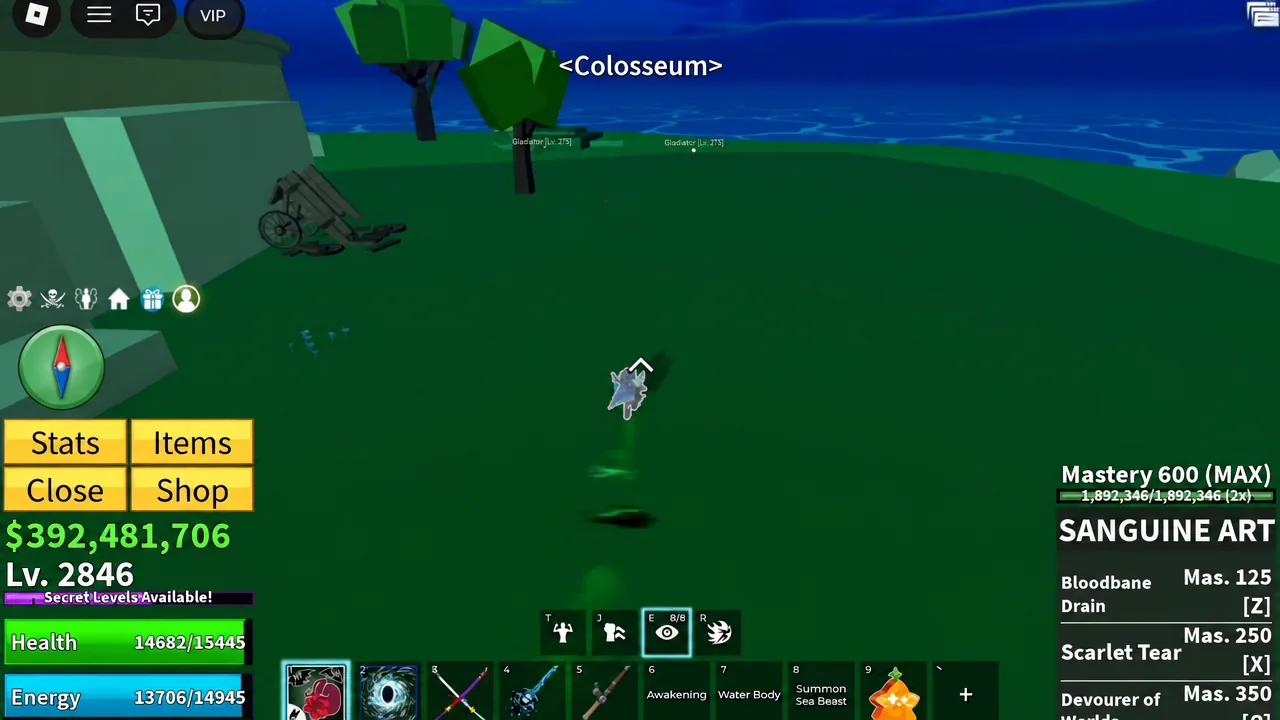
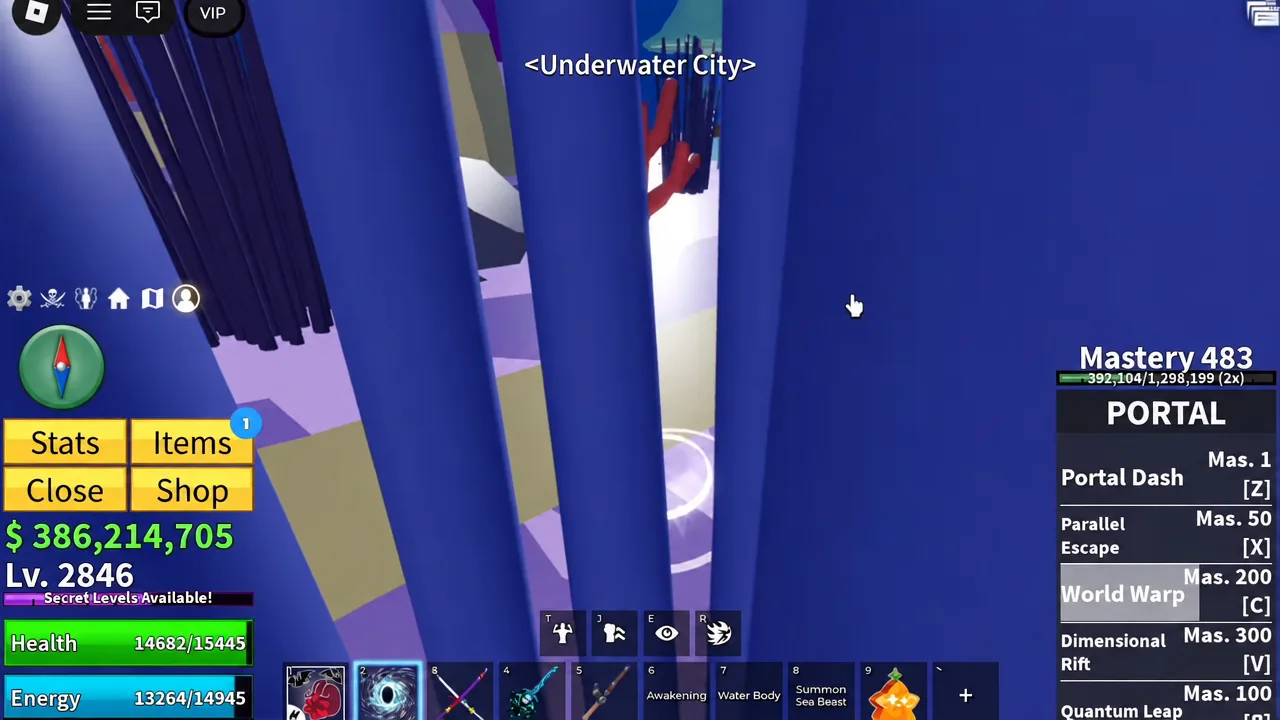
![Magma Village with the Portal menu open and World Warp [C] highlighted mid-route](https://static.allthings.how/wp-content/uploads/2026/09/how-to-get-800-magnet-tokens-in-5-min-bloxfruits-first-sea-9414848717.webp)
First Sea islands to skip during the event
Four First Sea locations never produce tagged enemies. Visiting any of them mid-window costs you an entire island for nothing.
| Location | Why to skip it |
|---|---|
| Middle Town | No farmable enemy groups; visit only to roll the gacha after the event |
| Upper Skylands | No magnetized spawns |
| Fountain City | No magnetized spawns, and the enemy groups are spread far apart |
| Starter Island (Marine) | No magnetized spawns |
How to confirm the run worked and where to spend the tokens
Each kill pops an obtained-item notification for Magnet Token, listed as a Common material, and your inventory count climbs immediately. When the 10 minutes are up, the game prints a clear end-of-event message, “Magnet recedes… expect its return in the next hour.” Every remaining tag disappears at that moment, so anything still alive is no longer worth killing.
Spend tokens after the window closes, never during it. The Summer Magnet Gacha sits with Zioles in Middle Town and costs 500 Magnet Tokens per spin. That roll runs on a two-hour cooldown shared with the standard Blox Fruit Gacha, so stockpiling tokens past 500 does not get you more spins any faster. The cooldown is the real limit, not your balance.
If a run comes in far below 700, it is almost always one of three things. You camped a cleared island waiting for respawns that do not come back inside the window, you attacked a higher-level enemy type on an island where only the weakest group can be tagged, or you were on a public server splitting spawns with other players. Fix the route order so you never double back, and the totals hold up hour after hour.