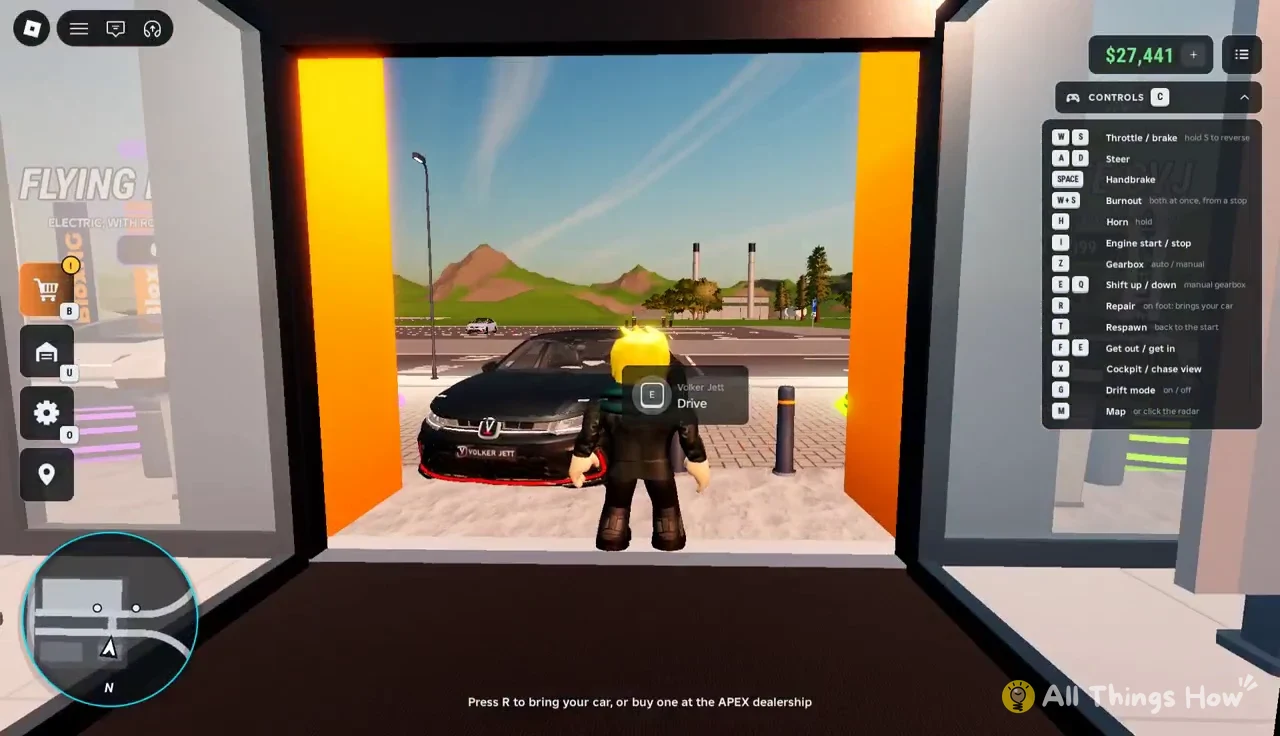
Every new BloxNG player starts in the same car, a white Volker Jett, with almost no money and the whole map open. Within your first session the game hands you enough Cash to afford a second car, but only if you drive, crash and run from the police enough to fill your balance. You’ll launch the game from its Roblox page, and from there it’s on you to get from the starter car to the dealership.
Quick answer: Drive the Volker Jett, crash it, and chain skill moves to collect $8,000 in starter bonuses plus driving Cash. Then go to APEX Motor House, where cars start at $15,000.
BloxNG controls for the Volker Jett
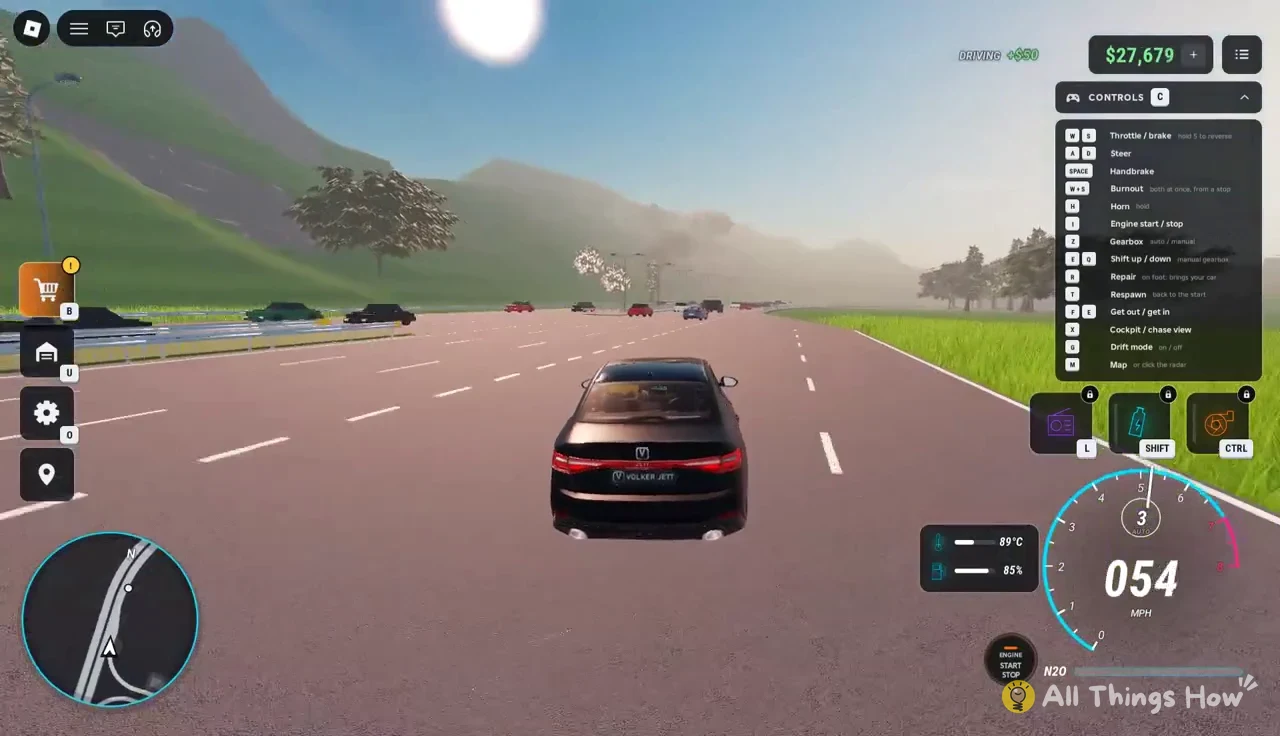
A CONTROLS panel sits on the right side of the screen while you drive, and you can leave it open the whole time. These are the keyboard bindings it lists. Most of them you’ll only need once in a while, but R and Backspace are worth memorizing right away because you’ll use them after almost every crash.
| Key | What it does |
|---|---|
| W / S | Throttle / brake, hold S to reverse |
| A / D | Steer |
| Space | Handbrake |
| W + S | Burnout, both at once from a stop |
| H | Horn (hold) |
| I | Engine start / stop |
| Z | Gearbox auto / manual |
| E / Q | Shift up / down in manual |
| R | Repair; on foot, brings your car |
| Backspace | Respawn back to the start |
| F | Get out / get in |
| C | Cockpit / chase view |
| X | Drift mode on / off |
| M | Map, or click the radar |
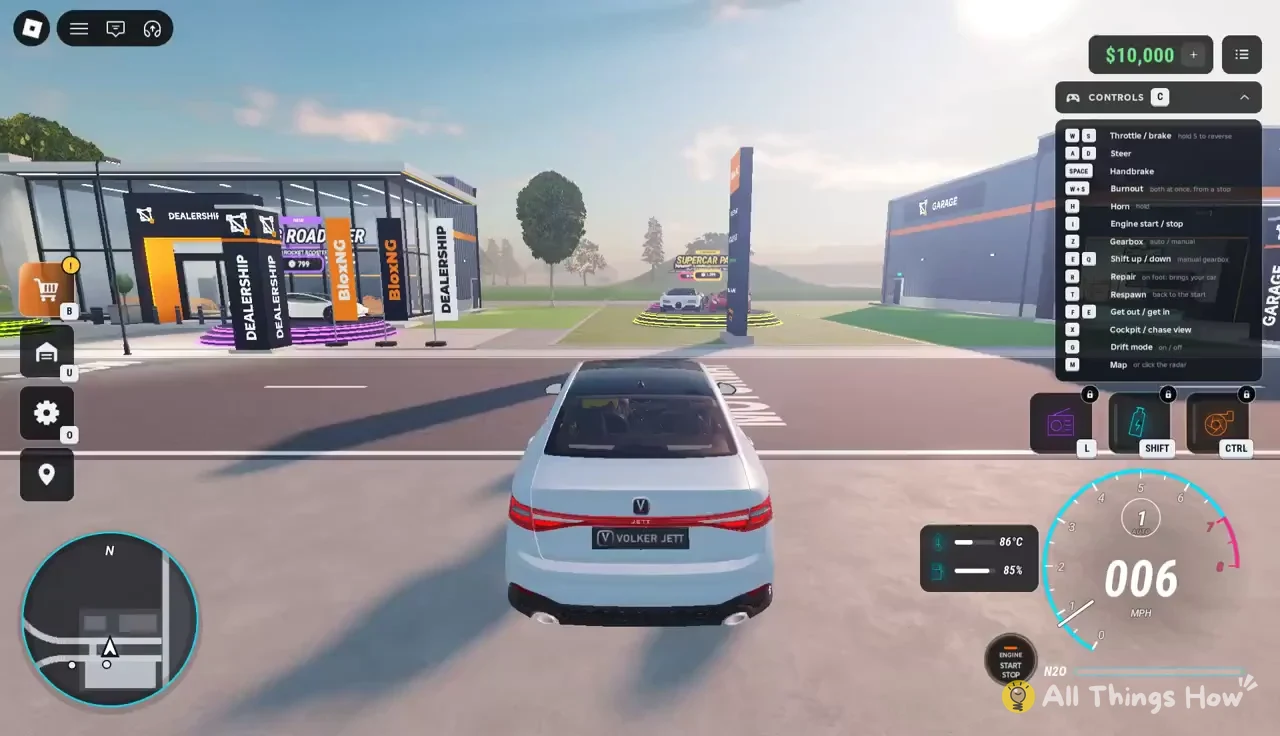
The gearbox starts in automatic, which is easier while you’re learning the car’s weight. Switch to manual with Z only once you’re comfortable, since you’ll then be shifting with E and Q yourself. The Volker Jett makes 200 HP, does 0-60 in 5.3 seconds, tops out at 149 MPH and weighs 1,480 kg, so it’s quick enough to get you into trouble on the highway.
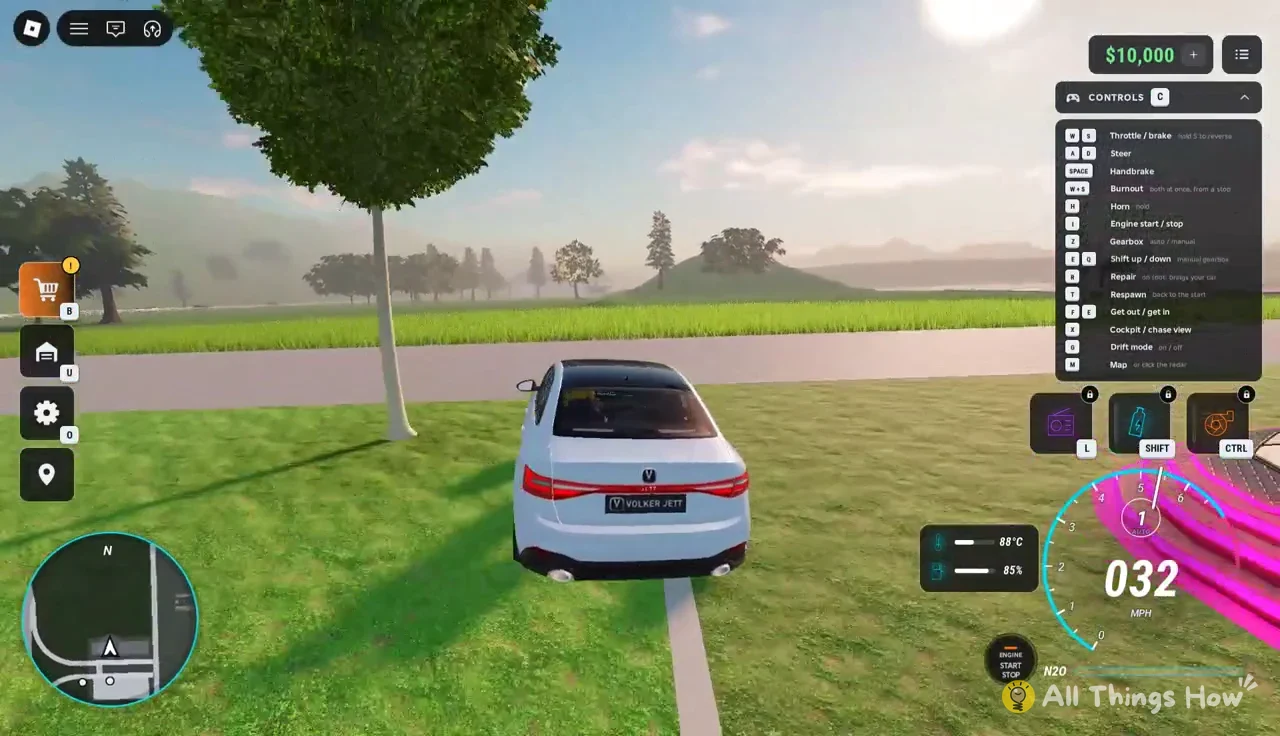
The minimap at the bottom left draws yellow guidance lines and waypoint dots when the game wants to send you somewhere, and M opens the full map. When your car spawns or gets repaired, a blue shield briefly surrounds it.
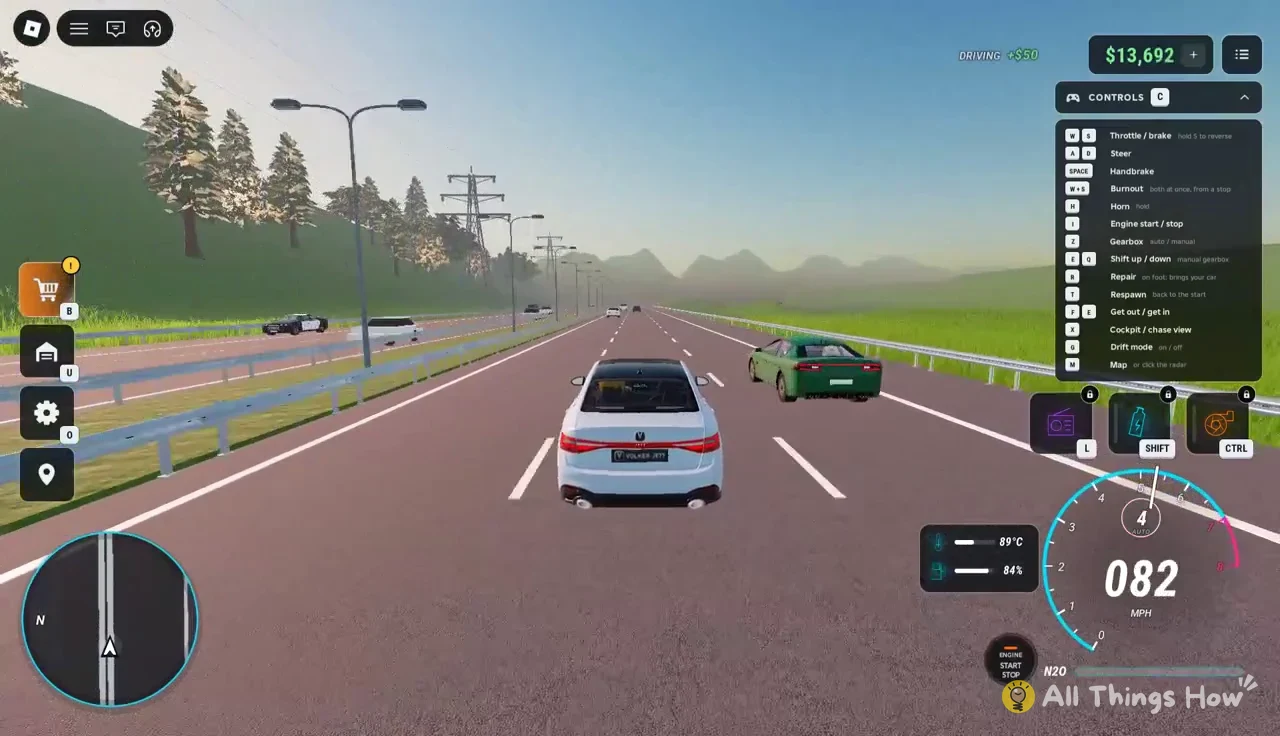
Starter bonuses and how BloxNG pays Cash
Your first few minutes pay out four one-time starter bonuses. You’ll get all of them without trying, since they fire for things you’d do anyway in your first drive. Together they add up to $8,000.
| Starter bonus | How it triggers | Cash |
|---|---|---|
| FIRST DRIVE | Start driving | +$1,000 |
| FIRST CRASH | Crash for the first time | +$1,500 |
| FIRST SKILL CHAIN | Finish your first skill chain | +$1,500 |
| 5 MINUTES DRIVEN | Drive for five minutes total | +$4,000 |
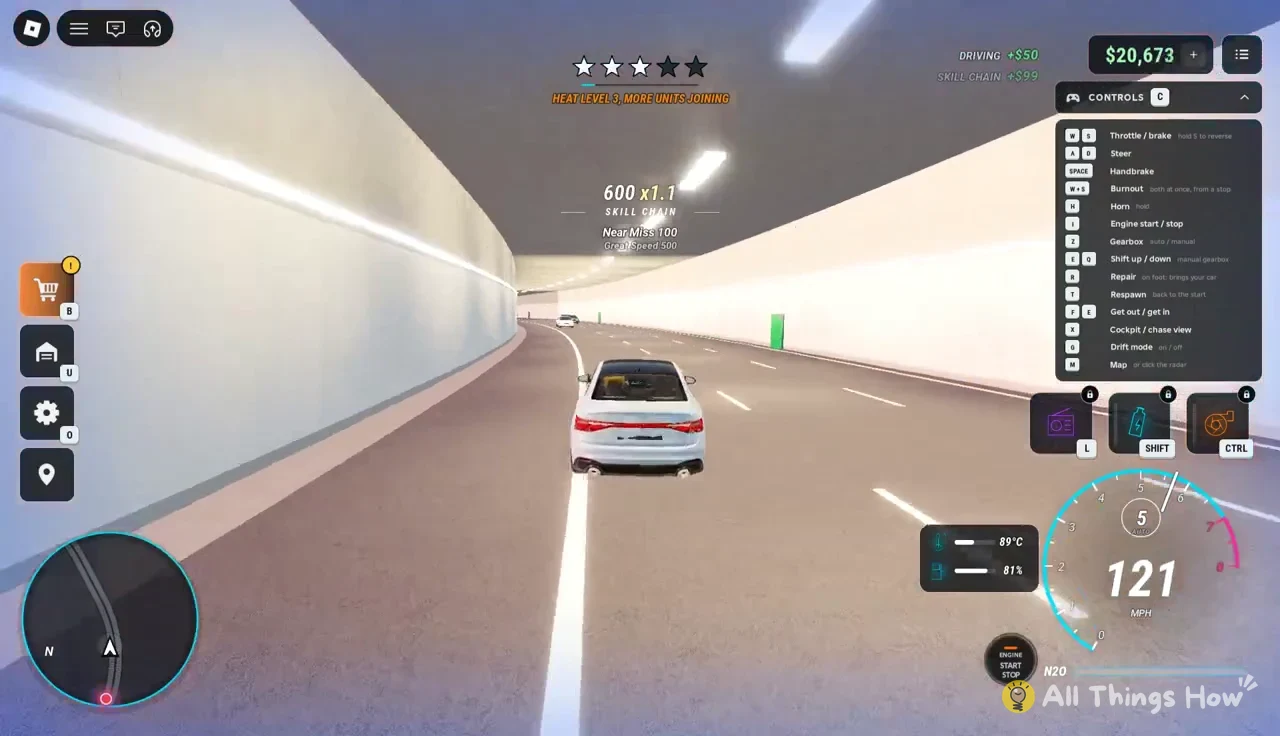
After those, Cash keeps coming in from regular driving, speed, near misses, stunt airtime and crash bounties. A SKILL CHAIN counter at the top of the screen builds as you string moves together. A Near Miss is worth 150, Speed is worth 250 and Great Speed is worth 500, so threading through traffic at high speed adds up faster than plain cruising.
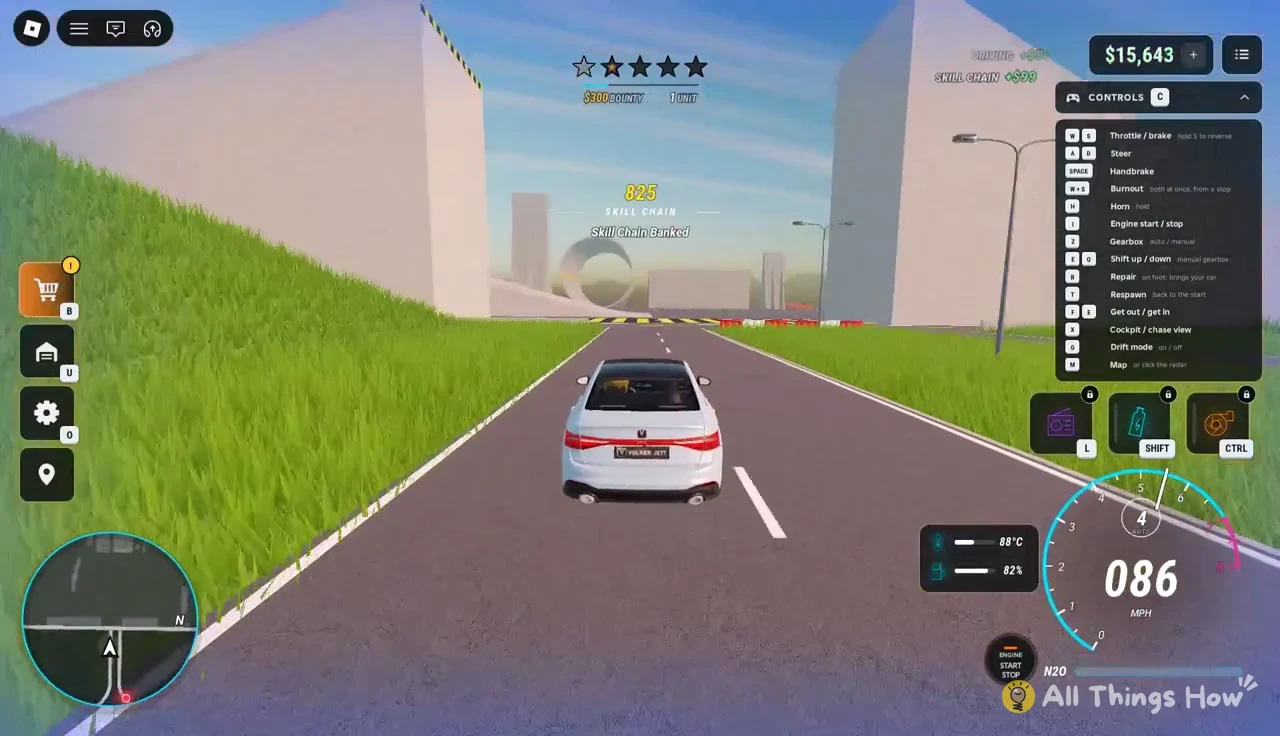
Tunnels work well for this because the traffic is close and the road is straight, which gives you a steady flow of near misses while you hold a high speed. The catch is that anything you clip at that speed ends the run in a wreck.
Crashing, repairing and the stunt zone
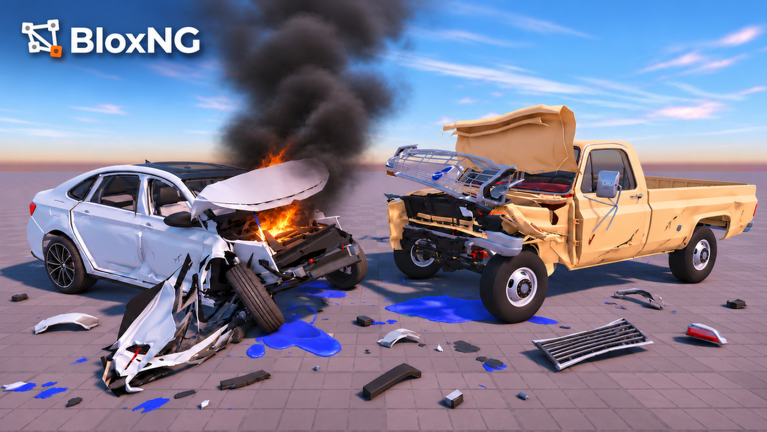
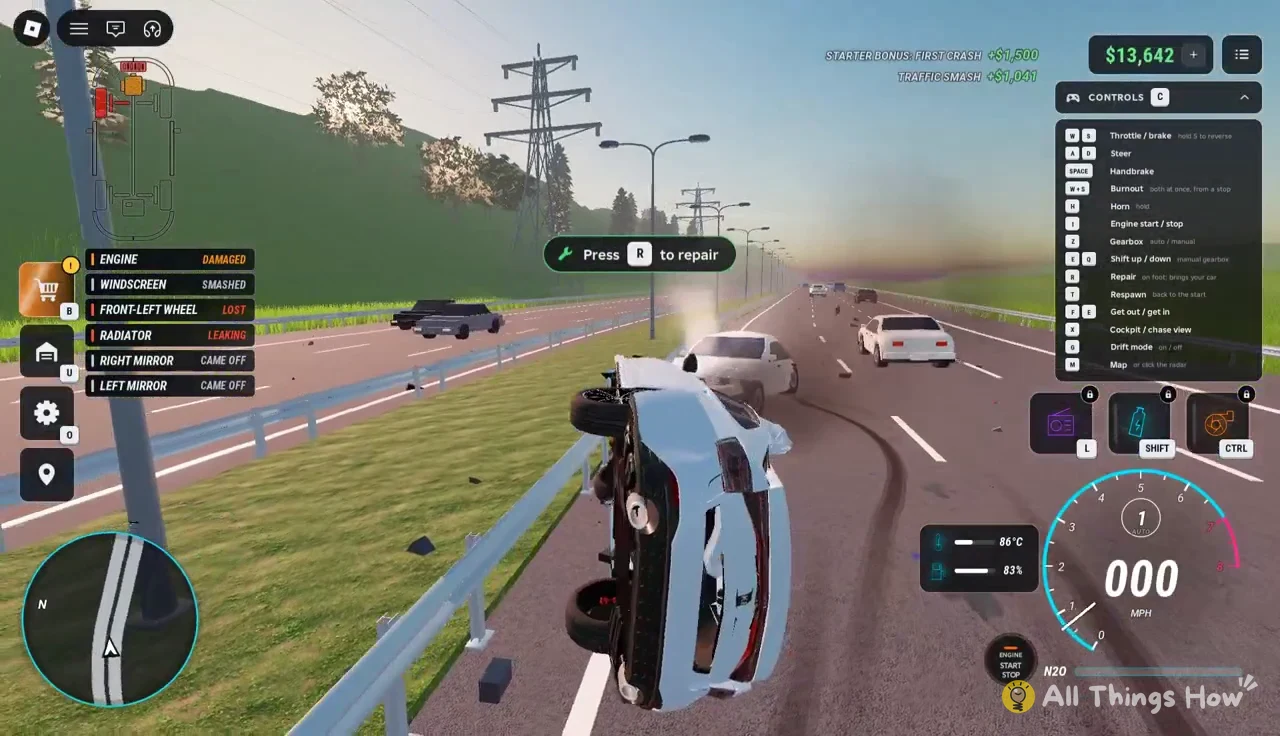
BloxNG uses soft-body damage, so a hit bends the car exactly where it lands. Beyond the body panels, the game tracks individual parts, including the windscreen, engine, radiator, driveshaft, wheels, fuel tank and airbags. A head-on hit with traffic at over 100 MPH can leave the Volker Jett barely drivable, and a car on its roof can’t go anywhere.
Press R and the car is fixed on the spot, flipped back onto its wheels if it rolled. If you’ve gotten out on foot, the same key brings the car to you instead. Backspace is the heavier option, sending you all the way back to the start, so use it only when you’re lost or stuck somewhere R can’t help.
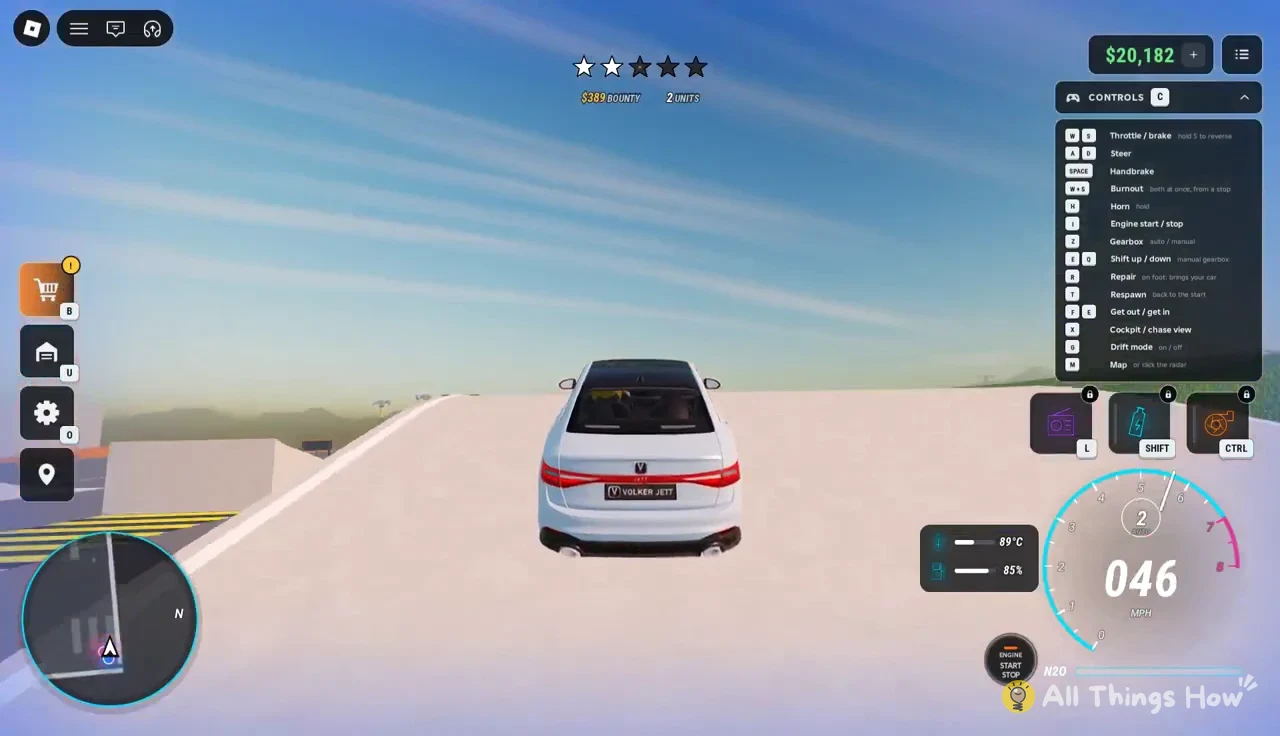
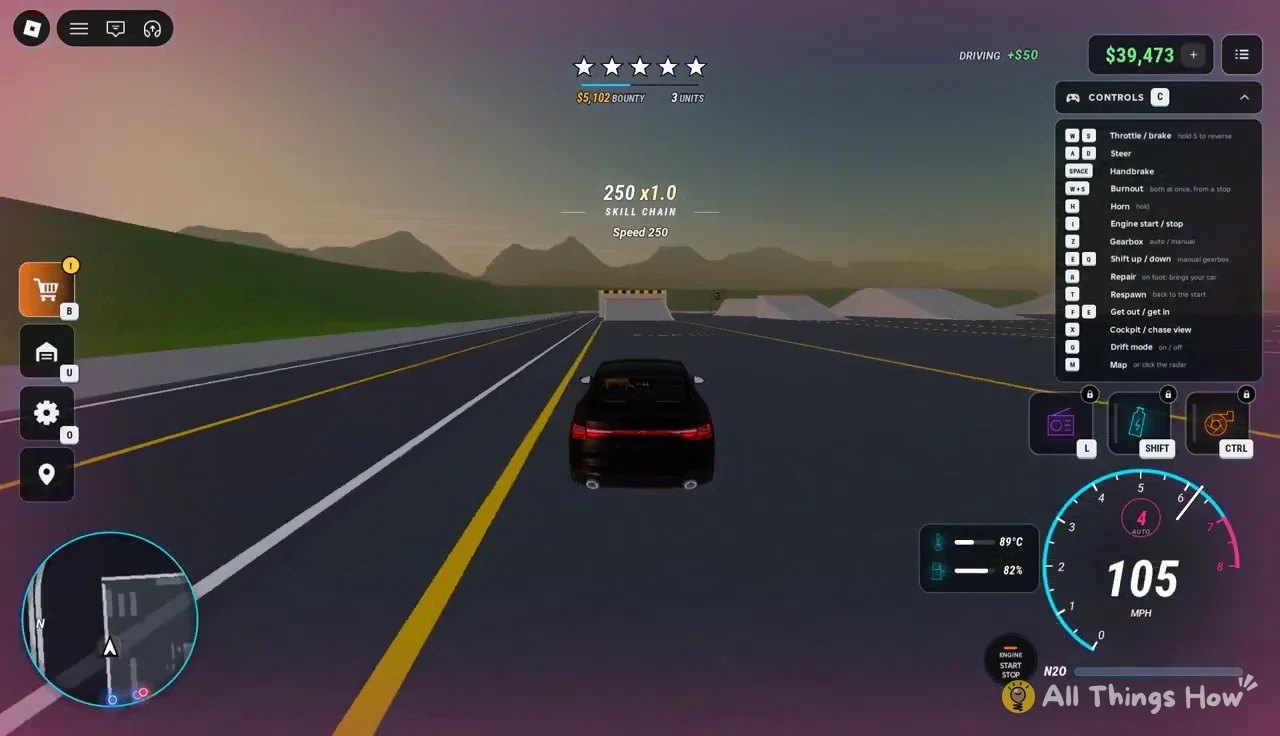
Close to the highway there’s a stunt zone marked with yellow ground markings. It has large loop pipes, regular jump ramps and a steep numbered wall you can try to drive straight up. Landings are rough, and flipping upside down mid-air is common, but each attempt pays airtime Cash and a quick R puts you back in action.
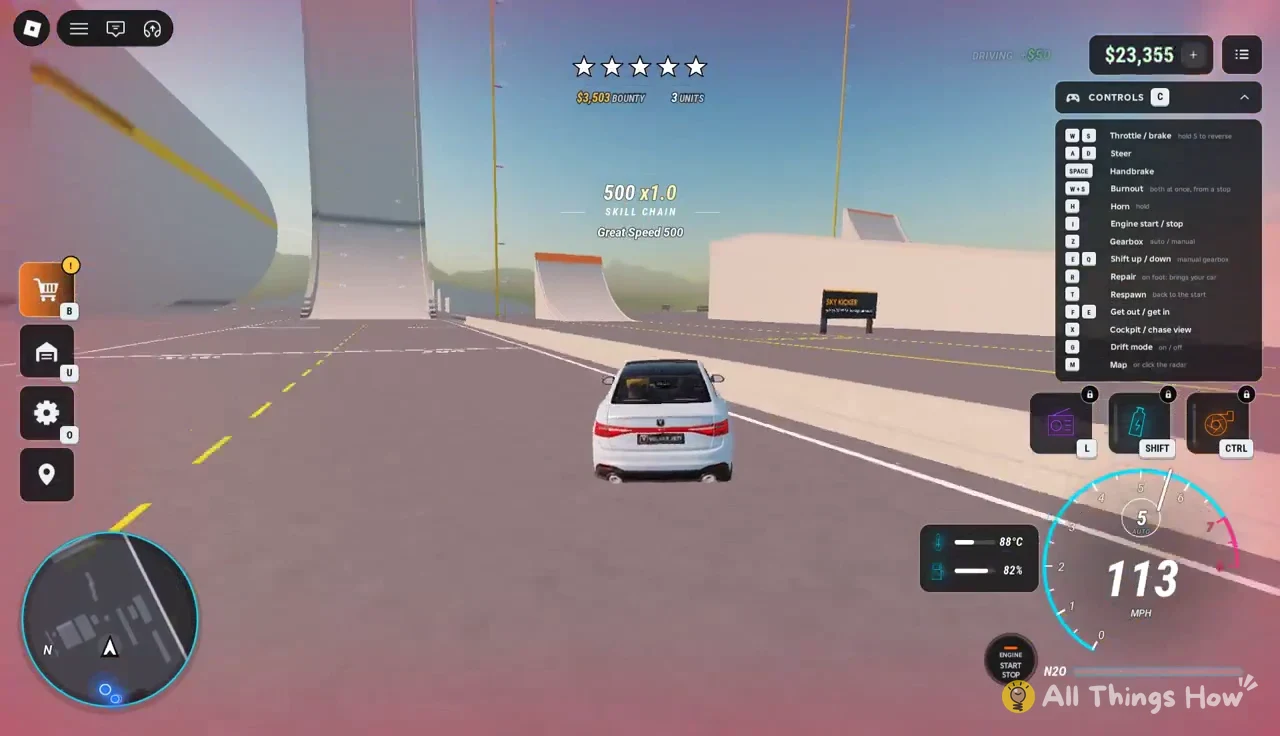
The biggest jump is the GIGA RAMP, which sends you 140 studs up. The sign at the ramp tells you to hit the lip between 110 and 170, and a stock Volker Jett at around 108 MPH reaches serious height but still crashes on the way down.
Police heat, PIT maneuvers and getting busted
Speeding where police or traffic can see you raises your wanted heat, which shows as one to five stars at the top center of the screen. A bounty counter builds alongside it. One star means a cruiser shows up and follows you, while higher heat gets you rammed, boxed in on the road and hit with PIT maneuvers, and the screen warns you with “ATTEMPTING A PIT MANOEUVRE!” when one is coming.
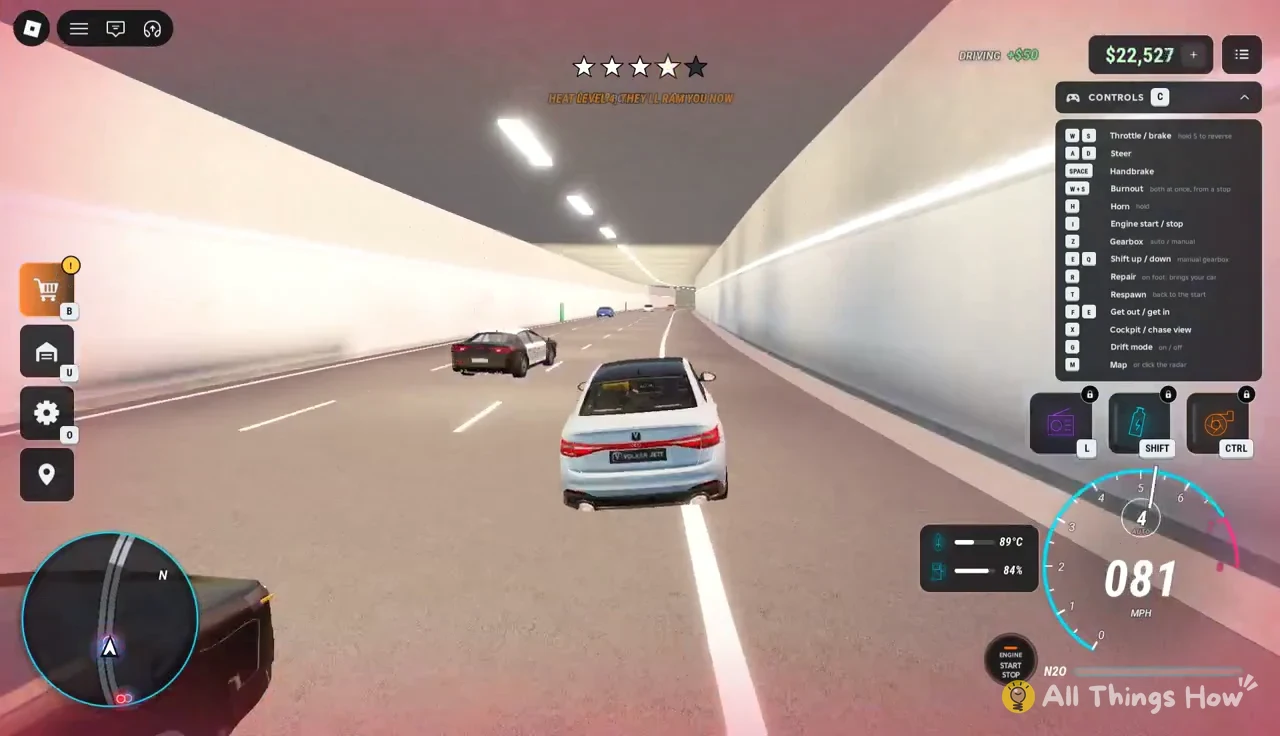
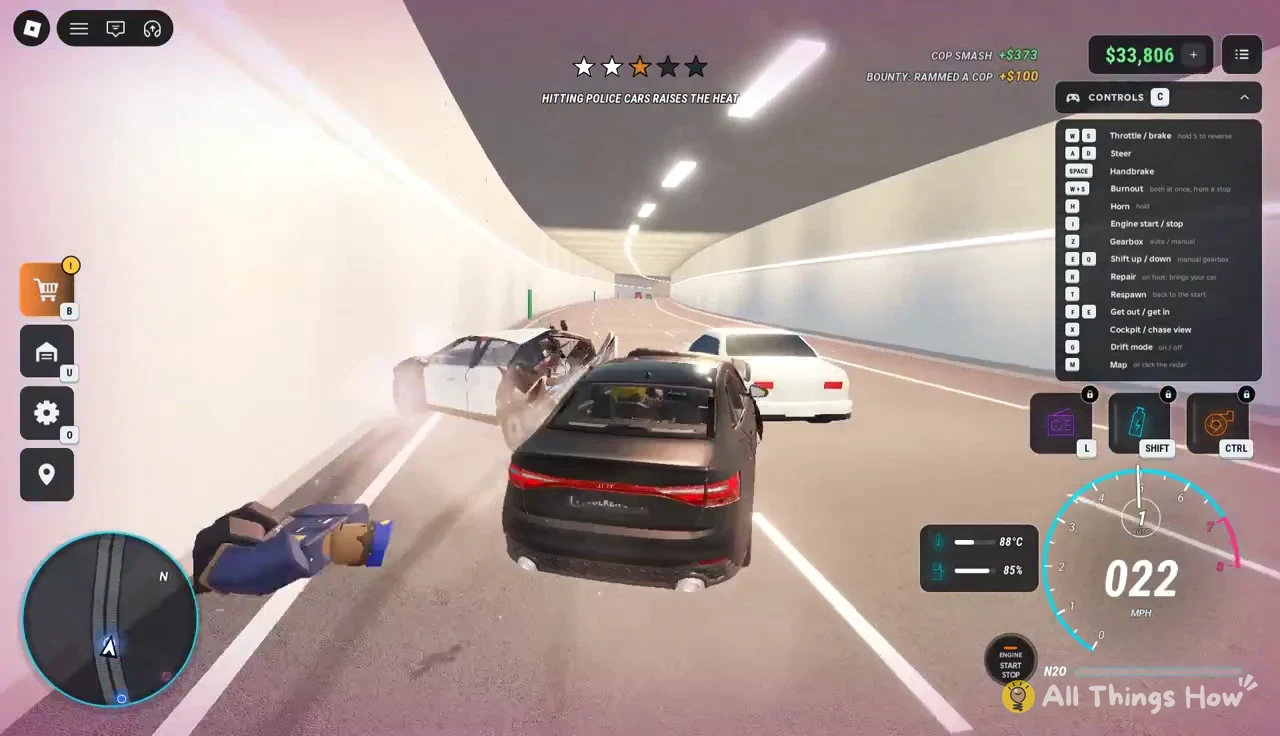
Ramming police cars back is allowed and it pushes your heat even higher. Tunnels are especially risky during a chase because there’s nowhere to swerve, and you’ll often end up wrecked against traffic with cruisers stacked behind you.
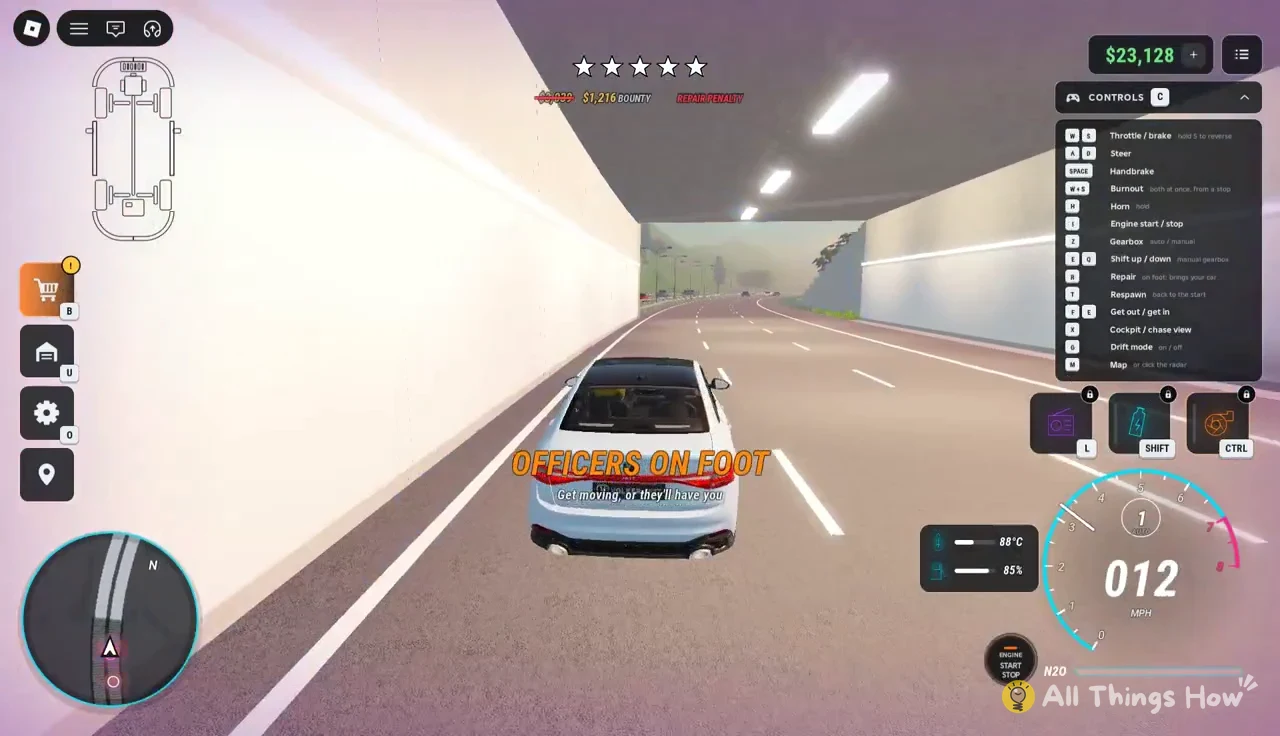
If your car slows down or stops, officers get out and chase you on foot. An “OFFICERS ON FOOT” banner appears with the line “Get moving, or they’ll have you,” and the fix is to get moving again before they reach you.
Open grass fields are a decent escape route since cruisers lose their speed advantage off-road, though they’ll still try to pin you against fencing. Keep the throttle down, steer around fences and avoid coming to a full stop.
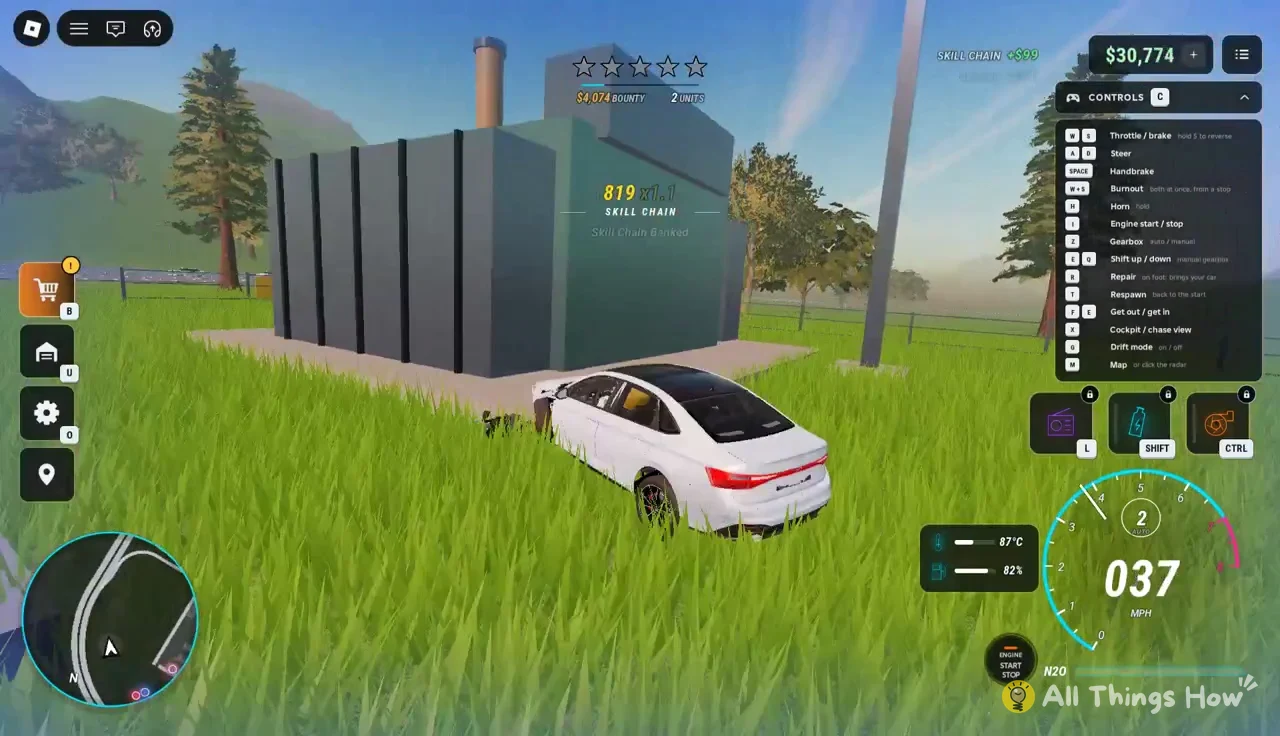
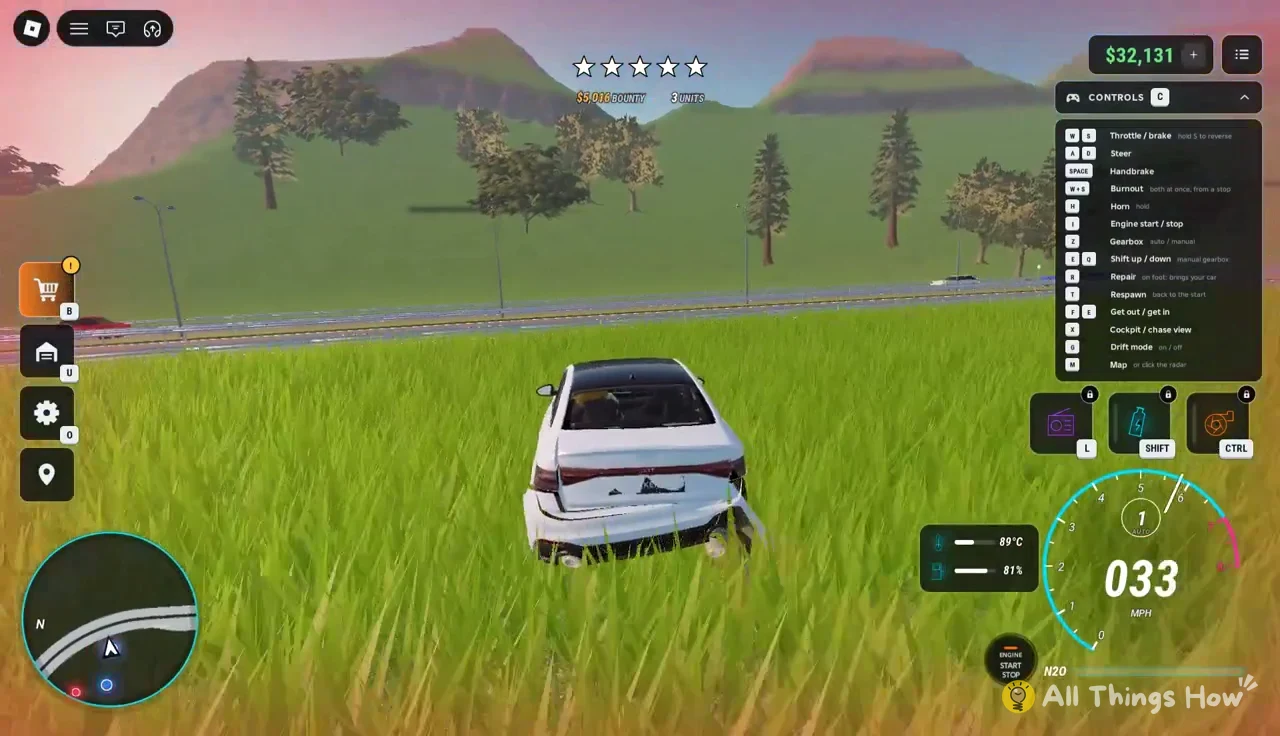
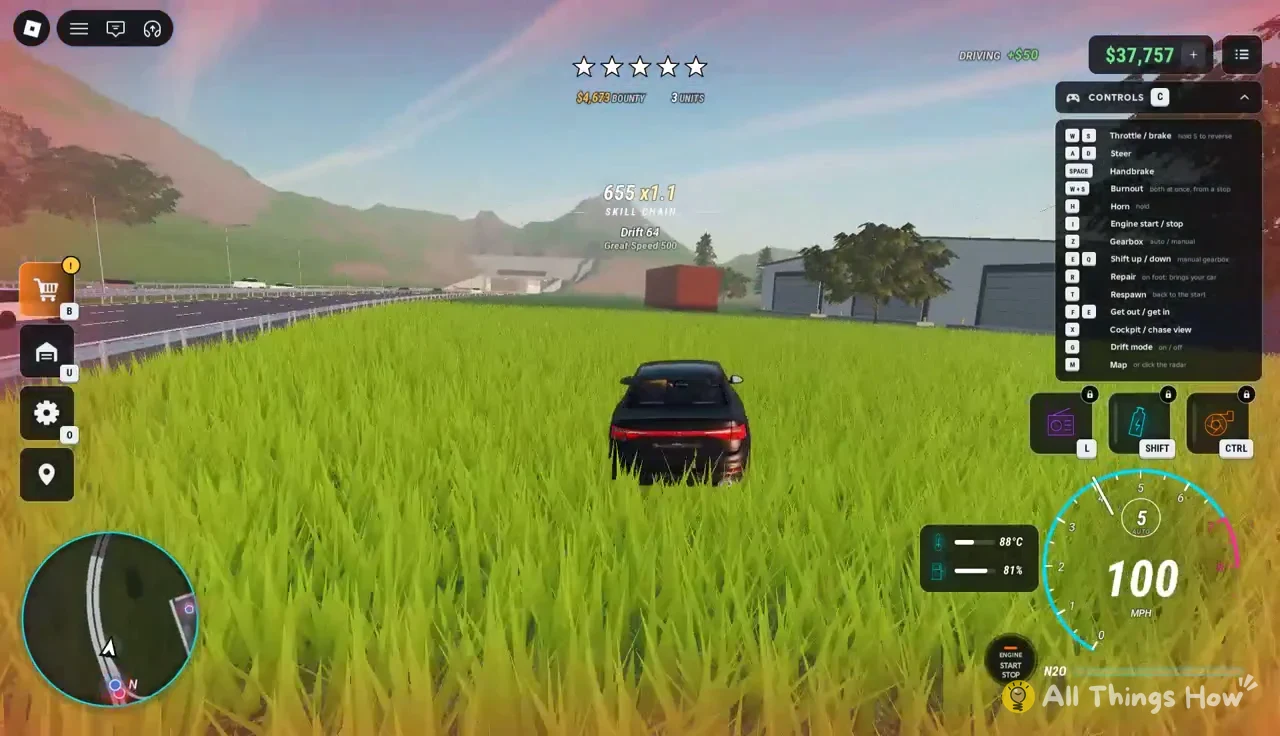
Getting out of the car with F during a chase puts you in the officers’ reach. Once they grab you, the screen shows “UNDER ARREST” along with the hint “A ram from a friend could still break you free,” so in a server with friends, someone driving into the officers can save you. Otherwise it flips to BUSTED.
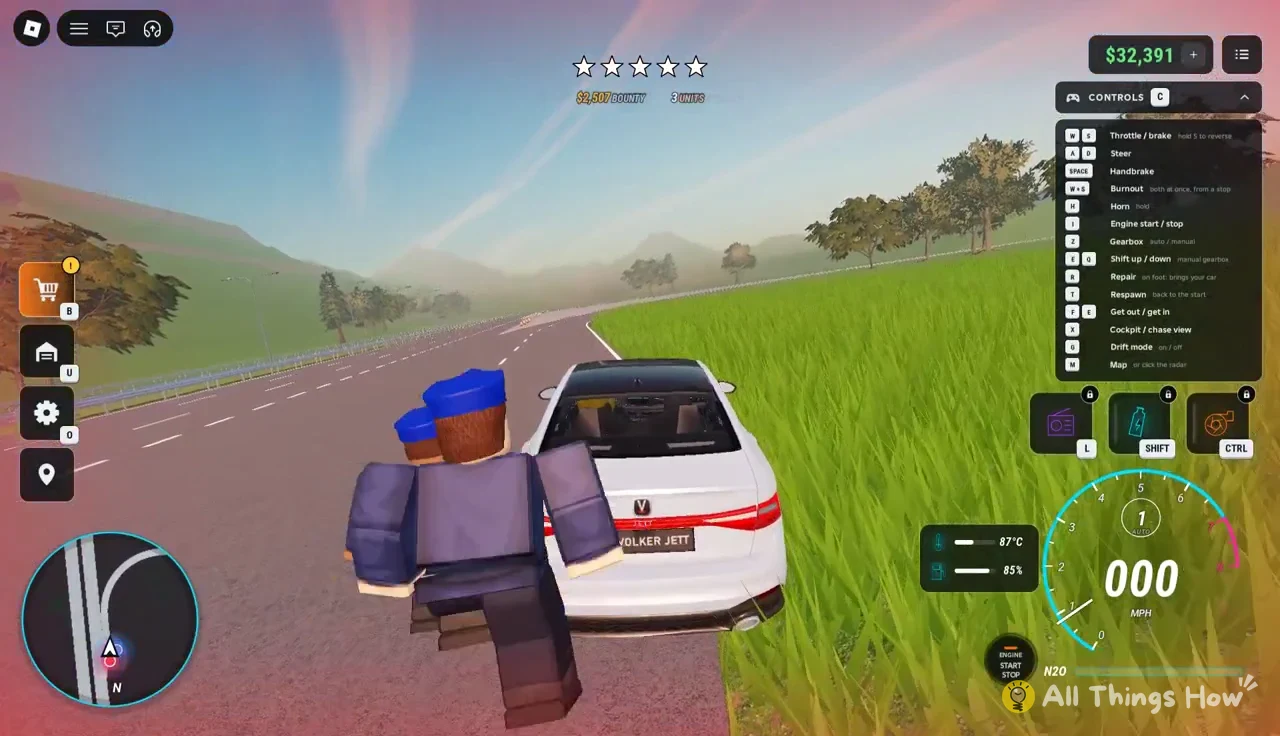
A bust costs you twice. You lose the whole bounty you’d built up, and you pay a fine on top, which comes to $2,500. The arrest screen spells it out as “THE POLICE HAVE YOU! $2,507 BOUNTY LOST, $2,500 FINE.”
FIRST CAR UNLOCKED: The prompt that sends you to APEX Motor House
Once your balance is high enough, a “FIRST CAR UNLOCKED” prompt shows your current Cash and reminds you that cars at APEX Motor House start at $15,000. In one case it read “You’ve got $29,891,” which is enough for several of the cheaper cars. Pick TAKE ME THERE and the minimap draws a route to the dealership, or pick LATER to keep driving and go when you’re ready.
Spending some of that Cash on paint first is fine, but keep the $15,000 floor in mind so you don’t drop below it before you reach the showroom.
How to customise the Volker Jett in the garage
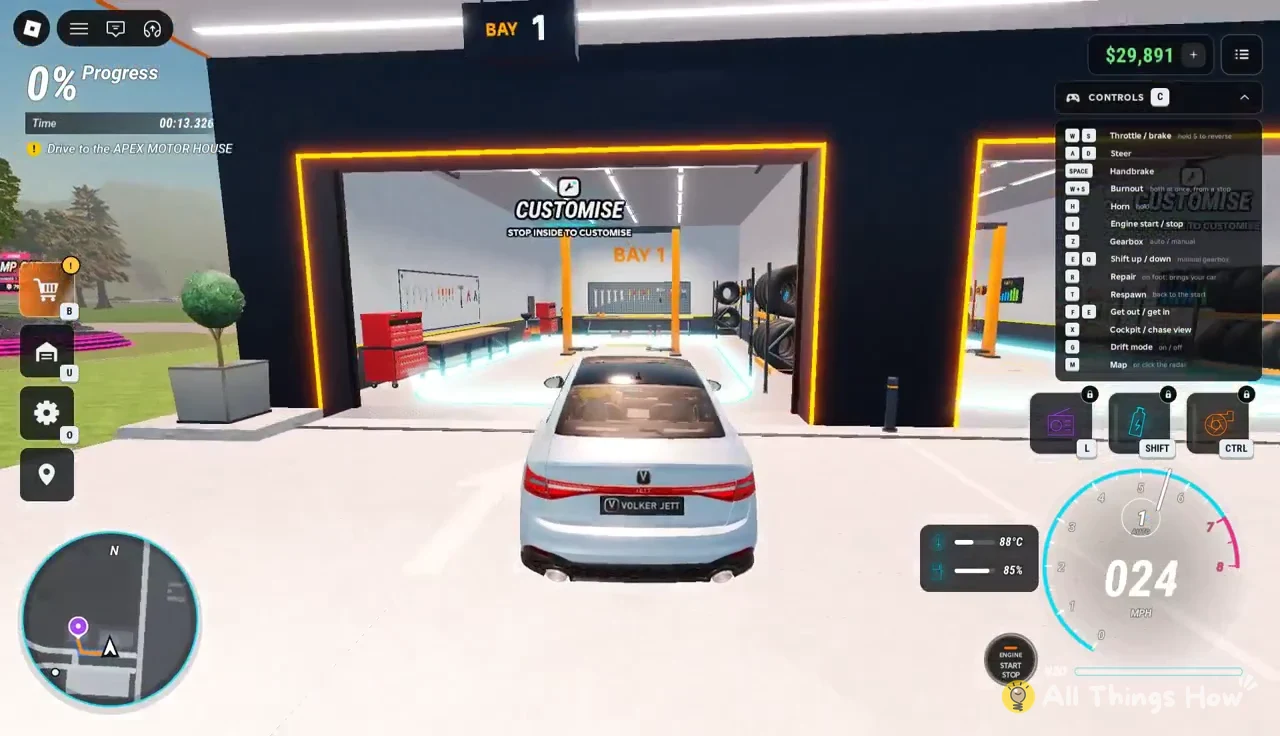
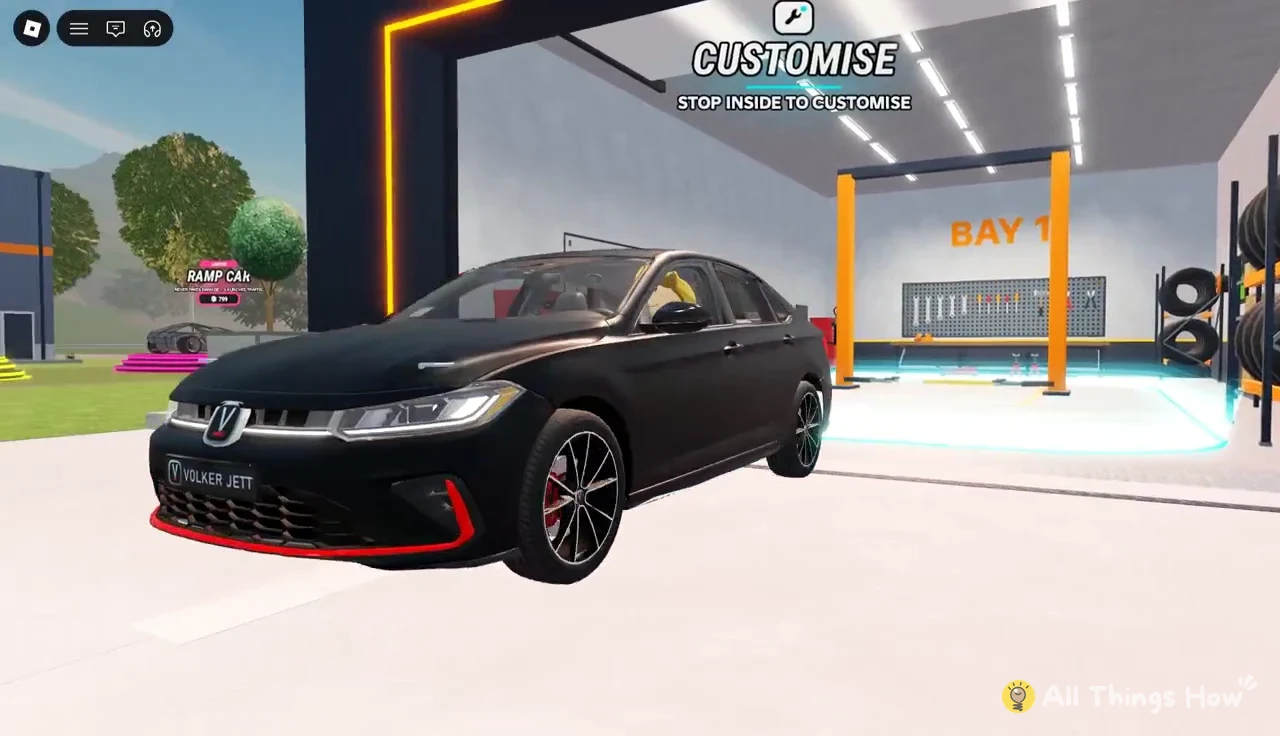
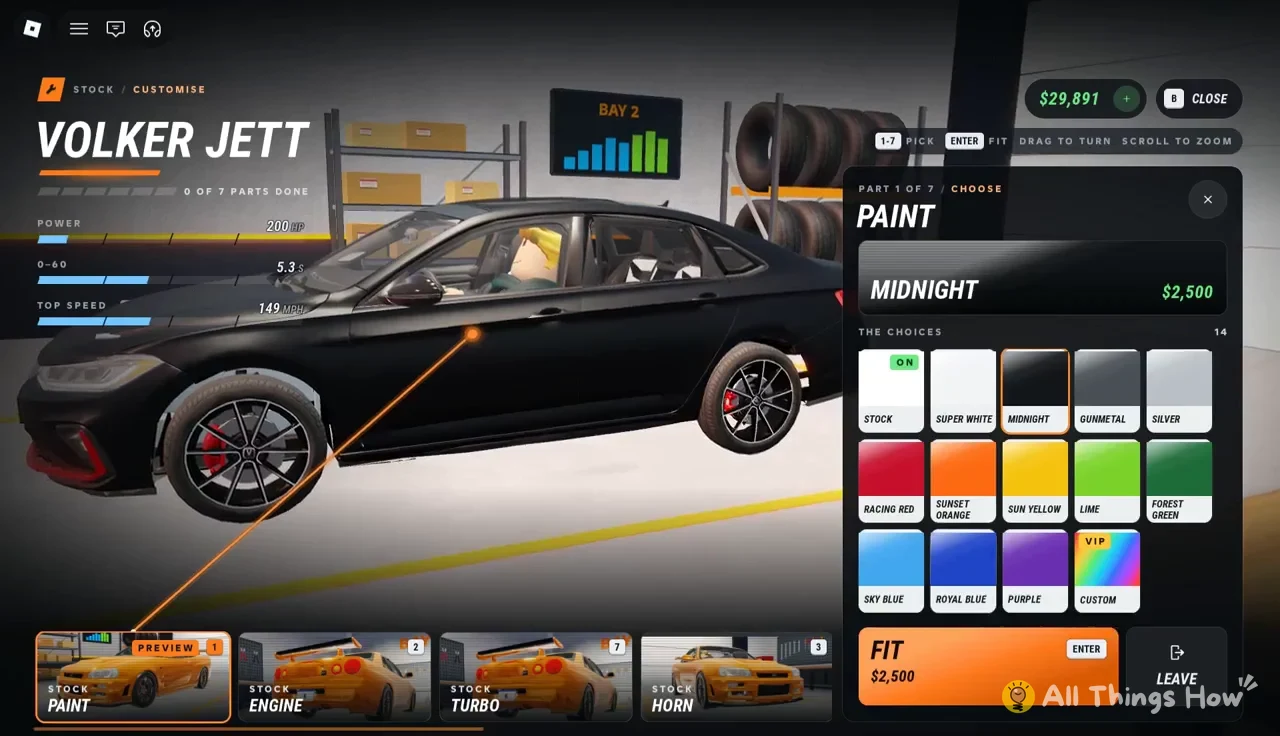
The Customise garage has marked bays, BAY 1 and BAY 2, and either works. Inside you can change PAINT, ENGINE, TURBO, HORN, WINDOW TINT, PLATE and UNDERGLOW. Paint colors like Midnight and Super White cost $2,500 each.
How to buy your first car at APEX Motor House
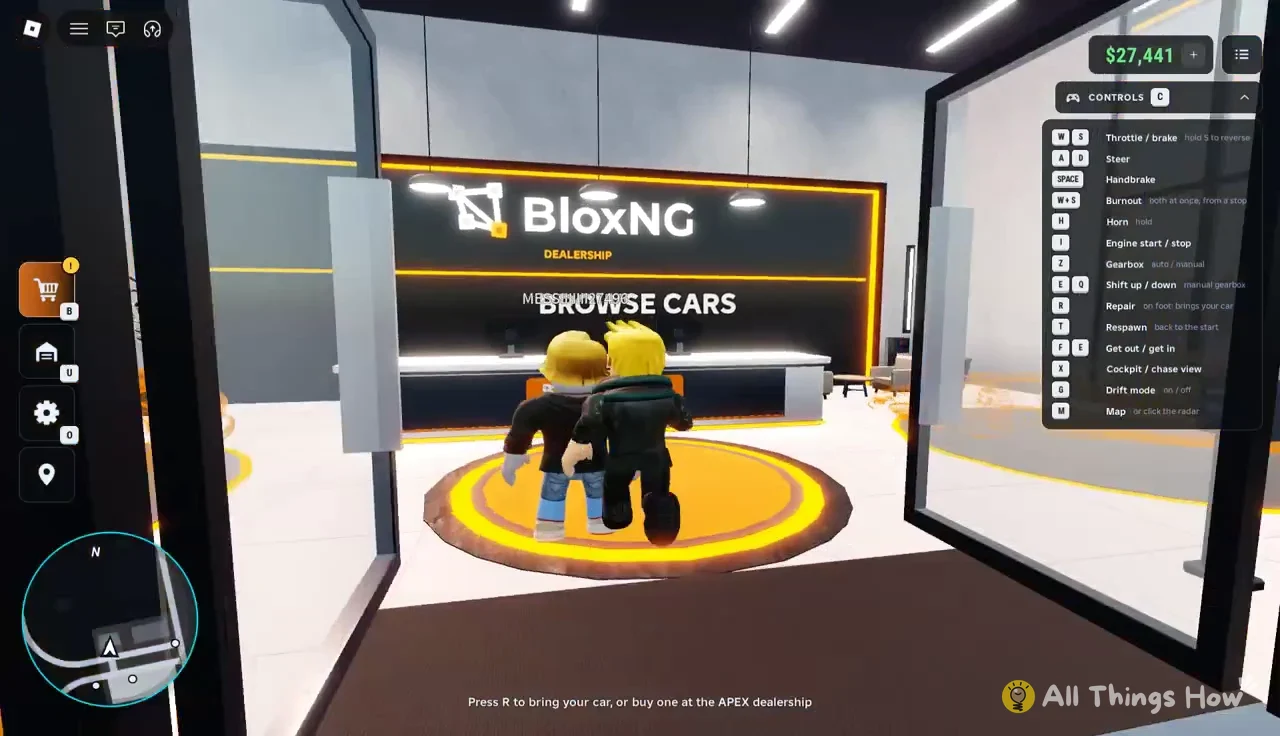
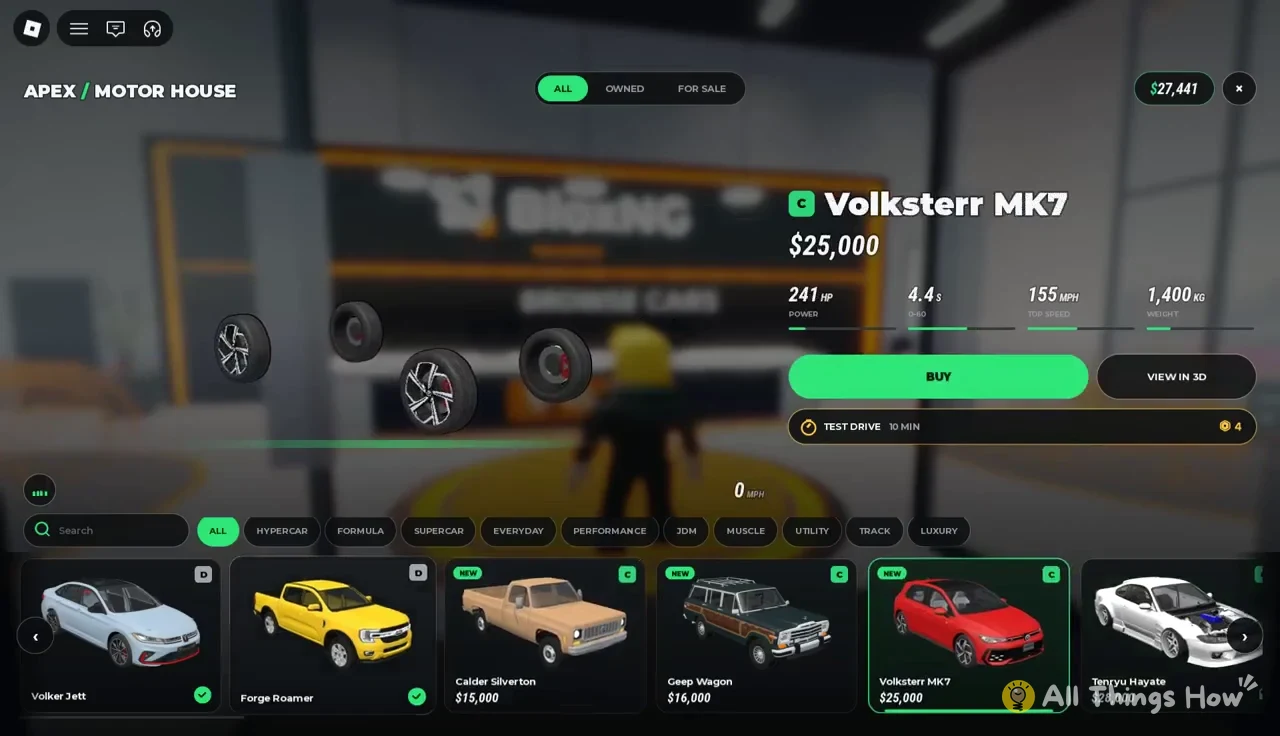
APEX Motor House is the BloxNG dealership, and it’s the only place to buy cars. The showroom sorts cars into Everyday, Utility, JDM, Performance, Muscle, Luxury, Supercar, Hypercar, Formula and Track classes, and every card lists power, 0-60, top speed and weight so you can compare before paying.
Cash cars you can afford first
With starter bonuses and a session of driving, these are realistic first purchases. Stats are listed where the showroom card shows them.
| Car | Price | Power | 0-60 / top speed |
|---|---|---|---|
| Calder Silverton | $15,000 | 355 HP | 9.8 s / 121 MPH |
| Geep Wagon | $16,000 | 175 HP | 7.5 s / 97 MPH |
| Volksterr MK7 | $25,000 | 241 HP | 4.4 s / 155 MPH |
| Tenryu Hayate | $28,000 | 475 HP | 3.4 s / 150 MPH |
| Teslar Model 3 | $32,000 | — | — |
| Subaru Impreza | $40,000 | — | — |
| Tenryu KZ6 | $55,000 | — | — |
The Calder Silverton is the cheapest at $15,000, but it’s slower to 60 than the Volker Jett you already own. The Volksterr MK7 and Tenryu Hayate both beat the starter car on acceleration, and the Hayate’s 475 HP and 3.4-second sprint make it the strongest car under $30,000. Both weigh 1,400 kg, a little lighter than the Volker Jett.
Cars to save up for
| Car | Price | Power | 0-60 / top speed |
|---|---|---|---|
| Sternwerk SL 63 | $90,000 | 577 HP | 3.1 s / 186 MPH |
| Laudi FS3 | $95,000 | — | — |
| Beamer M5 | $120,000 | — | — |
| Halvard Avenida | $120,000 | — | — |
| Velkor Stryx | $135,000 | 495 HP | 2.4 s / 194 MPH |
| Vossberg Orkan | $140,000 | — | — |
| Sternwerk Bastion | $160,000 | 577 HP | 2.8 s / 157 MPH |
| Brannock Basalt | $165,000 | — | — |
| Ferano 540 | $180,000 | — | — |
| Laudi T8 | $195,000 | 611 HP | 2.4 s / 199 MPH |
| Rennhart Peregrine | $240,000 | — | — |
| Ferano CS90 | $600,000 | — | — |
| Orvex V1 | $750,000 | — | — |
The Sternwerk Bastion is the heavy one here at 2,500 kg, which matters in a crash game where weight shapes every impact. The Forge Roamer also shows up in the showroom with 300 HP, a 7.4-second 0-60, a 112 MPH top speed and 2,250 kg of weight.
Robux cars in the showroom
Some showroom cards can’t be bought with Cash at all. They come with game passes priced in Robux, and none of them are needed to progress.
| Car | Pass | Robux |
|---|---|---|
| Rennhart Kestrel | Starter Pack, plus $100,000 Cash | 199 |
| Police Cruiser | Police Game Pass | 299 |
| Taurenzi Ardente CVJ | CVJ Game Pass | 499 |
| Ventara GP26 | F1 Game Pass | 599 |
| Flying Roadster | Roadster Game Pass | 799 |
| Valtori Fiamma and Aurelle Serac | Supercar Pack (2 cars) | 1,299 |
The Starter Pack is the only one that also adds Cash, and its $100,000 alone covers anything up to the Velkor Stryx tier. The Aurelle Serac is the quickest car listed, with 1200 HP, a 1.8-second 0-60 and a 224 MPH top speed. The Ventara GP26 weighs just 800 kg against its 1000 HP.
After your first purchase in BloxNG
The loop doesn’t change once you own a second car. You still earn by holding high speeds through traffic, chaining near misses and launching off the stunt ramps, and a second police chase pays the same bounty but costs the same $2,500 fine if it ends in a bust. Cruising past 110 MPH on the highway is enough to bring the police back.
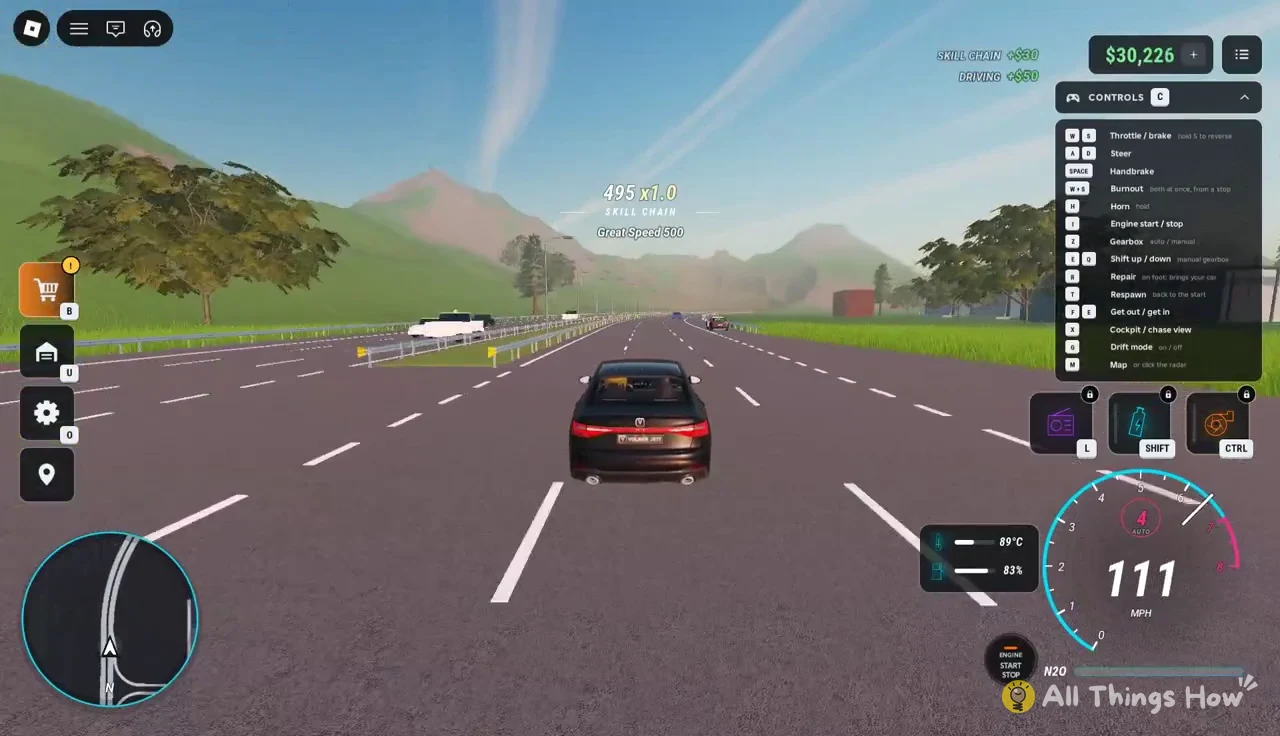
Some rough ground near the stunt area is good for building a speed chain away from traffic, and from there the ramps are close by. If a jump goes wrong, R fixes the car and you can line up the next one without heading back to the start.
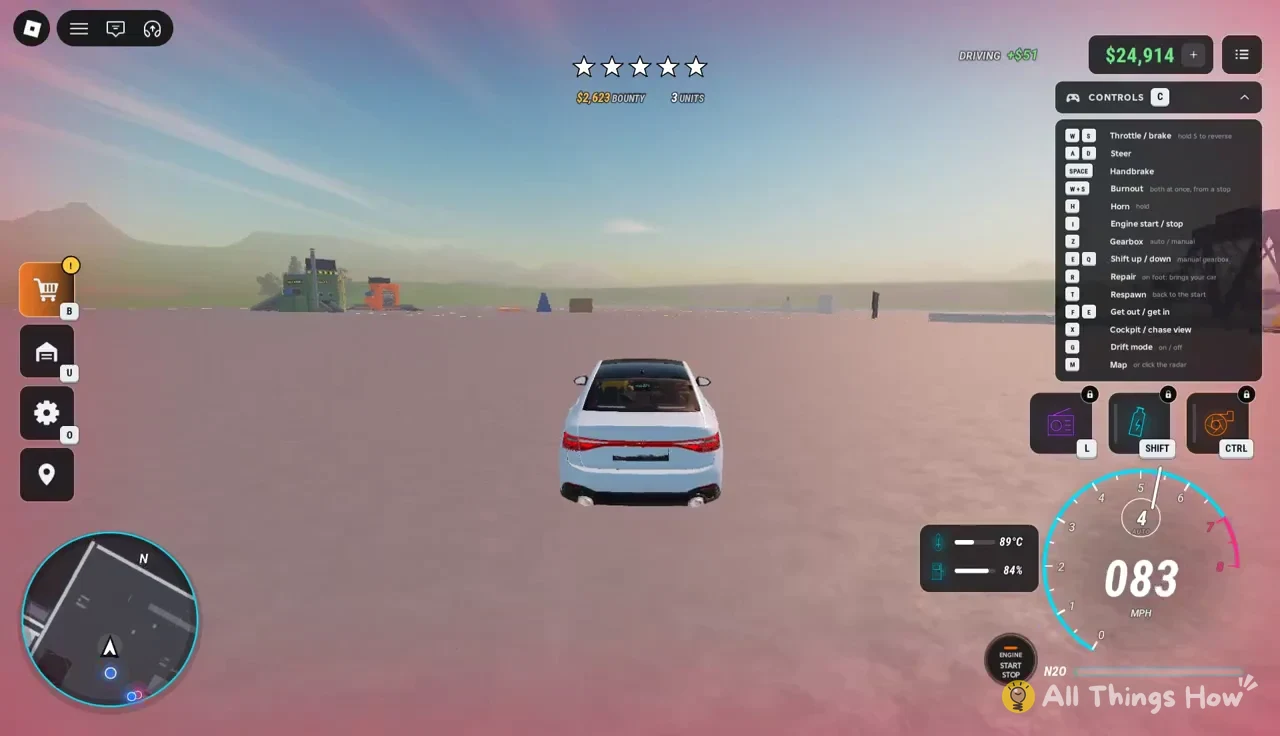
The camera can also make tight spots easier to read. C swaps between cockpit and chase view, and the chase view gives you a wider look at traffic and police behind you when you’re heading into a tunnel at speed.