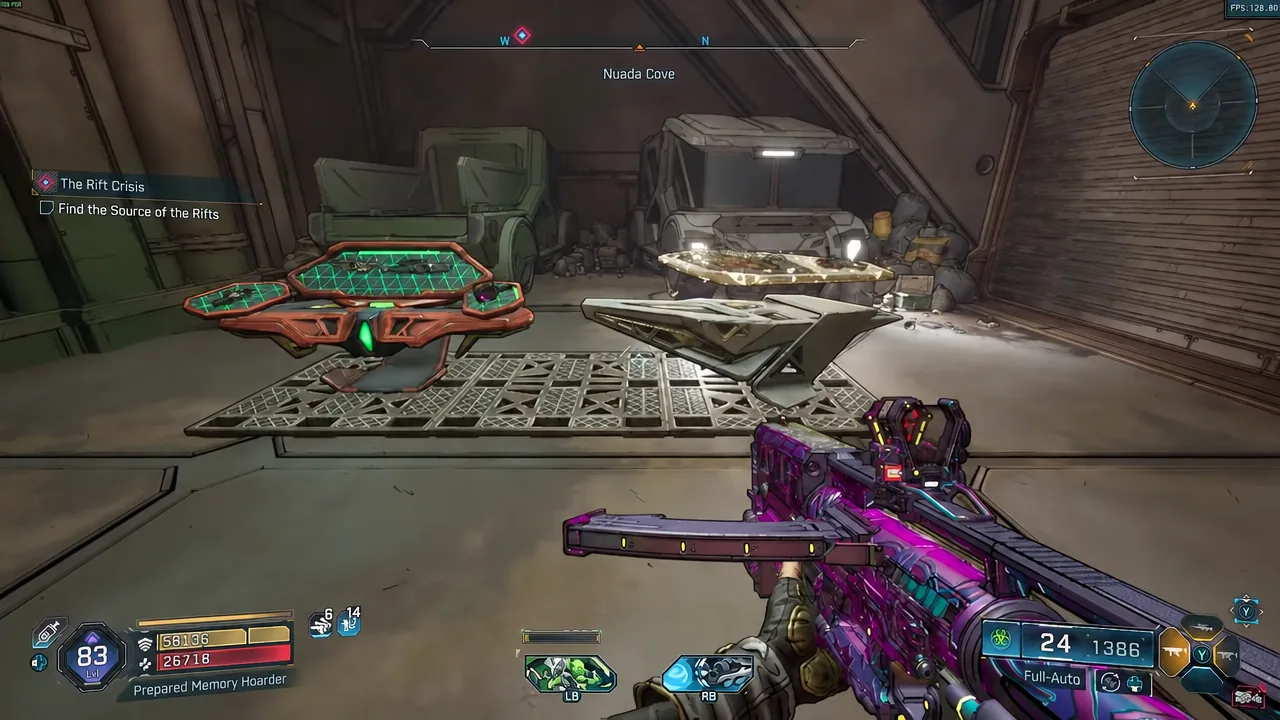
Near the end of the Nuada Cove stretch of Borderlands 4, a shielded room sits just off the path with three loot chests visible behind a barrier you cannot walk through. There is no switch, no key, and no boss to kill for it. The door is tied to four small red targets scattered across the route, and hitting all four is what earns the Thief in the Night achievement, added with Story Pack 2: FL4K and the Last Resort.
Quick answer: Shoot all four stationary red targets along the Nuada Cove path during the mission “The Rift Crisis” — one above the sewer gap, one under the staircase after the elevator, one beside the slide above the grinder, and the last directly under the indicator lights outside the treasure room. The barrier drops and the achievement pops the moment the fourth is hit.
What the Thief in the Night achievement requires
The achievement description is simply “Open the locked treasure room in Nuada Cove.” The room itself is the reward. Behind the barrier are three loot chests on the floor, and the door only responds to the four targets — nothing else in the area affects it.
| Detail | Value |
|---|---|
| Achievement | Thief in the Night |
| Content | Story Pack 2: FL4K and the Last Resort |
| Location | Nuada Cove, during “The Rift Crisis” |
| Requirement | Shoot 4 hidden red targets |
| Reward | Access to 3 loot chests |
Every target is stationary, so there is no timer and no trick shot involved. The difficulty is purely that they are tucked above doorways, under walkways, and off to the side of a slide you are usually moving through at speed.
Where the route runs through Nuada Cove
The four targets sit along the critical path of “The Rift Crisis,” in the order the mission takes you through it. You will pass the sewers, the Order Lab, a large arena room, and finally a slide that ends at a grinder. The treasure room is directly across from that grinder, which means the last target is also the last thing you see before the area ends. Open the map if you lose the thread — the objective route runs straight past all four.
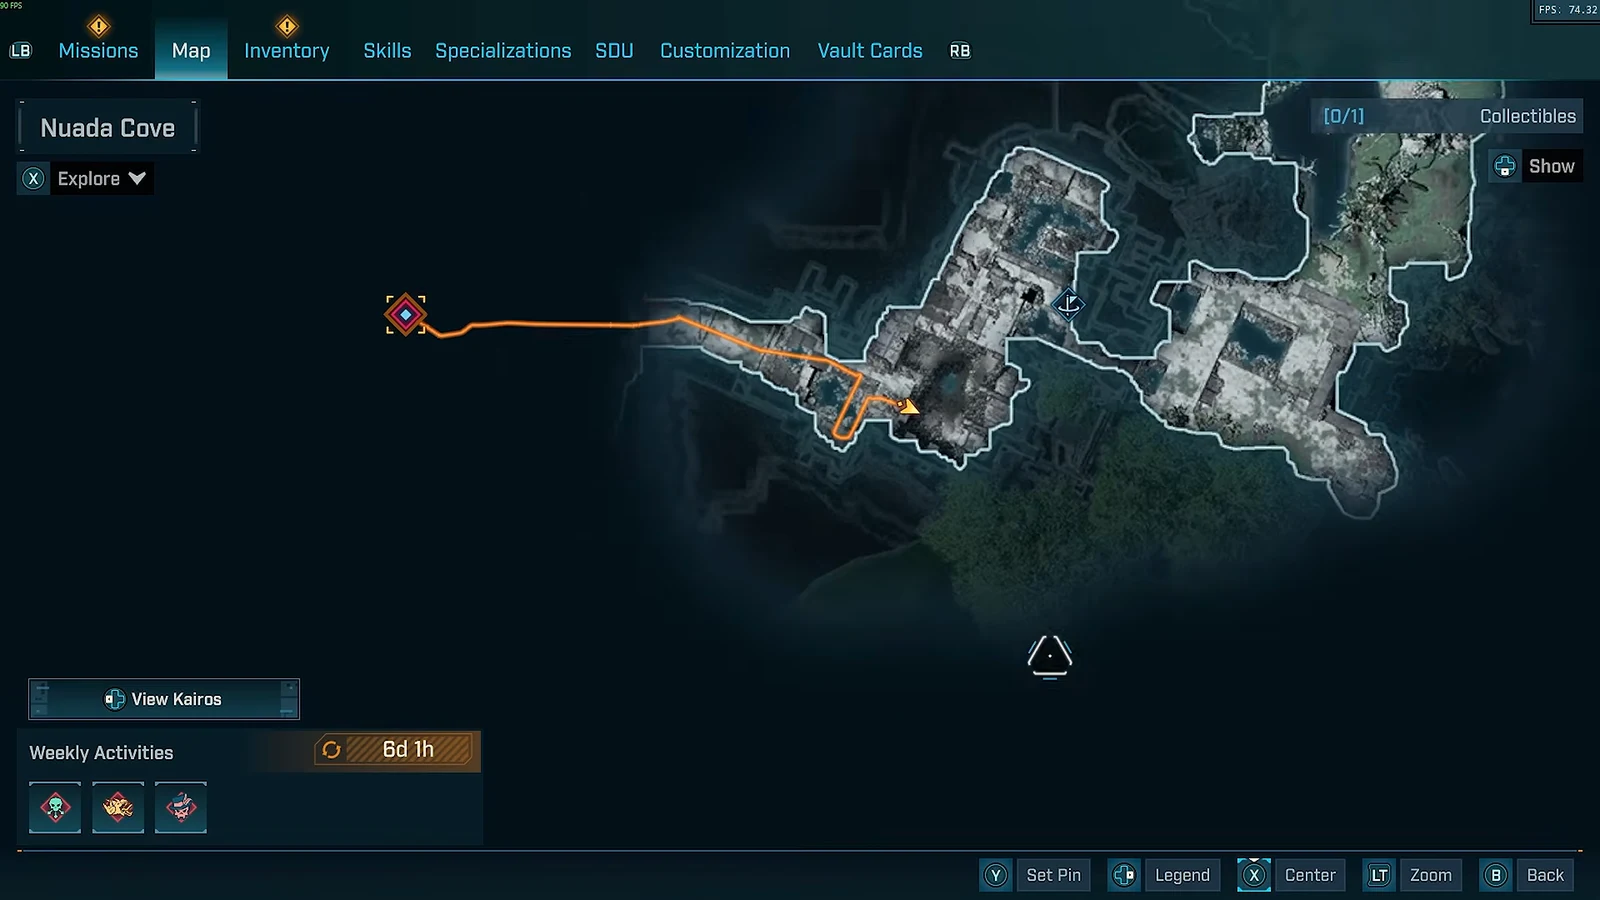
Note: work through the targets as you progress forward. The layout funnels you downward from the sewers to the grinder, and several drops cannot be climbed back up.
All four target locations in Nuada Cove
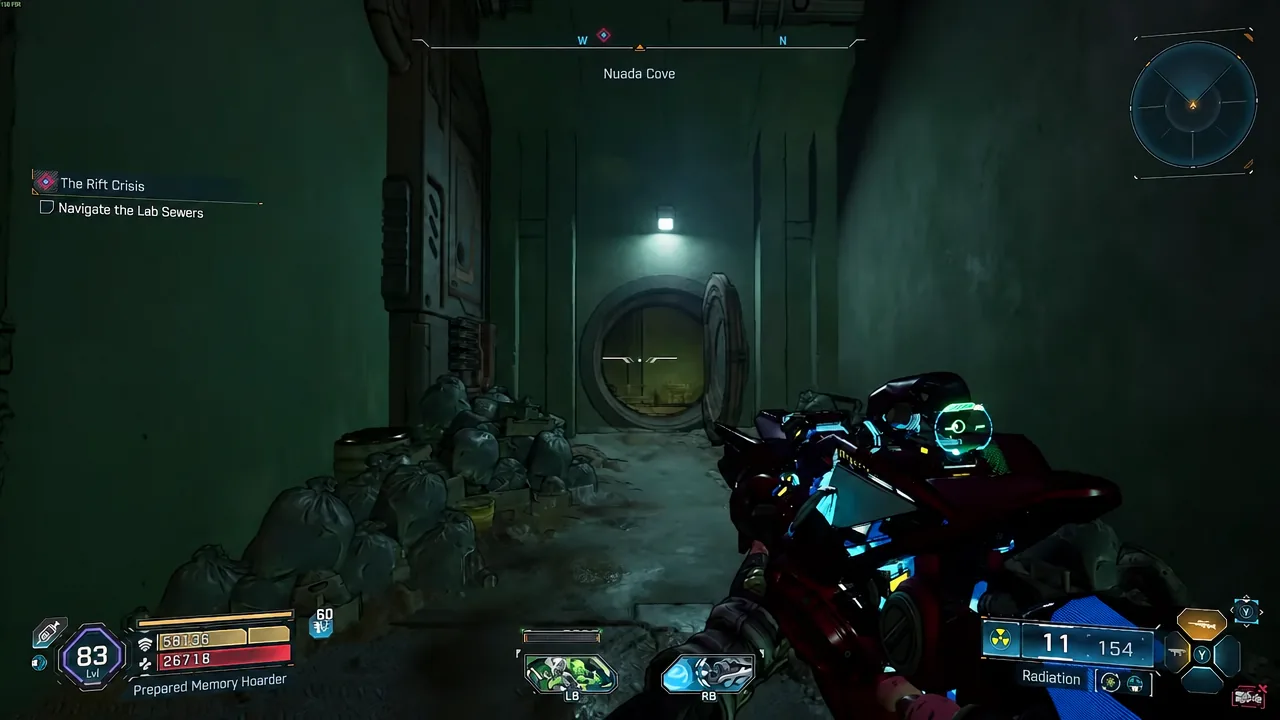
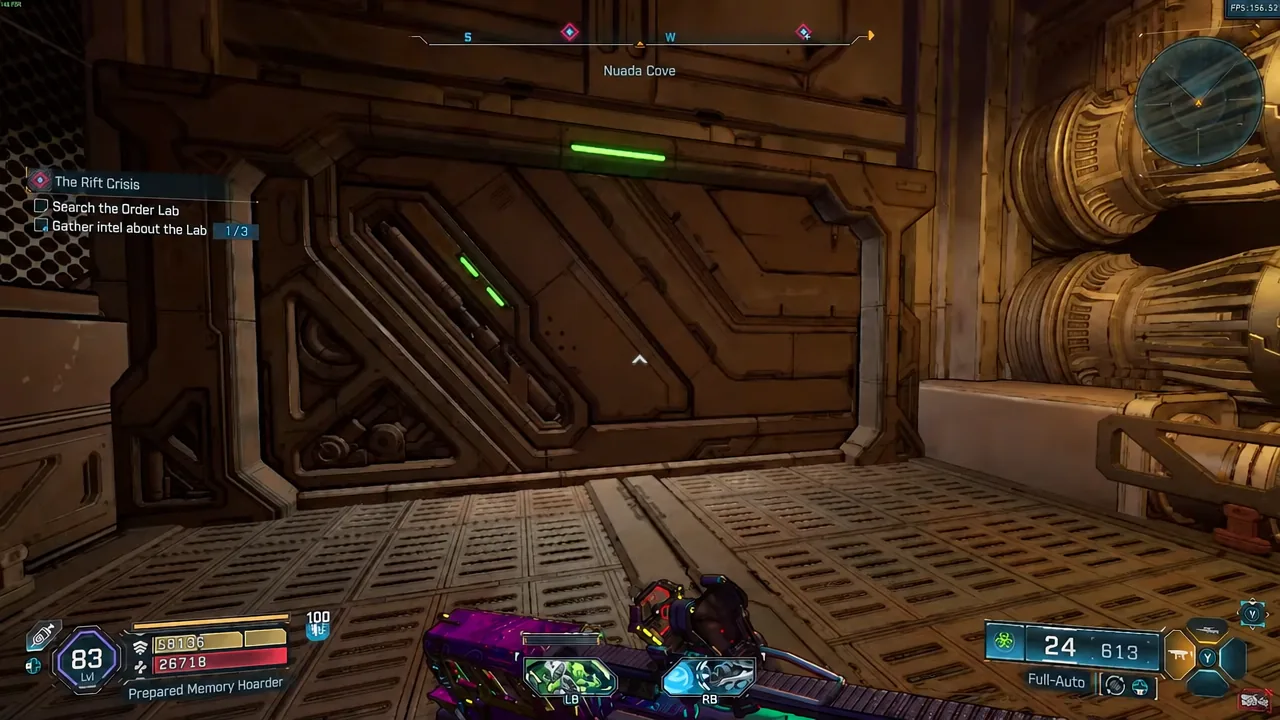
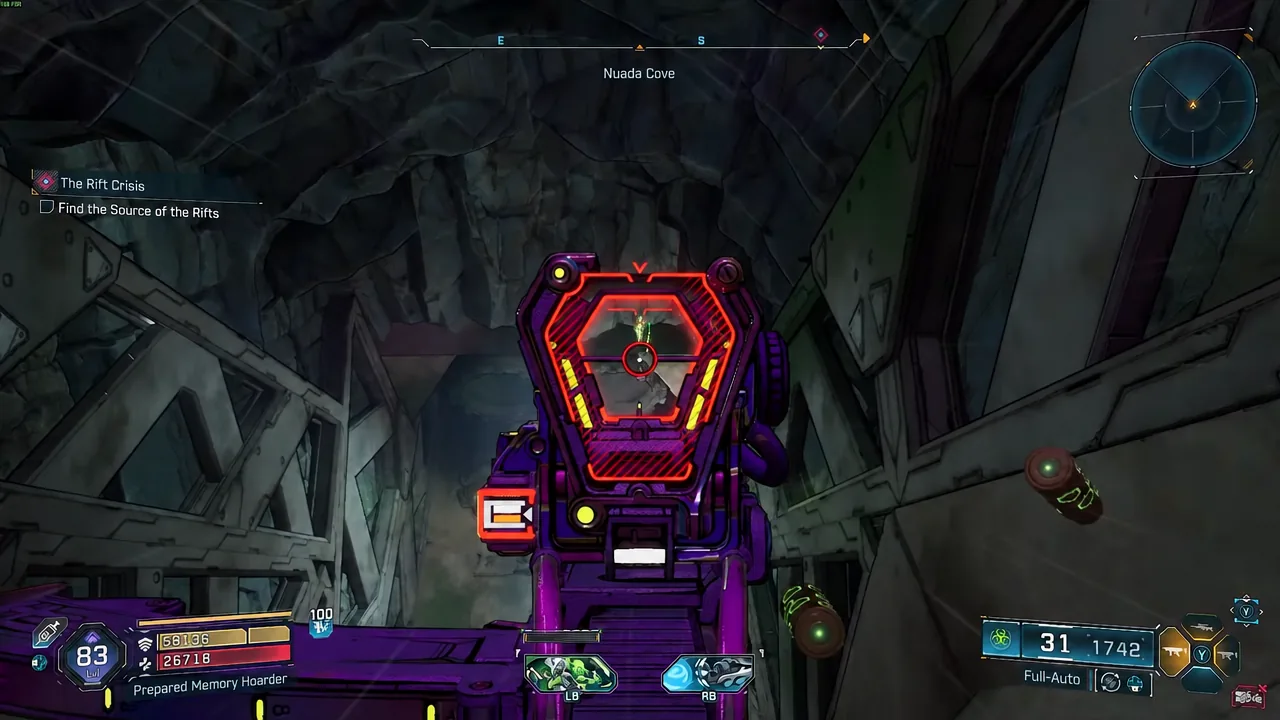
Miss it on the way down and the run is not lost. Ride the slide to the end without falling into the grinder, walk to the edge, and look back up at the spot where the target was — it is still in line of sight from the floor.
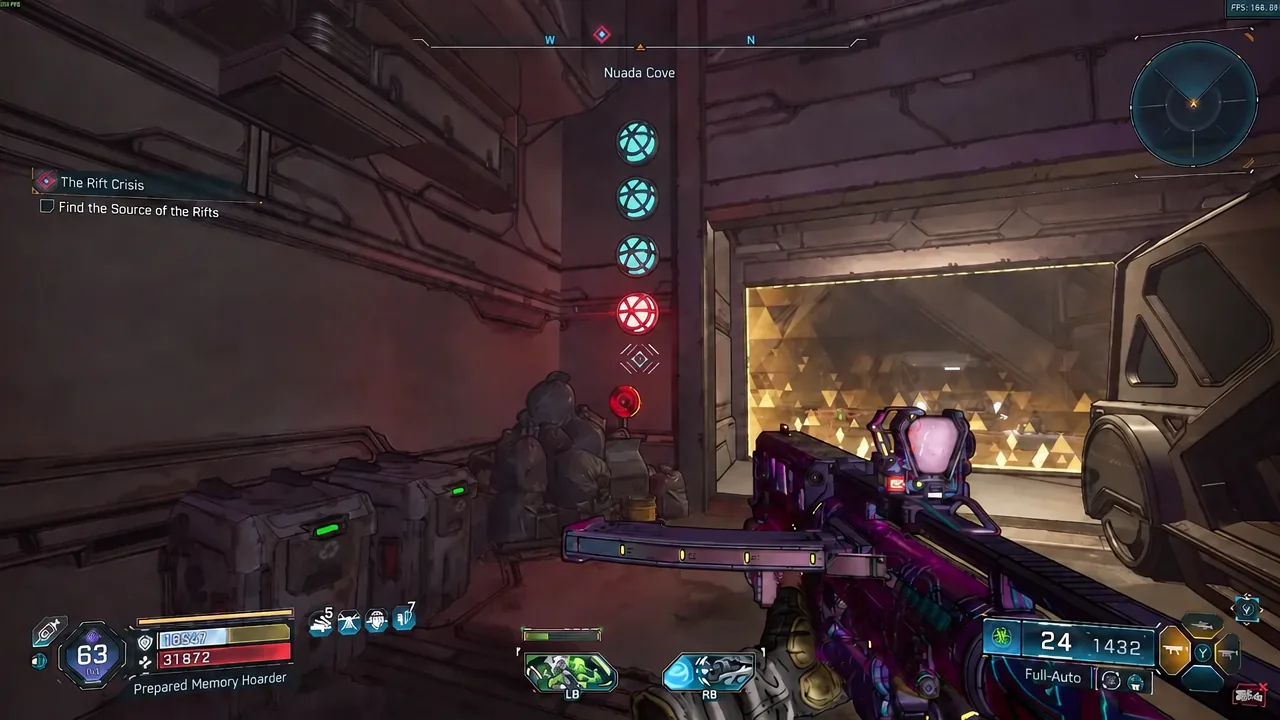
How to confirm the treasure room is open
Each target flips the panel’s indicator when it registers, so you can count your progress on the light board next to the door. With all four hit, the lights read blue, the shield over the entrance disappears, and Thief in the Night unlocks immediately. Walk in and the three chests on the floor are yours to open.
If the barrier is still up when you reach the grinder, the panel tells you how many you missed. Count the unlit indicators before moving on, because the drop into this section is one-way.
Why the door stays shut
There are only a few reasons the room refuses to open, and all of them come down to a missed shot rather than a bug.
- You jumped the sewer gap before turning around, so the first target above the climb was never in view.
- You walked past the floating mini-truck section without dropping to ground level and looking under the staircase.
- You slid straight past the third target and then fell into the grinder instead of stopping at its edge to take the shot.
- You shot at a target but the hit did not land, which leaves that indicator unlit on the panel.
The whole detour costs a couple of minutes if you know where to look, and the targets sit close enough to the mission path that you never have to hunt off-route for them. Clear the four, take the chests, and the achievement is done in a single pass through Nuada Cove.