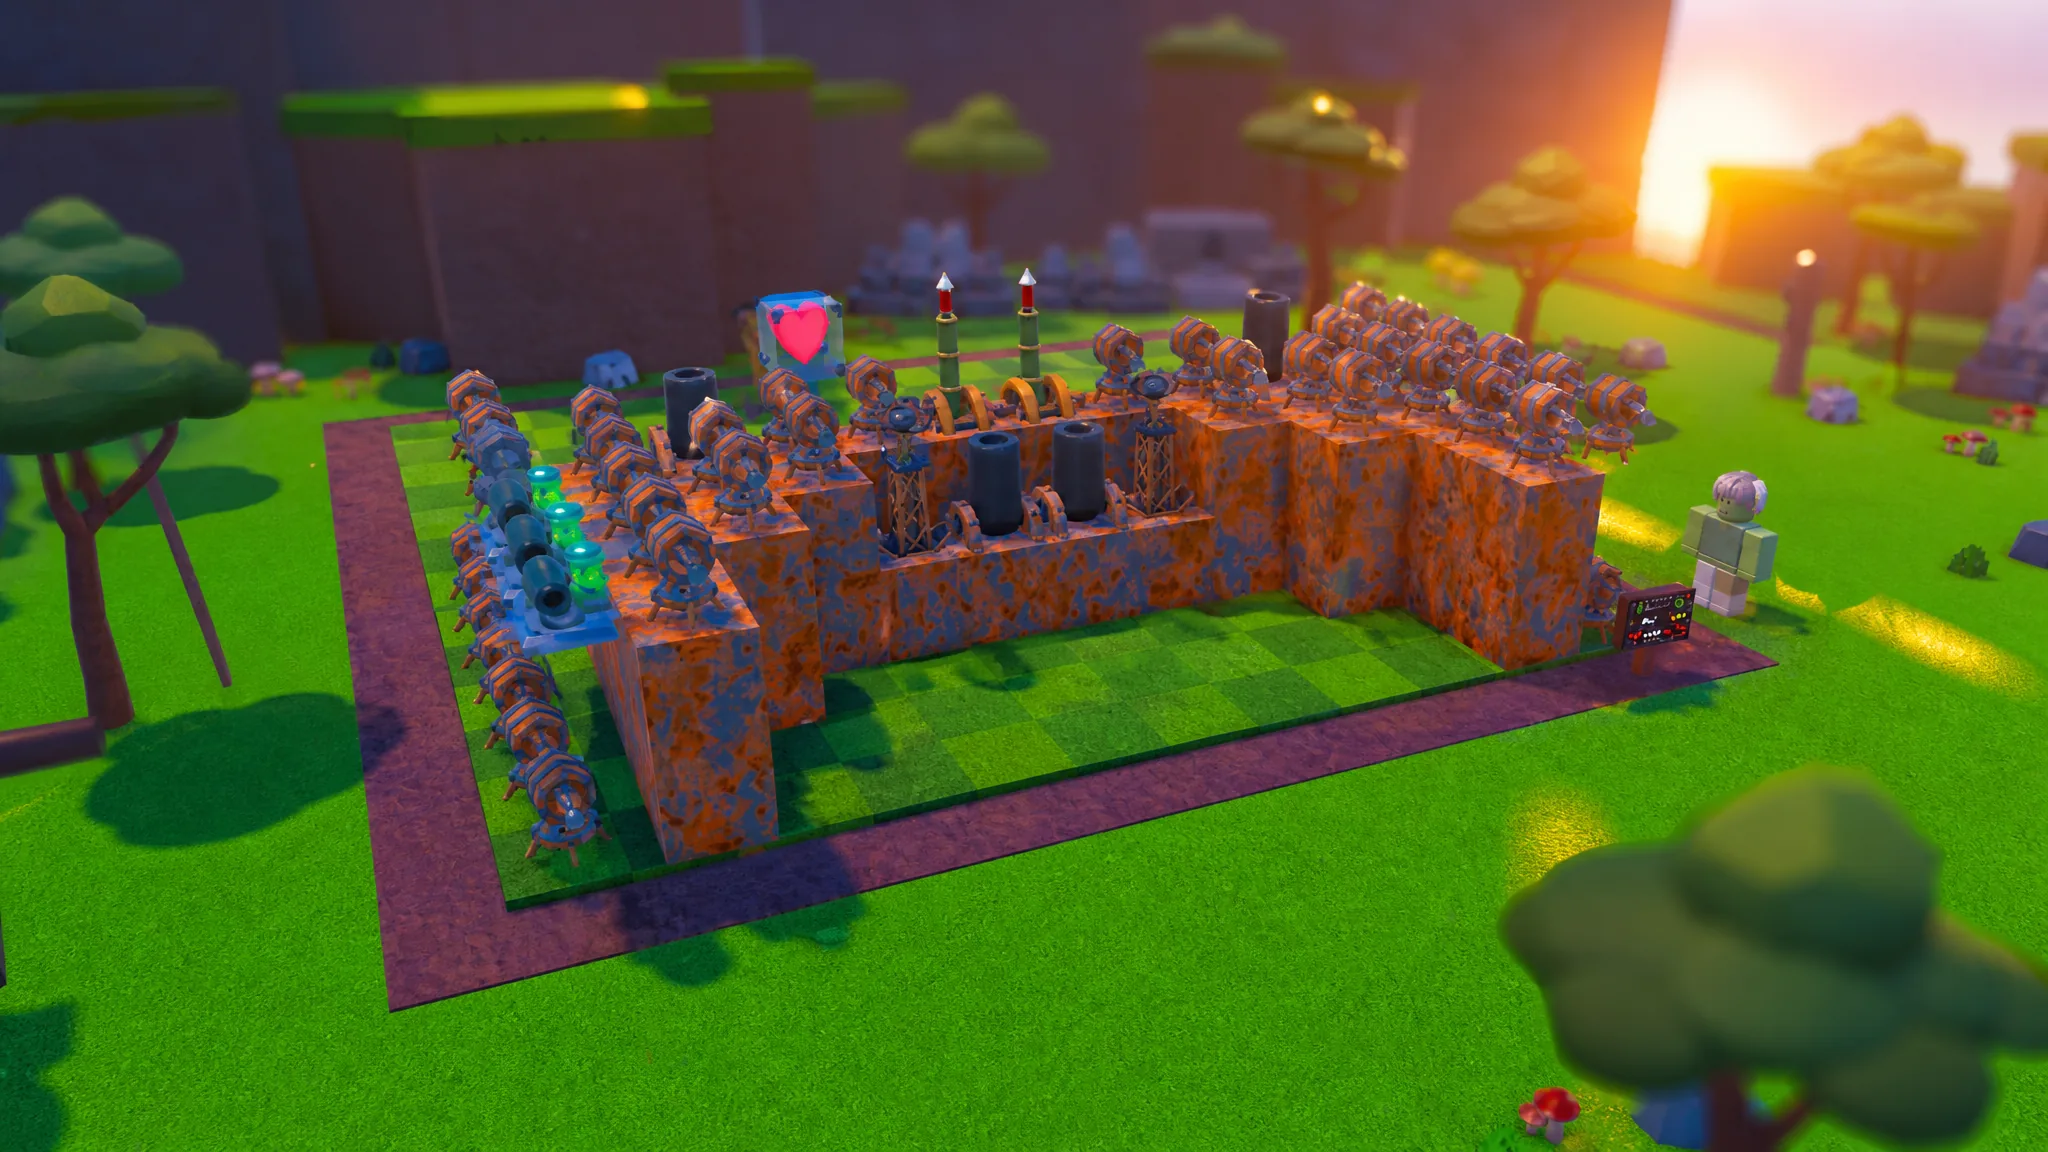
Reaching Wave 300 in Build a Base RNG as a new player comes down to one repeatable layout. A U-shaped back wall paired with two forward-facing side wings gives your turrets overlapping fire lanes, funnels enemies into a killbox, and keeps your core protected long enough for damage to stack up. The build works with the common weapons most players roll early, so you do not need rare pulls to make it survive.
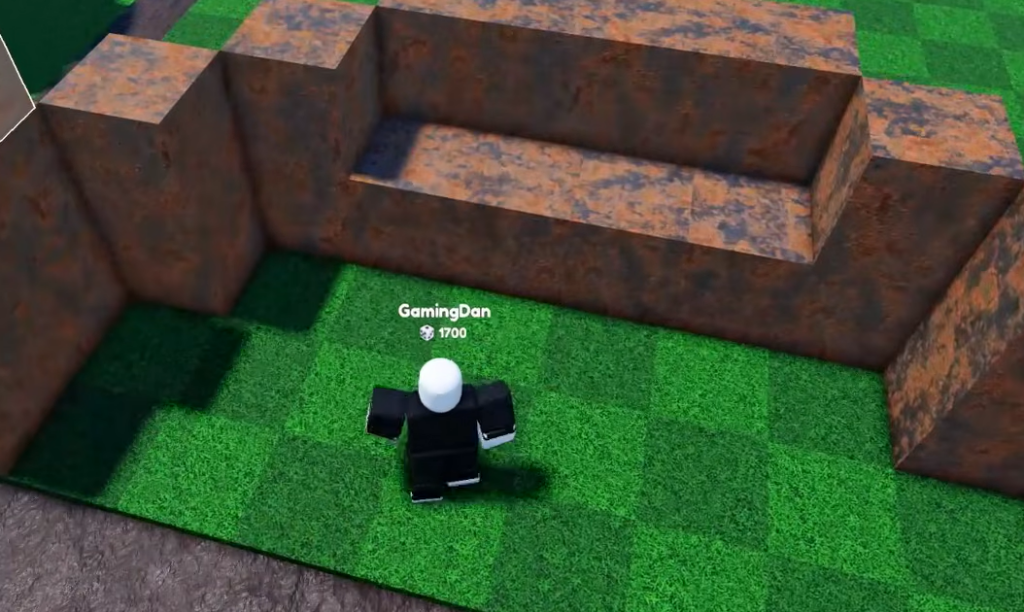
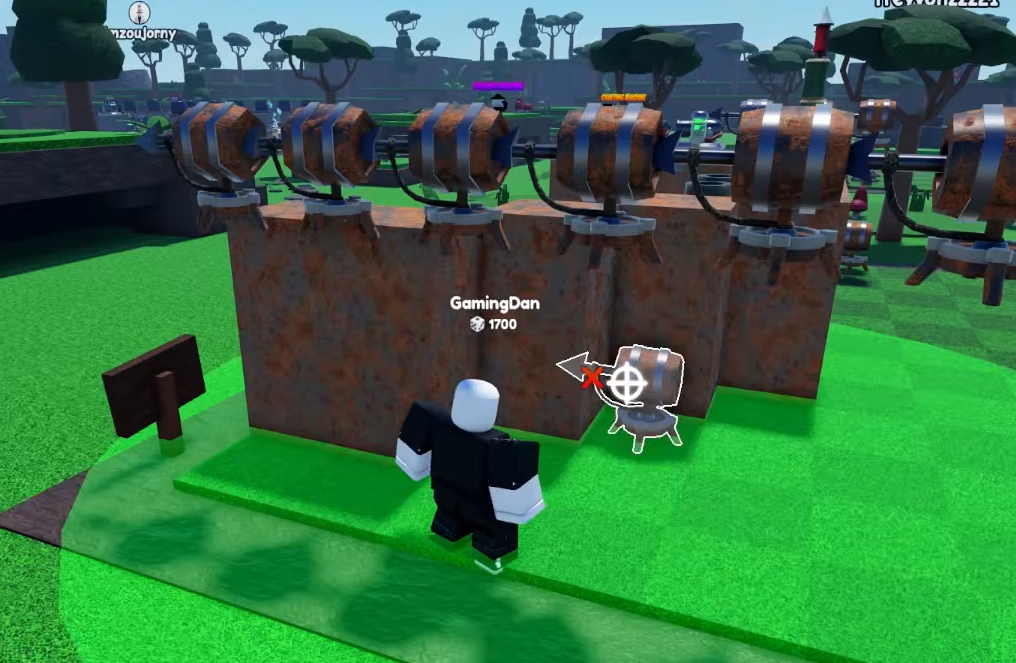
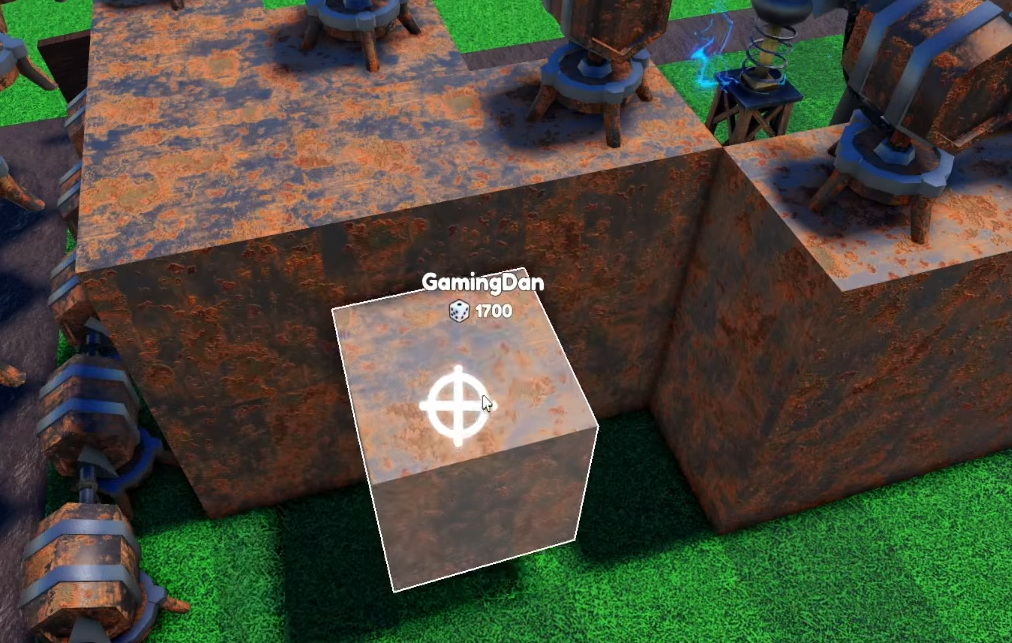
Quick answer: Upgrade Plot Size to level V in the Skill Tree, place blocks diagonally on both sides into a U-shape, raise the wall two blocks high, then fill it with Rusty Mortars and Bamboo Shooters in the center, Slime Cannons and barrels on the side wings, and Wooden Teslas flanking the core. Elevated corner platforms hold extra Mortars and cannons.
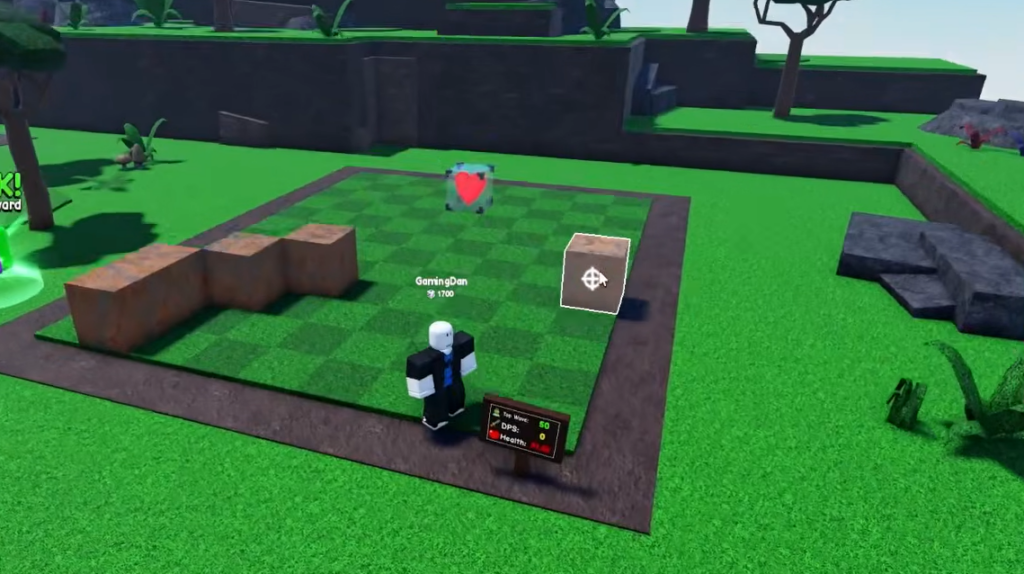
Upgrade Plot Size before you build
The full layout will not fit on a default plot. Open the Skill Tree, go to the Base section, and buy Plot Size upgrades until you reach Plot Size V. This is the single most important prerequisite, because a cramped plot forces you to cut wings or turret rows that the design depends on.
| Plot Size tier | Coin cost |
|---|---|
| Plot Size I | 7.5K |
| Plot Size II | 15.0K |
| Plot Size IV | 200.0K |
| Plot Size V | 500.0K |
Let your base farm coins offline to bank the 500K for Plot Size V faster. The base keeps fighting and earning while you are logged out, so a full plot upgrade is often waiting for you when you return.
Build the U-shaped wall
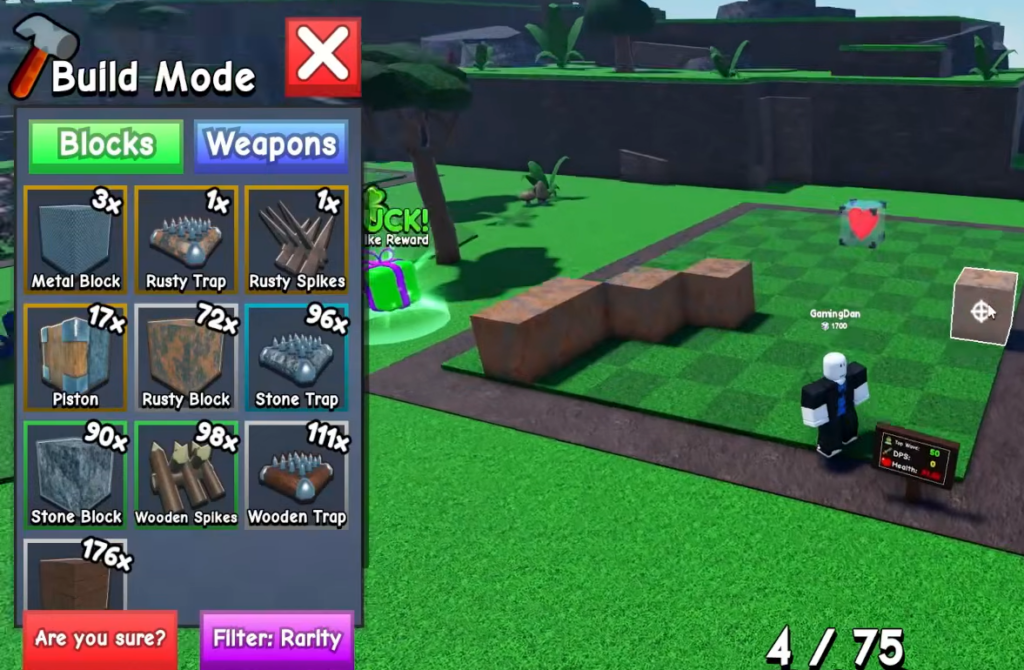
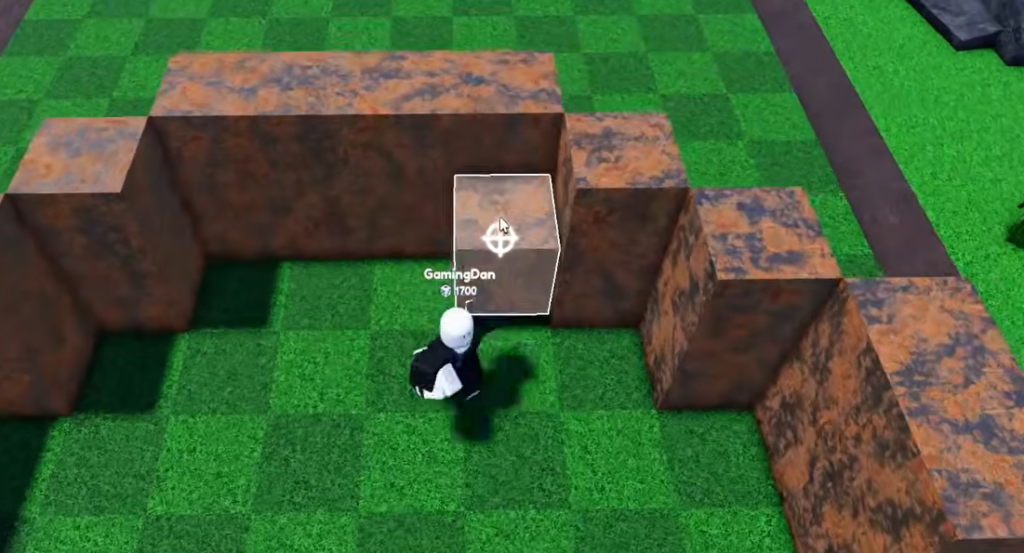
Place the core weapons inside the U
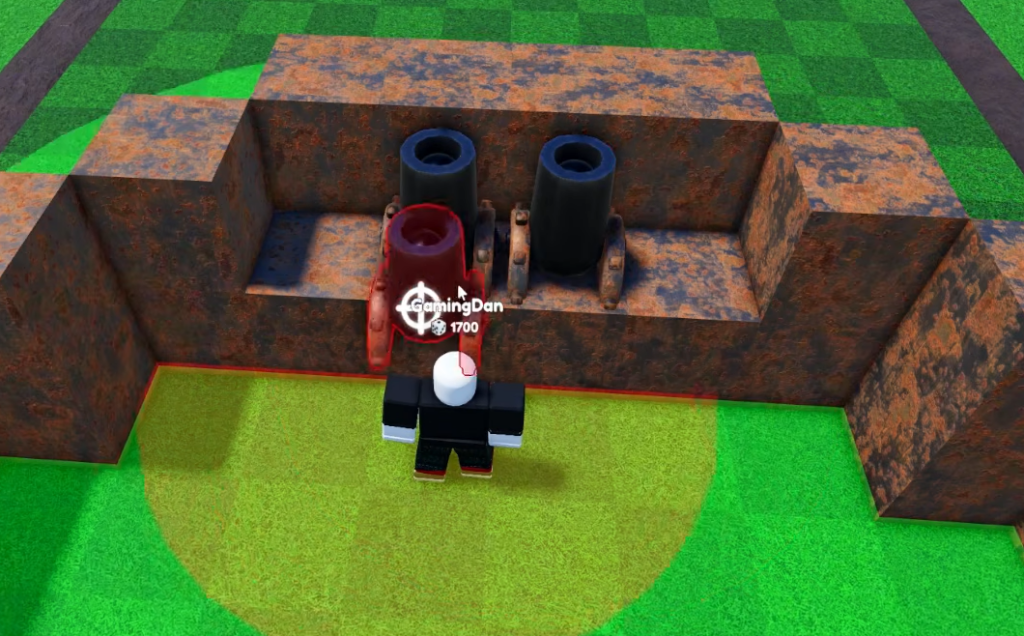
Mortars have range and splash, so they perform best from the back rank where they can lob shots over the front wall onto grouped enemies. Keep them behind your shooters, not in front of them.
Extend the side wings and corners
Weapon roles at a reference
| Weapon | Placement | Role |
|---|---|---|
| Bamboo Shooter | Center back of the U | Main damage down the lane |
| Rusty Mortar | Inside the U, back rank | Splash damage on grouped enemies |
| Wooden Tesla | Flanking the core weapons | Chain damage at the choke |
| Slime Cannon | Side wings and corners | Slows enemies for crowd control |
| Rusty Steel Barrel | Outer edge of side walls | Flank damage layer |
| Stone Block | Outer corners | Elevated platform base |
How to know the layout is working
Start a wave and watch where enemies die. A working build stops most attackers before they reach the back row of the U, and your core turrets should stay intact through Wave 300. If the base holds and the wave counter keeps climbing without losing your central blocks, the setup is tuned correctly. Turret quality still matters, so higher-rarity versions of the same weapons push you further past 300.
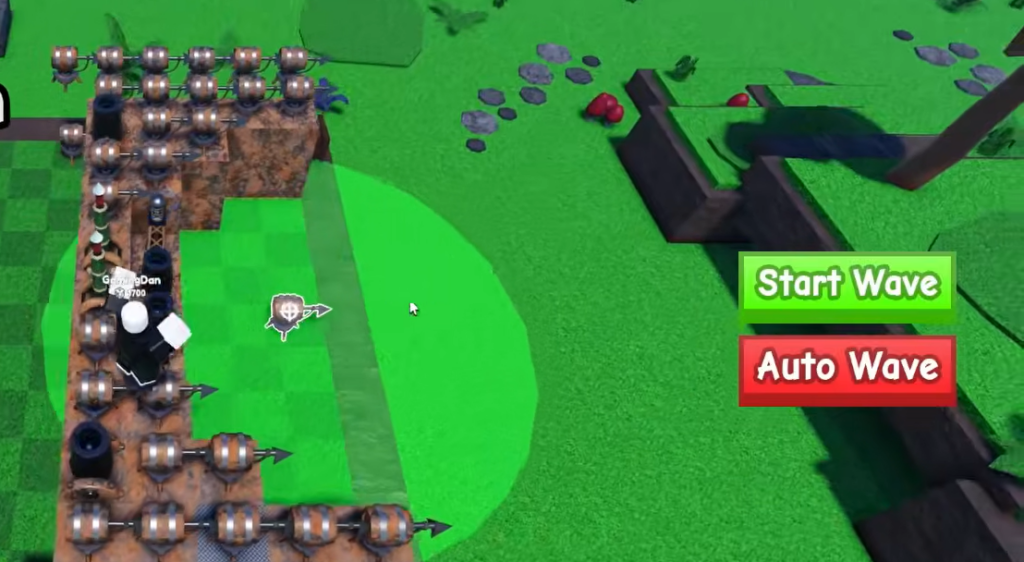
Common reasons the base fails early
- Skipping the Plot Size V upgrade, which forces you to leave off the side wings or corner platforms.
- Leaving the wall one block high, letting enemies pass over the barrier.
- Putting Mortars in front instead of the back rank, wasting their range and splash.
- Not placing slowing turrets like Slime Cannons at the front, so fast enemies rush the core before your damage lands.
Once the layout is holding, keep feeding coins into Index unit upgrades and rolling for better weapon rarities. The frame stays the same. You are simply swapping in stronger versions of Mortars, shooters, and slowing turrets to reach deeper waves.