

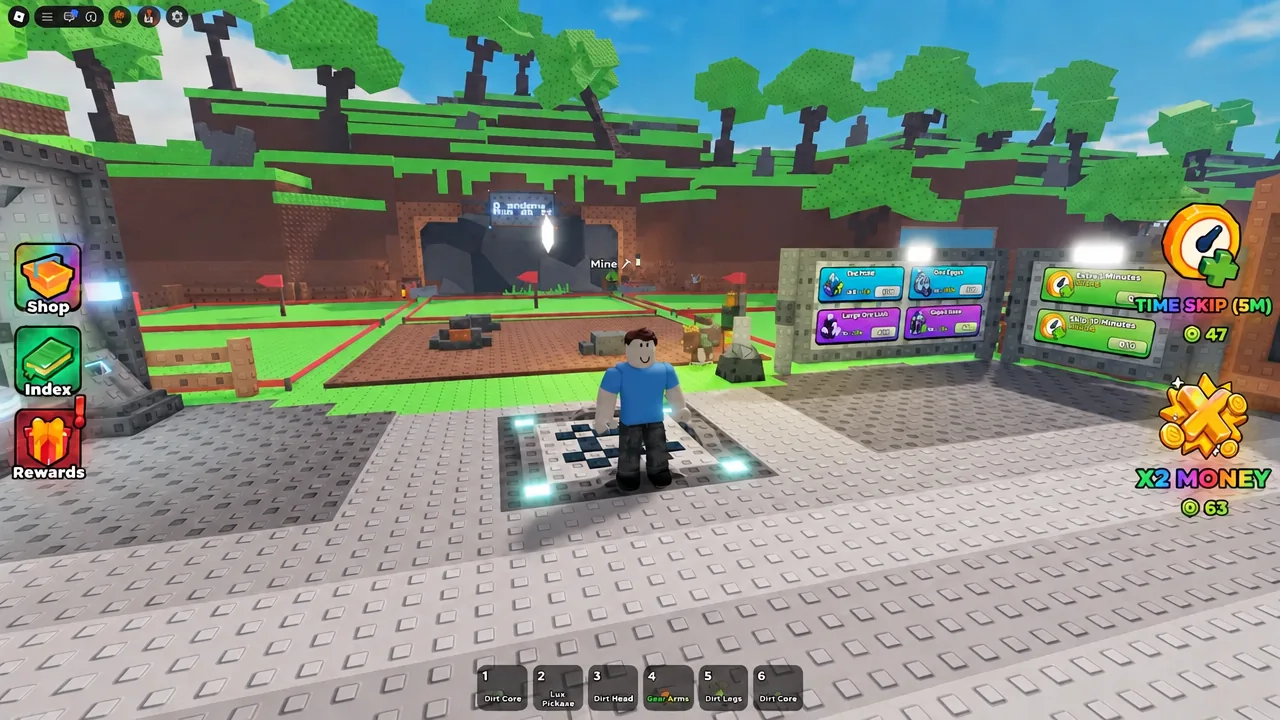
Build A Golem is a Roblox idle mining sim with one job at its center. You roll for golem parts, snap a full body together at the crafter, and send that golem into a mine where it chips away at ore and packs the spoils into boxes you sell for Cash. The trap for new players is spending that first pile of Cash on the wrong thing, which means slower income for the entire session.
Quick answer: Build one complete golem from a matching head, torso, hands, and legs, assign it to a mine tile so Cash starts ticking, then put your earnings into the Golem Slots upgrade before Tile Yield, Ore Regen, or Large Ore Luck.
How the Build A Golem loop works
Every golem needs four rolled components: a head, a torso, a set of hands, and a set of legs. Rolls are random, so early on you will pull duplicates and mismatched pieces. Do not hoard them waiting for a matching rare set. A complete common body that is actually mining beats four unused legs sitting in your inventory.
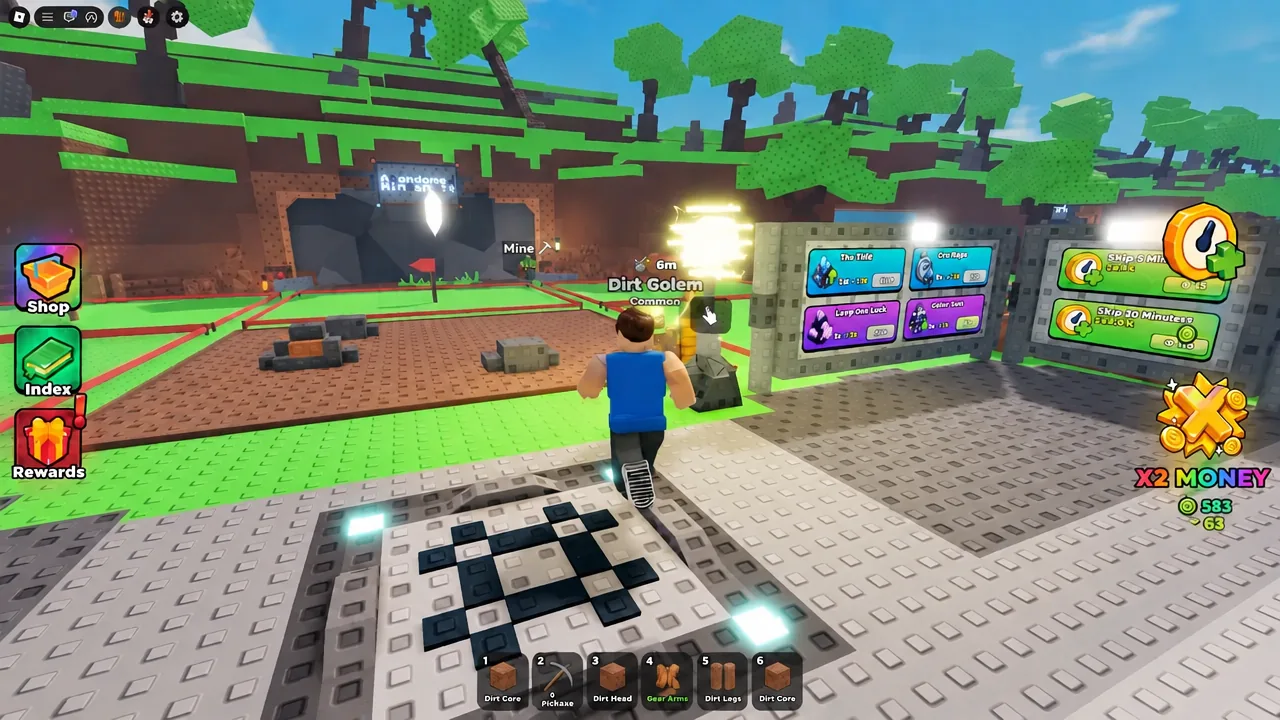
Once you have a set, take the parts to the Golem Crafter and combine them. The finished golem walks to the mining area on its own, breaks ore, and drops packaged boxes at the collection area. Walk over and interact with the packager and sell point to convert those boxes into Cash, the currency that pays for every upgrade in the game. You can also grab the game on Roblox on PC, mobile, or console.
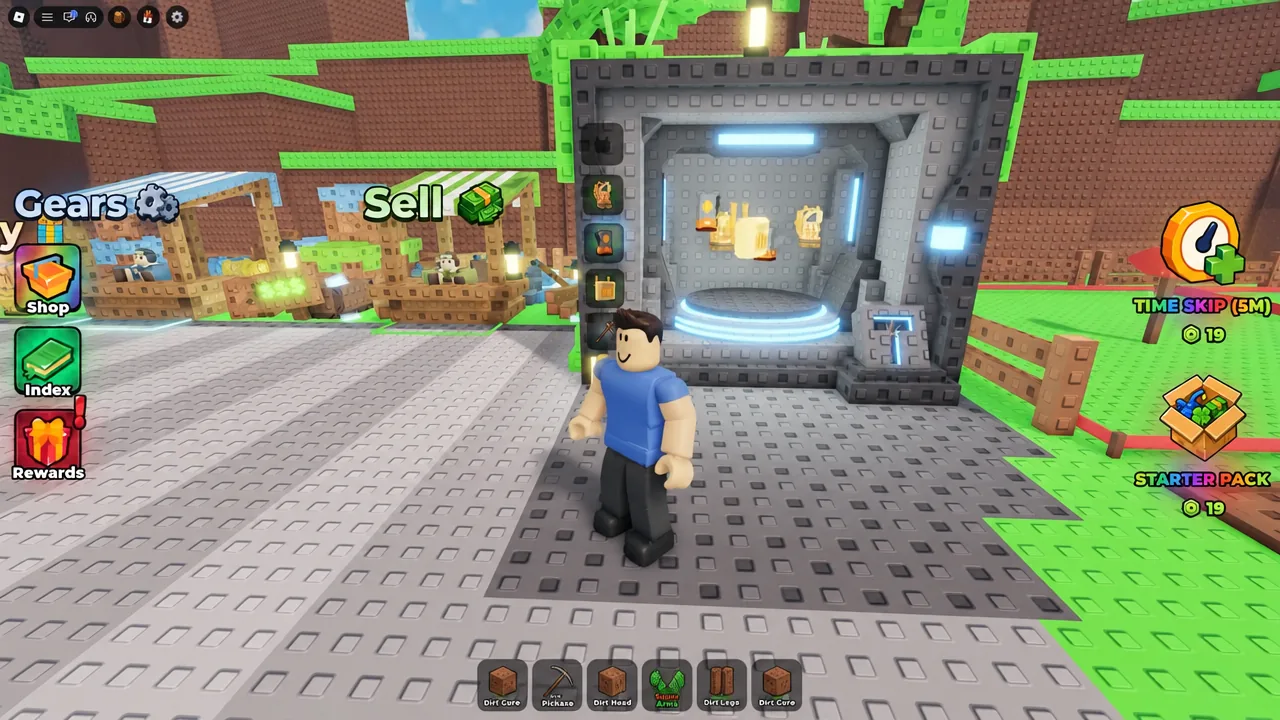
Upgrade order: Put Cash into Golem Slots first
The upgrade panel sits next to the mining field, and you open it by pressing E. It holds four mine upgrades, and they are not equally useful at the start. Golem Slots raises how many golems can work at the same time, which multiplies everything else you own. The other three only improve the output of golems you already have.
| Upgrade | Effect | Early priority |
|---|---|---|
| Golem Slots | Increases how many golems can mine at once | Buy first |
| Tile Yield | Raises the value pulled from each mine tile | Second |
| Ore Regen | Speeds up how quickly mined ore comes back | Third |
| Large Ore Luck | Improves the chance of high-value ore spawning | Last |
Tip: buying a Golem Slot does nothing on its own. Make sure you have the parts to fill it, otherwise you are paying for an empty slot while your income sits still.
Charging station: Why your golem stops mining
Golems run on a working capacity that drains as they mine. When it empties, the golem walks off the tile to the charging station and stays there until it is powered back up. That downtime is dead income, and it becomes more noticeable the more golems you run.
The charging station has its own upgrades. One shortens charge time, the other adds charging slots so several golems can recharge at once instead of queuing. Once you are running three or more golems, adding slots here stops your whole crew from bottlenecking at a single charger.
Gears: Temporary damage, speed, and no recharge
Gears are consumables you buy with Cash from the Gear Shop and apply directly to a golem. They raise that golem’s mining damage and speed, and while the effect is running the golem skips its recharge requirement entirely. Open the gear menu, select the item, and check its stats before you spend, since gears are one-time use and burn out.
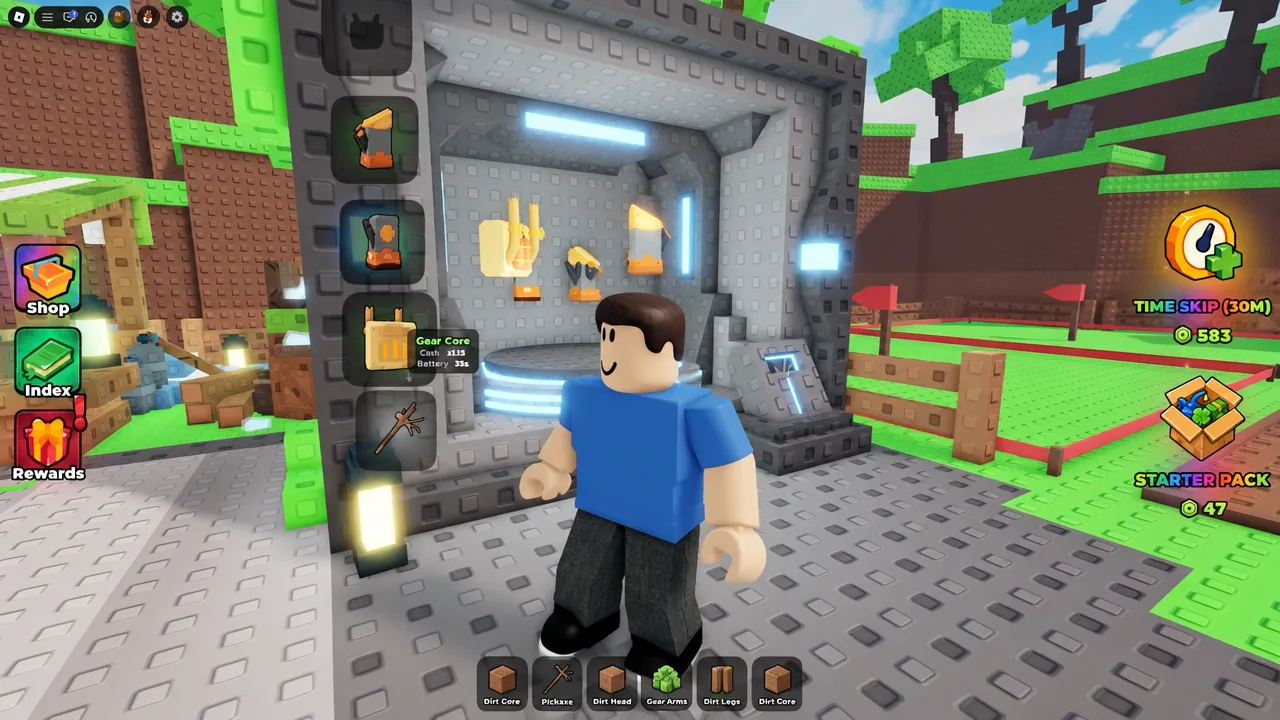
Because they are temporary, gears are worth the most on your strongest golem sitting on your best tile. Applying one to a starter body on a low-value tile wastes both the Cash and the uptime.
Mine expansion and assigning golems to tiles
Your mining plot starts small and can be expanded with Cash. Each additional plot costs more than the last, so expansion is a decision you make when your current tiles are already fully staffed, not something to rush the moment you can afford it.
Expansion also unlocks manual assignment. You can pick which golem works which section of the grid, which matters because tiles are not equal. Put your best-built golems on the richest sections and leave the weaker starter bodies on the low-value edges.
Roll Luck and Roll Cells: Better parts per roll
The roll upgrades sit near the ore collection spot, close to the packager and the left-hand Shop, Index, and Rewards buttons. Roll Luck raises the odds of pulling higher-rarity parts, while the second roll upgrade increases how many parts you receive at once. Both feed directly into stronger golems, so they pay off even though they do not touch mining output themselves.
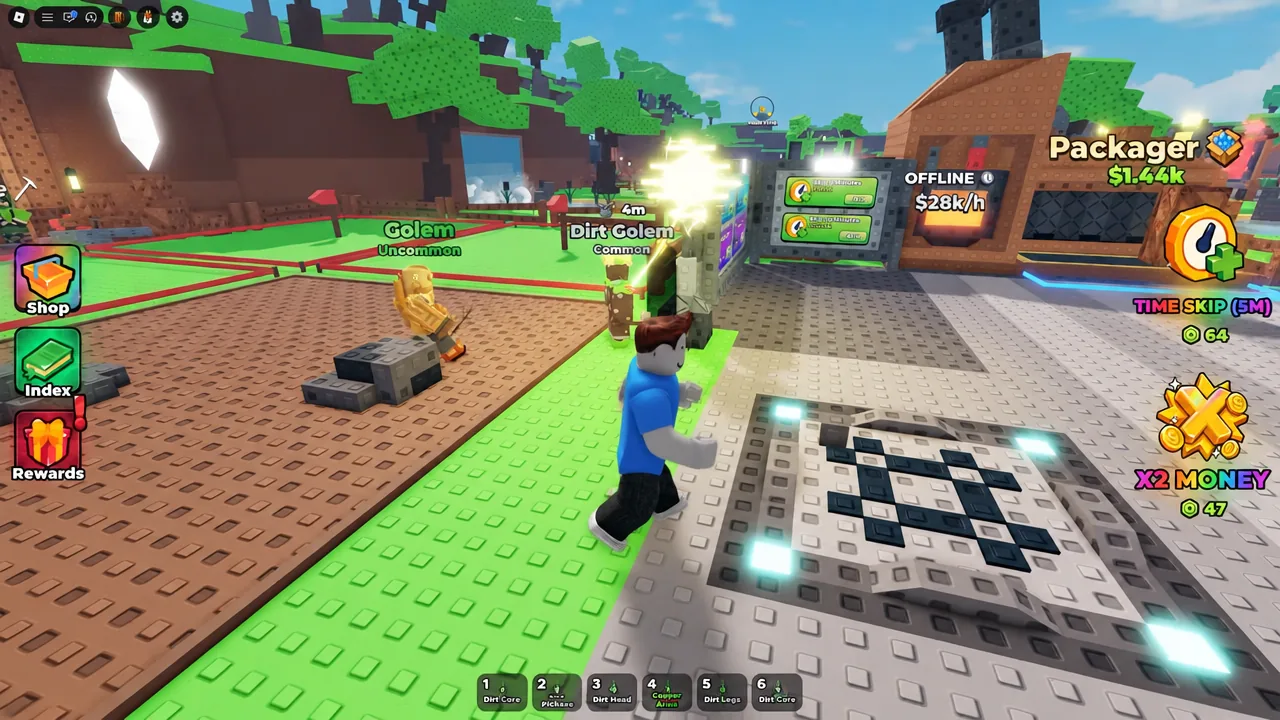
If every roll is still handing you the lowest tier of parts, that is a luck problem, not bad luck. Split your Cash so some of it keeps going into Roll Luck instead of dumping all of it into mine upgrades.
Unlocking new worlds
After enough progress you can unlock new worlds beyond your starting zone. These areas pay out more than the home plot and can open access to special golem mutations. Treat them as a milestone rather than an early goal, because entering a higher-value world with under-built golems earns less than a filled-out starter plot.
Codes and offline Cash before you log off
Codes are redeemed through the Settings menu, opened with the gear icon. Type them exactly as written, including capitals, and expect each one to work once per account. Two launch codes have been circulating since the game went live.
| Code | Reward |
|---|---|
| RELEASE | 75,000 Cash |
| THANKS | 15-minute Time Skip |
Order matters with the Time Skip. Claim it only after a golem is built and standing on a tile, because skipping time with an empty mine fast-forwards nothing. The same rule applies when you close the game. Golems keep producing Cash while you are offline, so leave your best body assigned rather than pulling it apart to salvage parts.
If your golem is not mining
There are only a few reasons a finished golem sits idle. An incomplete body will not walk into the mine, so check that all four part slots are filled at the crafter. A golem that has been assigned nowhere will not start on its own, so confirm it is placed on a tile. And a golem parked at the charging station is simply out of power and will return once it finishes charging.
You know the setup is working when the box count at the collection area starts climbing and your Cash total ticks up without you doing anything. That is the whole engine. From there, the loop is just repetition: sell, buy a Golem Slot, roll a body to fill it, and keep every slot you own occupied before you spend on anything else.





