

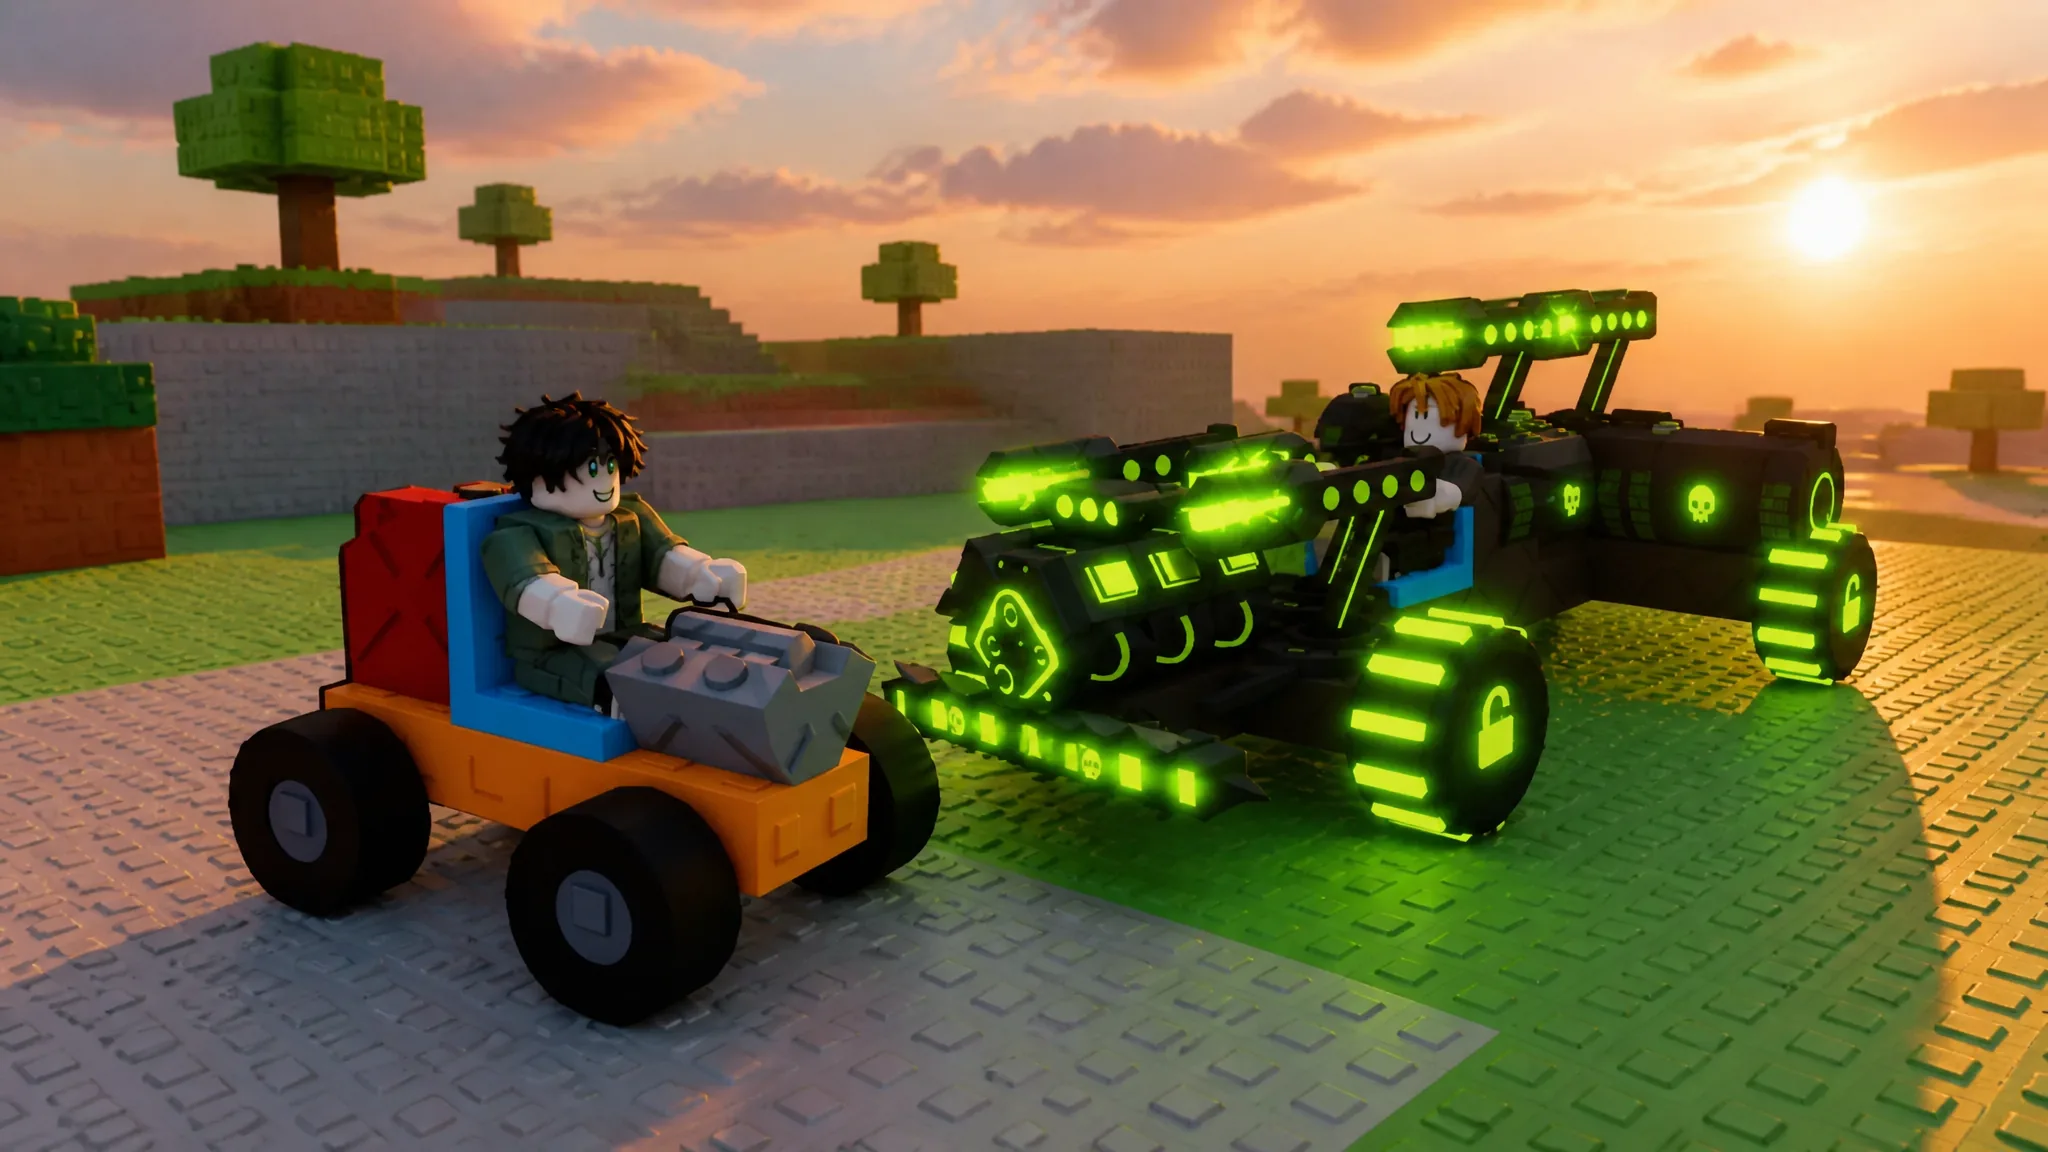
Build and Kill Zombies is a Roblox experience built around a single loop: roll parts at your home base, bolt them onto a chassis, then drive the finished car across the field to flatten waves of the undead for Cash. The better your part combination, the further you travel and the more zombies you take down in one run.
Quick answer: Roll Engines, Fuels, Wheels, Blocks, and Supports at your base, press B to place them on the chassis, then press F to drive across the field and earn Cash from distance and kills.
The two phases: building and driving
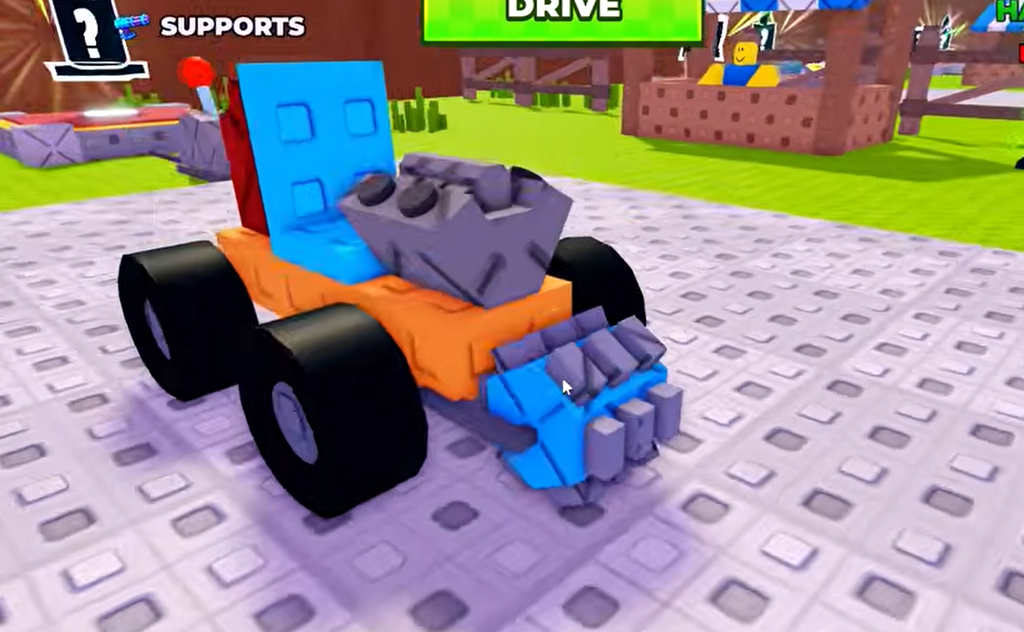
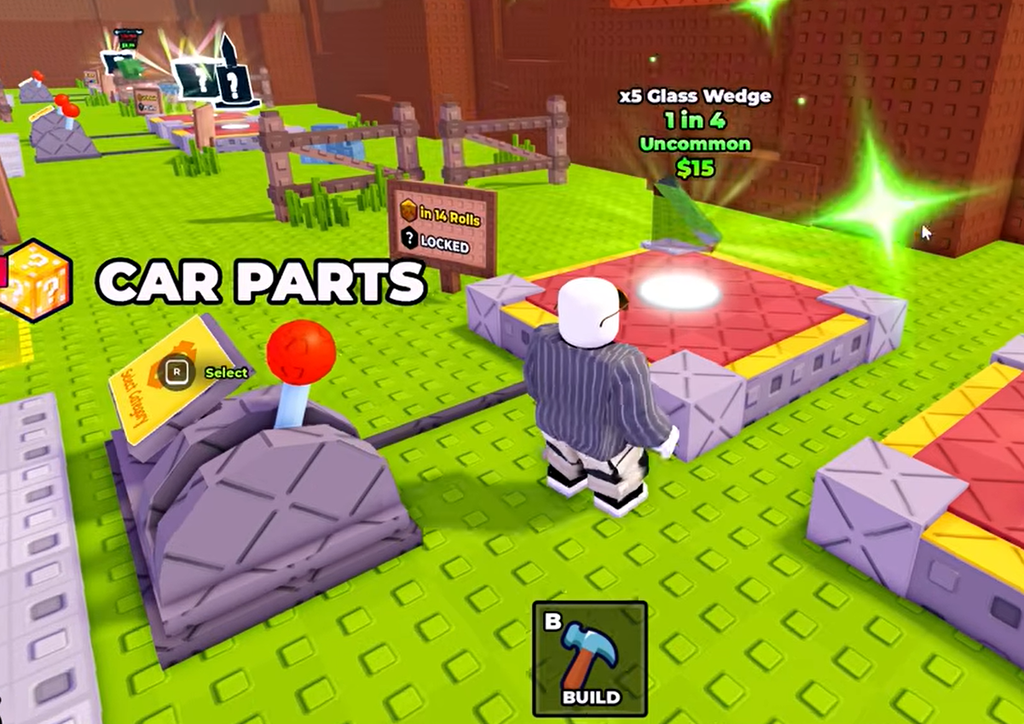
Every session splits into a building phase and a driving phase. In the building phase you stay at your home base, reroll items, and pick up the parts you want. Those parts fall into five categories that make up a working vehicle: Engines, Fuels, Wheels, Blocks, and Supports.
Once the car is assembled, you switch to the driving phase. You steer across the field, plow through zombie hordes, and jump ramps, earning Cash based on the distance you cover and the number of zombies you kill. The car keeps moving only while it has fuel. As you drive, fuel steadily drains toward 0%, and when it empties you return to base to spend your Cash and improve the build.
You can start playing for free on the official Roblox game page. Repeat the roll, build, and drive cycle until your car can cross multiple zones in a single run.
Controls
| Action | Key |
|---|---|
| Move | W, S, A, D |
| Jump | Spacebar |
| Interact | E |
| Open Build menu | B |
| Drive / Return to base | F |
You can also start a run using the green button at the top of the screen instead of pressing F. The same key sends you back to base once fuel runs out.
How to roll parts and build a car
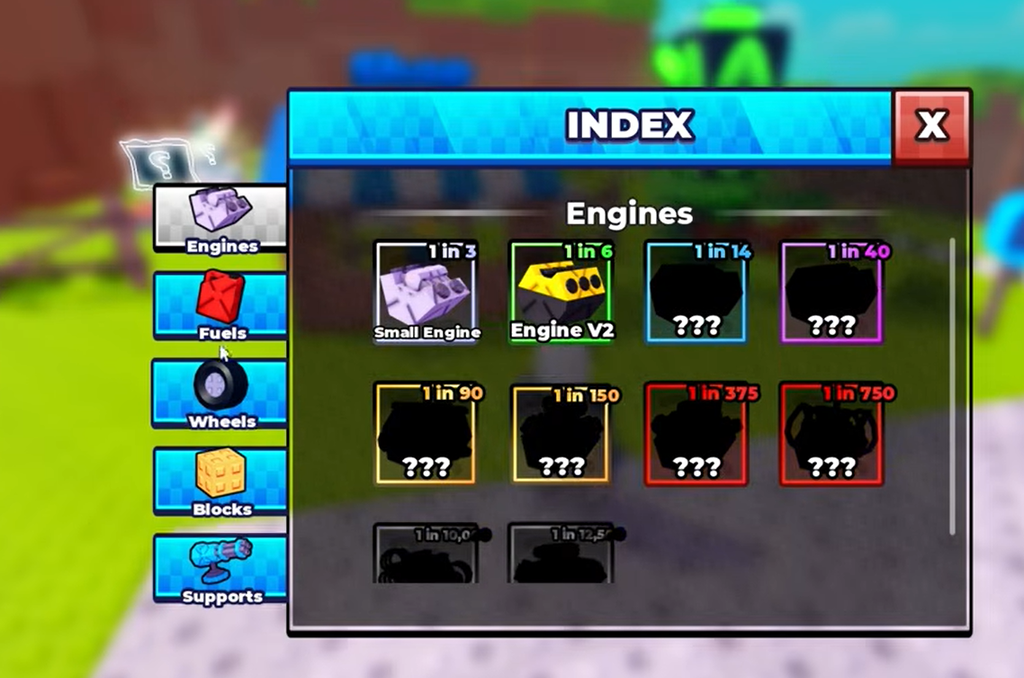
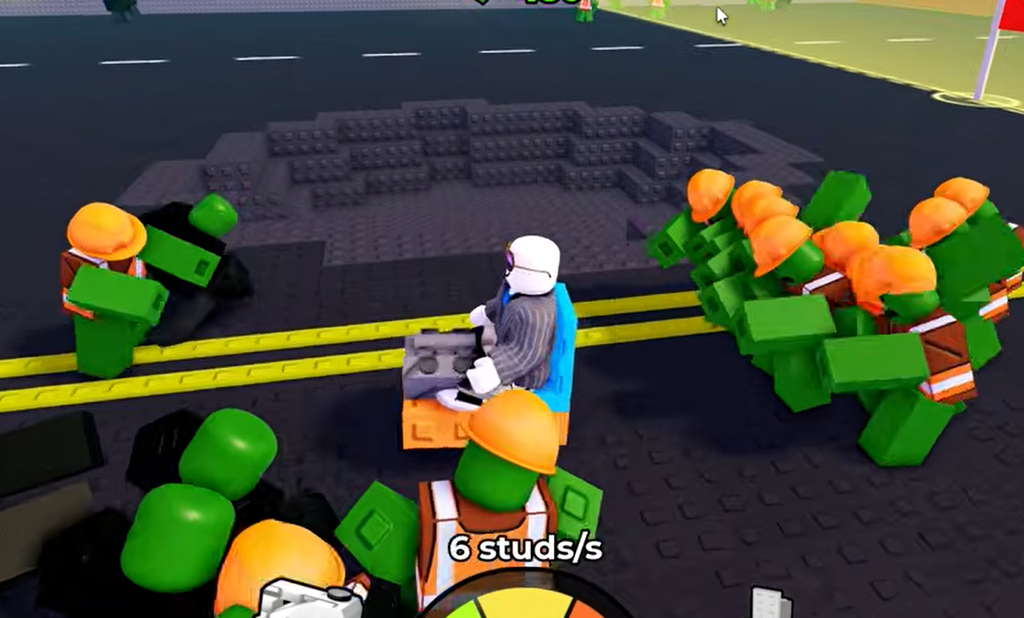
Treat Engines and Fuels as a paired decision rather than chasing raw speed. A strong engine with too little fuel stops just as early as a weak one, so match your fuel volume to your engine before spending on anything else.
Skills: the only permanent progress
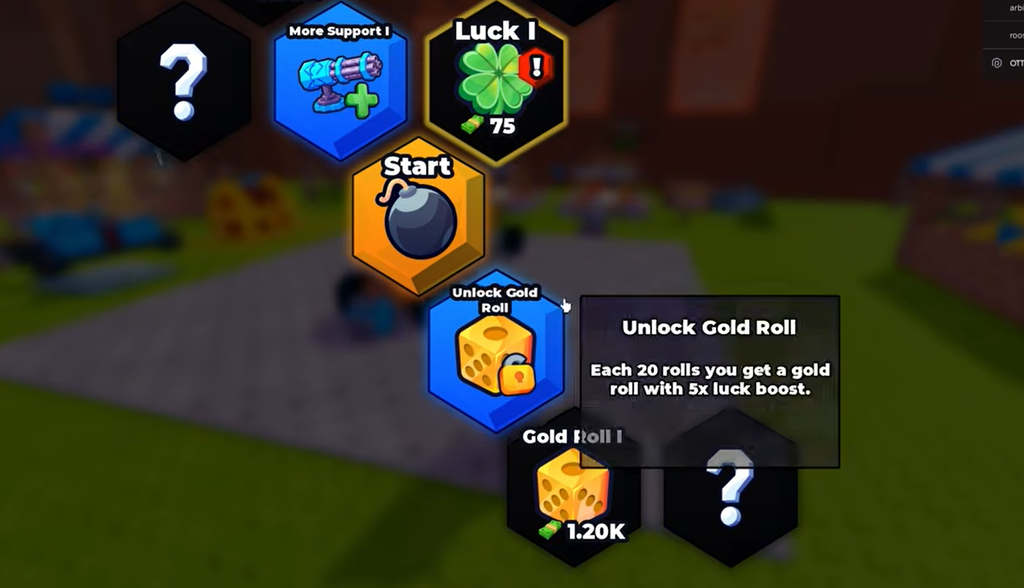
Parts reset between runs, but Skills stick with you. You spend Cash to buy Skills from the Skills menu, and they hand out stat bonuses that sit outside your vehicle’s raw capabilities. Examples include Luck boosts, better roll options, and extra support slots. Nodes come in tiers, so a second rank unlocks only after you buy the first.
Because everything in the game runs through rolls, Luck is the strongest early buy. Improving your roll outcomes multiplies the value of every Cash you spend afterward, so stack it before branching out into support slots.
| Priority | Skill | Effect |
|---|---|---|
| 1st | Luck I | Improves roll outcomes at both machines |
| 2nd | Luck II | Stacks the Luck bonus for compounding rolls |
| 3rd | More Support I | Adds weapon mounting slots |
| 4th | More Support II | Second support rank for heavier loadouts |
| Later | Gold Roll I | Expensive node worth thousands of Cash; a long-term goal |
Car presets: Fast Furious and Blue Monster
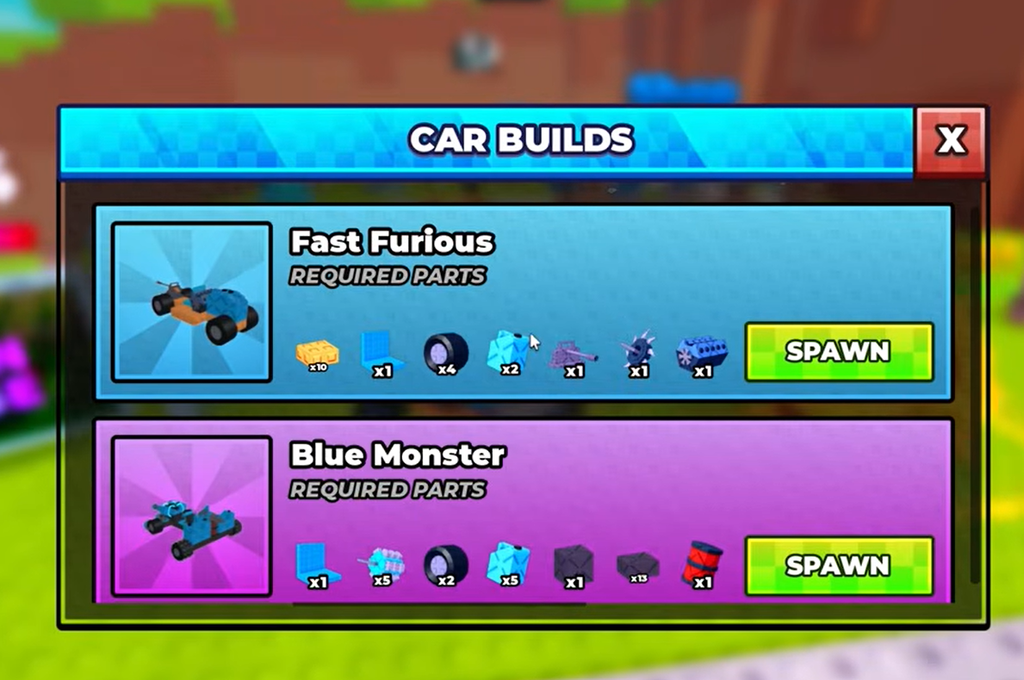
If designing a car from scratch feels like too much on your first runs, walk into the “Car Builds” beacon to open the preset blueprints. Two confirmed builds live there, and each one lists every part it needs while flagging the pieces you are still missing, which turns it into a shopping list. Once you own every listed part, the blueprint spawns the car automatically.
| Blueprint | Best for | How to get it |
|---|---|---|
| Fast Furious | Speed-focused distance runs | Collect all listed parts or buy with Robux |
| Blue Monster | Heavier builds with more weapon slots | Collect all listed parts or buy with Robux |
None of the presets are the strongest possible car, but they are powerful enough to learn from. Use them as a baseline and add or remove parts to suit how you play.
Driving, co-op, and the boss timer
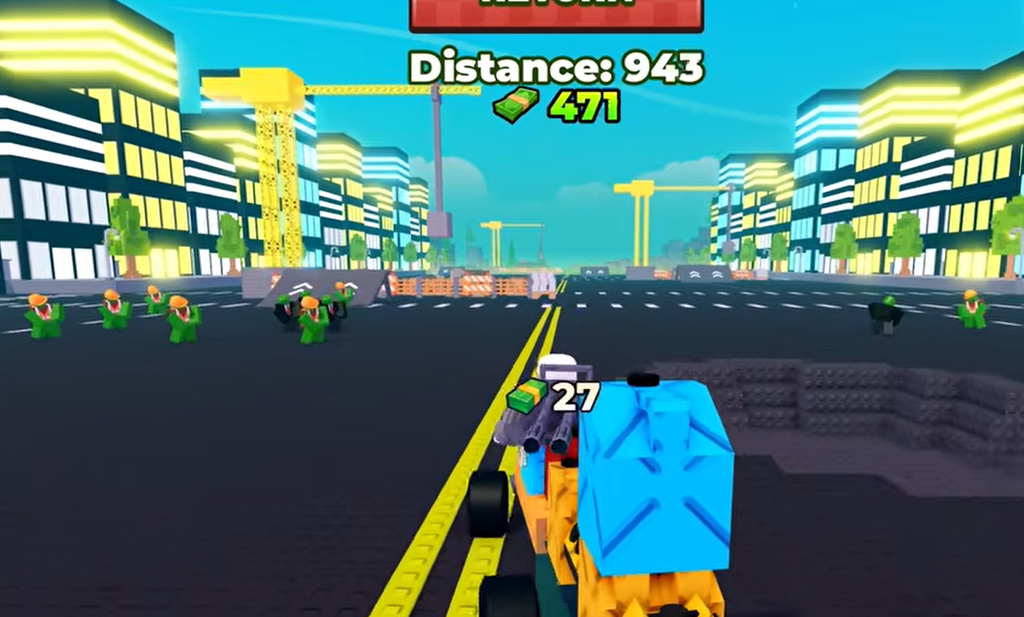
Driving is the least demanding part of the game. You can charge straight into hordes, weave through the gaps to avoid zombies, or hit ramps for fun. Building well matters far more than driving well, so there is no single correct route down the field.
Servers support cooperative play. As long as two players share the same server, they can build a vehicle together or head out on a drive side by side. Servers cap at five players, so runs stay small and there is little pressure while you test builds.
A “NEXT BOSS IN: XX:XX” timer sits on the right of the HUD from the moment you load in. Boss encounters are shared across everyone in the server, so watch the timer during your building phase and try to be back at base before it hits zero. That leaves you in the best position to respond to whatever the boss brings.
How to know a build change worked
Each run ends in one of two ways. If your fuel empties, you get an “Out of fuel” message and return to base. If you pass your previous record, you see a “New distance record” banner instead. That banner is the clearest sign that your last change actually improved the car.
Change one part at a time, drive, and watch whether your distance number climbs. If the record banner stops appearing after a tweak, the change made things worse, so roll back to the setup you had before. Keep repeating the loop and each run should carry you a little further into the horde.





