

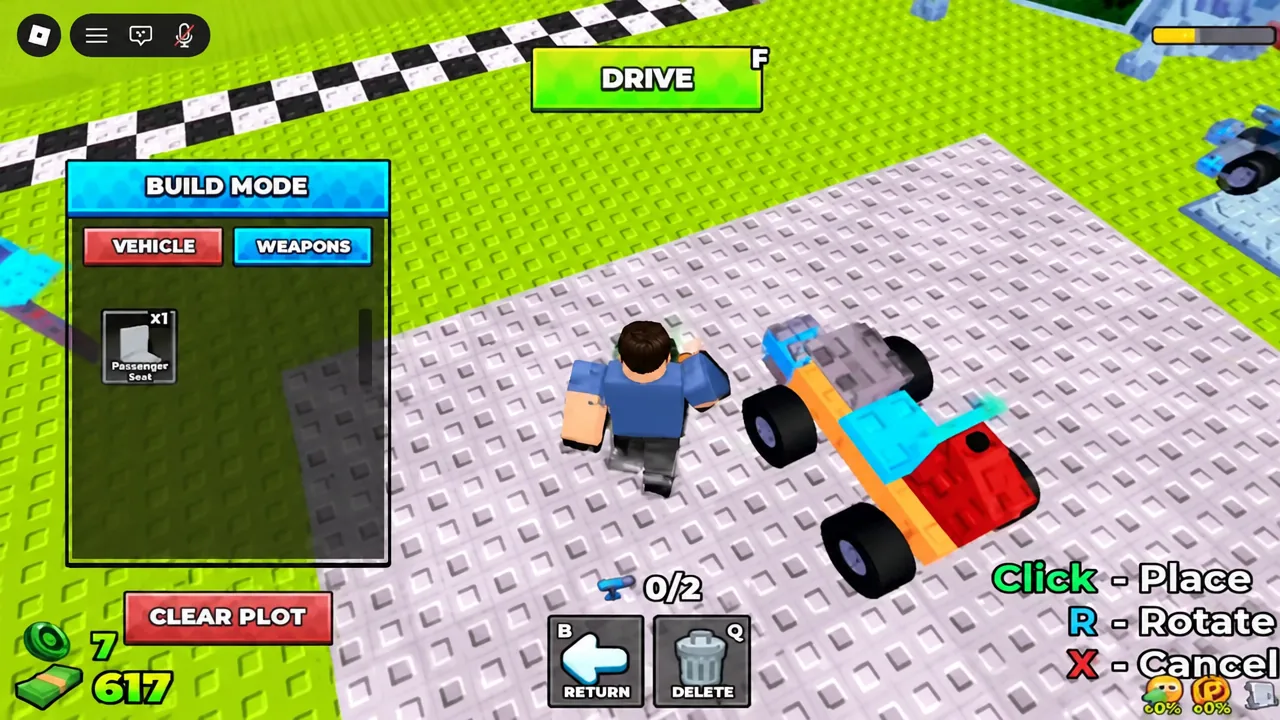
Every run in Build and Kill Zombies ends the same way — your car runs out of fuel somewhere down the track, and the distance number on screen decides how much cash you walk away with. The parts you roll, the weapons you bolt on, and the skills you buy all feed into that one number.
Quick answer: Roll parts at the CAR PARTS machine (Engines and Fuels first), roll a weapon at the SUPPORTS machine, open Build Mode with B to attach the engine, fuel and weapon to your vehicle, then hit DRIVE and spend the cash you earn on the Skills menu.
The run loop: distance in, cash out
The loop is short and it repeats. You roll parts in the lobby, assemble a car on your plot, drive it down the track, and come back with cash. Zombies you hit on the way add to the total, and the HUD tracks your distance live from Distance: 0.
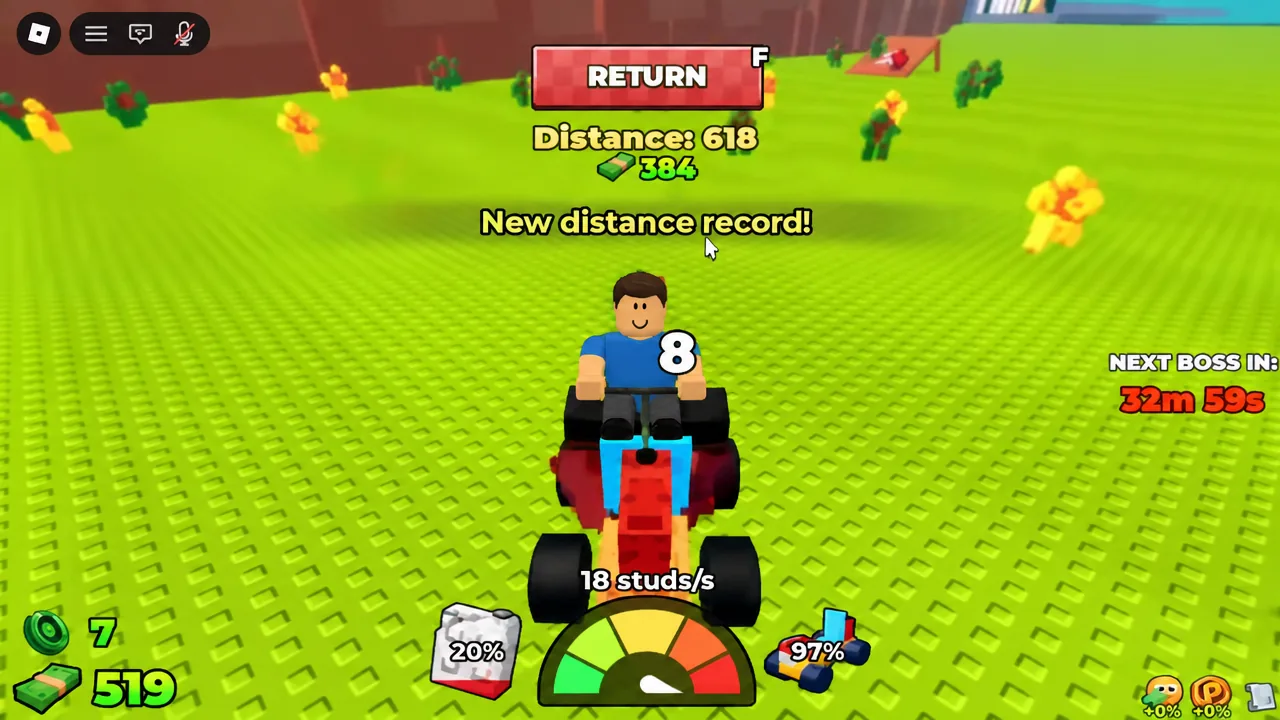
Two things end a run. Fuel running dry triggers an Out of fuel! message and stops the car where it stands. Beat your previous best and you get a New distance record! banner instead, which is the clearest signal that your last build change actually helped.
That makes fuel the real constraint early on. A faster engine with nothing to burn stops just as quickly as a slow one, so treat Engines and Fuels as a pair rather than chasing raw speed.
Rolling car parts at the CAR PARTS machine
Parts are not bought off a shelf — you roll for them, one category at a time, using the cash you brought back from your last run.
Q to open the selector. This is where you tell the machine which kind of part you want before spending anything.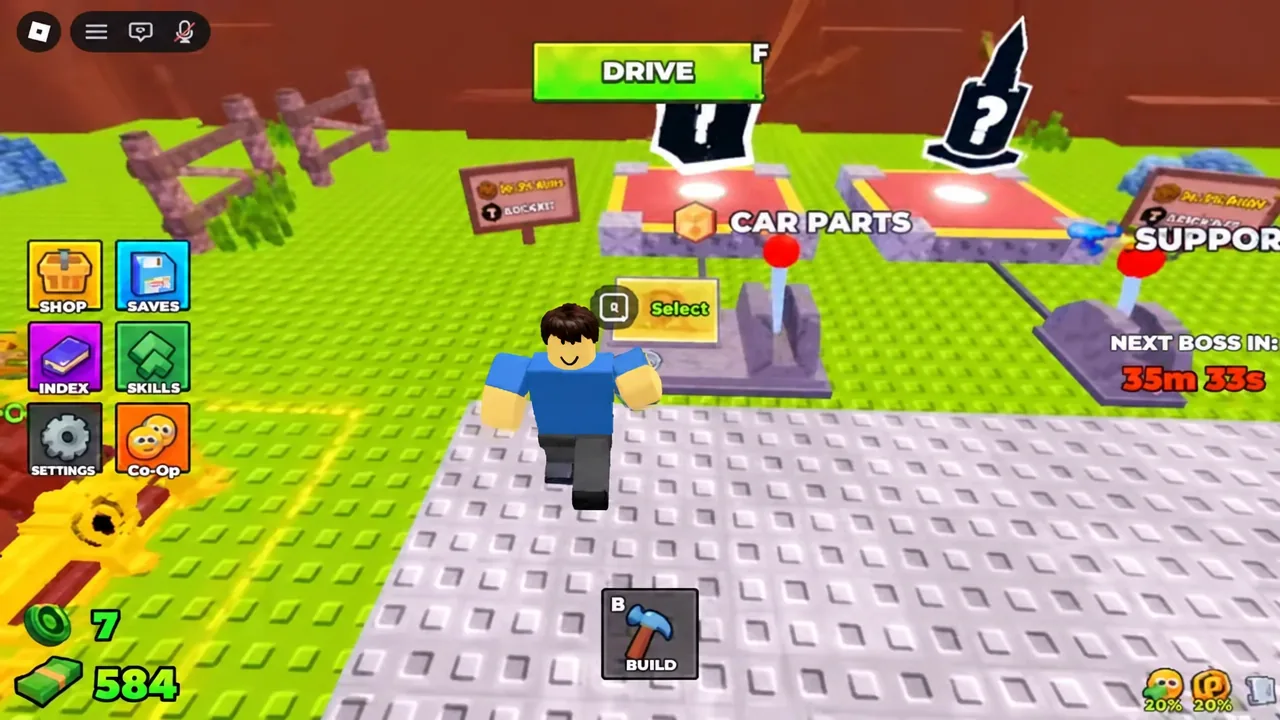
E to roll. Each result shows its rarity and its odds — a drop listed as 1 in 4 and Uncommon, for example — so you can see how often that tier should come up.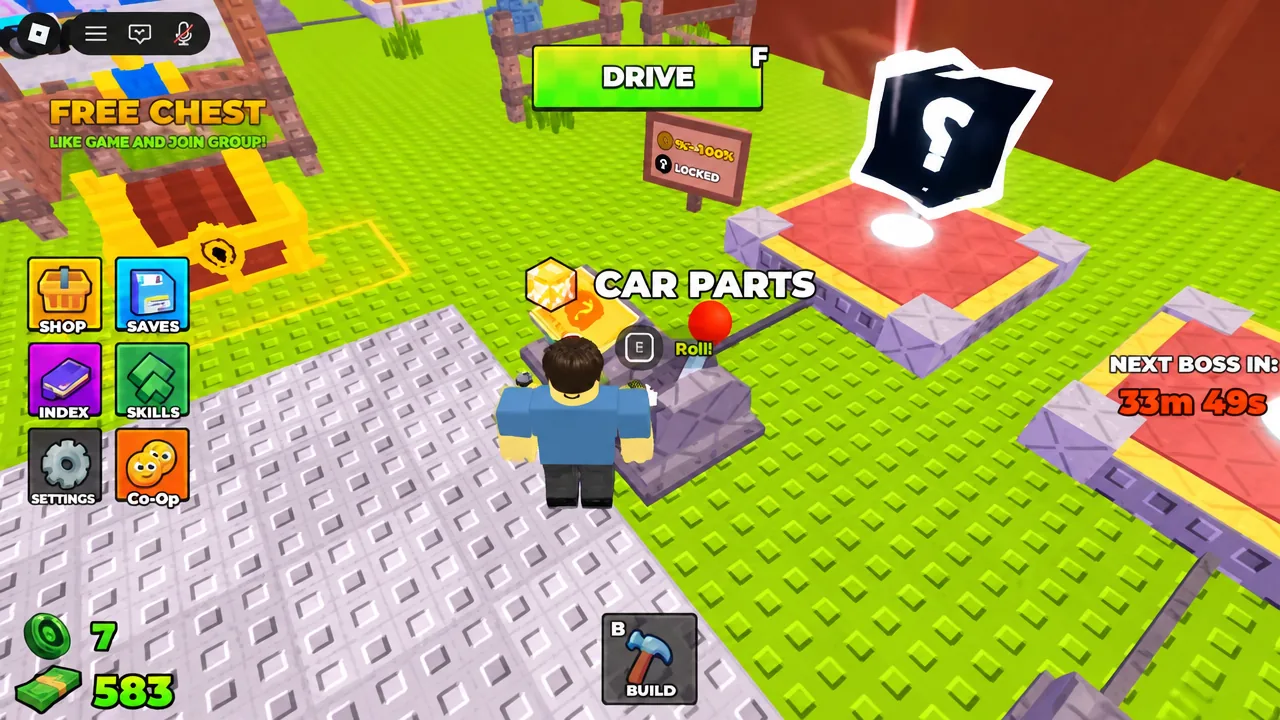
Rolls stack, so you can end up with duplicates like x5 Glass Cylinder. Those extras are not wasted — wider plots need more of the cheap filler parts than you would expect once you start building out a proper chassis.
Rolling weapons at the SUPPORTS machine
SUPPORTS is a separate station with its own pool, and it is where your offence comes from. It works the same way as CAR PARTS — approach, confirm, roll — but the results are weapons and support pieces rather than chassis components.
Prices scale hard with usefulness. A Glass Cylinder sits at the bottom of the pool at $15, while a Shredder — also listed as Uncommon — costs $250. There are dedicated roll stations for individual items too, including a Crossbow station and a Glass Cylinder station, so you can target one piece instead of gambling on the whole category.
Tip: roll supports after a good run, not before one. Weapons only pay off if the car survives long enough to reach the zombies they are meant to hit.
Build Mode: putting the car together
Press B to enter BUILD MODE on your plot. The panel splits into VEHICLE and WEAPONS tabs, with a CLEAR PLOT option for when a layout is beyond saving and you want to start clean.
W to accelerate, S to reverse, A and D to steer.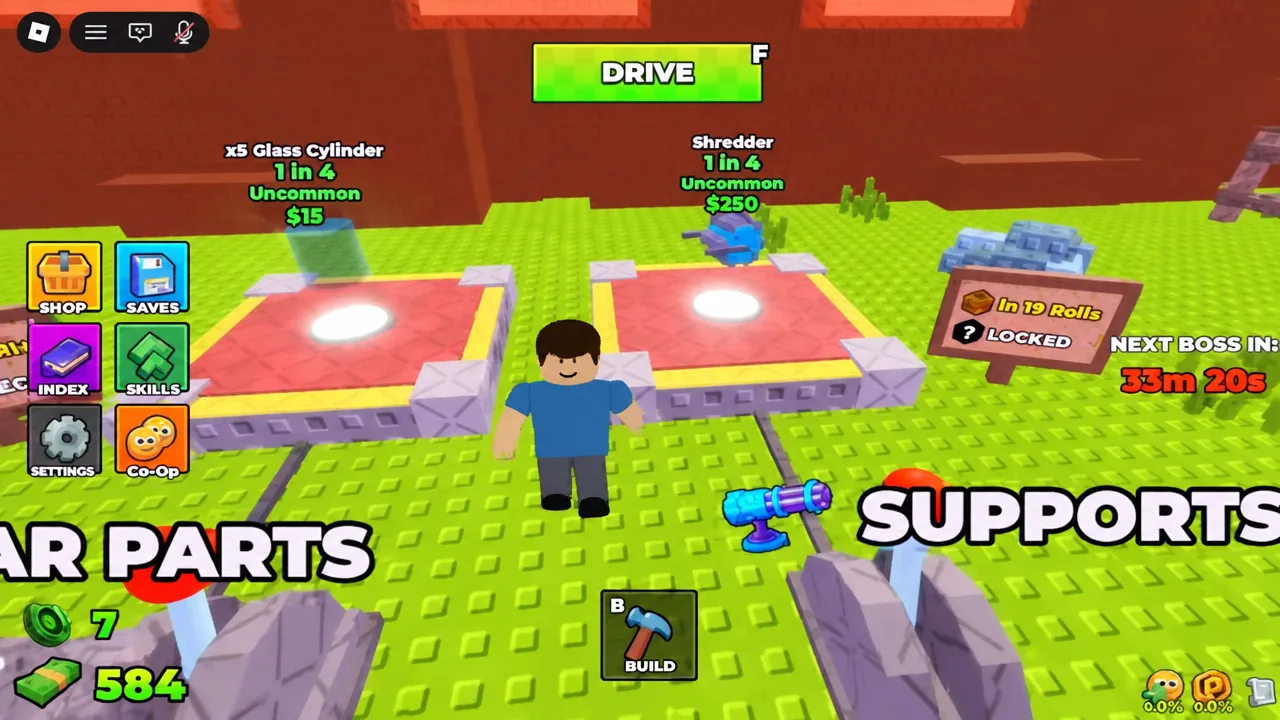
When the car stops, the results screen shows the distance you covered and a RETURN button that drops you back at spawn with the cash already added. If you see New distance record! on that screen, the build change you made before the run worked — keep it and change one thing at a time from there.
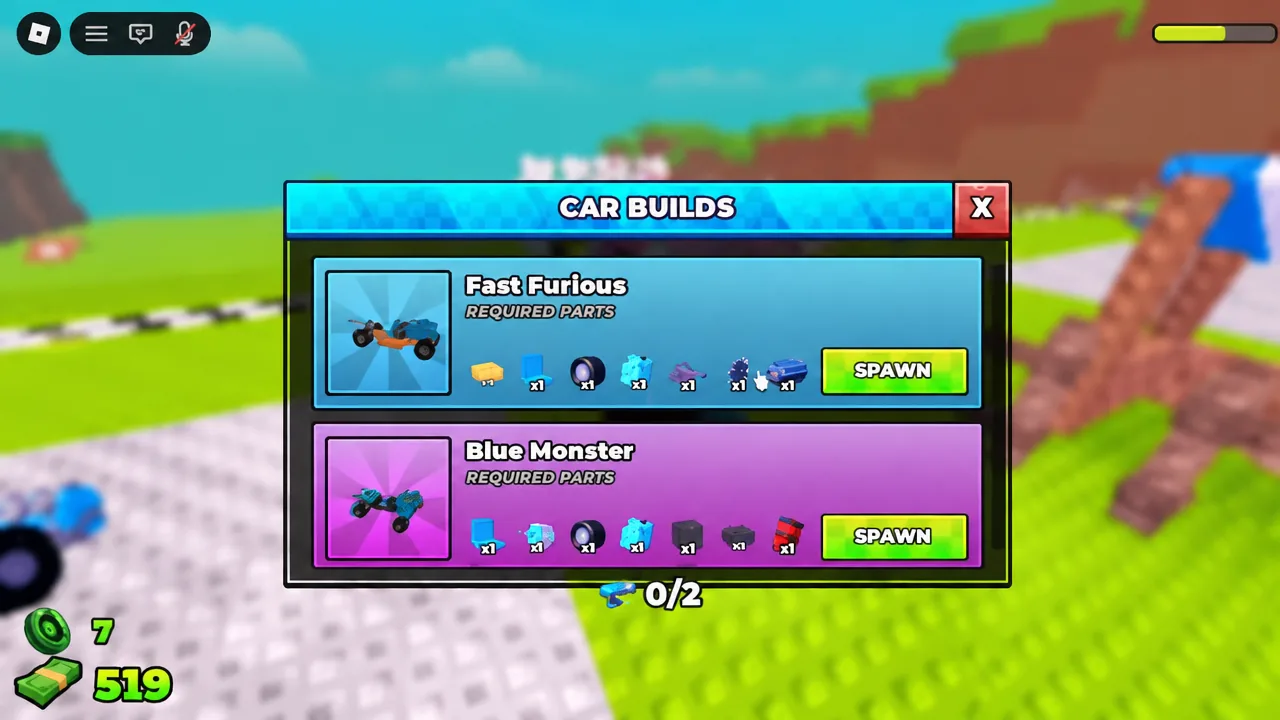
Car Builds blueprints: Fast Furious and Blue Monster
If you would rather not design a car from scratch, the Car Builds menu holds pre-made blueprints such as Fast Furious and Blue Monster. Each one lists the parts it needs and flags the ones you are still missing, which doubles as a shopping list for your next round of rolls.
Once you own everything on the list, the blueprint’s spawn button assembles the car for you. Blueprints can also be bought outright with Robux if you want to skip the collecting entirely.
Skills menu: which upgrades to buy first
The Skills menu is a branching tree bought with the same cash you earn from runs, and it is the only permanent progress in the game. Nodes come in tiers, so the second rank of a perk unlocks after the first.
| Skill node | What it targets |
|---|---|
| Luck I / Luck II | Your outcomes at the roll machines |
| More Support I / More Support II | How much support gear your build can carry |
| Gold Roll I | Access to a higher-grade roll |
Luck is the sensible first purchase because everything else in the game runs through the roll machines. More Support matters once you have weapons worth mounting, and Gold Roll is a later buy — the node costs run into the thousands, so it is a goal rather than an early pickup.
The fastest way to improve is to treat each run as a single test. Change one part, drive, and watch whether the distance number moves. Servers cap at five players, so there is no rush from anyone else — the only competition is the record you set on your last attempt.





